Homemade Bagels

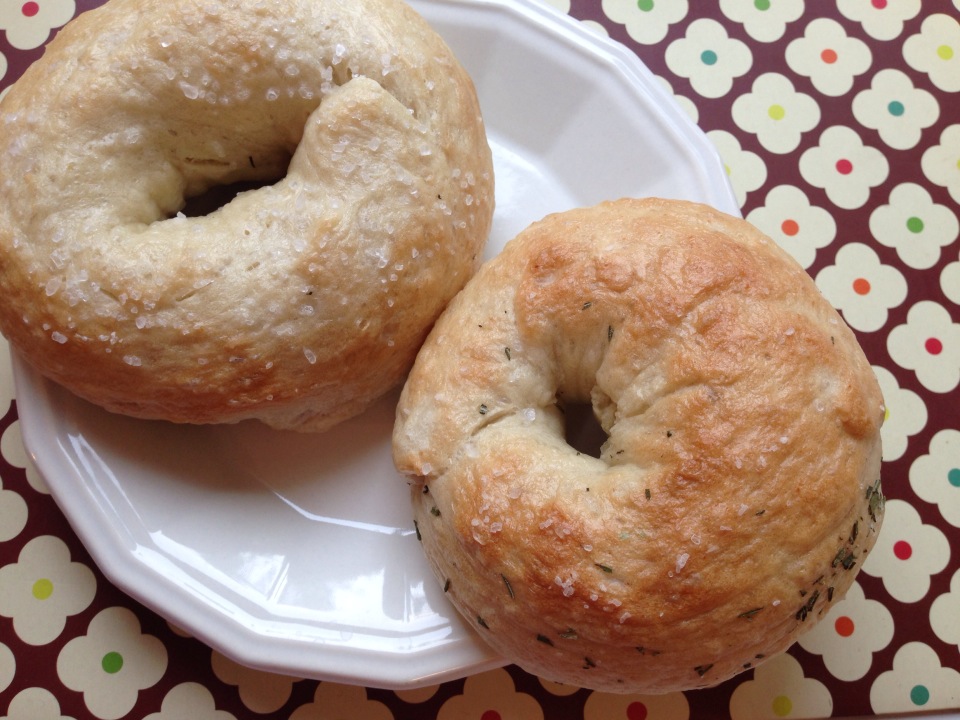
My favorite bagels in Alaska come from LuLu’s in Fairbanks. That’s a six-hour drive from Anchorage and sometimes I crave a good rosemary bagel! I’ve blogged about bagels in the past, but I have to post the recipe I made tonight because it was near perfect. Homemade bagel heaven. Crusty and salty on the outside, soft and chewy on the inside.

The recipe hails from an unassuming corner of the internet — HubPages.com. It contains few ingredients and the steps are simple. I tweaked the ingredients and process ever so slightly, which is why I’m posting it. I will forget how I made them if I don’t!

Homemade Bagels | Alaska Knit Nat

Ingredients:

4 cups all-purpose flour

1 Tbs. sugar

1.5 tsp. salt

1 Tbs. vegetable oil

2 tsp. yeast (not instant rise)

1.25-1.5 cups warm water

2 Tbs. chopped fresh rosemary (optional)

Coarse salt (optional)
Homemade Bagels | Alaska Knit Nat

Directions:

Place all the dry ingredients plus the oil in a Kitchen Aid mixer. With the hook attachment turn the machine onto a medium setting. Slowly pour in the water and wait for it to be fully incorporated into dough before adding all the water. If the dough is too dry, add the remaining quarter cup water. Knead the dough on a floured surface for about five minutes. Place back in the mixer bowl and cover with plastic wrap. Let rise until doubled in size, about 1.5 hours.

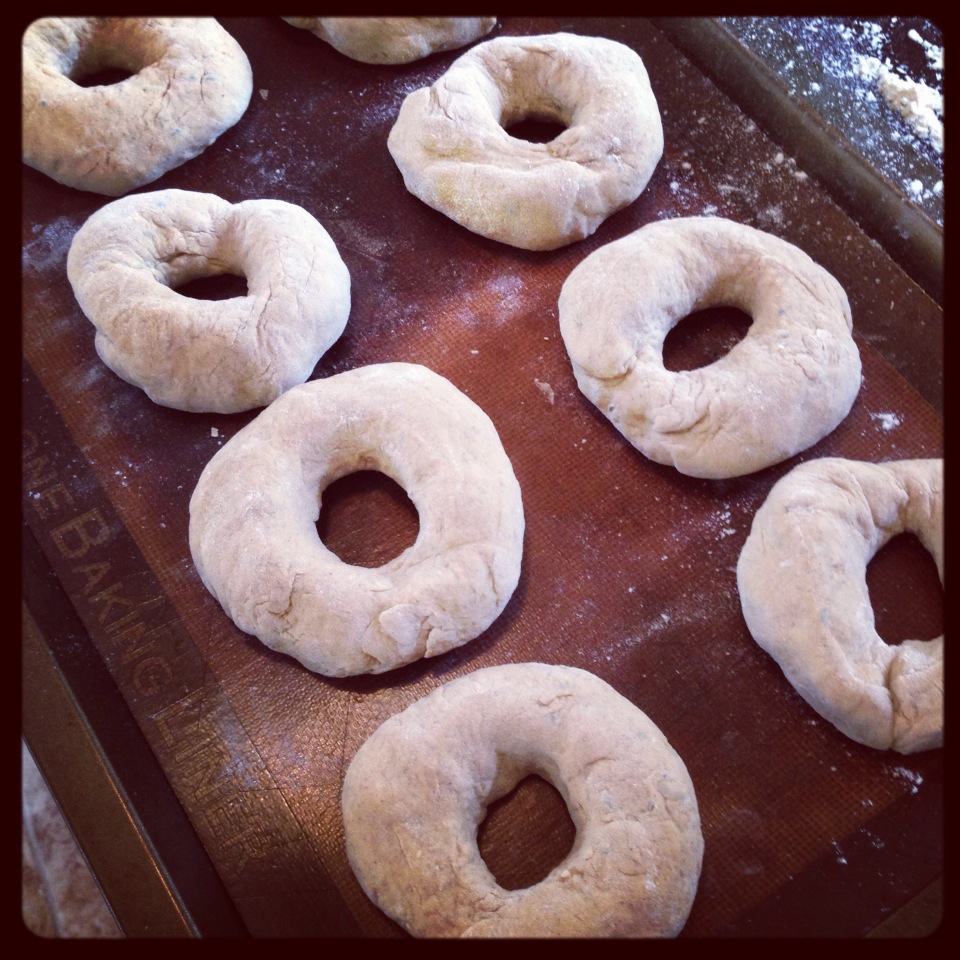
Once risen, remove the dough and split into eight even-sized balls. This is where I incorporated the chopped rosemary. Roll each ball into a snake, about 8 inches long, folding in the rosemary as you go. Overlap the ends to make a bagel shape and carefully roll the the seam part of the bagel back and forth till it’s combined and sealed.
Pumpkin Rosemary Bagels

Form the rest of your bagels and set them on the Silpat-lined or greased baking sheet. Cover with plastic wrap and set aside.

Homemade Bagels | Alaska Knit Nat

Bring a large pot of water to a boil and preheat the oven to 425 degrees. When the water is boiling, gently set a few bagels at a time into the pot, being sure not to overcrowd. Boil for one minute, then flip the bagels and boil another minute. Using tongs, remove the bagels and place them back on the baking sheet. Sprinkle liberally with coarse salt. Boil the remaining bagels. Place baking sheet in the oven and bake for 20 minutes, turning the sheet around halfway through. Let cool completely.

Slice, toast, butter and enjoy the bagely goodness.

Homemade Bagels | Alaska Knit Nat

Chicken Enchilada Roll-ups

I am trying to pare down our cabinets and fridge contents. This takes a little creativity. Last night I made a list of all the cookable staples such as rice, beans, rotisserie chicken, can of tomatoes, lasagna noodles, cheese and so on.

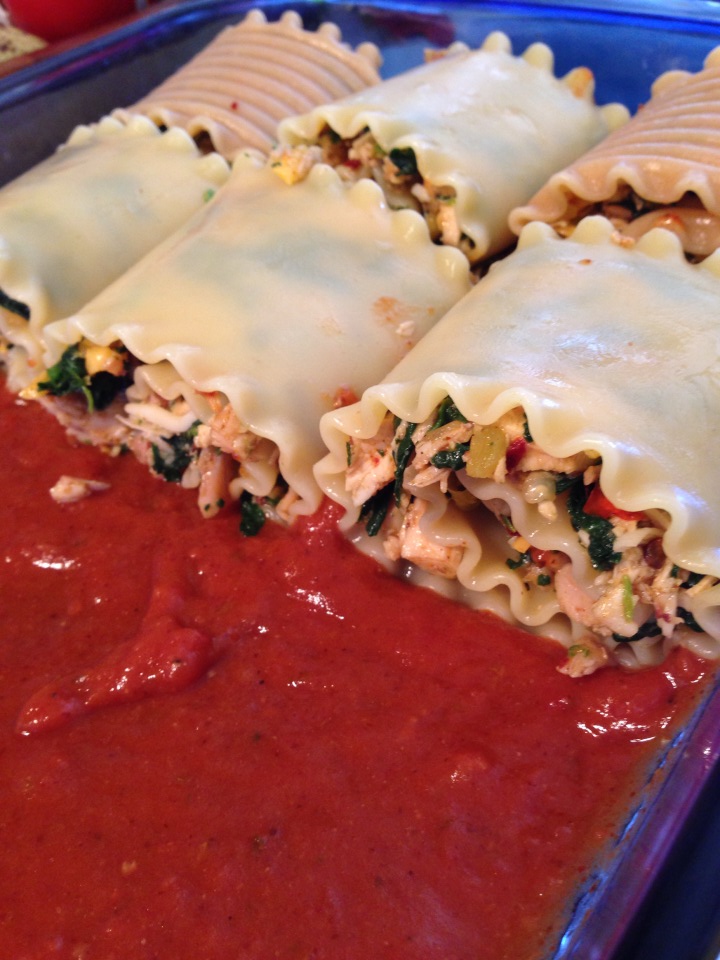
I recall my friend Kelly telling me last week that she was making enchilada stuffed shells. Any time a recipe calls for stuffed shells I automatically switch to lasagna roll-ups. You don’t have to be as ginger with them and they are really easy to serve. Why not make enchilada roll-ups with lasagna noodles, leftover chicken, spinach, cheese and homemade enchilada sauce? Sounds good to me. It was!

Since I only had a can of tomatoes, I decided to make my own enchilada sauce using this fabulous recipe from DamnDelicious.net. I will never buy enchilada sauce again if I can help it. It was thick and bursting with flavor.

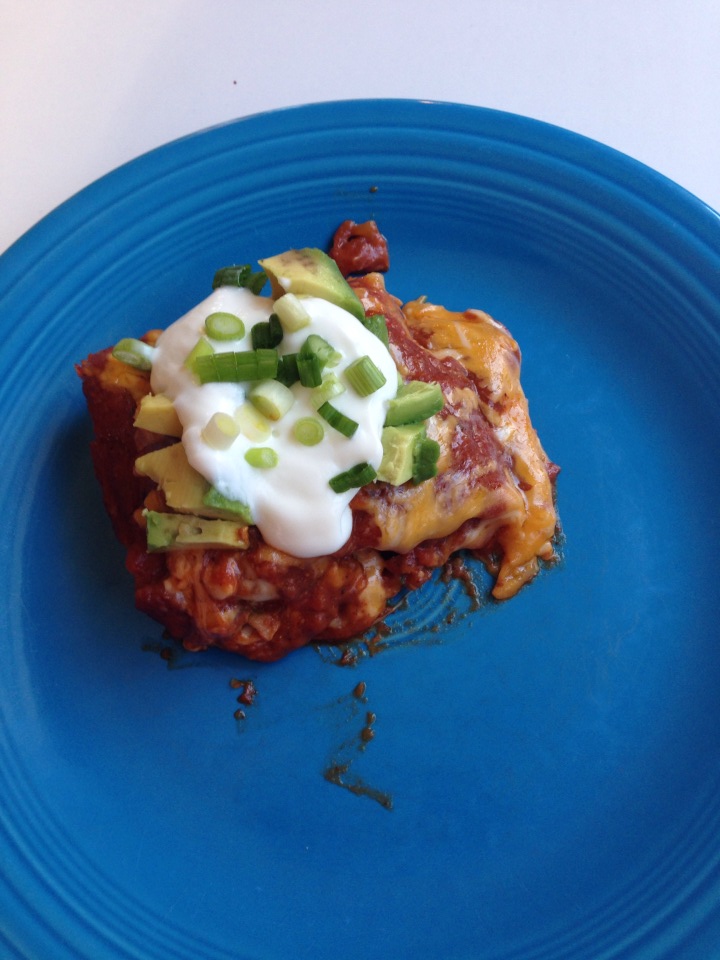
As for the roll-ups, I modeled my recipe from this one at Bevcooks.com. I tweaked it here and there, but I think this experiment may become a staple in our household. I was licking the plate!

Chicken Enchilada Roll-ups | Alaska Knit Nat

Chicken Enchilada Roll-ups

Serves six

Chicken Enchilada Roll-ups | Alaska Knit Nat

Ingredients:

1 large can of red enchilada sauce (or the equivalent of homemade)

1/2 bag frozen chopped spinach, thawed and squeezed of excess liquid

1 leftover rotisserie chicken, edible bits removed and chopped

1 can diced green chiles

3 chipotle chiles in adobo sauce, seeds removed and chopped fine

1 egg (I figure if I’m modeling it after lasagna, I might as well add an egg)

1 cup grated cheese blend (I used mozzarella and cheddar)

salt and pepper to taste

12 undercooked lasagna noodles

Chicken Enchilada Roll-ups | Alaska Knit Nat

Directions:

Preheat oven to 375 degrees. Coat the bottom of a casserole dish with a generous amount of enchilada sauce. While the lasagna noodles cook, combine the spinach, chicken bits, chiles, egg, salt and pepper and 1/2 cup of cheese. Mix it well. Spread a couple of tablespoons of the mix into each lasagna noodle. Roll up the noodle and place it seam down in the casserole. Repeat with rest of the noodles and filling. Top with remaining sauce and sprinkle liberally with grated cheese. Cover and bake for 30 minutes. Remove foil and bake another 10 minutes, if desired. Let sit 5 minutes before serving with chopped scallions, sour cream and avocado.

Chicken Enchilada Roll-ups | Alaska Knit Nat


Braised Red Cabbage

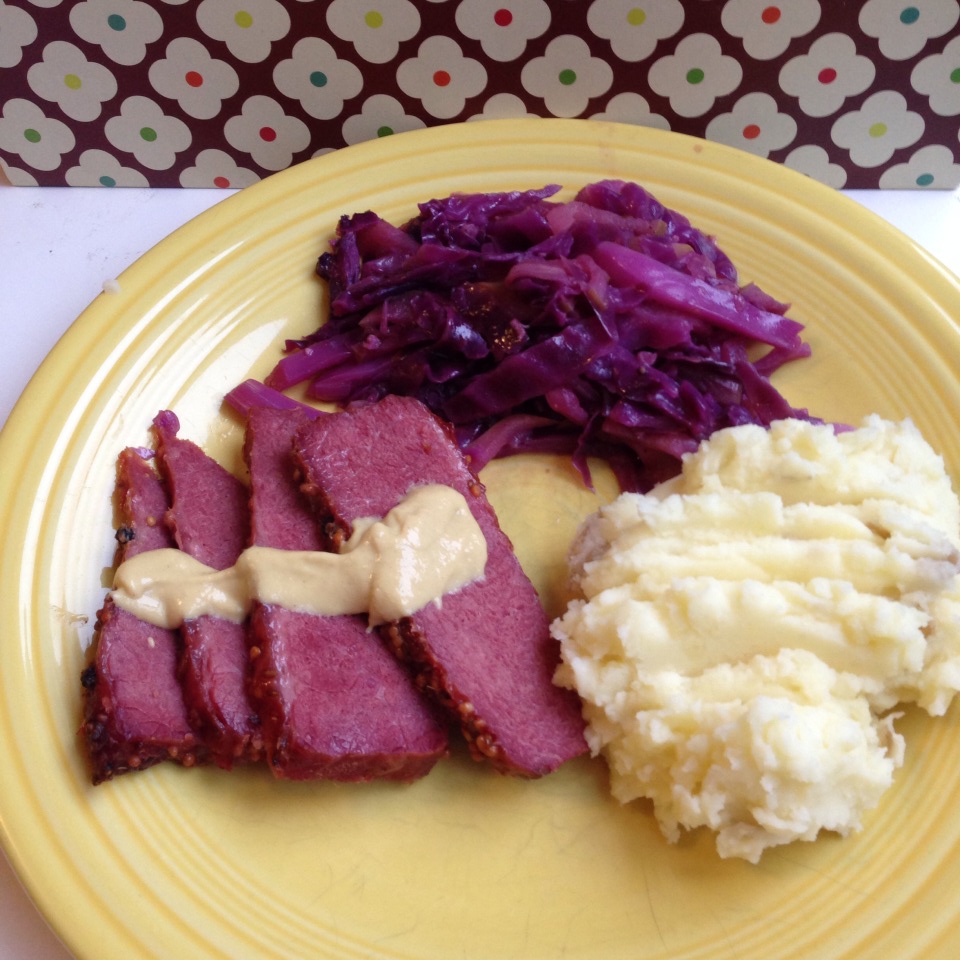
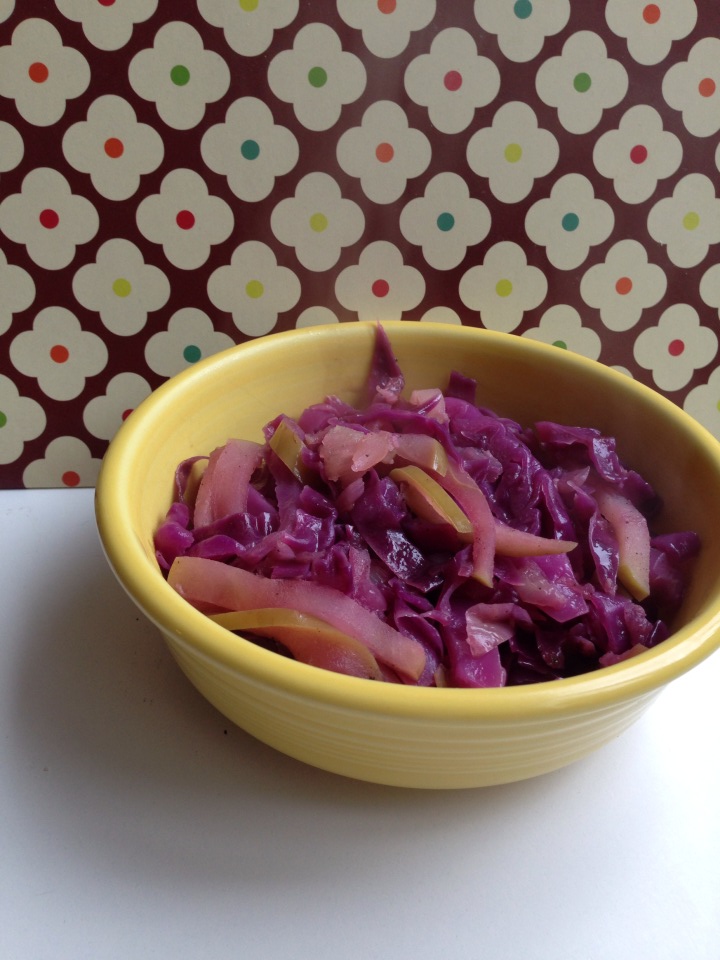
Around my birthday last month I went to the garage to find something in the chest freezer only to see it full of Omaha Steak Company boxes. Turns out my mother-in-law sent us five meaty meals to cook up with very little prep. One hunk of meat was corned beef brisket. Mmm…corned beef with mustard and cabbage.

I prefer red cabbage not only for its vibrant color, but it’s packed with tons more vitamin A than green. I once had Thanksgiving with a Hungarian guest. She brought a red cabbage dish that was tangy and sweet. She said it was a traditional recipe in her country.

I never got the recipe, but I decided to use Bon Appétit’s as a guideline. The dish was tender, tangy and sweet, just as I anticipated. The julienned granny smith apple rounds out the flavors. This braised red cabbage went perfectly with our corned beef and mashed potatoes.

Braised Red Cabbage | Alaska Knit Nat

Braised Red Cabbage

Prep time: 10 minutes

Cooking time: 40 minutes

Braised Red Cabbage | Alaska Knit Nat

Ingredients:

2 Tbs. olive oil

1/2 head red cabbage, cored and sliced

1/2 onion, chopped

2 cloves garlic

3/4 cup chicken broth

1/4 tsp. allspice

2 tsp. sugar

2 Tbs. apple cider vinegar

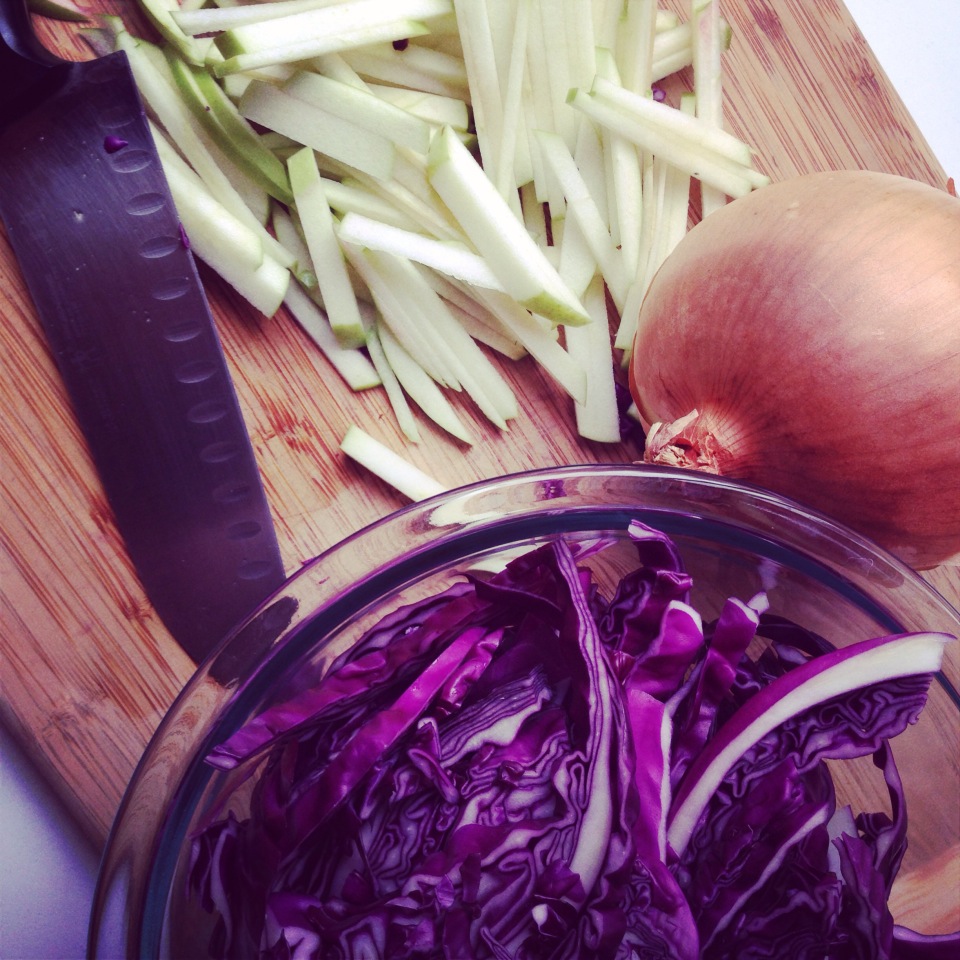
1 granny smith apple, cut into matchsticks

salt and pepper to taste


Directions:

Heat olive oil over medium-high flame in a large pan. Add the onion and garlic and cook till onions are soft and starting to brown, about 8 minutes. Add the cabbage, salt, pepper, allspice, and sugar and toss to evenly coat with oil. Cook till cabbage is wilted, about 5 minutes. Add the stock, cover and turn down the heat. Simmer for 15 minutes. Add the apples and vinegar, recover and simmer another 15 minutes.

Braised Red Cabbage | Alaska Knit Nat

Easy homemade cocoa

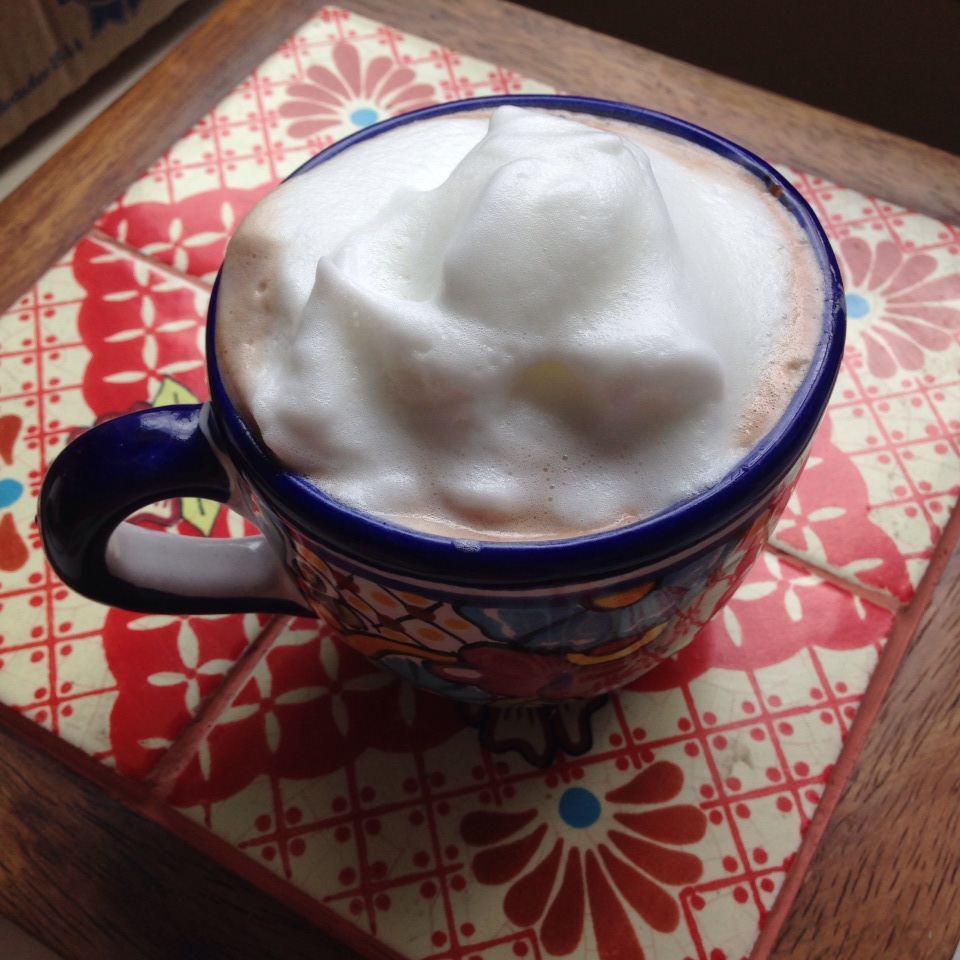
One of my son’s favorite winter treats is hot cocoa. He learned the words when he was about 18 months old. I prefer hot cocoa made with milk but there’s so much sugar and other junk in store bought cocoa, plus usually you are supposed to use water.

So I made my own. And it’s super good! I also never have whipping cream so to make it extra special I use my Nescafe milk frother to top off the cocoa with a thick layer of foam. It makes me feel like I’m in a fancy cafe.

Easy Homemade Cocoa|Alaska Knit Nat

Ingredients:

1 cup milk

1 tsp. honey or agave nectar

2 tsp. unsweetened cocoa powder


Directions:

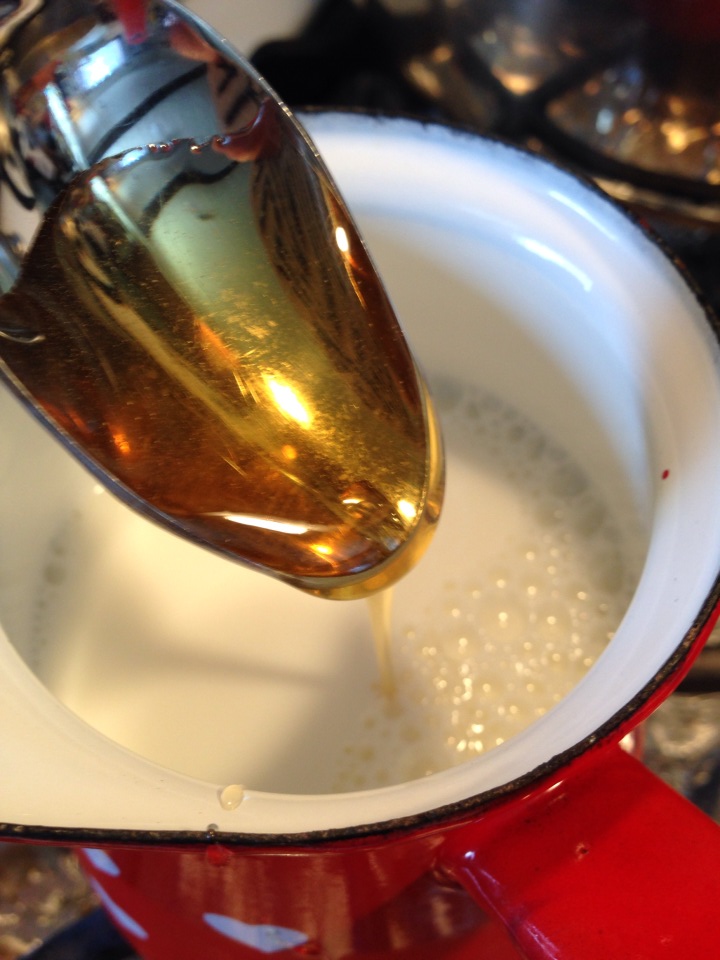
In a small saucepan whisk together the milk, honey and cocoa. Heat to desired temperature. Top with whipped cream or milk foam.

Easy Homemade Cocoa|Alaska Knit Nat Easy Homemade Cocoa|Alaska Knit Nat

Easy Homemade Cocoa|Alaska Knit Nat


Nifty Thrifty: Jell-o Molds ===> Easy Wall Decor

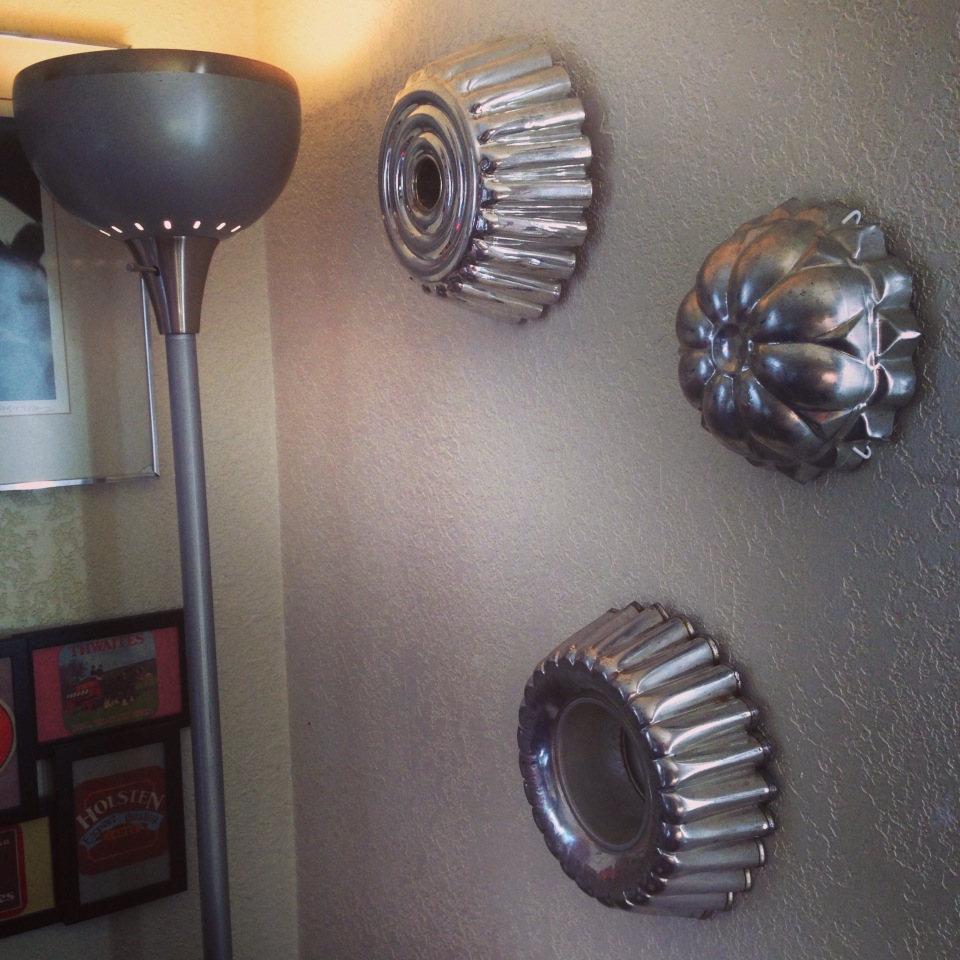
I struck thrift store gold last week. I found some choice additions to my wardrobe, some cool stickers for my son, but I truly enjoyed rifling through the kitchen section because by the looks of it, someone had cleared out her bakeware collection and donated piles of cake pans. There were sheet pans in the shape of Big Bird, cats, Christmas trees, Barney the dinosaur and tucked away were three old Jell-o molds — the kind your grandma would have used to make savory aspics or Jell-o salad.

I needed these molds, but I’m not one for Jell-o. It occurred to me they would look pretty great hanging on the wall like glimmering metal flowers.

Vintage Jell-o Molds ===> Simple wall decor

I just used nails for the two hollow molds and a springy plate display hook for the smaller one. I think they look pretty neat! I wasn’t sure if I should leave them in their original state or paint them fun colors. What do you think? Leave a comment below!

Vintage Jell-o Molds ===> Simple wall decor

Quick craft: Soda Bottle Kitty Planters

This was a perfect crafting weekend. Between family dinners and birthday parties my friend Kelly and I had just enough time for small crafts.

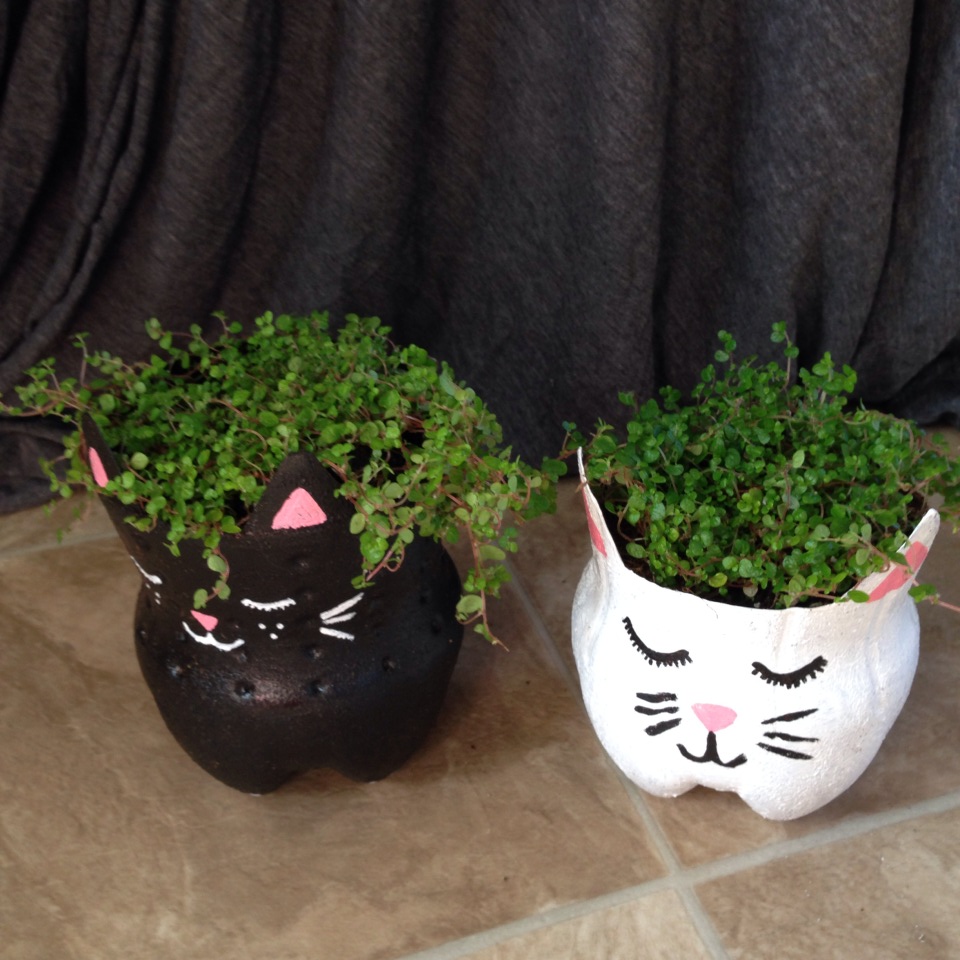
I’ve been hauling around some two liter soda bottles in my car for several weeks with the intention of creating kitty planters I saw on Recycleart.org (original post from Brudiy.com).

It took no time at all to cut the bottle to shape, paint it and plant some lovely soleirolia in it. Here’s our version.

Quick craft: Recycled soda bottle kitty planters. Irresistibly cute from Alaska Knit Nat

Materials:

one, two-liter soda bottle

scissors

permanent marker

acrylic paints in black, white and pink

paintbrushes

glossy finish spray (optional)

small plant

extra soil for planting

Quick craft: Recycled soda bottle kitty planters. Irresistibly cute from Alaska Knit Nat

Directions:

With sharp-tipped scissors, cut the top off of your bottle. Also poke some drainage holes in the bottom if you think of it. Clean and rinse the bottle. Note how deep your potted plant is to determine how tall your bottle planter should be. Also note where the “paws” are to determine where to place the ears. I didn’t think to do this so the black cat looks like his head is turned to the side, which is OK with me. With a Sharpie, draw the cat’s ears on the bottle. Cut around the ears and the back of the bottle. It should now look like a clear cat shape.

Paint two coats of desired base color on the outside of the bottle. Place your fist inside the bottle to make it easier to paint all around. Hold it up to the light to see if you missed any spots. I used a sponge brush and dabbed all over to give it more texture and eliminate any brush strokes. Let fully dry.

Paint on the ears and nose in pink. Paint the eyes and whiskers. Let fully dry.

Spray on an even coat of glossy finishing spray. I only did this because I was afraid watering the plant might cause the paint to chip over time. It’s probably not necessary. Let gloss dry.

Quick craft: Recycled soda bottle kitty planters. Irresistibly cute from Alaska Knit Nat

Place a plant of your choice in your kitty and enjoy how irresistibly cute it is.

Quick craft: Recycled soda bottle kitty planters. Irresistibly cute from Alaska Knit Nat

Homemade ABC Book — Free Tutorial

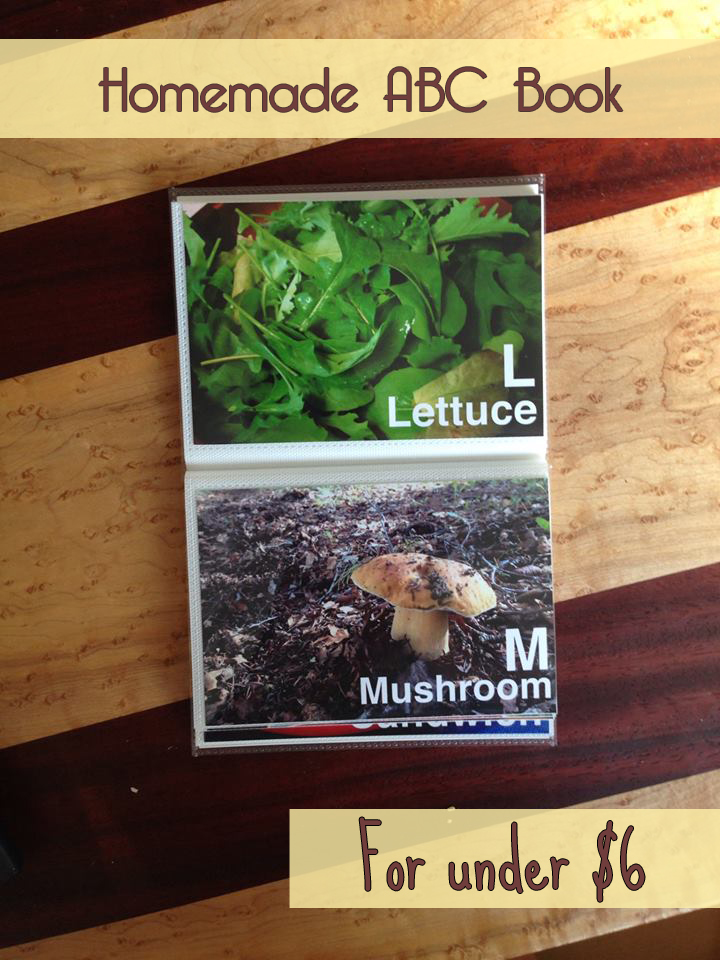
My son is starting to pick up on the alphabet and lately he’s been into ABC books. I was browsing Pinterest and came across a great idea. A homemade ABC book using personal photos.

With some basic Photoshop skills and a trip to Walgreens and Michael’s Crafts I was able to make a fantastic photo book for only $5.50.

Homemade ABC Book -- Free Tutorial

You can use phone, Instagram or digital camera photos as long as you size them well. I’m a self-taught Photoshop gal. Here’s a step-by-step guide to how I made my book, but I’m sure my techniques are not exactly textbook methods — but they work!

Homemade ABC Book -- Free Tutorial

Step 1: Open your image in Photoshop. I encourage you to make all your photos the same resolution — one of a printable quality — so that they all look more uniform. My personal photos come in several different sizes and resolutions depending on what camera I used. I made them all the same so the font size would be the same on each photo. A 140 pt. font on a 180 dpi resolution will look a different size from 140 pt. on 300 dpi.

Homemade ABC Book -- Free Tutorial

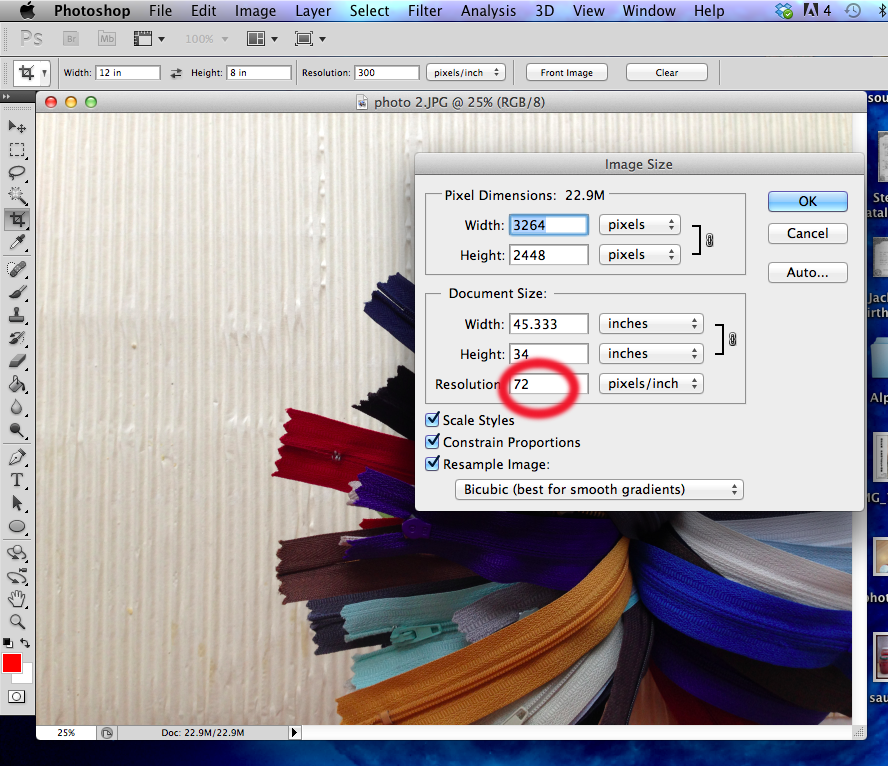
Step 2: Go to Image<Image size and take a look at the size of your photo. If the dpi is 180 or more, you’re good to go. Most of my Instagram and iPhone photos are really low resolution, such as 72 dpi, but really large in dimension, such as 45 inches wide. If you were to just resize the photo and leave a low resolution they wouldn’t print well.

Homemade ABC Book -- Free Tutorial

Step 3: Click the crop tool and enter the dimension and resolution you want for the photo. I selected 12×8 with 300 dpi to maintain as much data in the photo as possible (it will print better this way). Crop the photo the way you would like it.

Homemade ABC Book -- Free Tutorial

Step 4: Make sure your background layer is unlocked (double click the little lock next to the layer name). Create a new layer. Choose the font you’d like. I selected Helvetica bold. Type in your letter. I used 140 pt. font. Add a new layer. Type the word you want. I used 90 pt. font. With the selection tool, position the letter and word where you’d like them. If your photo is dark consider making the letters white. Leave enough space between the edge of the photo and the words in case the printers cut the photo funny.

Homemade ABC Book -- Free Tutorial

Step 5: Save your photo as a .jpg and make 25 more!

Step 6: Upload your photos to a photo printing site such as Walgreens and print 26, 4×6 prints. Search for online coupons. I saved $1.50!

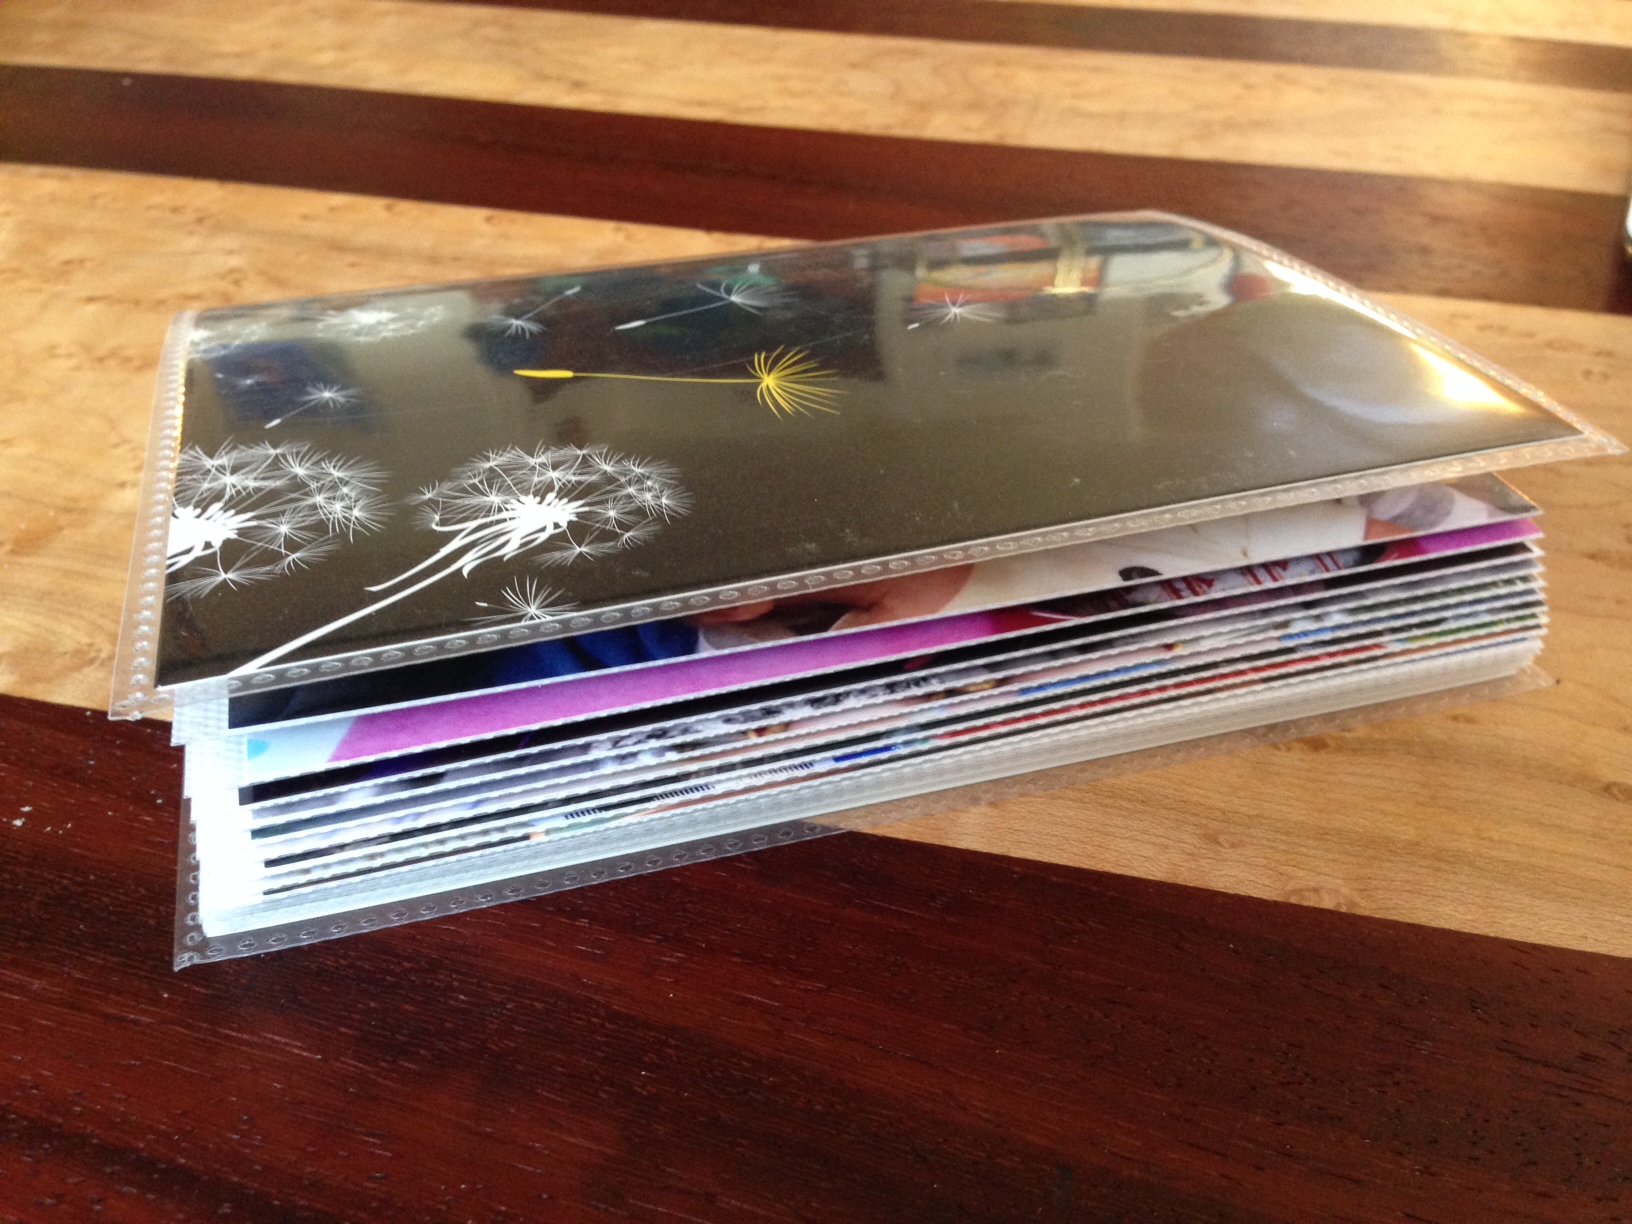
Step 7: Purchase a “brag book” at a craft store. It’s just a floppy plastic photo album that holds up to 36, 4×6 photos. I had a coupon for Michael’s so I saved $1!

I don’t think I need to explain the rest. But you’ll end up with a personal ABC book that hopefully your child will love. Our child already recognized several familiar people and objects in his book.

Homemade ABC Book -- Free Tutorial


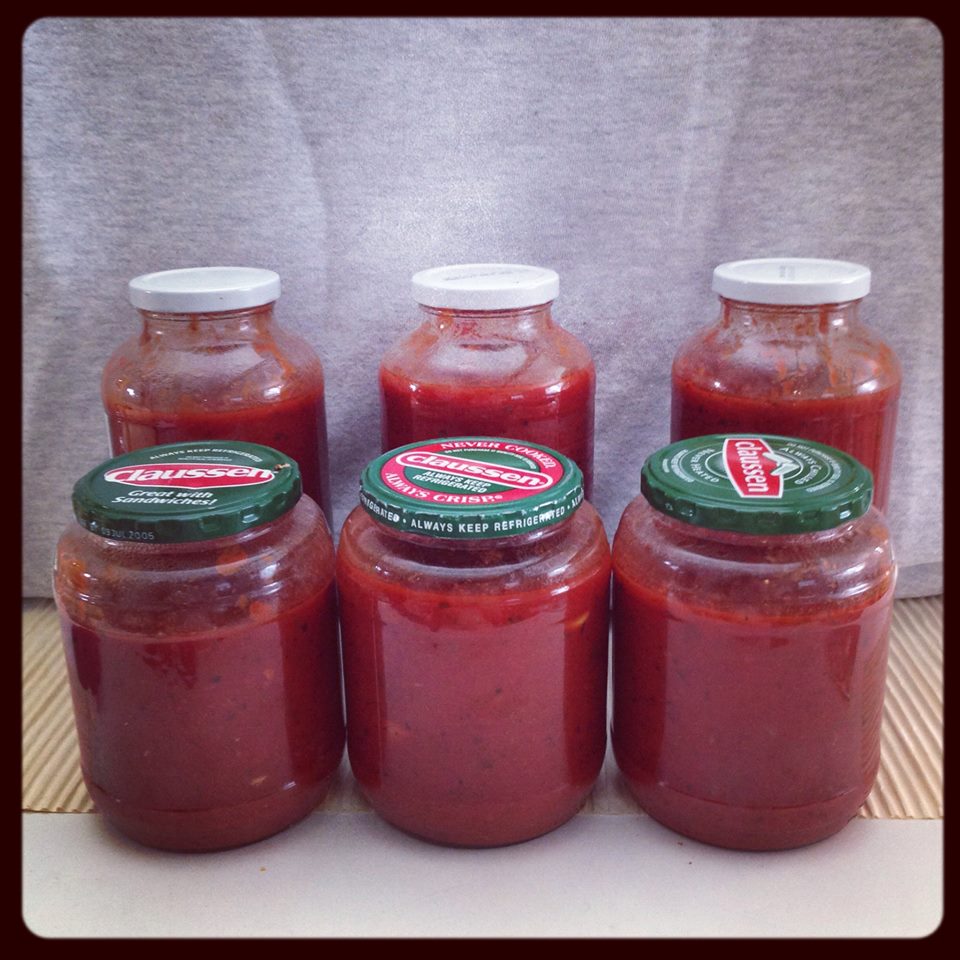
How to Make Marinara in Bulk

I never thought I’d be a label reader. But then I had a child and started feeding him. I quickly realized there’s a lot of extra stuff in store-bought food. I could be making a lot of that food myself and it would probably be cheaper.

Then again I am pretty lazy. I’ll make homemade marinara every once in a while, but when I’m in a pinch, I just go buy the jarred stuff. If I want the good jarred stuff it usually costs about $4.

Here is where I take a lesson from good ol’ dad. My entire life he has cooked sauce in bulk and freezes jars of it for later. I’ve been saving quite a few pickle and sauce jars so why not give it a try?

How to Make Marinara Sauce in Bulk

It was easy and in the end cost less than half as much as store bought; and it’s probably twice as good.

Here’s what you’ll need:

2 GIANT 106-oz. cans of crushed tomatoes – $2.99 apiece at Costco

25 cloves of garlic, smashed

about 1/3 cup good olive oil

1/4 cup dried basil

2 Tbs. dried oregano

2 Tbs. sugar

8 dried red chilis

salt and pepper to taste

6-7 large 40-oz. jars with lids


Directions:

Heat the olive oil in an extra large stock pot over medium-high. When oil is heated, toss in the garlic and turn heat to medium. Stir frequently and sauté till garlic is golden, about five minutes. Add all the other ingredients and turn heat to high. Cover and bring to a simmer. Turn heat to med-low and simmer for about two hours, stirring every once in a while so sauce doesn’t burn.

Let cool and spoon into jars. Do not fill right to the top because the sauce will expand in the freezer and then you’d have a sauce bomb to clean up later. If sauce is still hot enough, the jars might self seal as once they cool on the counter. Freeze up to six months.

To thaw: Defrost in microwave according to your microwave settings or leave out on the counter during the day. Once it’s slightly thawed and can be loosened into a sauce pot, thaw the rest of the way over medium-low flame.

How to Make Marinara Sauce in Bulk

Quick Vegetable Soup

I’m home sick today. During my two-hour pity party in bed this morning, I lamented over the fact that no one can bring me soup and my cabinets were bereft of Campbell’s Chicken Noodle.

It is a scientific fact that chicken soup is good for colds; but I’m not well enough to drive to the store and buy some, so I rolled my sick self out of bed, I took what I had on hand and made some delicious vegetable bean soup with a chicken broth base. Way better than store bought. And guess what? I’m feeling slightly better. Up from 61% to 68%. Not bad!

Quick Homemade Vegetable Soup | Alaska Knit Nat

Cast of Characters:

Quick Homemade Vegetable Soup | Alaska Knit Nat

1 Tbs. olive oil

3 Tbs. finely chopped onion

1 carrot, chopped

1/2 celery stalk, chopped

3 crimini mushrooms (or one giant baby portobello mushroom) sliced

1 sprig fresh thyme

4 cups chicken stock

1 can white beans, drained

salt and pepper to taste

Serves 2

Directions:

Heat olive oil in a small saucepan over medium-high heat. Add the onion, carrot, celery, mushroom, salt and pepper and sauté until most of the liquid evaporates, about five minutes. Add the thyme and stock and bring to a boil. Turn heat to low and simmer for 10 minutes, until carrots are tender. Add the beans and bring back to a simmer. Simmer another five minutes or so until beans are heated through.

The fresh veggies add more depth to the chicken stock so it doesn’t taste bland. The mushrooms create a wonderful richness and depth to the broth.

Enjoy!

Quick Homemade Vegetable Soup | Alaska Knit Nat

Simple Striped Baby Blanket — Free Pattern

Knitting a blanket isn’t difficult. It can be a bit monotonous and seemingly endless. I much prefer knitting hats where there’s a definite start and end and it can be completed in an afternoon.

That being said, there is something special about giving someone a hand-knitted blanket. It shows you care enough for the person to spend a lot of time and sometimes money on a thing she will hopefully cherish for years and years.

Simple striped baby blanket --Free Pattern

Here’s a pattern for a lovely baby blanket that measures approximately 29″ x 32″. I recommend it to knitters of all levels. I used a worsted superwash wool so no matter what temperature the gift recipient washes it in, it will not shrink.

Simple striped baby blanket --Free Pattern

I based my pattern on two different designs from Altadena’s Baby Designs and the TLC Channel’s website (who knew they had knitting patterns?) You can make this pattern on whatever needle size you like and make it as long as you like. I randomly selected the color pattern and width of the stripes, but what follows is the exact rows and combinations for this particular blanket. Make the stripes the way you want. This is more of a guide.

Simple striped baby blanket --Free Pattern

If you’re wanting to knit this pattern with a different needle size and different weight yarn, I am unable to adjust the pattern for you. This pattern is written for a specific needle size and yarn weight.

Materials:

Long size 8 circular needle (mine is about 38 inches)

2-3 balls Ella Rae worsted superwash wool in light grey (I used exactly two balls, so you may want three just in case)

1 ball Ella Rae worsted superwash in limestone green

1 ball Ella Rae worsted superwash in moody blue

darning needle

Directions:

Except when you’re bringing in new color, slip the first stitch of every row.

Cast on 144 stitches. Knit in garter stitch for 16 rows.

Row 1: Knit across

Row 2: K8, P8, *K4, P8*, repeat * until 8 stitches remain. Knit 8.

Repeat rows 1 and 2 while following this stripe pattern:

14 rows grey, 6 rows limestone, 12 rows blue, 6 rows limestone, 26 rows grey, 4 rows limestone, 4 rows blue, 10 rows grey, 8 rows limestone, 30 rows grey, 12 rows blue, 10 rows limestone, 8 rows blue, 4 rows limestone, 20 rows grey, 6 rows limestone, 6 rows grey, 14 rows blue, 6 rows grey, 12 rows limestone, 6 rows blue, 6 rows limestone, 14 rows grey.

Knit 15 rows in garter stitch and bind off using the stretchy method.

Simple striped baby blanket --Free Pattern

Now the fun part! Weave in all ends. This is the downside to stripes. A whole lot of ends. I don’t have any scientific method of weaving in ends, so do what works for you.

Simple striped baby blanket --Free Pattern

You could also block your blanket, but I figured this one won’t be shrinking much so I didn’t bother. If you have a good reason why I should block it, please leave me a comment. 🙂

Simple striped baby blanket --Free Pattern

Hope you find this pattern helpful and good luck knitting a blanket. You’ll feel a great sense of accomplishment and relief when you’ve finished.

-Natasha

Here’s baby George all bundled up and cozy with his new blanket:

Simple striped baby blanket --Free Pattern

Free knitting patterns, DIY crafts, easy recipes and more!