Tag Archives: cheap

I’ll have a glue, glue Christmas — #4: Soda bottle kitty planter

All right, now it’s time to start making some crafty gifts that hopefully don’t suck. I’m so over homemade bath salts, soup in a jar and t-shirt pillows. Let’s shake it up a bit and give the gift of creative recycling.

My best friend Kelly and I made kitty planters last spring out of 2-liter plastic soda bottles. Somehow, despite my brown thumb, I’ve managed to keep it alive. This craft is easy, not too time consuming and cute as hell. It requires minimal artistic ability, which is a big plus for me.

DIY Soda Bottle Kitty Planter | #4 on Alaska Knit Nat's DIY Holiday Craft Guide

DIY Soda bottle kitty planters: No. 4 on Alaska Knit Nat’s DIY Holiday Craft Guide

What you’ll need:

  • one, two-liter soda bottle
  • scissors
  • permanent marker
  • acrylic paints in black, white and pink
  • paintbrushes
  • glossy finish spray (optional)
  • small plant
  • extra soil for planting

Click here for the full tutorial.

DIY Soda Bottle Kitty Planter | #4 on Alaska Knit Nat's DIY Holiday Craft Guide

Isn’t she lovely? I call her Beatrice. I have a friend whose dog is called Jack (same name as my son), so I figured I should name my fake pet after her daughter.

DIY Soda Bottle Kitty Planter | #4 on Alaska Knit Nat's DIY Holiday Craft Guide

I’ll have a glue, glue Christmas — #3: DIY Festive Door Decoration

Our front door is a sad, sad sight. It’s what I imagine the Crooked Man of nursery rhyme’s front door would look like. At Halloween, it must look so haunted because not once in the five years we’ve lived here has a single child trick-or-treated.

It’s beyond improvement, which is why I never bother to add holiday decorations; but when we were at Lowe’s yesterday picking up a Christmas tree, this hastily scrawled sign caught my attention:

DIY Festive Door Decoration | No. 3 on Alaska Knit Nat's DIY Holiday Craft Guide

More specifically, “FREE” caught my attention. Now, what could I use pine boughs for? I’d already utilized them for our Thanksgiving table décor, so I thought why not shoddily assemble a front door wreath-type thingie?

DIY Festive Door Decoration | No. 3 on Alaska Knit Nat's DIY Holiday Craft Guide

It cost me zero dollars and took five minutes to make. It took me 15 minutes to affix to our front door because I couldn’t find a single nail in our garage, but I worked it out. I don’t anticipate it lasting through Christmas, but it certainly adds cheer to our depressing entryway.

DIY Festive Door Decoration: No. 3 on Alaska Knit Nat’s DIY Holiday Craft Guide

What you’ll need:

  • 2-4 pine boughs
  • Twist ties (I used the long ones that held together our Christmas lights)
  • Pretty ribbon
  • A small nail
  • Hammer

Directions:

1. Trim off any excess or dead branches at the base of each pine bough.

2. Arrange the boughs like a big fan.

3. Tie the boughs together using a couple of twist ties.

DIY Festive Door Decoration from Alaska Knit Nat

4. Cover up the twist ties by tying ribbon around them. Form a large bow out of the ribbon.

5. Hang up on your front door.

DIY Festive Door Decoration | No. 3 on Alaska Knit Nat's DIY Holiday Craft Guide

DIY Festive Door Decoration | #3 on Alaska Knit Nat's DIY Holiday Craft Guide

Homemade ABC Book — Free Tutorial

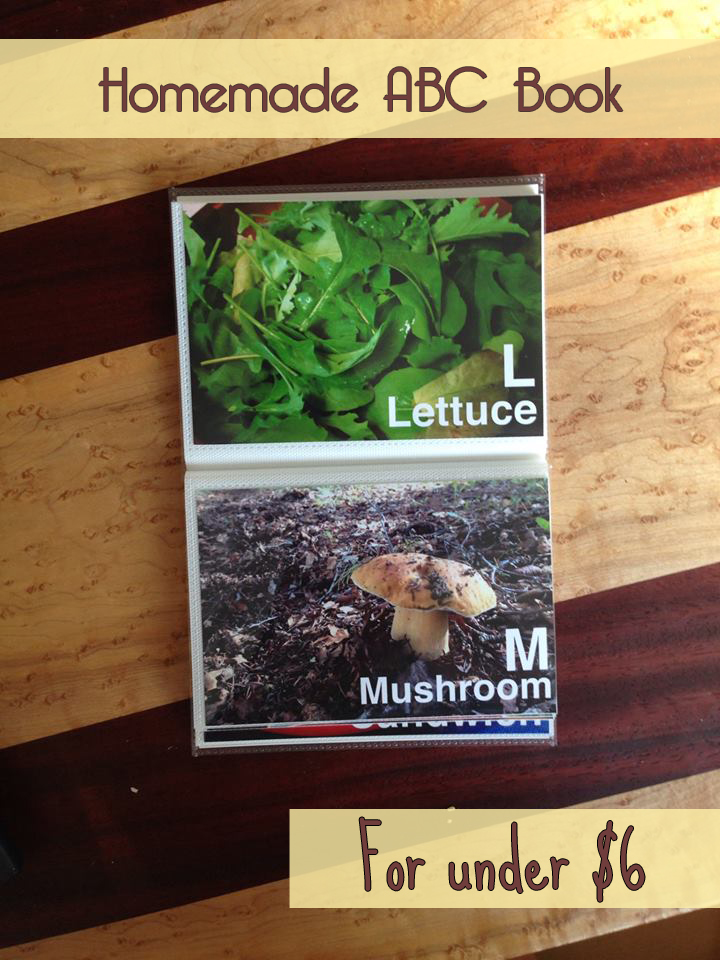
My son is starting to pick up on the alphabet and lately he’s been into ABC books. I was browsing Pinterest and came across a great idea. A homemade ABC book using personal photos.

With some basic Photoshop skills and a trip to Walgreens and Michael’s Crafts I was able to make a fantastic photo book for only $5.50.

Homemade ABC Book -- Free Tutorial

You can use phone, Instagram or digital camera photos as long as you size them well. I’m a self-taught Photoshop gal. Here’s a step-by-step guide to how I made my book, but I’m sure my techniques are not exactly textbook methods — but they work!

Homemade ABC Book -- Free Tutorial

Step 1: Open your image in Photoshop. I encourage you to make all your photos the same resolution — one of a printable quality — so that they all look more uniform. My personal photos come in several different sizes and resolutions depending on what camera I used. I made them all the same so the font size would be the same on each photo. A 140 pt. font on a 180 dpi resolution will look a different size from 140 pt. on 300 dpi.

Homemade ABC Book -- Free Tutorial

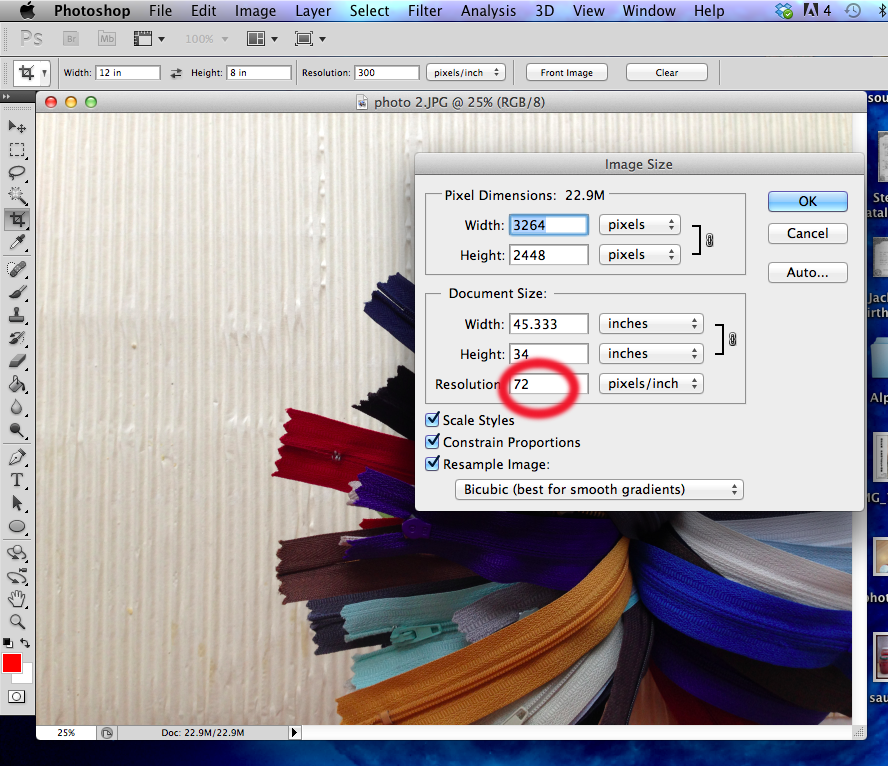
Step 2: Go to Image<Image size and take a look at the size of your photo. If the dpi is 180 or more, you’re good to go. Most of my Instagram and iPhone photos are really low resolution, such as 72 dpi, but really large in dimension, such as 45 inches wide. If you were to just resize the photo and leave a low resolution they wouldn’t print well.

Homemade ABC Book -- Free Tutorial

Step 3: Click the crop tool and enter the dimension and resolution you want for the photo. I selected 12×8 with 300 dpi to maintain as much data in the photo as possible (it will print better this way). Crop the photo the way you would like it.

Homemade ABC Book -- Free Tutorial

Step 4: Make sure your background layer is unlocked (double click the little lock next to the layer name). Create a new layer. Choose the font you’d like. I selected Helvetica bold. Type in your letter. I used 140 pt. font. Add a new layer. Type the word you want. I used 90 pt. font. With the selection tool, position the letter and word where you’d like them. If your photo is dark consider making the letters white. Leave enough space between the edge of the photo and the words in case the printers cut the photo funny.

Homemade ABC Book -- Free Tutorial

Step 5: Save your photo as a .jpg and make 25 more!

Step 6: Upload your photos to a photo printing site such as Walgreens and print 26, 4×6 prints. Search for online coupons. I saved $1.50!

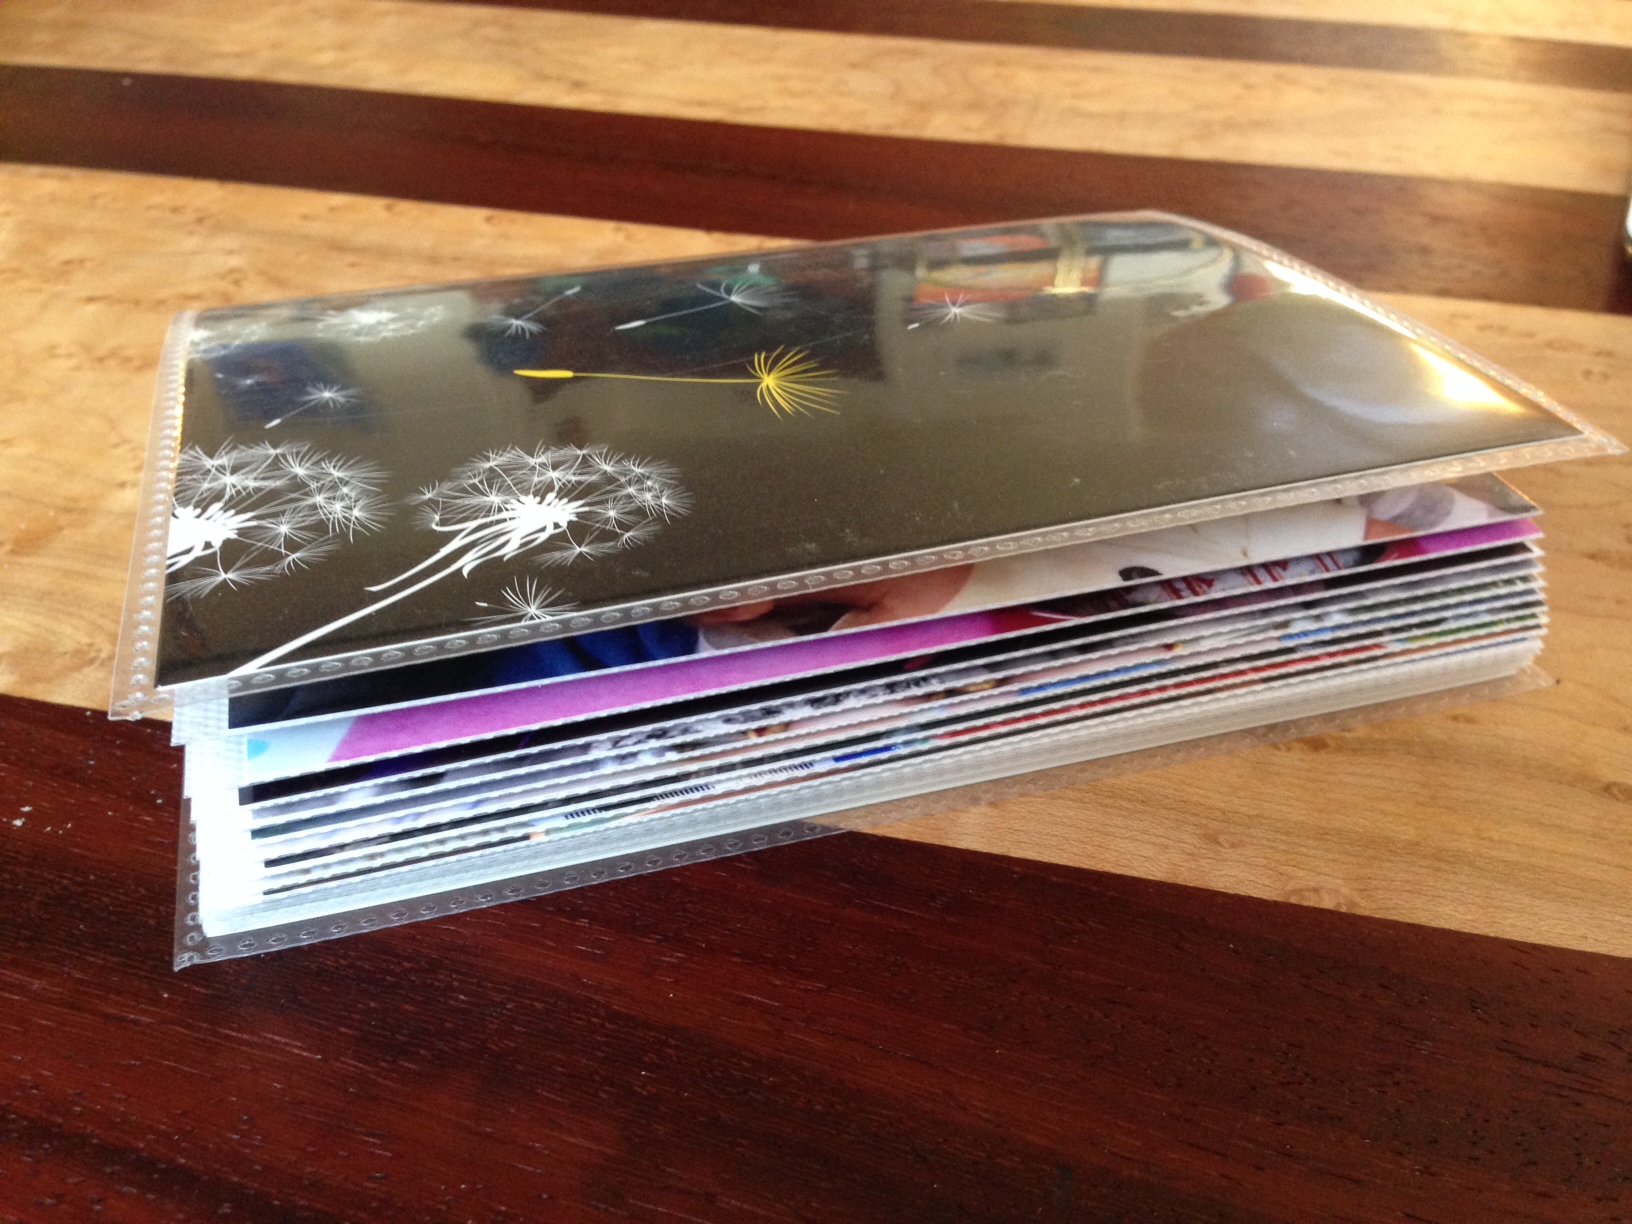
Step 7: Purchase a “brag book” at a craft store. It’s just a floppy plastic photo album that holds up to 36, 4×6 photos. I had a coupon for Michael’s so I saved $1!

I don’t think I need to explain the rest. But you’ll end up with a personal ABC book that hopefully your child will love. Our child already recognized several familiar people and objects in his book.

Homemade ABC Book -- Free Tutorial


How to Make Marinara in Bulk

I never thought I’d be a label reader. But then I had a child and started feeding him. I quickly realized there’s a lot of extra stuff in store-bought food. I could be making a lot of that food myself and it would probably be cheaper.

Then again I am pretty lazy. I’ll make homemade marinara every once in a while, but when I’m in a pinch, I just go buy the jarred stuff. If I want the good jarred stuff it usually costs about $4.

Here is where I take a lesson from good ol’ dad. My entire life he has cooked sauce in bulk and freezes jars of it for later. I’ve been saving quite a few pickle and sauce jars so why not give it a try?

How to Make Marinara Sauce in Bulk

It was easy and in the end cost less than half as much as store bought; and it’s probably twice as good.

Here’s what you’ll need:

2 GIANT 106-oz. cans of crushed tomatoes – $2.99 apiece at Costco

25 cloves of garlic, smashed

about 1/3 cup good olive oil

1/4 cup dried basil

2 Tbs. dried oregano

2 Tbs. sugar

8 dried red chilis

salt and pepper to taste

6-7 large 40-oz. jars with lids


Directions:

Heat the olive oil in an extra large stock pot over medium-high. When oil is heated, toss in the garlic and turn heat to medium. Stir frequently and sauté till garlic is golden, about five minutes. Add all the other ingredients and turn heat to high. Cover and bring to a simmer. Turn heat to med-low and simmer for about two hours, stirring every once in a while so sauce doesn’t burn.

Let cool and spoon into jars. Do not fill right to the top because the sauce will expand in the freezer and then you’d have a sauce bomb to clean up later. If sauce is still hot enough, the jars might self seal as once they cool on the counter. Freeze up to six months.

To thaw: Defrost in microwave according to your microwave settings or leave out on the counter during the day. Once it’s slightly thawed and can be loosened into a sauce pot, thaw the rest of the way over medium-low flame.

How to Make Marinara Sauce in Bulk