Happy October! As I glance out the window at the trees half shed of their leaves and the drizzly, cold rain, I am eager for the festivities of fall.
In celebration of Halloween, my blogging friends Leslie Shroyer (a.k.a. AK Shopgirl) and Tess Weaver of Tessie Style and I are collaborating to present fresh, fun and accessible Halloween ideas and do-it-yourself tips. Each week during our Halloween Blog Party we will curate a collection of costumes, décor, crafts, and last-minute ideas focused on a weekly theme. Local traveling speakeasy, The Sawbuck, will contribute craft cocktail recipes, and DJ Spencer Lee will create a playlist to complete the party.
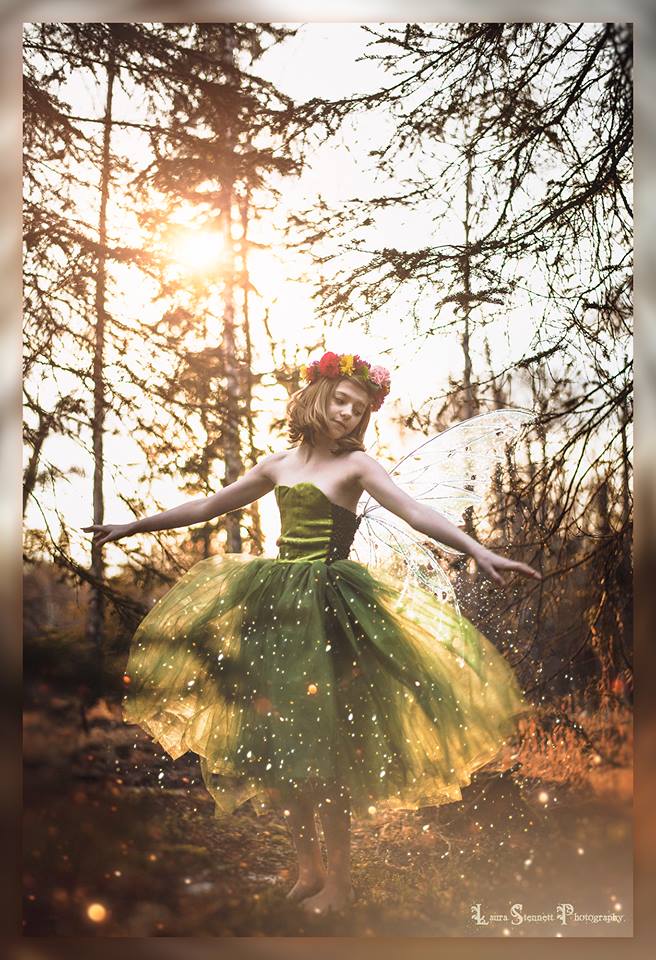
This week Leslie takes the reins with “Where the Wild Things Are.”

You just have to check out her darling DIY costumes for children and adults.
I thought I’d give a brief tutorial on how to arrange grocery store flowers for a “Where the Wild Things Are” theme party — or if you just want to spruce up your living room on the cheap.
It’s by no means my most impressive arrangement, but it only takes a few minutes to put together and I feel as though I’ve accomplished something by doing it.
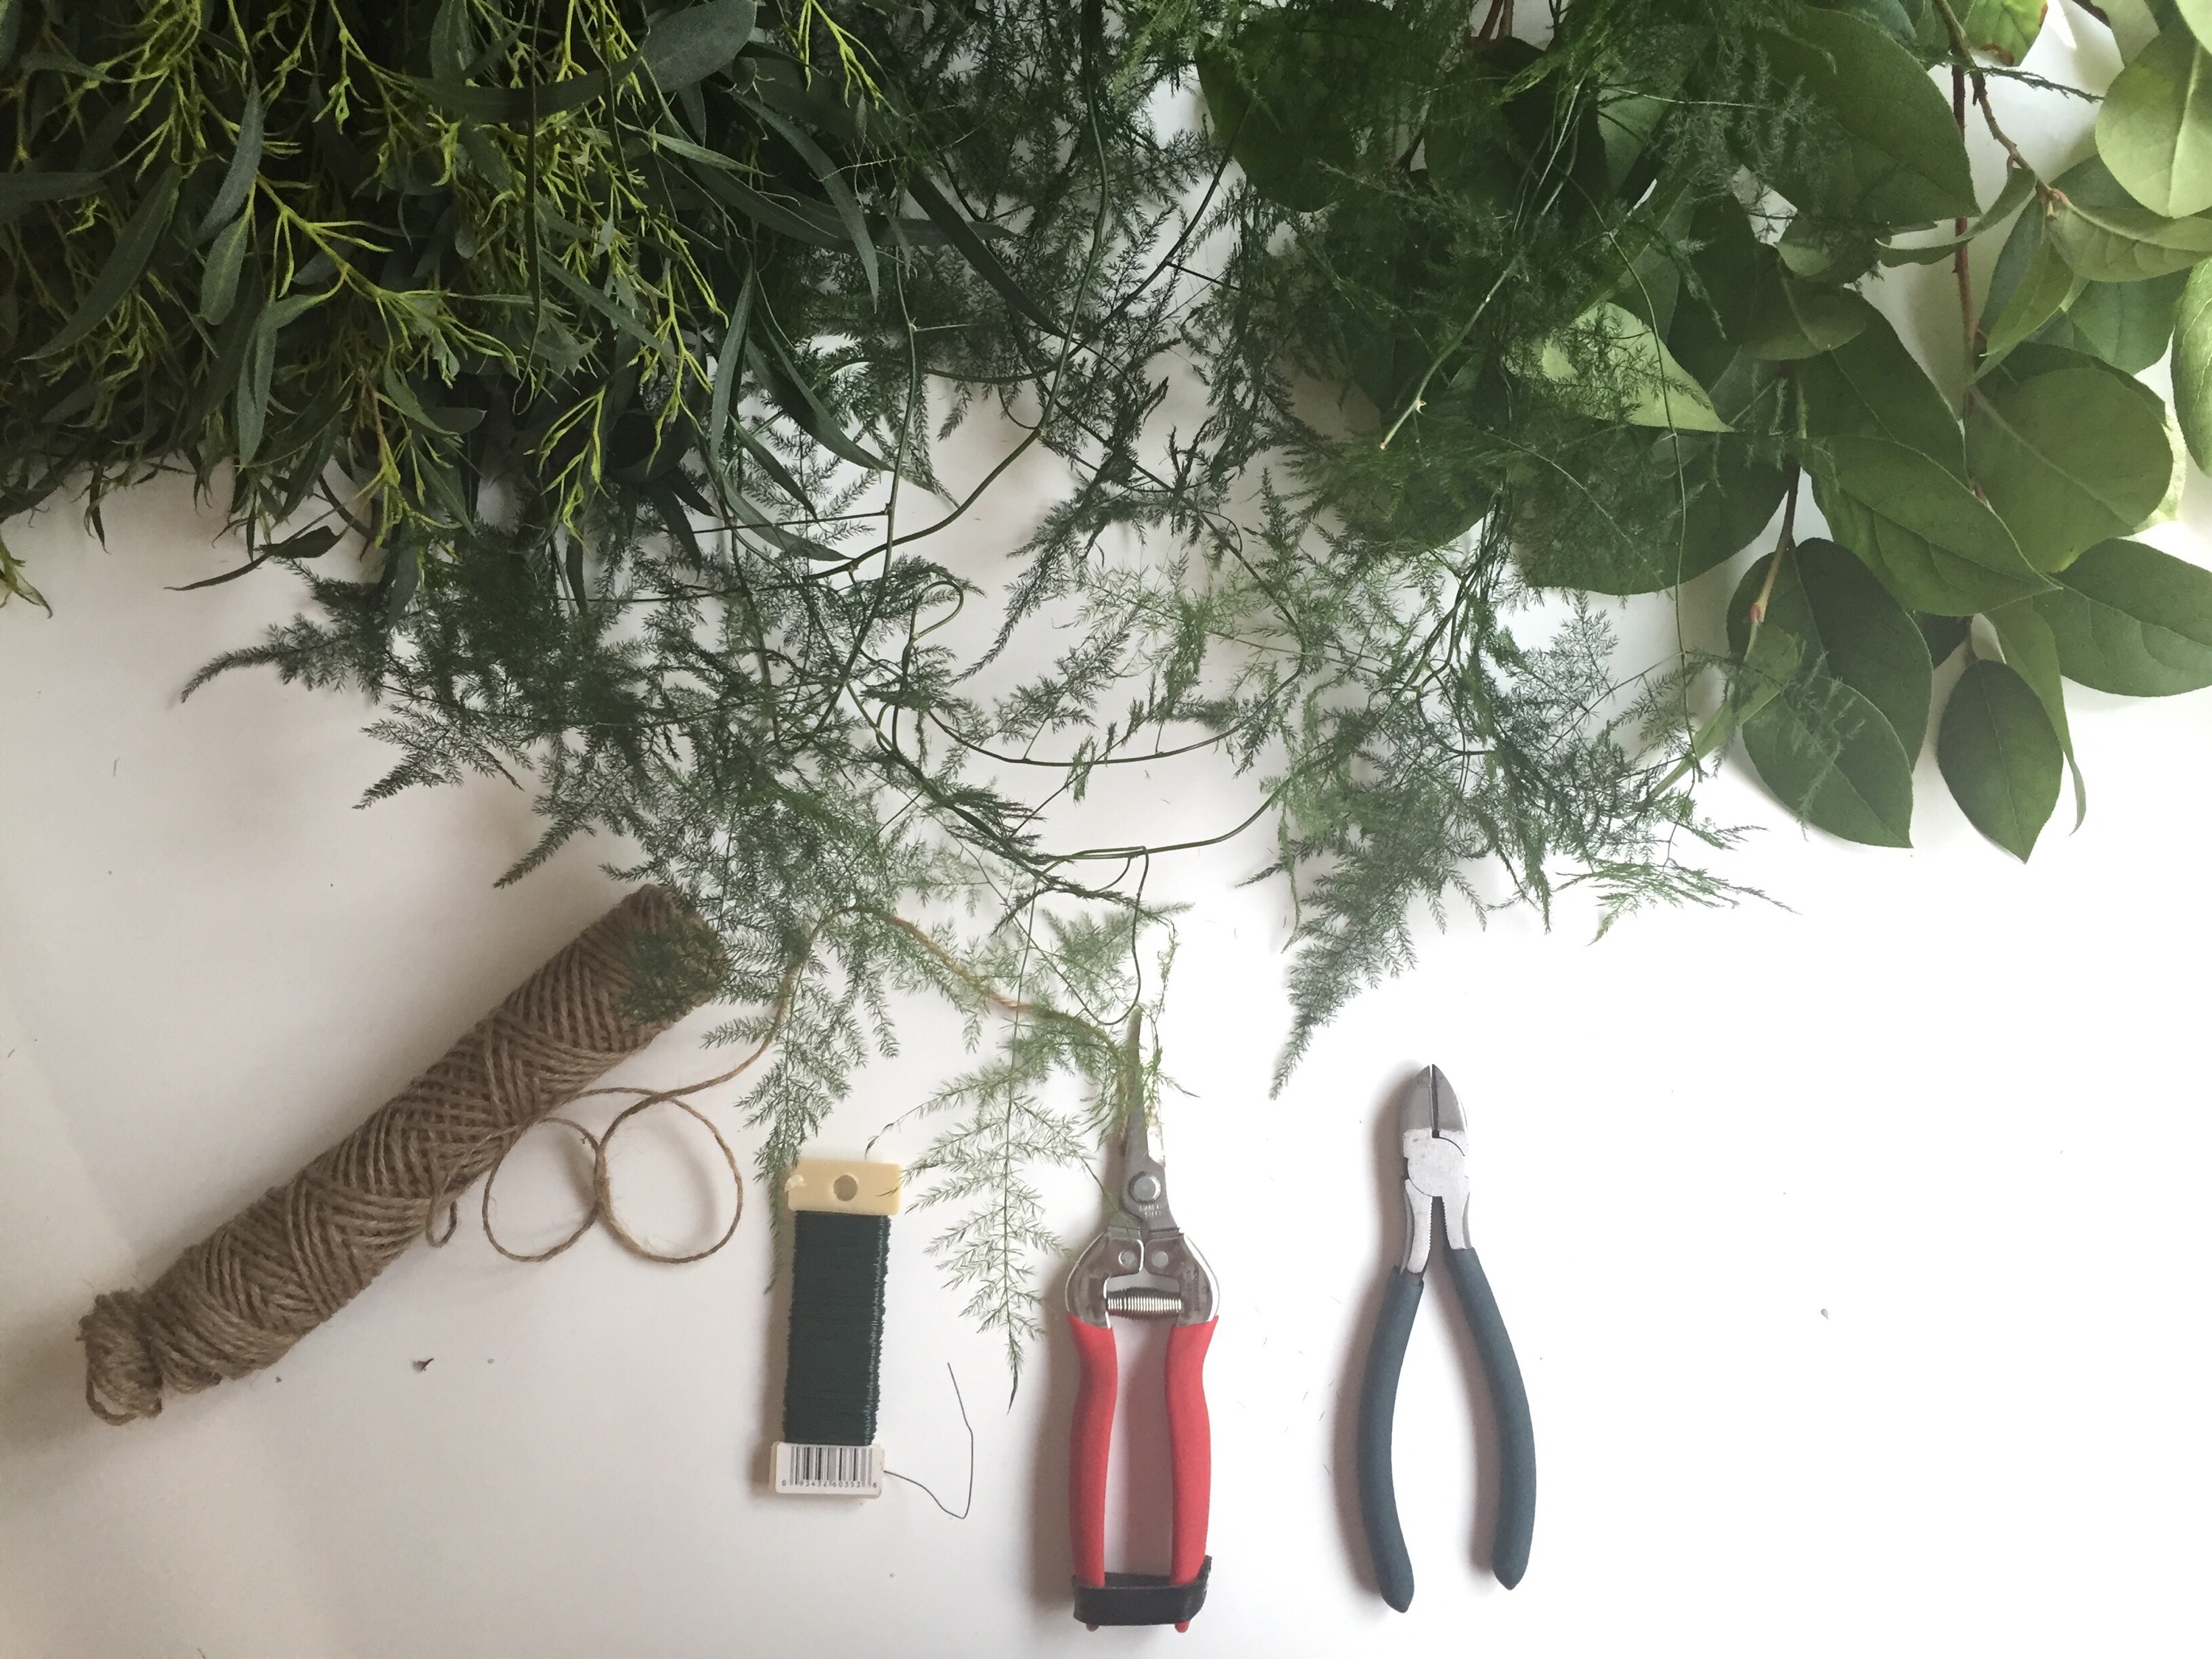
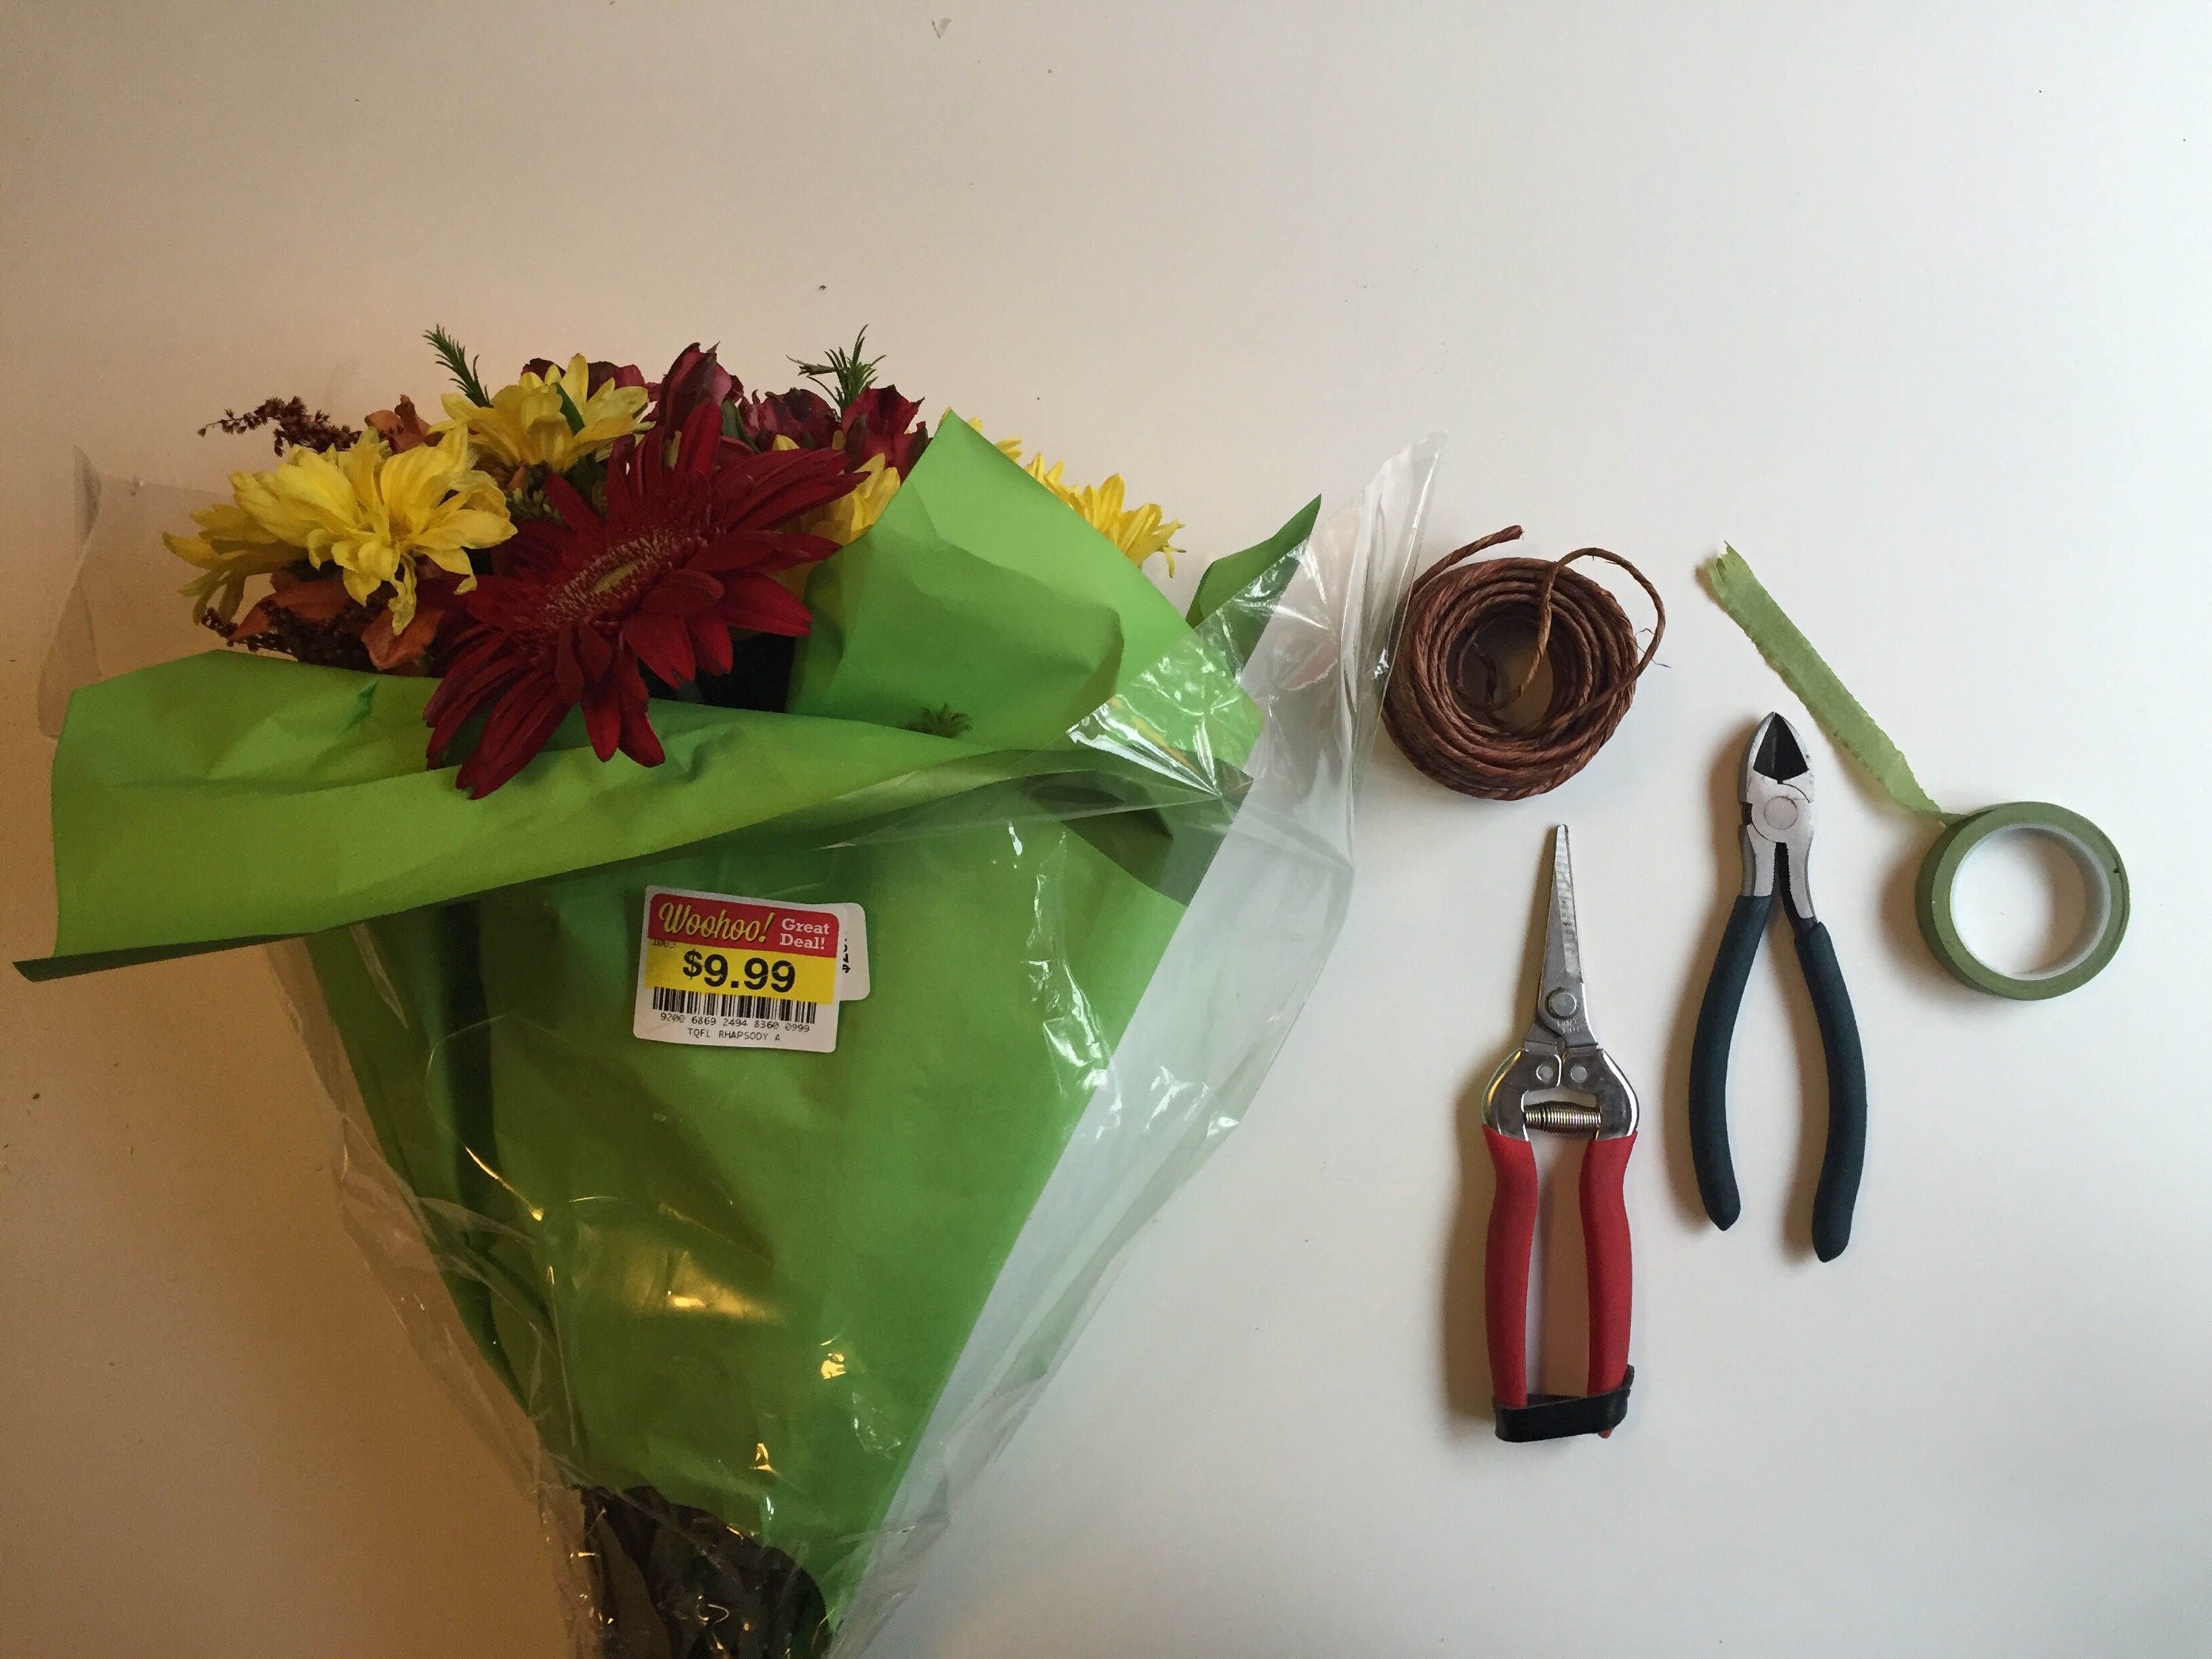
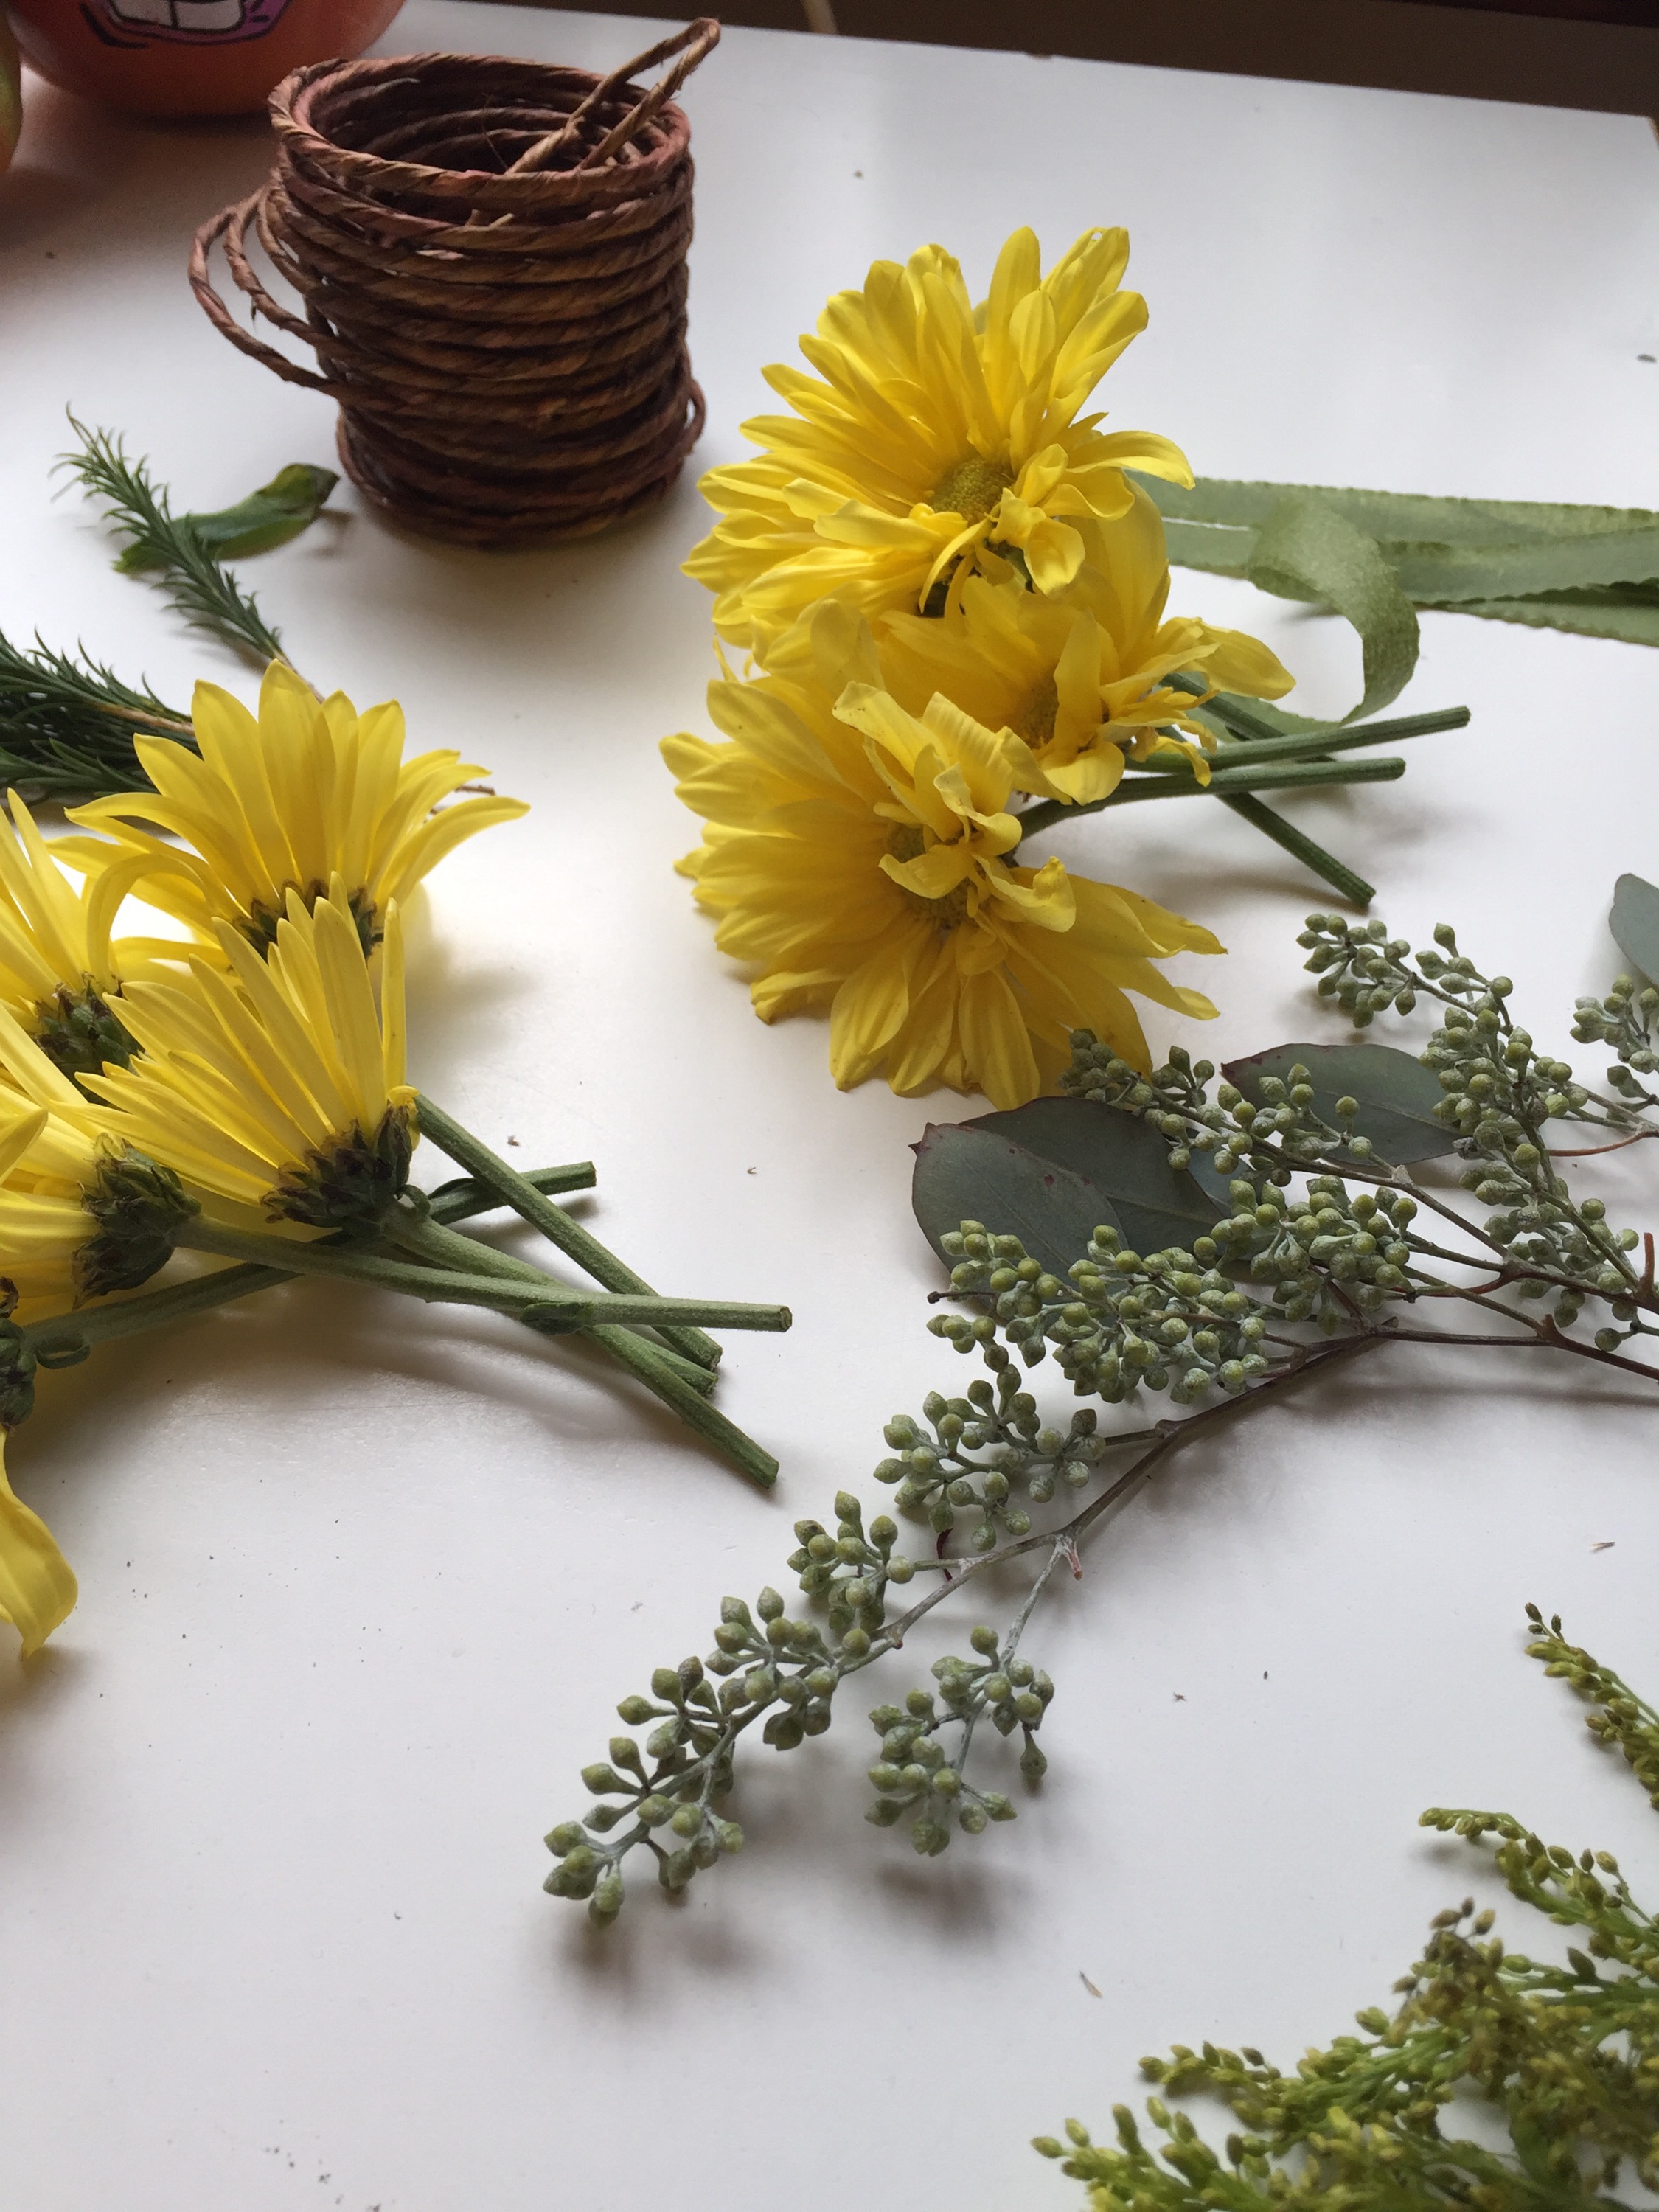
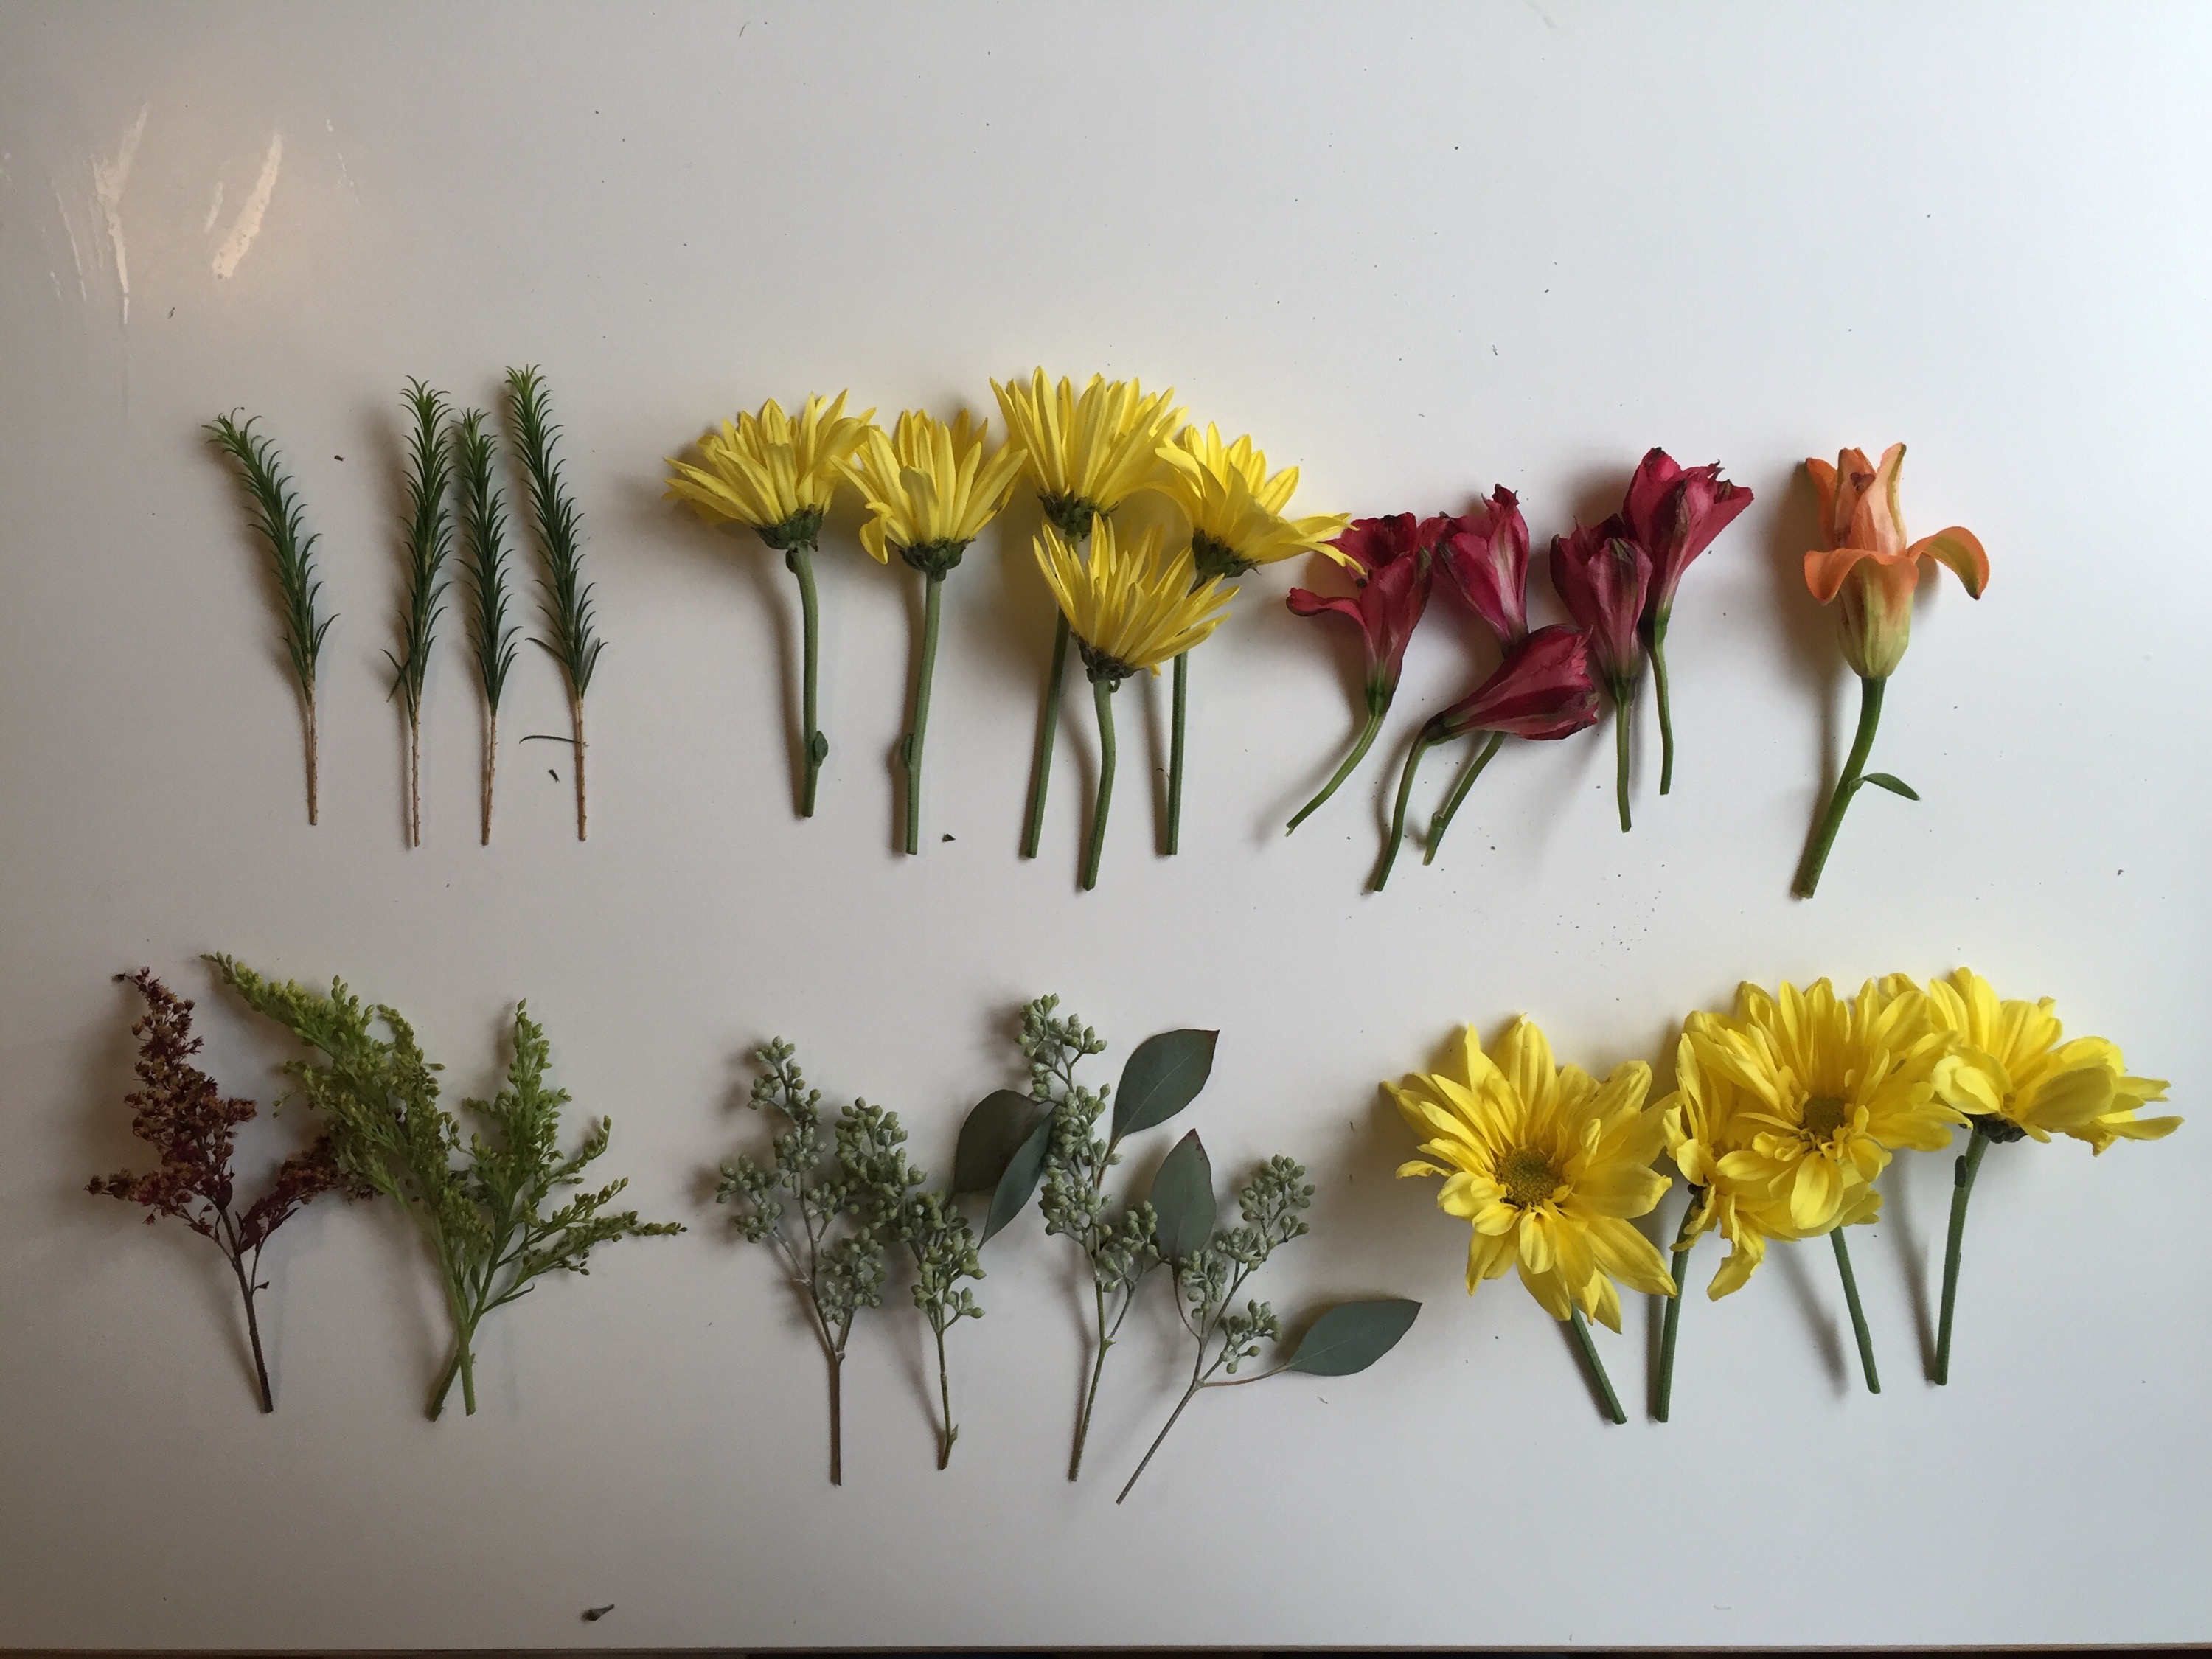
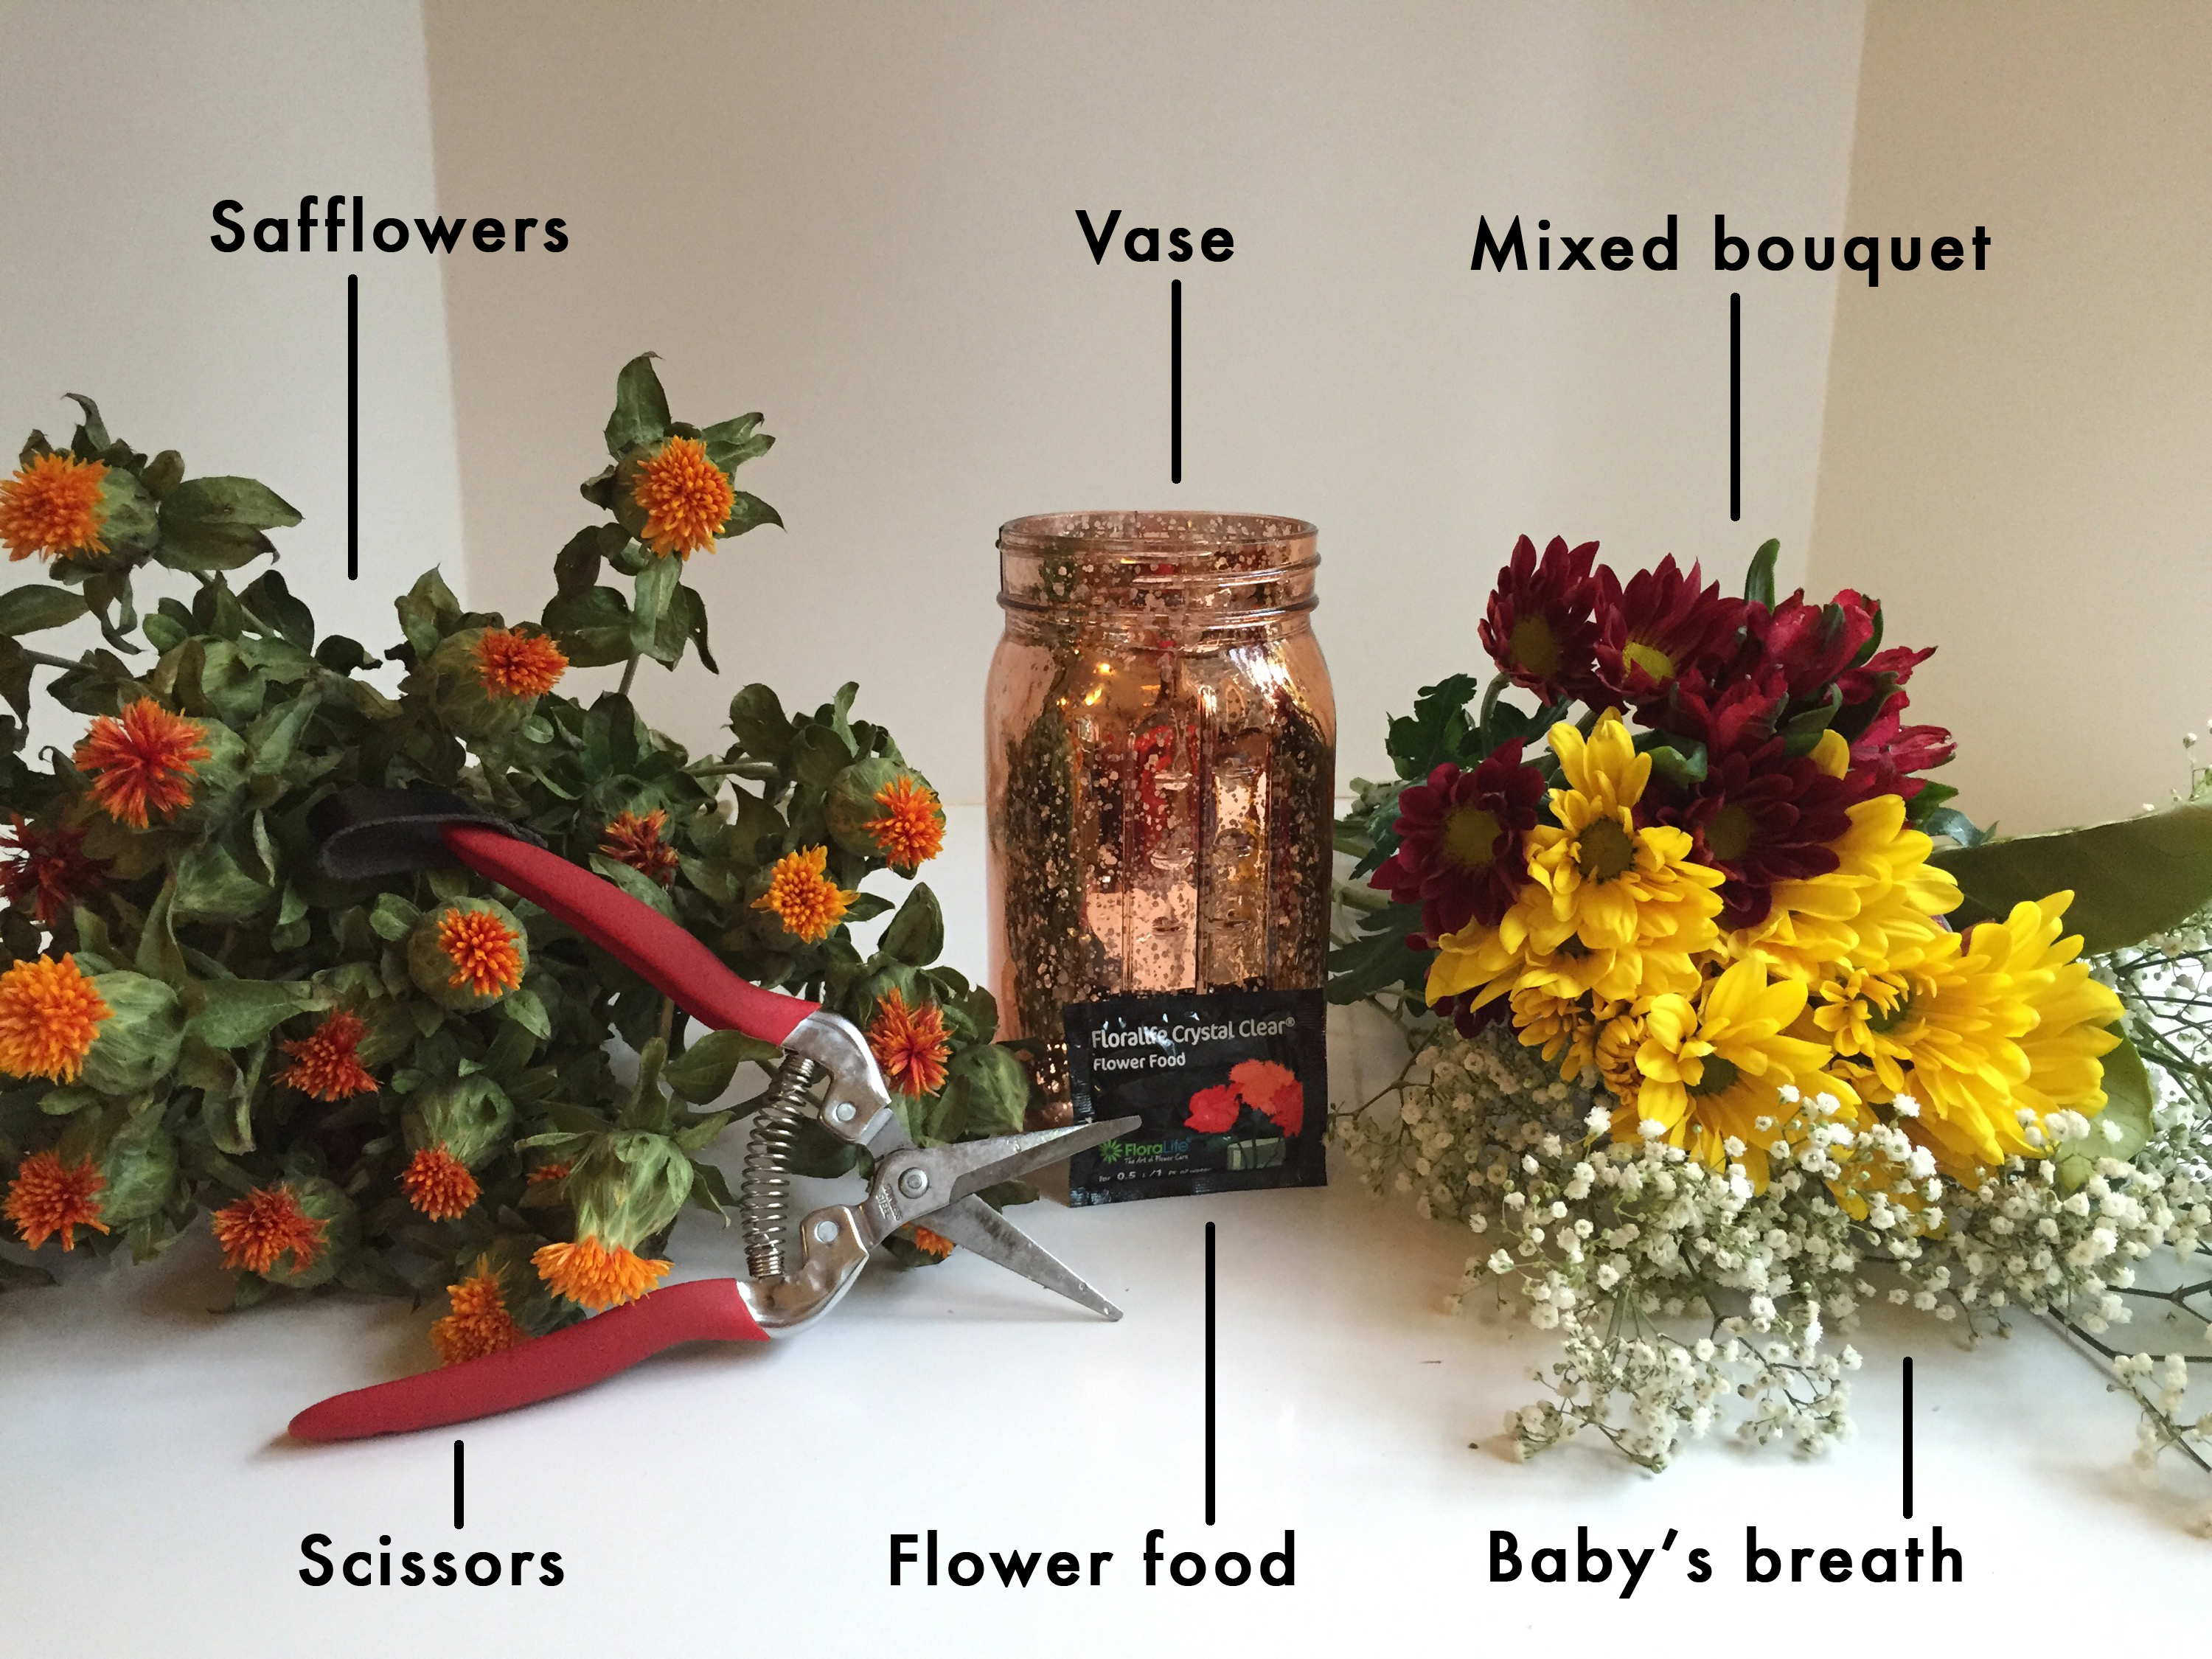
Here’s what you’ll need:

The safflowers, $8 at Fred Meyer, remind me of the character Max’s crown as he parades through the forest with the wild things. The vase, a Mason jar painted like mercury glass, was just $4.50 at JoAnn Fabrics. The mixed bouquet was $5 and the baby’s breath was $1.60 a stem at Alaska Wholesale Flower Market.
First, fill your vase with water and stir in the flower food packet. The packet came with the flowers, so you might as well use it, but it’s of course optional.

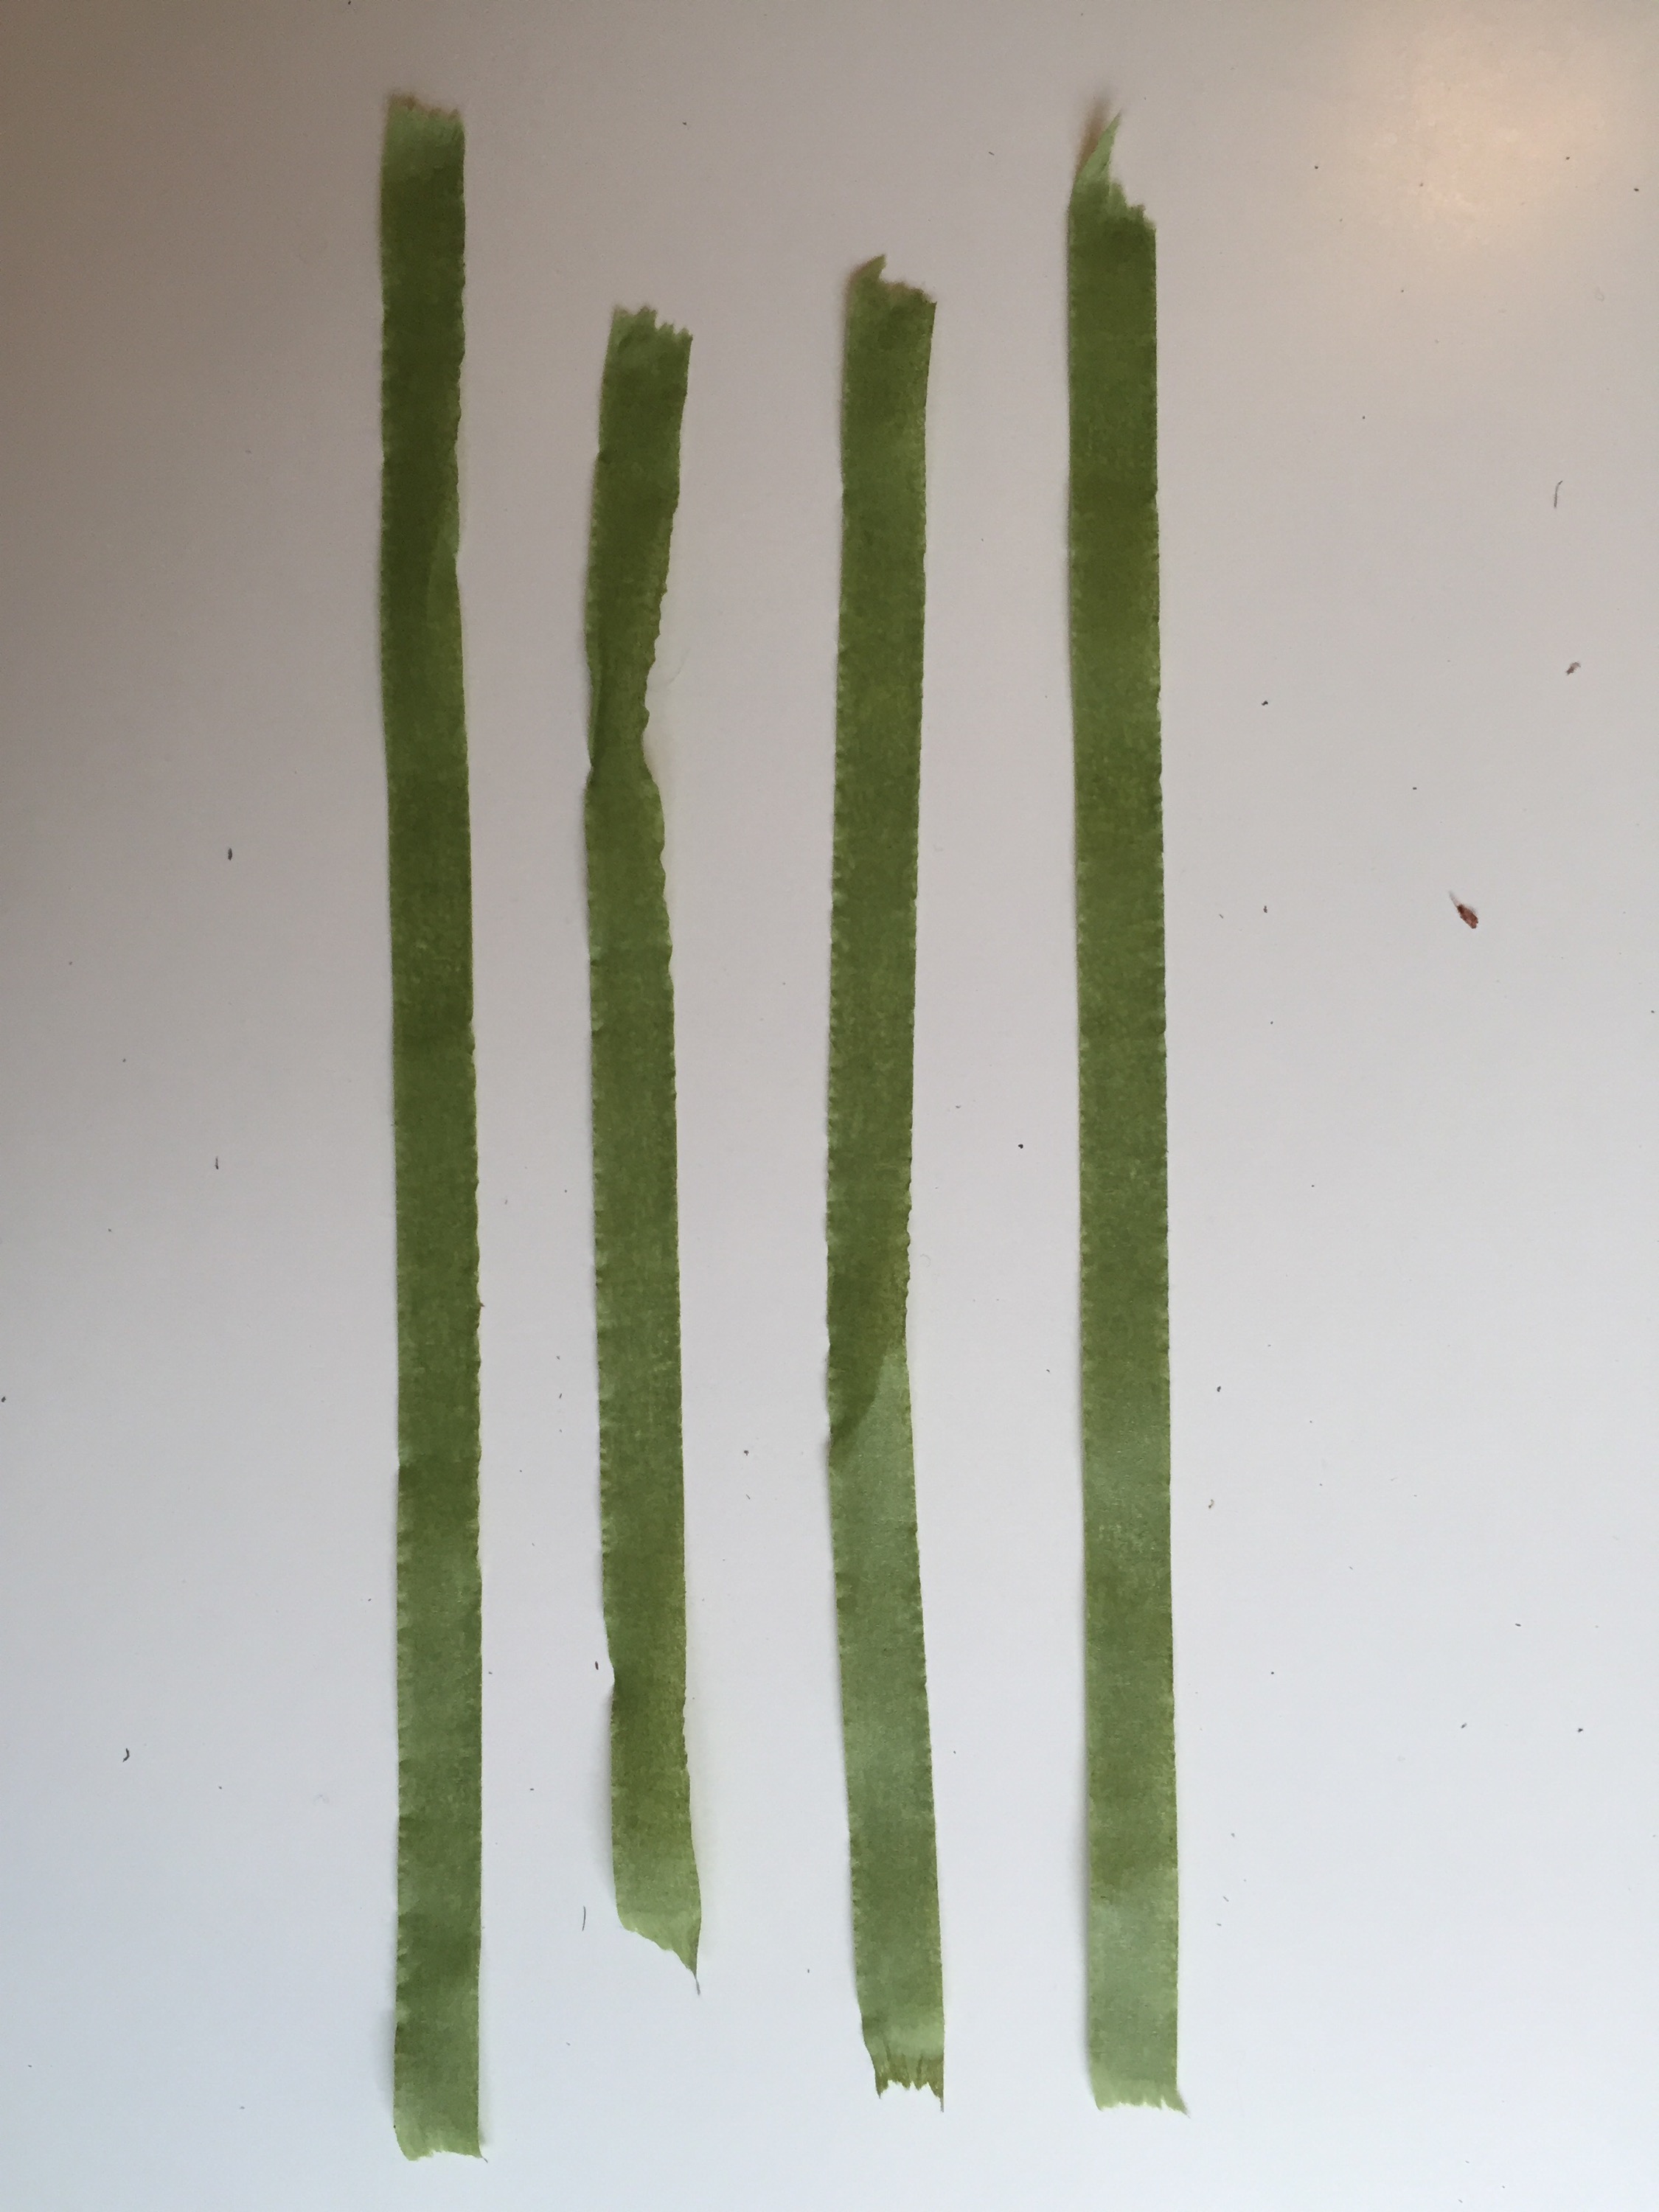
Next, trim the baby’s breath so about three inches of the blooms stick out of the vase. This acts as the framework and velcro for the arrangement. Without it the other flowers would flop around. Baby’s breath keeps it all in place.

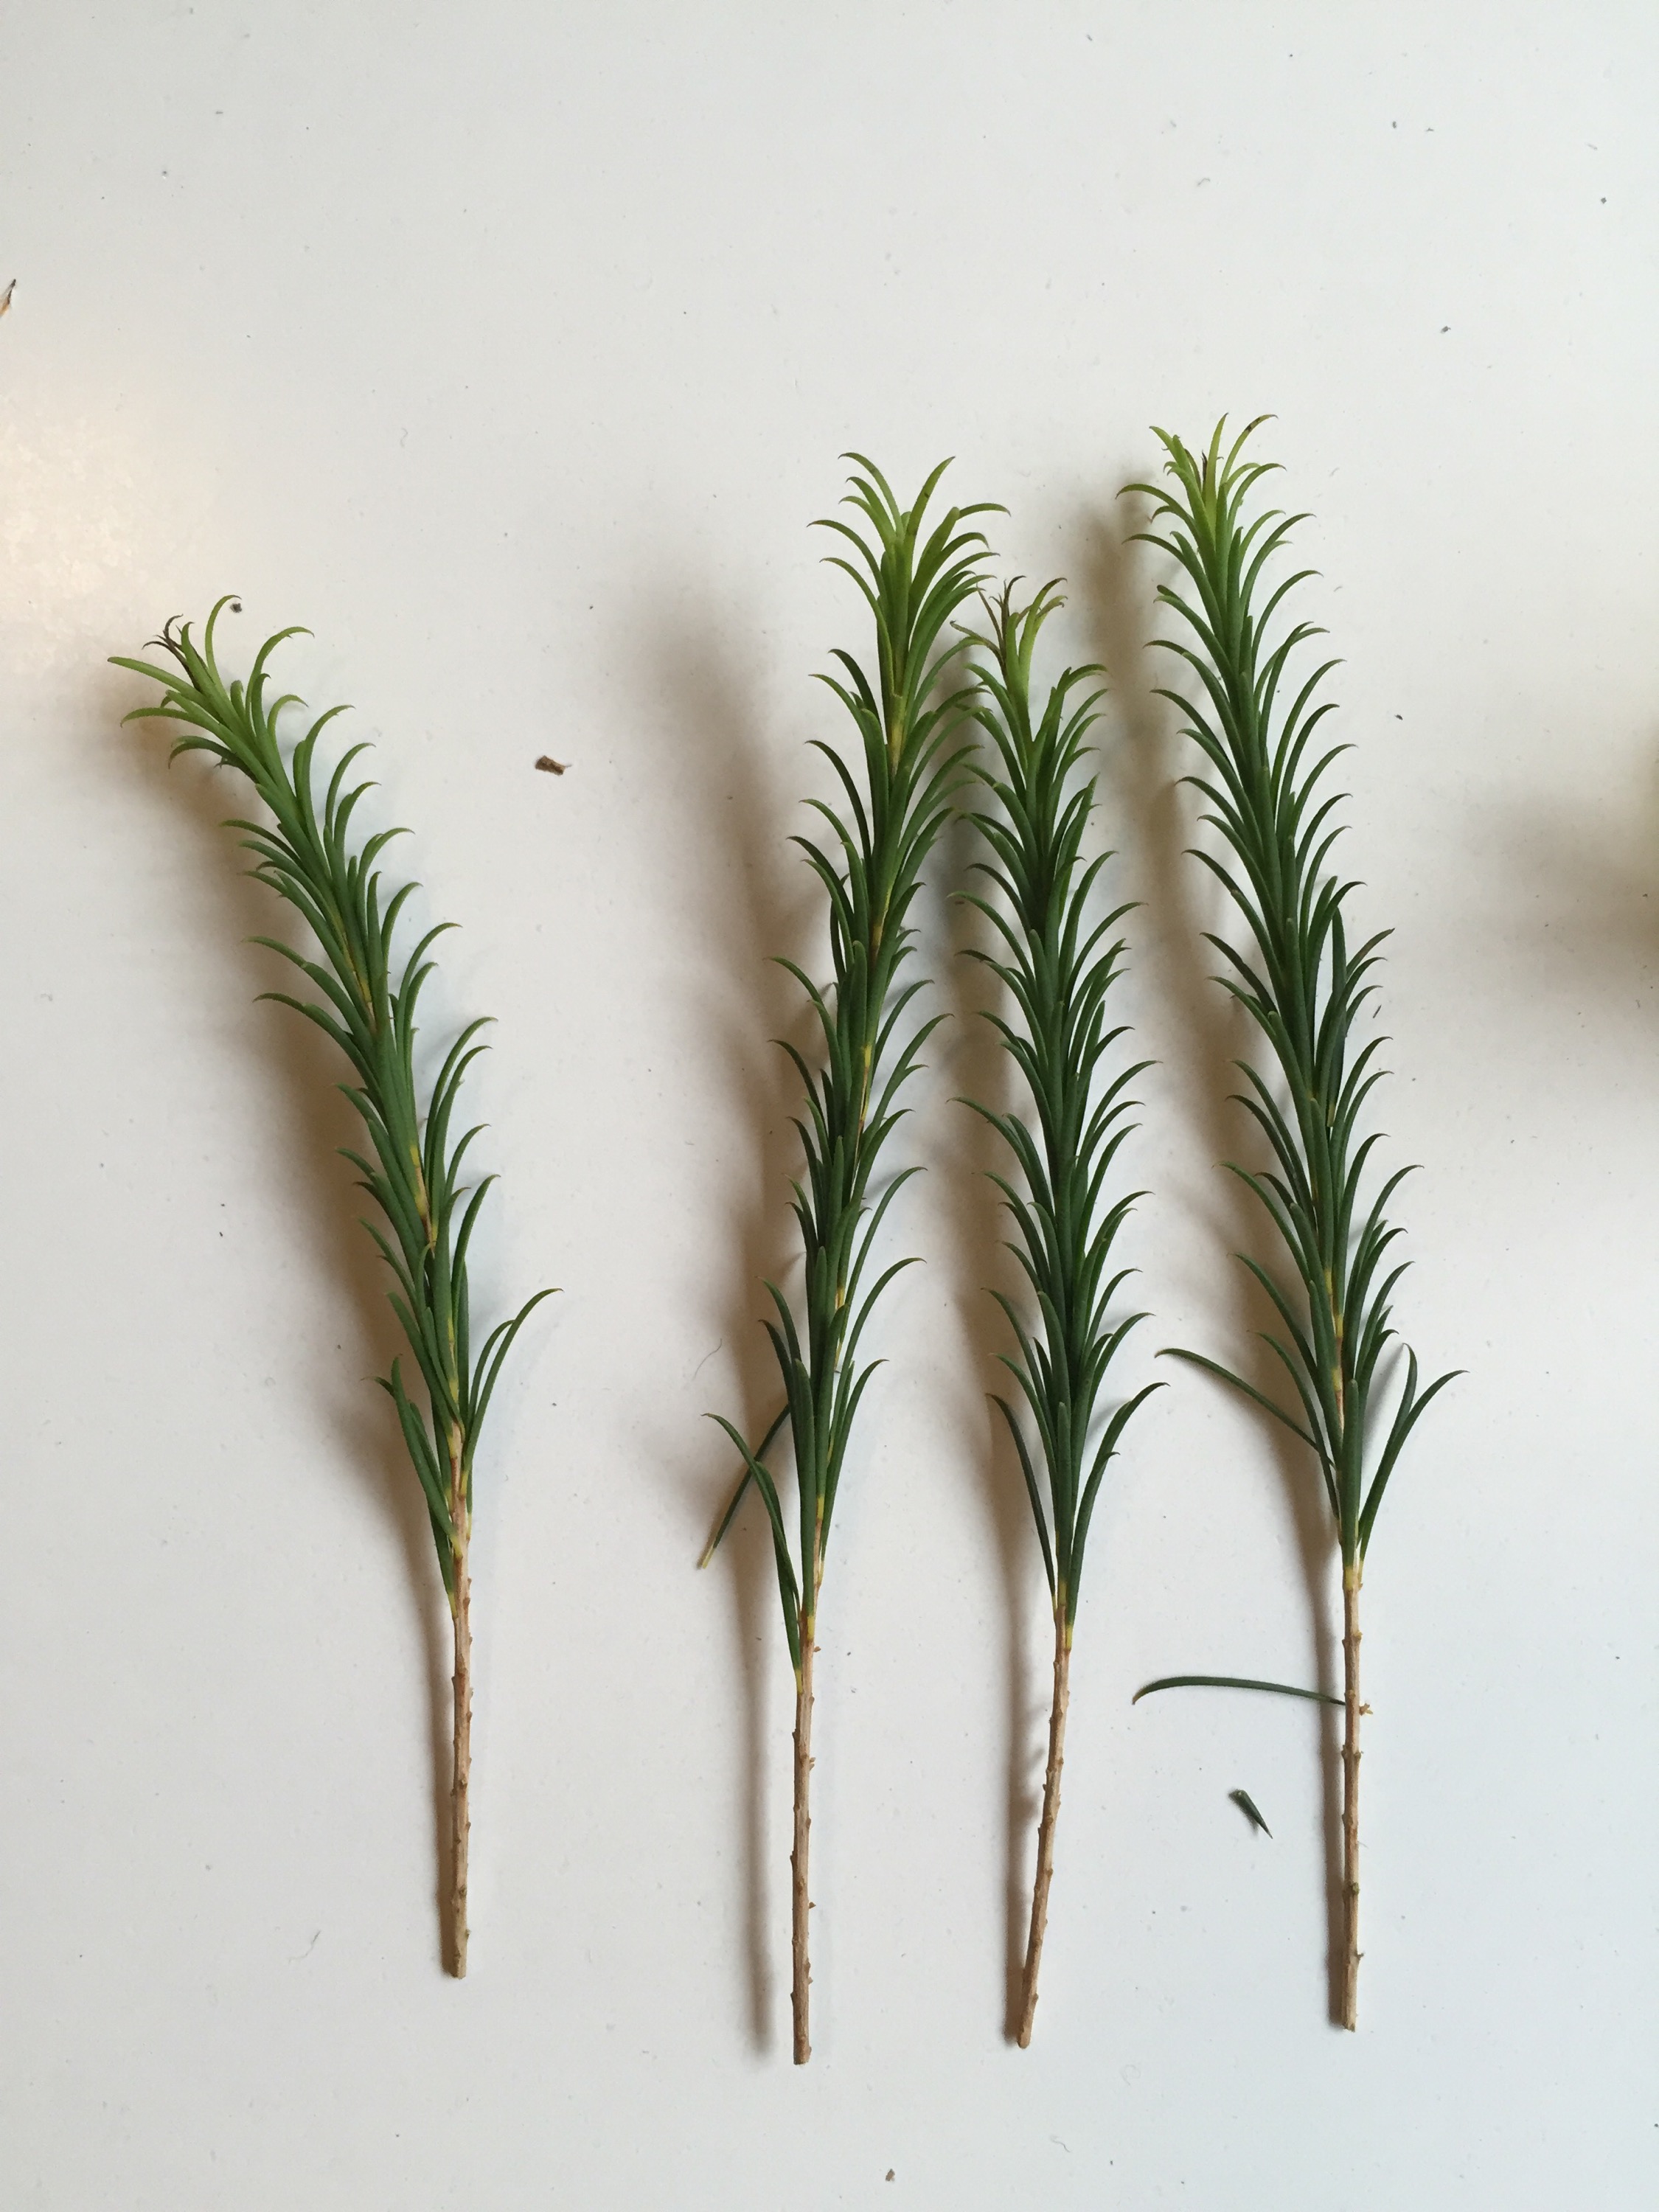
Start cutting away the safflowers and placing the short stems around the lip of the vase. Try and get the leaves to curl around the lip. This gives the arrangement more continuity.
A good tip for trimming stems is to bring the vase to the edge of the table and line the stem up to the vase. Determine what height you prefer and cut the stem at an angle so it draws up water more easily, thus prolonging its vase life.

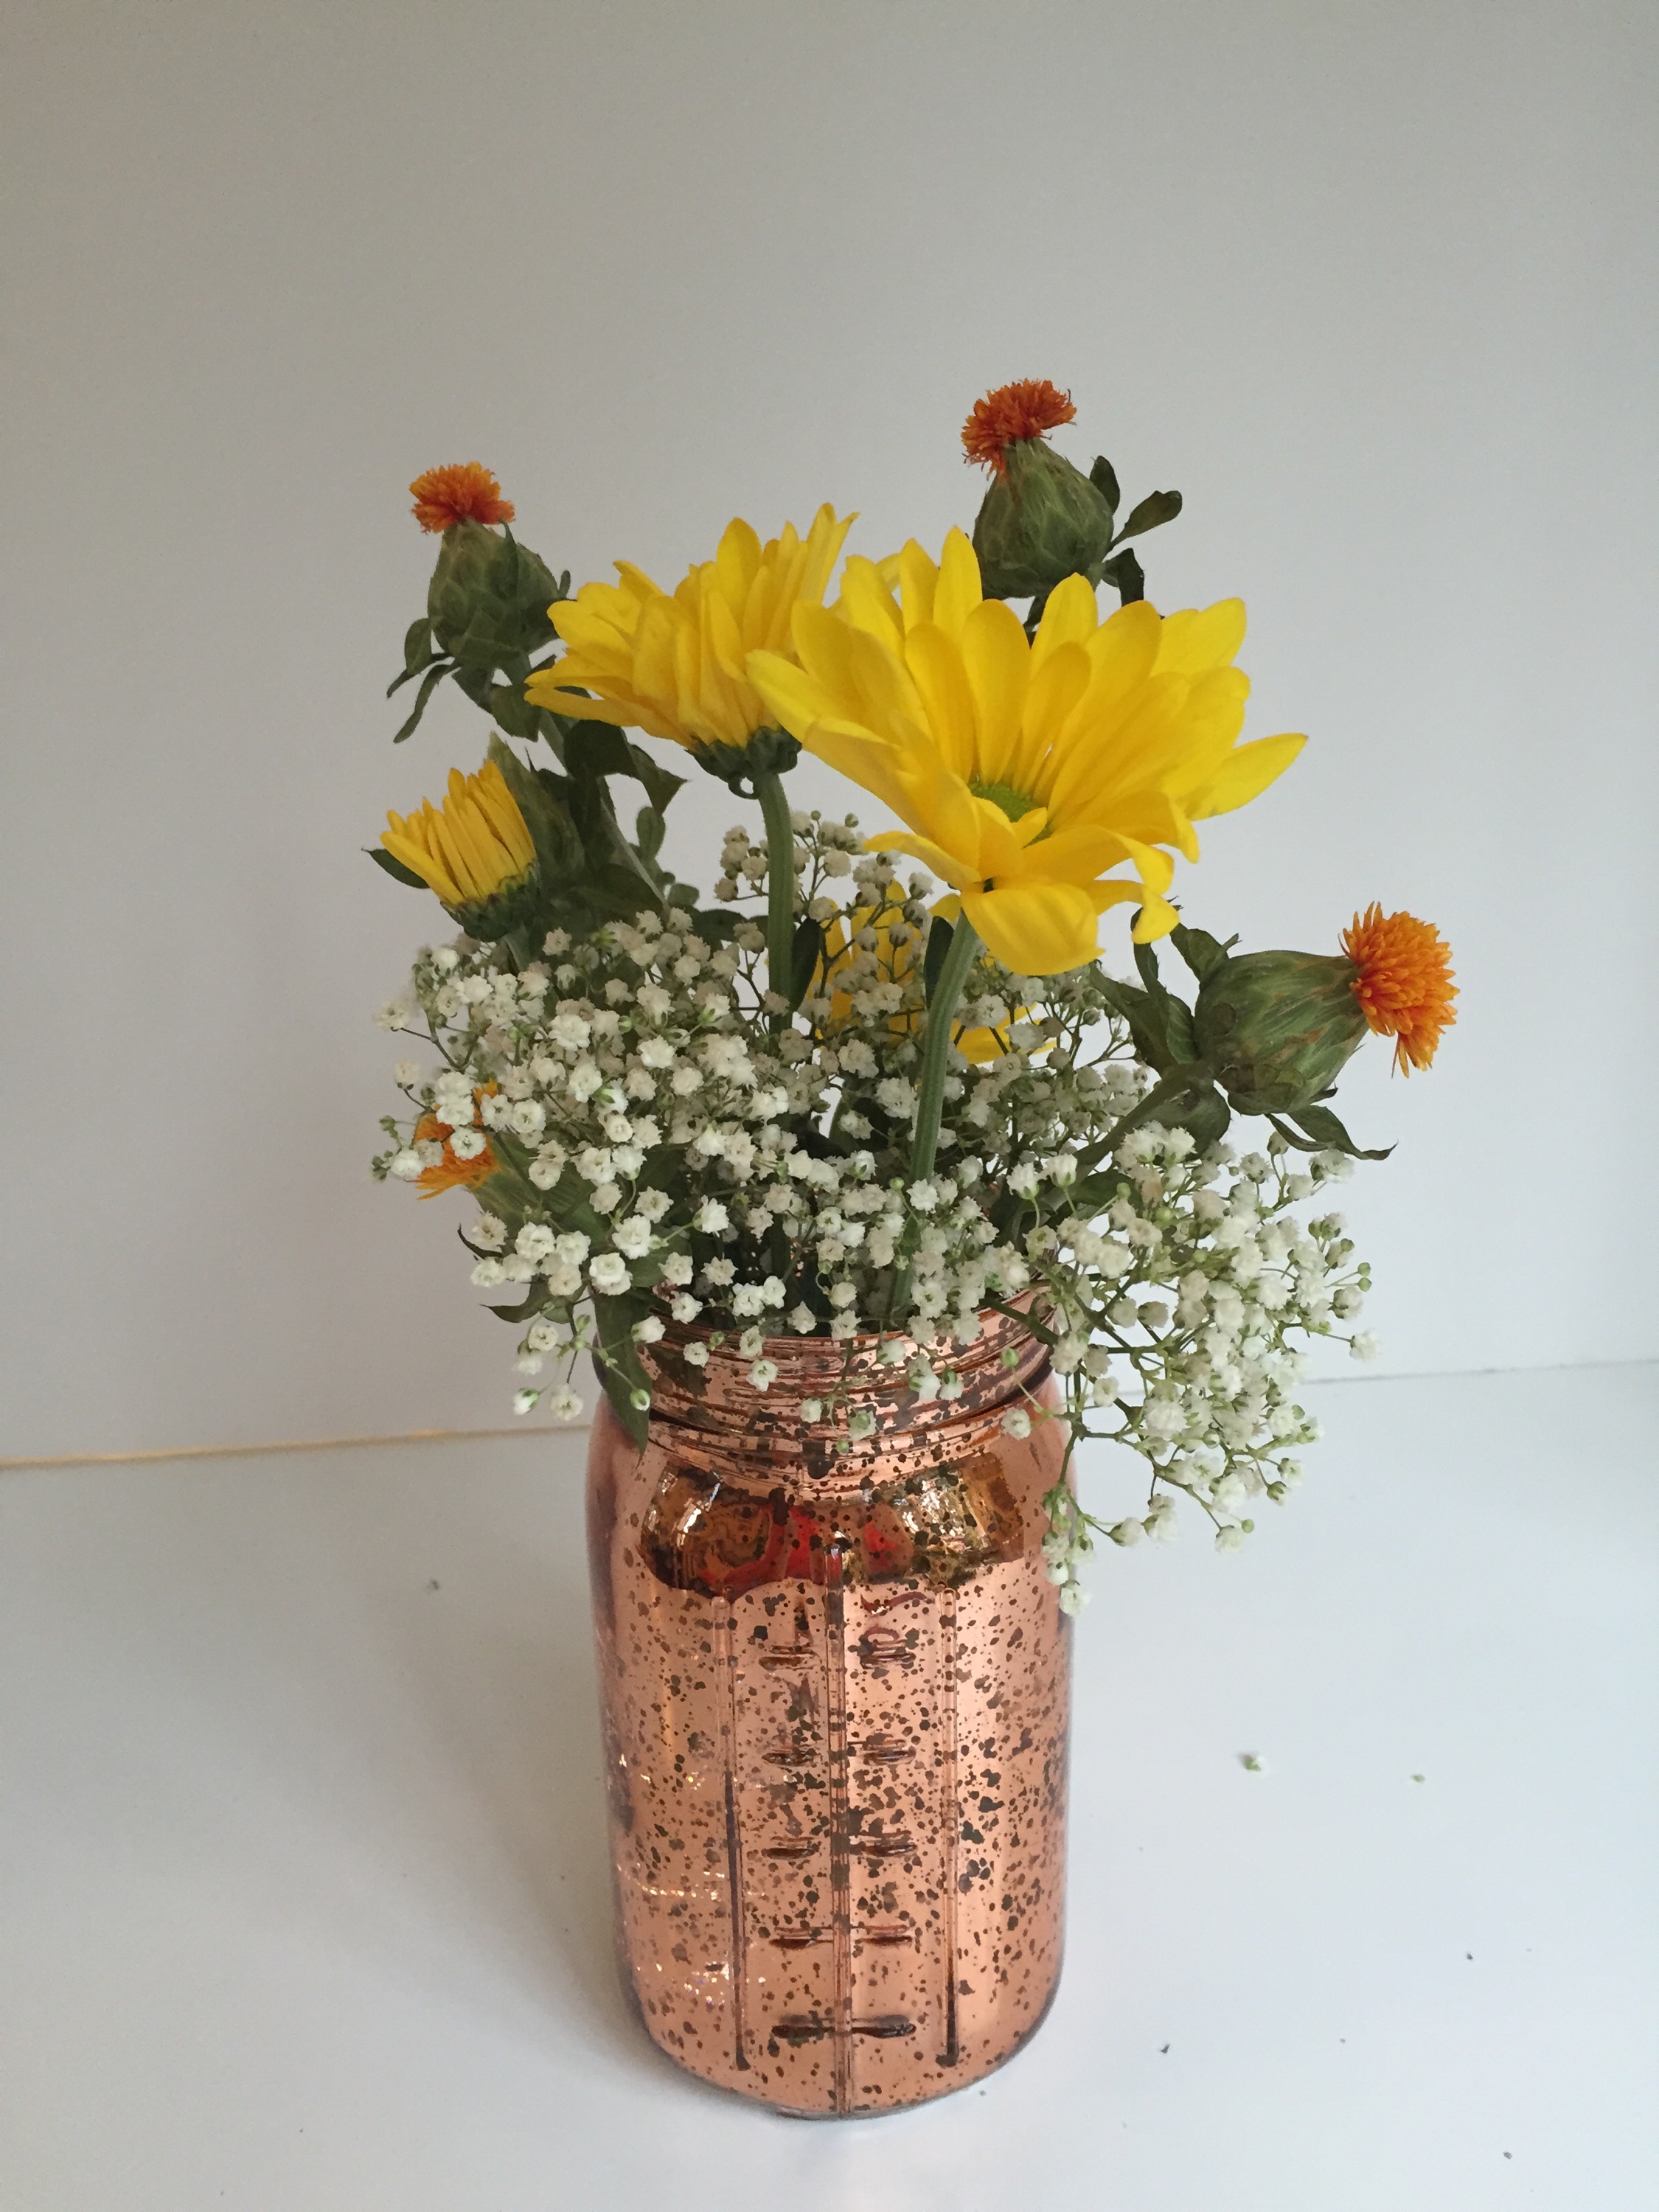
Start filling out the arrangement with the remaining flowers. Stagger the heights of the yellow flowers and have them point in different directions if you’re going to have the arrangement be a centerpiece. That way it’s lovely from all angles.
A rule of thumb is to use an odd number of focal blooms. It’s more pleasing to the eye, I suppose.
Add other flowers here and there, filling in any gaps in the baby’s breath, until you like what you see.

Now place your arrangement in a calming spot and revel in the fact that you just did something nice for yourself.
Check back all month for more Halloween crafts and tutorials. Take a peek at what akshopgirl is up to this week so you can have your own wild rumpus.