Guest Post: Fan and Feather Lovey — Free Pattern

Today I have the honor of hosting a pattern by the ever-so-lovely Annie Ciszak Pazar, owner of Anchorage’s Bella Boutique and author of the crafty blog Annie’s Arts and Follies.

I’ve always admired this lady for her unique jewelry and undying motivation for knitting big ol’ scarves and cowls.

Recently a mutual friend of ours had a baby — today actually! I felt like there was no better day to showcase the stunning blanket Annie made for her new little girl. So I’ll hand it over to Annie:

I have a blanket on my bed which I affectionately call Lovey. Lovey was a gift from my grandmother at my mother’s baby shower for me, 30-some years ago. Lovey is still around. And on my bed. Needless to say I have a very tolerant husband and perhaps some slight attachment issues. So when it comes time to make special soft and cuddly things for my friend’s little ones, I choose the Lovey pattern – also known as Fan and Feather for those in the biz.

Fan and Feather Baby Blanket | Free Pattern

The first blanket I made was for my friend Jeni when she was expecting her second little one, Robert, as she and I have known each other for 97% of our lives – so it was only fitting she have a Lovey too.

Fan and Feather Baby Blanket | Free Pattern

(Left: my Lovey in 2011. Right: Robert’s Lovey)

  • Using a US6 (4mm) needle cast on a multiple of 18 stitches + whatever you want for a border, but at least 1 stitch on either end (I add 10 – 5 on each side).
  • Knit 10 rows
  • Assuming 5 stitches at each end, work the following 4 rows until you reach desired length:
  • Row 1: knit
  • Row 2: purl
  • Row 3: k5, * k2 tog 3 times, (k1, yo) 6 times, k2 tog 3 times * repeat from * to * until last stitch, k5
  • Row 4: knit
  • When you have reached desired length, knit 10 rows to finish border. Weave in ends.

Fan and Feather Baby Blanket | Free Pattern

This latest blanket is for a local fab lady who keeps me in popsicles all summer on her funky custom PopCycle bike complete with cooler sidecar. I worked on this one from Alaska to New York and back again, and find it only appropriate that it already be travelling as the parents to be met while exploring the world in another country.

This is a super easy and rather fast pattern which looks more complicated than it is. In a bout of bravery I entered one in the Alaska State Fair 2 years ago and brought home a green ribbon and honorable mention in the baby blanket category. But what it really comes down to, is my hope that the kiddos for whom I make these little Lovey’s, love them as much as I love mine (or maybe a little less – there’s that attachment thing…).

Want to see more of Annie’s work? Check out her Etsy store!


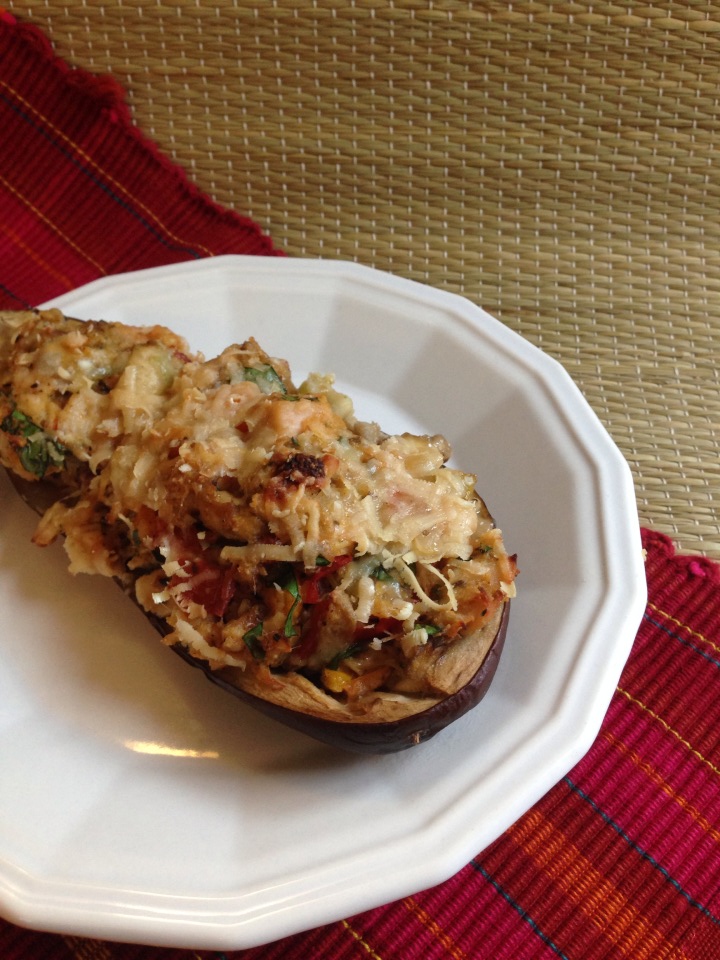
Chicken-stuffed Eggplant

Eggplant is a foreign food to me. I’ve only cooked with it once before when I made eggplant parmesan a long time back. They looked so irresistible today at Costco — so purple and shiny without a single flaw. I added a $5 rotisserie chicken, mini heirloom tomatoes and mini bell peppers to my cart and knew I’d be able to throw something together.

I made stuffed eggplant almost like a meatball recipe. They turned out flavorful and not too soggy, thanks to a quick technique inspired by America’s Test Kitchen.

Chicken-stuffed Eggplant | Alaska Knit Nat

Chicken Stuffed Eggplant

Serves 2-3

Ingrdients:

2 medium eggplants, sliced down the middle

2 Tbs. olive oil

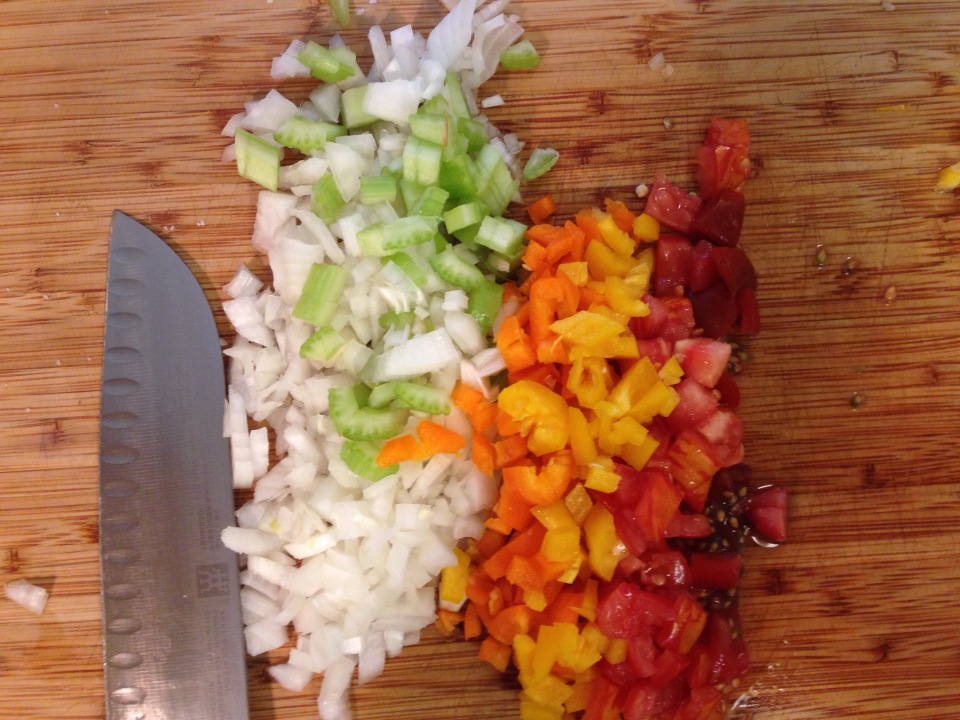
1/2 onion, chopped fine

3 mini orange and yellow bell peppers, chopped fine

1/2 stalk celery, chopped fine

1/4 cup diced tomatoes

3 cloves garlic, minced

2 tsp. dried basil

1 tsp. dried oregano

1/2 tin of anchovies, minced (about 3 filets)

1 egg

1/2 cup cooked chicken, diced

2 Tbs. fresh parsley, chopped

3 Tbs. Italian breadcrumbs

1/2 cup parmesan cheese, grated

salt and pepper to taste

Chicken-stuffed Eggplant | Alaska Knit Nat

Directions:

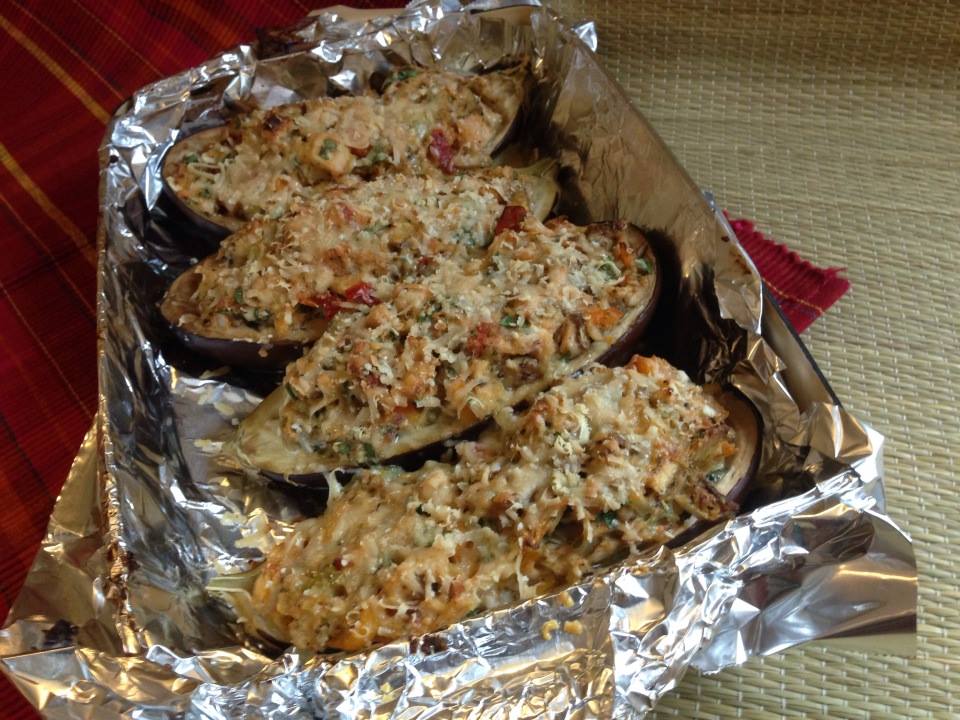
Carefully scoop out the flesh of your eggplants without breaking the skin. Chop the flesh into small pieces. Lightly salt the flesh and hollowed out eggplants. Place eggplant shells in a foil-lined casserole dish and set aside.

In a saute pan, heat the olive oil over medium-high flame. Add the onion, peppers, celery and tomatoes and cook till onions are soft, about five minutes. Add the garlic, basil and oregano and cook another two minutes.

In a mixing bowl, combine the egg, chicken, anchovies, parsley, breadcrumbs and sautéed vegetables. Place the eggplant flesh in a microwave safe bowl and microwave for 30 seconds. Pat dry with a paper towel. This removes excess liquid from the eggplant and makes the filling less soggy. Add the eggplant to the mix and salt and pepper to taste. Add 3 Tbs. of parmesan cheese, mix well and add filling to the eggplant shells. Lightly press the filling and create small mounds in the shells if needs be.

Sprinkle liberally with parmesan cheese and bake for 45 minutes or until browned.

Serve with brown rice.

Chicken-stuffed Eggplant | Alaska Knit Nat

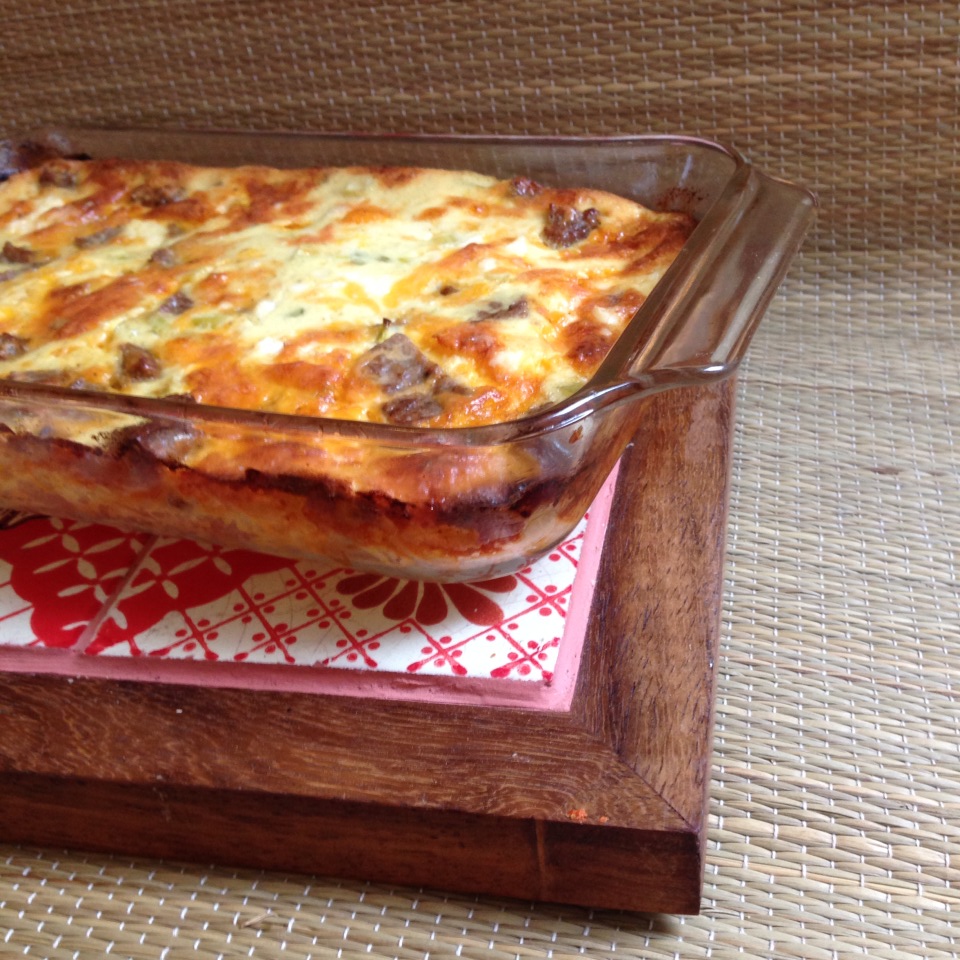
Crustless Breakfast Quiche

I had a hankerin’ for a fancy type breakfast this morning. I thought a quiche would be nice, but I didn’t want to make a crust or use a ton of butter. I found this tasty recipe and decided to tweak it slightly. I’ve never made a quiche, but whatever I concocted this morning was cheesy, salty, creamy and darn delicious. It’s also South Beach Diet friendly!

Crustless Breakfast Sausage Quiche | Alaska Knit Nat

Crustless Breakfast Quiche

Serves 3

Ingredients:

2 eggs

1/2 cup milk

1/3 cup plain Greek yogurt

3 oz. Neufchâtel cheese, cubed

4 breakfast sausage patties

2 green onions, chopped

1 cup grated cheddar cheese

pepper to taste

butter

Crustless Breakfast Sausage Quiche | Alaska Knit Nat

Directions:

Grease a small casserole dish liberally with butter. Preheat oven to 350 degrees. Fry up the breakfast sausage patties. Once browned, cut into bite-sized pieces.

Mix together the milk, eggs and yogurt. Add in the cheeses, sausage and green onions. Add pepper to taste. Pour into casserole and bake for one hour till browned and bubbly on top. Let cool for five minutes before serving.

The best part was the little pockets of cream cheese with every bite.

Crustless Breakfast Sausage Quiche | Alaska Knit Nat

Thrift Store Skirt Refashion — Free Tutorial

Floral prints are all the rage these days and I’m always finding skirts at the thrift store that have pretty patterns, but they are just too long for my stumpy legs.

You’ve probably come across these types of skirts — they are from the ’90s, ankle-length and look as though a church lady might wear them.

If you have basic sewing skills it’s pretty simple to shorten a skirt to a more youthful length. It only took me 45 minutes and I went from bake sale mom to hipster mom for $2.50. You can too!

Thrift Store Skirt Refashion -- go from bake sale mom to hipster mom in less than an hour!

Materials:

One thrift store skirt in your size

Ruler

Straight pins

Chalk or pencil

Fabric scissors

Sewing machine

Iron

Thrift Store Skirt Refashion -- go from bake sale mom to hipster mom in less than an hour!

Step 1: Iron your skirt if it needs it.

Step 2: Determine how much length you’d like to cut off. I wanted the skirt to fall just above my knees, which was about 10.5 inches from the original hem. I subtracted 1.5 inches to account for the new hem. For me, 9 inches was how much I needed to remove.

Thrift Store Skirt Refashion -- go from bake sale mom to hipster mom in less than an hour!

Step 3: If your skirt has buttons down the front, unbutton it and lay it flat, wrong side up. With a ruler and chalk or pencil go along the bottom of the skirt and mark 9 inches all around. I didn’t do this accurately at all and it still worked out fine. My skirt had a slight arc to it so I eyeballed it here and there.

Step 4: Cut along the measurement lines you made.

Thrift Store Skirt Refashion -- go from bake sale mom to hipster mom in less than an hour!

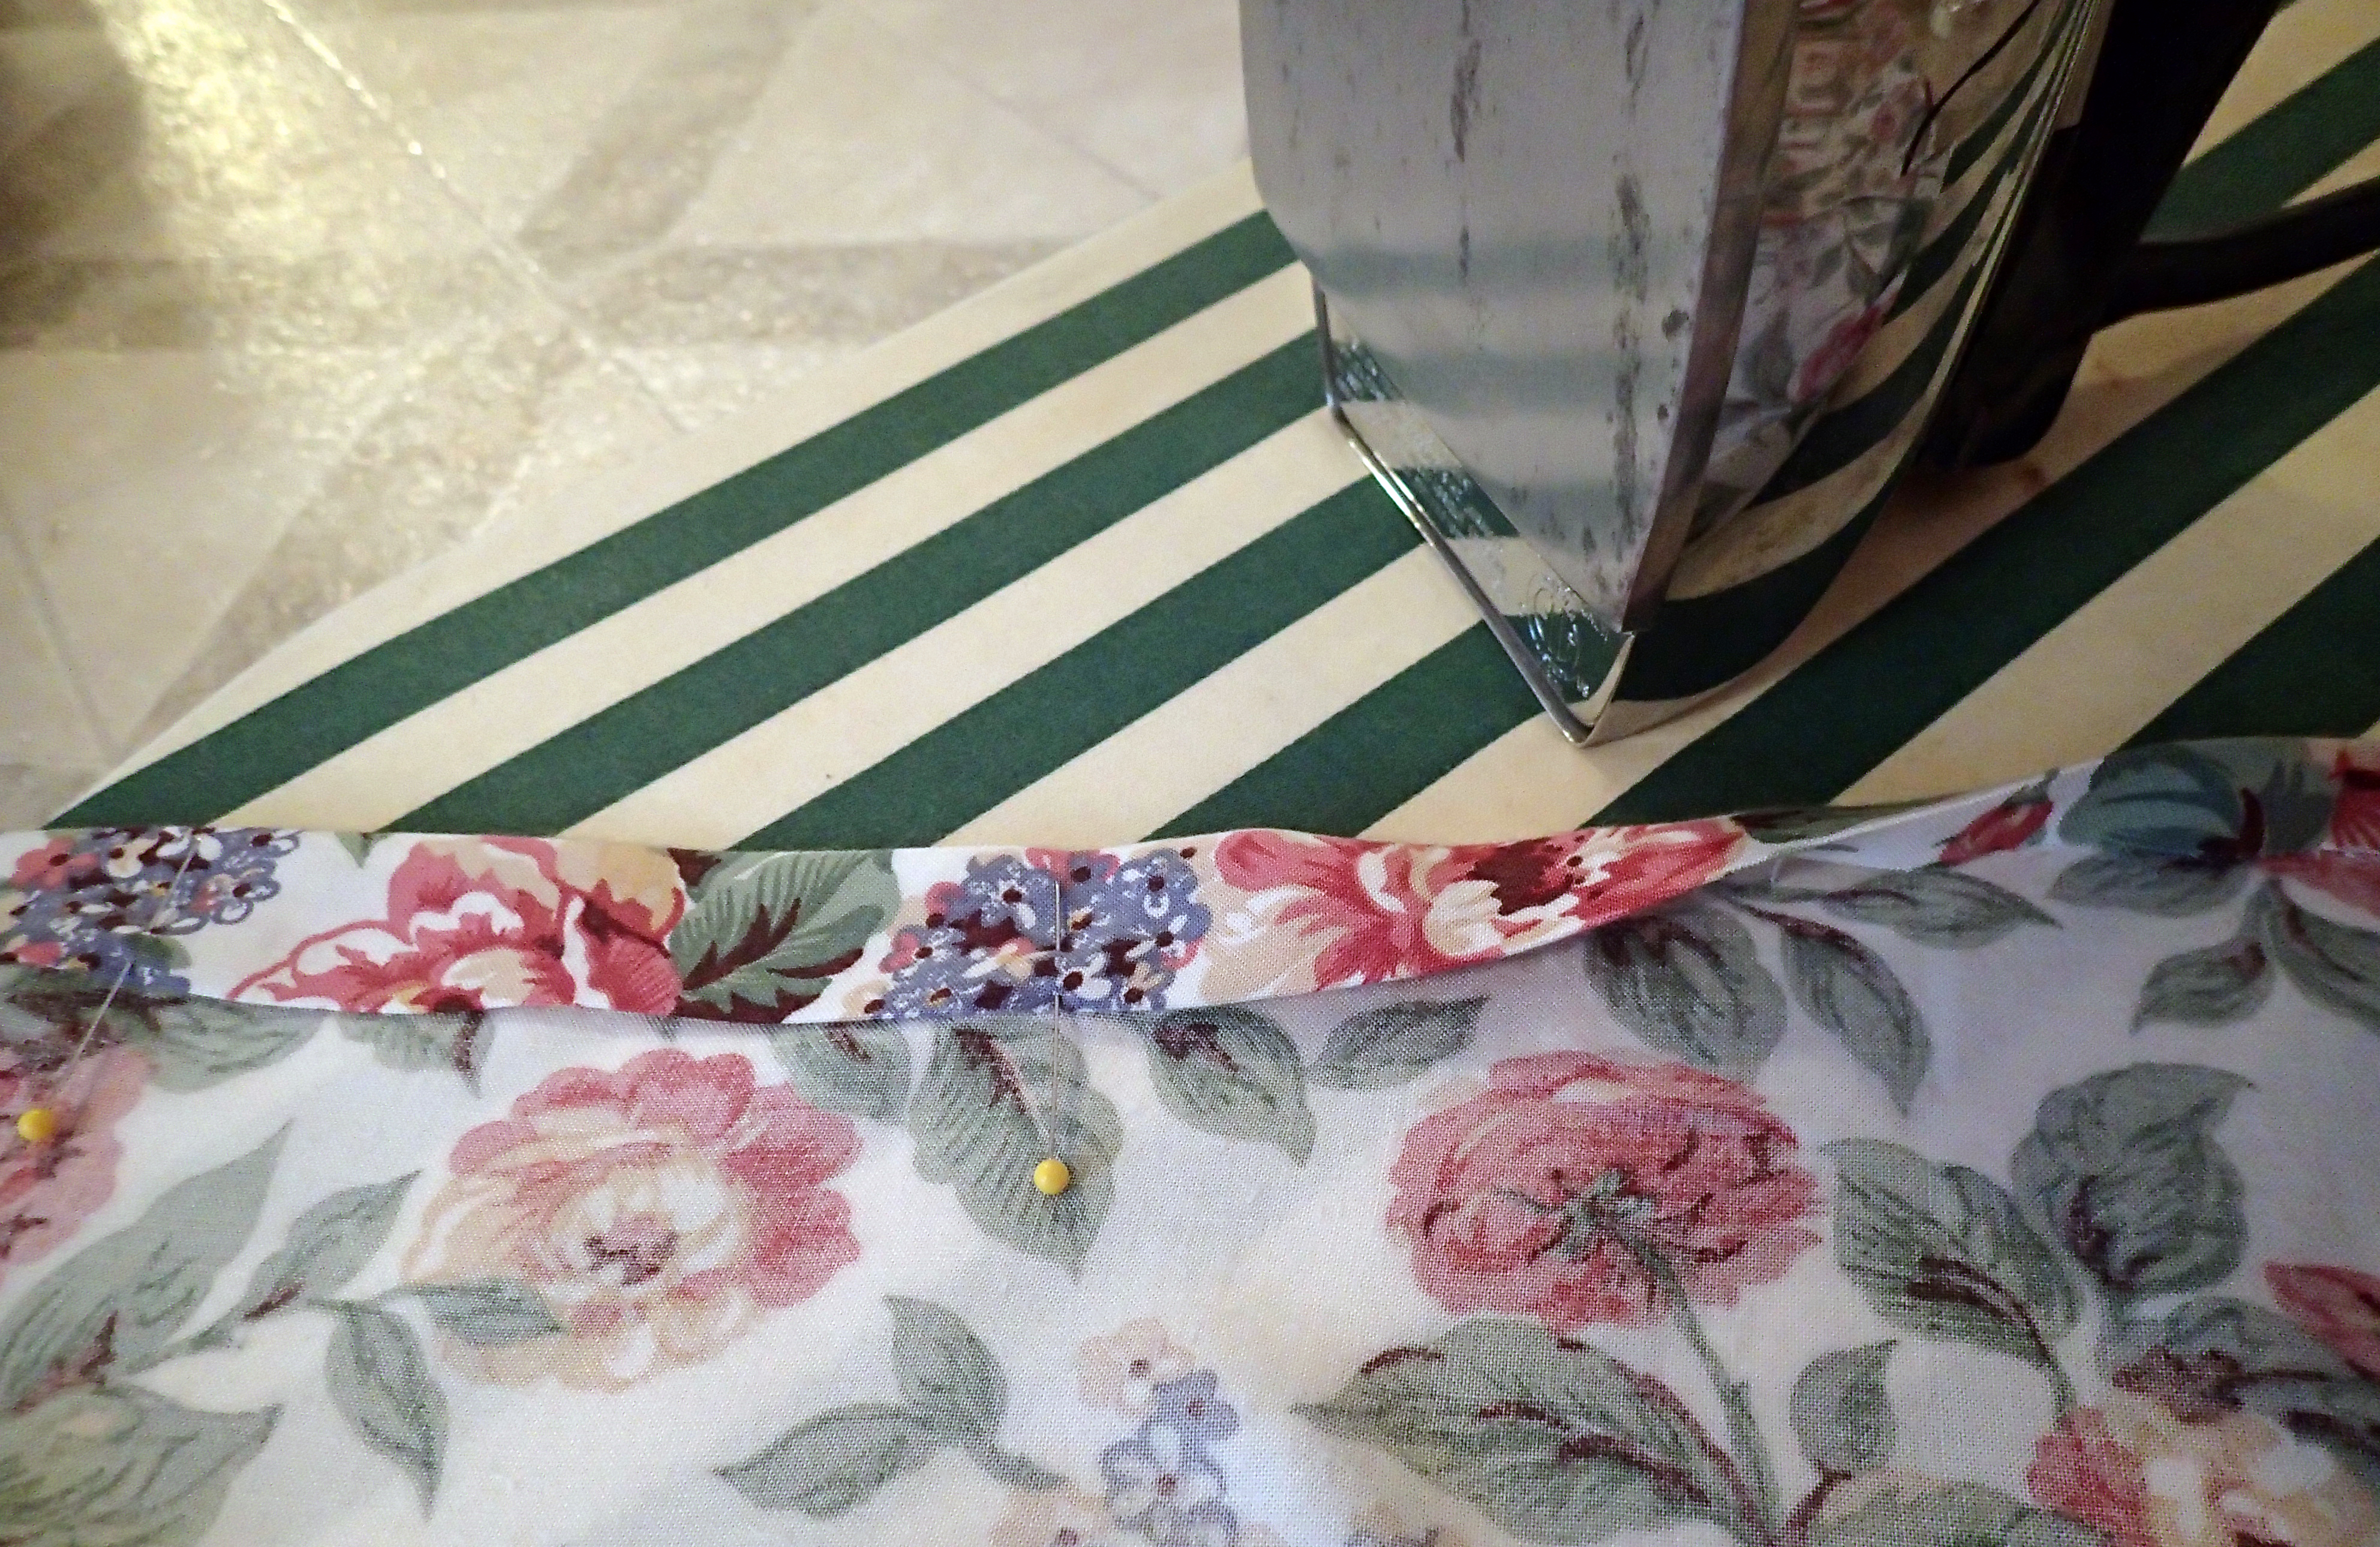
Step 5: With your iron, turn under 1/2 inch from the edge all across the skirt.

Thrift Store Skirt Refashion -- go from bake sale mom to hipster mom in less than an hour!

Step 6: Turn under 1 inch all around and iron down, pinning as you go. *NOTE* if your skirt buttons in the front, make sure your ends match in the front. Mine were really off so I had to re-iron and eyeball it till it worked. Doesn’t need to be perfect, especially if it’s a flowing skirt. No one will notice if the back is slightly shorter than the front.

Thrift Store Skirt Refashion -- go from bake sale mom to hipster mom in less than an hour!

Step 7: Sew a seam along the hem 3/4 inches from the folded edge, backstitching at the beginning and end.

Step 8: Trim all threads and run an iron along the hem one last time.

Step 9: Put on your skirt and admire your crafty awesomeness.

Thrift Store Skirt Refashion -- go from bake sale mom to hipster mom in less than an hour!

Overnight Refrigerator Oatmeal

I’m trying to eat more healthily these days and thanks to Quaker Oatmeal’s relentless heart-healthy advertising campaigns I am pretty sure oatmeal is on the good-foods list.

I tire of oatmeal. It’s texture and flavor rarely vary and since I don’t own a microwave these days (only because mine broke), oatmeal makes for a crusty, annoying pot to clean every morning.

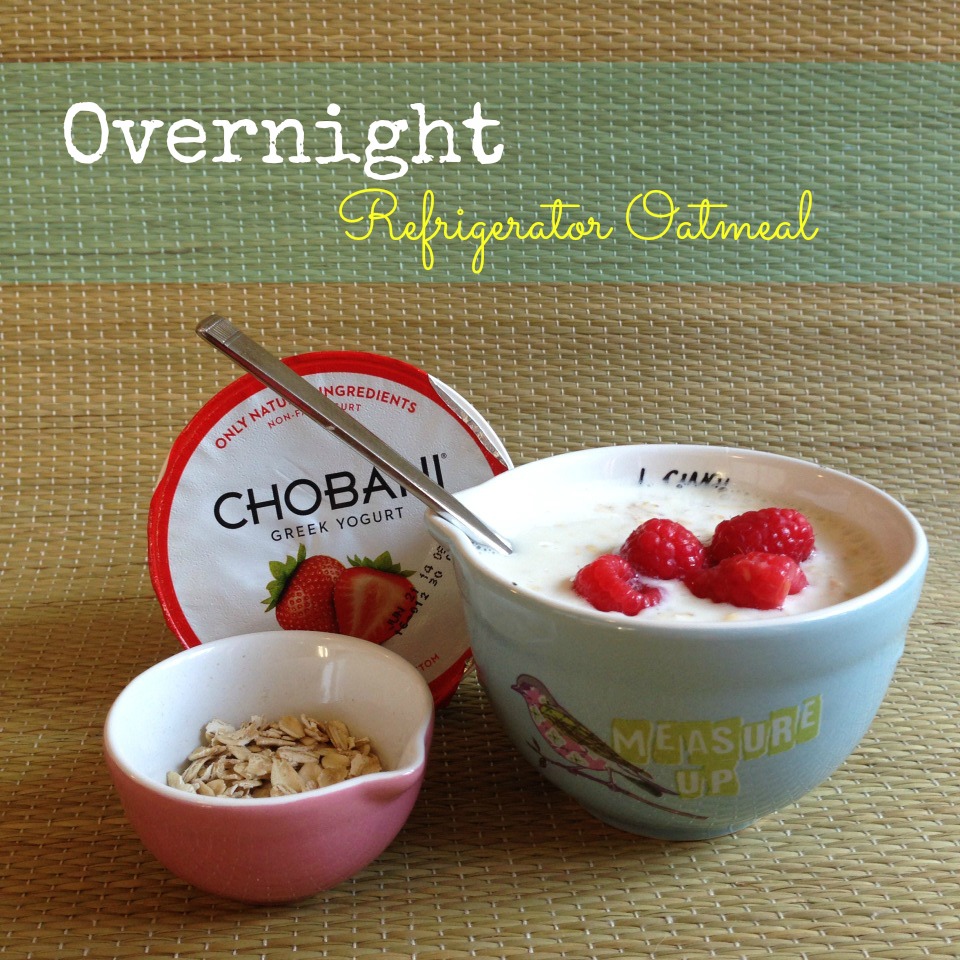
So, I decided to try out the healthy hipster refrigerated oatmeal trend. Look it up on Pinterest and you’ll find endless recipes for this dish, beautifully displayed in glimmering Mason jars. I used a plastic Rubbermaid container, but what I discovered was a simple way to prepare breakfast that was creamy, tasty and healthy. It doesn’t have the same texture as traditional oatmeal, but I was surprised how soft the oats became and how much liquid they ended up absorbing.

Feel free to substitute whatever milkish liquid you prefer, but I went with good ol’ milk.

Overnight Refrigerator Oatmeal | Alaska Knit Nat -- a super simple way to have a unique, healthy breakfast.

Overnight Refrigerated Oatmeal

Serves 1

Ingredients:

1/2 cup old-fashioned rolled oats (not the quick-cook kind)

2/3 cup milk

1 single-serving container of Chobani greek yogurt, flavor of your choice.

Agave nectar or honey to taste

Overnight Refrigerator Oatmeal | Alaska Knit Nat -- a super simple way to have a unique, healthy breakfast.

Directions:

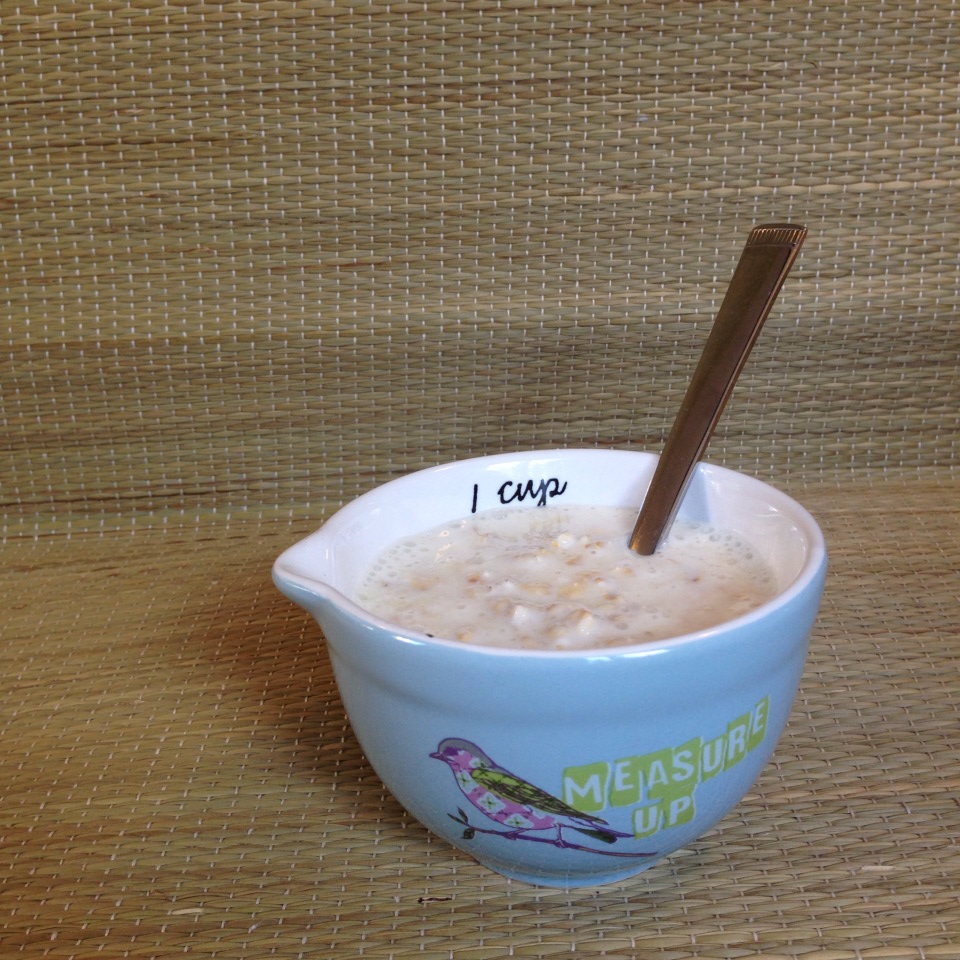
In a container combine the oats, milk and yogurt. Mix well. Cover and refrigerate overnight. In the morning, stir in sweetener of your choice and any other toppings you like such as cinnamon, bananas or berries. Healthy yum!

What is your favorite way to prepare oatmeal? Leave me a comment!

-Natasha

Creamy Potato Salad

We’ve been having an unusually sunny and warm May, which means it’s time for BBQ food. No BBQ is complete without creamy potato salad. This recipe was inspired by one from Cook’s Country Magazine where they incorporate an egg yolk into the dressing. I’m not usually a fan of hard-boiled eggs mingling with my potato salad, but this time it turned out surprisingly well.

I know everyone has a “method” to cooking perfect hard-boiled eggs. My method is to cover the eggs with cold water and pour in a couple of teaspoons of baking soda. Cover and bring to a boil. Uncover and boil for 11 minutes. Then immediately drain and cover with icy cold water. Not only are the yolks perfectly cooked, but the eggs peel easily too.

Creamy Potato Salad | Alaska Knit Nat

Creamy Potato Salad

Serves 4

3 medium yukon gold potatoes, cut into 1-inch cubes

2 hard-boiled eggs, one yolk reserved

2 Tbs. apple cider vinegar

2 tsp. agave nectar or honey

1/2 a celery rib, minced

2 green onions, minced

2 pickles, diced

1/4 cup greek yogurt

2 Tbs. mayonnaise

salt and pepper to taste


Directions:

Toss your diced potatoes into a large pot and cover with water. Add a couple of pinches of salt, cover and bring to a boil. Turn down the heat and simmer till potatoes are just tender — about 8 minutes.

Meanwhile, whisk together the vinegar, agave nectar, and the yolk from one egg. Drain the potatoes and transfer to a bowl. Pour over half the dressing and gently toss to coat. Refrigerate for 30 minutes.

Add the remaining eggs to the remaining dressing and thoroughly mash till the egg whites are small chunks. Add the celery, green onions, pickles, yogurt and mayo. Once the potatoes are cooled, add the remaining dressing. Add salt and pepper to taste. If you prefer your salad even creamier, add a little more mayo.

If you’re looking for a healthier potato salad, why not try this tasty recipe I made with red potatoes? Click on the photo for the recipe:

img_11231

Low-guilt Nachos

I love me some junk food and nachos are near the top of the list. They are quick, cheap and can pile on the calories if you’re not careful. I like to justify mowing down on nachos by using healthier ingredients.

Here’s what I had for dinner:

Low-guilt Nachos | Alaska Knit Nat

And here’s how I made them.


Low-guilt Nachos

Serves 1 hungry person

Ingredients:

A few handfuls of Food Should Taste Good Multigrain Tortilla Chips

1/2 cup low-fat grated cheddar cheese

2 green onions, chopped

1 Tbs. Neufchâtel cheese

1/2 of an avocado

1 Tbs. low-fat sour cream

2 Tbs. salsa

Chopped cilantro

Low-guilt Nachos | Alaska Knit Nat

Here’s my no-brainer secret to making perfect nachos in the oven — bake them, don’t broil them. Broiling sometimes burns the chips before the cheese has melted. So, preheat an oven or toaster oven to 375 degrees. Arrange the chips on a foil-lined baking sheet. Top with green onions and cheddar. Dot the Neufchâtel all around the chips. Bake for about 7 minutes, or until the cheddar is gooey.

Remove from oven and top with sour cream, avocado, salsa and cilantro.

This is just a guideline, of course. You can add whatever toppings you like. Jalapeños, black beans, chicken, tofu — the world is your nacho!

If you’re in the mood for a fiesta, try some of my other recipes, such as:

Chicken Taquitos with Spinach & Wild Rice
Guacamole à la Moña
Guacamole à la Moña

Quick Craft: Coffee Filter Flower

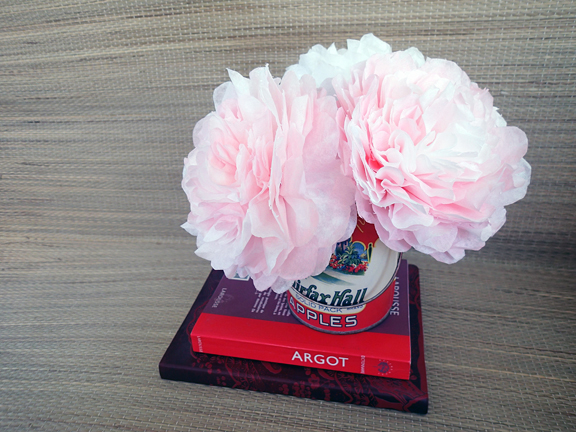
I stayed home sick today and I hate wasting my time in bed, so I decided to mildly craft out. I really love tissue paper flowers but I don’t like spending a ton of time cutting out paper. I found this neat tutorial last year for making coffee filter flowers and I thought I’d take it a step further. I dyed the coffee filters with food coloring and water, let them air dry, and then made them with pipe cleaners as the stem. By using coffee filters I didn’t have to cut the paper to shape. I just shaped the petals, which is far quicker. They really turned out splendidly, don’t you think?

DIY Coffee Filter Flowers -- A step-by-step guide from Alaska Knit Nat

DIY Coffee Filter Flowers -- A step-by-step guide from Alaska Knit Nat


Materials:

DIY Coffee Filter Flowers | Alaska Knit Nat

White coffee filters

Red food coloring

Liquid medicine syringe or eye dropper

Scissors

Pipe cleaners

Floral tape

Floral wire


Directions:

DIY Coffee Filter Flowers | Alaska Knit Nat

You’ll be using 12 filters per flower. Fill a small cup with water and about 7 drops of food coloring. Place a few filters at a time onto a plate. With the syringe or eye dropper randomly drop the water all over the filters. Flip them over and do the other side. It’s up to you how much white you want to leave. Hang dry them. Or I guess you could use a hair dryer, but I don’t own one.

DIY Coffee Filter Flowers | Alaska Knit Nat

When filters are dry, take six at a time and fold them in half three times and cut out a heart shape to make the petals. I cut more off of one set of six. These will be the inside petals.

DIY Coffee Filter Flower | Alaska Knit Nat

Rough up the edges of the petals with your scissors. Cut a teeny tiny bit off the point of the filters to create a small hole in each filter.

DIY Coffee Filter Flower | Alaska Knit Nat
Inner petals (left) and outer petals


Repeat with second set of six filters, but don’t cut off as much. These will be your outer petals.

DIY Coffee Filter Flower | Alaska Knit Nat

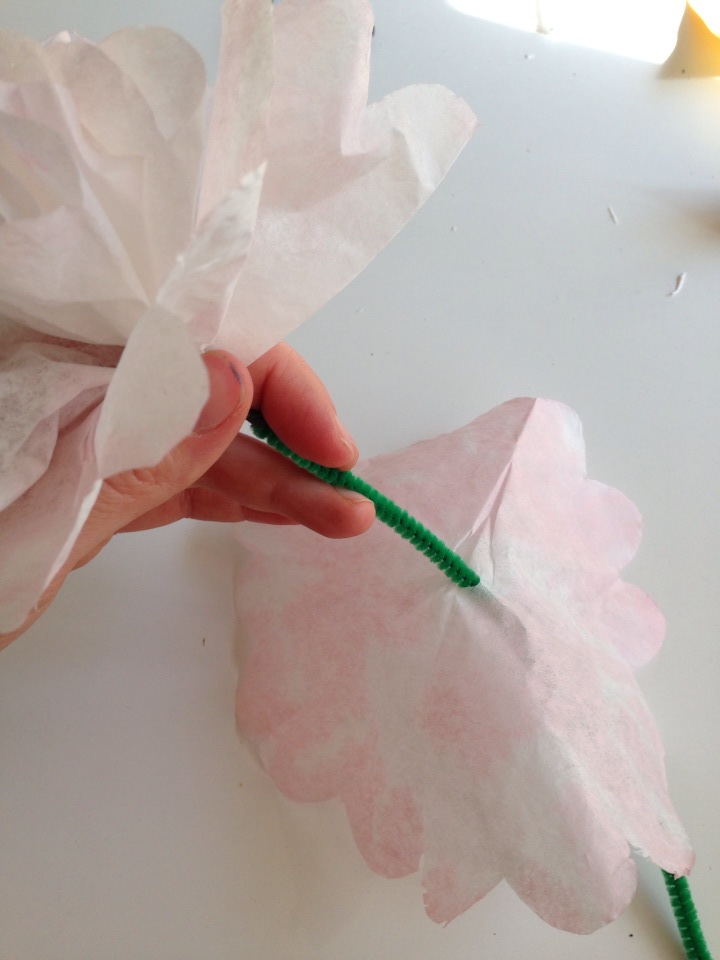
Take your pipe cleaner and create a little nub at one end. Take one sheet of your smaller filter and thread it up to the nub. Wrap the bottom of the filter all around the nub to cover it and secure with floral tape. This way you won’t be able to see the center of the flower.

DIY Coffee Filter Flower | Alaska Knit Nat

DIY Coffee Filter Flower | Alaska Knit Nat

Thread the next filter onto the pipe cleaner and scrunch it around the nub. Repeat with one filter at a time till you’ve put on all the small filters.

DIY Coffee Filter Flower | Alaska Knit Nat

Scrunch around the base of the flower and wrap with floral tape. You’ll now have a small flower and you could call it a day, but I want a huge peony.

DIY Coffee Filter Flowers | Alaska Knit Nat

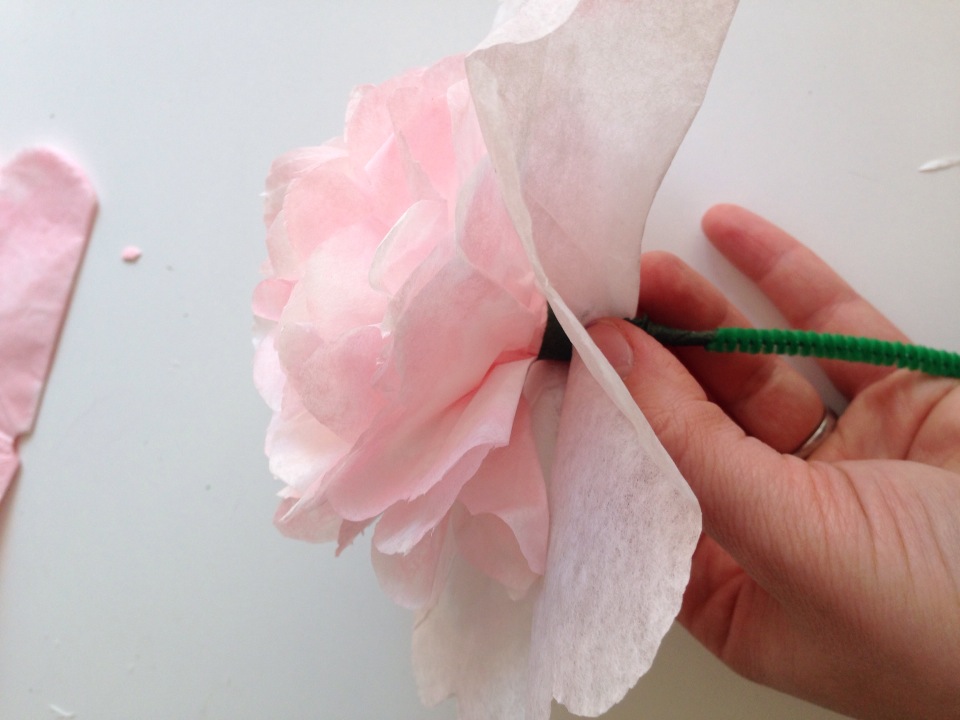
Take one larger filter and thread it on the pipe cleaner, but don’t shove it all the way up. Give it a little space so the outer petals are just a little longer than the inner petals. Repeat with the remaining filters. Scrunch up around the base of the flower and secure with floral tape.

DIY Coffee Filter Flowers | Alaska Knit Nat

Cut a 6-inch piece of floral wire and fold it in half, or just use another pipe cleaner. Stick it to the main stem and continue wrapping with floral tape. This stabilizes the stem. Keep wrapping all the way to the bottom.

DIY Coffee Filter Flowers | Alaska Knit Nat

DIY Coffee Filter Flowers | Alaska Knit Nat

Break tape and wrap the bottom of the stem. Ta-da!

DIY Coffee Filter Flowers -- A step-by-step guide from Alaska Knit Nat

These flowers look cheery on a window sill year-round. Peony season is on the way, but I just couldn’t wait. These will definitely do in the meantime.

Banana Cupcakes with Dulce de Leche Icing

We never seem to consume an entire bunch of bananas. There’s always those sorry two or three sitting in the bottom of the fruit bowl, waiting to be make into banana bread. I don’t even like banana bread all that much, but I hate to waste the darn things.

I decided to spice things up a bit and use my overripe bananas for something a little more decadent than sliced bread.

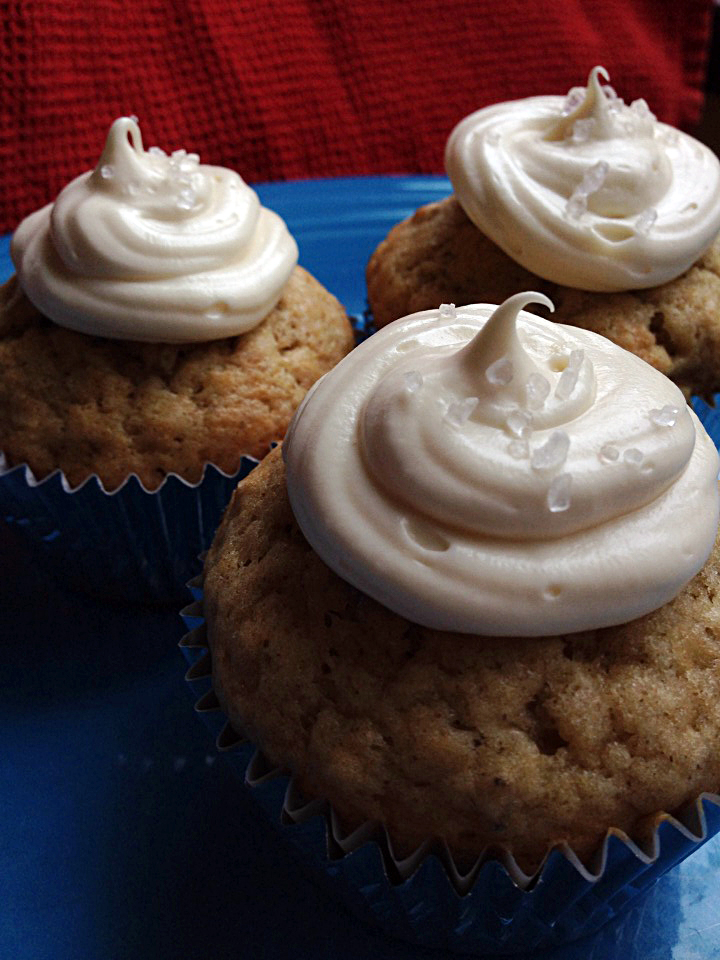
I basically just made regular banana bread but put it in cupcake liners and topped it with a sweet and salty icing.

My recipe was inspired by this one from Culinary Couture.

Banana bread cupcakes with dulce de leche icing -- an alternative to boring banana bread

Banana bread:

  • 1/2 cup softened coconut oil
  • 1/4 cup brown sugar
  • 1/2 cup white sugar
  • 2 eggs
  • 1.75 cups all-purpose flour
  • 2 tsp. baking powder
  • 1/2 tsp. baking soda
  • 1/2 tsp. salt
  • 1/2 tsp. cinnamon
  • 1/2 tsp. ground ginger
  • 1/4 tsp. all spice
  • 1/4 tsp. nutmeg
  • 3 overripe bananas, mashed

Banana bread cupcakes with dulce de leche icing -- an alternative to boring banana bread

Icing:

  • 6 oz. softened cream cheese
  • 3 Tbs. softened butter
  • 3 Tbs. Nestle’s La Lechera (sweetened condensed milk)
  • 1/4 tsp. vanilla extract
  • pinch of salt
  • coarse sea salt for garnish

Banana bread cupcakes with dulce de leche icing -- an alternative to boring banana bread

Preheat oven to 350 degrees. With an electric mixer, combine the coconut oil and sugar. Add the eggs and mix well. In a small bowl combine the flour, baking powder, baking soda, salt, cinnamon, ginger, allspice and nutmeg. Add the flour mixture and mashed bananas in intervals to the wet ingredients.

Pour batter into a muffin tin filled with liners or greased well. Bake for about 20 minutes or until a toothpick comes out clean. Let cool completely.

For the icing:

with an electric mixer, combine the cream cheese, butter, La Lechera, vanilla and salt. Beat until smooth and aerated. Frost the cupcakes with a knife or with a pastry bag. Sprinkle coarse sea salt on top of each cupcake.

Banana bread cupcakes with dulce de leche icing -- an alternative to boring banana bread

DIY Necklace Holder

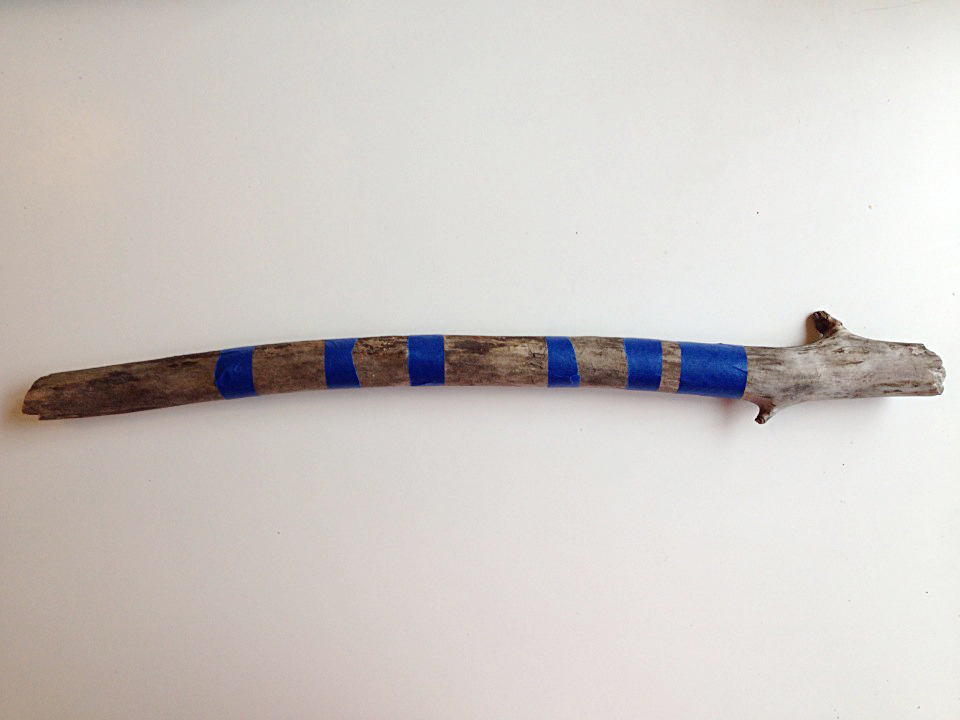
This morning my husband was cleaning up the yard. Amid the brush and rubble I found a lovely stick that would be just perfect for a necklace holder. It looked like this:

DIY Necklace Holder | Alaska Knit Nat

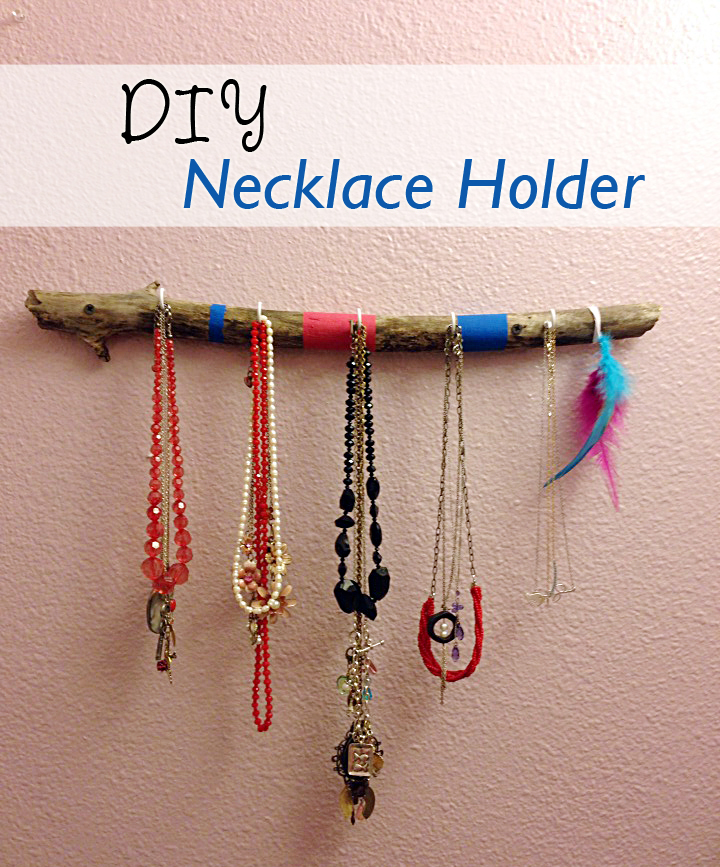
So I turned it into this:

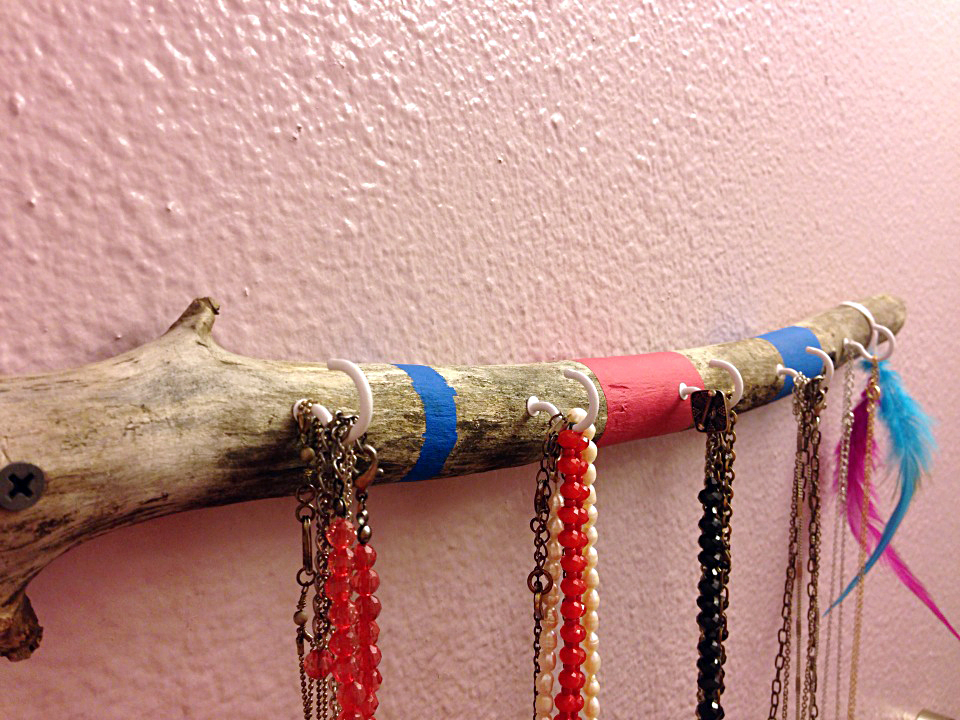
DIY Necklace Holder | Alaska Knit Nat

Here’s how.

Materials:

One stick, 12-18 inches long, about 2 inches thick

Acrylic paints

Painters or masking tape

Small paint brush

Power drill

4-7 Screw-in cup hooks (found at the hardware store)

Two long wood screws

Feathers and embroidery thread (optional)

DIY Necklace Holder | Alaska Knit Nat

Directions:

Clean off any dirt from your stick. Mark the stick with painters tape to set up your stripe pattern.

DIY Necklace Holder | Alaska Knit Nat

Paint the stick to your liking. Let dry about 15 minutes and peel away the tape. Let stick dry completely.

Determine where you’d like to drill through your stick on either end. I held up the stick against the wall to find the places that were most flush against the wall, about two inches in from either end. Drill holes the same size as the wood screws through either end of the stick. This is where I let my husband help me because I’m really terrible at power tools.

Determine where you’d like your hooks to go. I used a 12-inch ruler as my guide and pressed the end of a hook into the wood every three inches. You could eyeball it. Hand-screw each hook into the stick.

DIY Necklace Holder | Alaska Knit Nat

If you’d like, tie some embroidery thread around a couple of feathers, leaving a foot-long tail of thread. Wrap around one end of the stick for decoration.

Figure out the placement of your necklace holder and drill the wood screws into the previously drilled holes. Tighten screws and make sure it’s secure. Hang necklaces on your new, awesome hippy craft.

DIY Necklace Holder | Alaska Knit Nat

Free knitting patterns, DIY crafts, easy recipes and more!