Category Archives: Patterns

Sunny Side Up Cowl – A Free Knitting Pattern

I had to do a deep scroll on my blog to find the last knitting pattern I posted. It was more than three years ago! But with my city’s non-essential business closure mandate I’m unable to operate my floral business, so that means I have more time to knit!

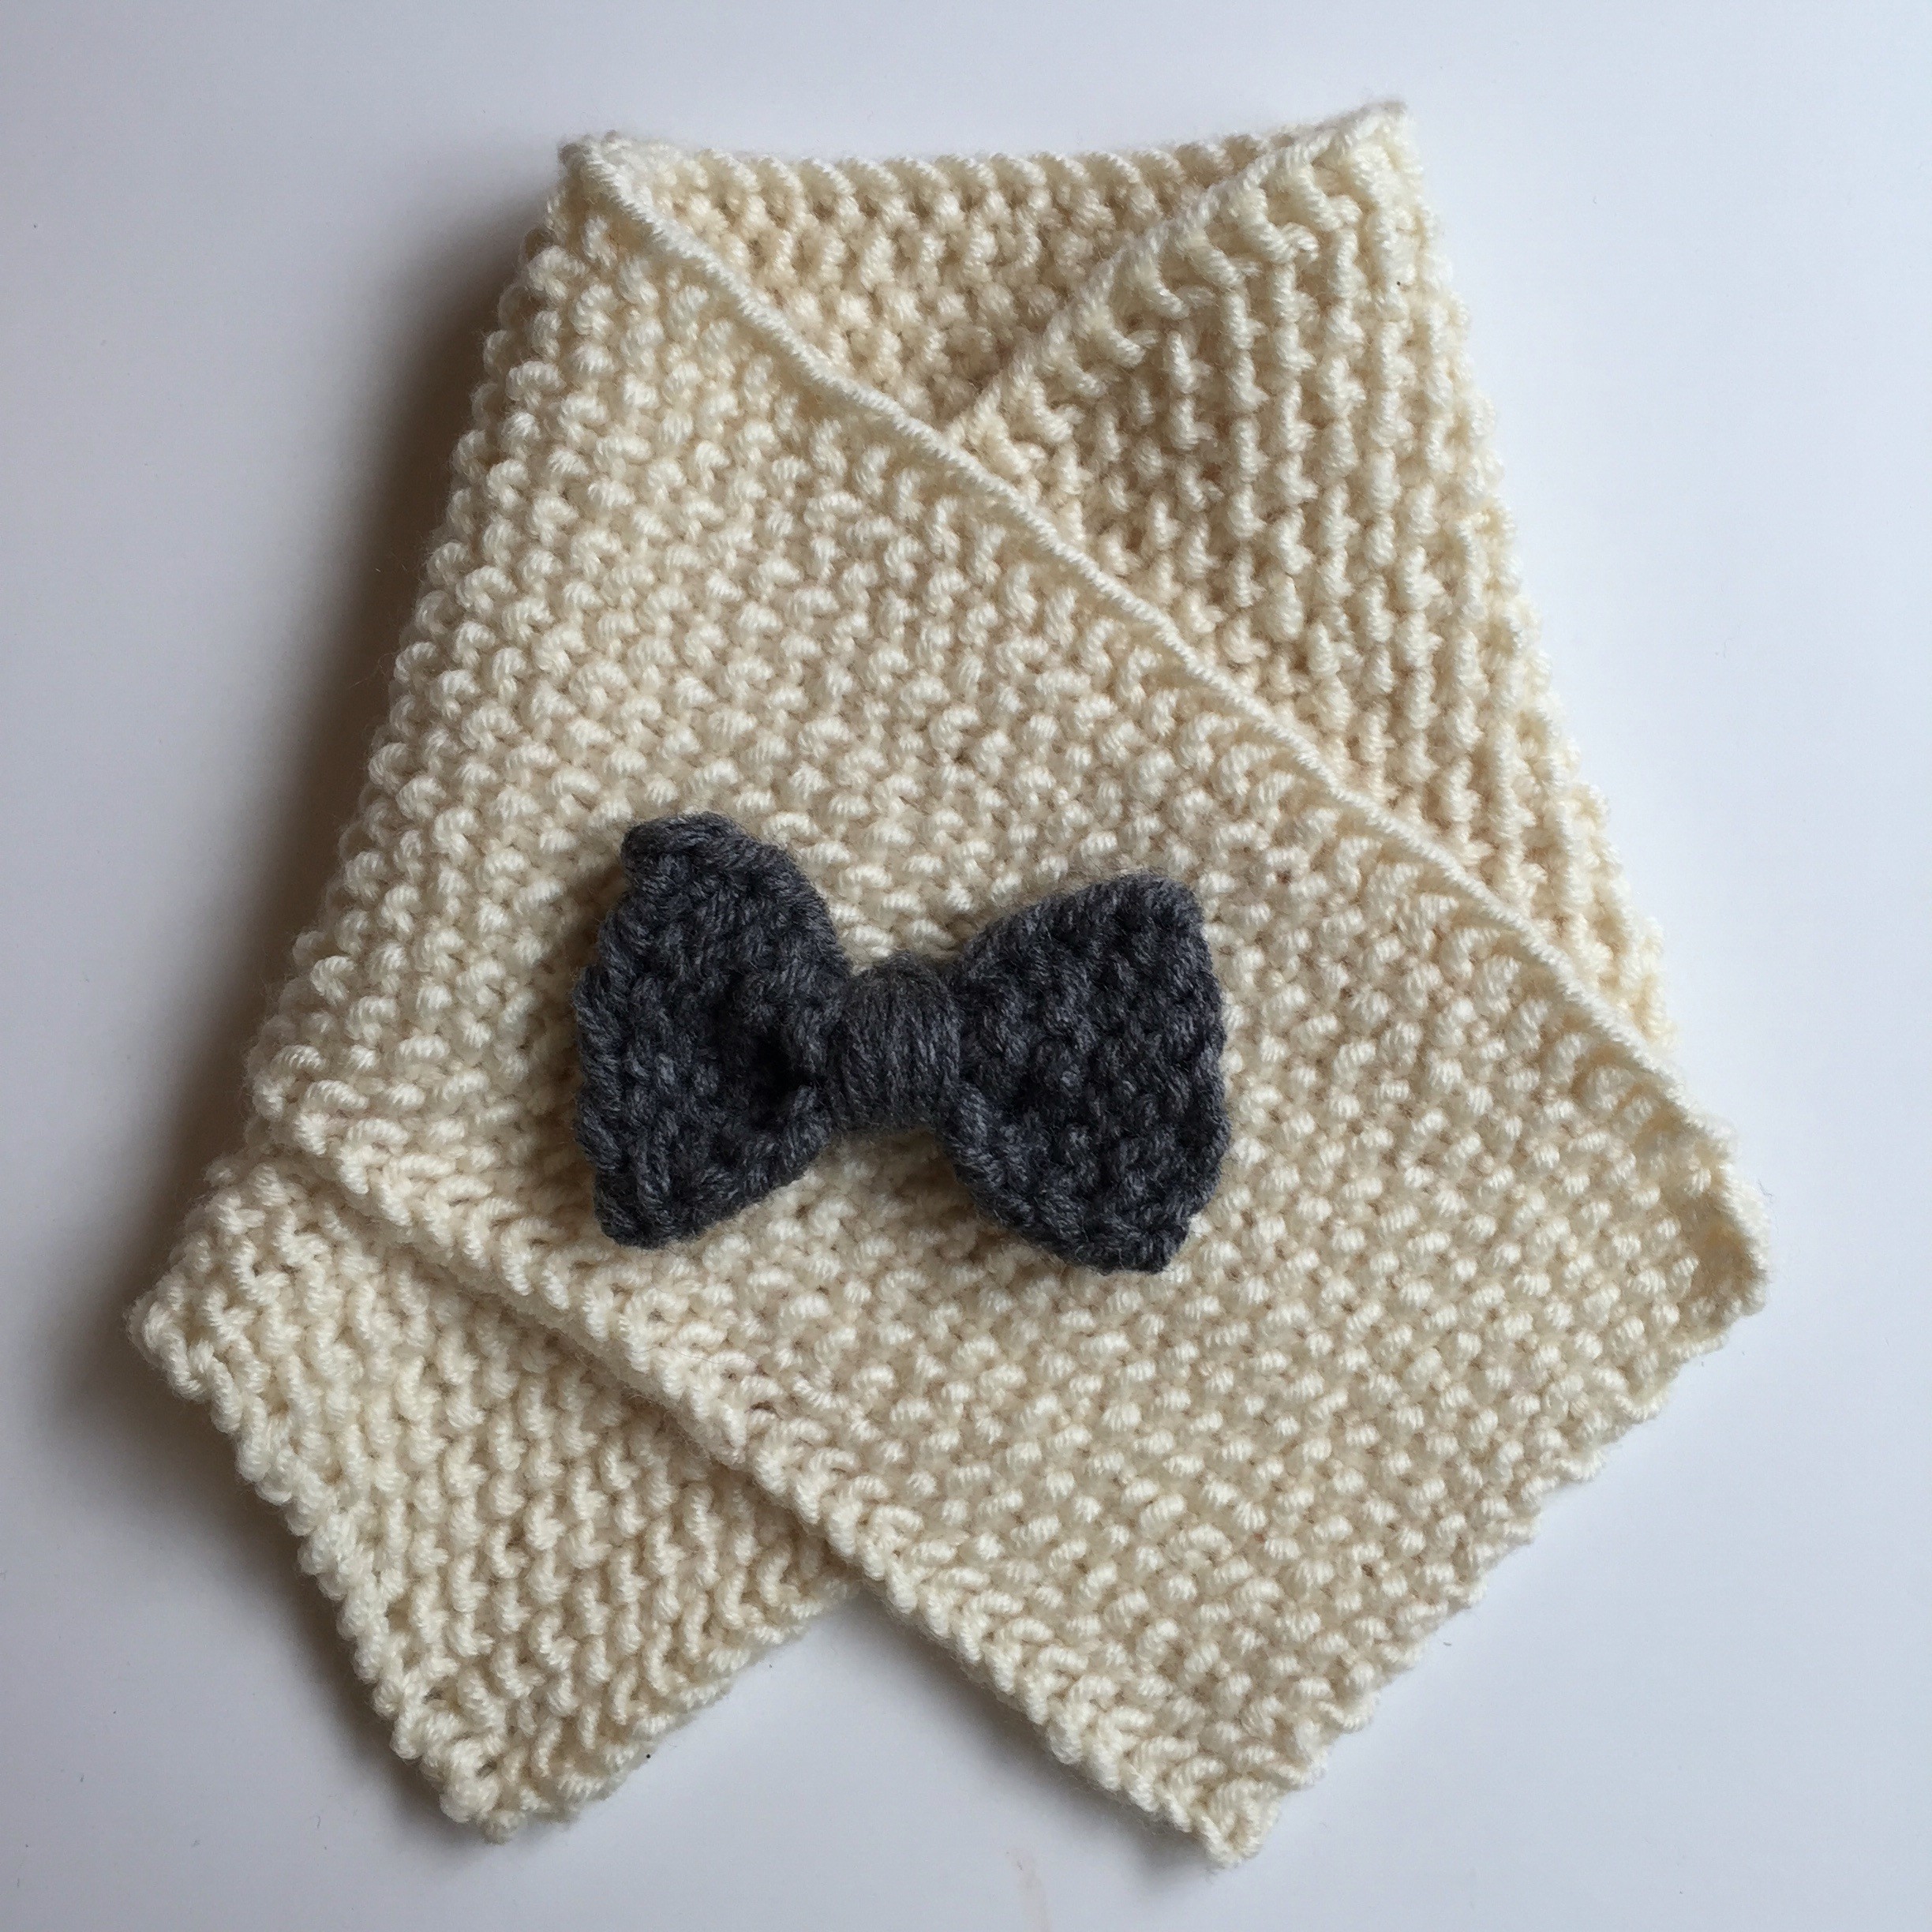
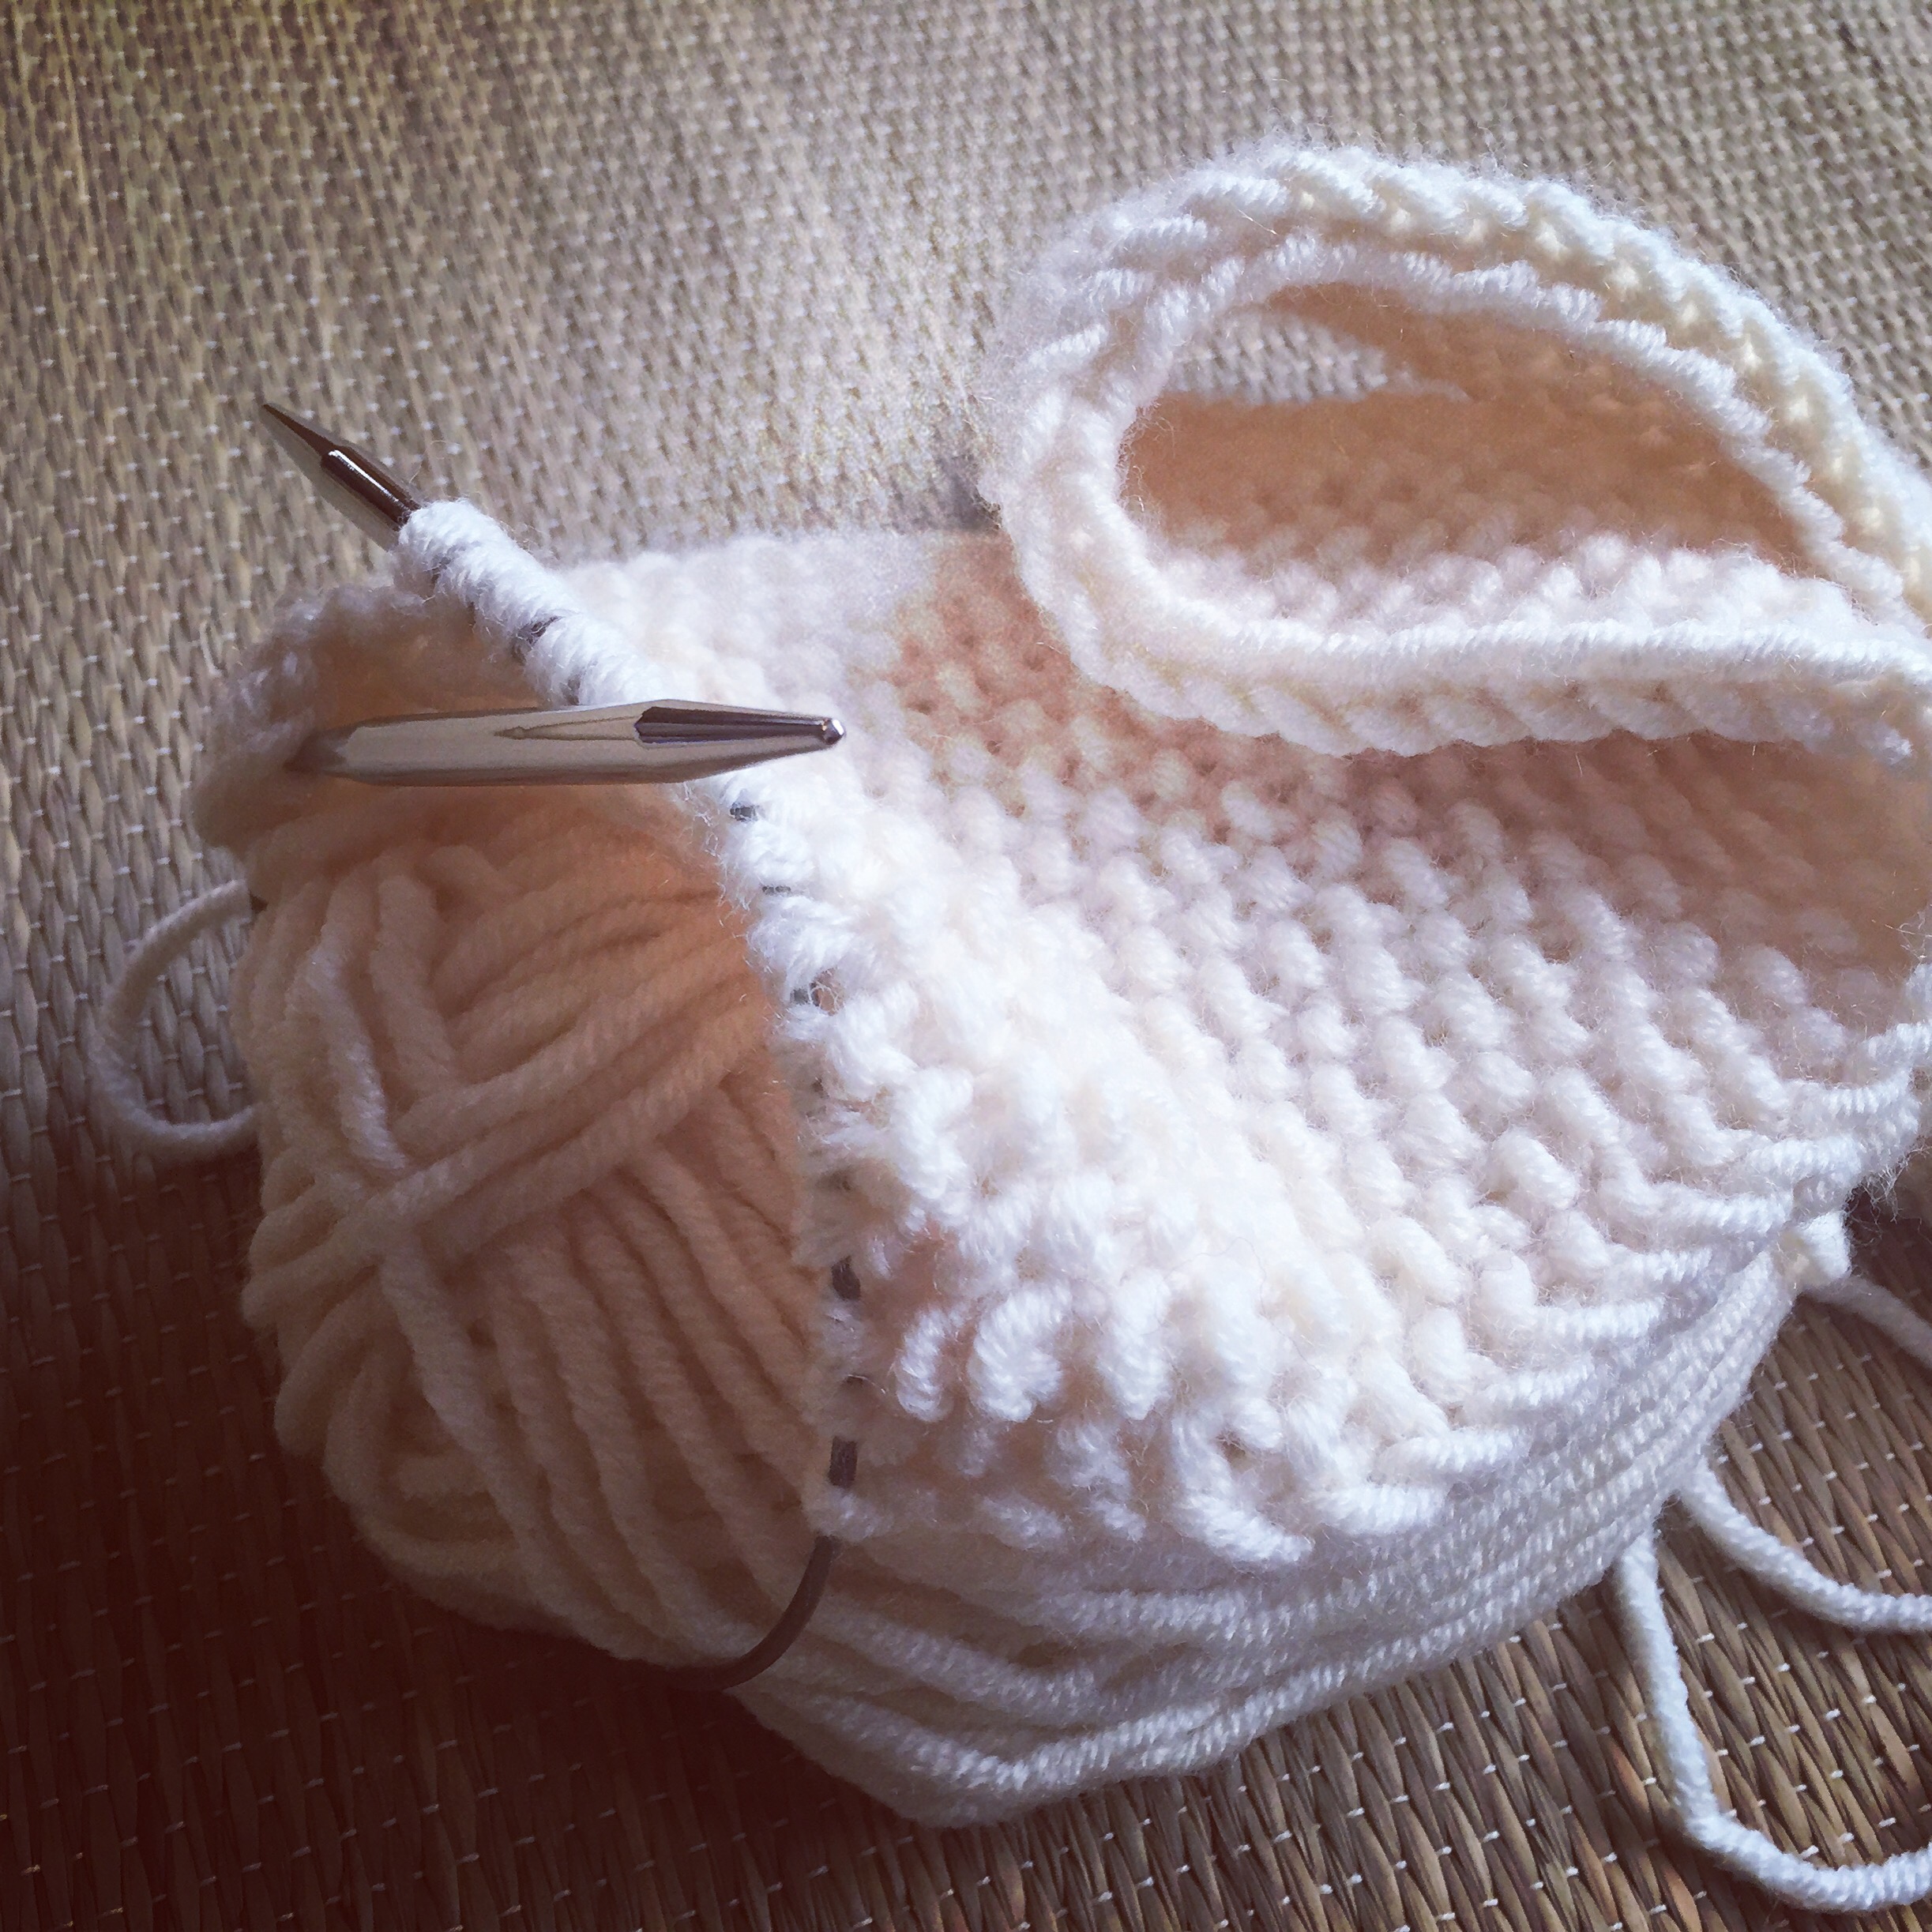
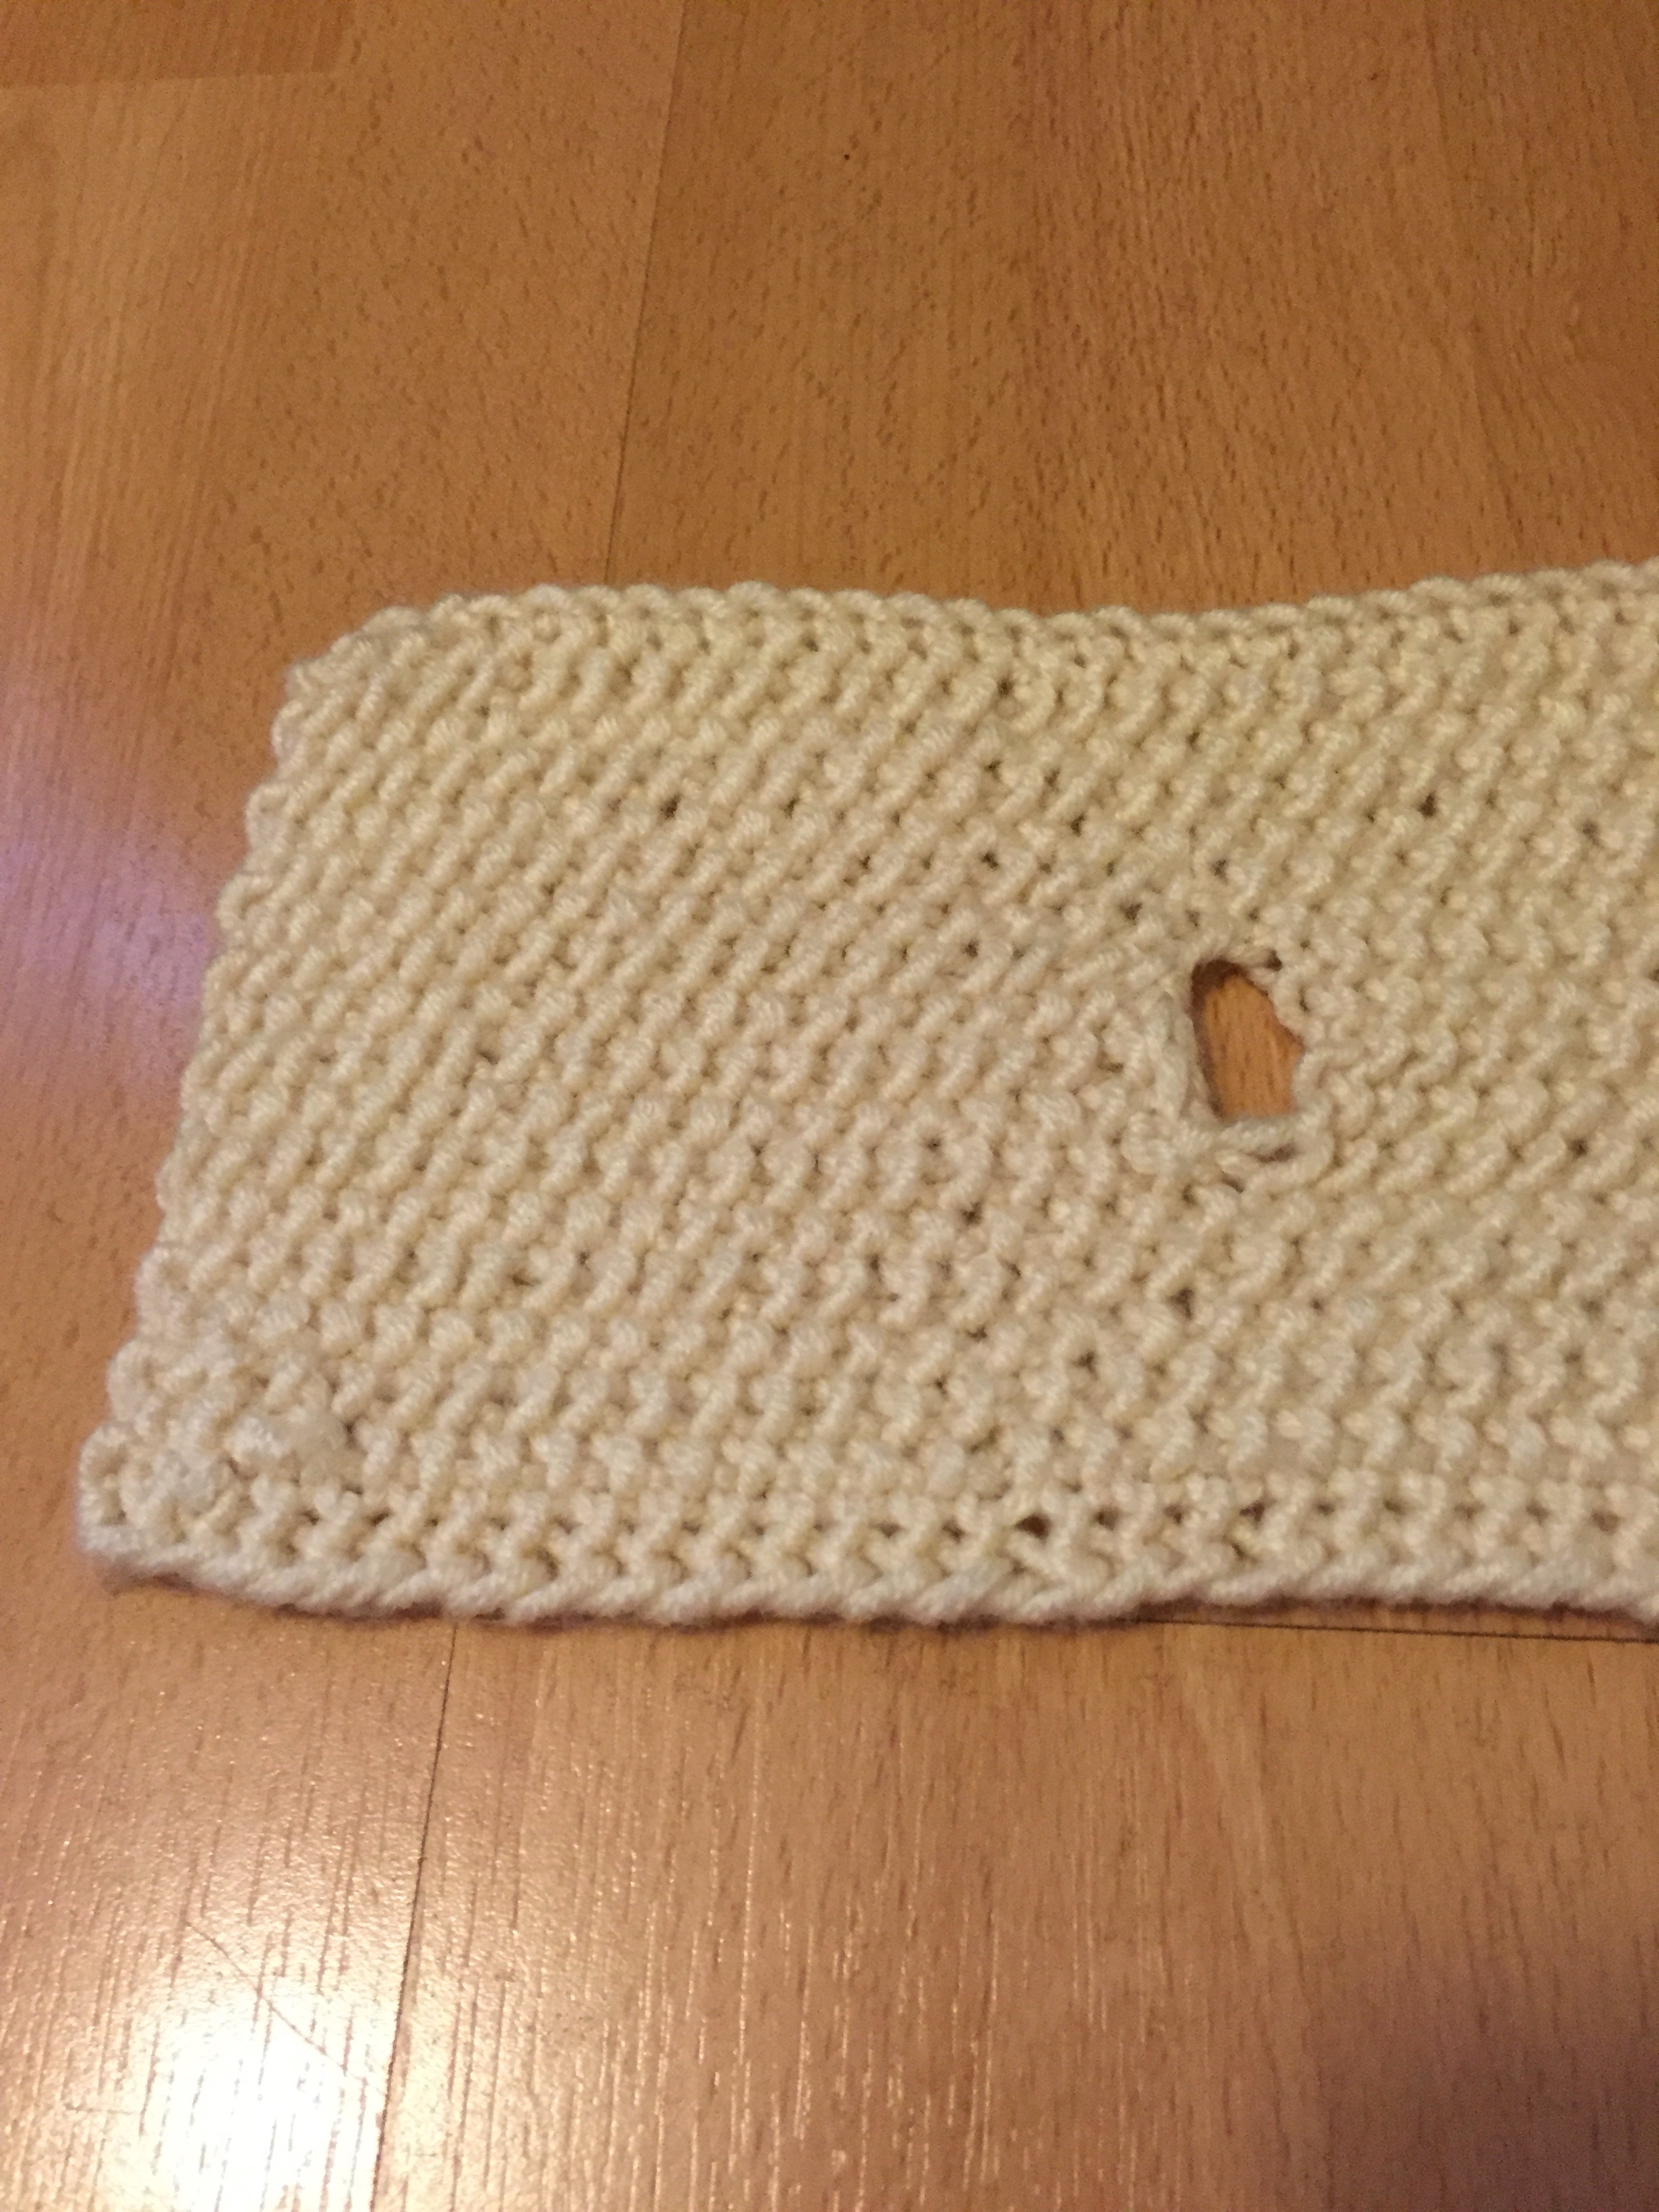
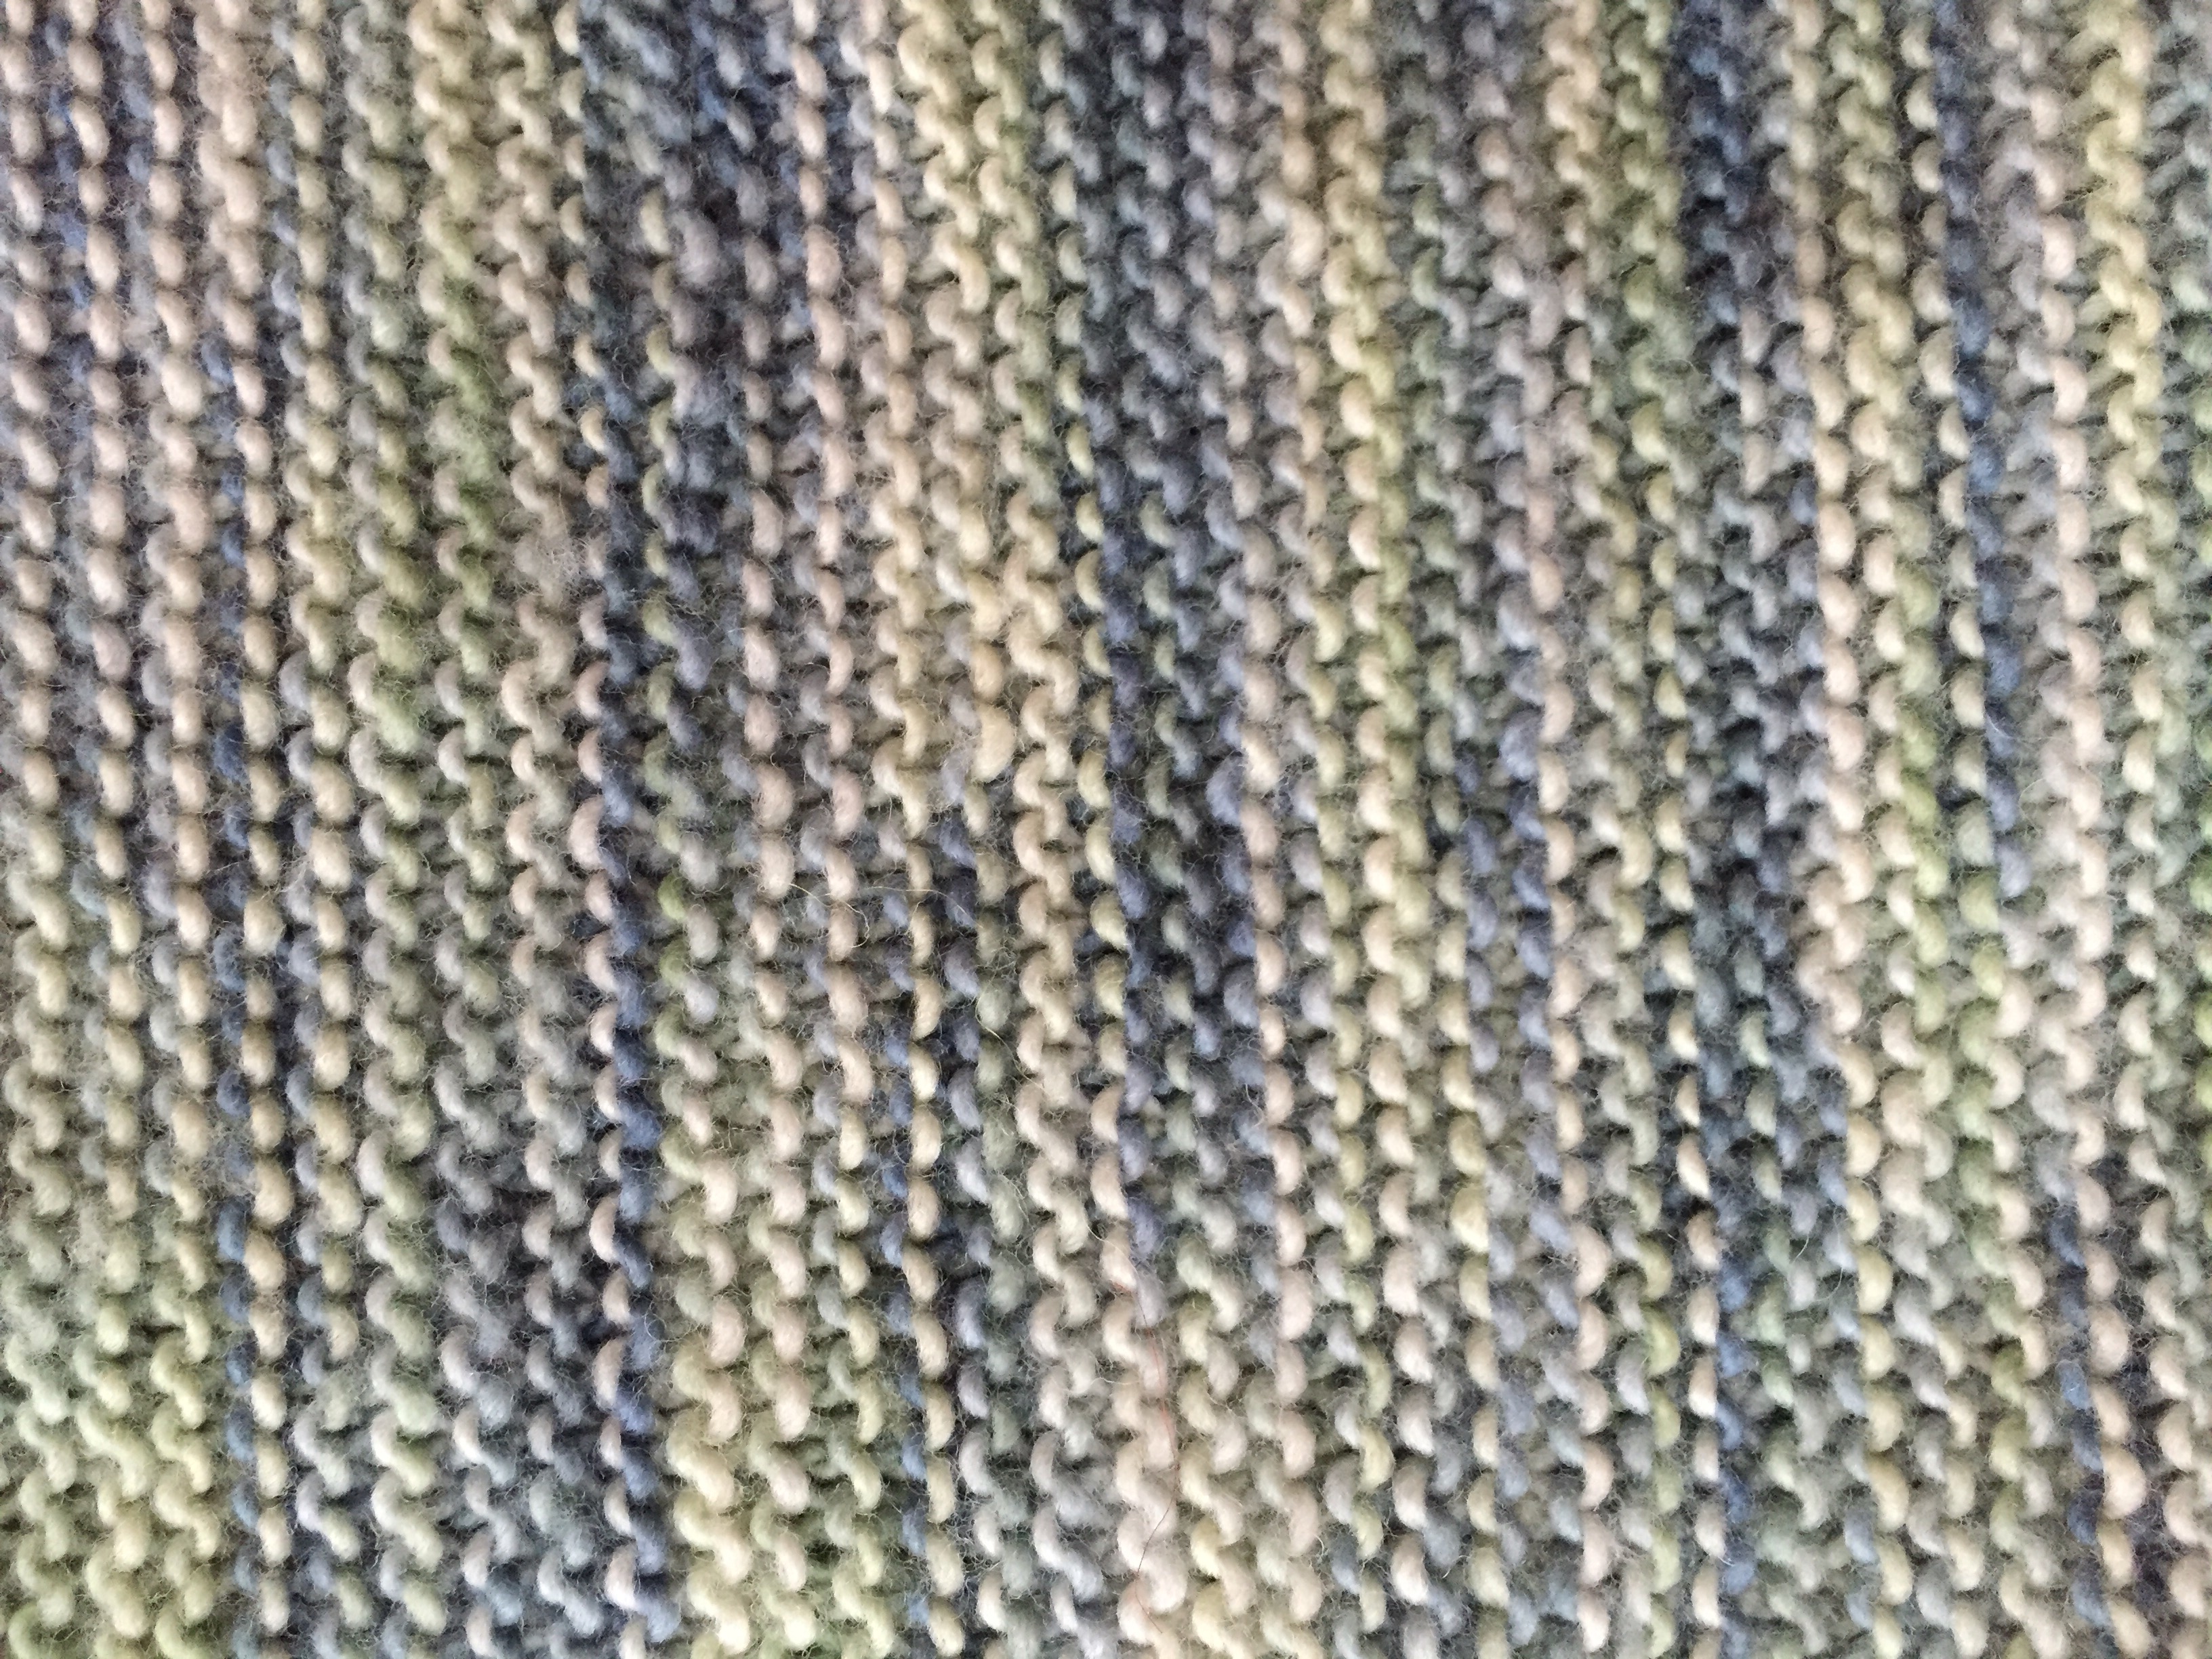
I logged into my Ravelry account (again, it’s been more than three years and I’m so glad my computer remembered my password) and found this lovely cowl pattern that implements a very simple lacework pattern to create a pretty pattern and scrumptious texture.

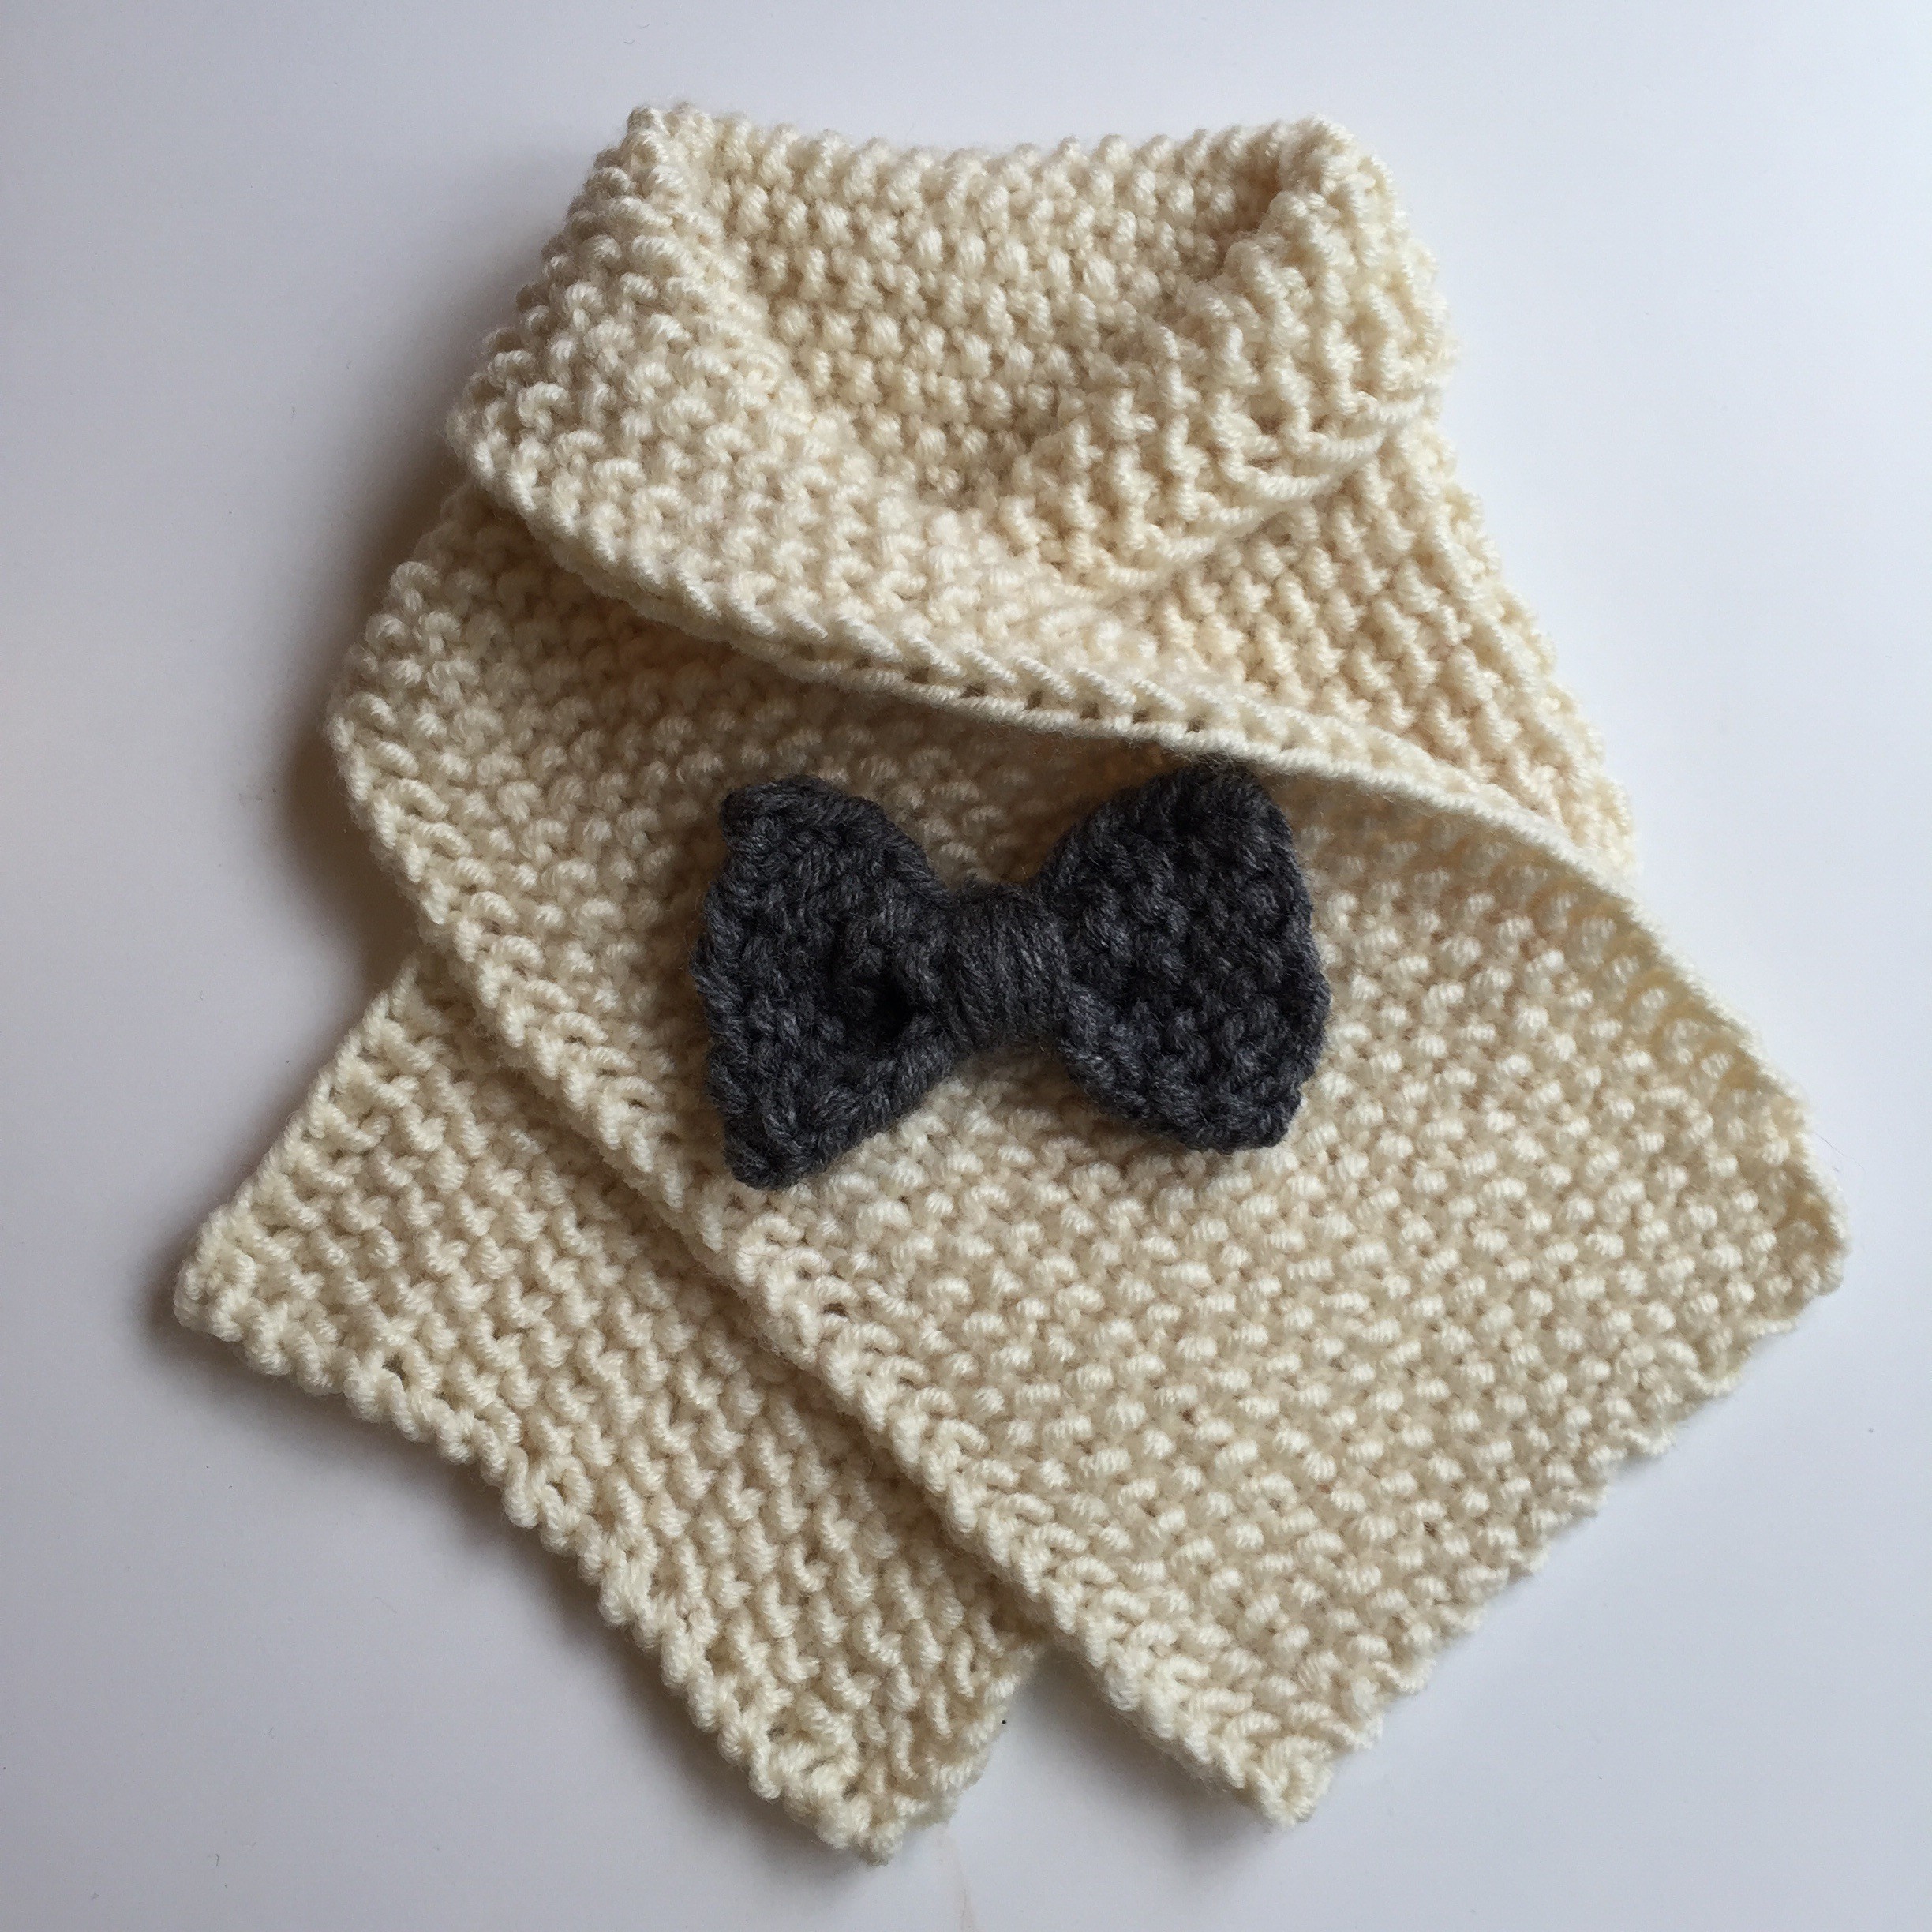
I augmented the Ravelry pattern by using lighter weight yarn, one variegated skein instead of two contrasting colors, and smaller needles.

Sunny Side Up Cowl - A Free Pattern from Alaskaknitnat.com

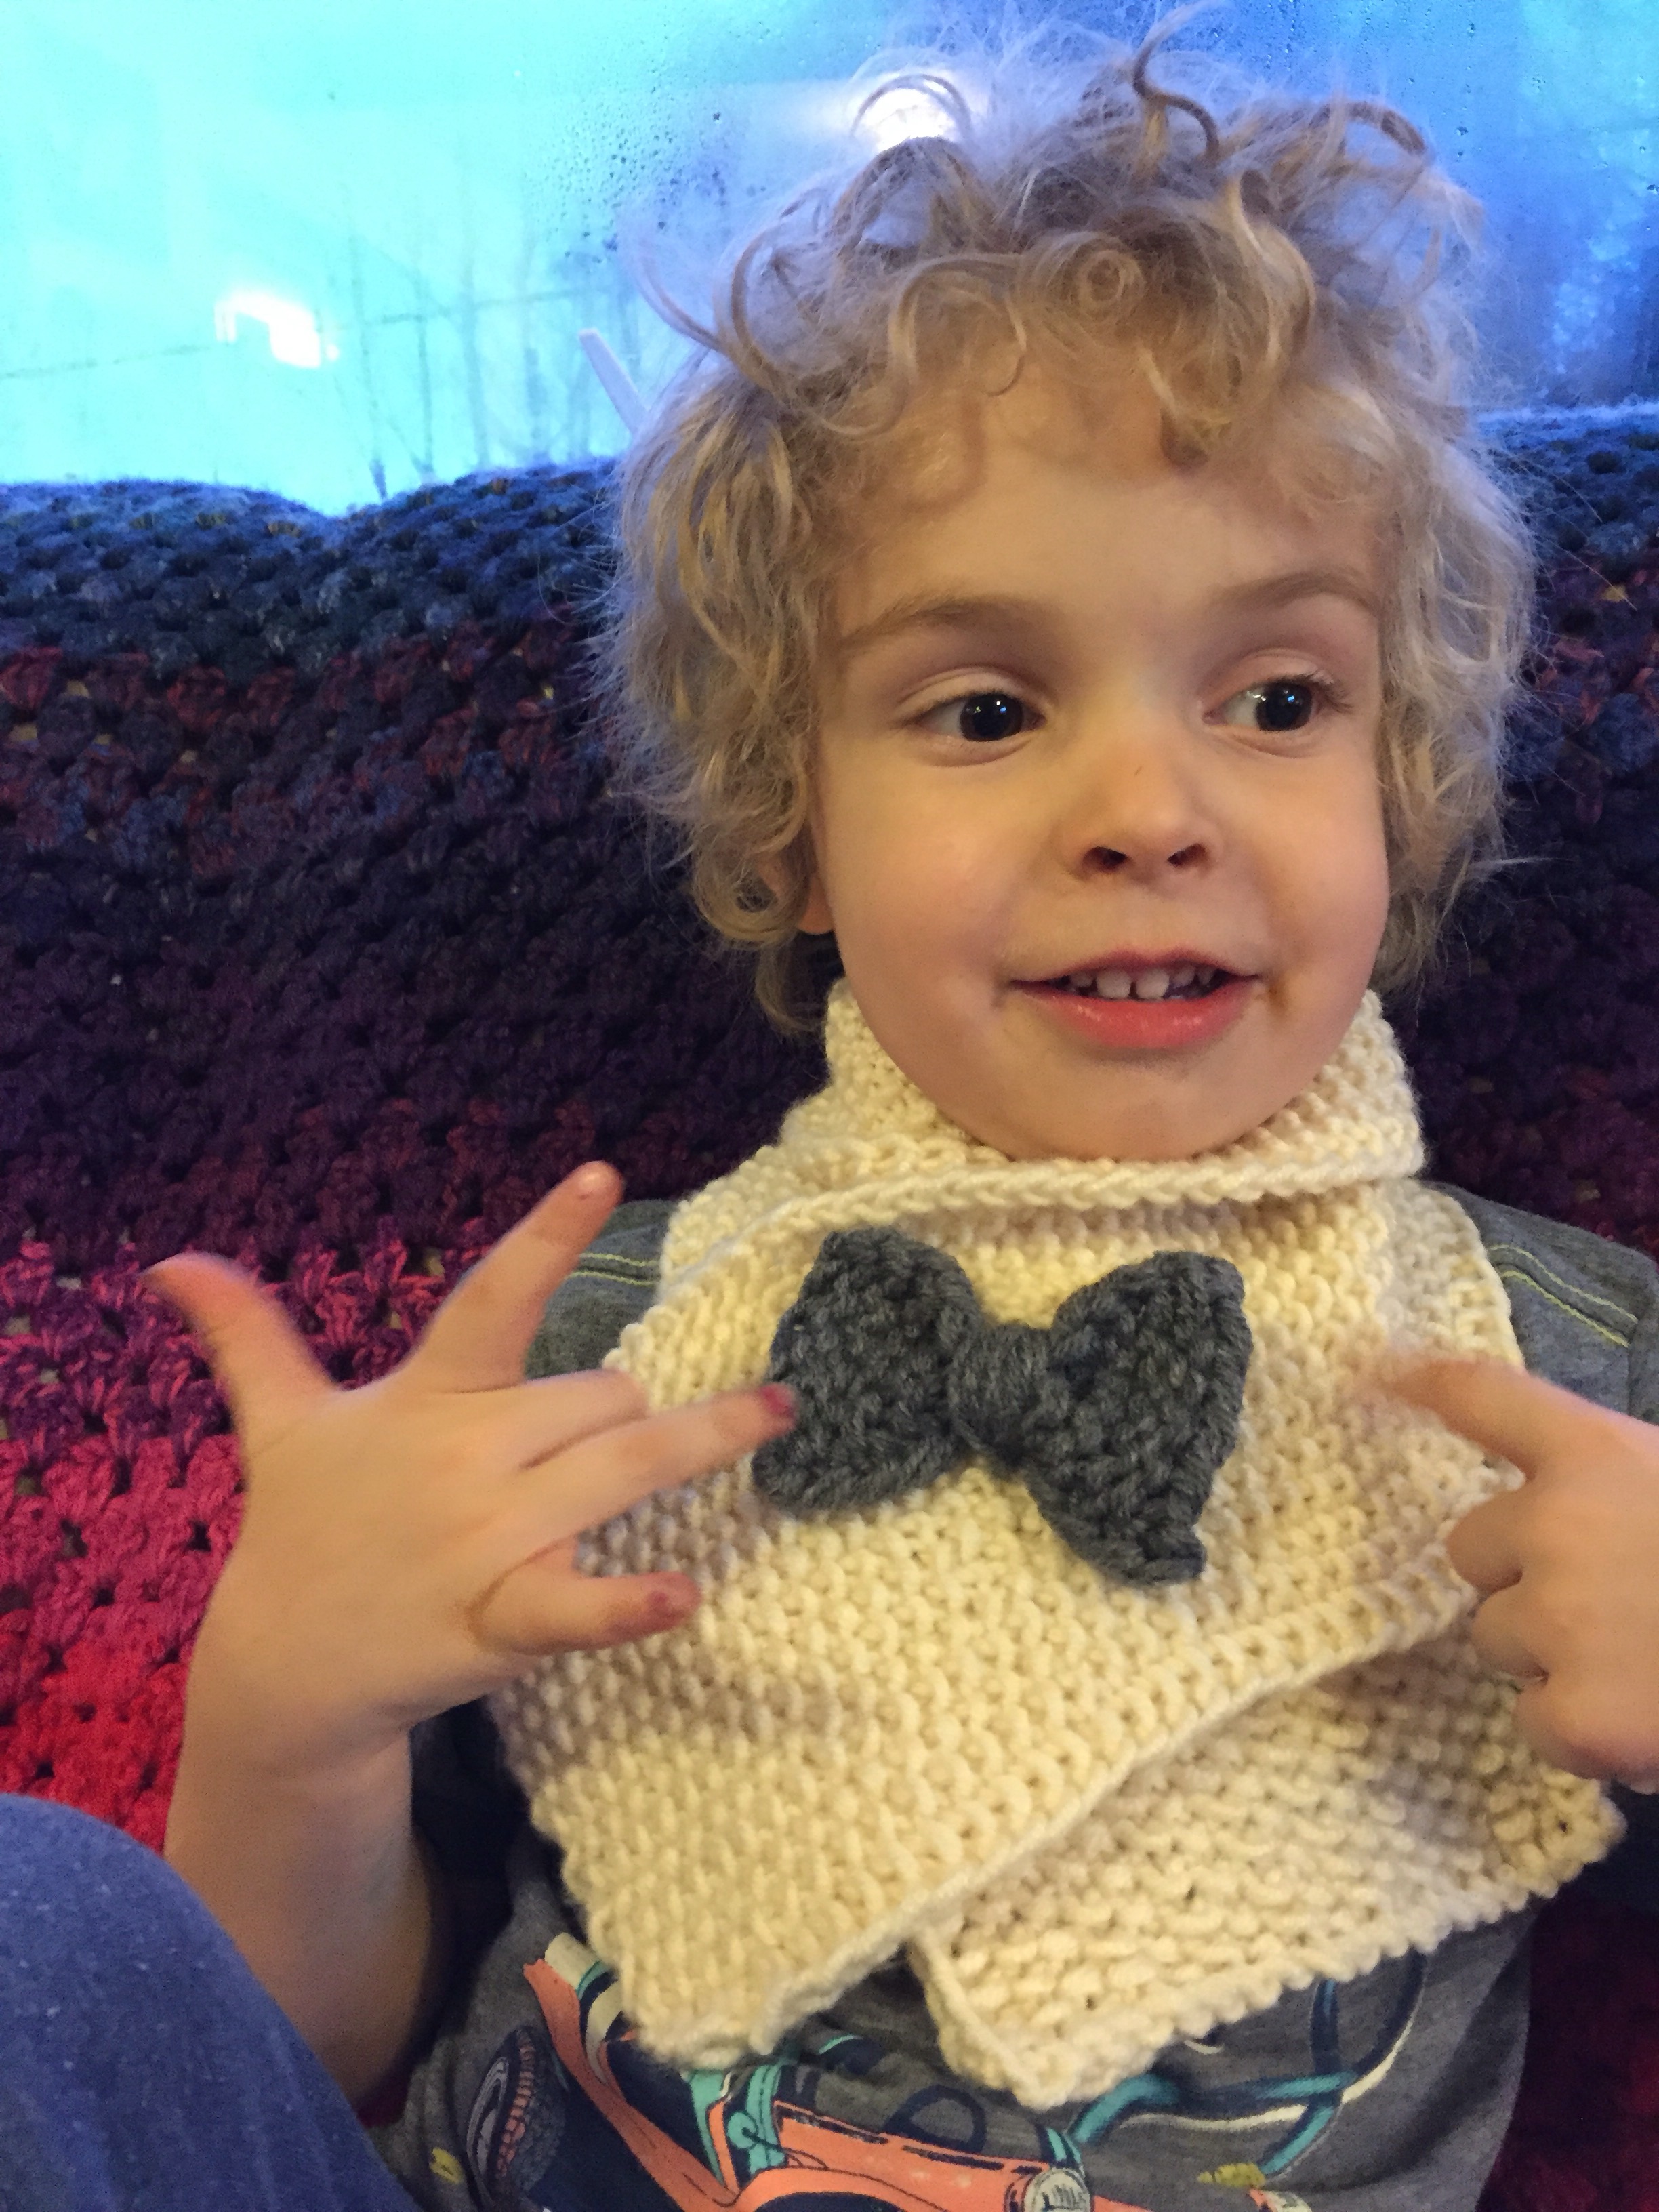
It’s a special time of year in Anchorage that we call “break up,” where the snow is melting, river ice is breaking up, and everything outside is mucky. There’s still a chill in the air and this cowl is just right for break up season.

Sunny Side Up Cowl - A Free Pattern from Alaskaknitnat.com

The Lion Brand Scarfie yarn is the perfect amount of wool to make it fluffy and a nice amount of acrylic to make it not itchy. This project knits up pretty fast and I recommend it if you’re looking for a simple stitch pattern that won’t make you count so you can binge watch your favorite show and not lose track of your work.

Sunny Side Up Cowl - A Free Pattern from Alaskaknitnat.com

Sunny Side Up Cowl

Materials:

Sunny Side Up Cowl - A Free Pattern from Alaskaknitnat.com

Directions:

Cast on 100 stitches. Place marker and join in round.

Knit 1 round.

Purl 1 round

Start pattern:

Round 1: *Place yarn in front of work, slip 1 stitch, place yarn in back of work, k1. Repeat from * to end of round. Slip marker.

Round 2: K round, slip marker.

Round 3: *K1, place yarn in front of work, slip 1 stitch, place yarn in back of work. Repeat from * to end of round. Slip marker.

Round 4: K round, slip marker.

Repeat this pattern until work is 9 inches tall from cast on edge or until it’s the height you prefer. End with either row 2 or 4.

Purl 1 round

Bind off. Weave in ends. Block if you feel like it, but I never do.

Sunny Side Up Cowl - A Free Pattern from Alaskaknitnat.com

Sherbet Triangle Scarf

I’m not a big fan of knitting scarves. They take too long and I usually lose interest. But there’s one style I don’t mind knitting. It’s a giant triangle and the pattern is crazy easy.

Sherbet Triangle Scarf | a simple knitting pattern from Alaskaknitnat.com

Two days ago my little sister texted and said she lost her favorite scarf and asked if I’d make her a new one. Here’s her cute little self:

Sherbet Triangle Scarf | A super simple pattern from Alaskaknitnat.com

Two binge-watching nights later and the scarf was finished. This is a perfect mindless project since it’s knit in garter stitch and you only have to remember to increase one stitch at the beginning of each row. The mohair adds a beautiful fluff to the scarf so it feels like a cloud when you’ve finished. By combining fuschia and peach yarns the outcome sort of reminds me of sherbet ice cream.

Sherbet Triangle Scarf | a simple knitting pattern from Alaskaknitnat.com

Here’s how to make it:

Super Simple Triangle Scarf Pattern

Materials:

img_6155

  • 224 yards aran weight yarn in peach (I used 2 skeins of Sirdar Snuggly SK shade 0451)
  • 224 yards (2 skeins) Rowan Mohair Haze in Caress (00525)
  • Size US 15 circular needles (straight would work too)
  • Darning needle

Sherbet Triangle Scarf | a simple knitting pattern from Alaskaknitnat.com

Abbreviations:

KFB = Knit in the front and then in the back of one stitch, thus increasing work by 1

M1 = make 1 stitch from front to back in the horizontal strand between stitches

Gauge: doesn’t matter

Directions:

You’ll be knitting both aran and mohair yarns at the same time as though they are one strand.

  1. Cast on 4 stitches.
  2. Row 1: K1, KFB, knit to end of row
  3. Repeat row 1 until you have 108 stitches or until triangle is about 20 inches from tip to needles. Bring in new skeins of yarn when necessary.
  4. Next row: K1, KFB, *K3, M1. Repeat * till there are two stitches remaining. K2.
  5. Next row: Cast off using the stretchy method.
  6. Cut yarn, leaving an 8-inch tail. With a darning needle, weave in all ends.

Sherbet Triangle Scarf | a simple knitting pattern from Alaskaknitnat.com

Here are a couple of examples of my past triangle scarves in different colors:

Snow Angel Scarf

Orange Sherbet Scarf

scarf2

bluesky2

DIY Cassie Skirt – a LuLaRoe sewing hack

If you’re a mom in her 30s then you’ve probably encountered the direct sales brand, LuLaRoe. Recently my Facebook feed has been overloaded with pop-up shops and online shopping parties for a women’s clothing brand that touts fun prints and comfortable fit.

I finally went to a LuLaRoe party at a friend’s house. It was sort of like Avon – my girlfriend hosted a shopping party and a sales rep was on-hand to talk up the brand and get you excited about buying things. If you bring a friend, you save 10 percent!

Although I found some cute styles and they were pretty comfortable, it was the price that I wasn’t impressed with. Thirty-five dollars seems like a good price for a skirt, but when I saw the fabric quality and the way they were constructed I concluded it was probably about $1.50 worth of materials and a whole lot of upselling on the part of the sales rep.

One of my coworkers has been sporting LuLaRoe’s Cassie skirt and it looks fabulous on her. It’s essentially a tube of jersey fabric with a wide waistband.

And it was pretty dang easy to make! This project took me about 45 minutes from start to finish and it cost me less than $5.

DIY Cassie Skirt - a LuLaRoe sewing hack. Make this cute pencil skirt in under an hour! Pattern from alaskaknitnat.com
It’s 1 degree out!

Copycat Lularoe Cassie Skirt

What you’ll need:

  • 1 yard of jersey (stretchy) fabric. I’d suggest a non-directional pattern to make it easier
  • Straight pins
  • Sewing machine
  • Fabric scissors

Step 1: Determine the stretch of your material. My material was stretchy in both directions but one way was definitely more stretchy. You’ll want the stretchy direction to go side-to-side, around your hips (instead of up and down stretch).

Step 2: Take the fabric and stretch it around your waist. This is how I determined how wide to make my skirt. I marked from the edge of the fabric to where it met when wrapped around my waist once. For me it was 30 inches.

Step 3: Cut a piece from your fabric that’s the measurement you came up with plus 2 inches – for me that was 32 inches. Remember the stretch should be horizontal.

DIY Cassie Skirt - a LuLaRoe sewing hack. Make this cute pencil skirt in under an hour! Pattern from alaskaknitnat.com

Step 4: Fold down the top edge by 7 inches and cut across for the waistband. My waistband measured 32 inches long and 14 inches tall (you’ll be folding it in half later). Set this aside.

DIY Cassie Skirt - a LuLaRoe sewing hack. Make this cute pencil skirt in under an hour! Pattern from alaskaknitnat.com

Step 5: Pin your two side edges, right sides together, from top to bottom. Using a zig-zag stitch, sew with a 5/8″ seam allowance thus creating a tube. It should essentially be a pencil skirt with raw edges on top and bottom. Trim the seam edges. Try on your tube to figure out if you want to trim the bottom. My skirt hit just above my knees, which is what I wanted.

DIY Cassie Skirt - a LuLaRoe sewing hack. Make this cute pencil skirt in under an hour! Pattern from alaskaknitnat.com
Bottom edge of skirt, pinned with 1/2-inch hem.

Step 6: Determine the bottom of your skirt and inside out, pin up a 1/2-inch hem. Sew around starting at the side seam with a straight stitch using a 3/8″ seam allowance. Turn right-side out.

DIY Cassie Skirt - a LuLaRoe sewing hack. Make this cute pencil skirt in under an hour! Pattern from alaskaknitnat.com
Waistband sewn together at the side.

Step 7: Take your waistband and pin the side edges together, right sides together. Sew using a zig-zag stitch with a 5/8″ seam allowance. Trim seam edges.

DIY Cassie Skirt - a LuLaRoe sewing hack. Make this cute pencil skirt in under an hour! Pattern from alaskaknitnat.com
Waistband is inside-out and placed over the top of the skirt, which is right-side out.

Step 8: Keep your waistband inside out and place it over the top of your skirt (which is right-side out). Pin the top edge of the waistband to the top edge of the skirt. Sew using a zig-zag stitch with a 5/8″ seam allowance.

DIY Cassie Skirt - a LuLaRoe sewing hack. Make this cute pencil skirt in under an hour! Pattern from alaskaknitnat.com

Step 9: Flip the waistband up and fold in half so the raw edge is now inside the skirt. Turn inside out.

DIY Cassie Skirt - a LuLaRoe sewing hack. Make this cute pencil skirt in under an hour! Pattern from alaskaknitnat.com

Step 10: Pin the raw edge of the waistband to the seam you just made. You’ll be pinning through three layers of fabric. Sew a zig-zag stitch just next to the stitch you made before. This will ensure the seam you’re currently making won’t show on the outside of the skirt.

DIY Cassie Skirt - a LuLaRoe sewing hack. Make this cute pencil skirt in under an hour! Pattern from alaskaknitnat.com
This stitch is made adjacent to the first waistband seam. This ensures it doesn’t show on the outside of the skirt.

Step 11: Turn right-side out and you’re done! The waistband is extra tall, so either wear it that way or fold it down to create more tummy control.

DIY Cassie Skirt - a LuLaRoe sewing hack. Make this cute pencil skirt in under an hour! Pattern from alaskaknitnat.com

DIY Cassie Skirt - a LuLaRoe sewing hack. Make this cute pencil skirt in under an hour! Pattern from alaskaknitnat.com

DIY Cassie Skirt - a LuLaRoe sewing hack. Make this cute pencil skirt in under an hour! Pattern from alaskaknitnat.com
Glamour garage door shot.

Oliver baby blanket

I’ve said it before – I’m a short-attention-span crafter. If I can’t finish something in a few hours, I probably never will unless I’m really determined.

When my friend Kasandra had her first son, she asked me to knit him a blanket. It took me months to make and although it’s been much loved I vowed I would never knit another blanket. It’s just too monotonous.

So when Kasandra told me no one had yet made her second boy, Oliver, a special blanket, I decided to keep my vow and crochet him a blanket.

The Oliver Blanket | an easy crocheted baby blanket with vertical stripes | free crochet pattern from Alaskaknitnat.com

This pattern was simple and quick. I made the whole thing in a couple of weeks. The vertical stripes are unusual and the gaps between the crocheted spaces aren’t too big so it’s a nice piece of fabric.

Continue reading Oliver baby blanket

Alaska Flag Hat revisited

Last summer a friend commissioned me to knit her a slouchy Alaska Flag Hat. It turned out to be a hit and I knit more than 30 of them for various Alaskans. Several asked for a kids or non-slouchy version as we can’t all look as spectacular as Fernanda in a slouchy hat.

I’ve been meaning to rewrite the pattern for months but have been overwhelmed by my floral business. But when a friend of mine texted me her family photo this year, I knew it was time.

Alaska flag hat - a free pattern for children and adults from Alaskaknitnat.com
Photo by Jennifer Hughes Photography

I mean, how adorable is this family?

Continue reading Alaska Flag Hat revisited

Guest post: Feather & Fan Scarflette

My friend Annie is an avid knitter. She’s more of a knitting ninja – she wears her needles down to near stubs because of her always-popular Harry Potter scarves.

In the past few years it seems all of her friends are procreating because she makes a baby blanket nearly every month. I shared her adorable feather and fan lovey a couple of years back and when she posted a scarf with a similar pattern on her Etsy shop yesterday I asked if I could share the pattern.

Continue reading Guest post: Feather & Fan Scarflette

Reversible chevron scarf

A couple of weeks ago I was packing for a two-week vacation in Mexico. Our family trips consist of sleeping, eating and lying around, so I have a lot of time to knit. I wanted to work on a pattern that was easy and quick to finish.

I’m not usually a fan of knitting scarves as they go on forever and ever, but I realized I don’t have many scarves and the cowls I’ve made muss my hair when I take them off.

I don’t do lacework and cable scarves have a wrong side, which I find unattractive. That’s when I found a free downloadable pattern from Ravelry called the Reversible Chevron Scarf designed by Debbie Seton of The Crimson Rabbit.

Click here for the free pattern.

Reversible chevron scarf in fuchsia | A free pattern by Debbie Seton and featured on Alaskaknitnat.com

Reversible chevron scarf in fuchsia | A free pattern by Debbie Seton and featured on Alaskaknitnat.com

This scarf has a beautiful texture and the design, which is made up of just knits and purls, looks the same on both sides. Just what I wanted!

Continue reading Reversible chevron scarf

Little lady scarf — a free knitting pattern

Last week a friend asked me if I could make a toddler scarf for her little niece, Amelia. The idea of a toddler wearing a scarf is funny to me. I can’t imagine it staying on a wriggling little 2-year-old. But that got me thinking: why not make a scarf that will stay put?

I searched Pinterest and came across the most adorable scarf pattern that uses a bow as a button. This was definitely the right idea. Create a buttonhole near the end of the scarf and secure a knit bow in the buttonhole. That should keep the scarf in place on a hippitty-hoppity hyper toddler.

Little lady (or gent) scarf | an easy, free pattern from Alaskaknitnat.com. I can't get enough of that little bow!

I love the look of seed stitch, a.k.a. moss stitch. It keeps the knit piece from curling on the edges and it looks attractive on both sides of the fabric. And it’s a little fancier than garter stitch.

Little lady (or gent) scarf | an easy, free pattern from Alaskaknitnat.com. I can't get enough of that little bow!

This is a simple weekend project that’s bound to keep your little lady cozy and warm.

Little lady scarf with bow

Little lady (or gent) scarf | an easy, free pattern from Alaskaknitnat.com. I can't get enough of that little bow!

Materials:

  • 1 skein Lion Brand Woolspun in Fisherman
  • 1 skein Lion Brand Woolspun in Charcoal
  • Size 10 US needles
  • darning needle

Seed stitch:

Row 1: k1, p1 across all stitches

Row 2: p1, k1 across all stitches

Essentially, you knit where there’s a purl and purl where there’s a knit on the previous row.

Little lady (or gent) scarf | an easy, free pattern from Alaskaknitnat.com. I can't get enough of that little bow!

Note: I slip the first stitch of each row, knitwise, and purl the last stitch of every row regardless of where I am in the seed stitch pattern. This creates a neat edge. It is not required and therefore I haven’t included it in the row-by-row instructions below.

Instructions:

Cast on 20 stitches.

Seed stitch for 18 rows.

Little lady (or gent) scarf | an easy, free pattern from Alaskaknitnat.com. I can't get enough of that little bow!

For the buttonhole:

Row 1: Slip 1 stitch, seed stitch for 9 stitches. With the left needle, pull one stitch over the other stitch, *knit one, pull the second stitch over the knit one; repeat from the * twice more. You have now cast off 4 stitches. Continue with the seed stitch for the rest of the row. You should have 8 stitches on either side of the cast-off stitches.

Row 2: Slip 1 stitch, seed stitch to button hole, cast on 4 stitches, continue the seed stitch for the rest of the row. – 20 stitches.

Continue the seed stitch pattern until the whole piece measures 25 inches. Cast off and weave in ends.

Little lady (or gent) scarf | an easy, free pattern from Alaskaknitnat.com. I can't get enough of that little bow!

Bow: Cast on 10 stitches and knit in garter stitch for 10 rows. Cast off and weave in ends. Wrap grey yarn around the middle of the strip several times and tie the ends in the back of the bow.

Using the fisherman color yarn and darning needle, sew the bow to the end of the scarf opposite the button hole, the same height as the button hole (about 4 inches from the edge).

I don’t have a little lady, so my little gent got to be the model. Kind of looks like a bow tie, right?

Little lady (or gent) scarf | an easy, free pattern from Alaskaknitnat.com. I can't get enough of that little bow!

The top can be folded down a bit like a collar to make it a little narrower and warmer.

Little lady (or gent) scarf | an easy, free pattern from Alaskaknitnat.com. I can't get enough of that little bow!

Feather-light triangle scarf

After knitting about 30 Alaska flag hats, I was yearning to knit myself something this winter that I would use every day. I love cowls, but often my hair gets all frumpy and frizzy when I try and put one on over my head. I really wanted a scarf that wouldn’t require a lot of thinking.

After many searches I came across this simple pattern from Leah Michelle Designs. The elongated triangle turns out less like a shawl and more like a bandana scarf. Just my style.

Feather-light triangle scarf | An easy knitting pattern by  Leah Michelle Designs, featured on Alaskaknitnat.com

Feather-light triangle scarf | An easy knitting pattern by  Leah Michelle Designs, featured on Alaskaknitnat.com

I fell in love with Mano de Ururguay’s Clara yarn the other day at the yarn shop. It’s soft, feathery and fluffy. Just my style.

Feather-light triangle scarf | An easy knitting pattern by  Leah Michelle Designs, featured on Alaskaknitnat.com

This pattern is so simple. It increases by one stitch every four rows. No need to count stitches or rows. You just weigh the yarn before starting and increase until you’ve used half the weight, then start decreasing.

Feather-light triangle scarf | An easy knitting pattern by Leah Michelle Designs, featured on Alaskaknitnat.com

I also learned a simple technique that I’ll be applying to all scarf patterns in the future. You slip the first stitch knitwise and purl the last stitch on every row. This creates the perfect edge. I love it!

Feather-light triangle scarf | An easy knitting pattern by Leah Michelle Designs, featured on Alaskaknitnat.com

Dress to Apron Refashion – A free tutorial

Sewing is by no means my greatest talent. My mom taught me to sew at a young age, but that doesn’t mean I like it. It’s time consuming to cut out a pattern, cut out the fabric and take out the sewing machine. If I’m going to sew something it’s got to be a two-hour-or-less project.

I love the concept of refashioning clothes; i.e., taking an article of clothing and turning into a different article of clothing. Refashionista is pretty much my sewing/thrifting idol and she’s incredibly cute.

Lately I’ve been noticing gigantic church-lady linen dresses at the thrift shops. My mother loves linen dish towels because they are lightweight and absorbent. I thought about purchasing a linen dress and cutting it into dish-towel rectangles, but the concept didn’t really excite me much.

Last week I saw a lovely linen apron at Anthropologie. I had an “I can make that” moment. I figured an apron was a great way to refashion an old dress.

Years ago I made an apron for my sister and managed to write down the pattern measurements. I have included that pattern in this tutorial. Keep in mind my sewing skills are far from elegant so I’m sure some of you could come up with a prettier apron, but I’m satisfied with what I ended up with and it only took two hours from start to finish.

Be sure to check out the bottom of this post for more clothing refashion tutorials I’ve done over the years.

Refashion a thrift store linen dress into an apron | a free pattern from Alaskaknitnat.com

Continue reading Dress to Apron Refashion – A free tutorial