My son is becoming quite the cook. Over the winter break he did some baking, so I asked him to write down the recipe for his most recent quick bread, inspired by a different Natasha cook of Natasha’s Kitchen.
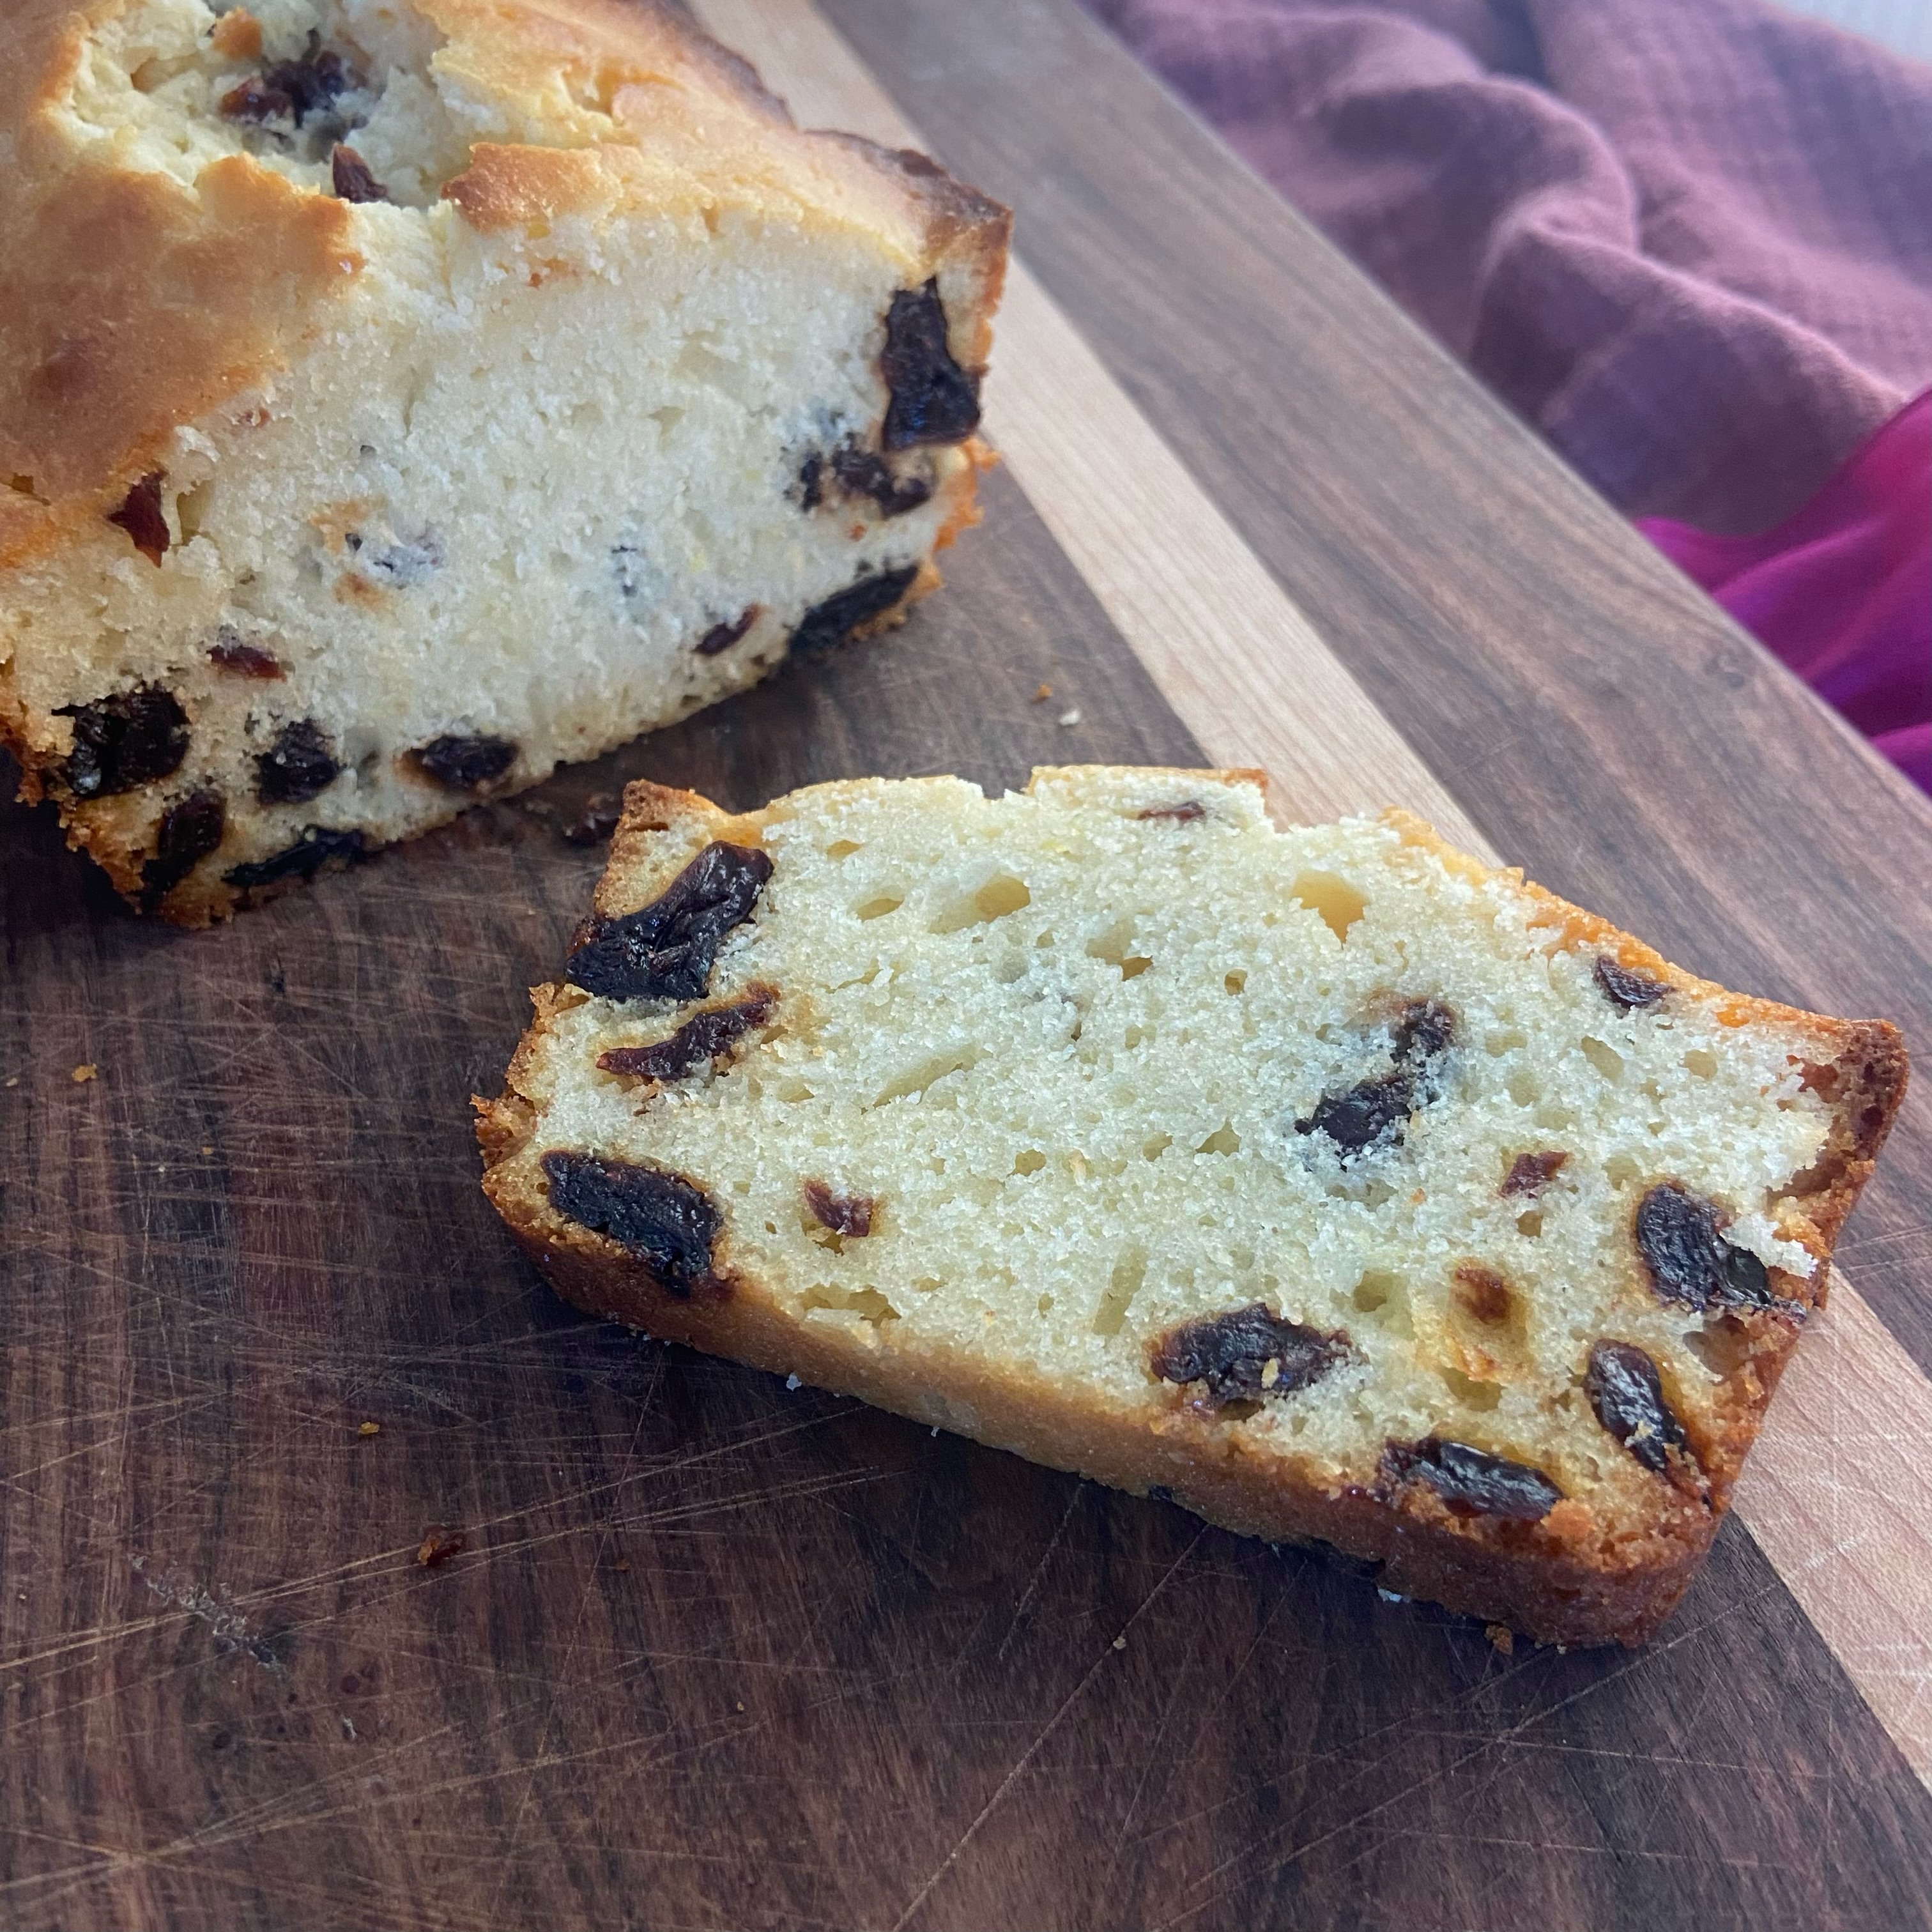
This simple bread has a lovely hint of lemon flavor that pairs perfectly with the dried tart Montmorency cherries we always buy from Costco.
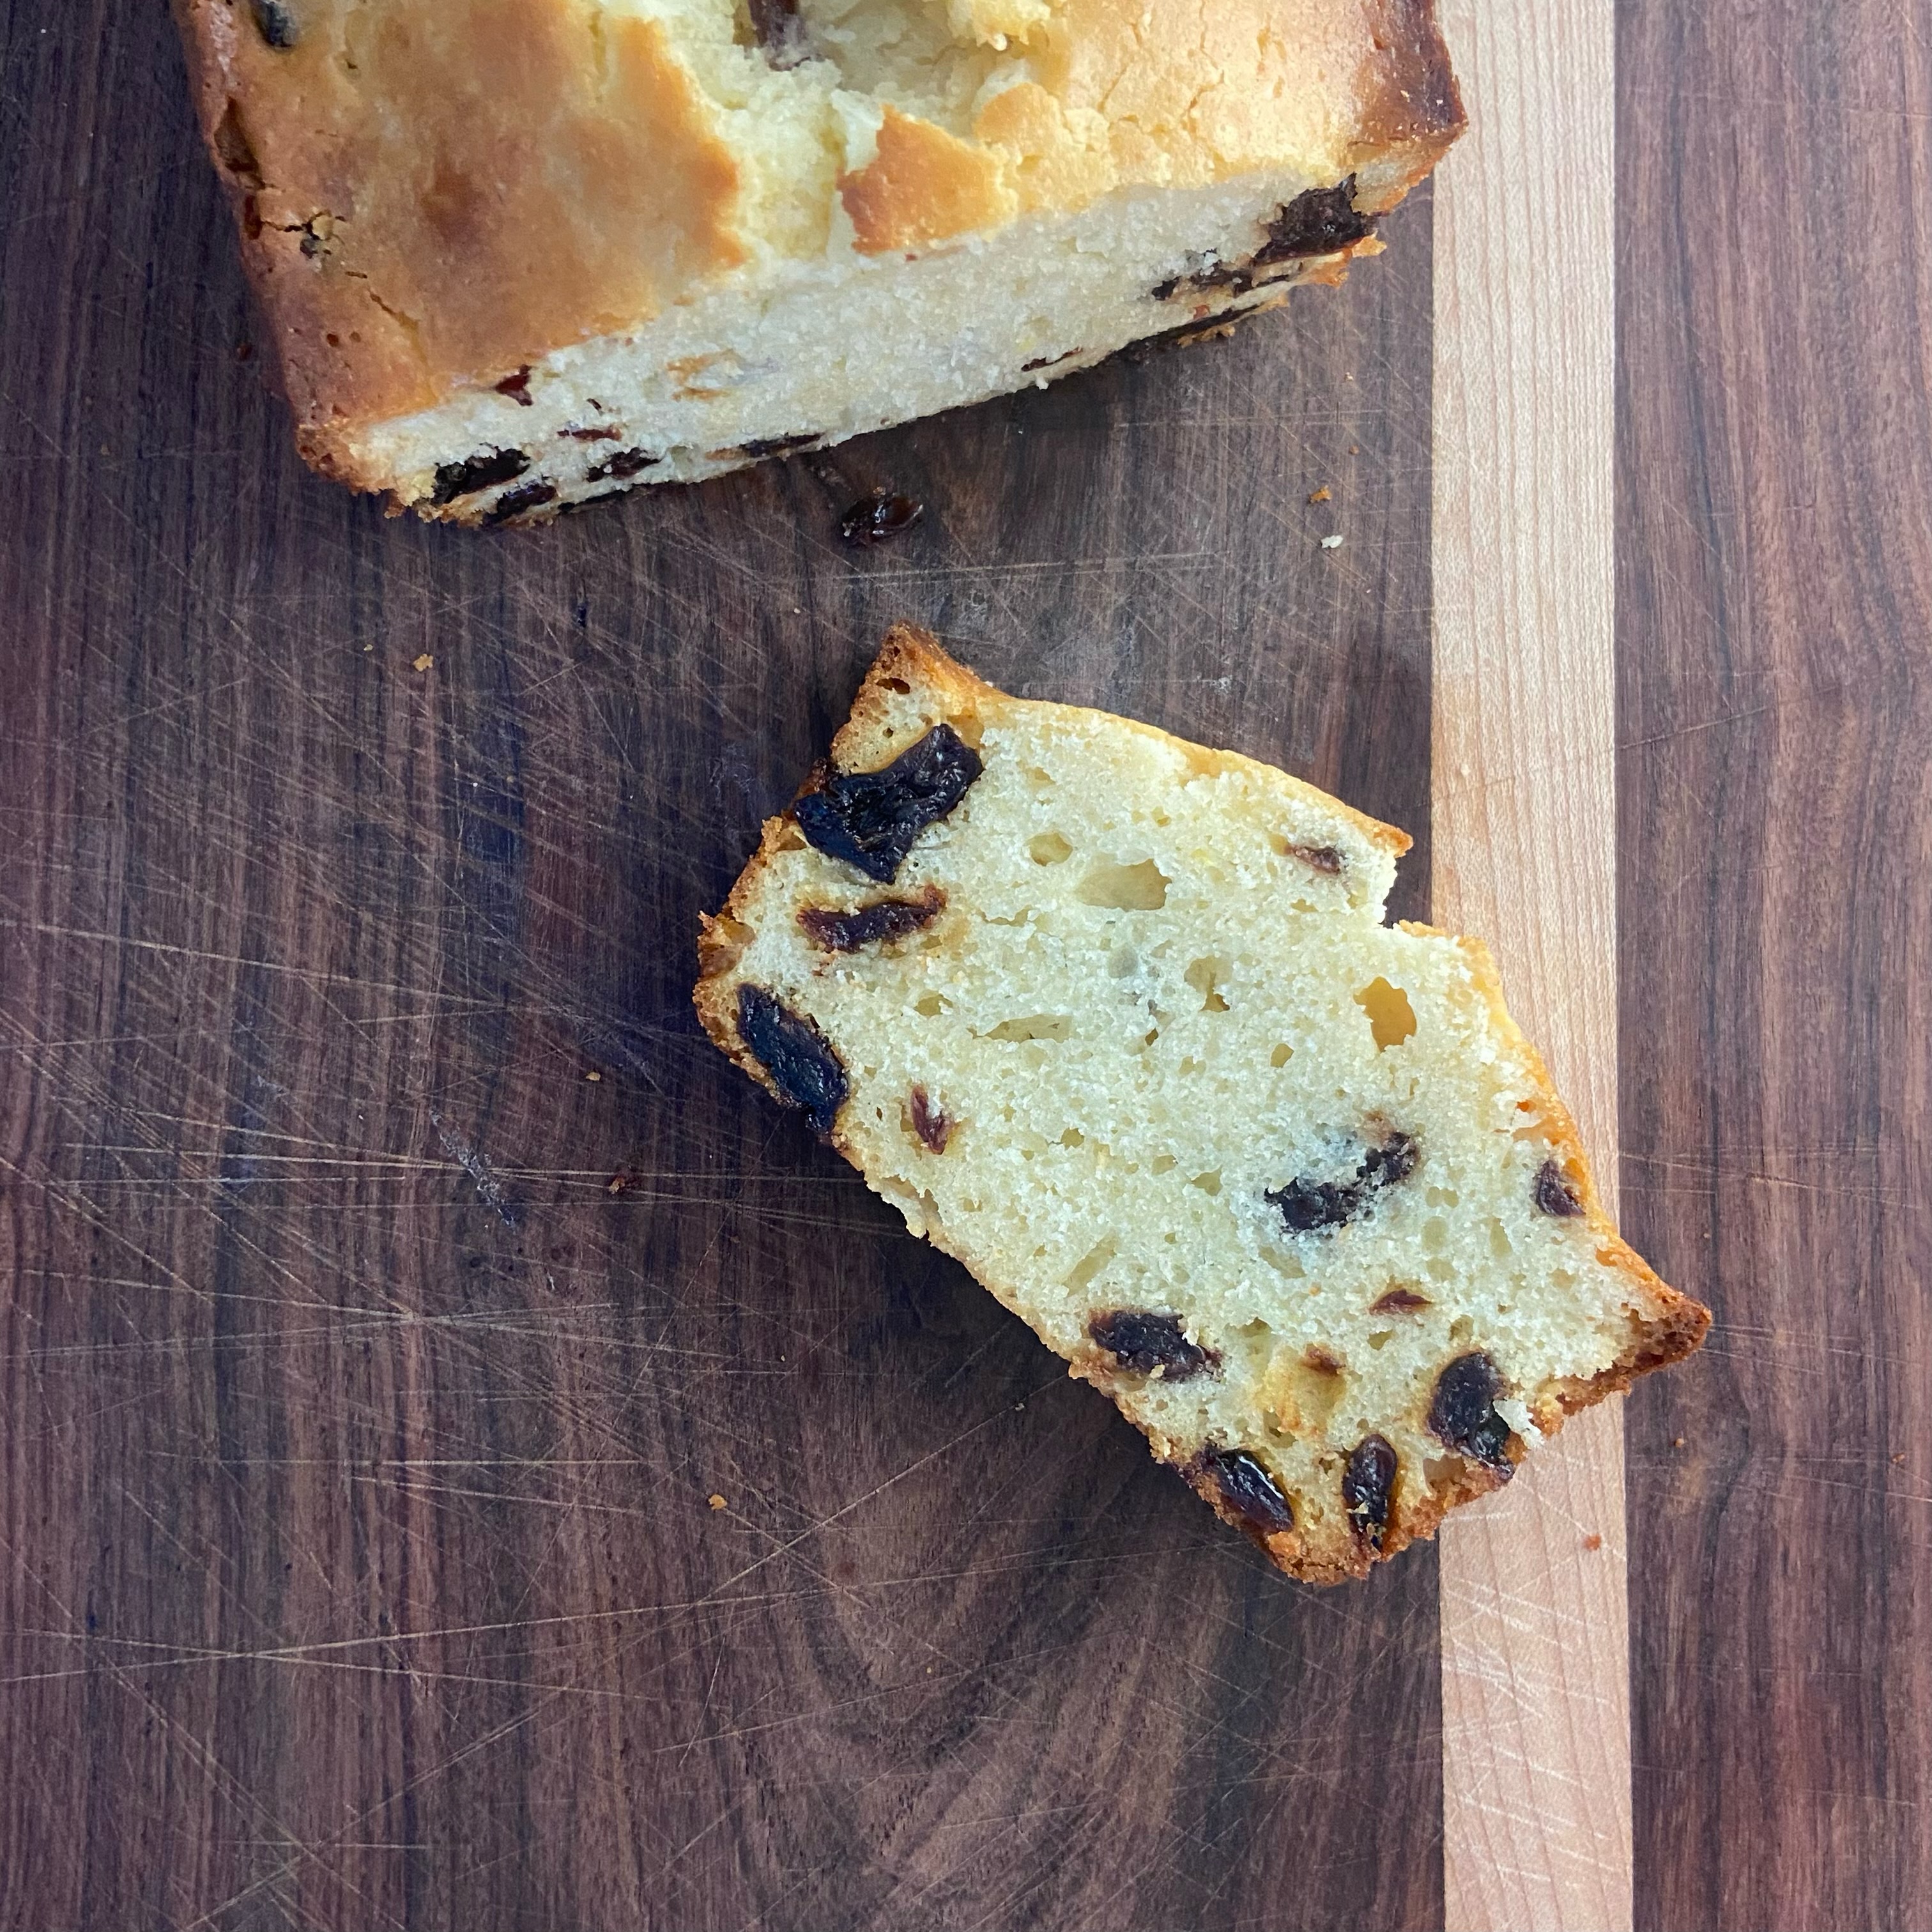
Lemon Cherry Quick Bread
Makes 1 loaf
Ingredients:
- ¾ cup + 1 teaspoon granulated sugar, divided
- 1 teaspoon honey
- 1/4 cup milk
- Zest of 1 large lemon
- 1/4 cup lemon juice, freshly squeezed
- 1 1/2 cups + 1/2 tablespoon all-purpose flour, divided
- 1 teaspoons baking powder
- 1/4 teaspoon salt
- 6 tablespoons unsalted butter, softened
- 2 large eggs
- 1 cup dried cherries
Directions:
Preheat the oven to 350F. Butter a glass loaf pan then dust with flour, tapping out the excess flour.
In a measuring cup, combine 1 teaspoon sugar, honey, milk, lemon zest, and lemon juice. Set aside.
In a medium mixing bowl, whisk together the 1 1/2 cups flour, baking powder, and salt. Set aside.
In a large mixing bowl, cream the butter and granulated sugar on medium/high speed, about 3 minutes. Beat in the eggs, mixing until well incorporated.
Add flour mixture in 2 parts, alternating with the milk mixture and mixing on medium/low speed just until incorporated with each addition. Scrape the sides of the bowl with a spatula as needed.
Coat the dried cherries in the 1/2 tablespoon of flour and add to the batter just until incorporated. Spread the batter into your prepared pan and bake for 50-60 minutes until golden on top and a toothpick inserted into the center comes out clean. Let cool in the pan for 10-15 minutes then transfer loaf to a cooling rack.