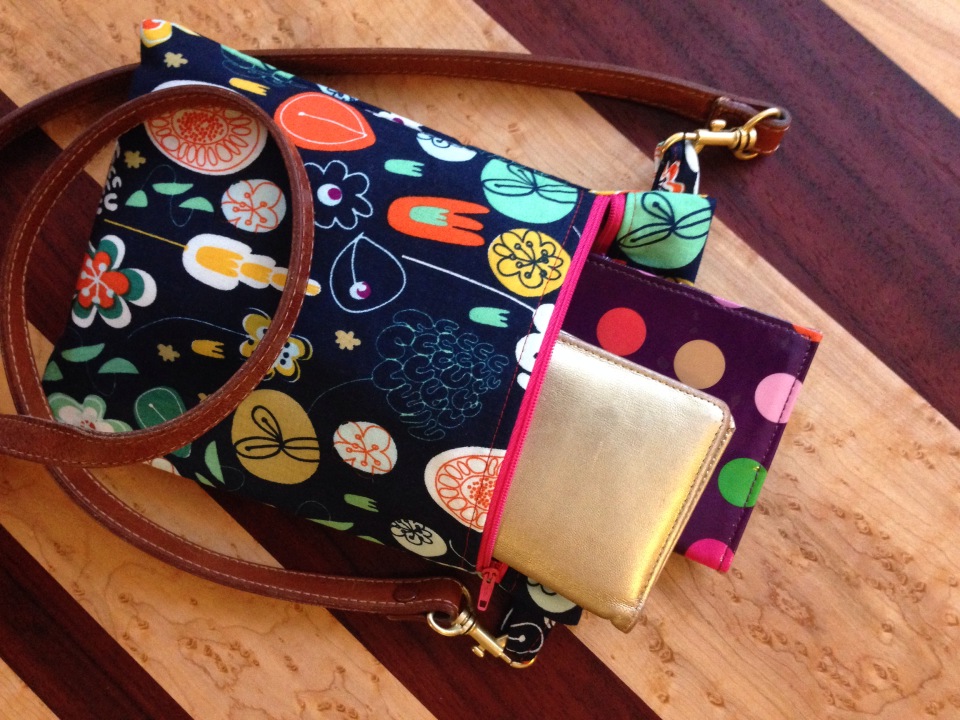
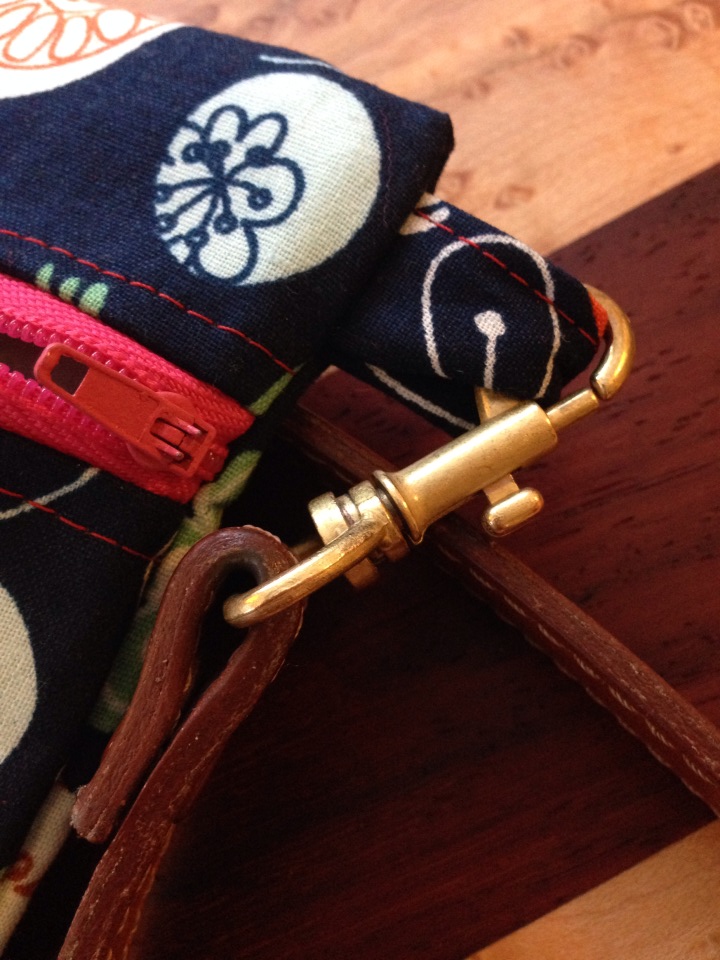
A few years ago I went sewing machine crazy and sewed a couple dozen Tokyo tie bags. I was inspired by a pattern on Darling Petunia’s blog. I never got around to posting my own pattern because I was too caught up in sewing them. My pattern, which I tweaked slightly from Darling Petunia’s, sadly sat in my craft pile for a few years until someone from Mexico emailed me last month and asked if she could buy one. I sewed it, shipped it and was reminded how easy and fun it was to make.
So here I am, three years later, ready to offer a full tutorial and pattern for the Tokyo tie bag. I hope you enjoy making them as much as I do!

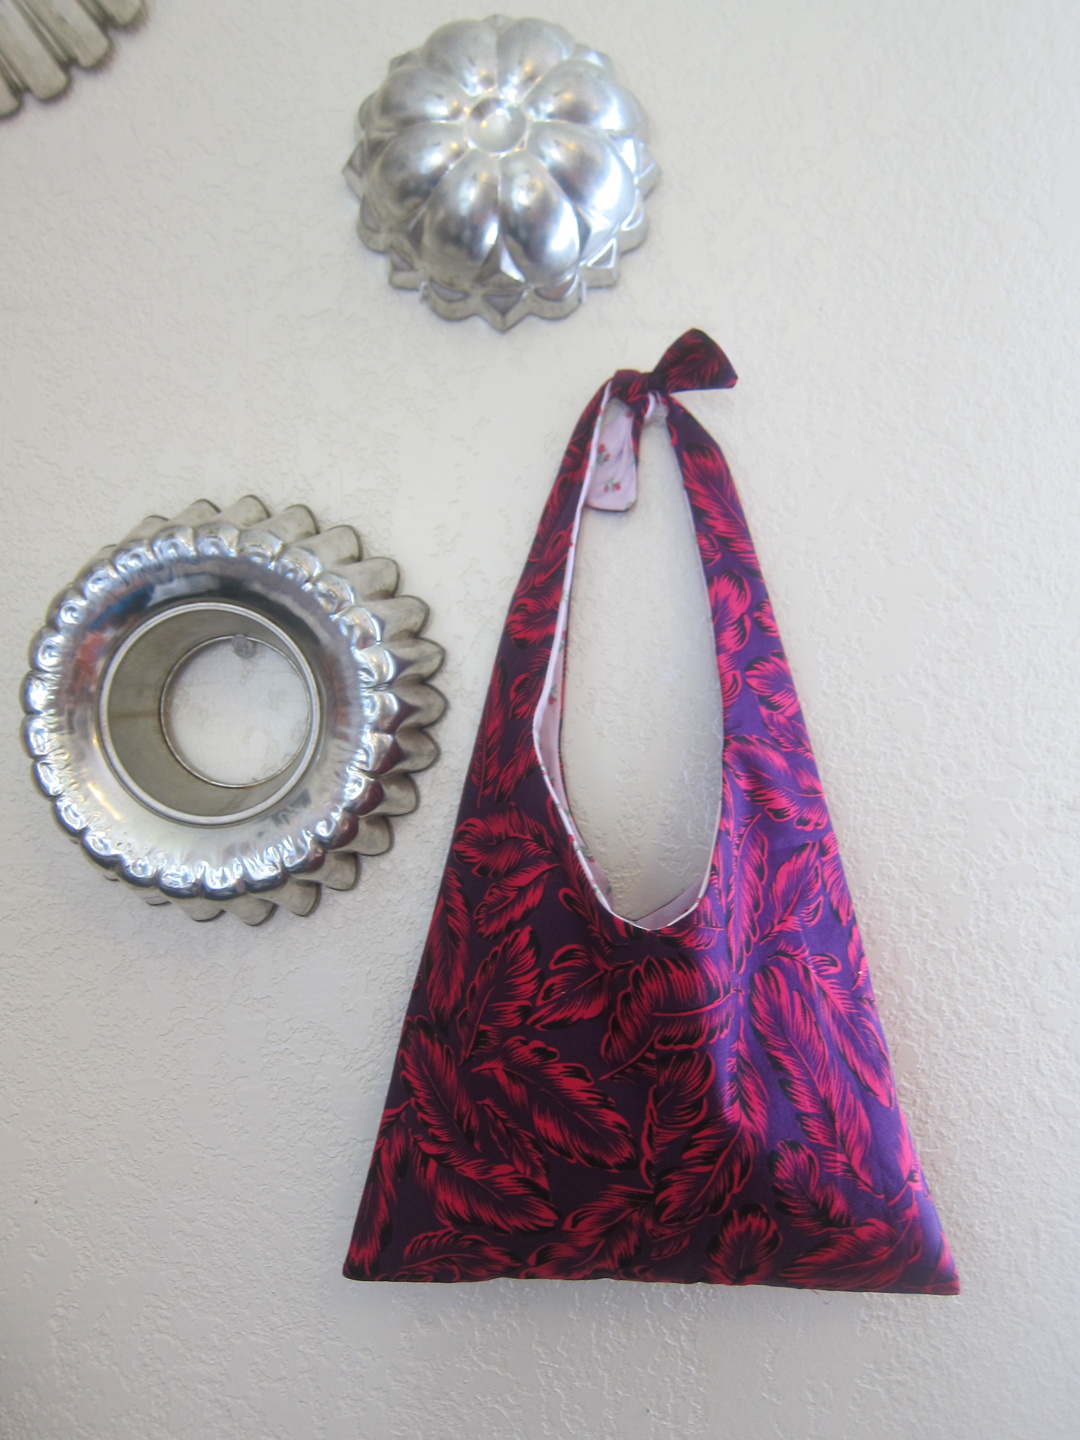
Tokyo Tie Bag
An easy sewing project that can be completed in an hour
Materials:
3/4 yard each of lining and outer fabric (100% cotton is recommended)
fabric scissors
rotary cutter and board (optional)
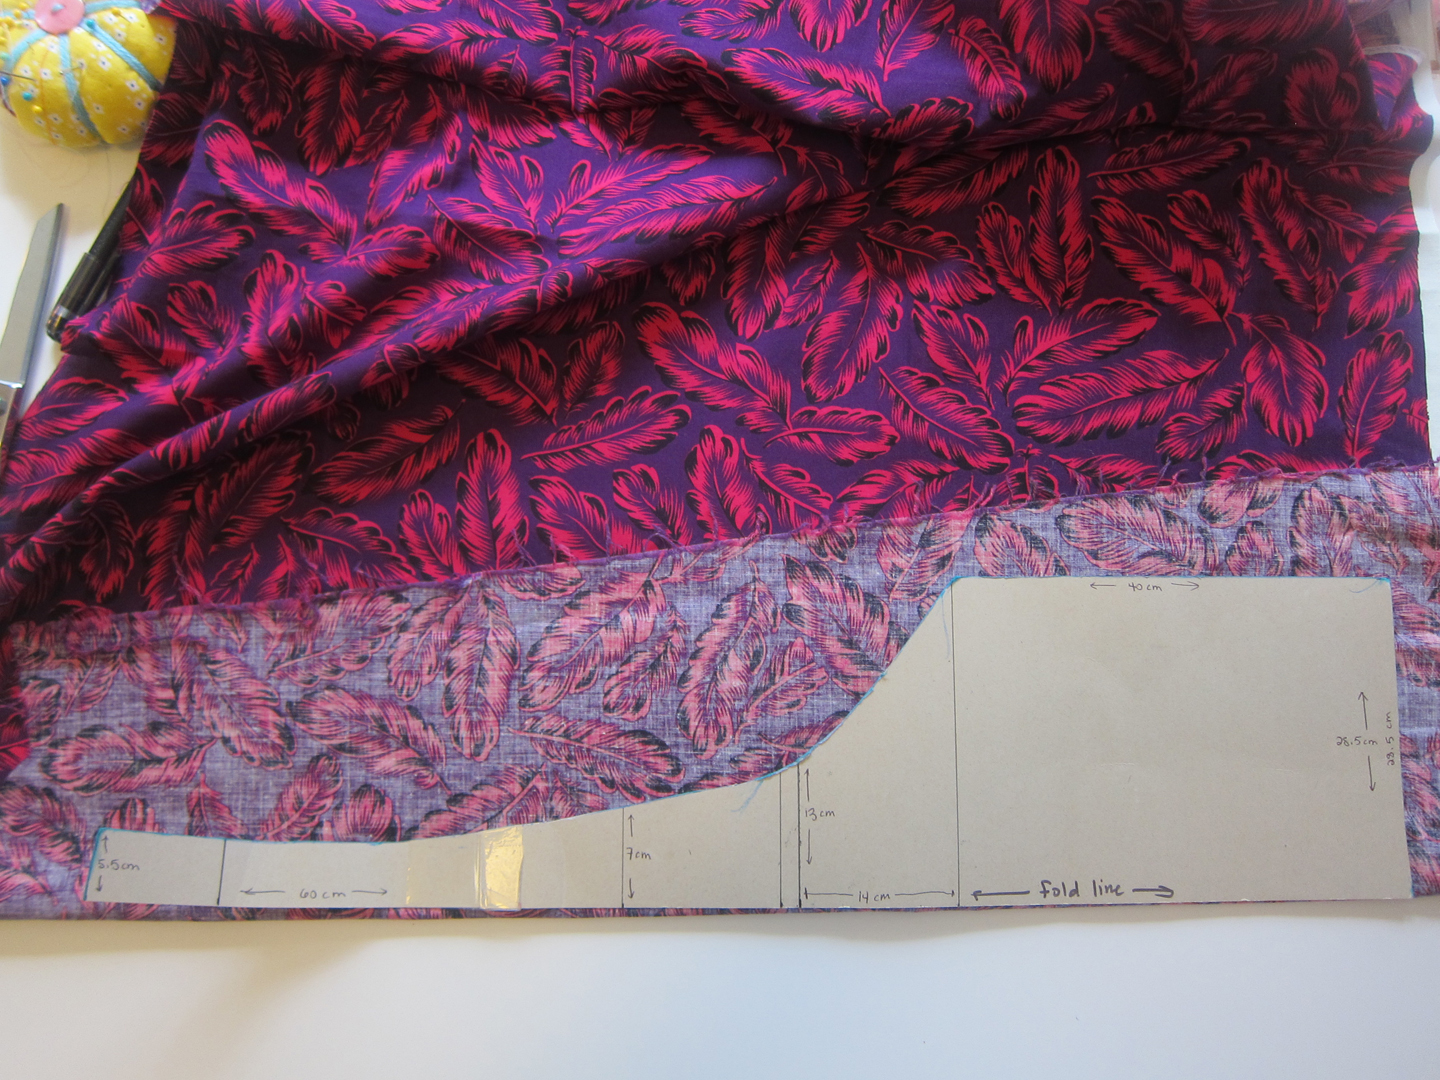
Tokyo tie bag pattern 1 & Tokyo tie bag pattern 2 printed at 100% to match the indicated dimensions, cut out and taped together
Directions:


1. Iron your fabric and cut out two pieces of the pattern from the lining and outer fabrics. If your fabric is directional (meaning it looks different upside down) be sure you cut your pattern so the bottom of the pattern is on the same edge for both pieces. You should have four pieces.

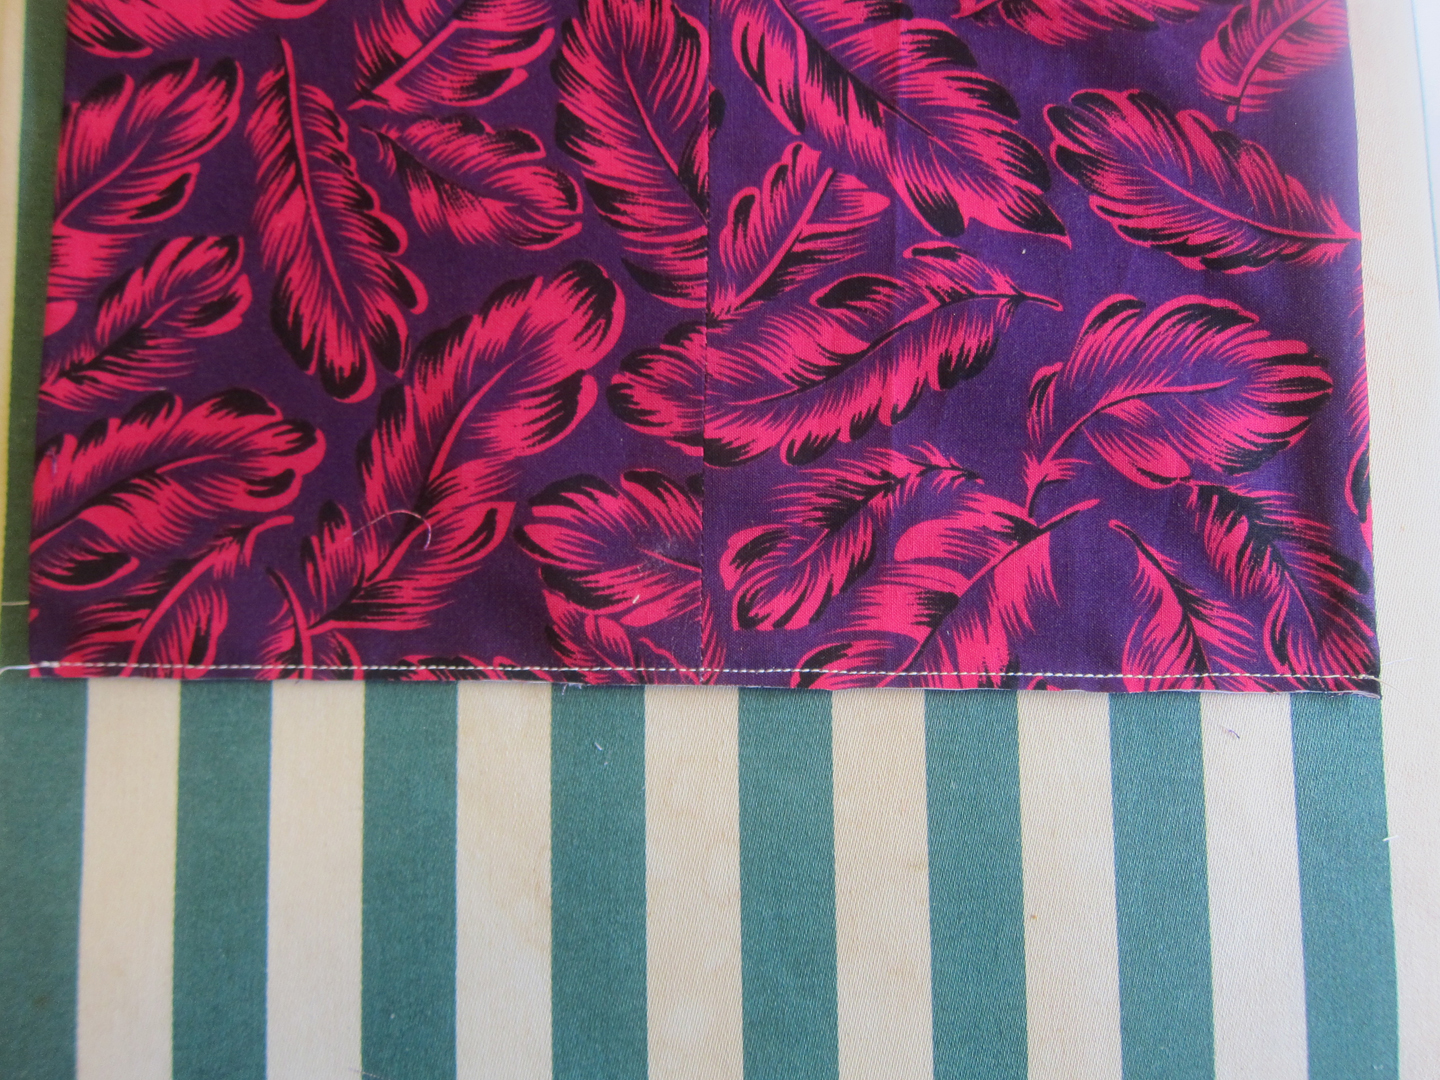
2. With right sides together, sew each edge of the lining with a 3/8 inch seam allowance. Repeat for outer fabric.

3. Iron open the seams.

4. Turn your lining right side out and slip it inside the outer fabric.

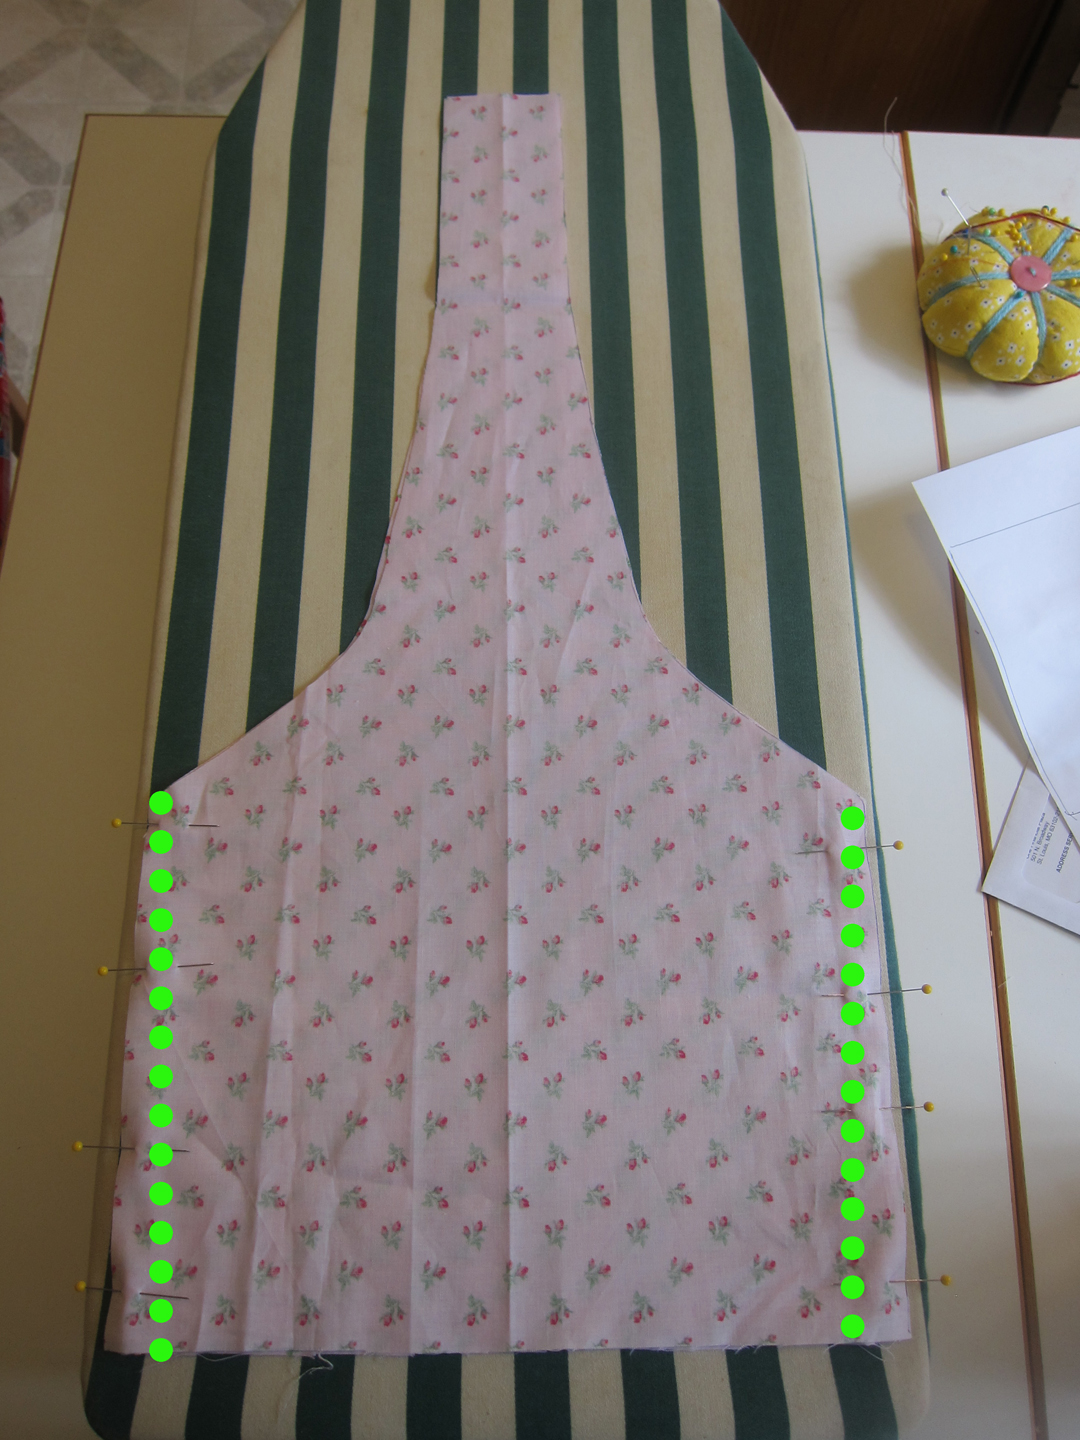
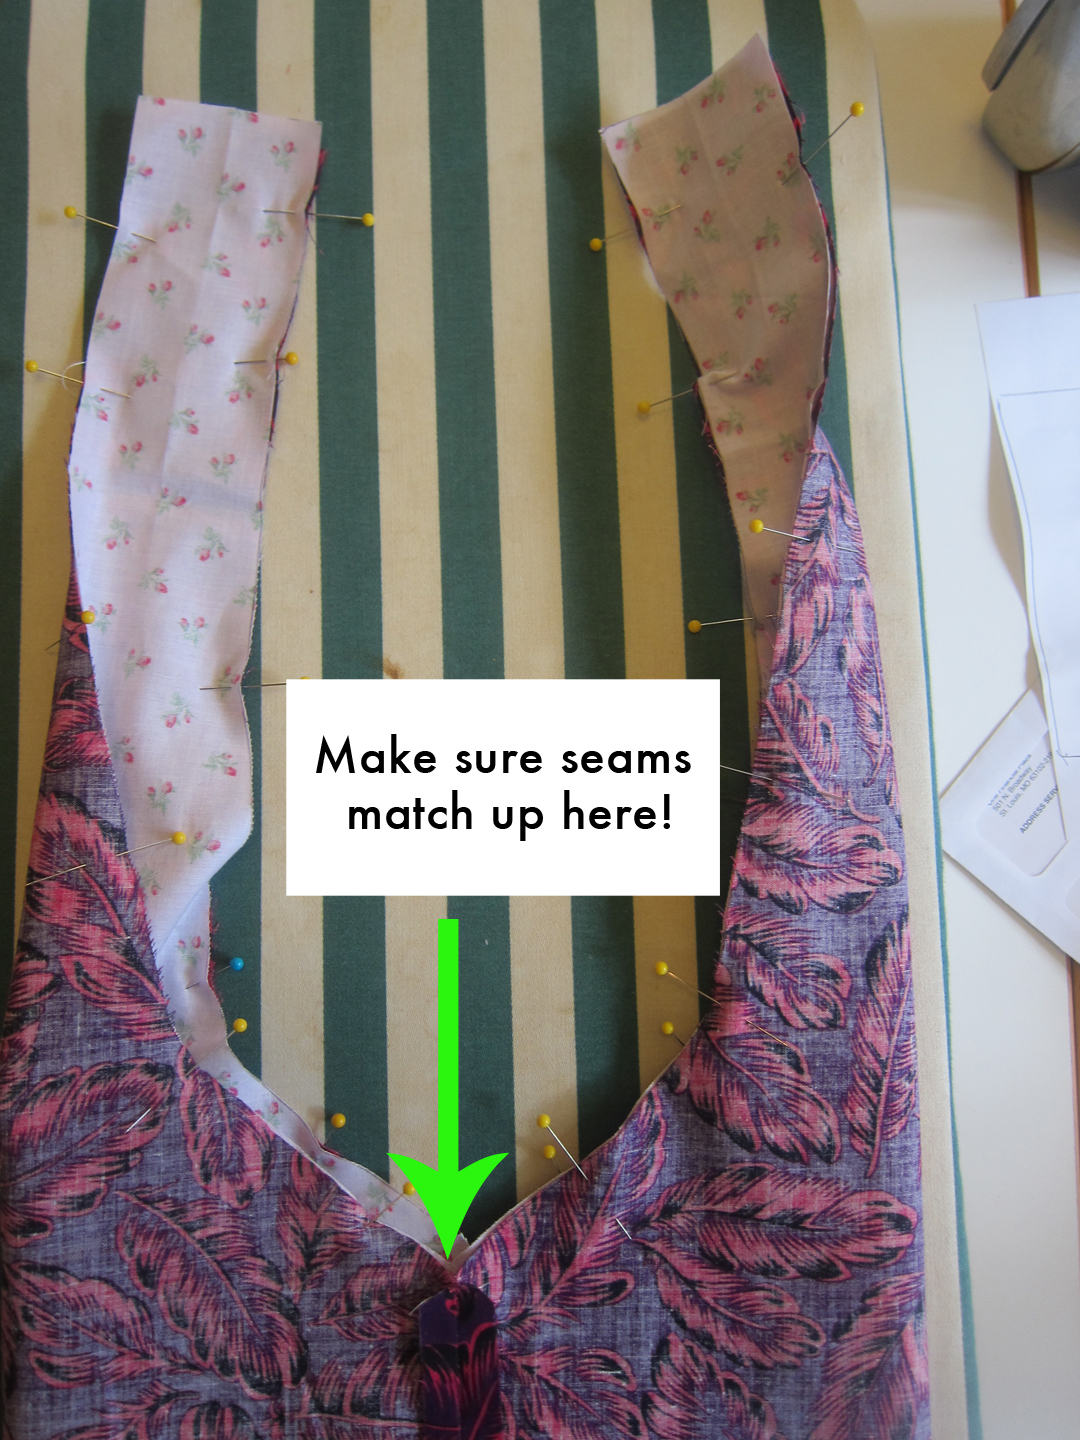
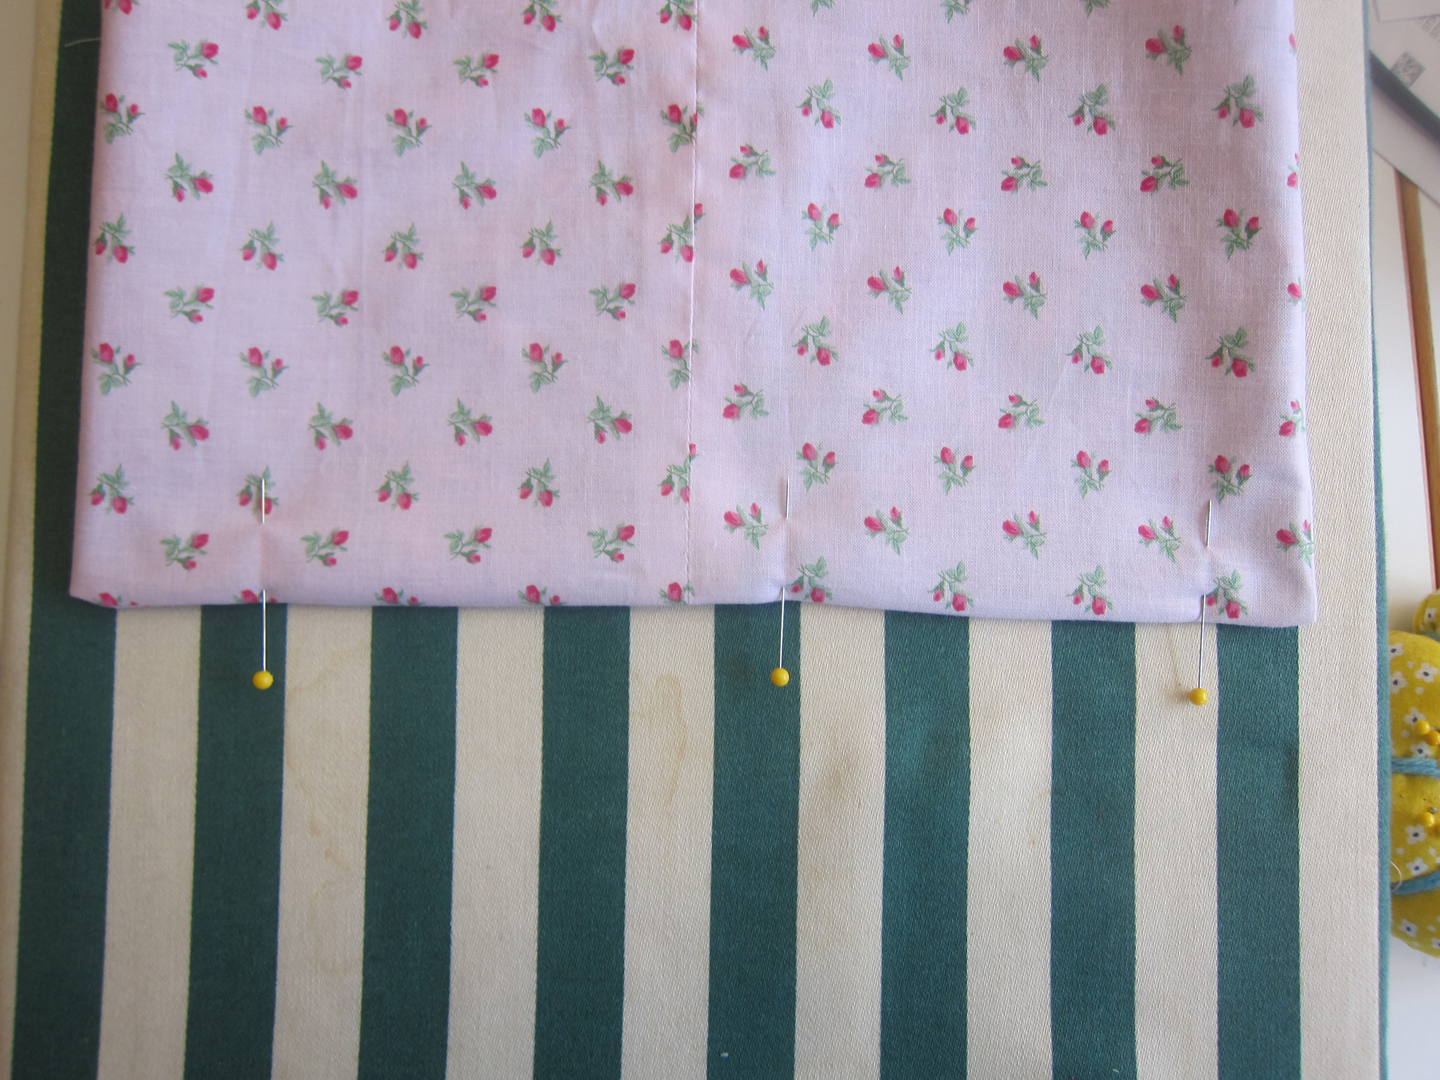
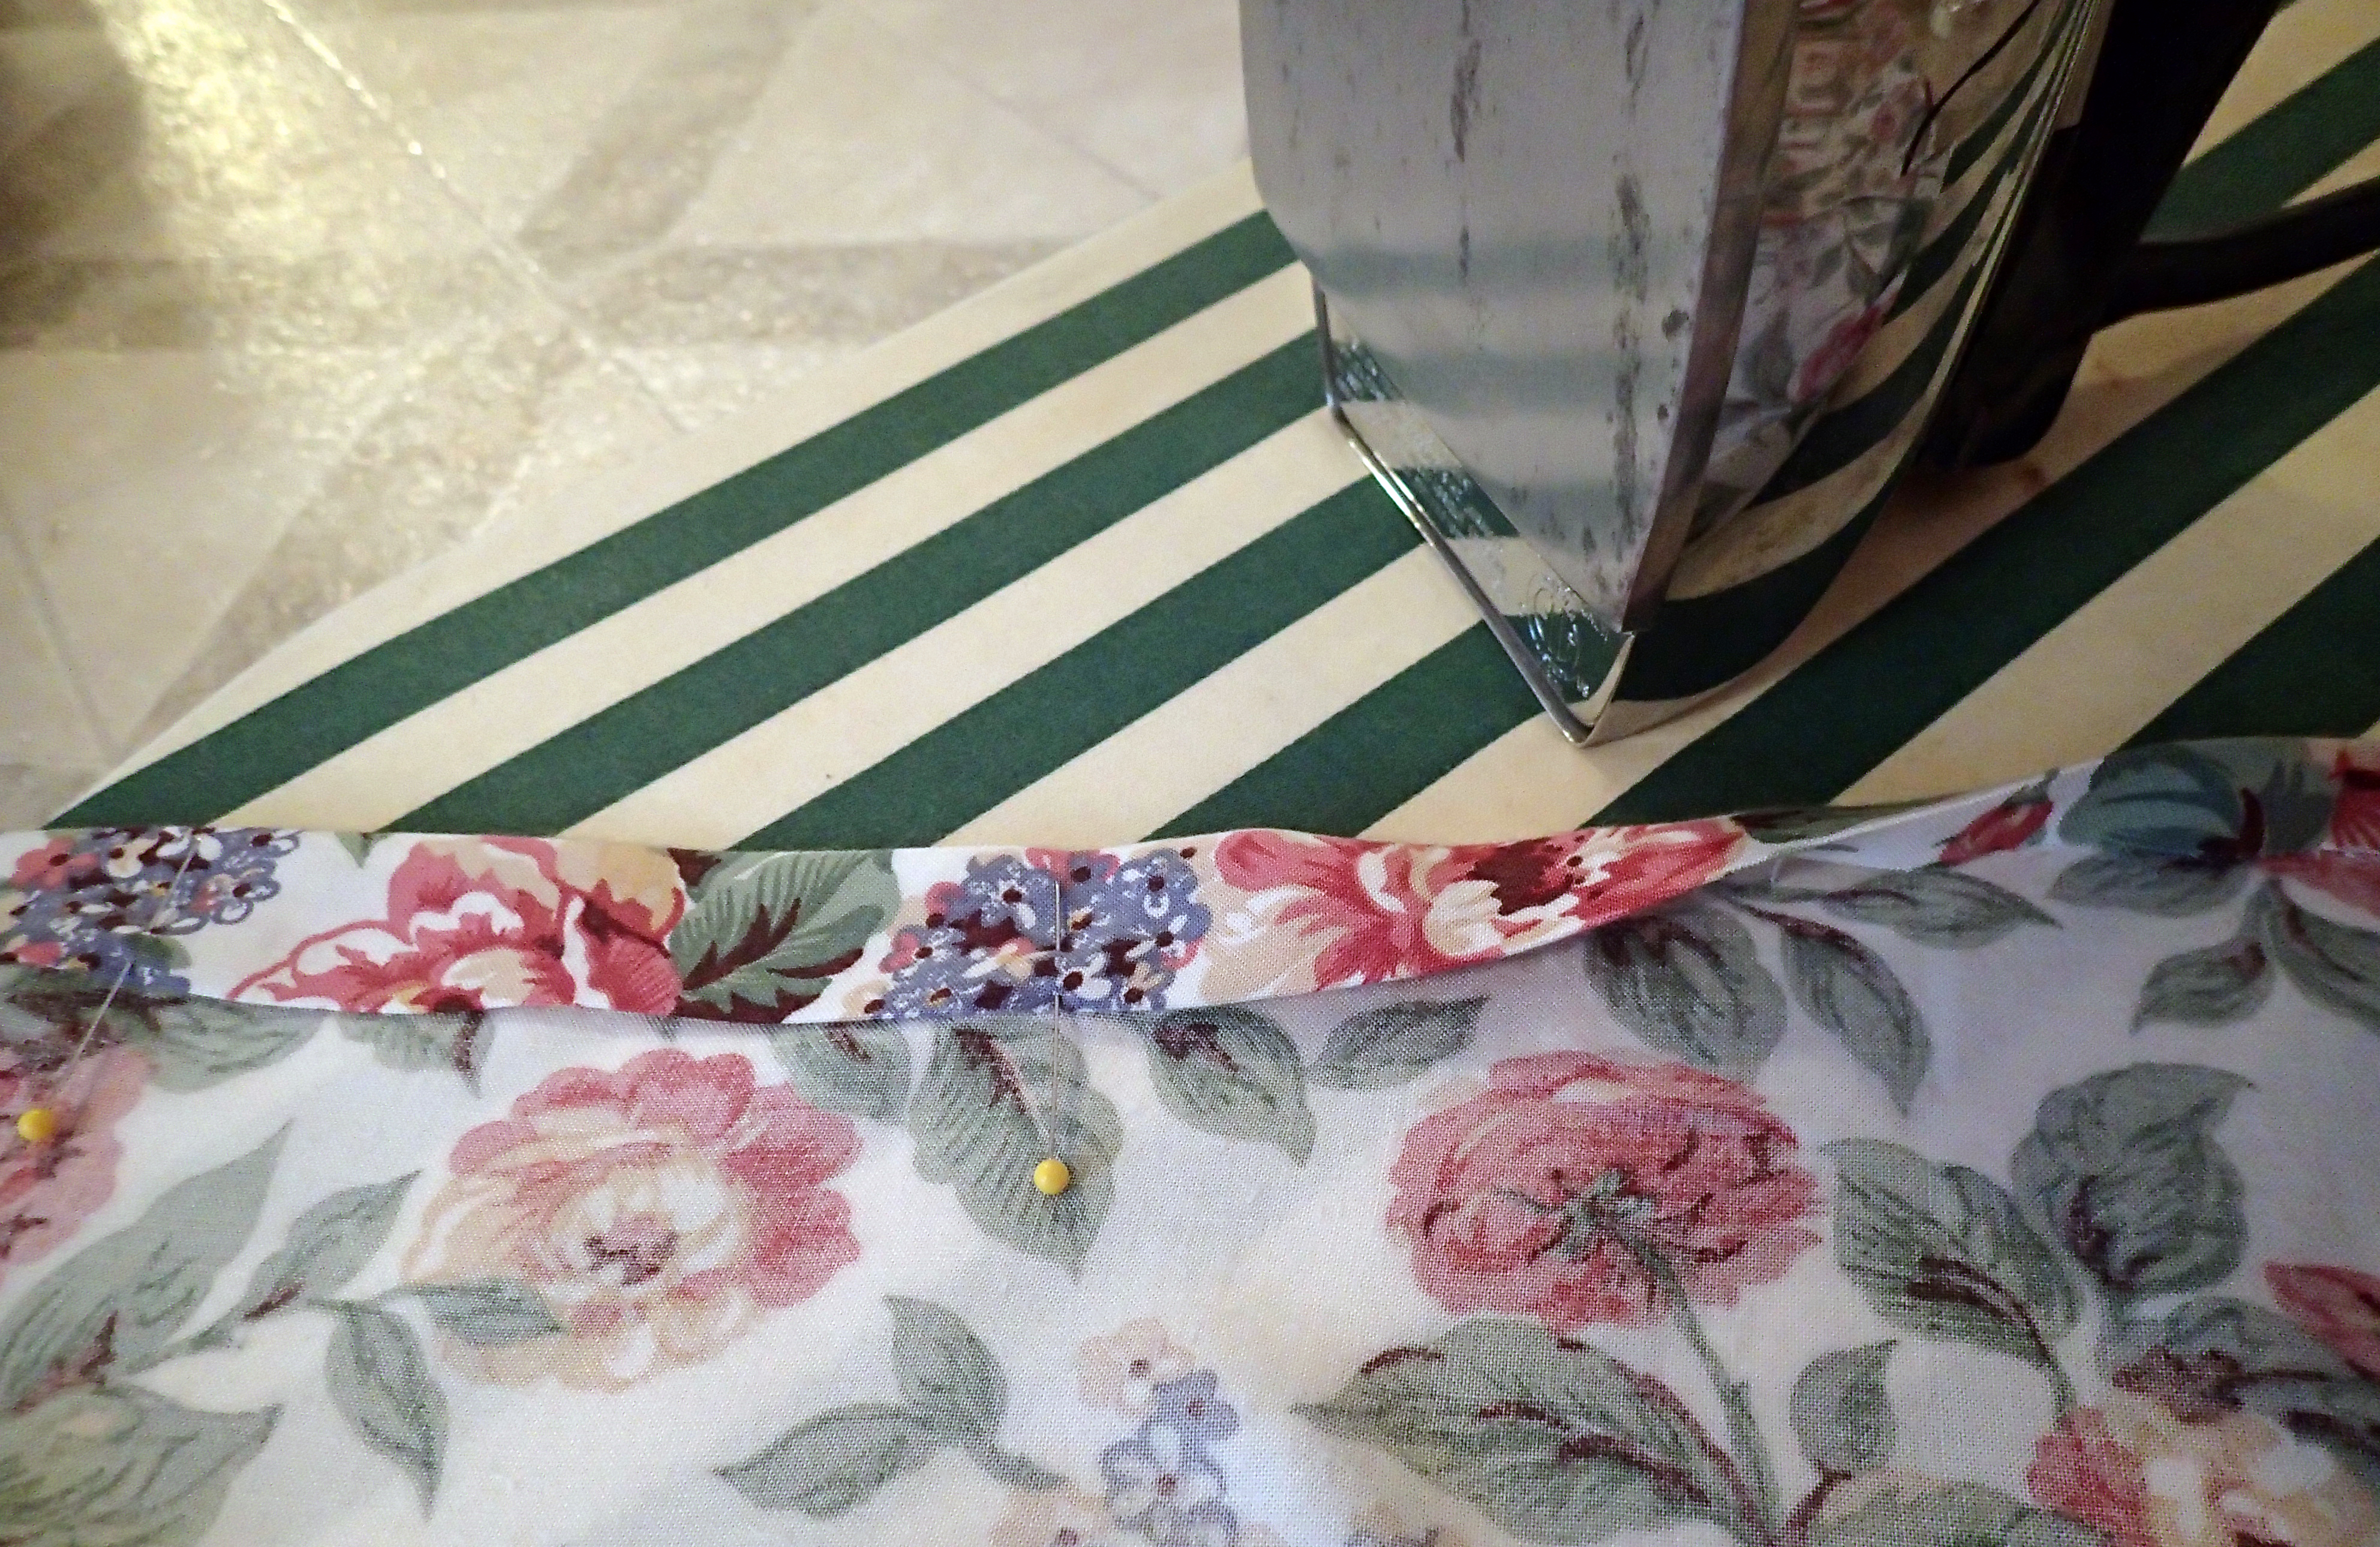
5. Make sure the seams from the outer and lining fabrics match up in the middle and pin all around the top edge and handles.


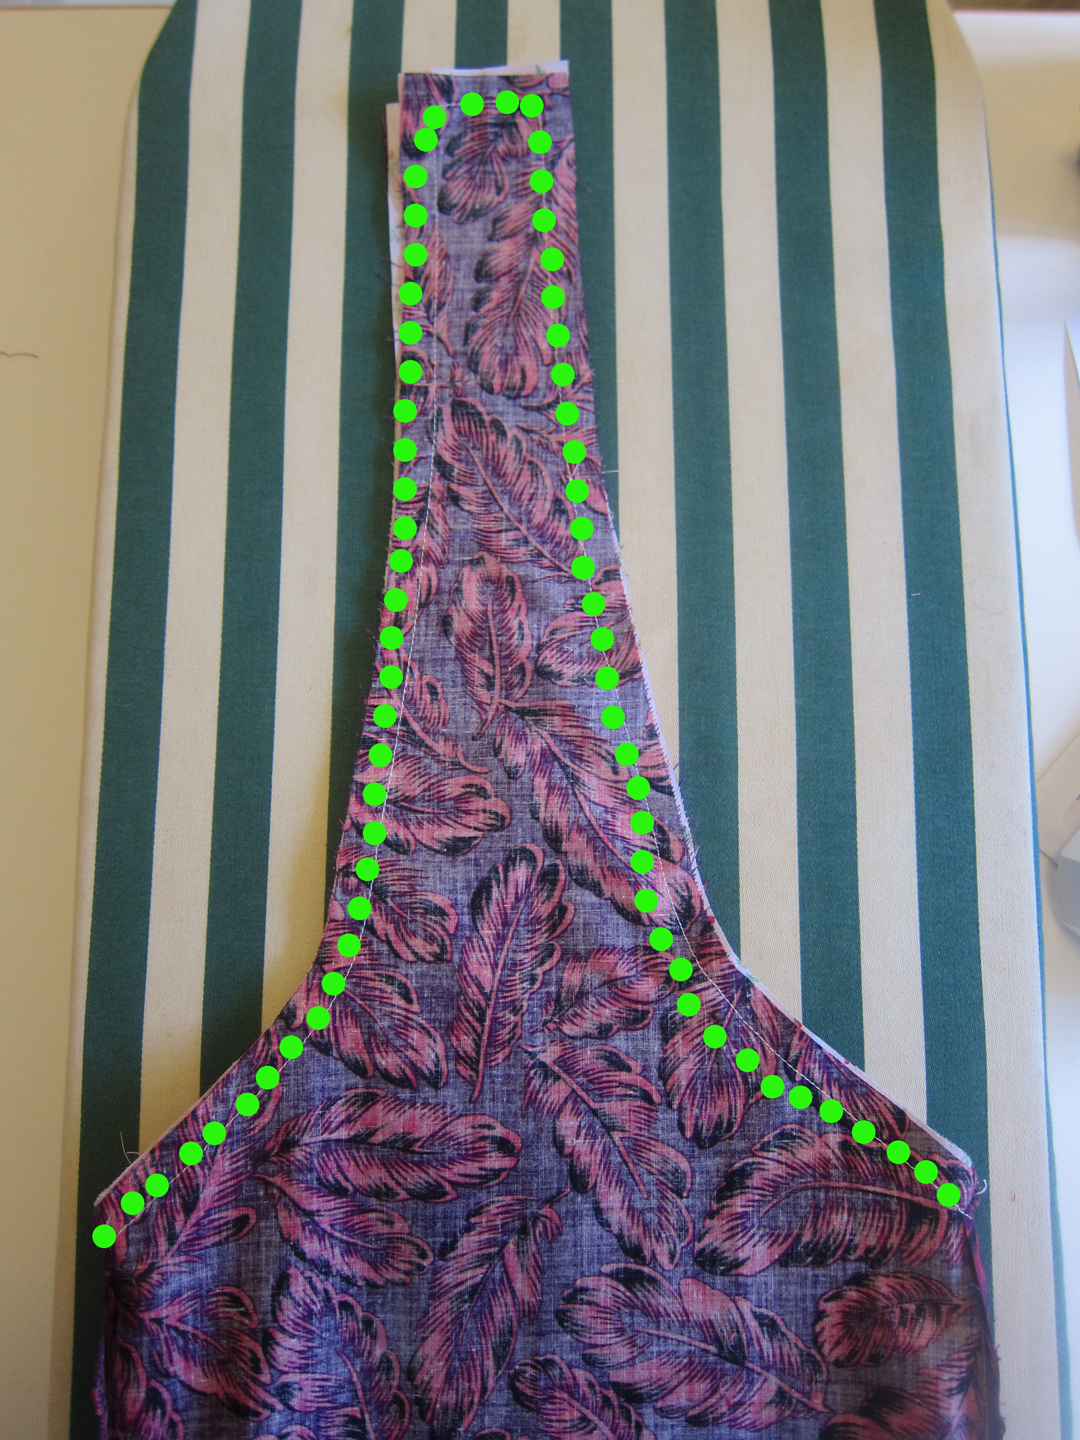
6. Sew all around the top edge, along the handles and back down again. Your seam should end at the same place you began as you’ll be sewing in a giant loop.

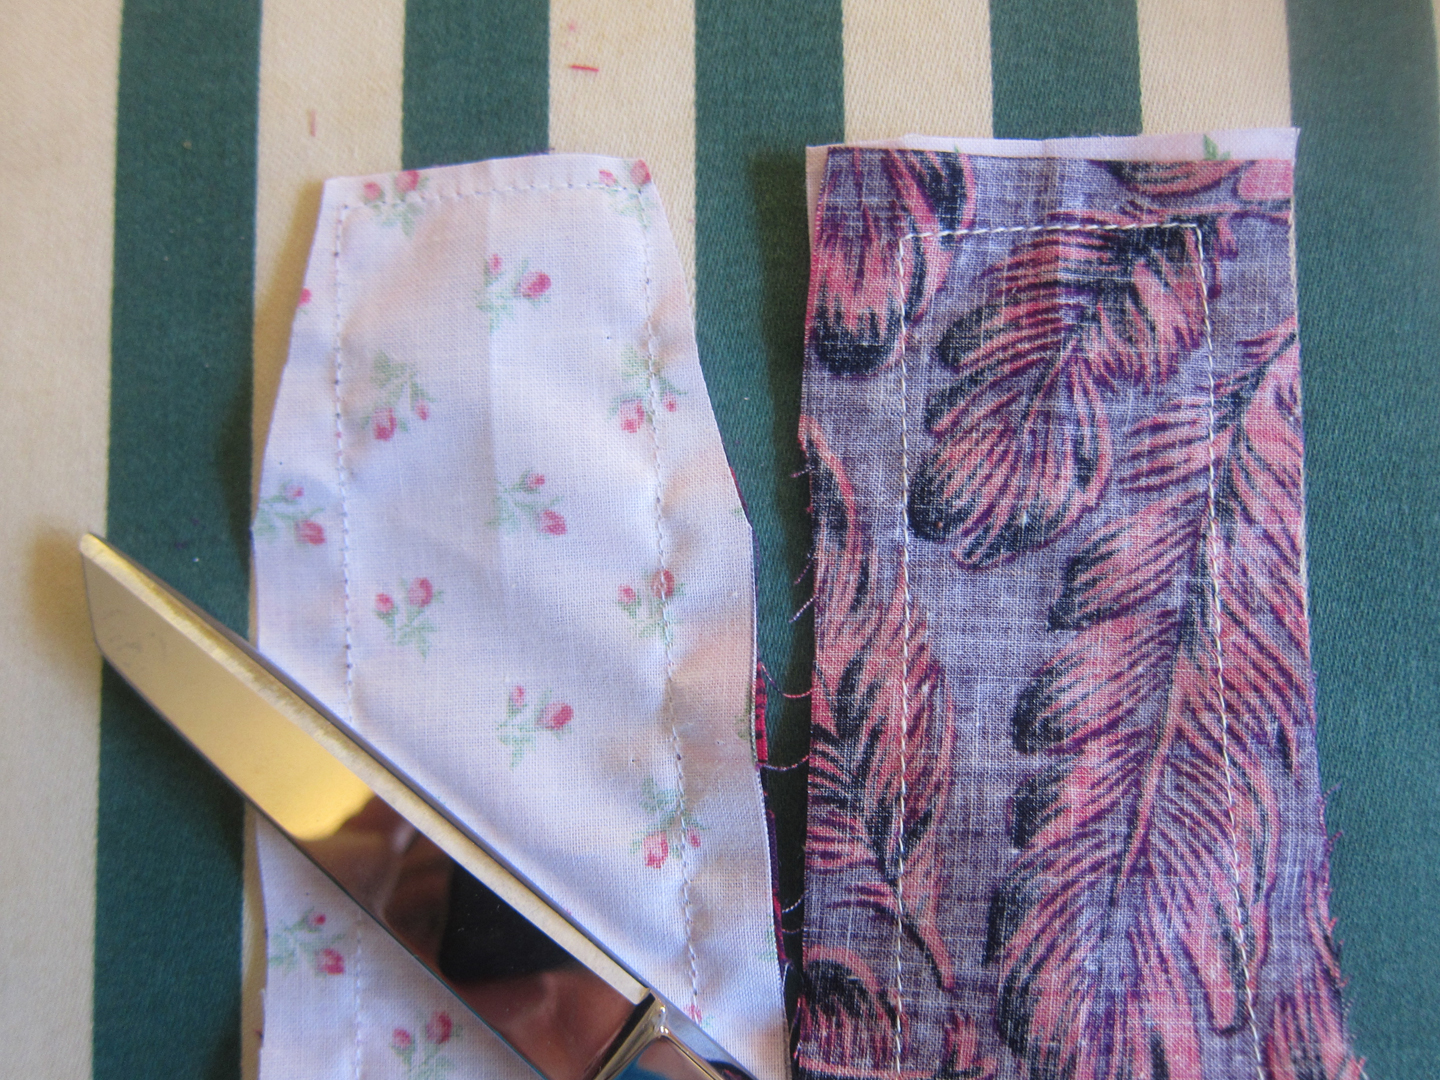
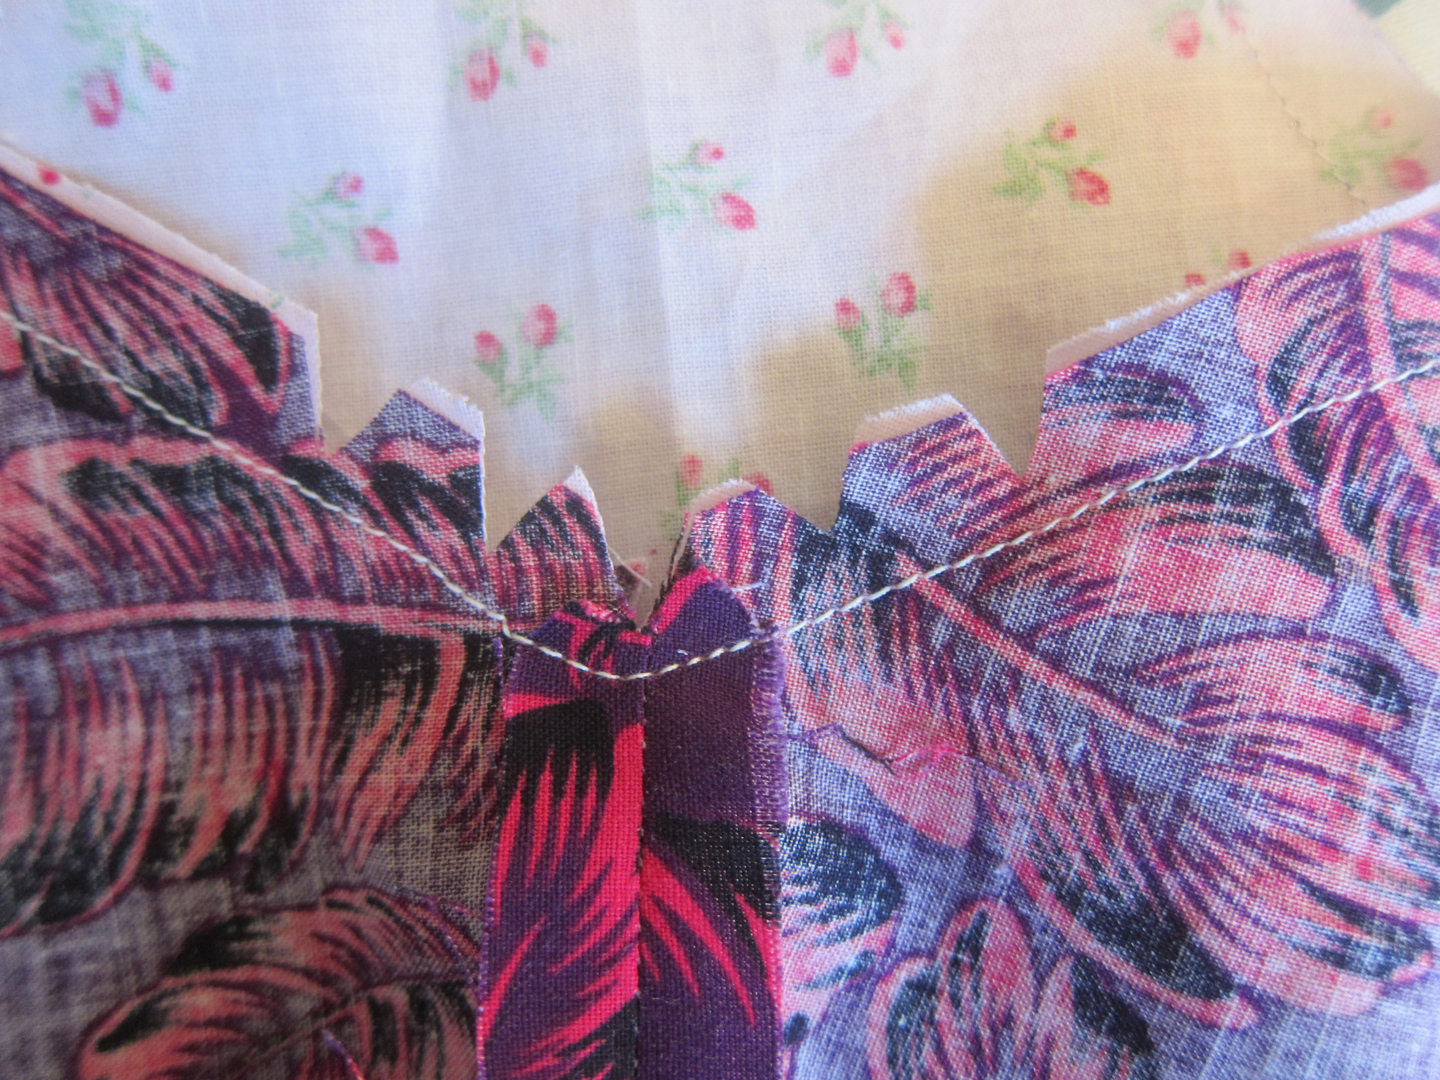
7. Trim the corners of the handles so there is less bulk.

8. Cut notches at the center curves so the seam will be more smooth when turned right-side out.

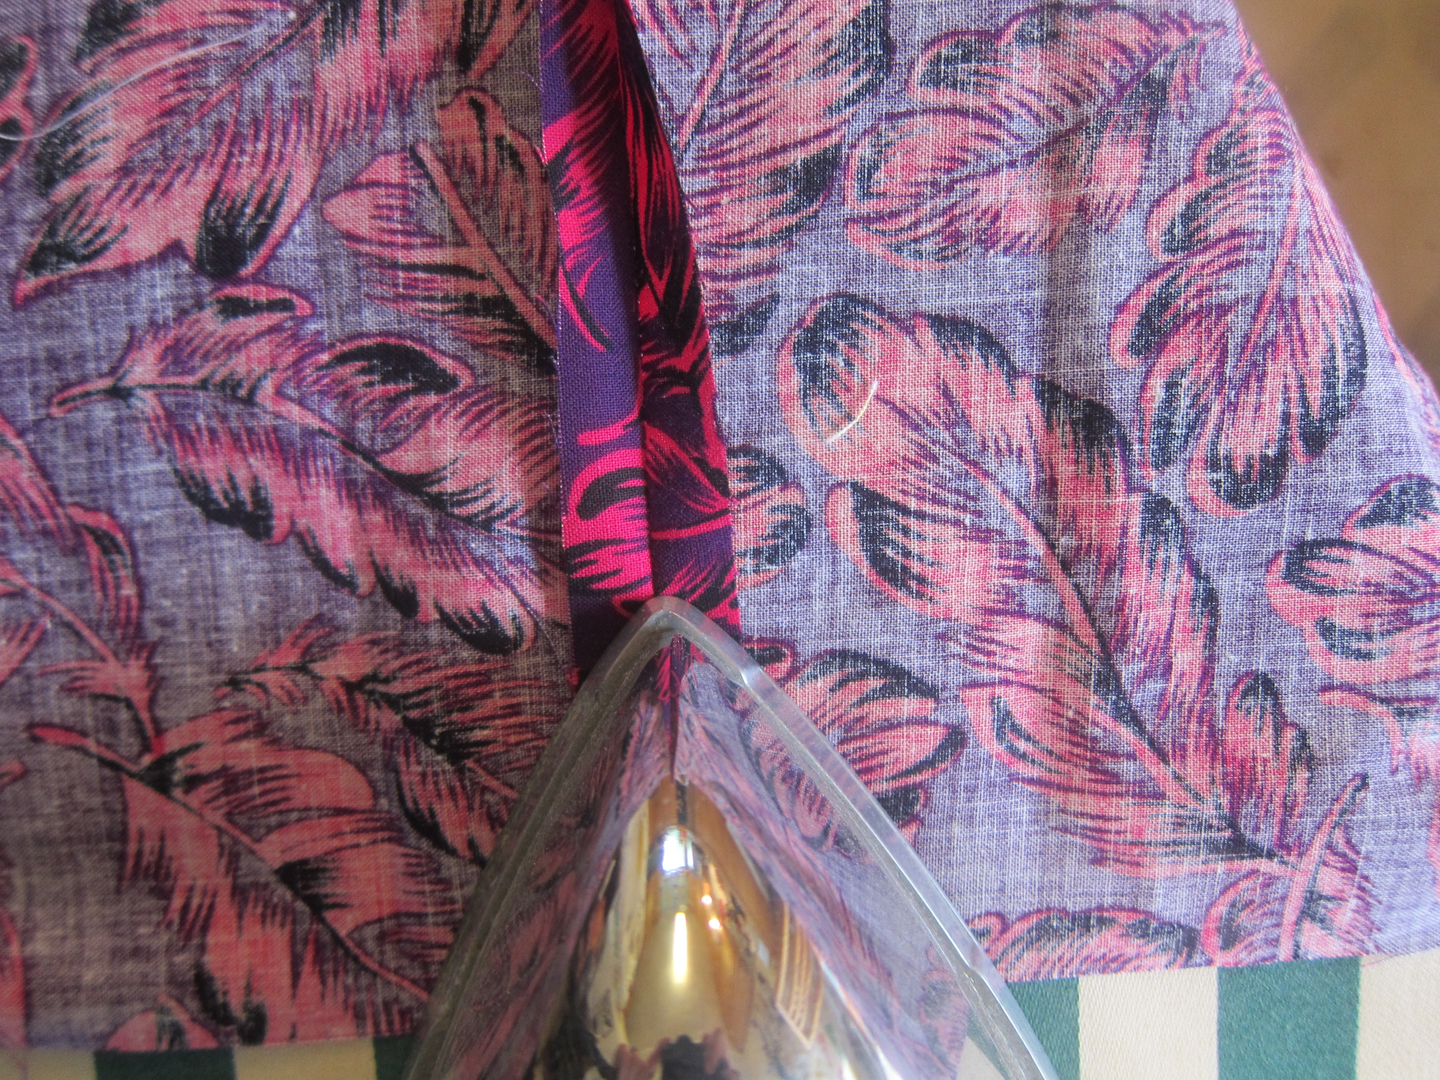
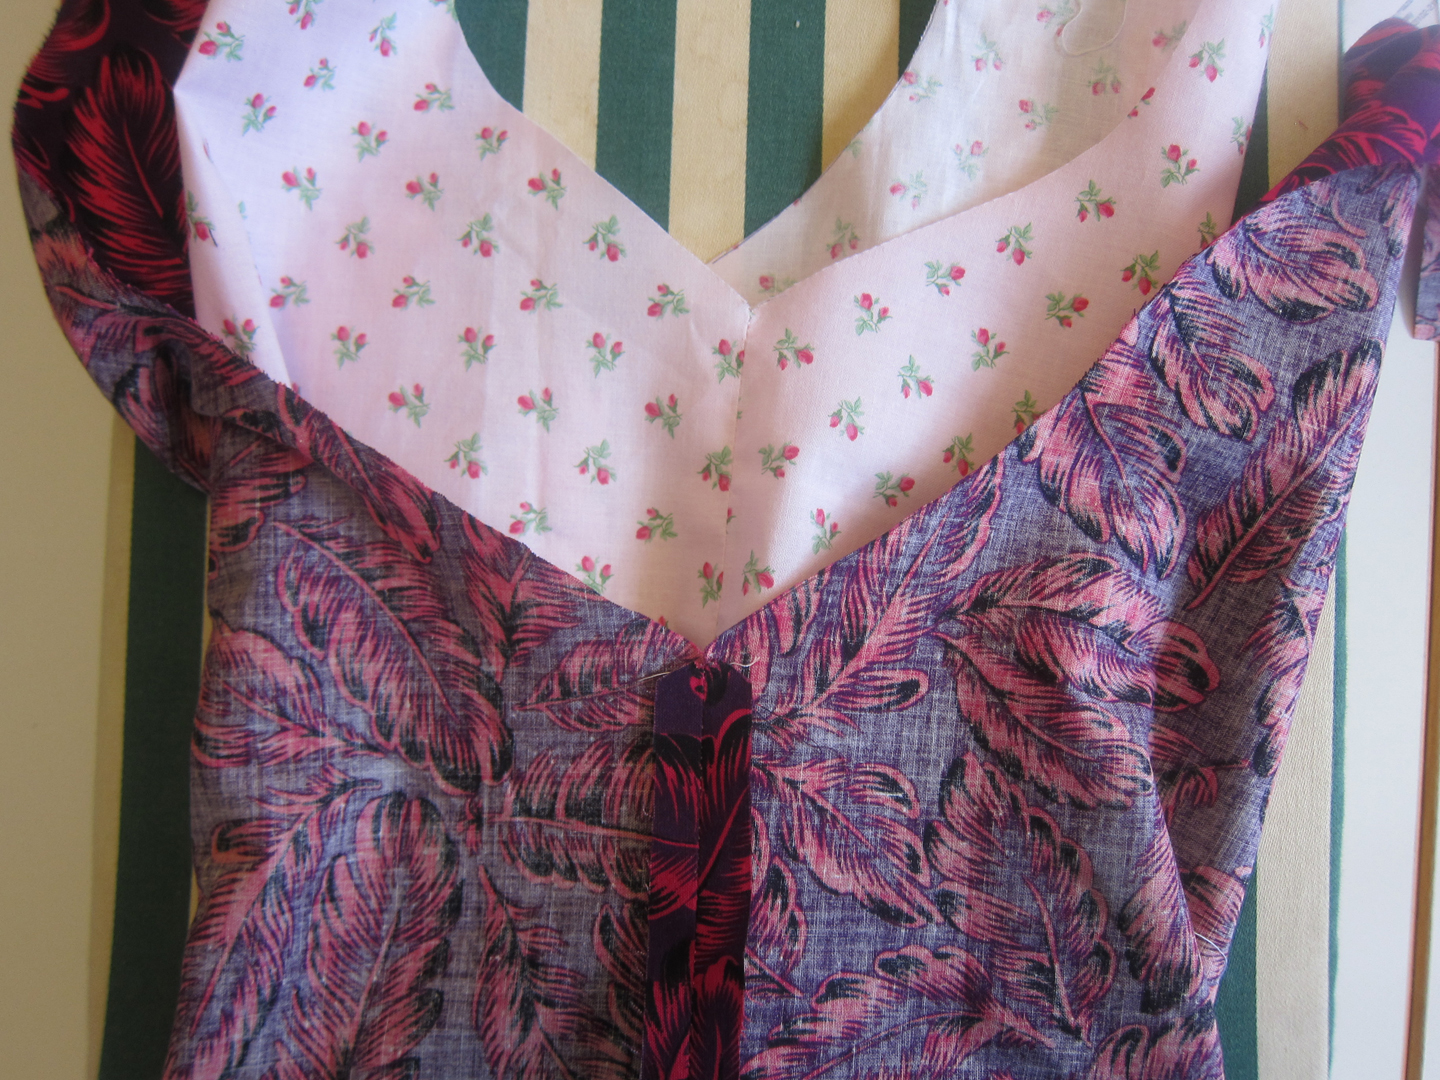
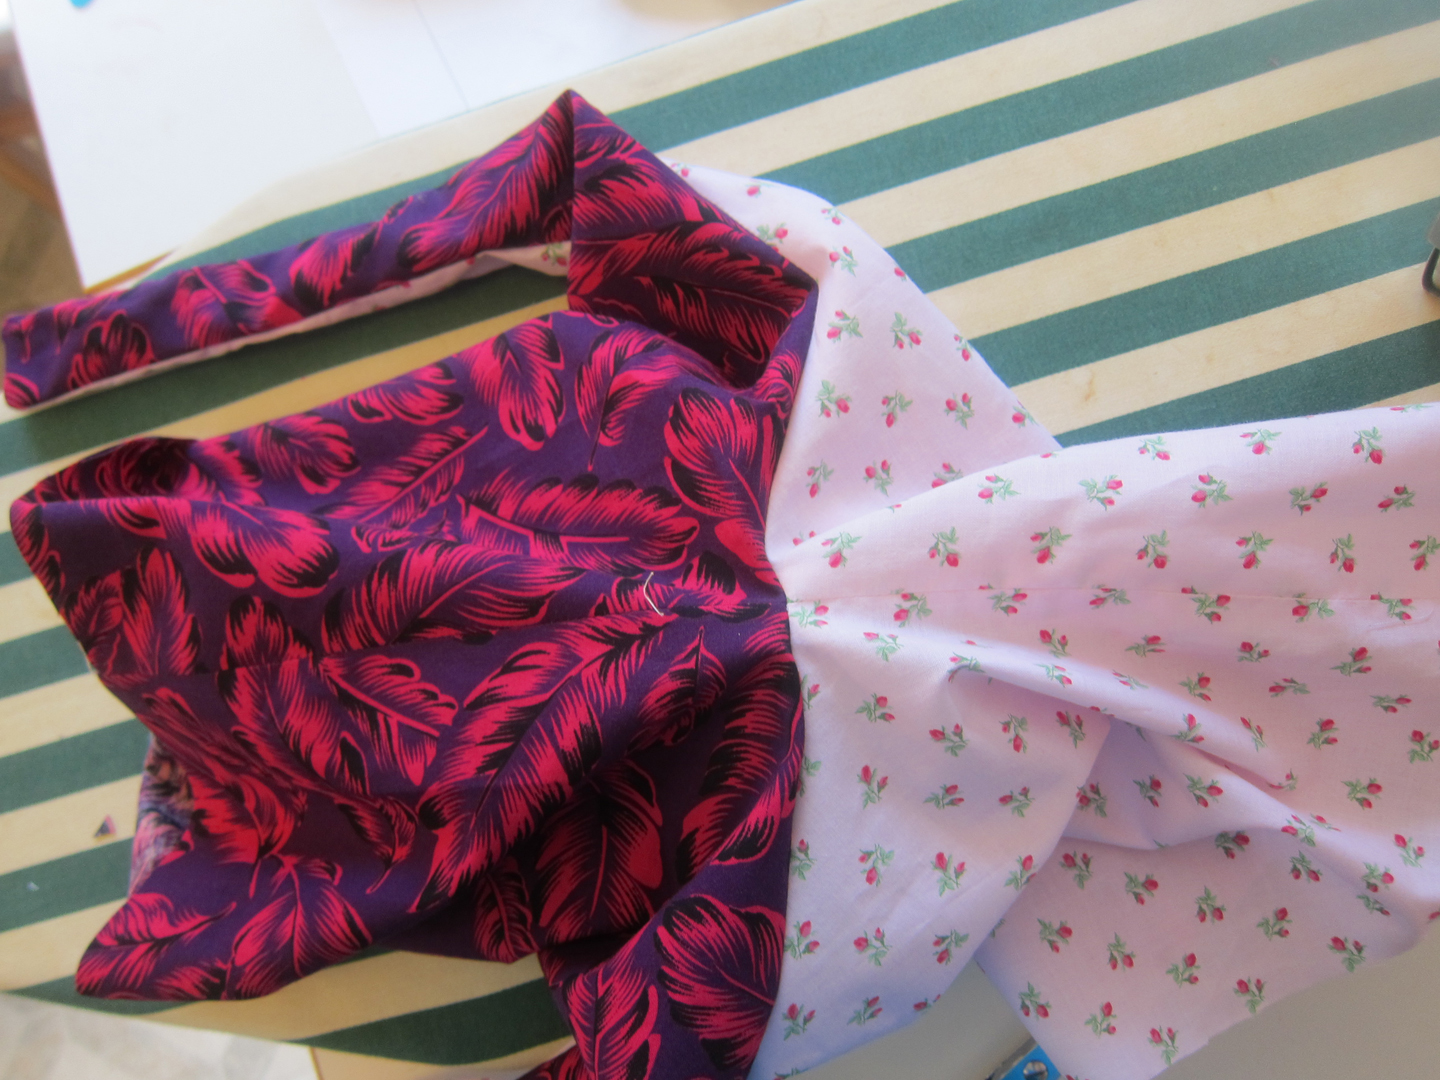
9. Turn the bag right-side out and use a chopstick to push out the handles. Stuff the lining down into the outer fabric. It should now look somewhat like a bag but with the bottom unfinished. Iron the whole bag flat.

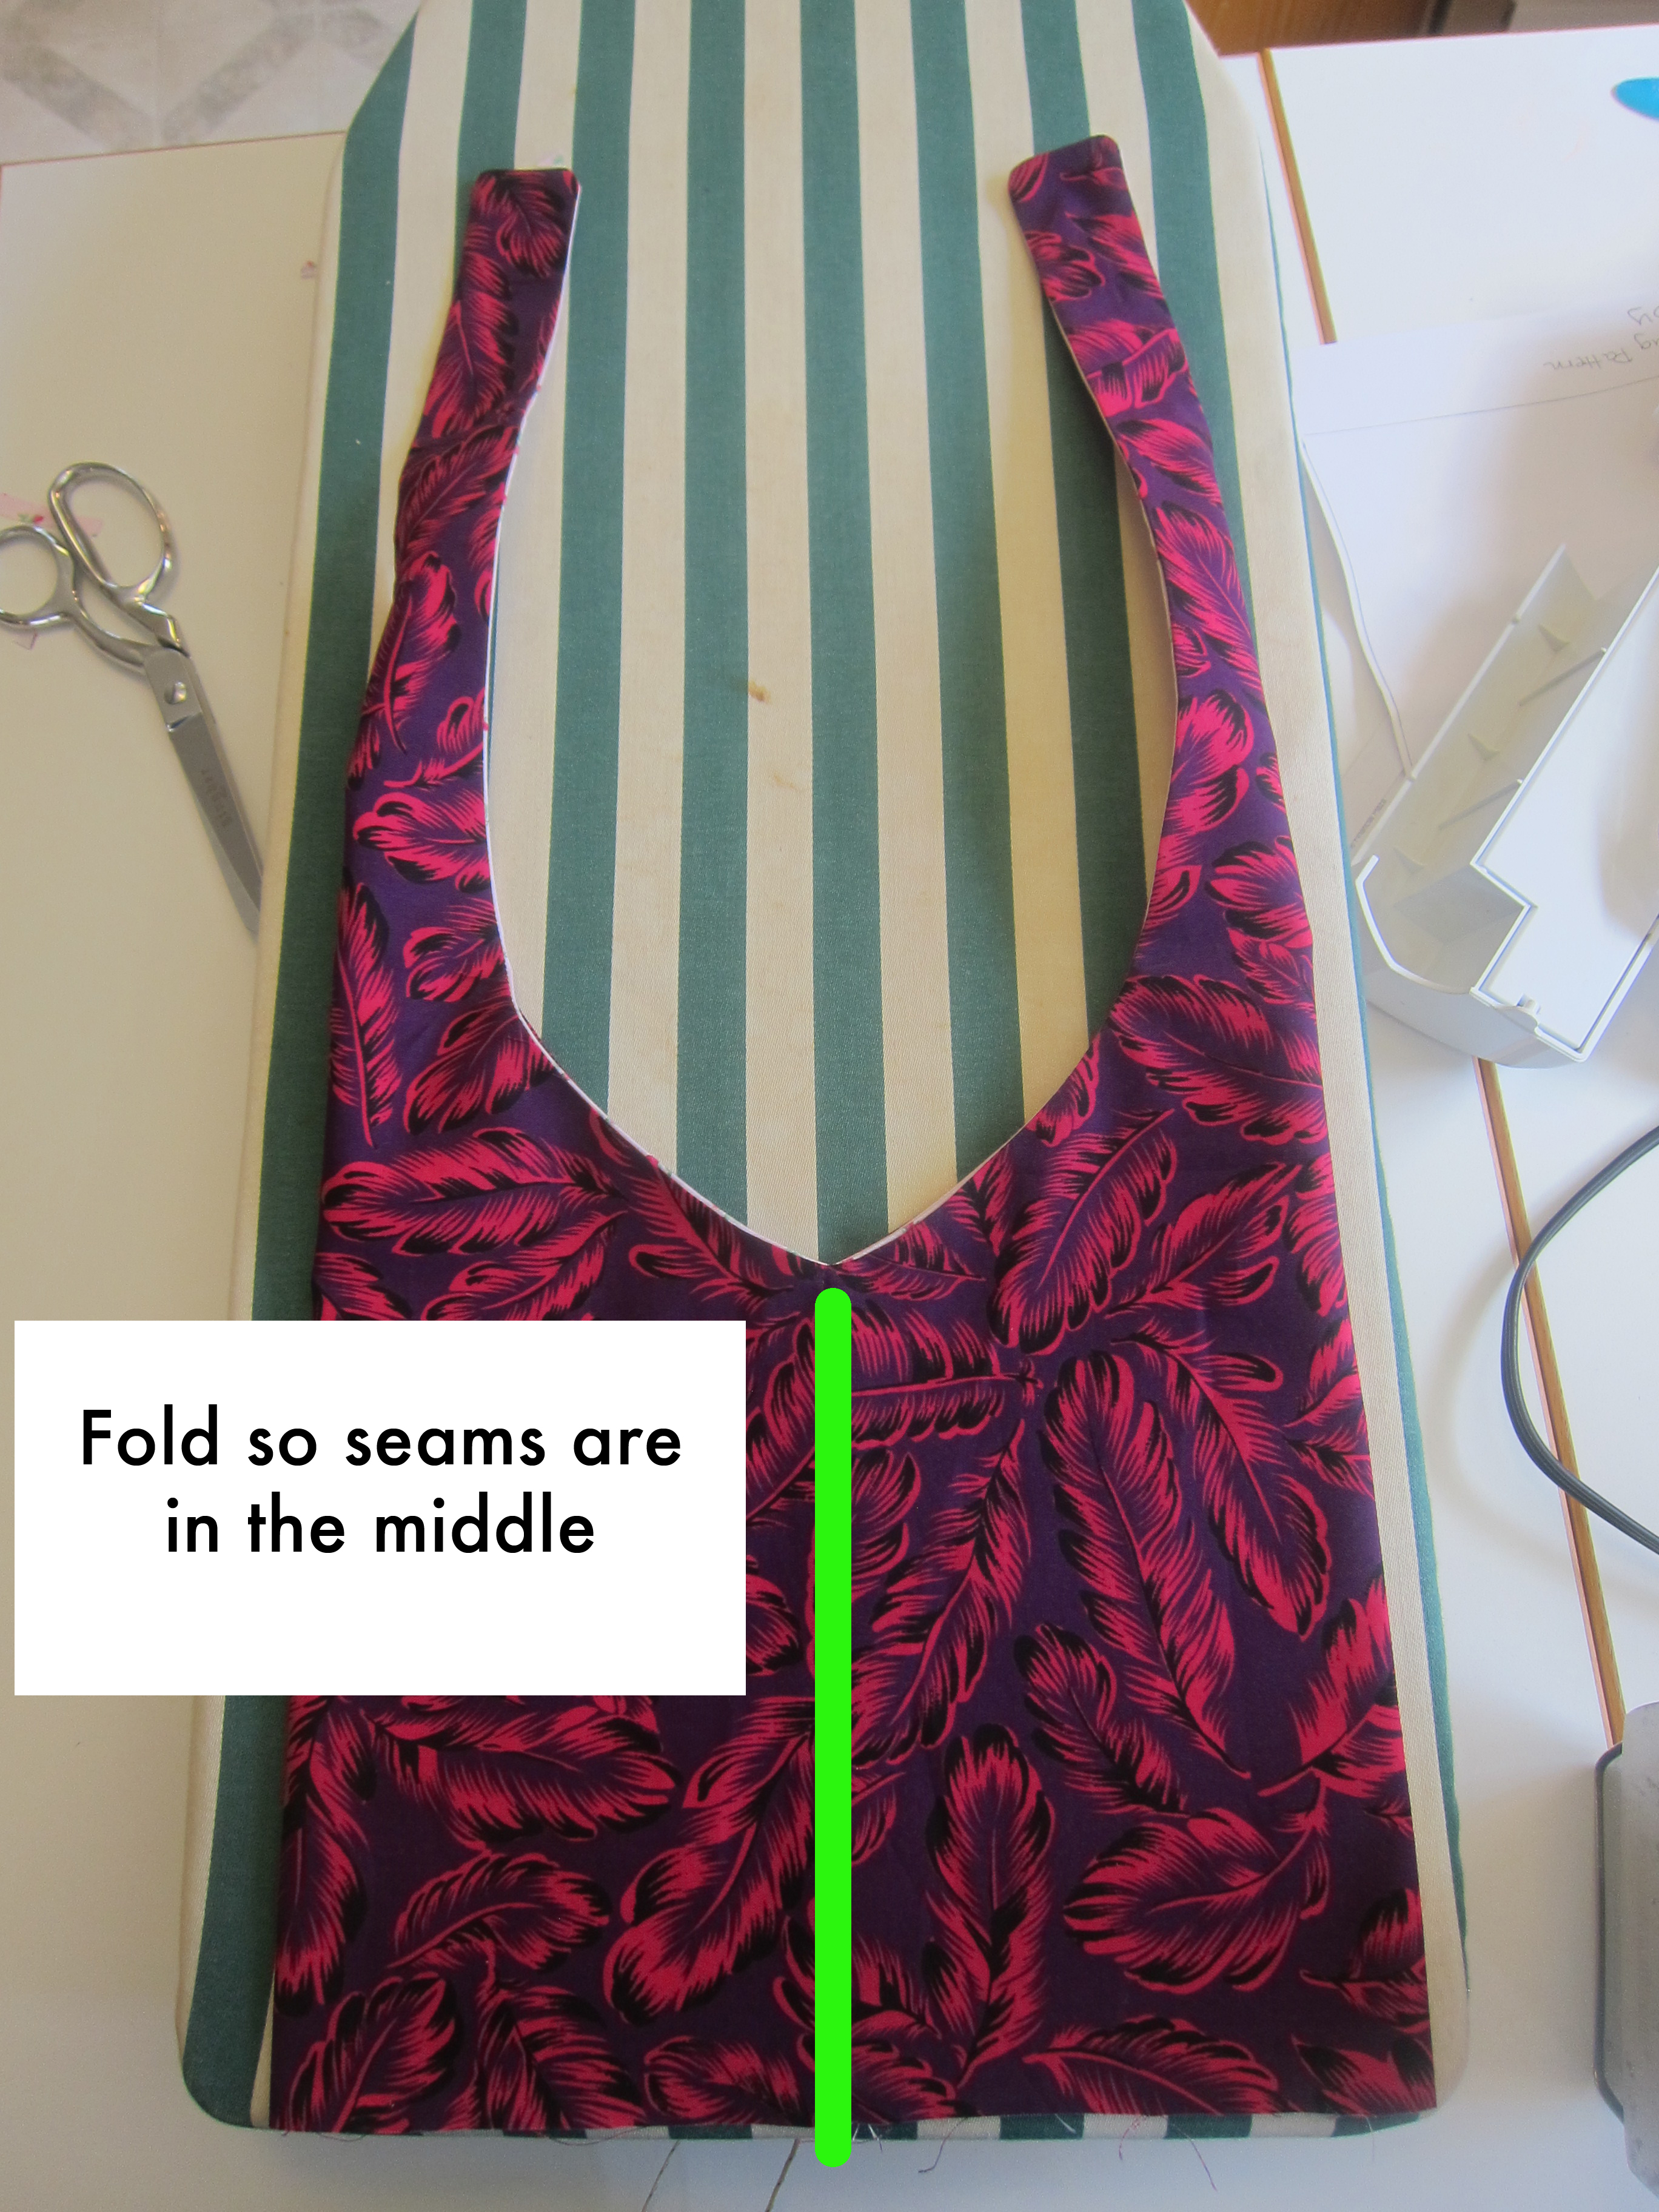
10. Lay the bag flat so the side seams are now in the middle. Make sure these seams line up on the bottom and then iron the bag flat.

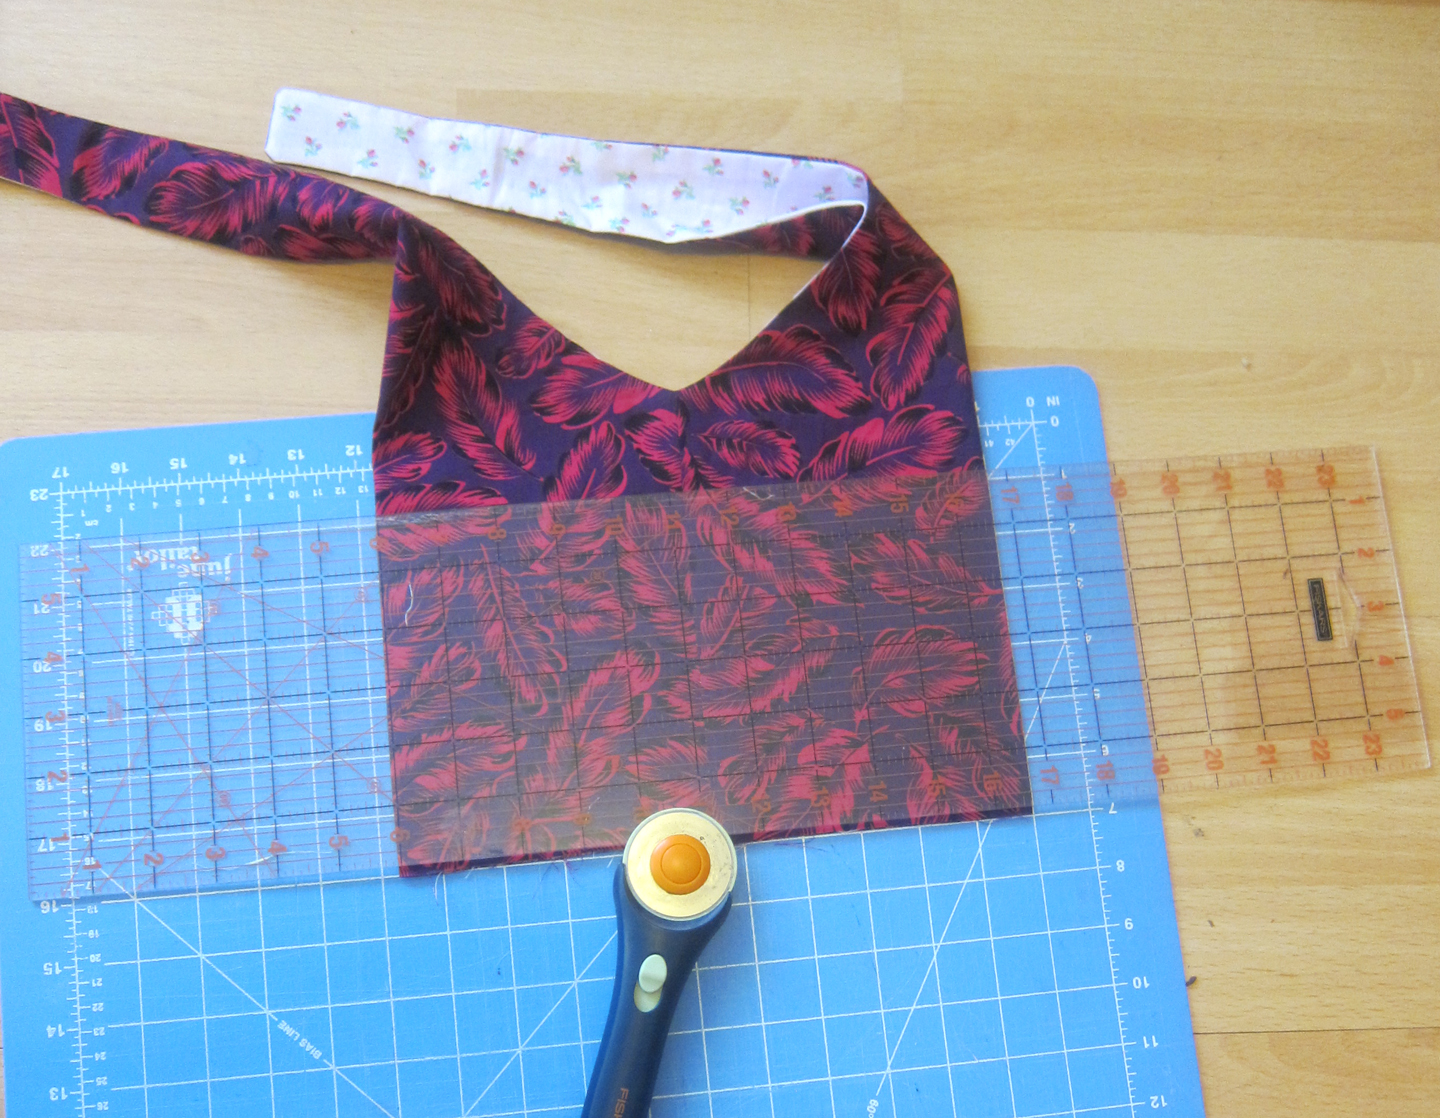
11. Using a rotary blade, cut the bottom edges of the bag so it’s all even. Sometimes things just aren’t lined up well and a good fresh cut will make it turn out better. This step is optional.

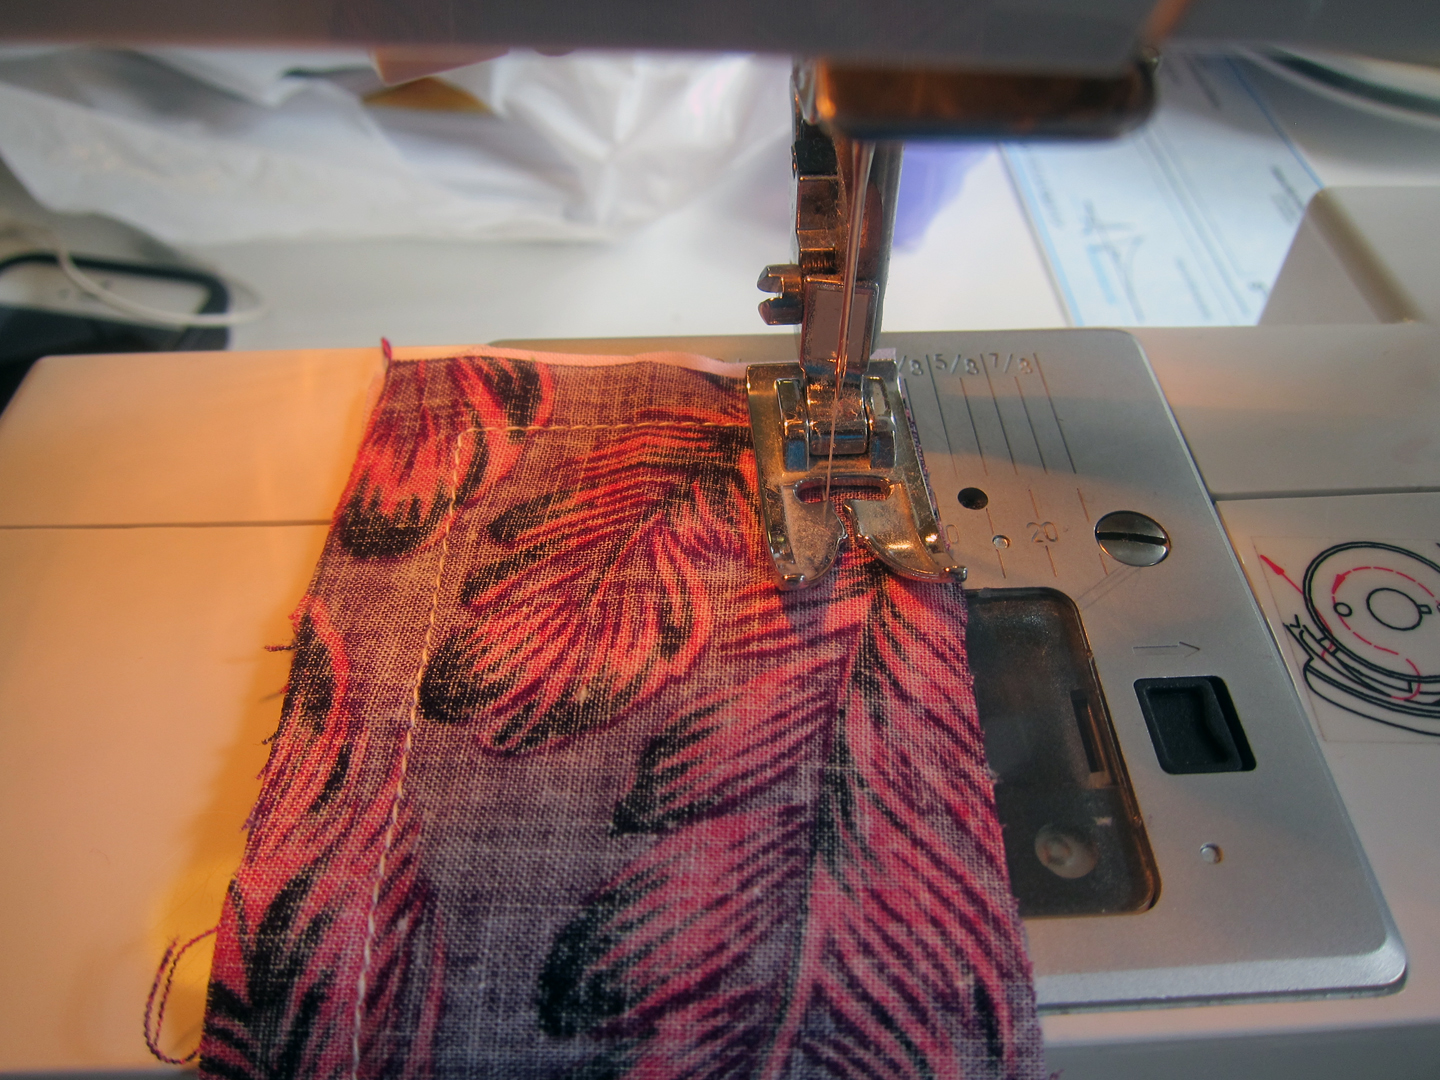
12. With the bag right-side out pin along the bottom edge, starting at the center seams so they line up on both sides. Sew along the edge with the shortest seam allowance possible.
13. Trim closely along this seam and turn inside out.

14. Pin the now sewn shut bottom edge again and sew a new seam with 1/4-inch seam allowance. You have now created a French seam. Hurrah!
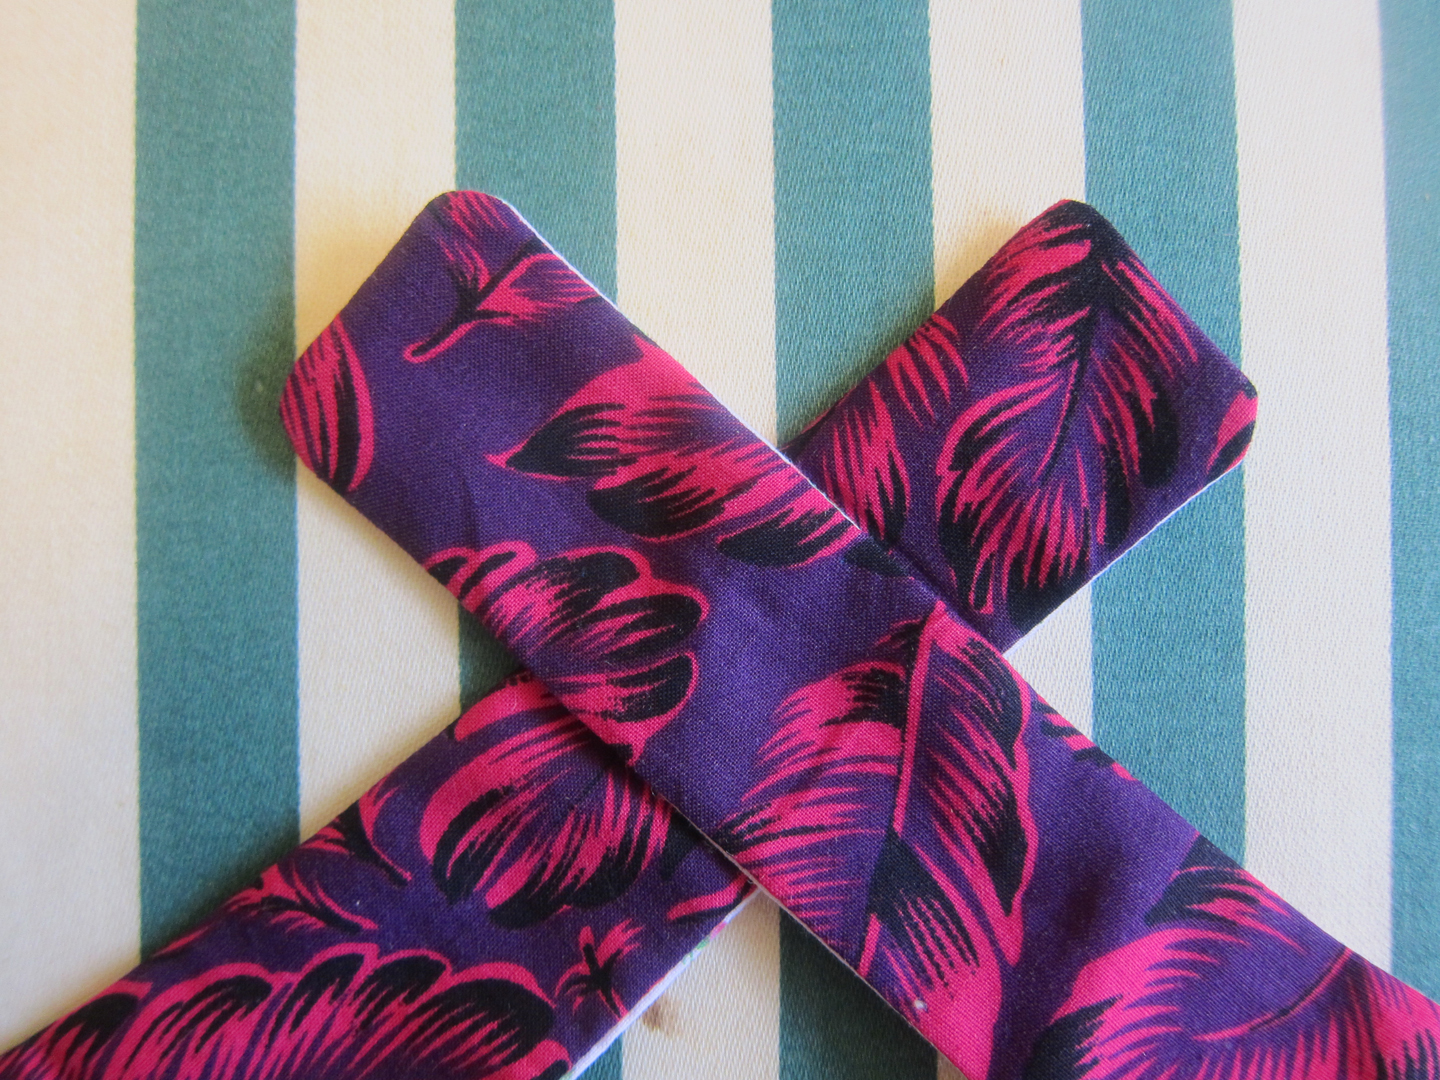
15. Turn your bag right-side out and iron one more time.


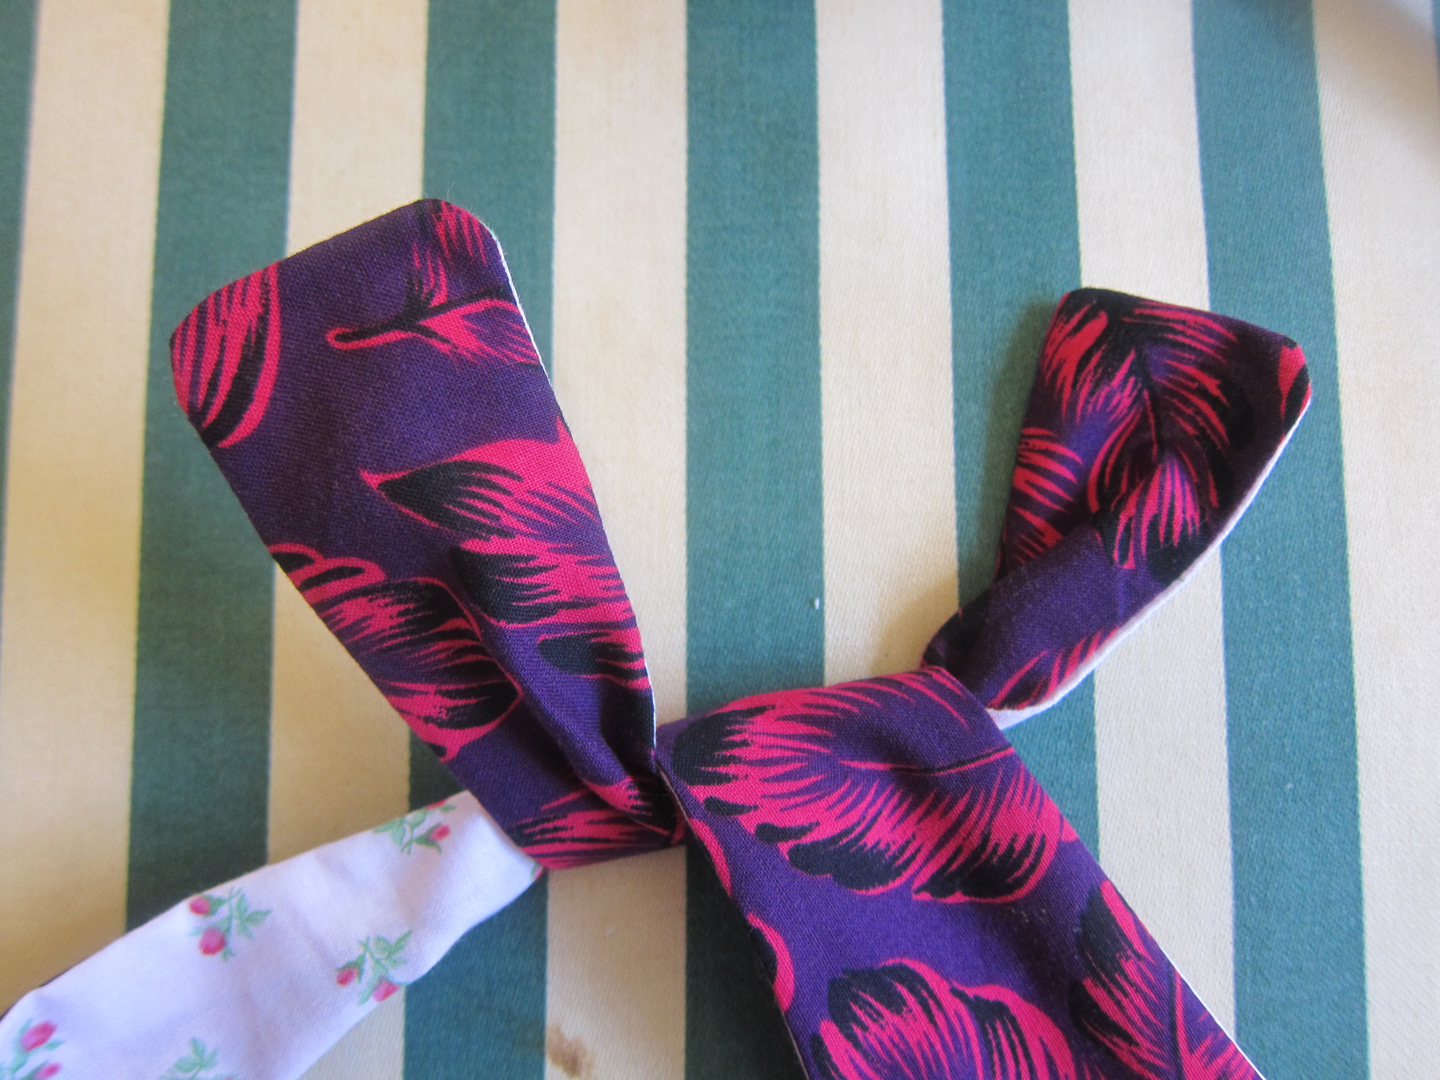
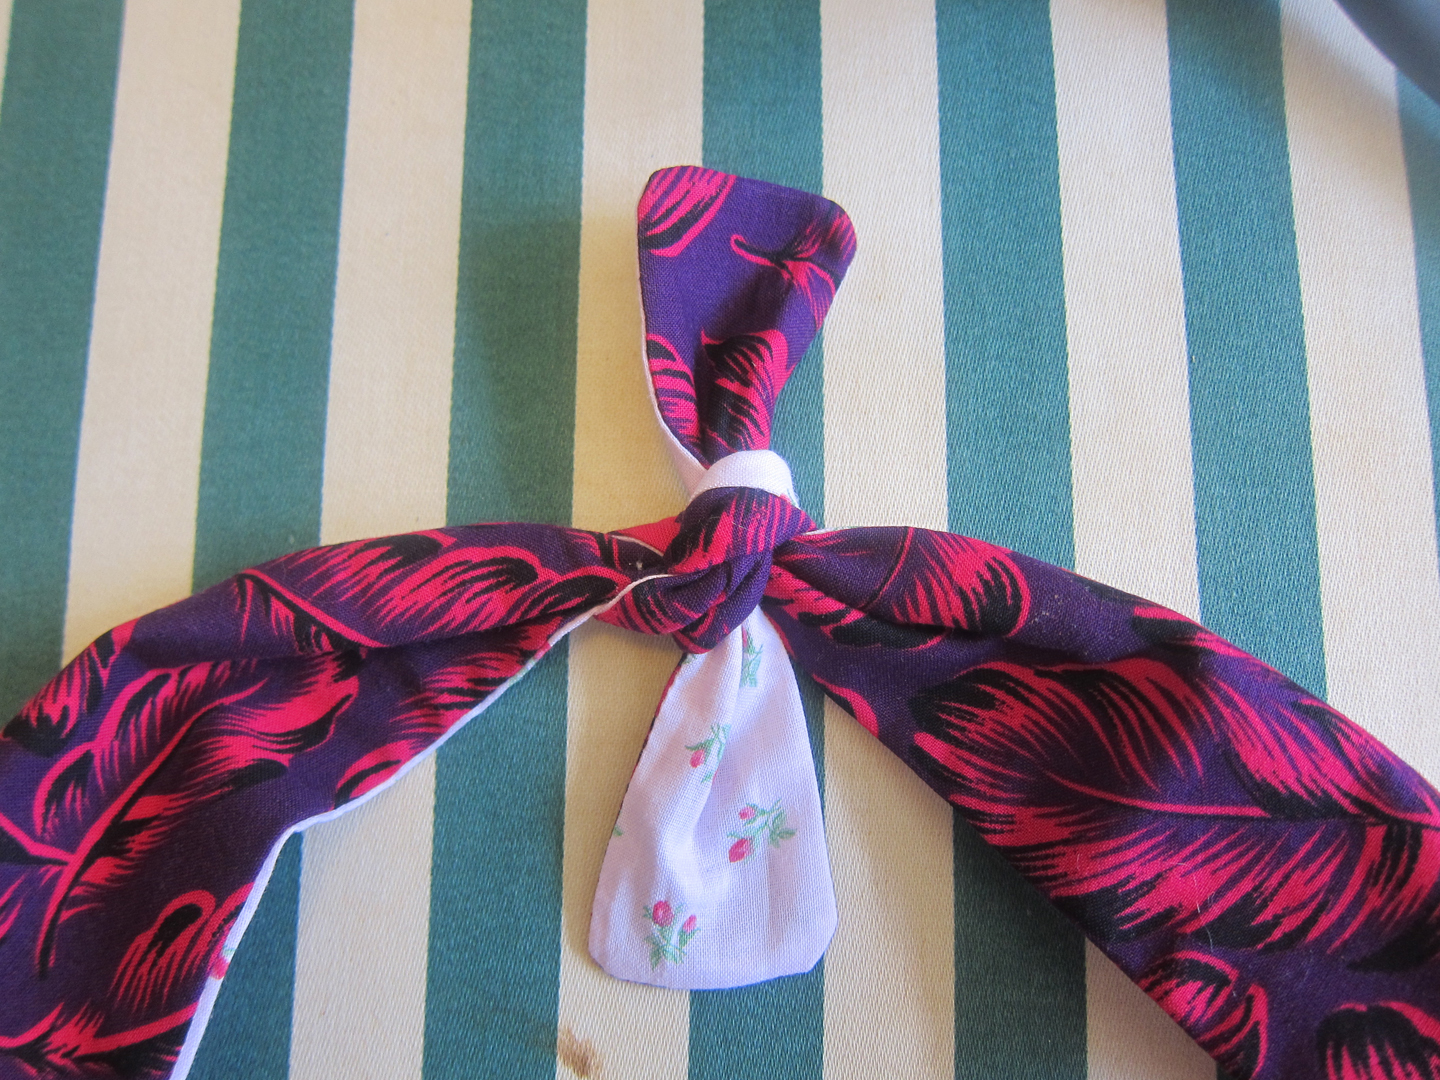
16. Join the two handles by tying a square knot.

17. Admire your work. You’re a super sewer!


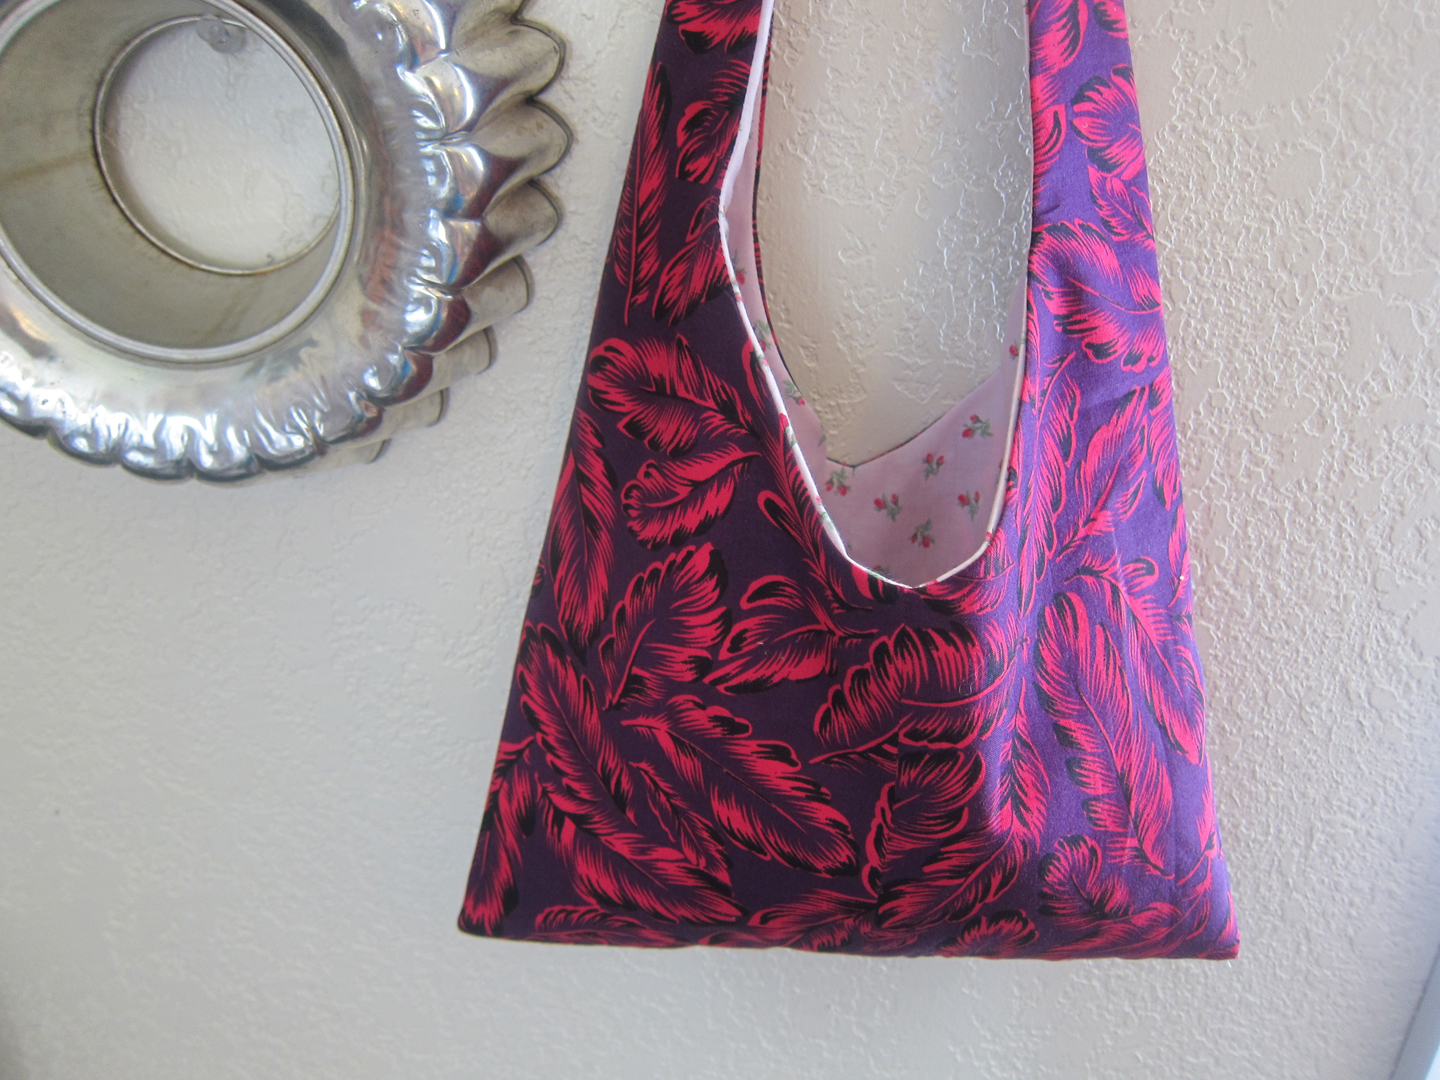