Floral prints are all the rage these days and I’m always finding skirts at the thrift store that have pretty patterns, but they are just too long for my stumpy legs.
You’ve probably come across these types of skirts — they are from the ’90s, ankle-length and look as though a church lady might wear them.
If you have basic sewing skills it’s pretty simple to shorten a skirt to a more youthful length. It only took me 45 minutes and I went from bake sale mom to hipster mom for $2.50. You can too!

Materials:
One thrift store skirt in your size
Ruler
Straight pins
Chalk or pencil
Fabric scissors
Sewing machine
Iron

Step 1: Iron your skirt if it needs it.
Step 2: Determine how much length you’d like to cut off. I wanted the skirt to fall just above my knees, which was about 10.5 inches from the original hem. I subtracted 1.5 inches to account for the new hem. For me, 9 inches was how much I needed to remove.

Step 3: If your skirt has buttons down the front, unbutton it and lay it flat, wrong side up. With a ruler and chalk or pencil go along the bottom of the skirt and mark 9 inches all around. I didn’t do this accurately at all and it still worked out fine. My skirt had a slight arc to it so I eyeballed it here and there.
Step 4: Cut along the measurement lines you made.

Step 5: With your iron, turn under 1/2 inch from the edge all across the skirt.
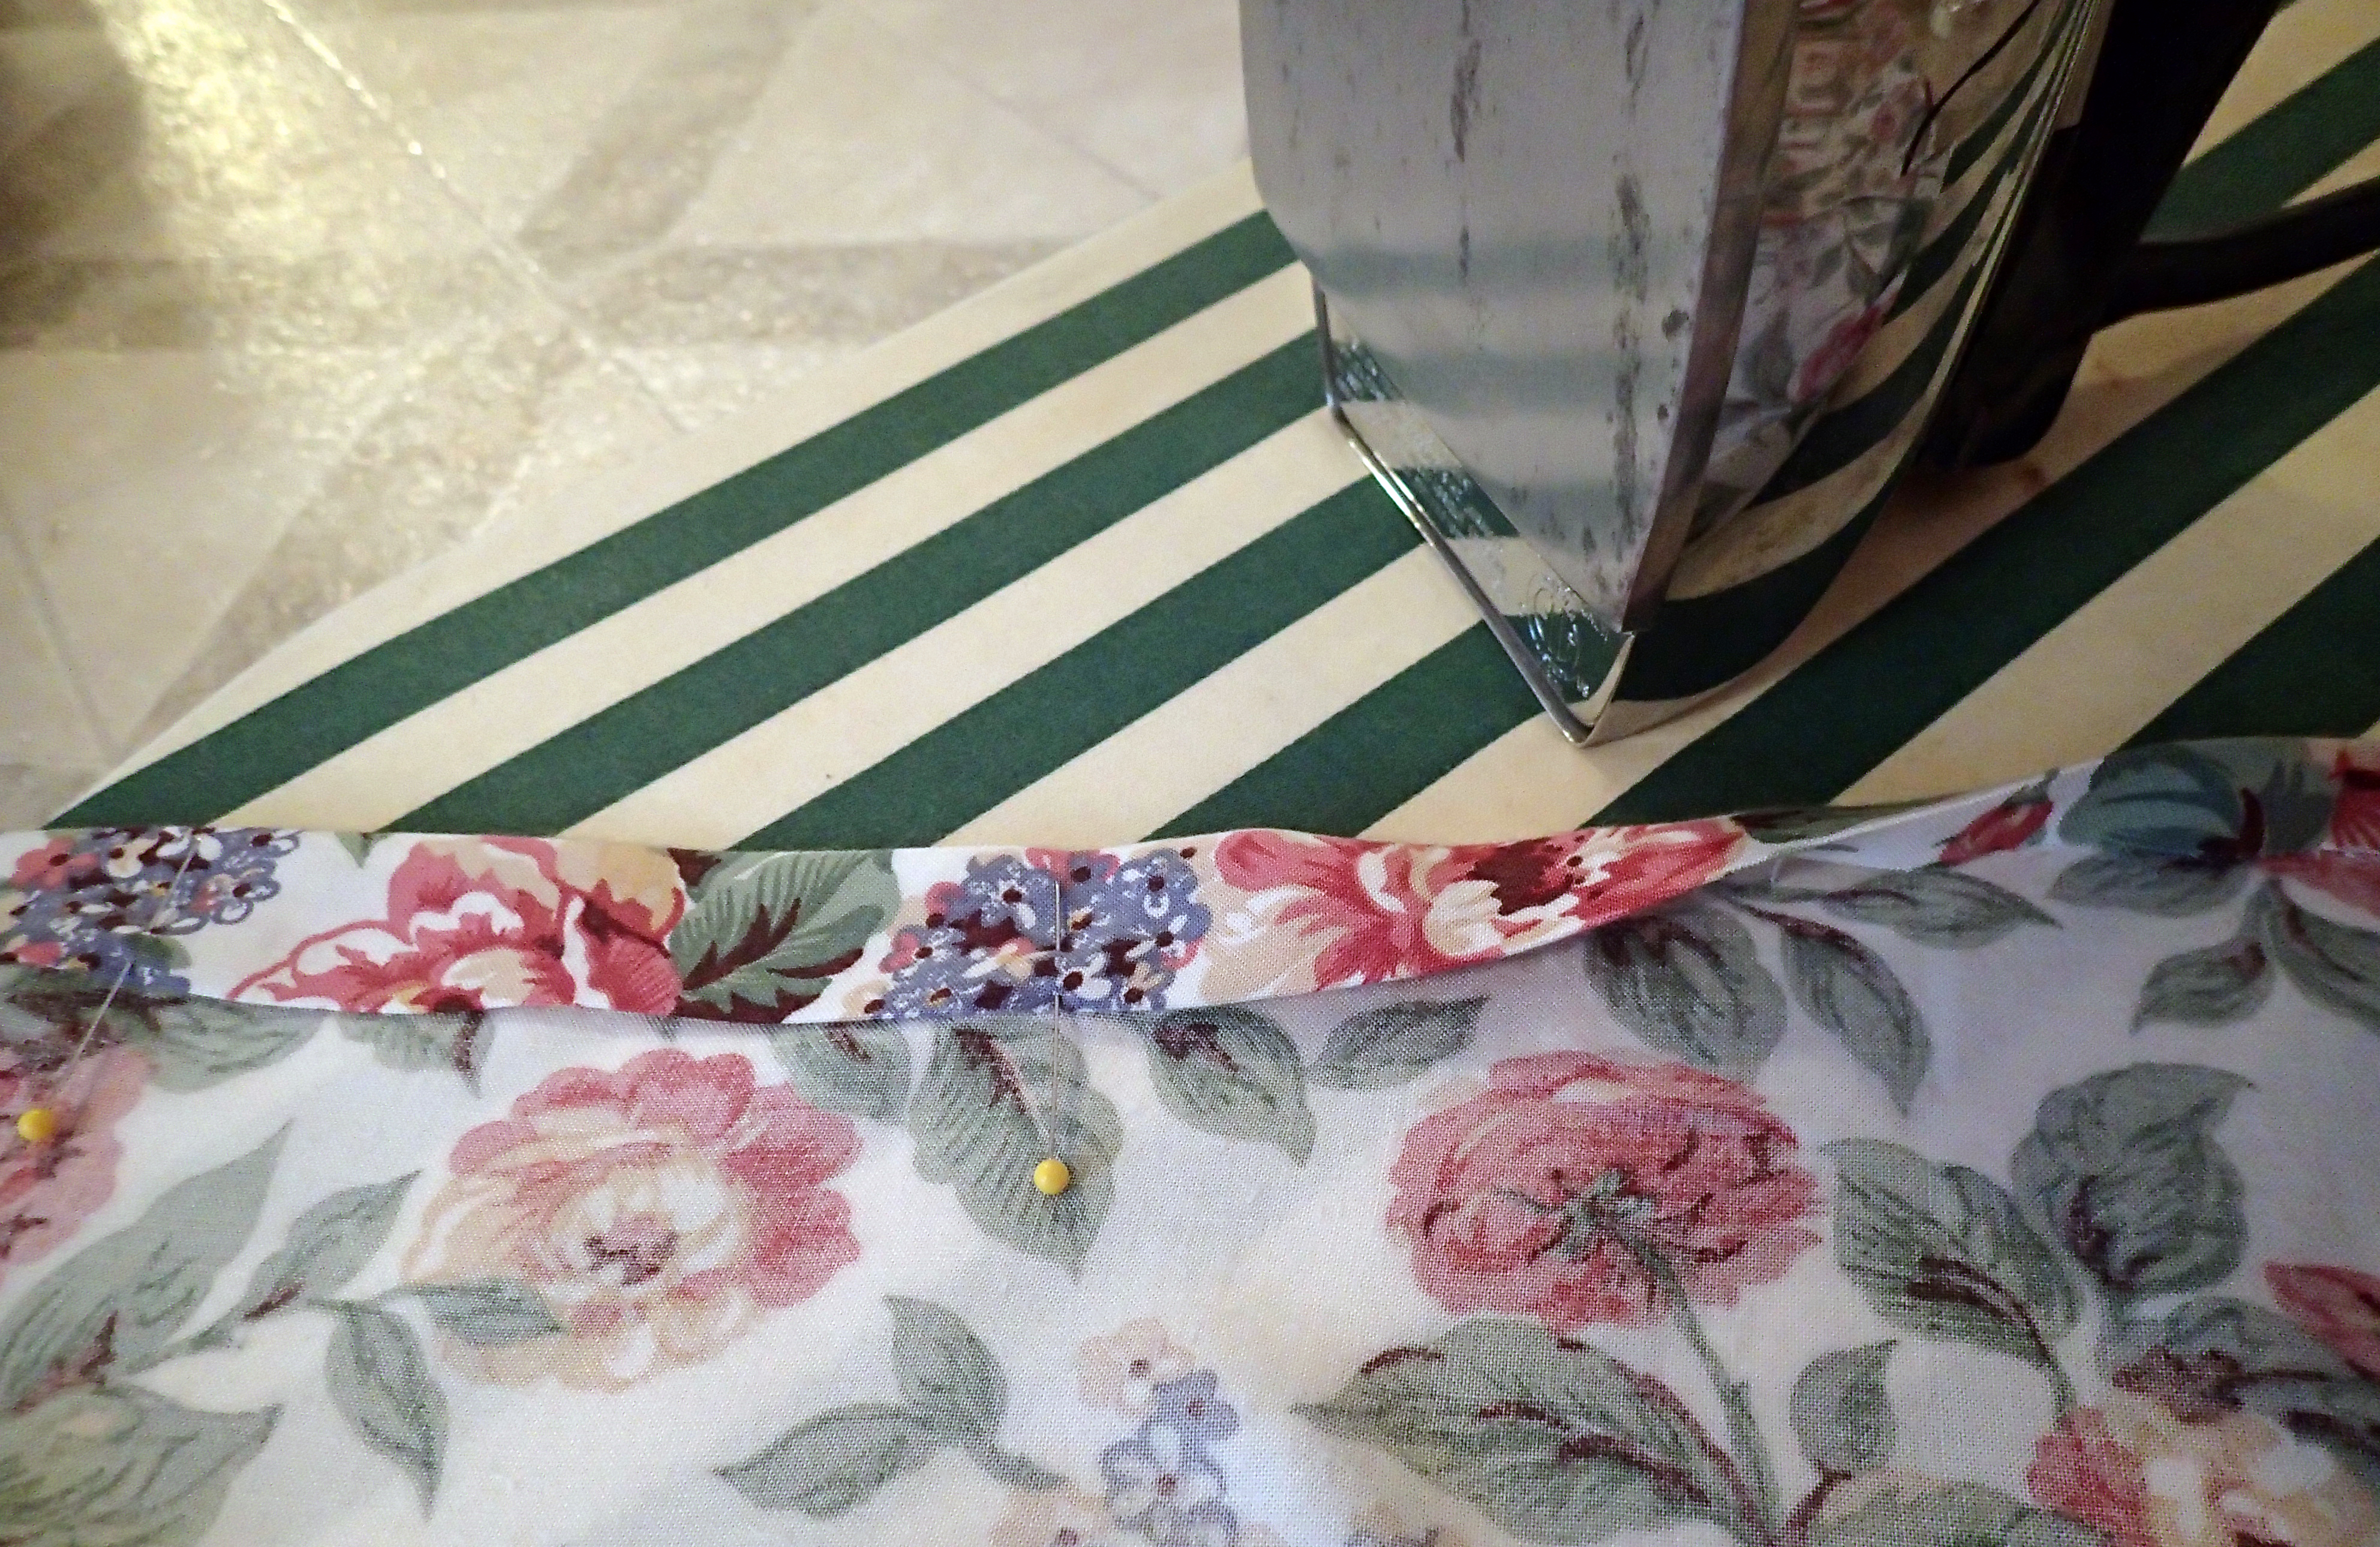
Step 6: Turn under 1 inch all around and iron down, pinning as you go. *NOTE* if your skirt buttons in the front, make sure your ends match in the front. Mine were really off so I had to re-iron and eyeball it till it worked. Doesn’t need to be perfect, especially if it’s a flowing skirt. No one will notice if the back is slightly shorter than the front.

Step 7: Sew a seam along the hem 3/4 inches from the folded edge, backstitching at the beginning and end.
Step 8: Trim all threads and run an iron along the hem one last time.
Step 9: Put on your skirt and admire your crafty awesomeness.