
Tag Archives: recipes

Legit Falafel Mix

I’m usually not one to write more than a few sentences before a recipe, but this one warrants a little explanation.

I am not too familiar with making my own falafel patties. I’ve used a box mix before but that wasn’t worth writing about. The other day my sister told me she had the most delicious falafel at work and asked her coworker for the recipe. My sis came over last week with the recipe and ingredients, but we realized parts of the recipe were unclear so we had to make some guesses.

One thing was clear: you have to make falafel from dried chickpeas and not canned chickpeas. I didn’t know this having not grown up eating falafel. But soaking the chickpeas for 12-18 hours is the base ingredient for crispy, flavorful falafel that hold together perfectly. You don’t cook the chickpeas first. Frying the falafel cooks the chickpeas. If you use canned they will not hold together well and will be mushy.

Note: we soaked enough chickpeas for two batches of falafel. You can freeze the remaining soaked chickpeas for another time – it still comes out great!

Ok, four paragraphs wasn’t so bad! Here’s how we made the falafel. I included a recipe for a tomato cucumber salad as well.
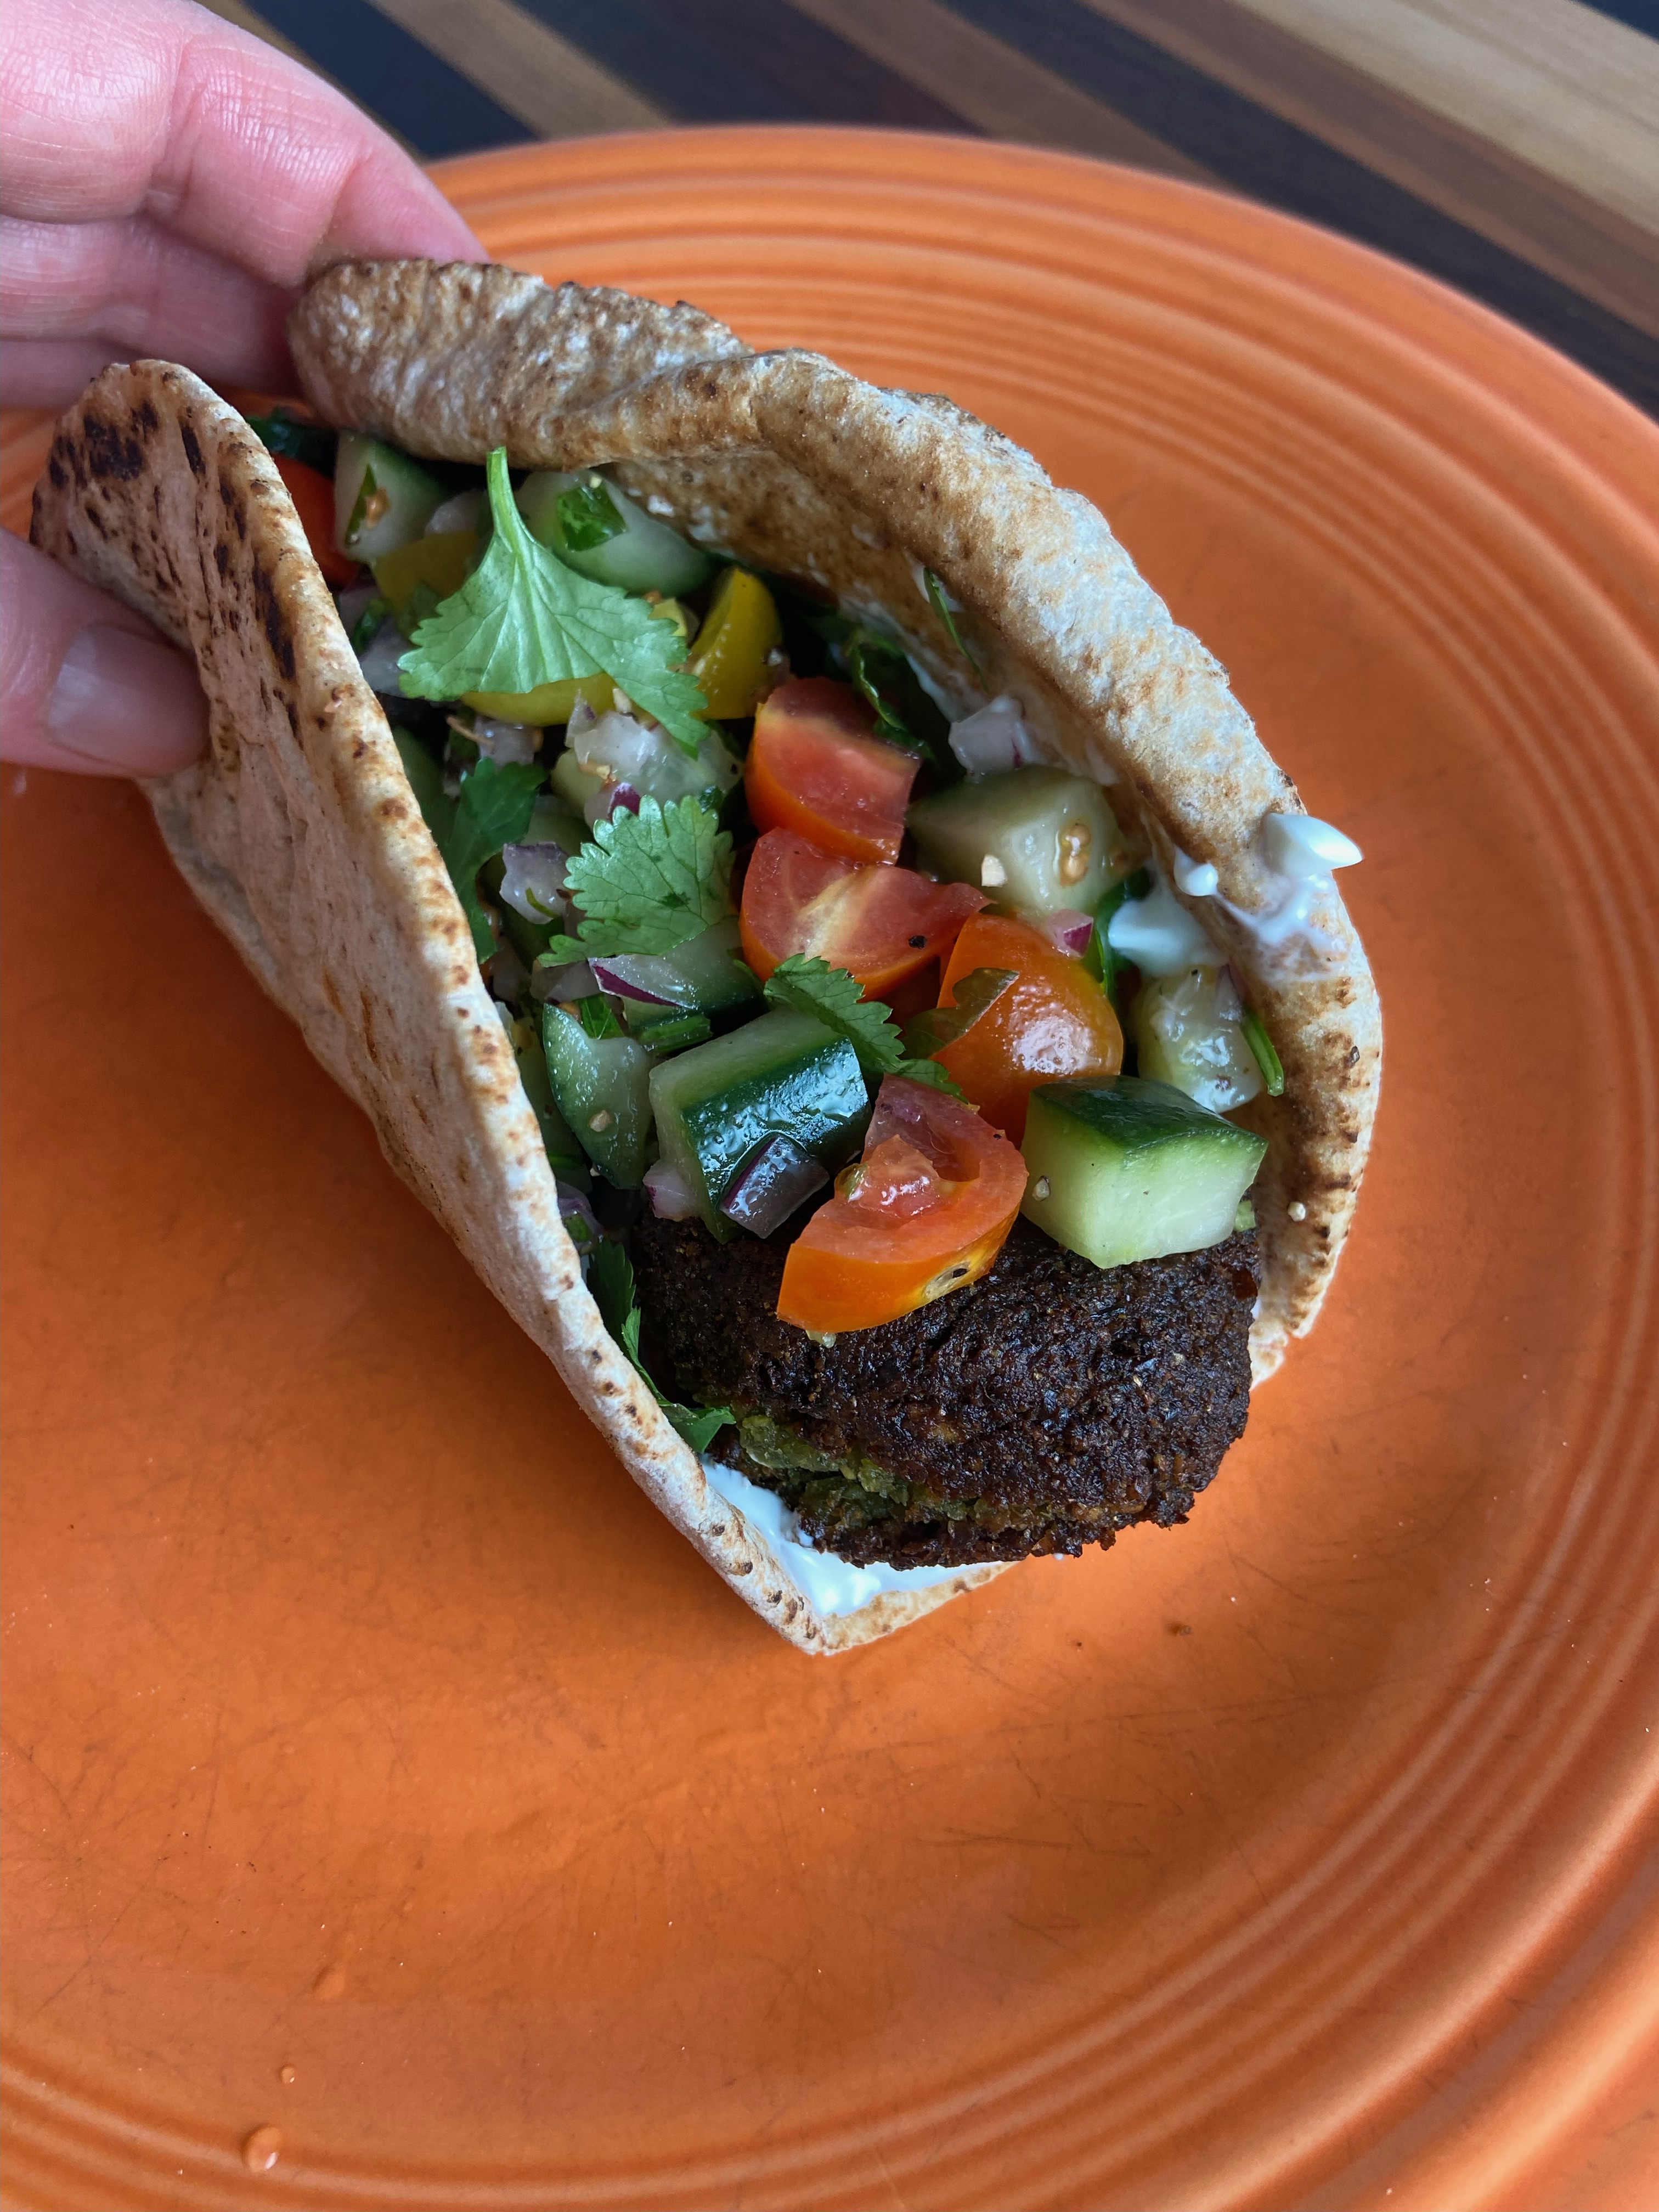
Delicious Falafel Mix

1 batch makes about 25 falafel patties

Ingredients for the chickpeas (enough for 2 batches of falafel):

  • 2 quarts water
  • ½ teaspoon baking soda
  • 1 pound dry chickpeas

Ingredients for the falafel:

  • ¼ of a leek, roughly chopped
  • 1 pound of soaked chickpeas (NOT CANNED OR COOKED), fully drained
  • ¼ cup fresh cilantro, roughly chopped
  • ¼ cup fresh parsley, roughly chopped
  • 1 celery stalk, roughly chopped
  • ¼ cup chopped onion
  • 2 cloves garlic, roughly chopped
  • Squeeze of fresh lemon
  • 1.5-2 teaspoons salt (or to taste)
  • ½ teaspoon ground pepper
  • 2 tablespoons ground coriander
  • 1 tablespoon cumin
  • A pinch of ground allspice
  • 2-3 tablespoons chickpea flour
  • ⅛ teaspoon baking powder
  • ⅛ teaspoon baking soda
  • Cooking oil, for frying

Directions:

The day before you want to make falafel, you’ll need to start soaking the chickpeas. Fill a pot with the water and add the baking soda. Add the chickpeas, cover, and soak them 12-18 hours. Drain and store in the fridge or freezer until ready to make your falafel.

On falafel day:

Soak the leek pieces in water to remove any grit. Put the leeks and chickpeas in a salad spinner and spin to remove as much water as possible.

Place the leeks, chickpeas, cilantro, parsley, celery, onion and garlic in a food processor and pulse it until it is paste-like, scraping down the sides with a rubber spatula often.
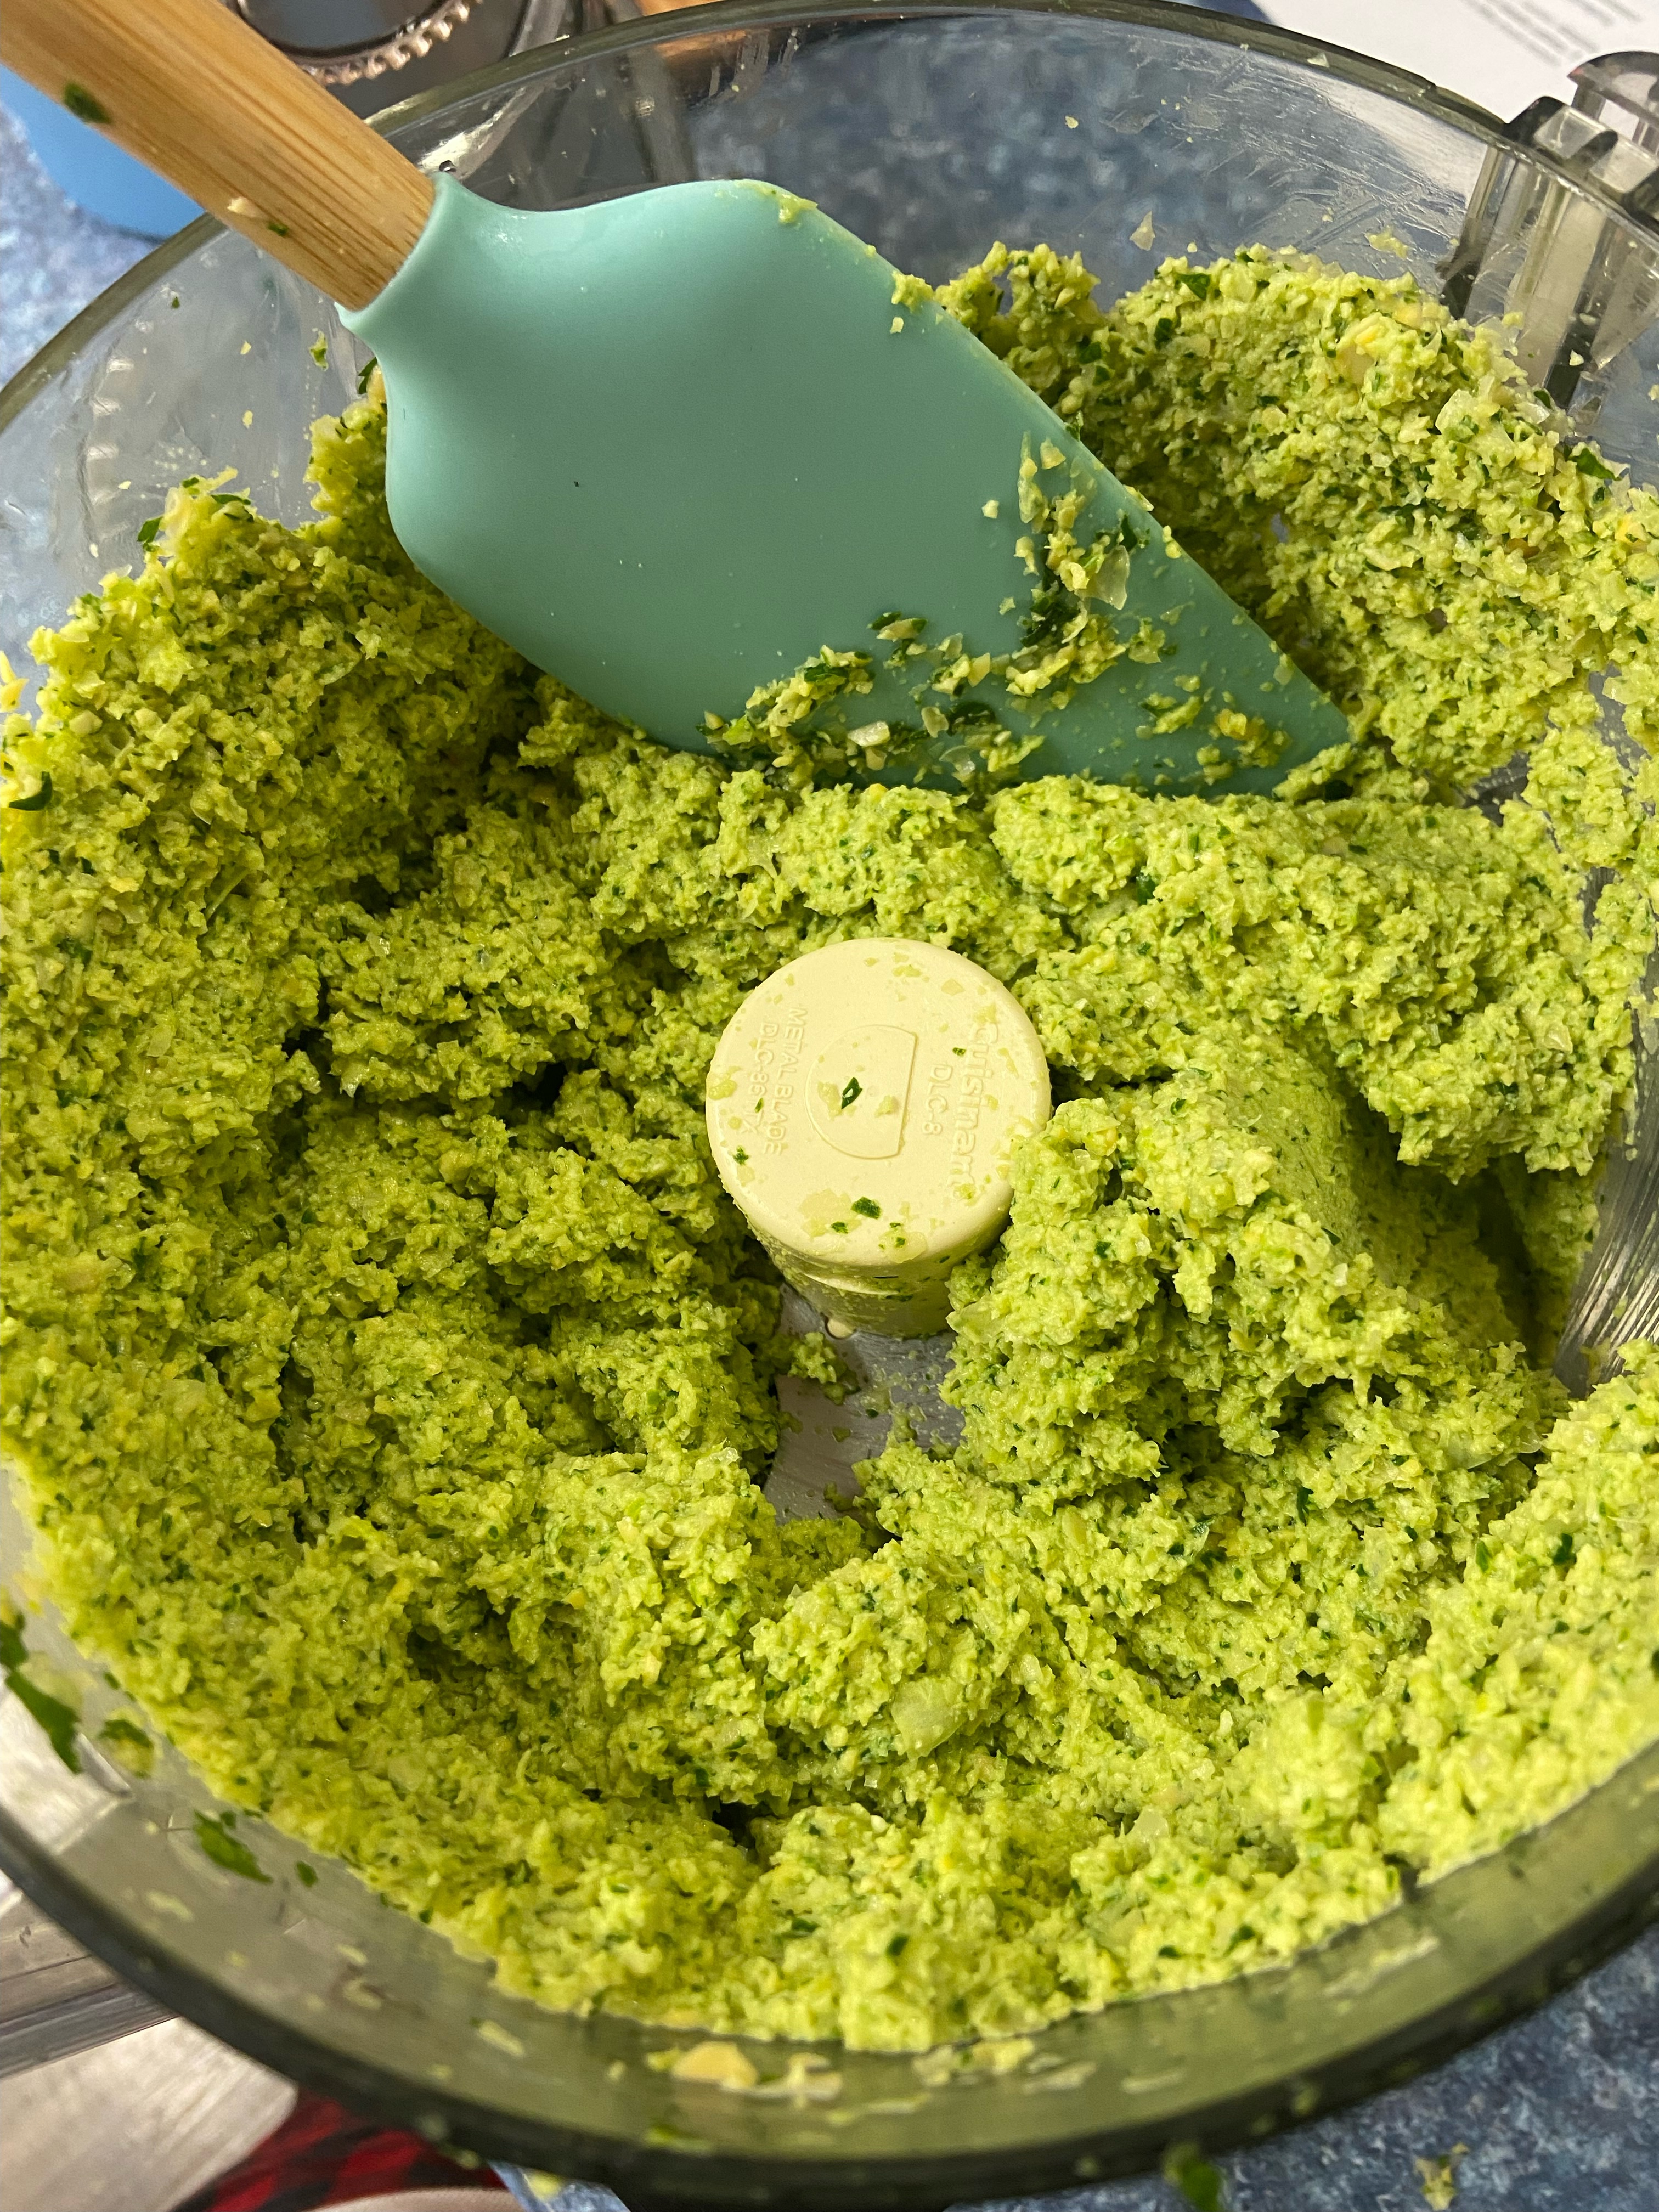
Place mixture in a bowl and add the lemon juice, salt, pepper, coriander, cumin, allspice, chickpea flour, baking powder and baking soda. Mix well and form into falafel patties. If mixture is too moist, add a little more chickpea flour. If too dry, add a little more lemon juice. The falafel should be sort of wet but should hold together without bits falling off. 

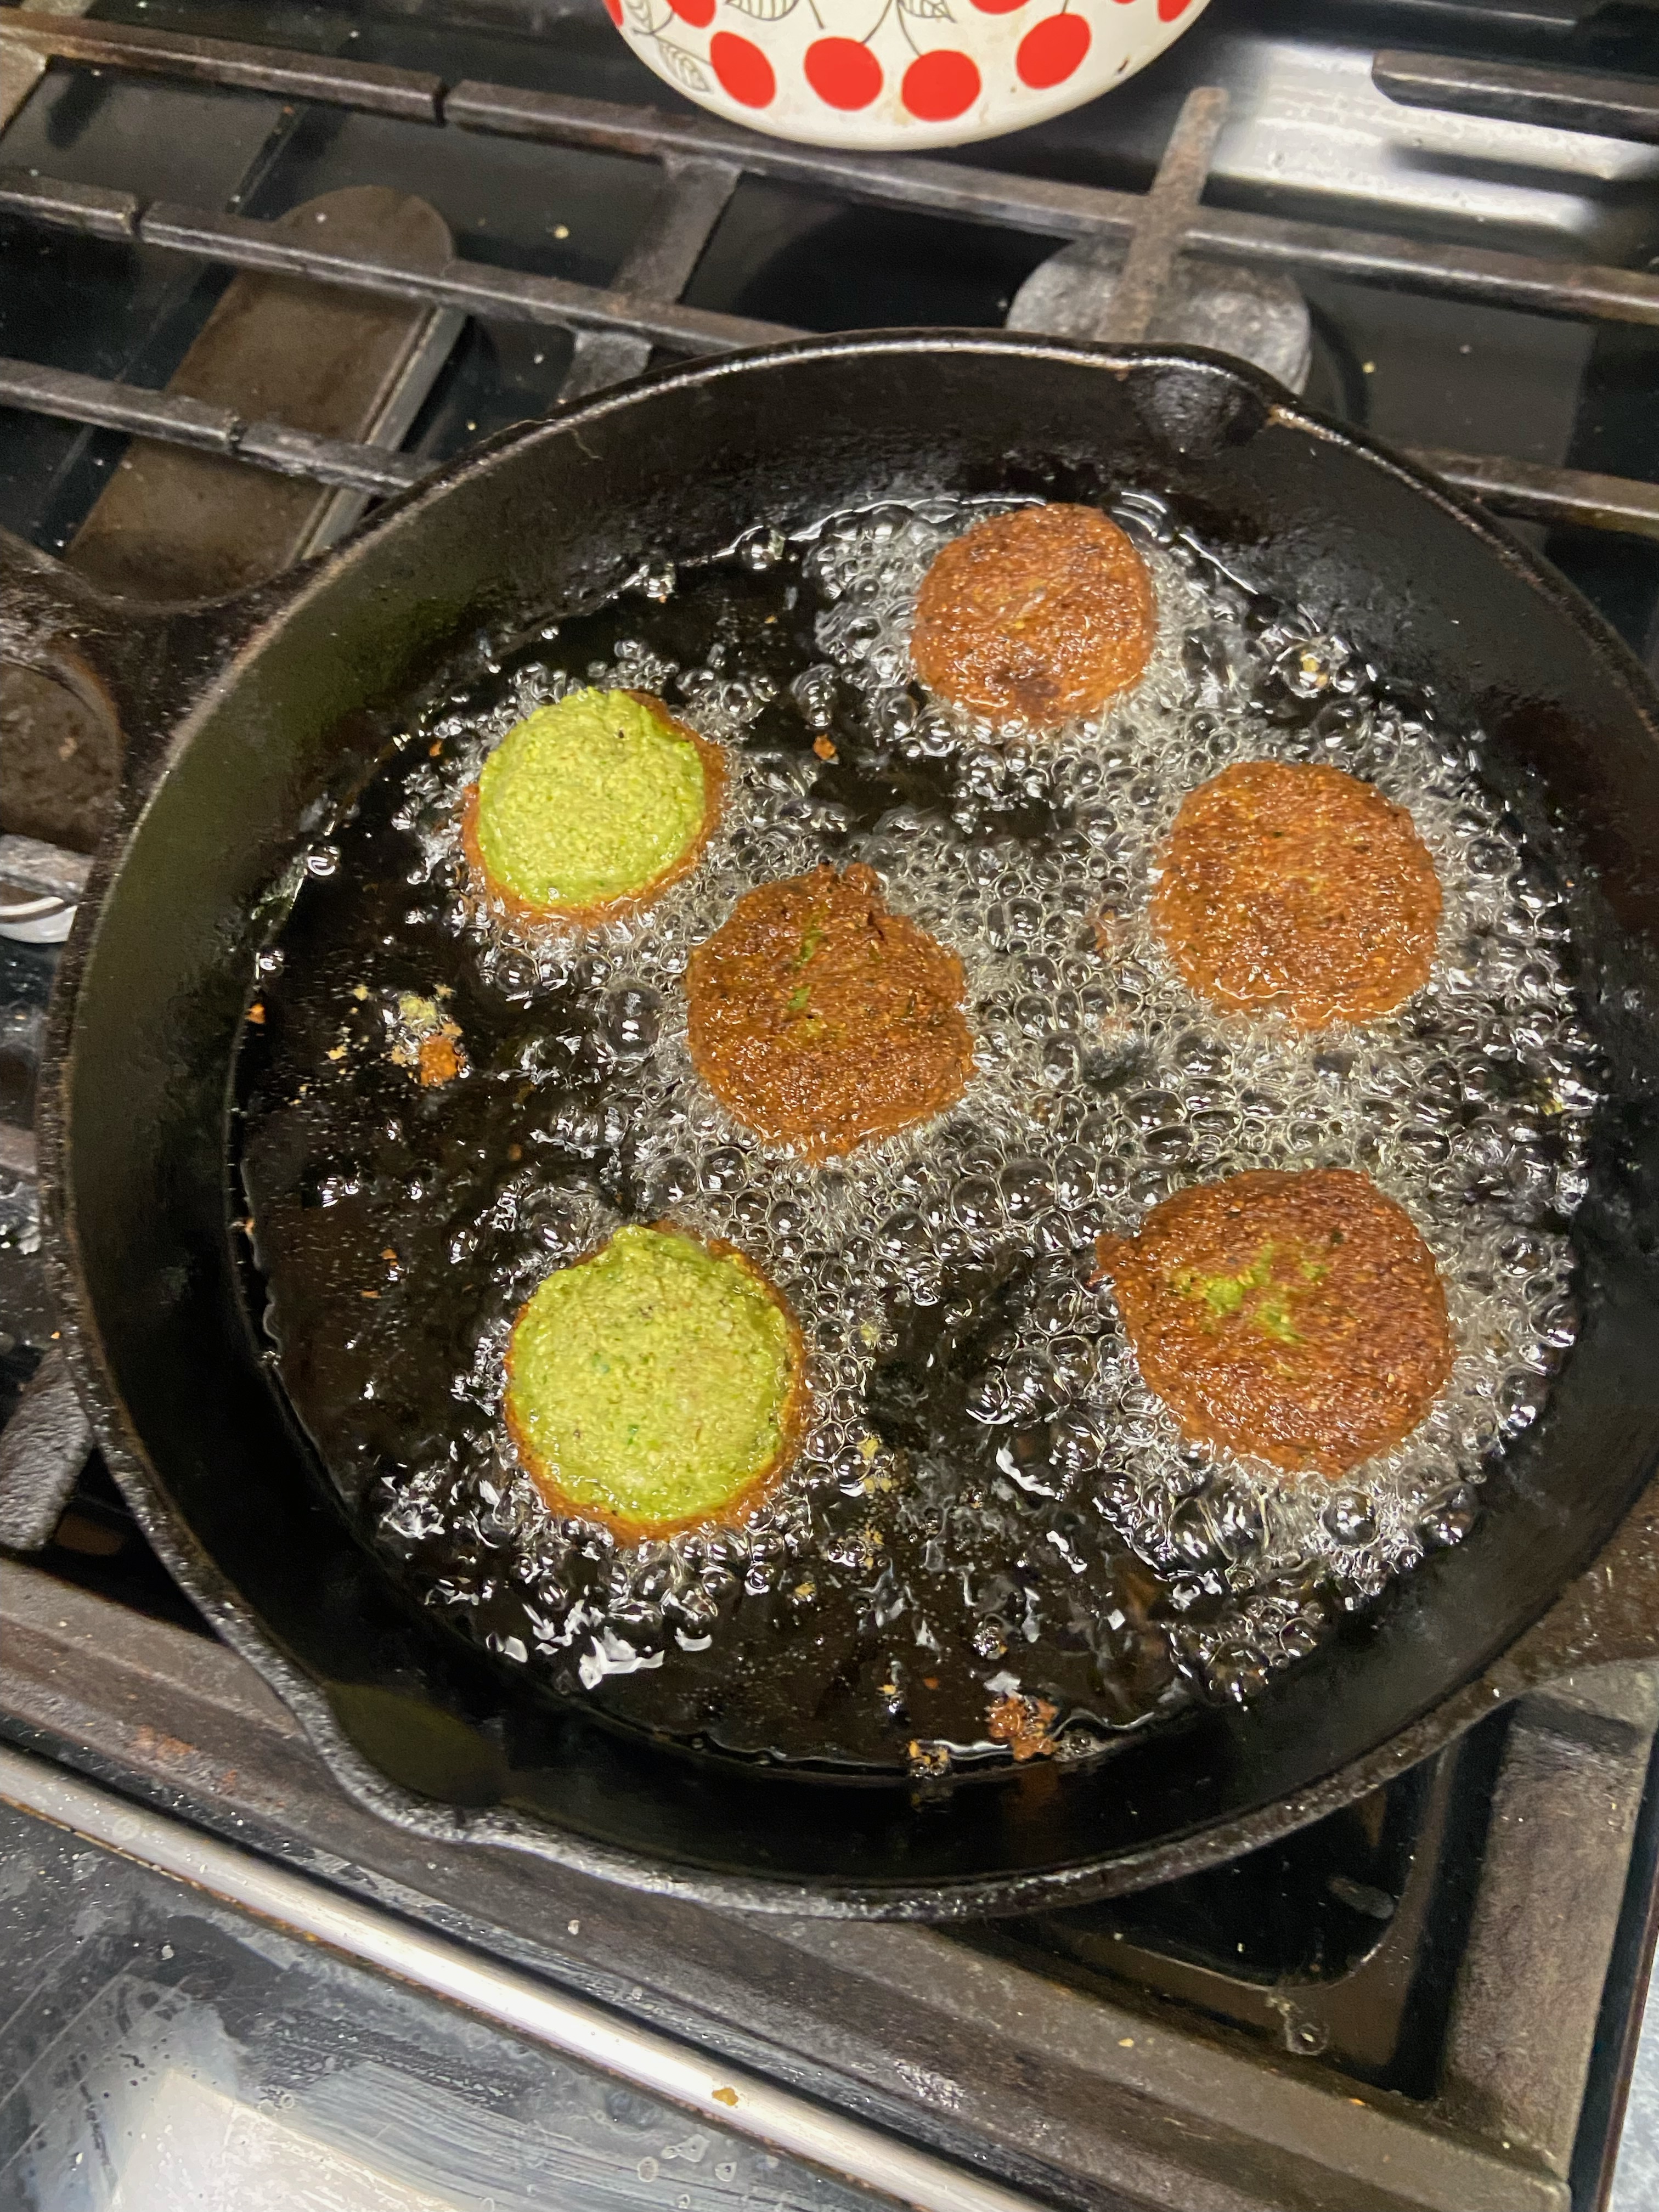
Heat a half inch of oil in a cast iron skillet till about 350F. Fry 6-8 falafel at a time so as not to bring down the heat of the oil. Fry till crispy and dark brown, about 2-3 minutes on each side. Place on a paper towel-lined sheet pan. Serve with all the falafel fixins.
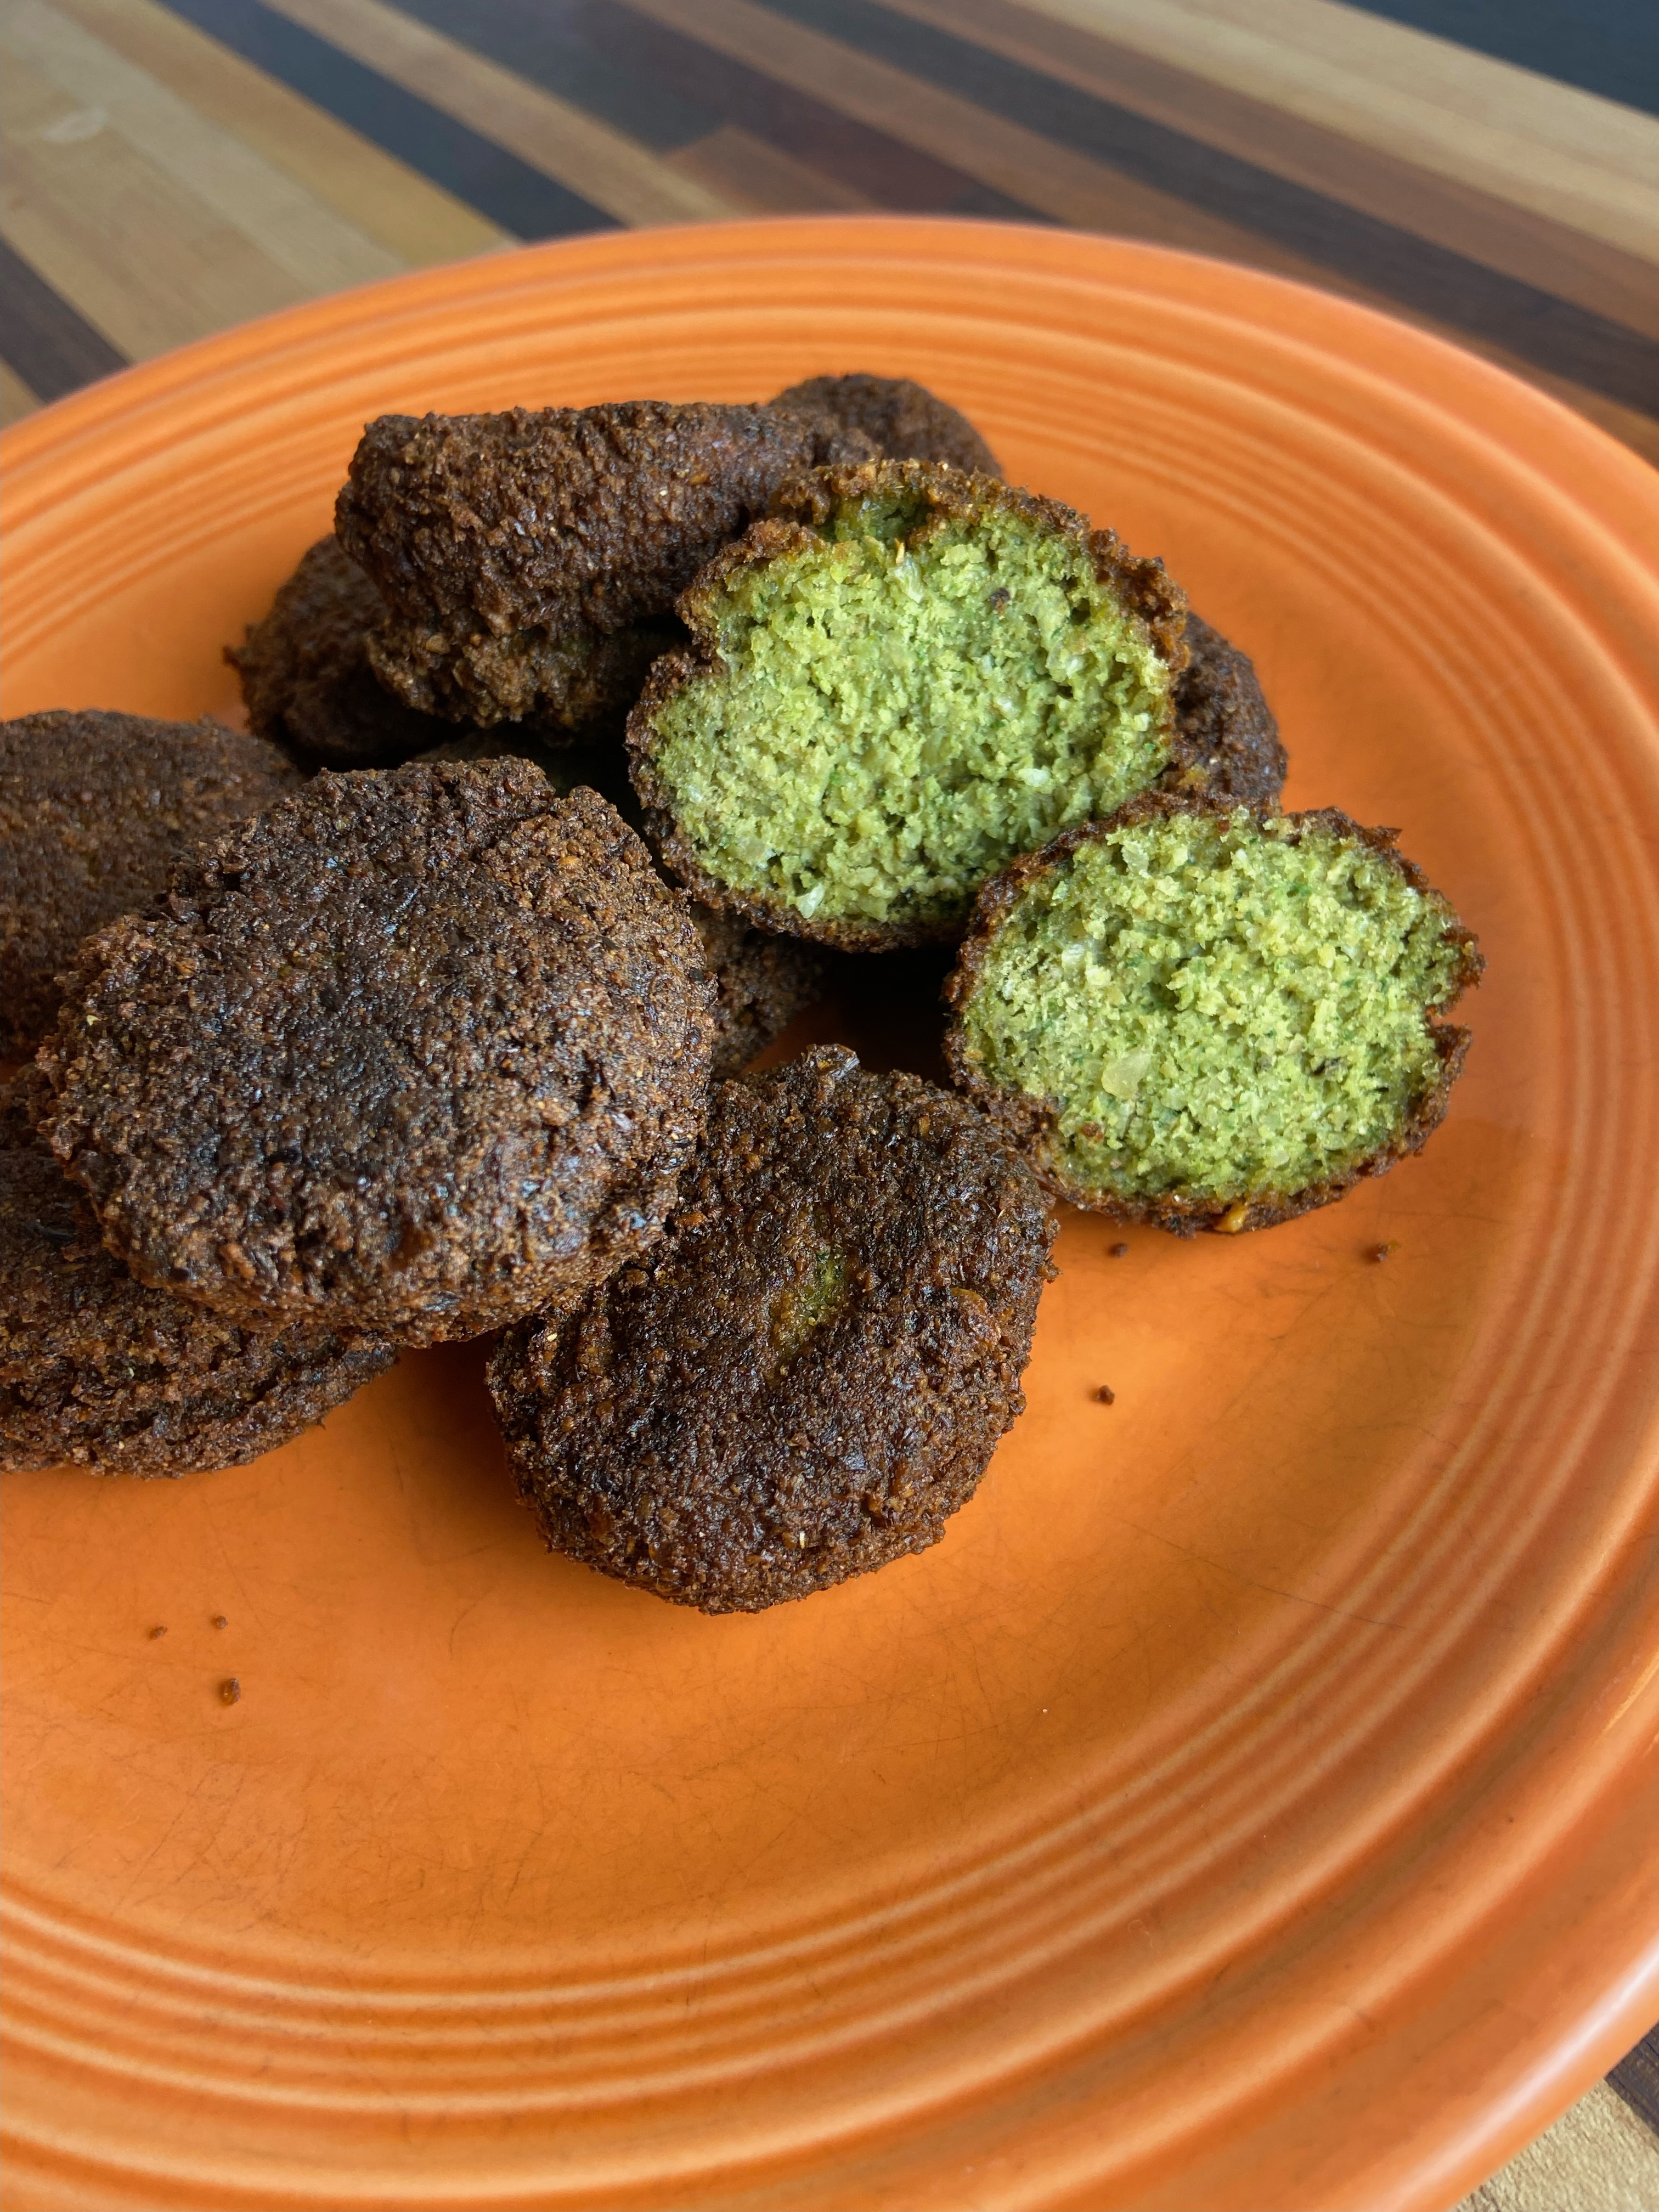
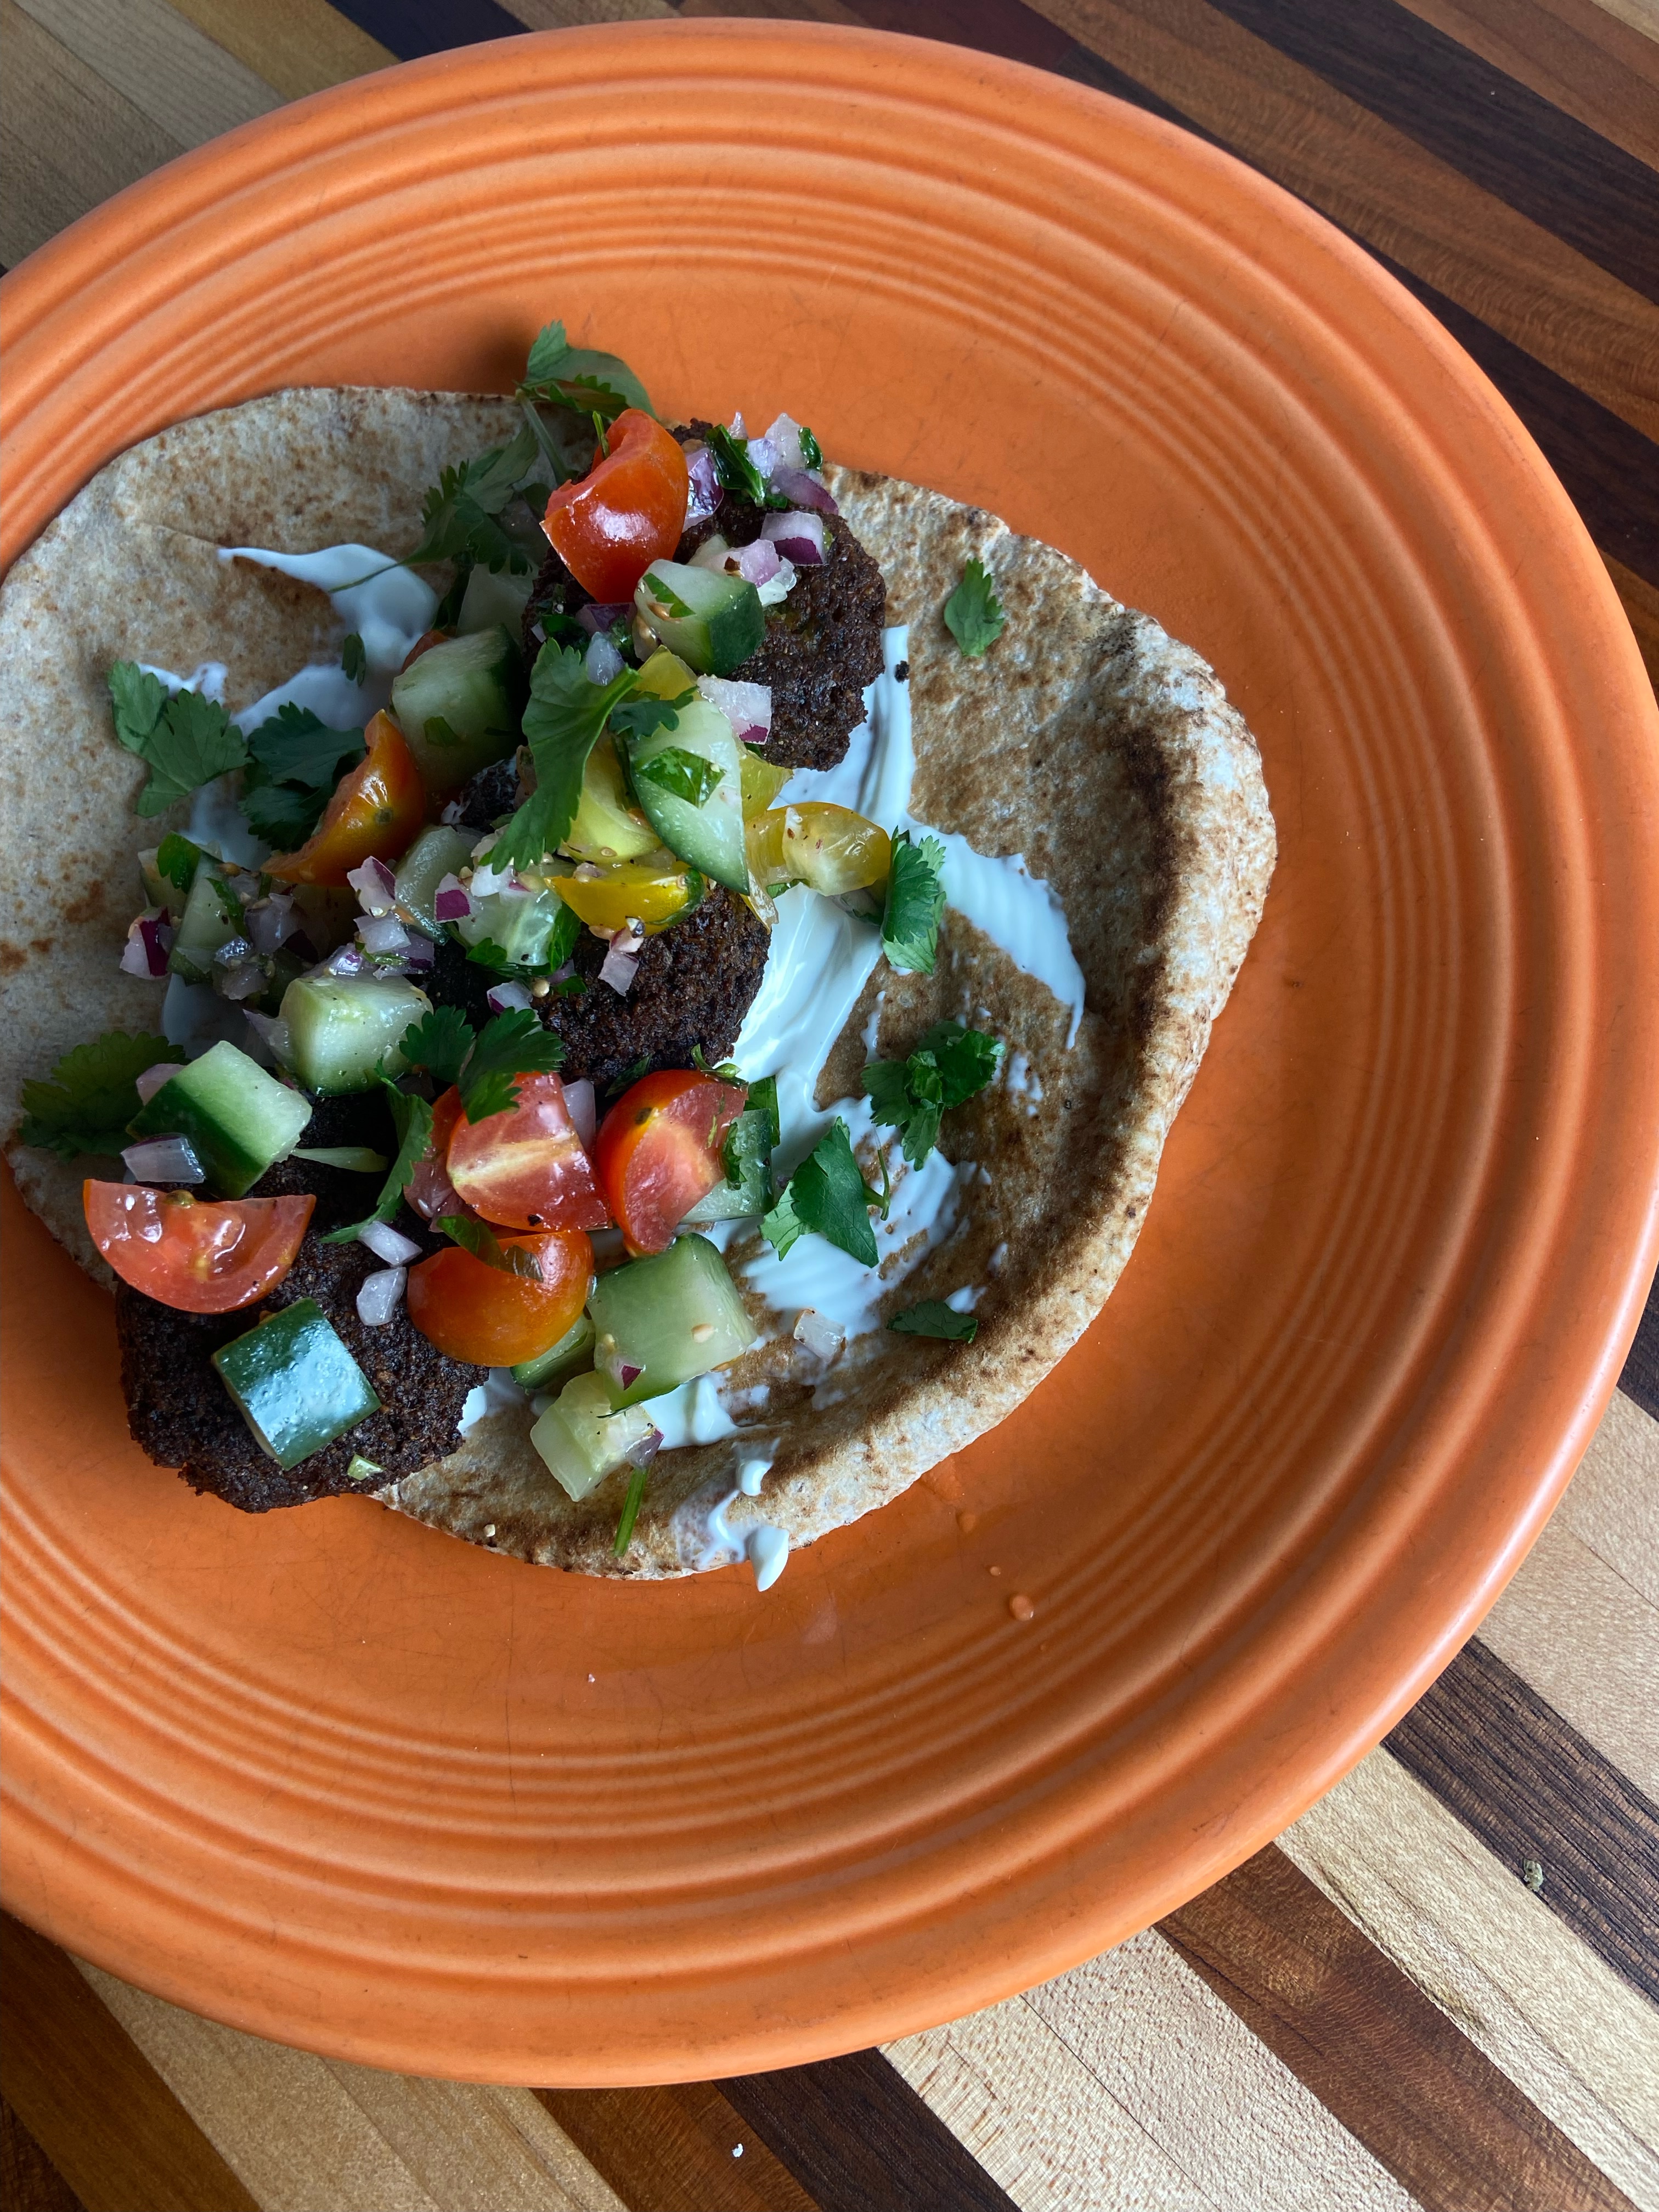
Tomato and cucumber salad

Ingredients:

  • 2 roma tomatoes or 15 cherry tomatoes, diced
  • Half an English cucumber, diced
  • ¼ cups minced red onion
  • 2 tablespoons chopped parsley
  • 1 tablespoon garlic infused olive oil (or plain olive oil)
  • Juice of half a lemon
  • Salt and pepper to taste

Directions:

Combine all the ingredients and place in fridge until ready to serve.
Curried Coconut Creamed Spinach

I have very little experience with Indian-inspired dishes, so I’m not sure what to call this meal I made tonight. It was so delicious, though, that I had to jot it down so I could remember it for later.

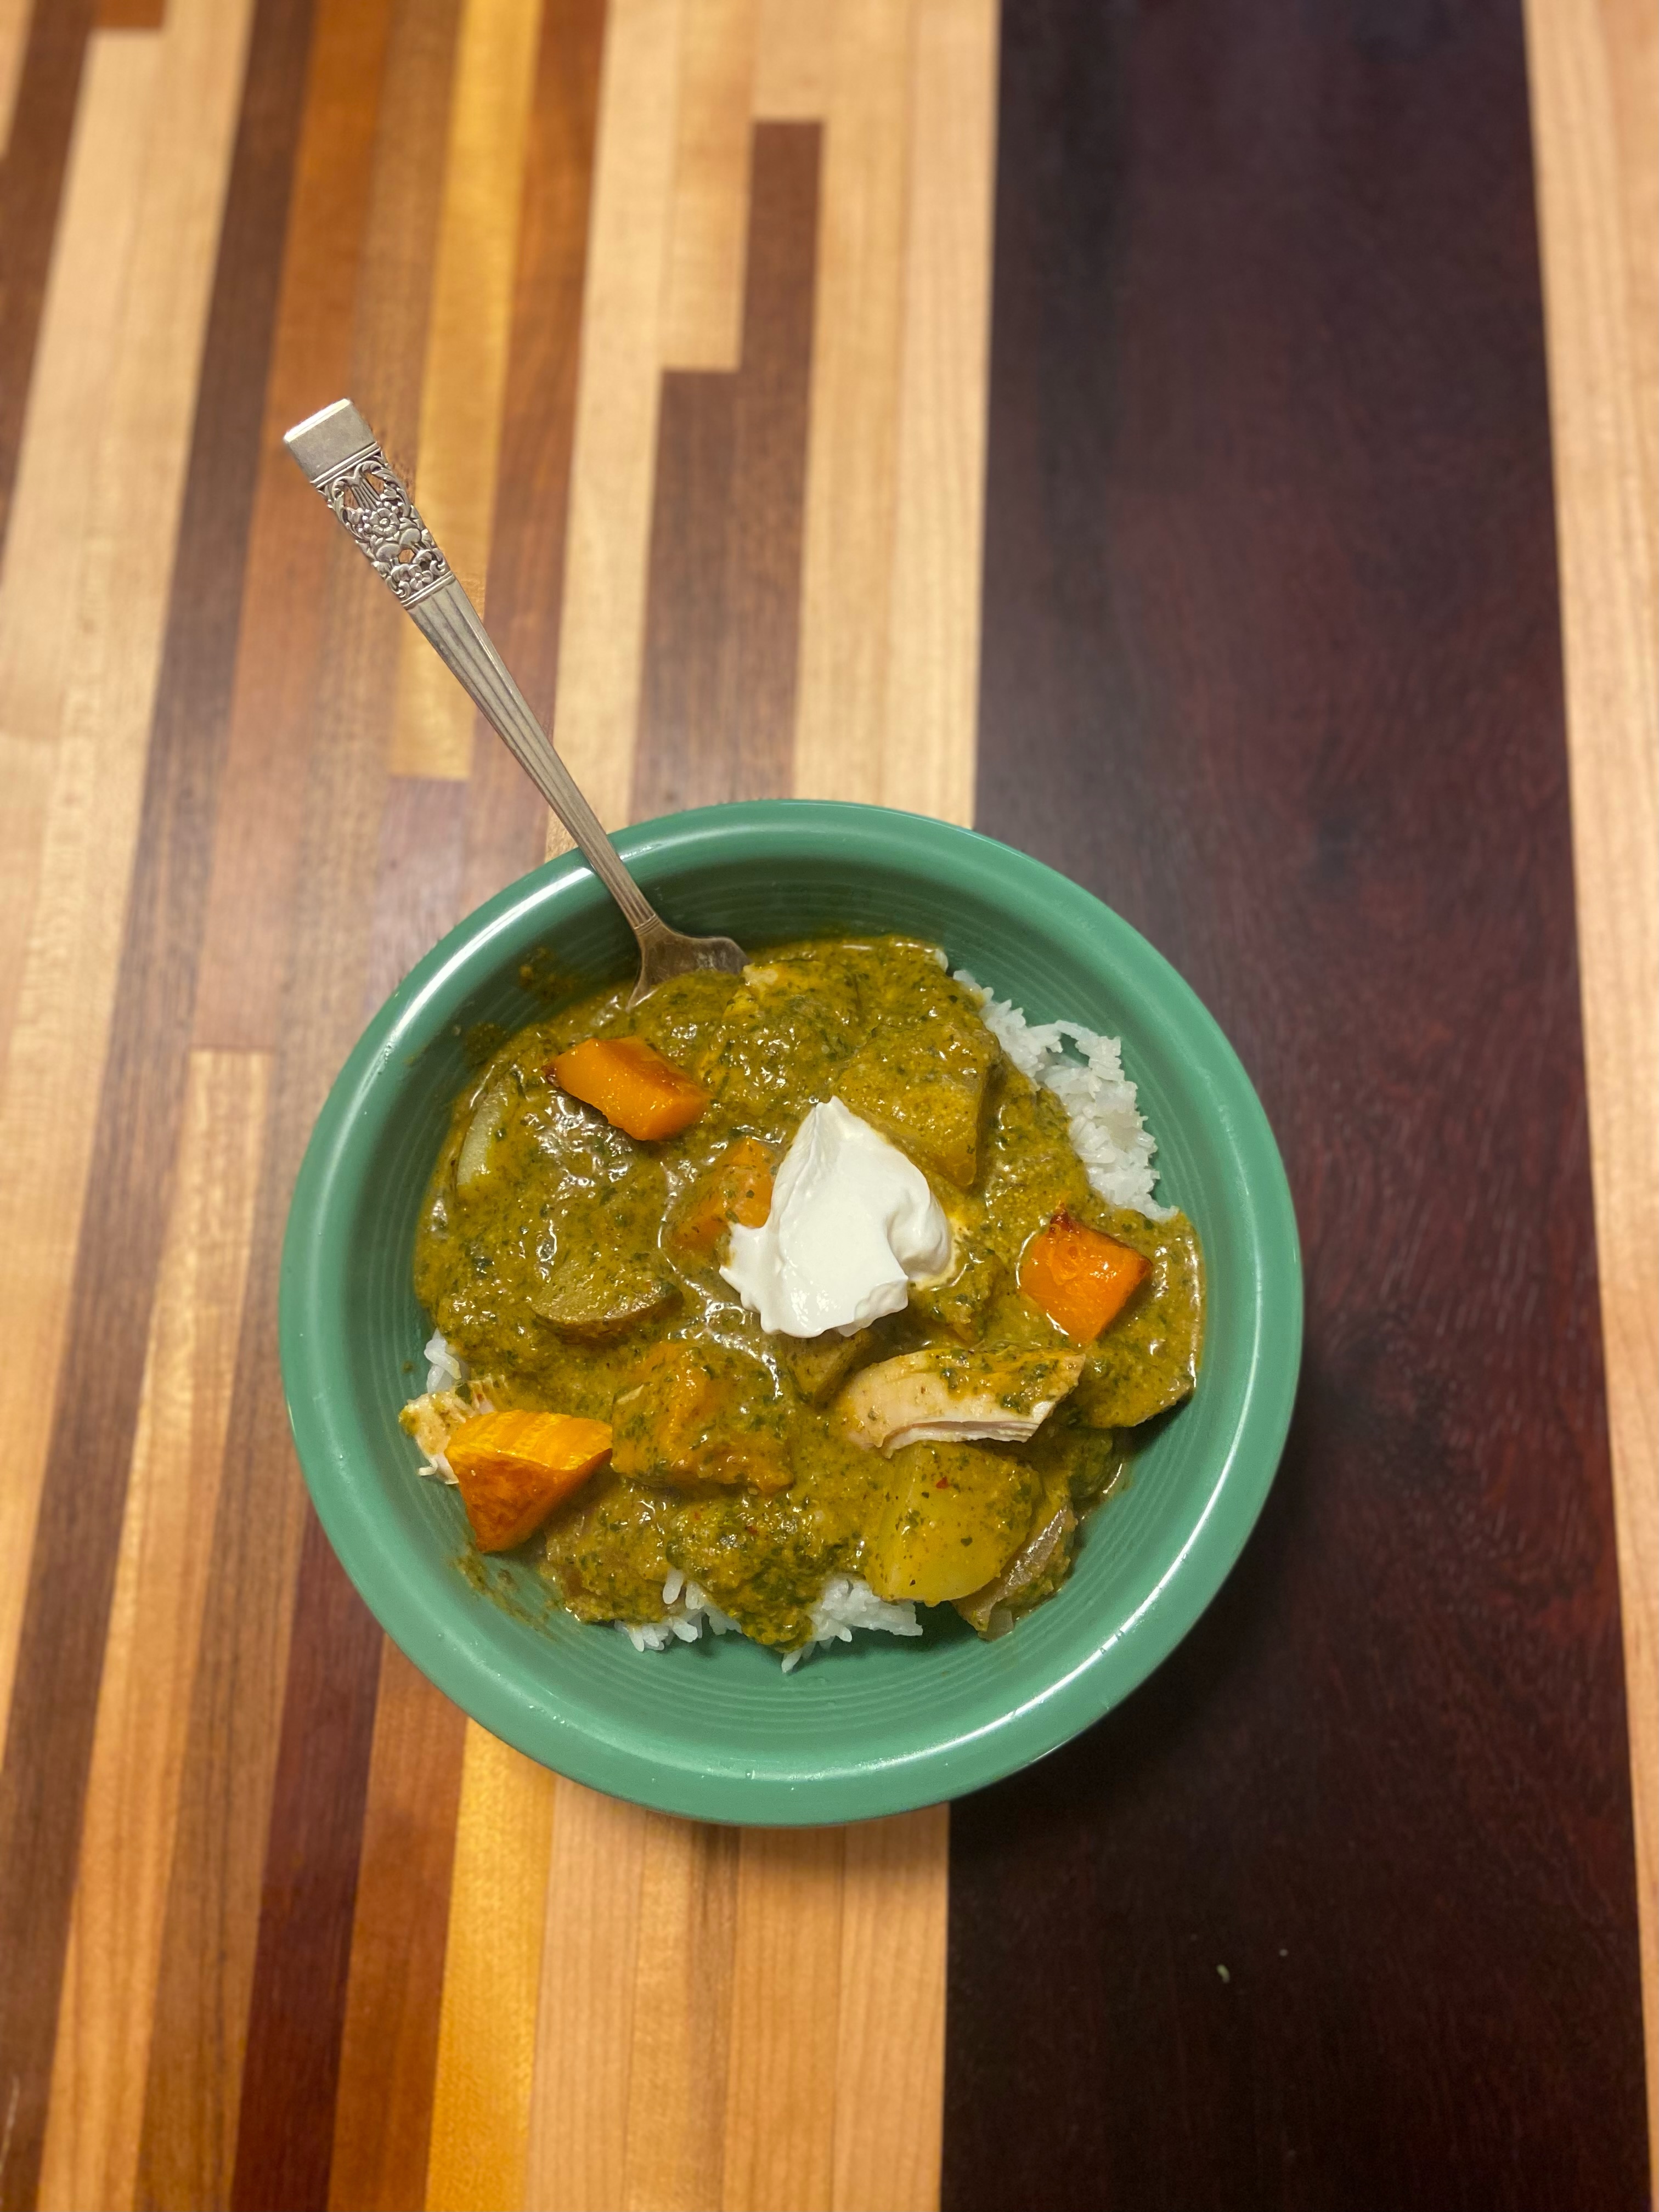
Indian-Style Coconut Creamed Spinach with Squash and Potatoes

Serves 6
Cook time: 35 minutes
(not counting cooking the squash)

Ingredients:

  • 1.5-2 pounds of delicata squash (butternut squash would work too)
  • 1 tablespoon coconut oil
  • 1 onion, chopped
  • 3 cloves garlic, chopped
  • 1, 4-ounce can yellow curry paste
  • 1, 13.5-ounce can coconut milk (the kind in the Asian section of the grocery store)
  • 1 tablespoon tomato paste
  • 8-10 ounces fresh spinach leaves
  • 3/4 cup chicken stock
  • zest of 1 lime
  • salt, to taste
  • 1 pound fingerling potatoes, cut into bite-sized chunks (any ol’ potatoes would do)
  • dollop of cream, to serve
  • lime juice, to serve
  • Rice, to serve

Directions:

Cook the squash however you prefer. I cubed mine, tossed it in olive oil and agave nectar, and roasted it in a 425F oven for 25 minutes. Set aside.
In a medium dutch oven, heat the coconut oil over medium high heat. Add the onions and cook until translucent, about 5 minutes. Add the garlic and cook until fragrant, about 30 seconds. Add the curry paste, coconut milk, and tomato paste and whisk till well combined. Add the spinach leaves and chicken stock and bring to a simmer. Turn down the heat, cover and simmer for about 7 minutes, until the spinach leaves are cooked through.
Remove pot from heat and carefully blend with an immersion blender or place into a blender and return to the pan once it’s well blended. Add the lime zest and salt to taste. Add the potatoes, cover and simmer for about 20 minutes or until potatoes are fork tender.

Add the squash to the pot and stir until everything is mixed well.

Serve over rice with a dollop of cream and a squeeze of lime juice.

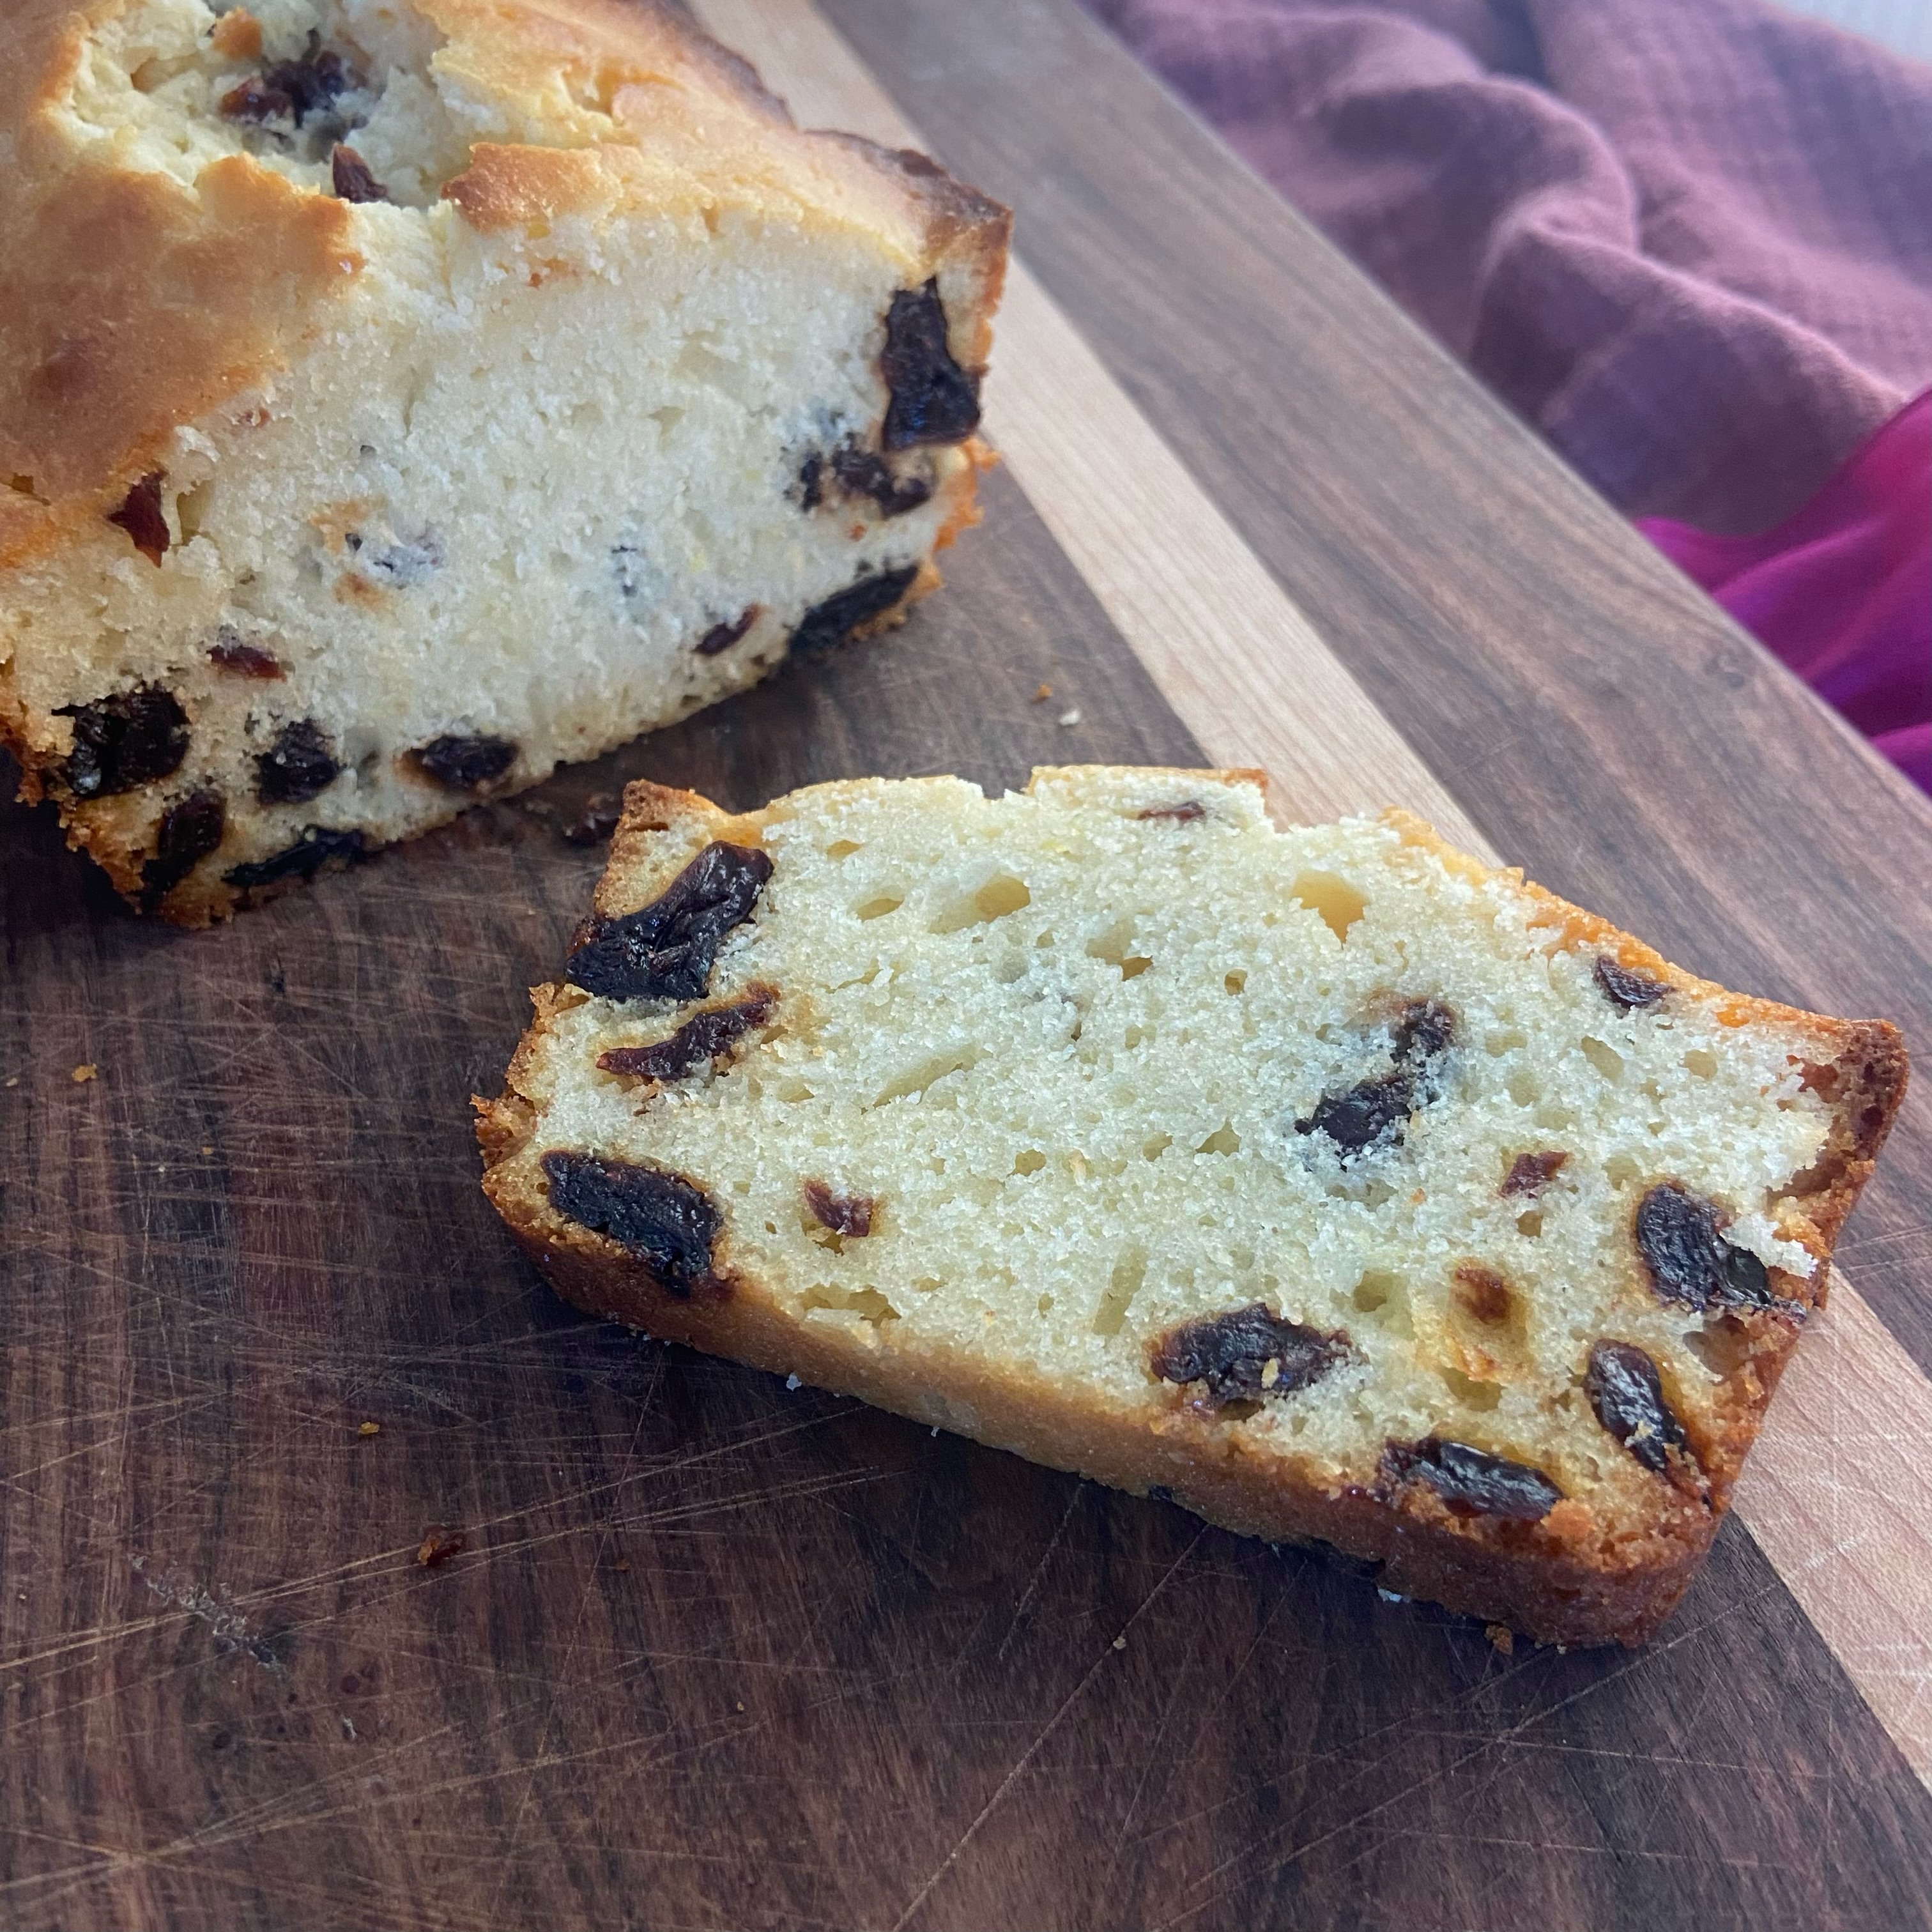
Guest Post: Jack’s Lemon Cherry Bread

My son is becoming quite the cook. Over the winter break he did some baking, so I asked him to write down the recipe for his most recent quick bread, inspired by a different Natasha cook of Natasha’s Kitchen.

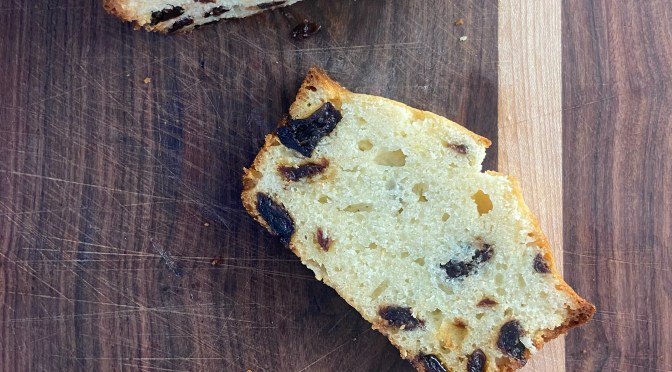
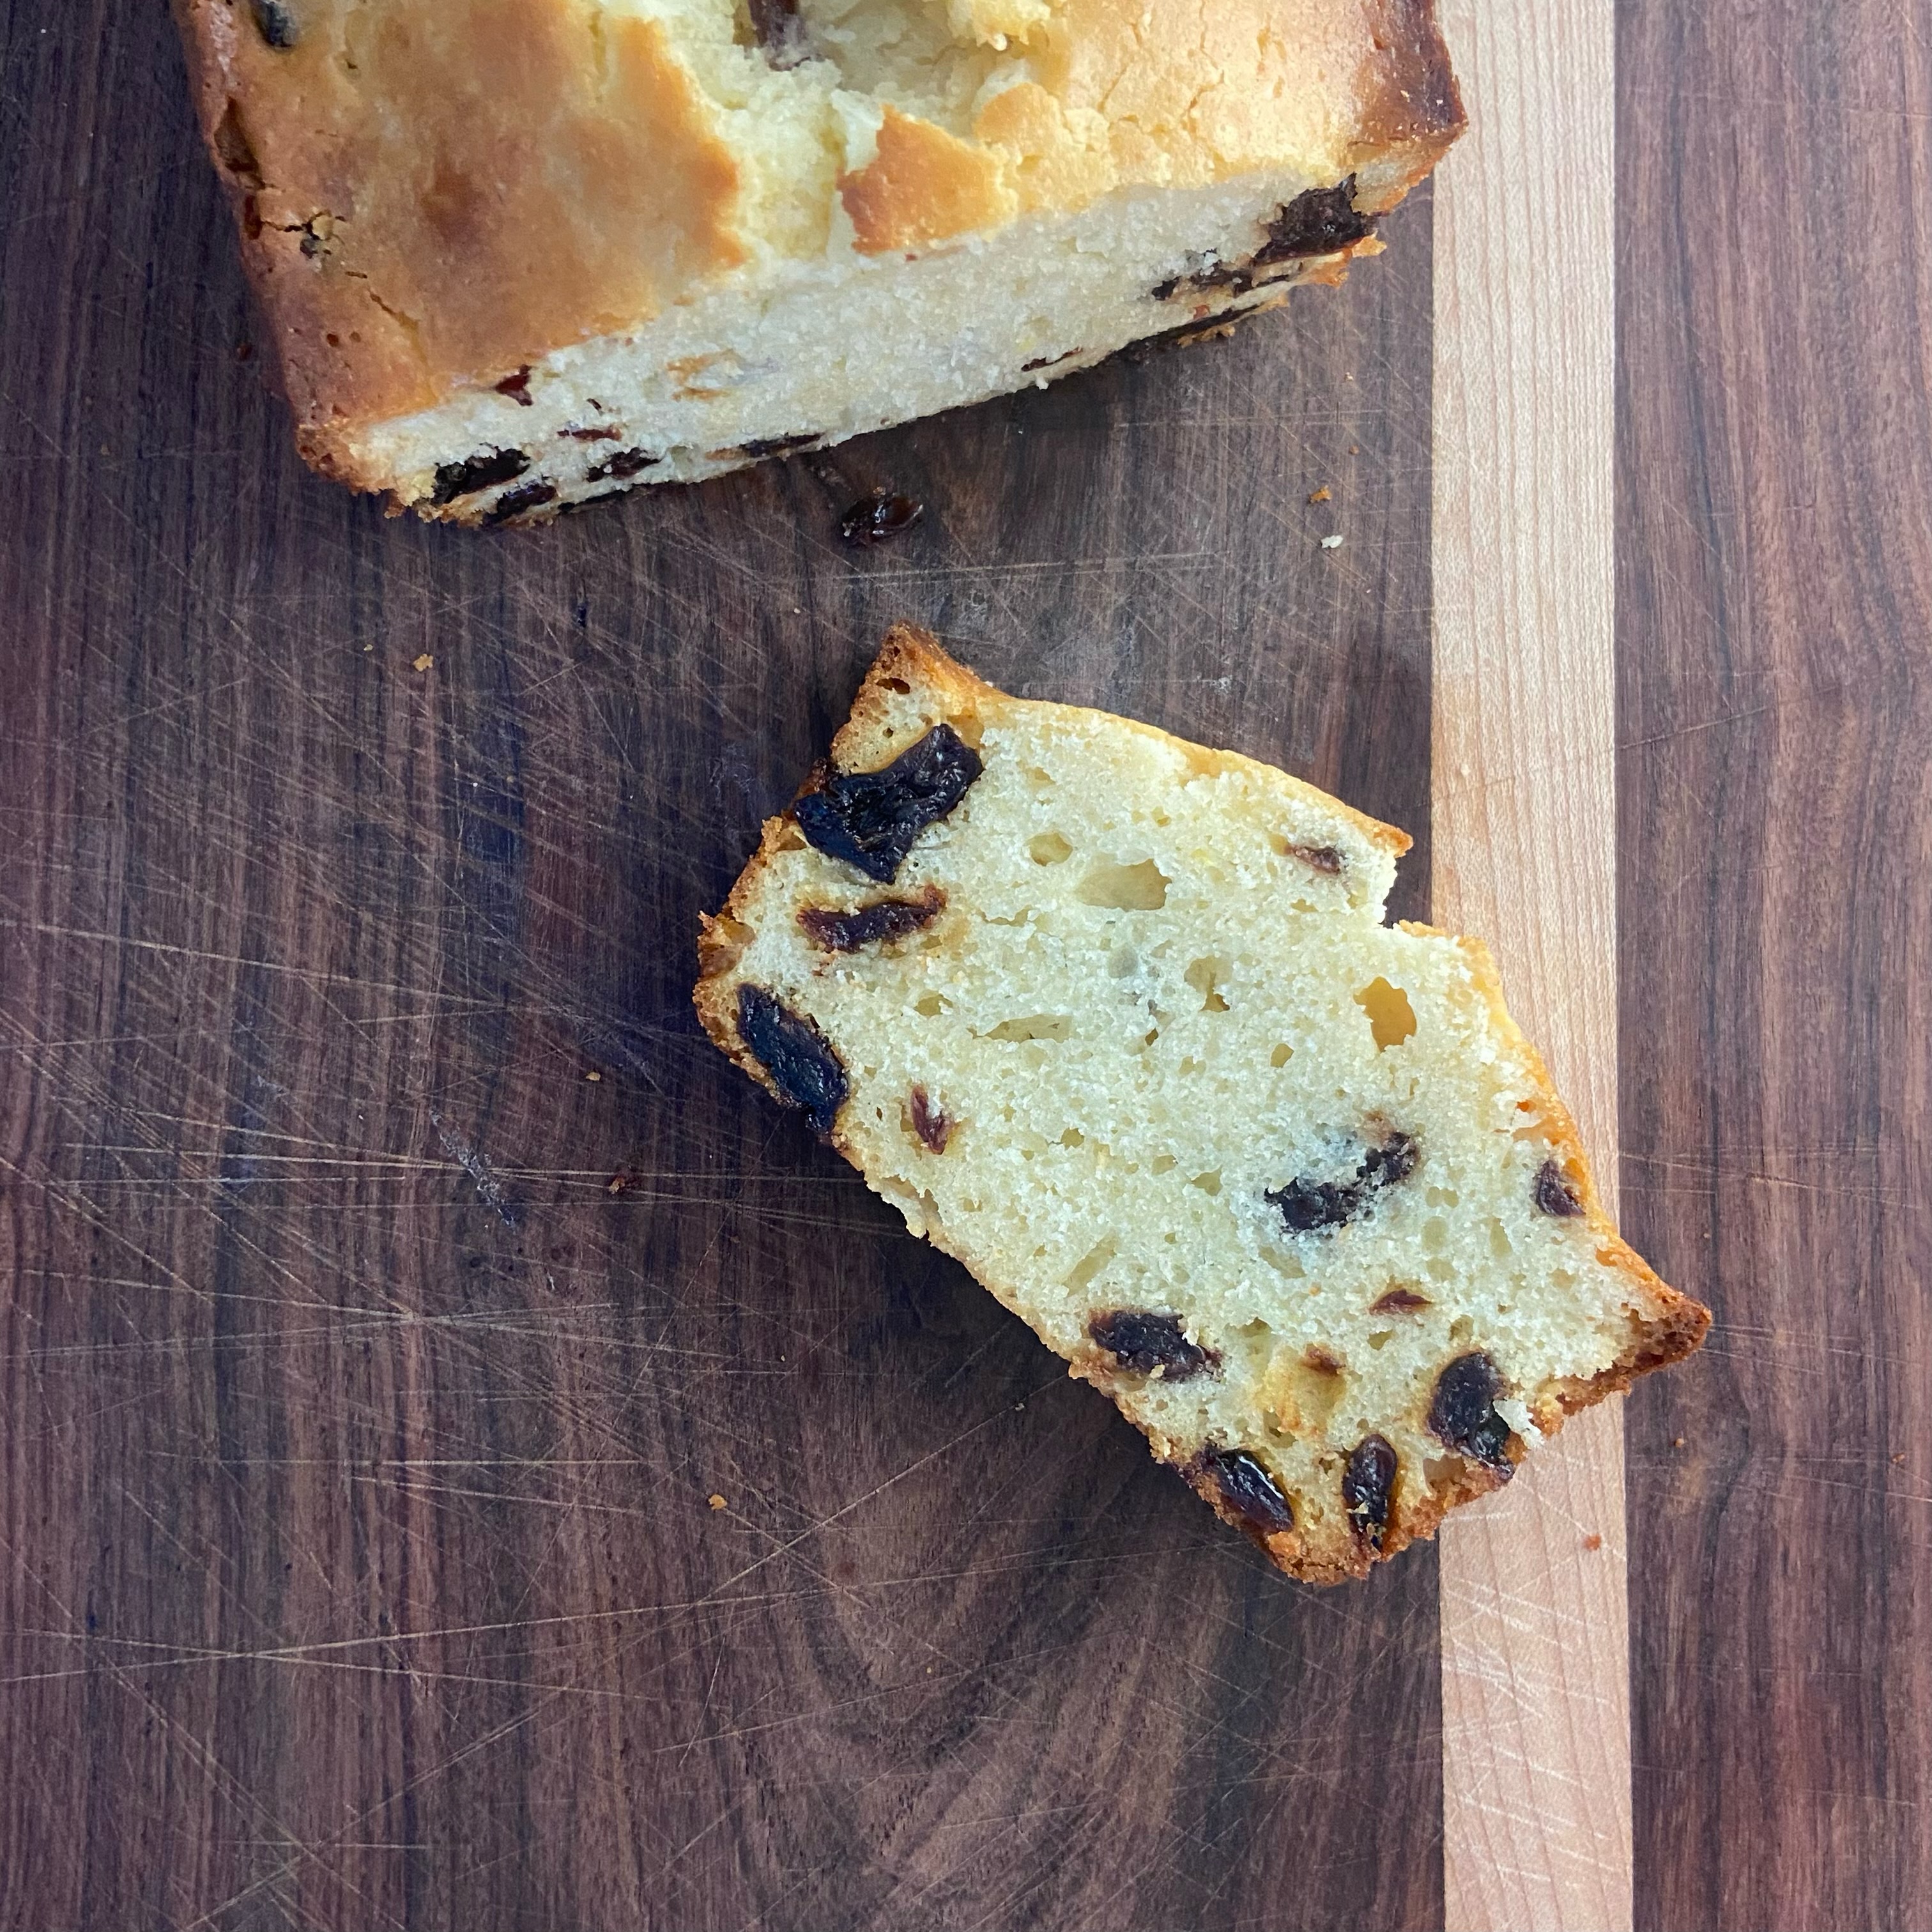
This simple bread has a lovely hint of lemon flavor that pairs perfectly with the dried tart Montmorency cherries we always buy from Costco.

Lemon Cherry Quick Bread

Makes 1 loaf

Ingredients:

  • ¾ cup + 1 teaspoon granulated sugar, divided
  • 1 teaspoon honey
  • 1/4 cup milk
  • Zest of 1 large lemon
  • 1/4 cup lemon juice, freshly squeezed
  • 1 1/2 cups + 1/2 tablespoon all-purpose flour, divided
  • 1 teaspoons baking powder
  • 1/4 teaspoon salt
  • 6 tablespoons unsalted butter, softened
  • 2 large eggs
  • 1 cup dried cherries

Directions:

Preheat the oven to 350F. Butter a glass loaf pan then dust with flour, tapping out the excess flour.

In a measuring cup, combine 1 teaspoon sugar, honey, milk, lemon zest, and lemon juice. Set aside.

In a medium mixing bowl, whisk together the 1 1/2 cups flour, baking powder, and salt. Set aside.

In a large mixing bowl, cream the butter and granulated sugar on medium/high speed, about 3 minutes. Beat in the eggs, mixing until well incorporated.

Add flour mixture in 2 parts, alternating with the milk mixture and mixing on medium/low speed just until incorporated with each addition. Scrape the sides of the bowl with a spatula as needed.

    Coat the dried cherries in the 1/2 tablespoon of flour and add to the batter just until incorporated. Spread the batter into your prepared pan and bake for 50-60 minutes until golden on top and a toothpick inserted into the center comes out clean. Let cool in the pan for 10-15 minutes then transfer loaf to a cooling rack.

    Potato, Broccoli and Cheddar Soup

    There was a chill in the air today and it’s definitely wintertime now. I had a sack of potatoes in the pantry, three slices of bacon and some broccoli, so I figured I could make a comforting soup to ward off the wintertime blues. It was simple and delicious – almost like a baked potato soup. And now I have leftovers for tomorrow!

    Potato, Broccoli and Cheddar Soup

    Prep/cook time: 45 minutes
    Serves 8-ish

    Ingredients:

    • 3 slices bacon, chopped
    • 1 tablespoon butter
    • 1 medium onion, chopped small
    • 2 carrots, chopped small
    • 2 tablespoons flour
    • 3 cups whole milk
    • 3 1/2 cups chicken stock, divided
    • 1 bay leaf
    • 2 pounds Yukon gold potatoes, peeled and cut into small cubes
    • 1, 15-ounce can white beans, partially drained
    • 12 ounces broccoli, cut into small bits
    • 1-2 cups shredded sharp cheddar
    • Salt and pepper, to taste
    • Chopped scallions and sour cream, to serve

    Directions:

    In a large dutch oven, cook the bacon over medium heat, until cooked through but not crispy. Add the butter, onions and carrots and cook until onions are soft, about 5 minutes. Sprinkle in the flour and mix into the ingredients in the pot. Let the flour cook for about a minute. Add the milk, 3 cups of chicken stock, the bay leaf and the potatoes. Bring to a simmer.

    Turn the heat to low, partially cover and let simmer for 10 minutes or until the potatoes are just tender, stirring occasionally so the bottom of the pot doesn’t burn. Meanwhile, combine the partially drained canned beans with 1/2 cup of chicken stock in a liquid measuring cup and purée with an immersion blender until creamy.

    When the potatoes are just starting to get tender, add the beans and the broccoli to the pot. Cover again and bring to a simmer. Simmer on low for another 7 minutes, or until the broccoli is tender, stirring occasionally. (If using cooked leftover broccoli, don’t add it with the puréed beans. Let the beans cook for 5 minutes, then add the leftover broccoli and cook until it’s heated through and continue with the recipe.)

    Turn off the heat. Stir in the grated cheese until it’s all melted into the soup. Add salt and pepper to taste. I am not liberal with the salt because the bacon and cheese have already added salt to the soup, which is why I add salt at the end to make sure it isn’t over-salted.

    Ladle into bowls and top with dollops of sour cream and chopped scallions (and maybe some more cheese if you like).

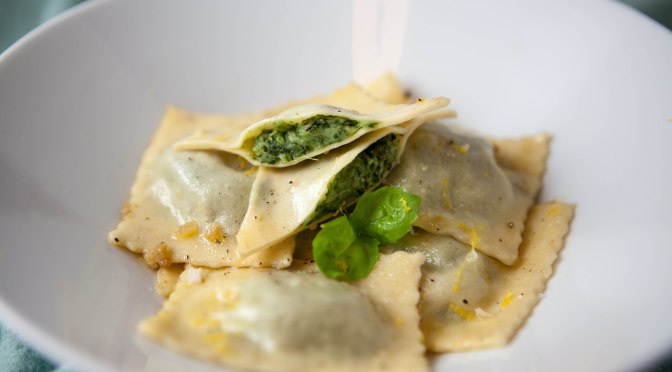
    Colcannon Ravioli

    It’s St. Patrick’s Day and although I don’t really have much of a connection to this day, I thought it would be fun to serve something festive for dinner.

    I’ve made colcannon in the past, which is a traditional Irish potato dish with cabbage, and as I was leafing through an Alice Waters cookbook I saw a recipe for potato and spinach ravioli and I thought it would be the perfect dish for St. Patrick’s Day. I didn’t follow her recipe, but made up my own and after boiling the ravioli I sautéd them like pierogis.

    Spinach and Potato ravioli in a garlicky cream sauce

    Serves 4

    Ingredients

    For the pasta dough:

    • 225 grams 00 flour
    • 75 grams fine semolina flour
    • 3 eggs
    • 1 teaspoon olive oil

    For the filling:

    • 1 pound potatoes, any variety (I used a combination of russet, new potatoes and fingerling)
    • 8 ounces frozen spinach, thawed and squeezed dry
    • 1/3 cup grated Parmesan cheese
    • 1 tablespoon butter
    • 1/4 cup cream, divided
    • salt and pepper, to taste

    For the sauce:

    • 1 tablespoon olive oil
    • 1 tablespoon butter
    • 2 cloves garlic, minced
    • 1/4 cup cream
    • salt and pepper, to taste
    • zest of 1 lemon

    Special supplies:

    • Small food processor or immersion blender
    • Potato ricer (you could use a potato masher but it won’t be as smooth)
    • KitchenAid pasta roller adapter (or a hand cranked version would work too)
    • Ravioli cutter (or a pizza cutter would work)
    • Shot glass
    • Large spider strainer (a slotted spoon would work)

    Directions:

    1. In a large bowl or on a clean, dry countertop, combine the flours. Make a well in the center and add the eggs and olive oil. Whisk the eggs and oil till scrambled, slowly incorporating the flour. Mix into a rough ball and knead for 10 minutes. Wrap in plastic wrap and set aside for at least 30 minutes.

    2. Meanwhile, peel the potatoes and cut them into roughly the same sized pieces. Boil in salted water until tender, about 10-15 minutes. Place the squeezed spinach and 2 tablespoons of cream in a food processor and run it till the spinach is puréed. You may need to add a little more cream to get it going. When the potatoes are done, drain them and press through a potato ricer into a medium mixing bowl. Add the spinach, Parmesan, butter, remaining cream and salt and pepper. This should be a relatively homogenous consistency. Add more cream if necessary to make it smooth. Place mixture in a gallon zip top bag and refrigerate until cool.

    3. Time to assemble the ravioli. Tear a small handful of dough away from your pasta ball and flatten it with your hand. Set the pasta roller on the largest setting and run the dough through. It’s ok if it tears apart a little. Roughly fold the dough into thirds and run it through again on the same setting. Repeat this three or four times until your dough is smooth.

    4. Adjust the roller to the next thinnest setting and run the dough through once. Repeat this step making the roller thinner each time until you’ve run it through the thinnest setting.

    5. Place the sheet of dough on a clean counter top. With a ravioli or pizza cutter, cut the sheet in half, across the width, not the length.

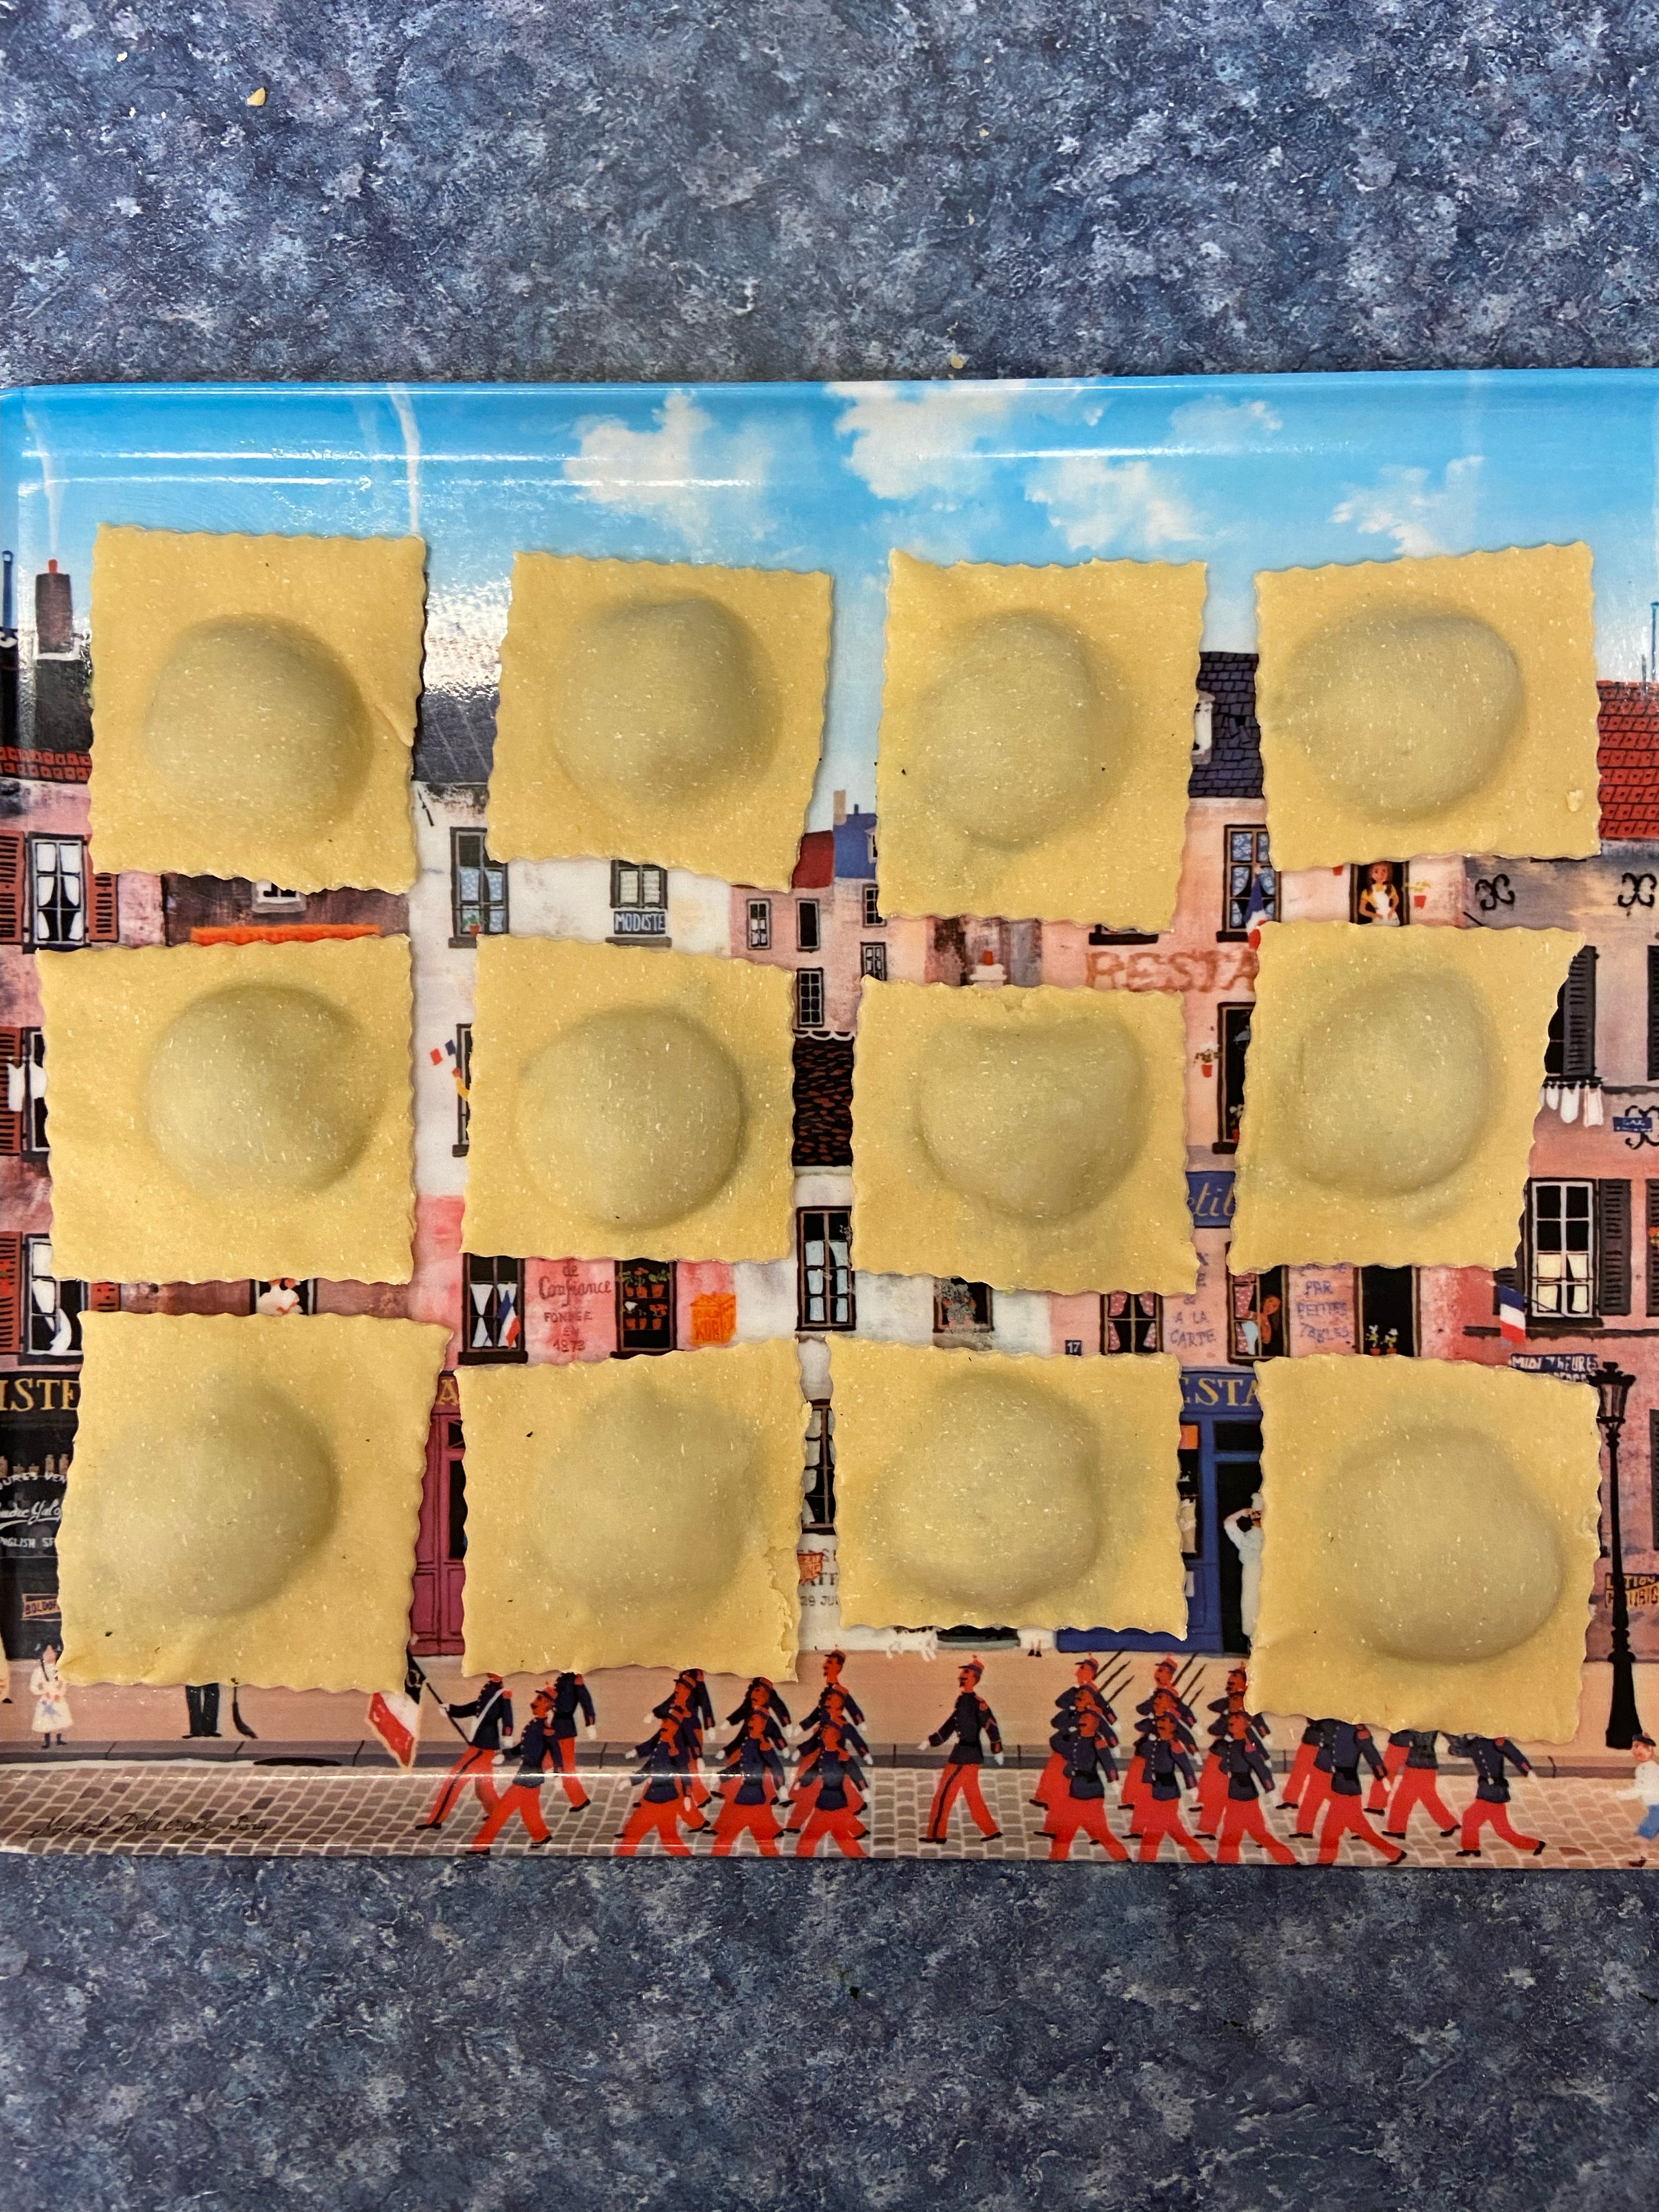
    6. Cut a hole in the corner of the bag containing the filling and place about 1 teaspoon of filling on one half of the pasta sheet. Repeat so you have them evenly spaced on the dough, about 6-8 on the sheet. Place the other half of the dough on top and gently press the air out between the sheets without smashing down the filling. Use a shot glass to center the filling and lightly press down (don’t cut through the dough with the shot glass). This makes the ravioli look more uniform.

    7. Use your ravioli cutter to cut out 6-8 ravioli. Pick up each ravioli and make sure the edges are sealed. Pinch any areas that look separated. Place on a semolina lined tray. Cover with foil.

    8. Repeat steps 3-7 with the remaining dough and filling.

    9. Bring a large pot of well-salted water to a boil. Just before the water is boiling, place a large sauté pan over medium-high heat and add the olive oil and butter. Add the garlic and cook till fragrant, turning down the heat to prevent the garlic from burning, about 1 minute. Add the cream, stir, and turn off the heat while you cook the ravioli.

    10. Add the ravioli to the boiling water, gently stirring with a spider strainer. Boil the ravioli for 3-5 minutes, until al dente. Remove one ravioli and cut off a corner to see if the dough is cooked to your liking.

    11. Heat the sauté pan again over medium-low heat. Remove the ravioli from the water using the spider strainer, give it a good shake to remove excess water, and place into the sauté pan. Gently toss the ravioli till they are all coated with the sauce. Add salt, pepper and lemon zest to taste. You could either serve right away or continue cooking the ravioli until they ever so lightly brown, like pierogis.

    12. Serve the ravioli with a drizzle of cream and a grind of pepper.

    Alaska Knit Nat’s top 6 posts

    Today my Facebook page reached 1,000 likes!

    Alaska Knit Nat turns 6 | My top 6 blog posts

    As Alaska Knit Nat enters its seventh year, I thought it would be fun to dig into the archives and pull up some of my favorite posts from years past.

    I started Knit Nat AK in November 2010 with the intention of cataloging my craftiness.

    “It’s mainly for my own benefit,” I wrote in my first-ever post. “I make so much stuff I can’t keep track of it all. In addition to knitting (hence the Knit Nat title), I cook, sew and repurpose things. This blog is a catalog of all things Craft.”

    So here’s my top 6 posts since 2010. Enjoy!

    Continue reading Alaska Knit Nat’s top 6 posts

    Perfect Grilled Corn

    When you grow up in Alaska you become accustomed to lackluster produce: flavorless cantaloupe, dry lemons, grey tomatoes and often unsweet corn.

    At the beginning of our long weekend we had dinner up at my parents’ place and my dad served the best grilled corn I’d ever had. He’s always got a few culinary tricks up his sleeve and this recipe is no exception.

    Sweet, caramelized, and just the perfect amount of char – this recipe is just what you need for your Memorial Day barbecue.

    Perfect Grilled Corn | A tasty summer recipe from Alaskaknitnat.com

    Memorial Day Recipe: How to Grill Corn on the Cob Without the Husks

    Have you ever tried grilling husk-on corn on the cob? Tastes great, but what a mess you make of your grill what with all the pieces of black, burnt husk which get over everything, including the burgers or franks you’re going to grill next.

    Continue reading Perfect Grilled Corn

    The secret to perfect hard-boiled eggs

    There’s no other time that I feel as though I’ve failed at life as when I hard boil eggs. It seems like a simple endeavor: boil eggs, cool them, peel them. But usually my eggs are impossible to peel.

    When I asked my friends on social media why I can’t seem to successfully peel an egg, I got all sorts of egg-cellent suggestions from running them under water as I peeled them, to shaking them vigorously in a jar of water (totally didn’t work). The most frequent response I got was I was using too-fresh eggs.

    I dutifully tried every suggestion but got no closer to a peelable egg. Finally, I heard a new one: steam the eggs.

    I tried it. It worked. Here’s how to make the perfect hard-cooked egg. *note: after trying this method three times, the only successful batch was when I steamed 4 eggs. When I tried to steam 12 they didn’t get cooked through enough — but they were incredibly easy to peel!

    The best way to hard boil an egg is not to boil it, but to steam it! | Life hack from alaskaknitnat.com

    What you’ll need:

    Some eggs

    A pot

    A steamer basket

    Directions:

    Fill your pot with about an inch of water and bring it to a boil. Place your eggs in a steamer basket and lower them into the pot. Cover, turn the heat to medium and steam for 13 minutes.

    A couple of minutes before the eggs are done, fill a bowl with ice and cold water. Transfer the eggs to the bowl and let them cool for 15 minutes.

    They peeled perfectly!

    Yay for life hacks.

    Looking for a good egg salad recipe? Try my chicken salad but substitute eggs!

    Chicken Sandwich

    Sausage 101 — a photo & video tutorial

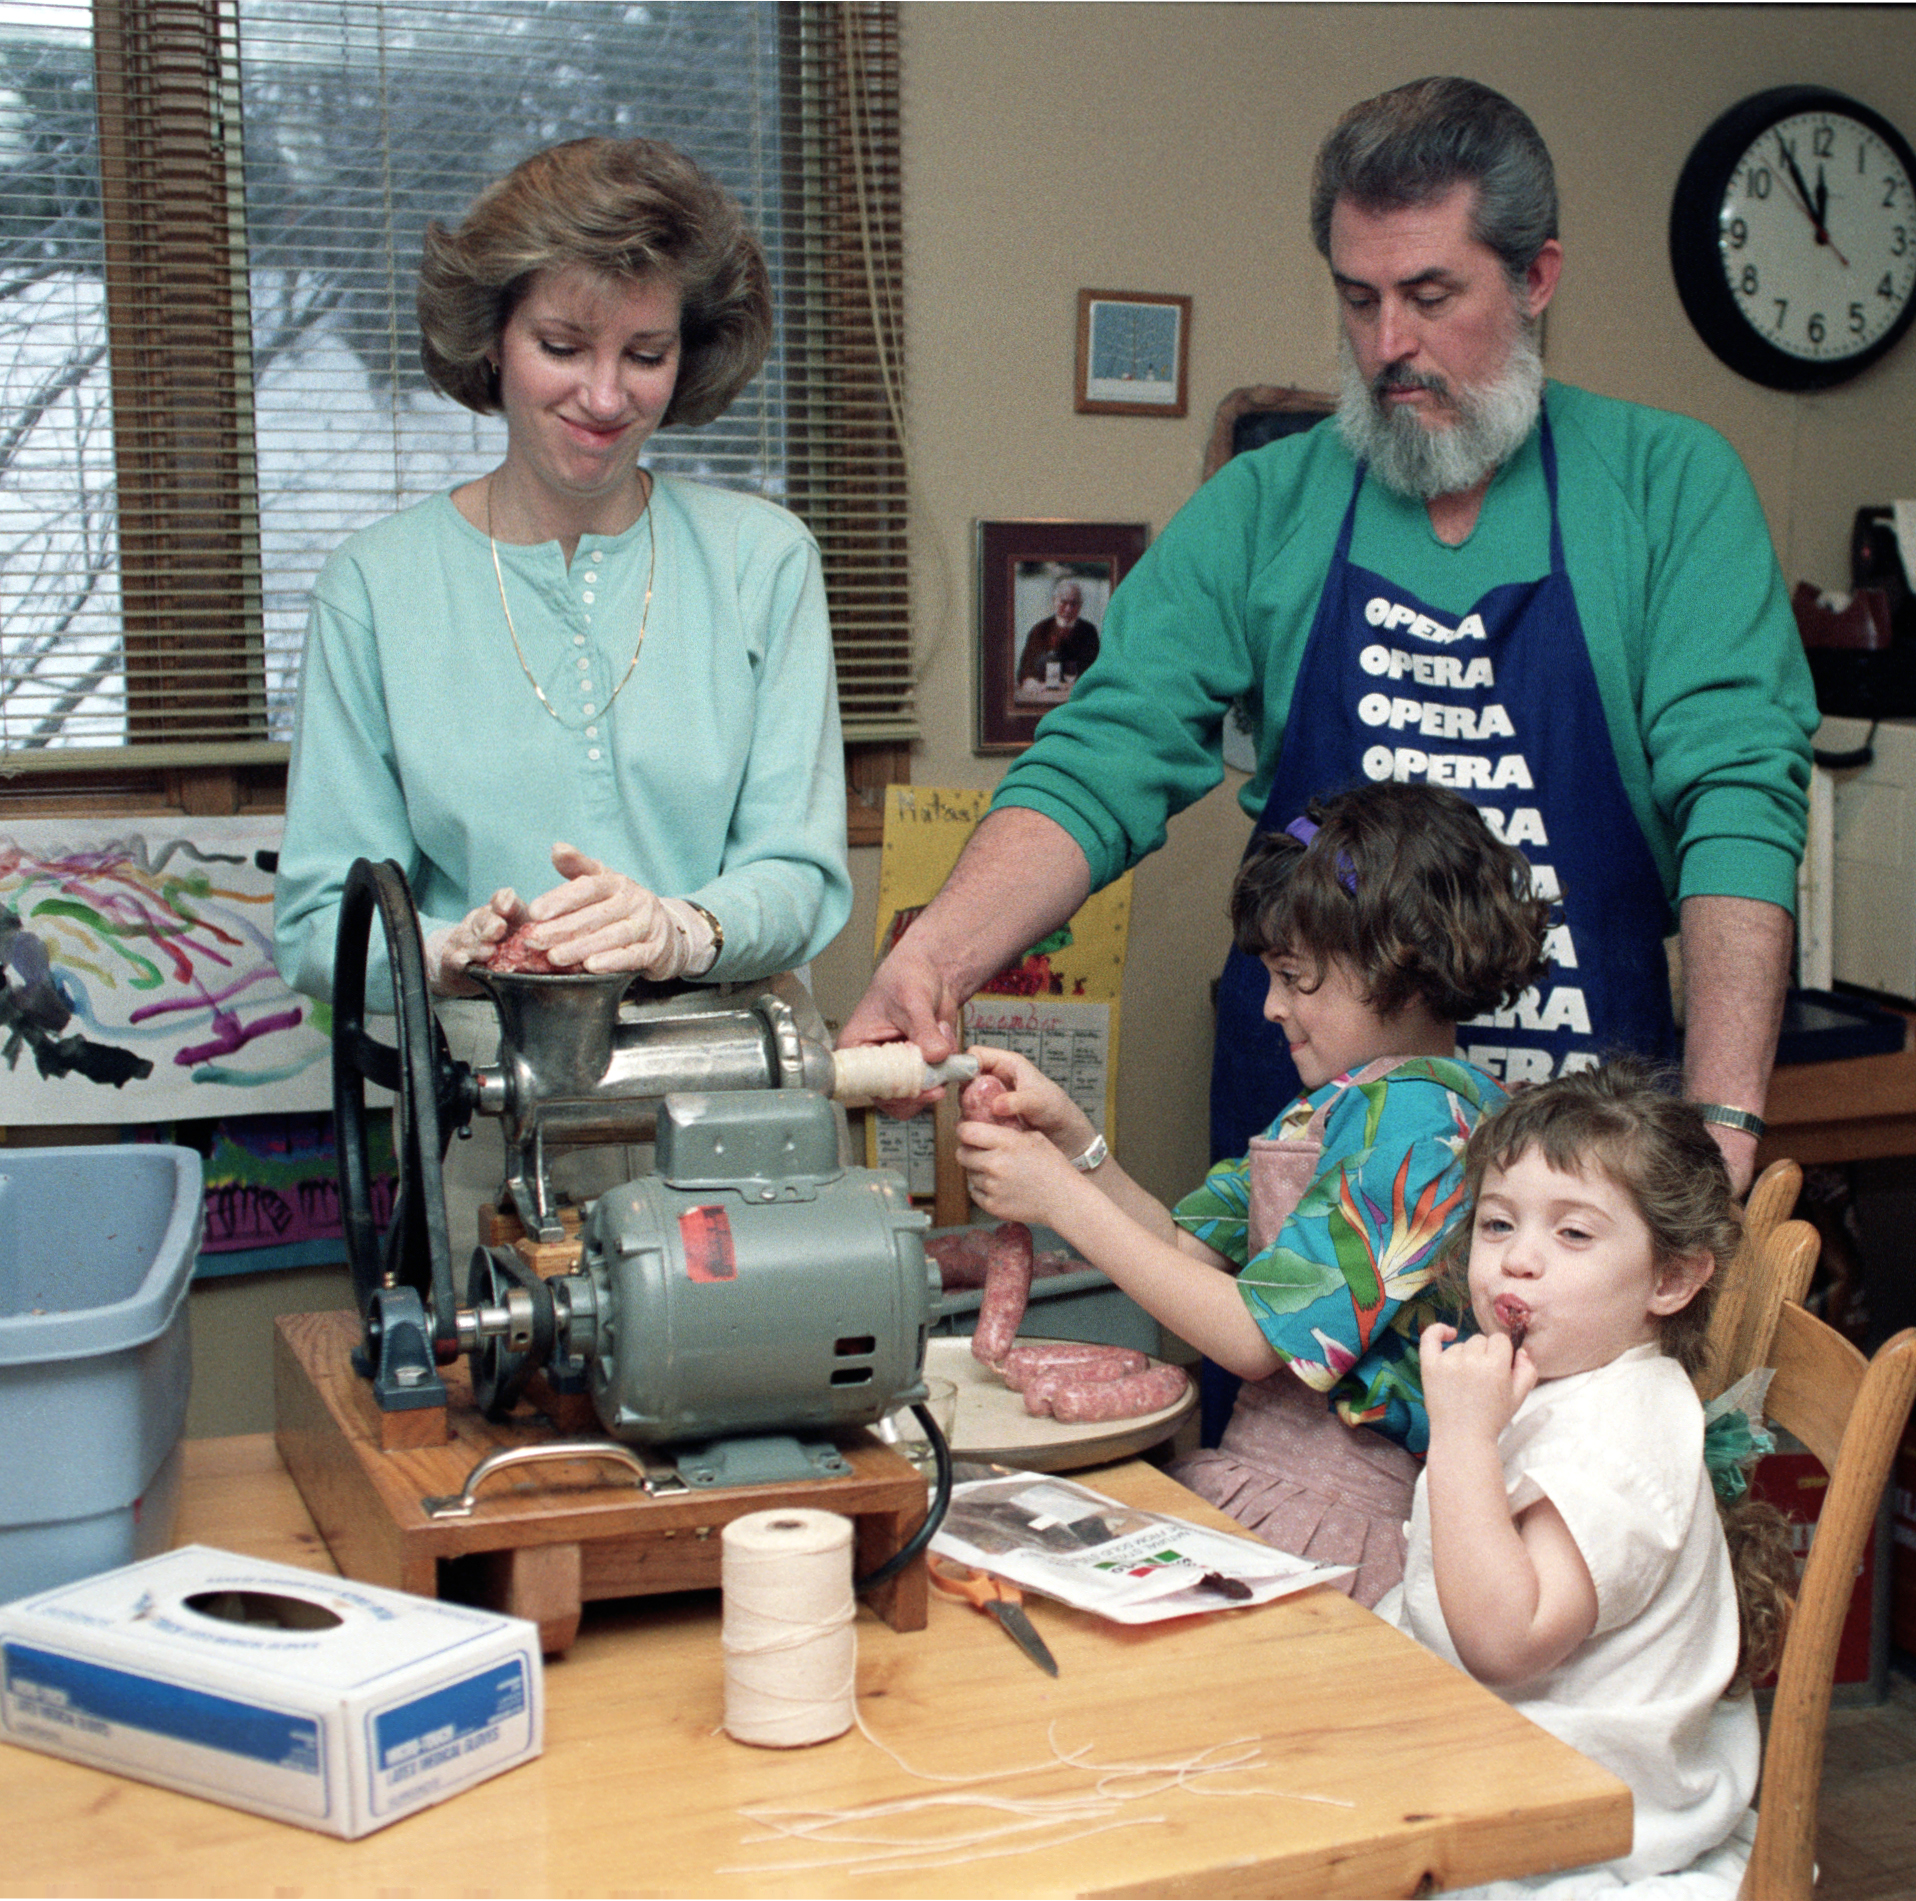
    The kitchen is the heart of our family. My dad would spend the weekends making vats of marinara sauce and in the late summer my mom would be canning blueberry jam. Back when apples were cheap we’d make gallons of applesauce with the food mill and mix in low-bush cranberries for color. Most of my childhood memories are centered around cooking.

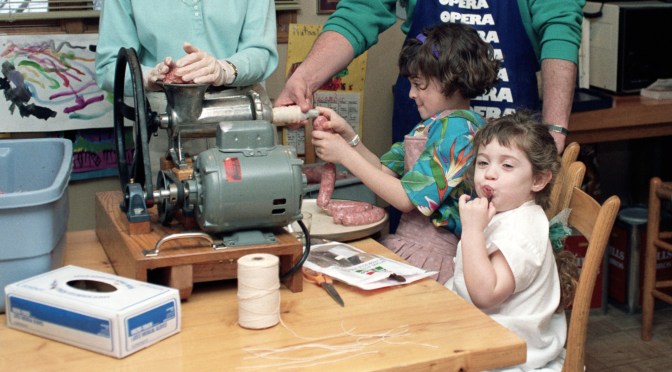
    One staple in our family is sausage. I remember waking up early on Saturday morning to the loud humming of my dad’s homemade motorized sausage grinder. I was thrilled to stuff  hog intestines with meat — I was the best sausage stuffer in the family thanks to my deft, friendship bracelet-making hands.

    Sausage-making 101 | a photo tutorial from alaskaknitnat.com. Learn how to make your own Italian sausage with this step-by-step guide.
    Me, age 9, stuffing sausage with some old family friends.

    My dad owns one of the most popular sausage-making sites on the Internet, sausagemania.com (yes, that is really the name). People from all over the world come to his site for his detailed recipes and tutorials.

    When we decided to make 100 pounds of Italian and breakfast sausage this morning at 7:30 I thought it would be the perfect time to make my own tutorial for my little DIY audience.

    Continue reading Sausage 101 — a photo & video tutorial

    Harvesting Anchorage: Lowbush Cranberry Marmalade

    I know it’s a superb fall when I close my eyes at night and all I see behind my eyelids are lowbush cranberries.

    Harvesting Anchorage: Lowbush Cranberry Marmalade | This is a delicious cranberry orange jam recipe that's perfect for Christmas and holiday gifts for teachers, friends and family. Recipe from Alaskaknitnat.comBlood-red jewels hug the mossy ground in my secret south Anchorage picking spot. It must have been the warm May weather that caused patches of usually dormant cranberry bushes to produce large, pea-sized berries.

    Harvesting Anchorage: Lowbush Cranberry Marmalade | This is a delicious cranberry orange jam recipe that's perfect for Christmas and holiday gifts for teachers, friends and family. Recipe from Alaskaknitnat.comWhat my family calls lowbush cranberries are, in fact, lingonberries. These short plants can be found in most Anchorage forests. They have round, shiny leaves and if there’s enough sunlight during the summer they bear tart, red berries.

    I prefer these to highbush cranberries, which are more watery and have a big, oblong seed in each berry. Lowbush cranberries are opaque and have no seeds. They are also firmer than the highbush variety.

    Harvesting Anchorage: Lowbush Cranberry Marmalade | This is a delicious cranberry orange jam recipe that's perfect for Christmas and holiday gifts for teachers, friends and family. Recipe from Alaskaknitnat.comCranberries are my favorite wild berry to pick because they are durable, highly nutritious and they freeze well. They can also be substituted for any recipe that calls for commercial cranberries.

    I once again refer to my mama for this segment of “Harvesting Anchorage.” She’s a pro when it comes to cranberry marmalade. The cranberries have so much natural pectin there is no need to add any of the store-bought kind. This simple marmalade is a perfect addition to any breakfast table.

    Harvesting Anchorage: Lowbush Cranberry Marmalade | This is a delicious cranberry orange jam recipe that's perfect for Christmas and holiday gifts for teachers, friends and family. Recipe from Alaskaknitnat.comCranberry Orange Marmalade

    Harvesting Anchorage: Lowbush Cranberry Marmalade | This is a delicious cranberry orange jam recipe that's perfect for Christmas and holiday gifts for teachers, friends and family. Recipe from Alaskaknitnat.comIngredients:

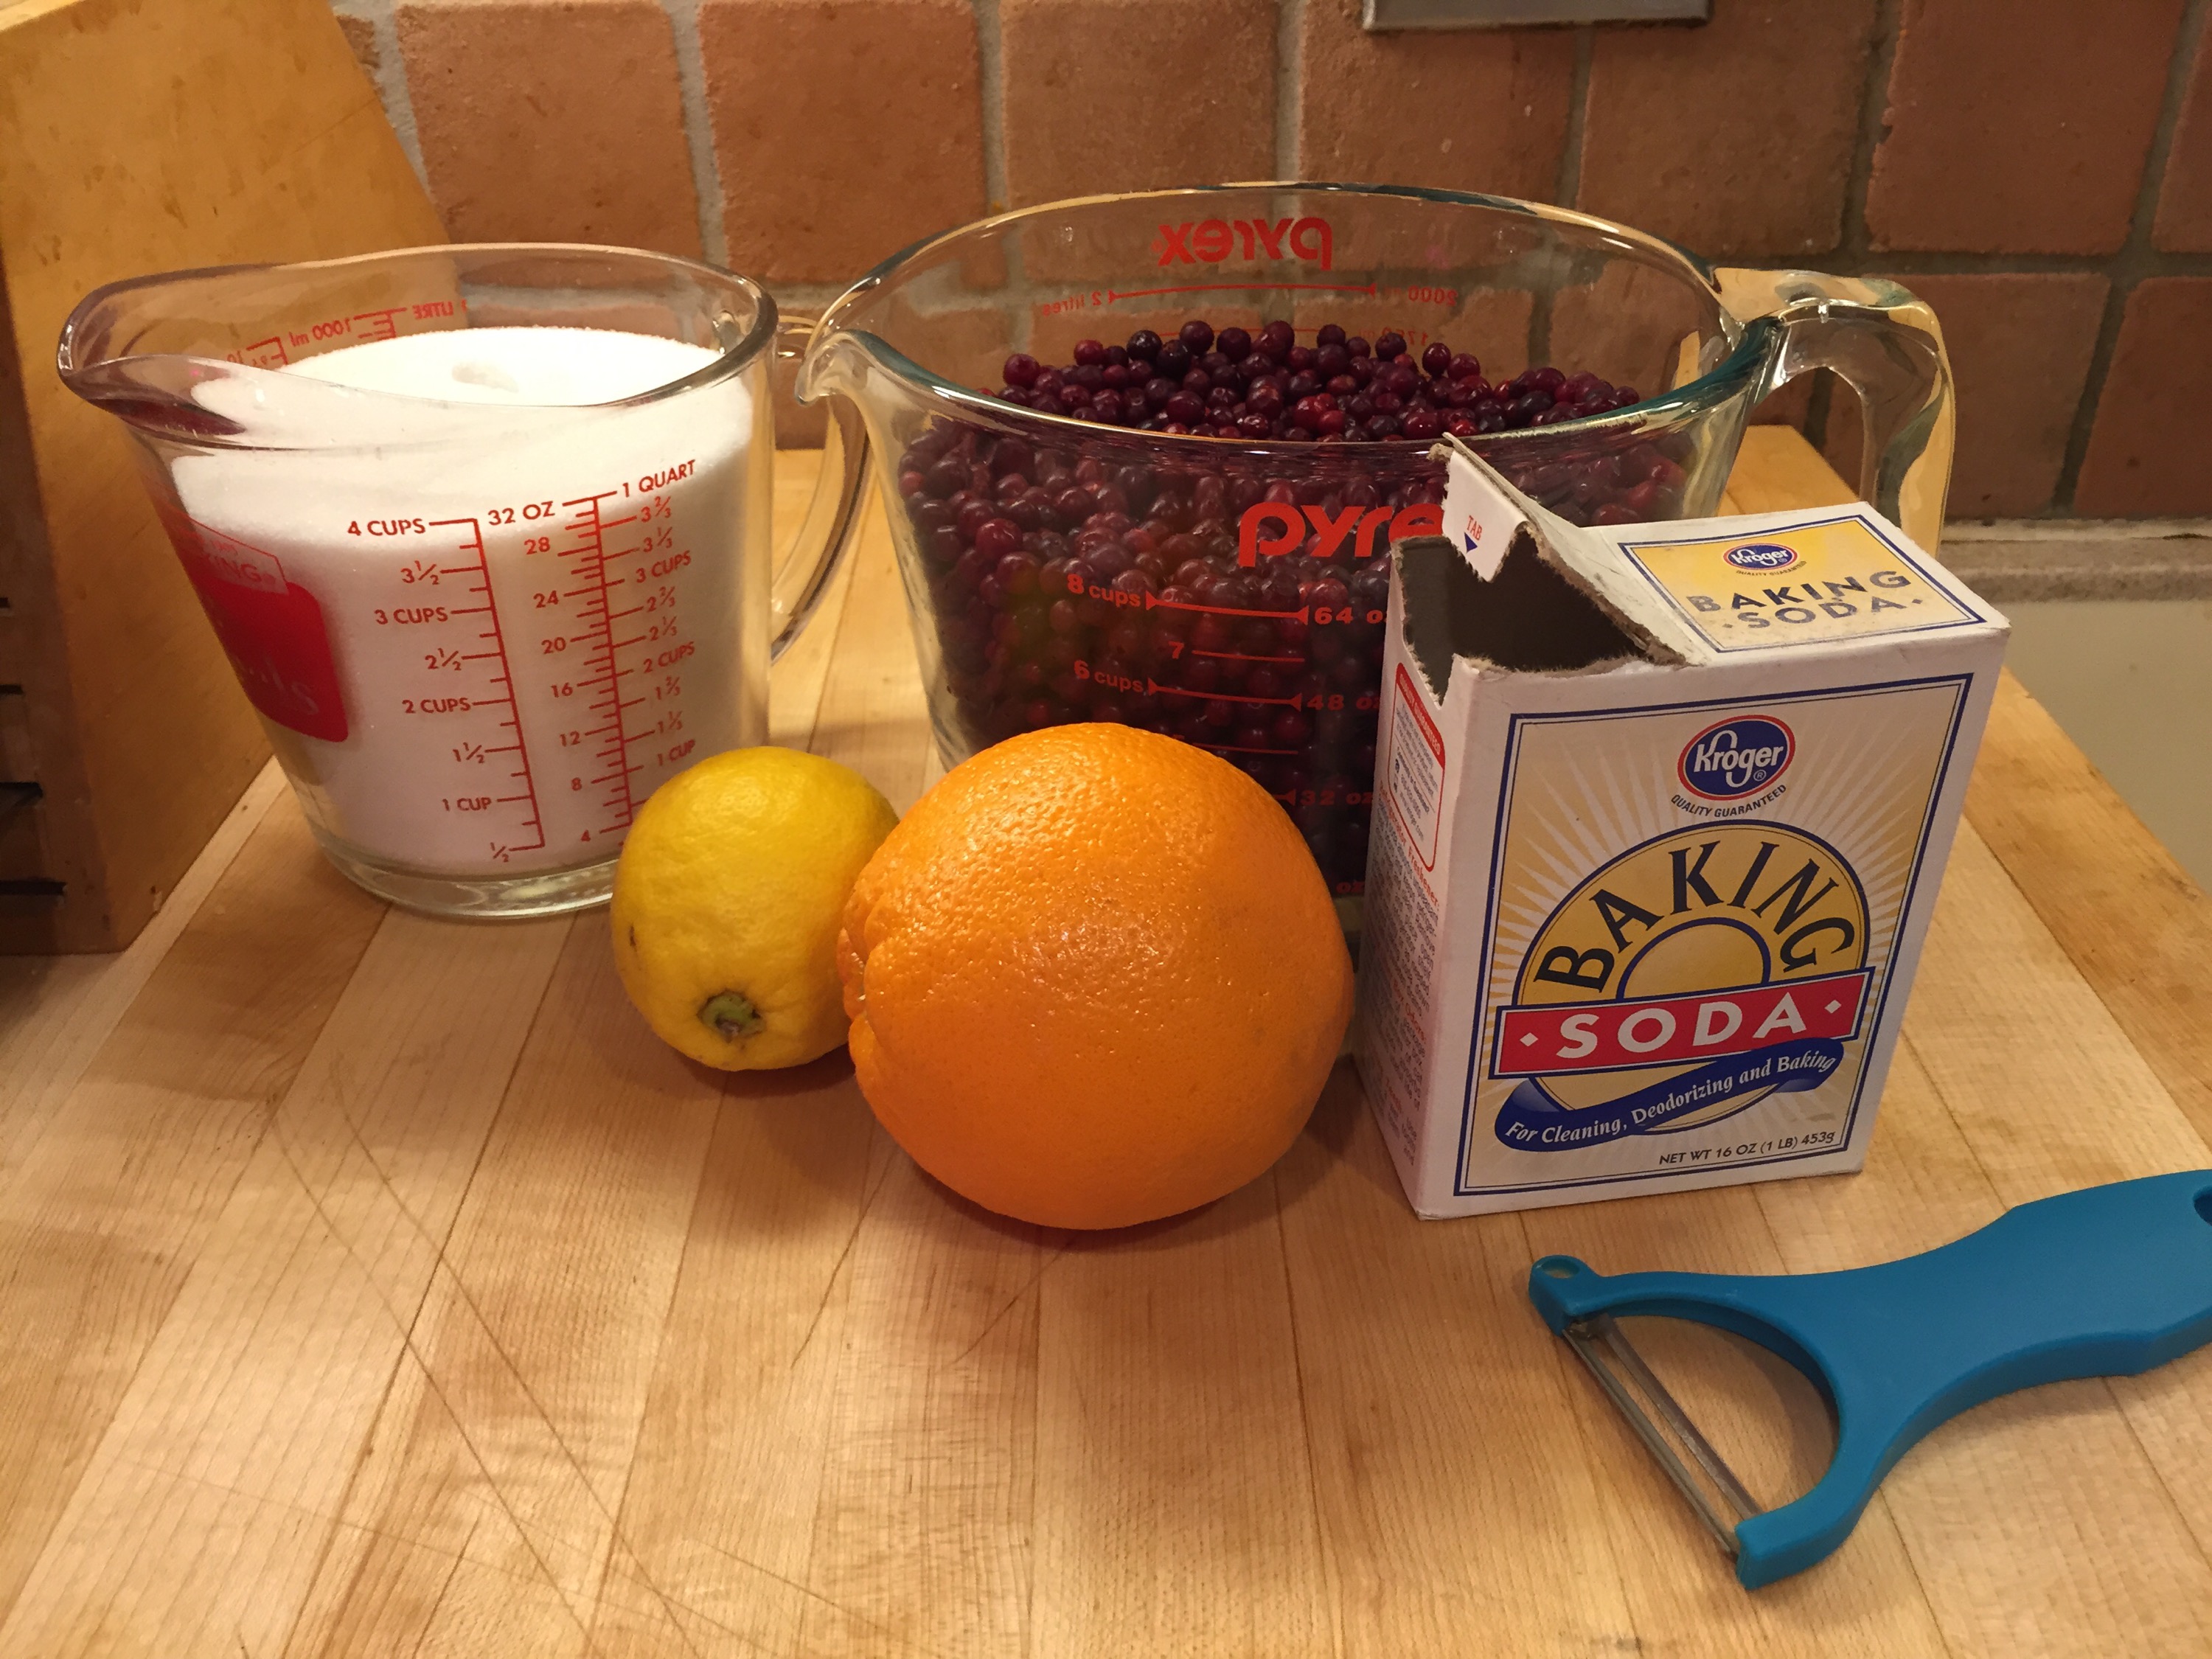
    • 3 oranges (or 2 oranges and 1 lemon)
    • Water
    • 1/4 tsp. baking soda
    • 8 cups wild lowbush cranberries
    • 4 cups sugar

    Directions:

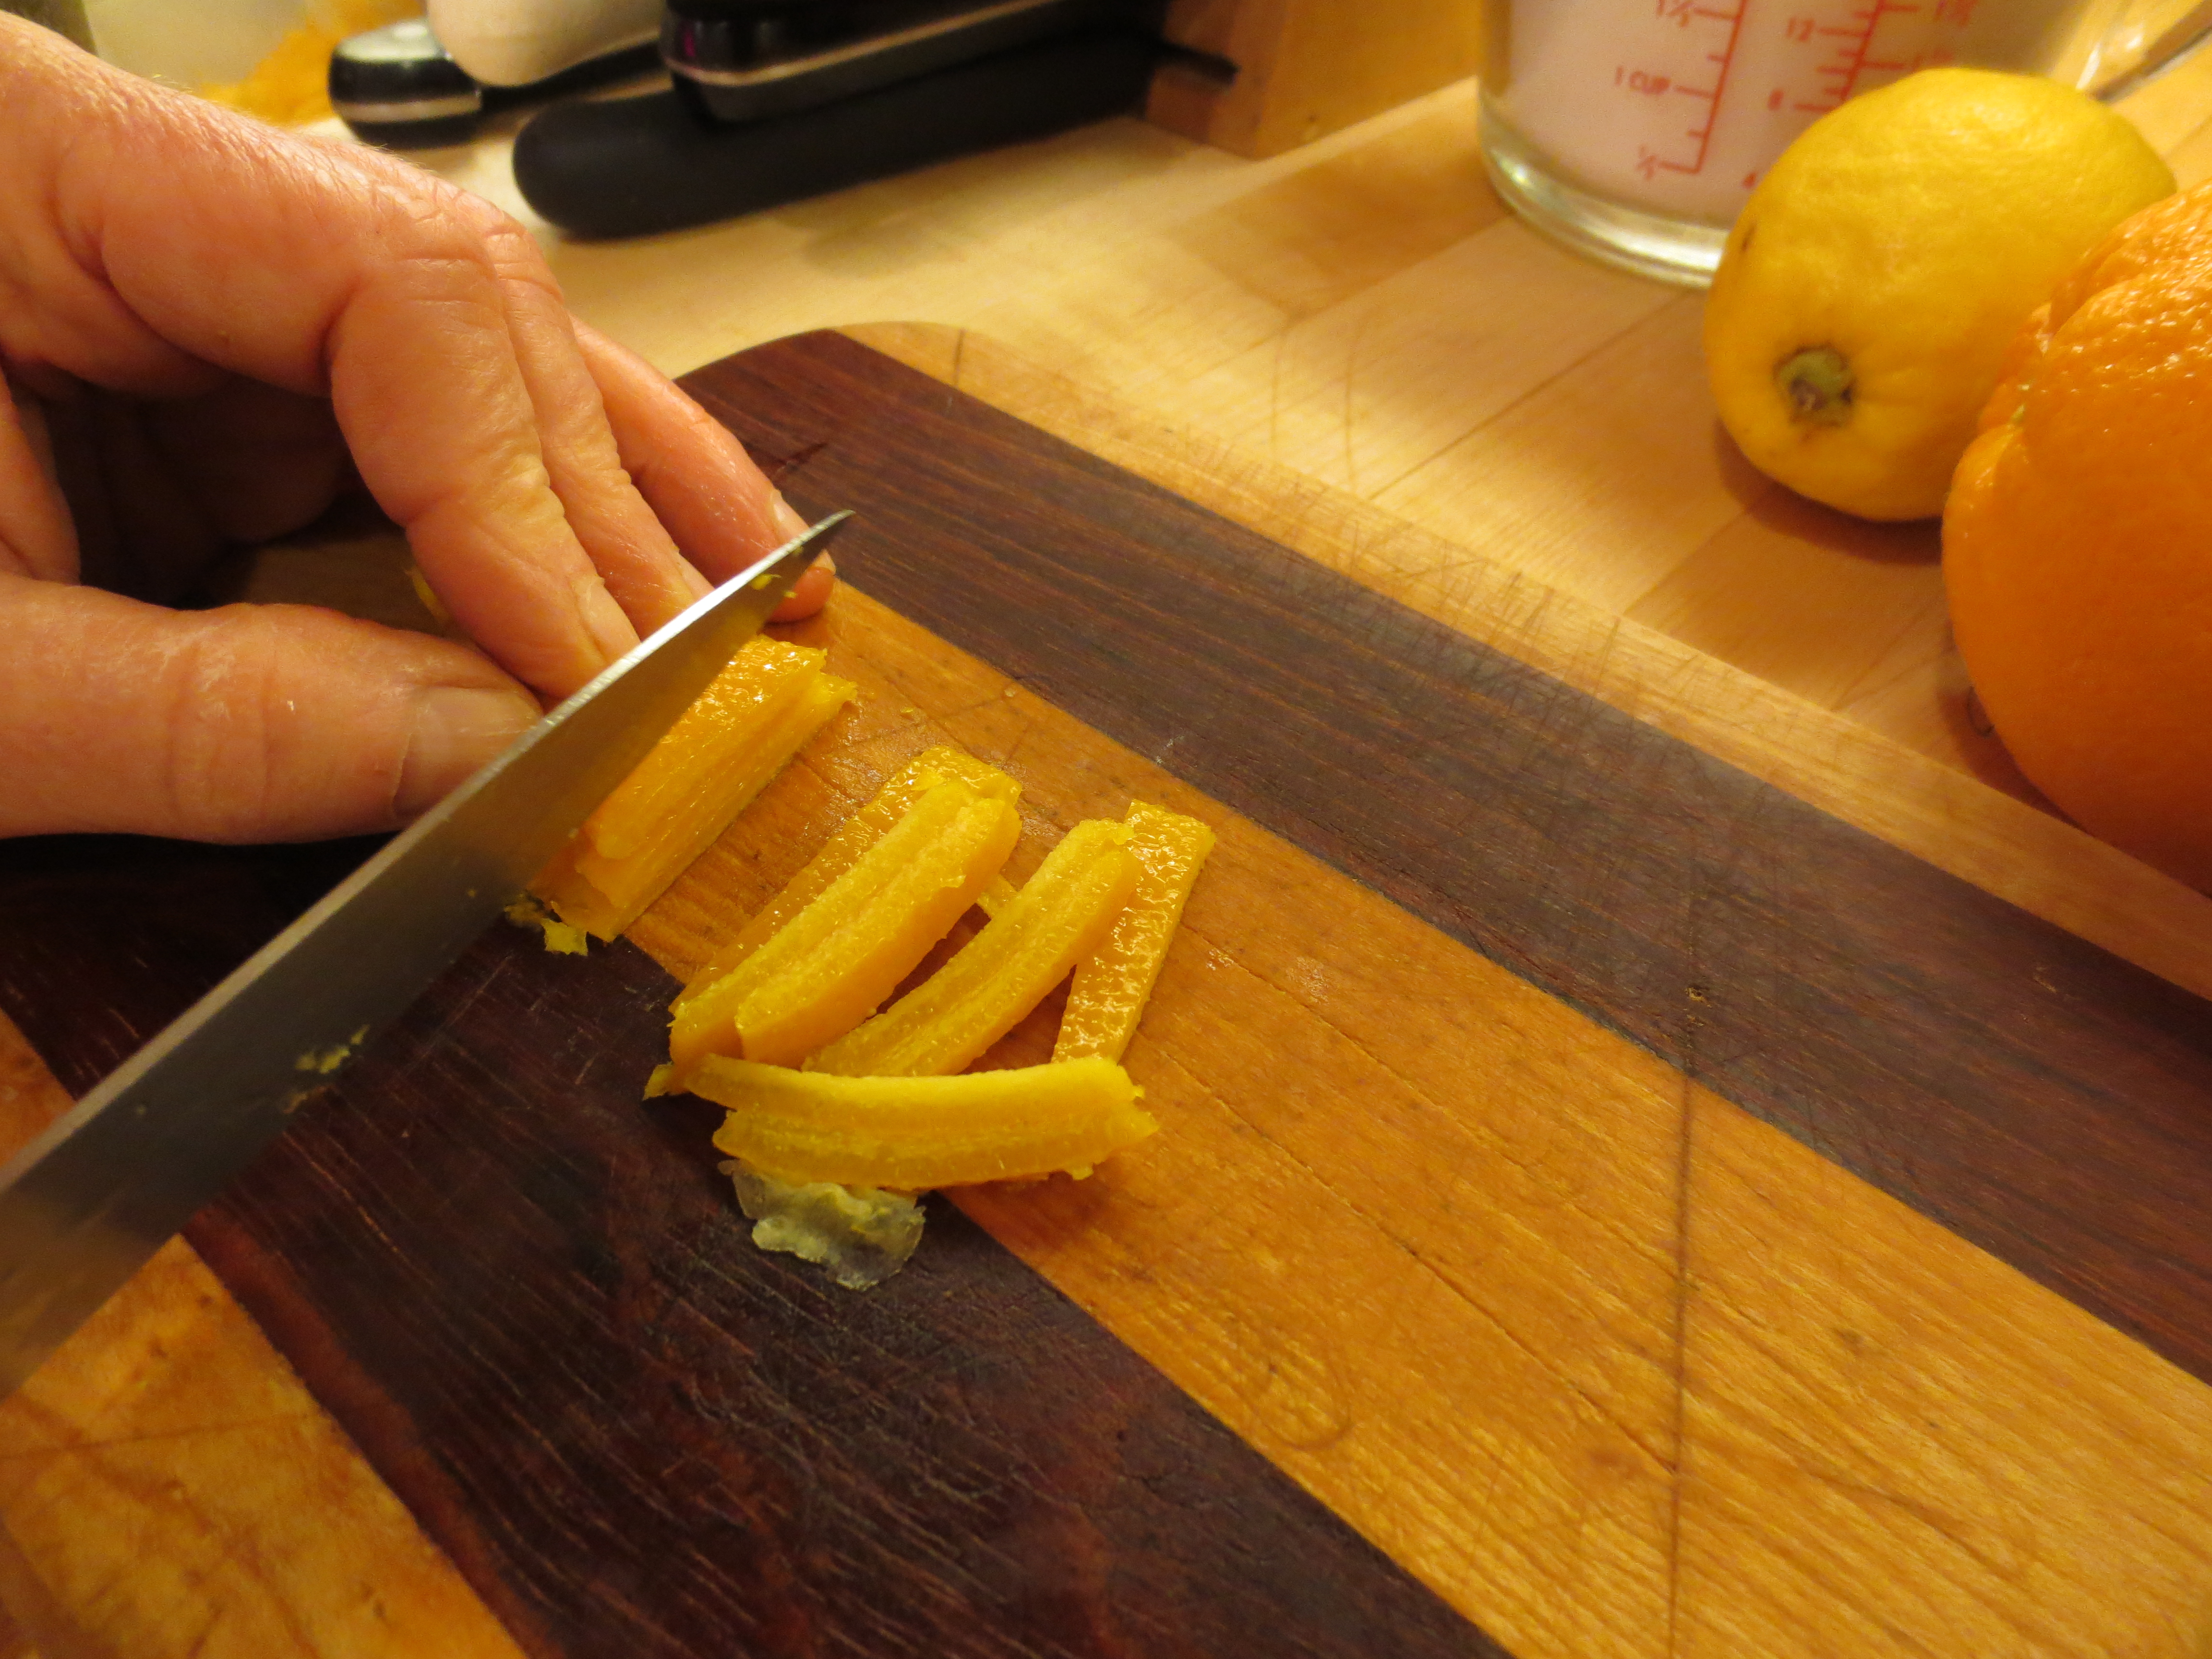
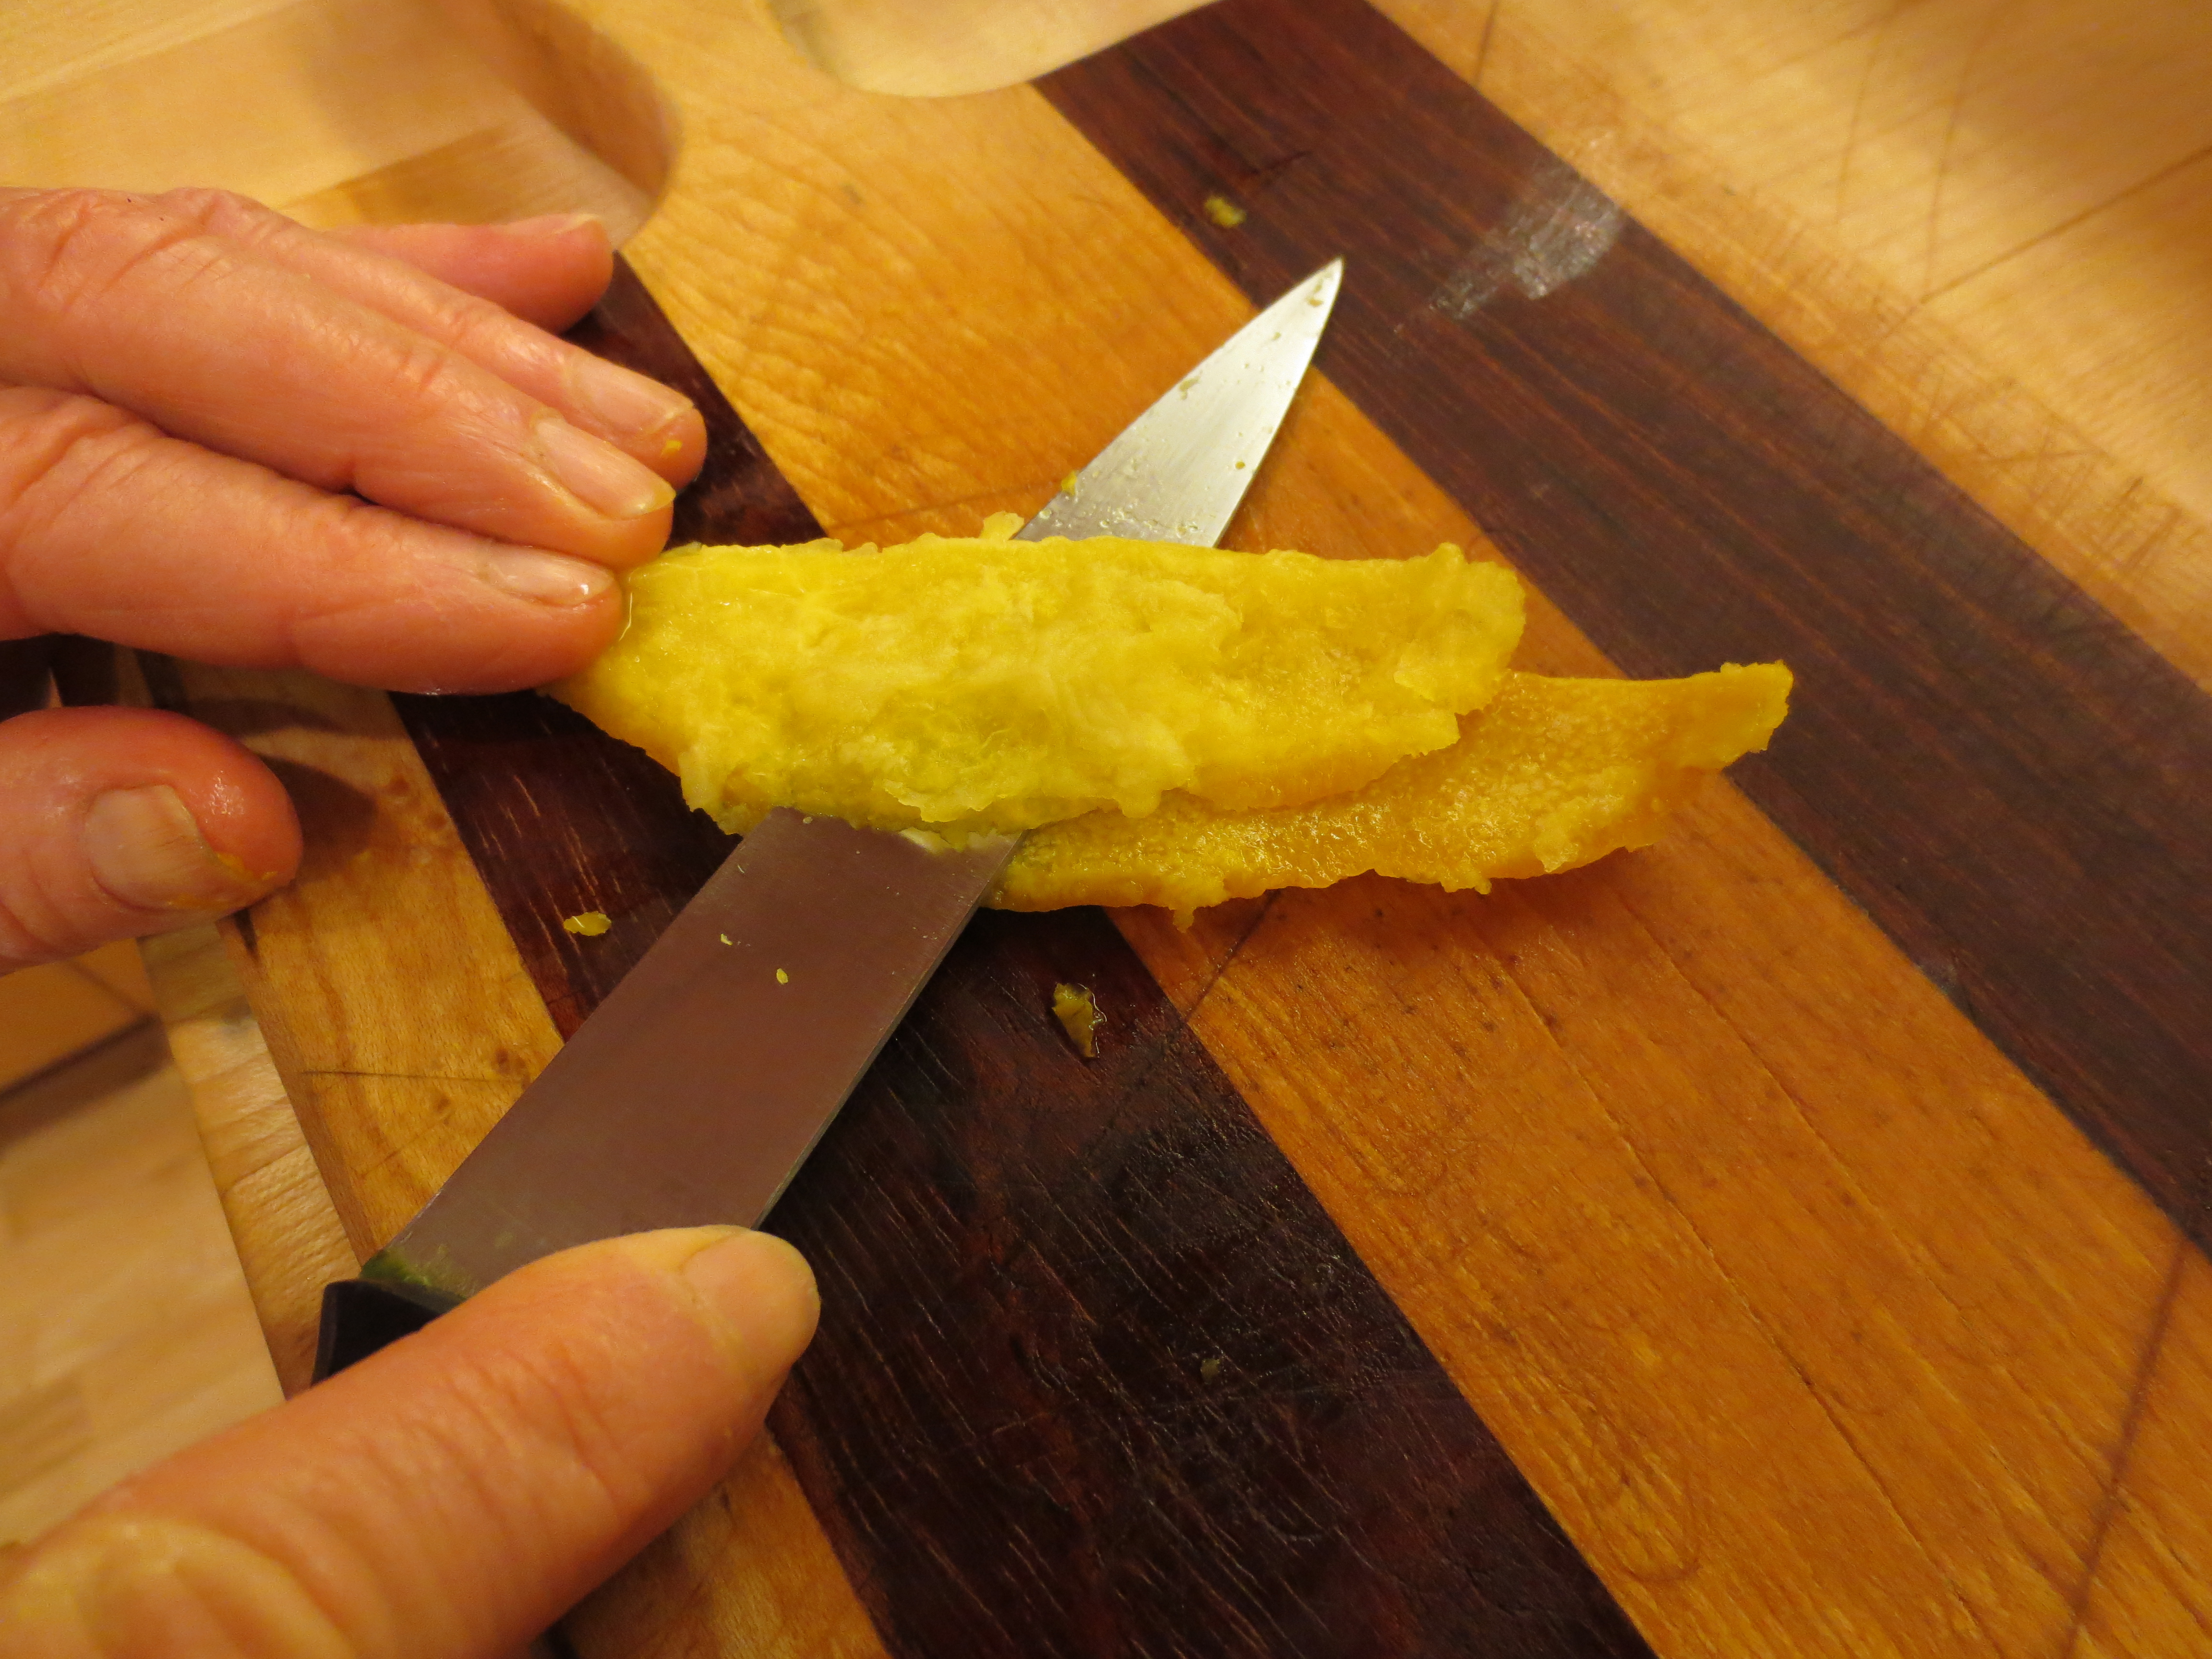
    Remove the skins of the oranges in quarters. Cover rinds with water and boil with baking soda for 15 minutes. Shave off as much of the white pith as you can from the rind and slice rind very thin.

    Harvesting Anchorage: Lowbush Cranberry Marmalade | This is a delicious cranberry orange jam recipe that's perfect for Christmas and holiday gifts for teachers, friends and family. Recipe from Alaskaknitnat.com

    Harvesting Anchorage: Lowbush Cranberry Marmalade | This is a delicious cranberry orange jam recipe that's perfect for Christmas and holiday gifts for teachers, friends and family. Recipe from Alaskaknitnat.comAn alternative method is to use a vegetable peeler to peel off the rind and slice it. If you choose this method you won’t need to boil the rinds since they are so thin.

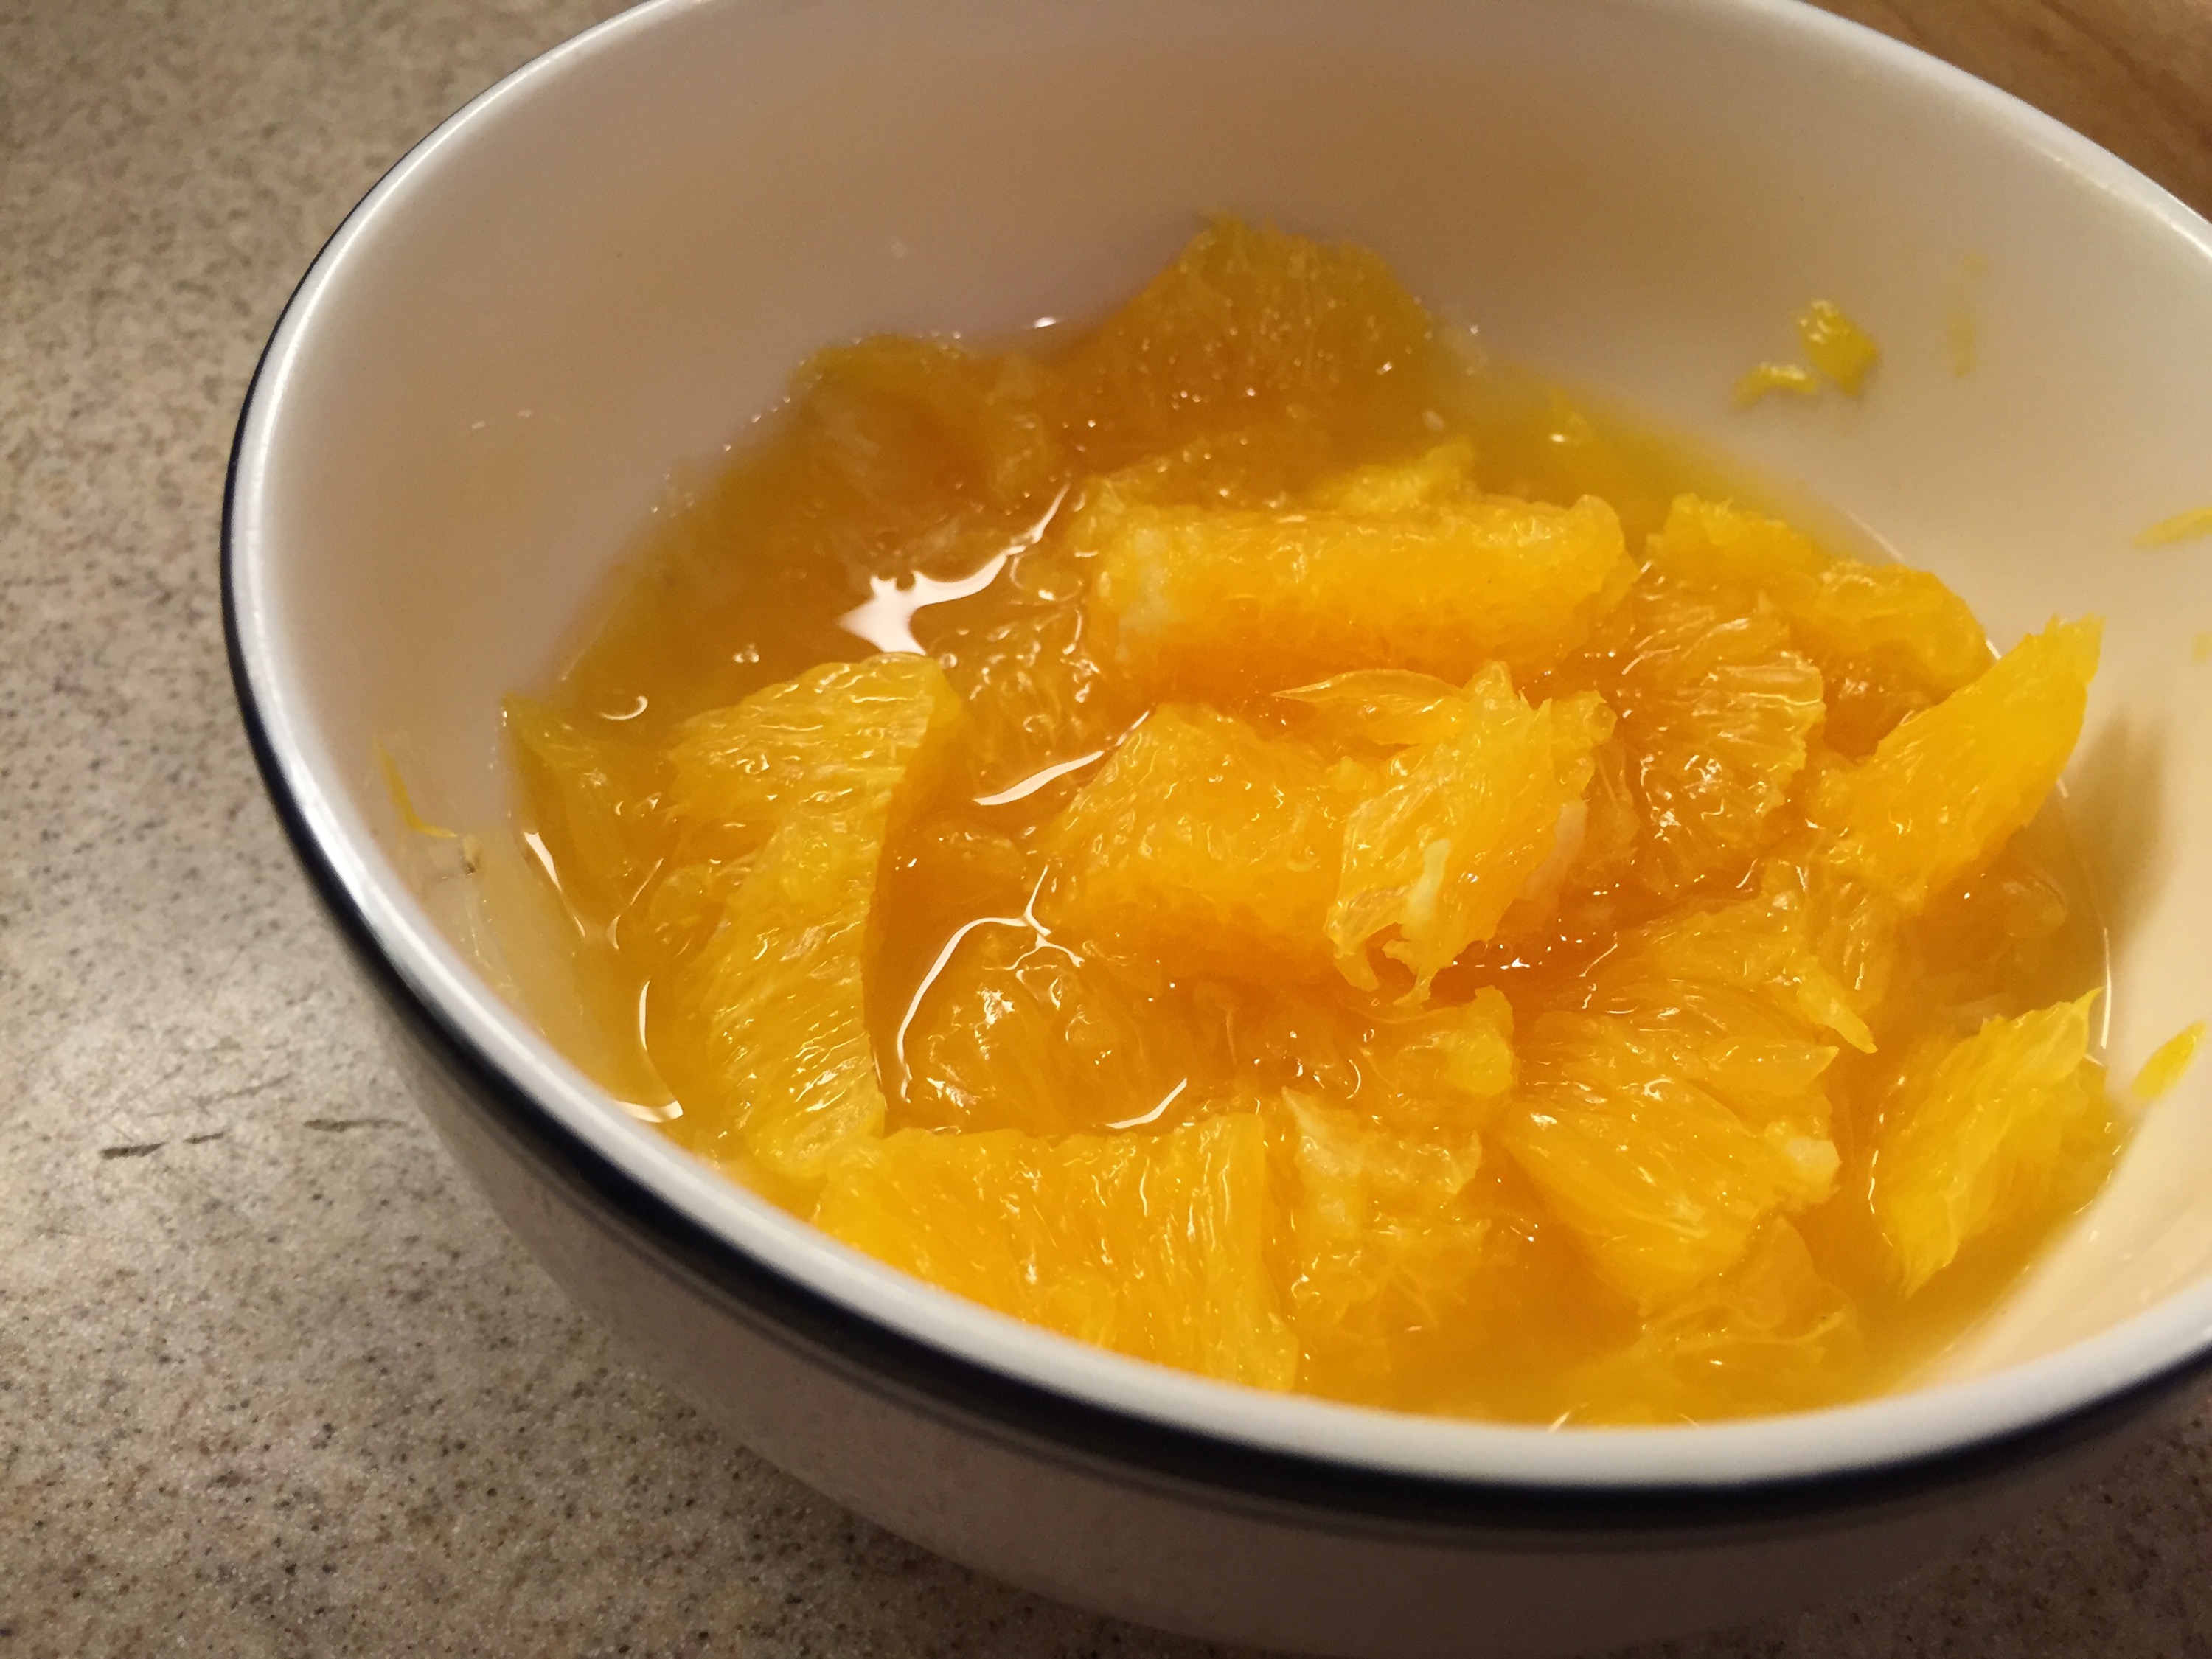
    Harvesting Anchorage: Lowbush Cranberry Marmalade | This is a delicious cranberry orange jam recipe that's perfect for Christmas and holiday gifts for teachers, friends and family. Recipe from Alaskaknitnat.comMeanwhile remove the membrane from each orange segment and reserve the pulp in a bowl. Take the membranes in your hands and squeeze the remaining pulp and juice into the bowl. Discard the membranes. If you’re really lazy you could probably use a couple of cans of mandarins, drained and rinsed. I’ve never tried it, but it could work.

    Harvesting Anchorage: Lowbush Cranberry Marmalade | This is a delicious cranberry orange jam recipe that's perfect for Christmas and holiday gifts for teachers, friends and family. Recipe from Alaskaknitnat.comCombine pulp, rinds with their water, cranberries and sugar in a saucepan. Boil, stirring often, skimming off any foam.

    Harvesting Anchorage: Lowbush Cranberry Marmalade | This is a delicious cranberry orange jam recipe that's perfect for Christmas and holiday gifts for teachers, friends and family. Recipe from Alaskaknitnat.comLet the mixture boil down and thicken, about 15-18 minutes. Take a spoonful of the mixture and pour it back into the pot. If there are lots of frequent droplets, the mixture isn’t ready yet. If the drips are slow and turn into one big droplet, then it’s ready (that’s called “sheeting”). Turn off the heat and place a tablespoon of liquid in a bowl and place it in the freezer for about 3 minutes.

    Remove sample from freezer and tip it slightly. The sample should stay put. If the jam slides around the bowl it means it’s not ready yet. Bring the jam back to a boil and continue stirring constantly for another 5 minutes.

    Harvesting Anchorage: Mama's Blueberry Jam | A recipe from alaskaknitnat.comLadle jam into sterilized canning jars with brand-new lids. Fill leaving about 1/4 inch of space at the top. Add the lids and let cool. When you hear little pops that means the lids have sealed. If you’d like more details about canning I recommend this thorough tutorial from The Alaska Urban Soil Project.

    Harvesting Anchorage: Lowbush Cranberry Marmalade | This is a delicious cranberry orange jam recipe that's perfect for Christmas and holiday gifts for teachers, friends and family. Recipe from Alaskaknitnat.com

    If you’d like a different lowbush cranberry recipe, I recommend my simple cranberry and lemon muffins.

    Here are my other recipes from the “Harvesting Anchorage” series:

    Harvesting Anchorage: Mama's Blueberry Jam | A recipe from alaskaknitnat.com
    Blueberry Jam

    Spaghetti & Chicken in a lemon, thyme mushroom sauce | An original recipe from Alaskaknitnat.com
    Spaghetti & Chicken in a Lemon Thyme Mushroom Sauce

    Harvesting Alaska: Smoked salmon roe | a simple recipe from Alaskaknitnat.com
    Smoked Salmon Roe

    Harvesting Anchorage: Honey + Wildflower Tea | A profile of Ivan Night, Alaska beekeeper and mead maker
    Wildflower tea

    Harvesting Anchorage: Wild Rose and Rhubarb Cookies | A recipe from Alaskaknitnat.com
    Wild rose and rhubarb cookies

    Harvesting Anchorage: Spruce tips | Alaskaknitnat.com
    Spruce tip gnocch

    Birch tree tapping | Make your own birch syrup | Alaskaknitnat.com
    Birch Syrup

    Harvesting Anchorage: Devil's Club Pesto | A free recipe from AlaskaKnitNat.com
    Devil’s Club Pesto