Find yourself with yogurt to eat and no spoon? Utensils are not needed as long as you have basic origami skills!
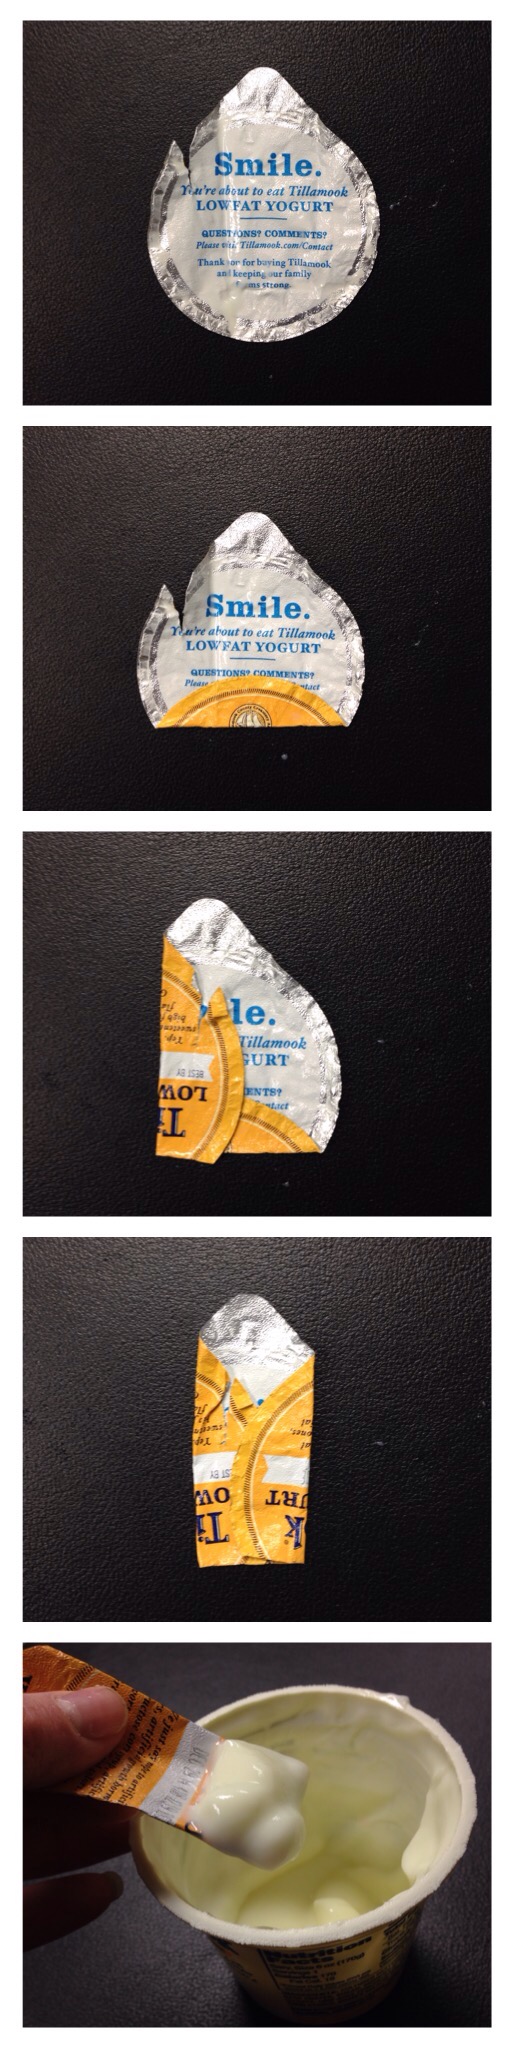
Find yourself with yogurt to eat and no spoon? Utensils are not needed as long as you have basic origami skills!

I recently assessed my yarn stash and quickly came to the conclusion that I have way too much. I’m running out of time to knit and crochet presents for my loved ones and I need to taper down my yarn inventory. Enter the pompom. This perky accessory harkens to my younger years when my clothes were adorned with rick rack and I coveted Tinkerbell peel-off nail polish.
Pompoms are making a comeback in a big way. Plus, they eat through yarn stashes quickly. This was a great way to decorate my tree and it requires barely any skills. I highly recommend using fabric scissors for this project; otherwise you might find yourself getting callouses in the crotch of your thumbs.
You’ll love the trick to making these ornaments. Look no further than your kitchen utensil drawer.

Pompom ornaments — No. 10 in Alaska Knit Nat’s DIY Holiday Craft Guide
What you’ll need:
Directions:
Cut a piece of yarn about 16 inches long and fold it in half. Run it in between the middle prong of the fork and hold it securely against the handle. Take up to four strands of yarn at a time and loosely start wrapping around the fork. Do this till you’ve got a whole lotta yarn on there. The more strands you use at a time the faster this will go. Cut the yarn when you think it’s enough. This may take some tinkering.
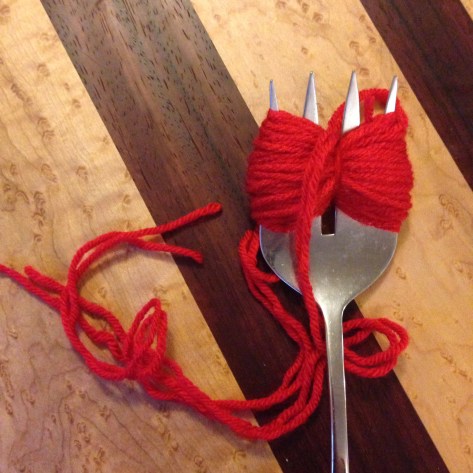
Use the yarn you originally placed between the prongs to tie around all the wrapped yarn. Another person’s finger comes in handy, but it’s possible to do this alone. Tie a double knot and slip your uncut pompom off the fork.

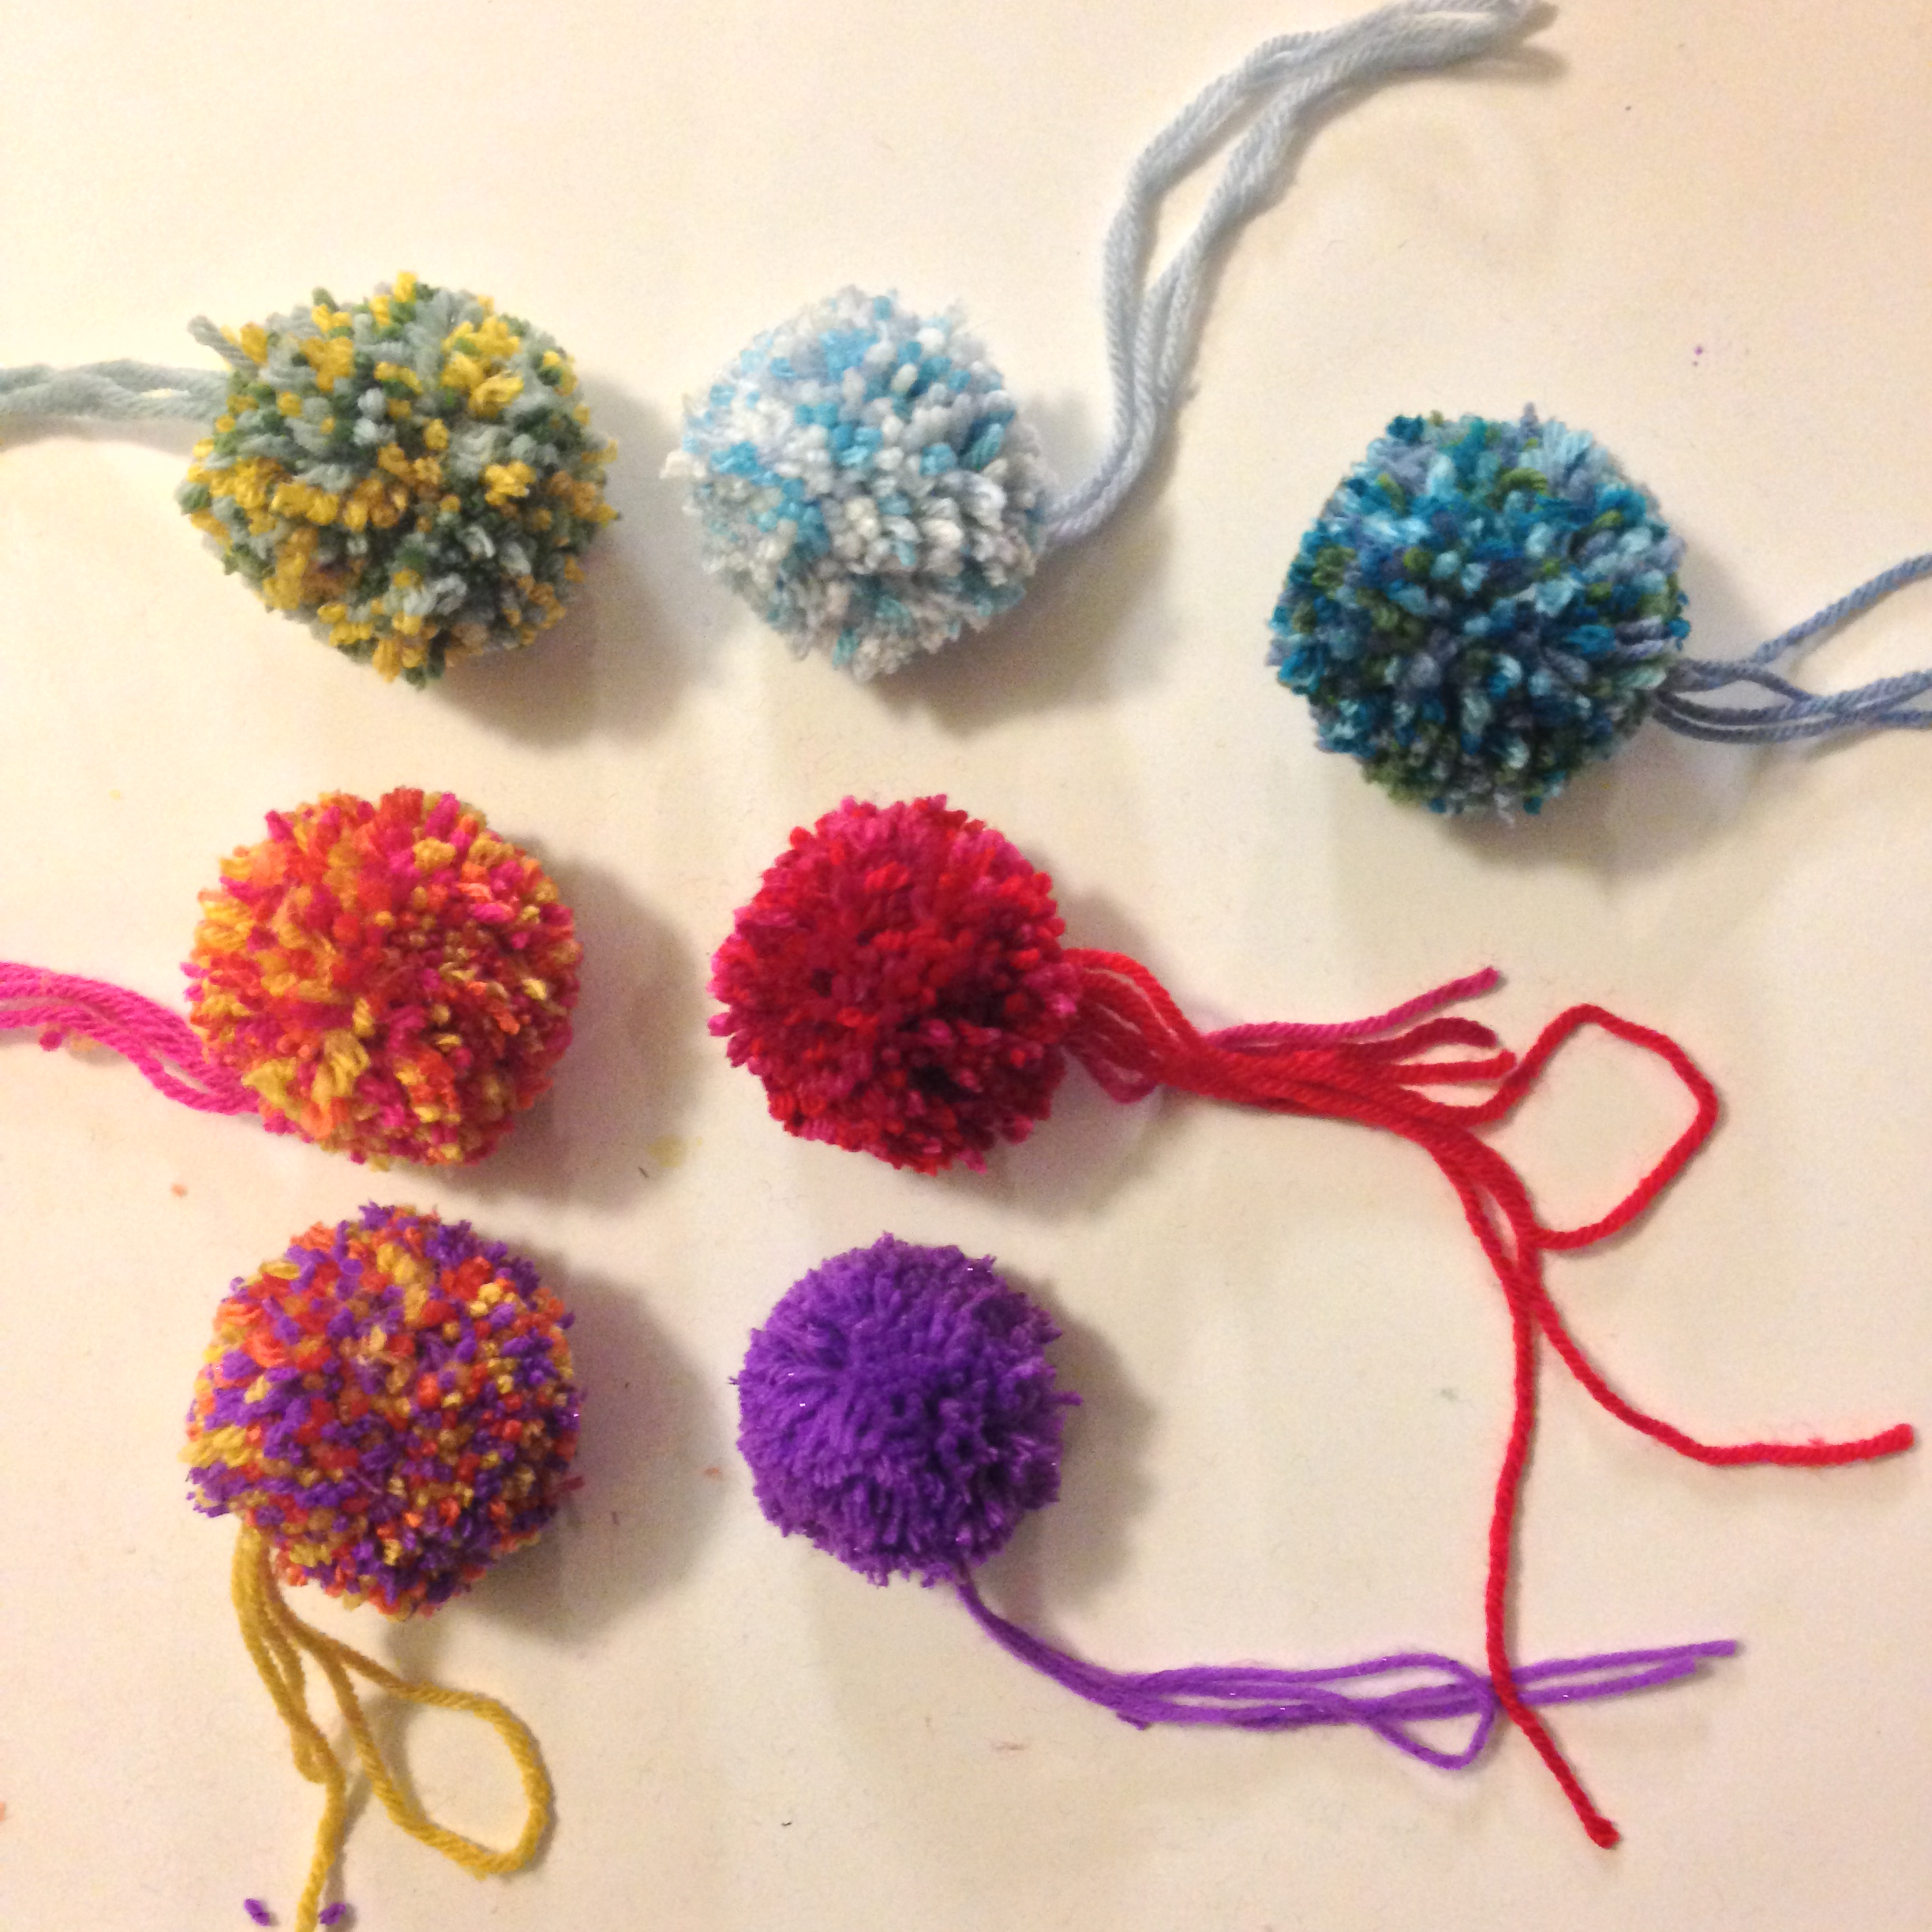
Cut apart all of the loops, being sure not to cut the original strand of yarn as this will be what you’ll hang the ornament from.
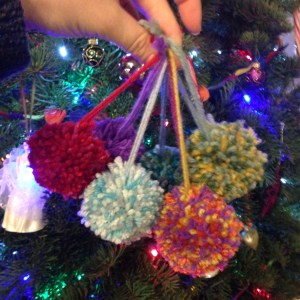
Trim your pompom as you deem fit. Repeat till you’ve run out of yarn or have worked up an appetite for some microwave nachos.

The older I get the less I despise big box hardware stores. Every time I get dragged into one by my husband I treat it as a mission to think of cool ways to reuse hardware supplies. This craft is perfect for the holidays, and free too.

Paint chip gift tags — No. 9 on Alaska Knit Nat’s DIY Holiday Craft Guide
What you’ll need:
Directions:
Cut out the paint samples in the shape of gift tags. Poke a hole in one end and run a six-inch piece of string through the hole. Tie the ends of the string together. Elaborately wrap a gift and add the tag as a finishing touch.


Each year I try to give my two sisters equally awesome handmade gifts that follow a similar theme. I usually make something for myself so we can all dorkily match. Last year was a winner: shirts with giant cashmere hearts.

This is a low-skill craft. It requires hand sewing, but nothing complicated. I turn to my local thrift shops for blank sweatshirts and cashmere sweaters. Any tight-knit sweater will work if you aren’t able to find cashmere. Mohair or angora might be fun. Be sure to wash and dry your sweater on the hot setting a couple of times to ensure it is completely done shrinking. If you sew on a fresh sweater when you wash the final product the heart will shrink and cause the shirt to tear and bunch up where you sewed it on (I know from disappointing experience).
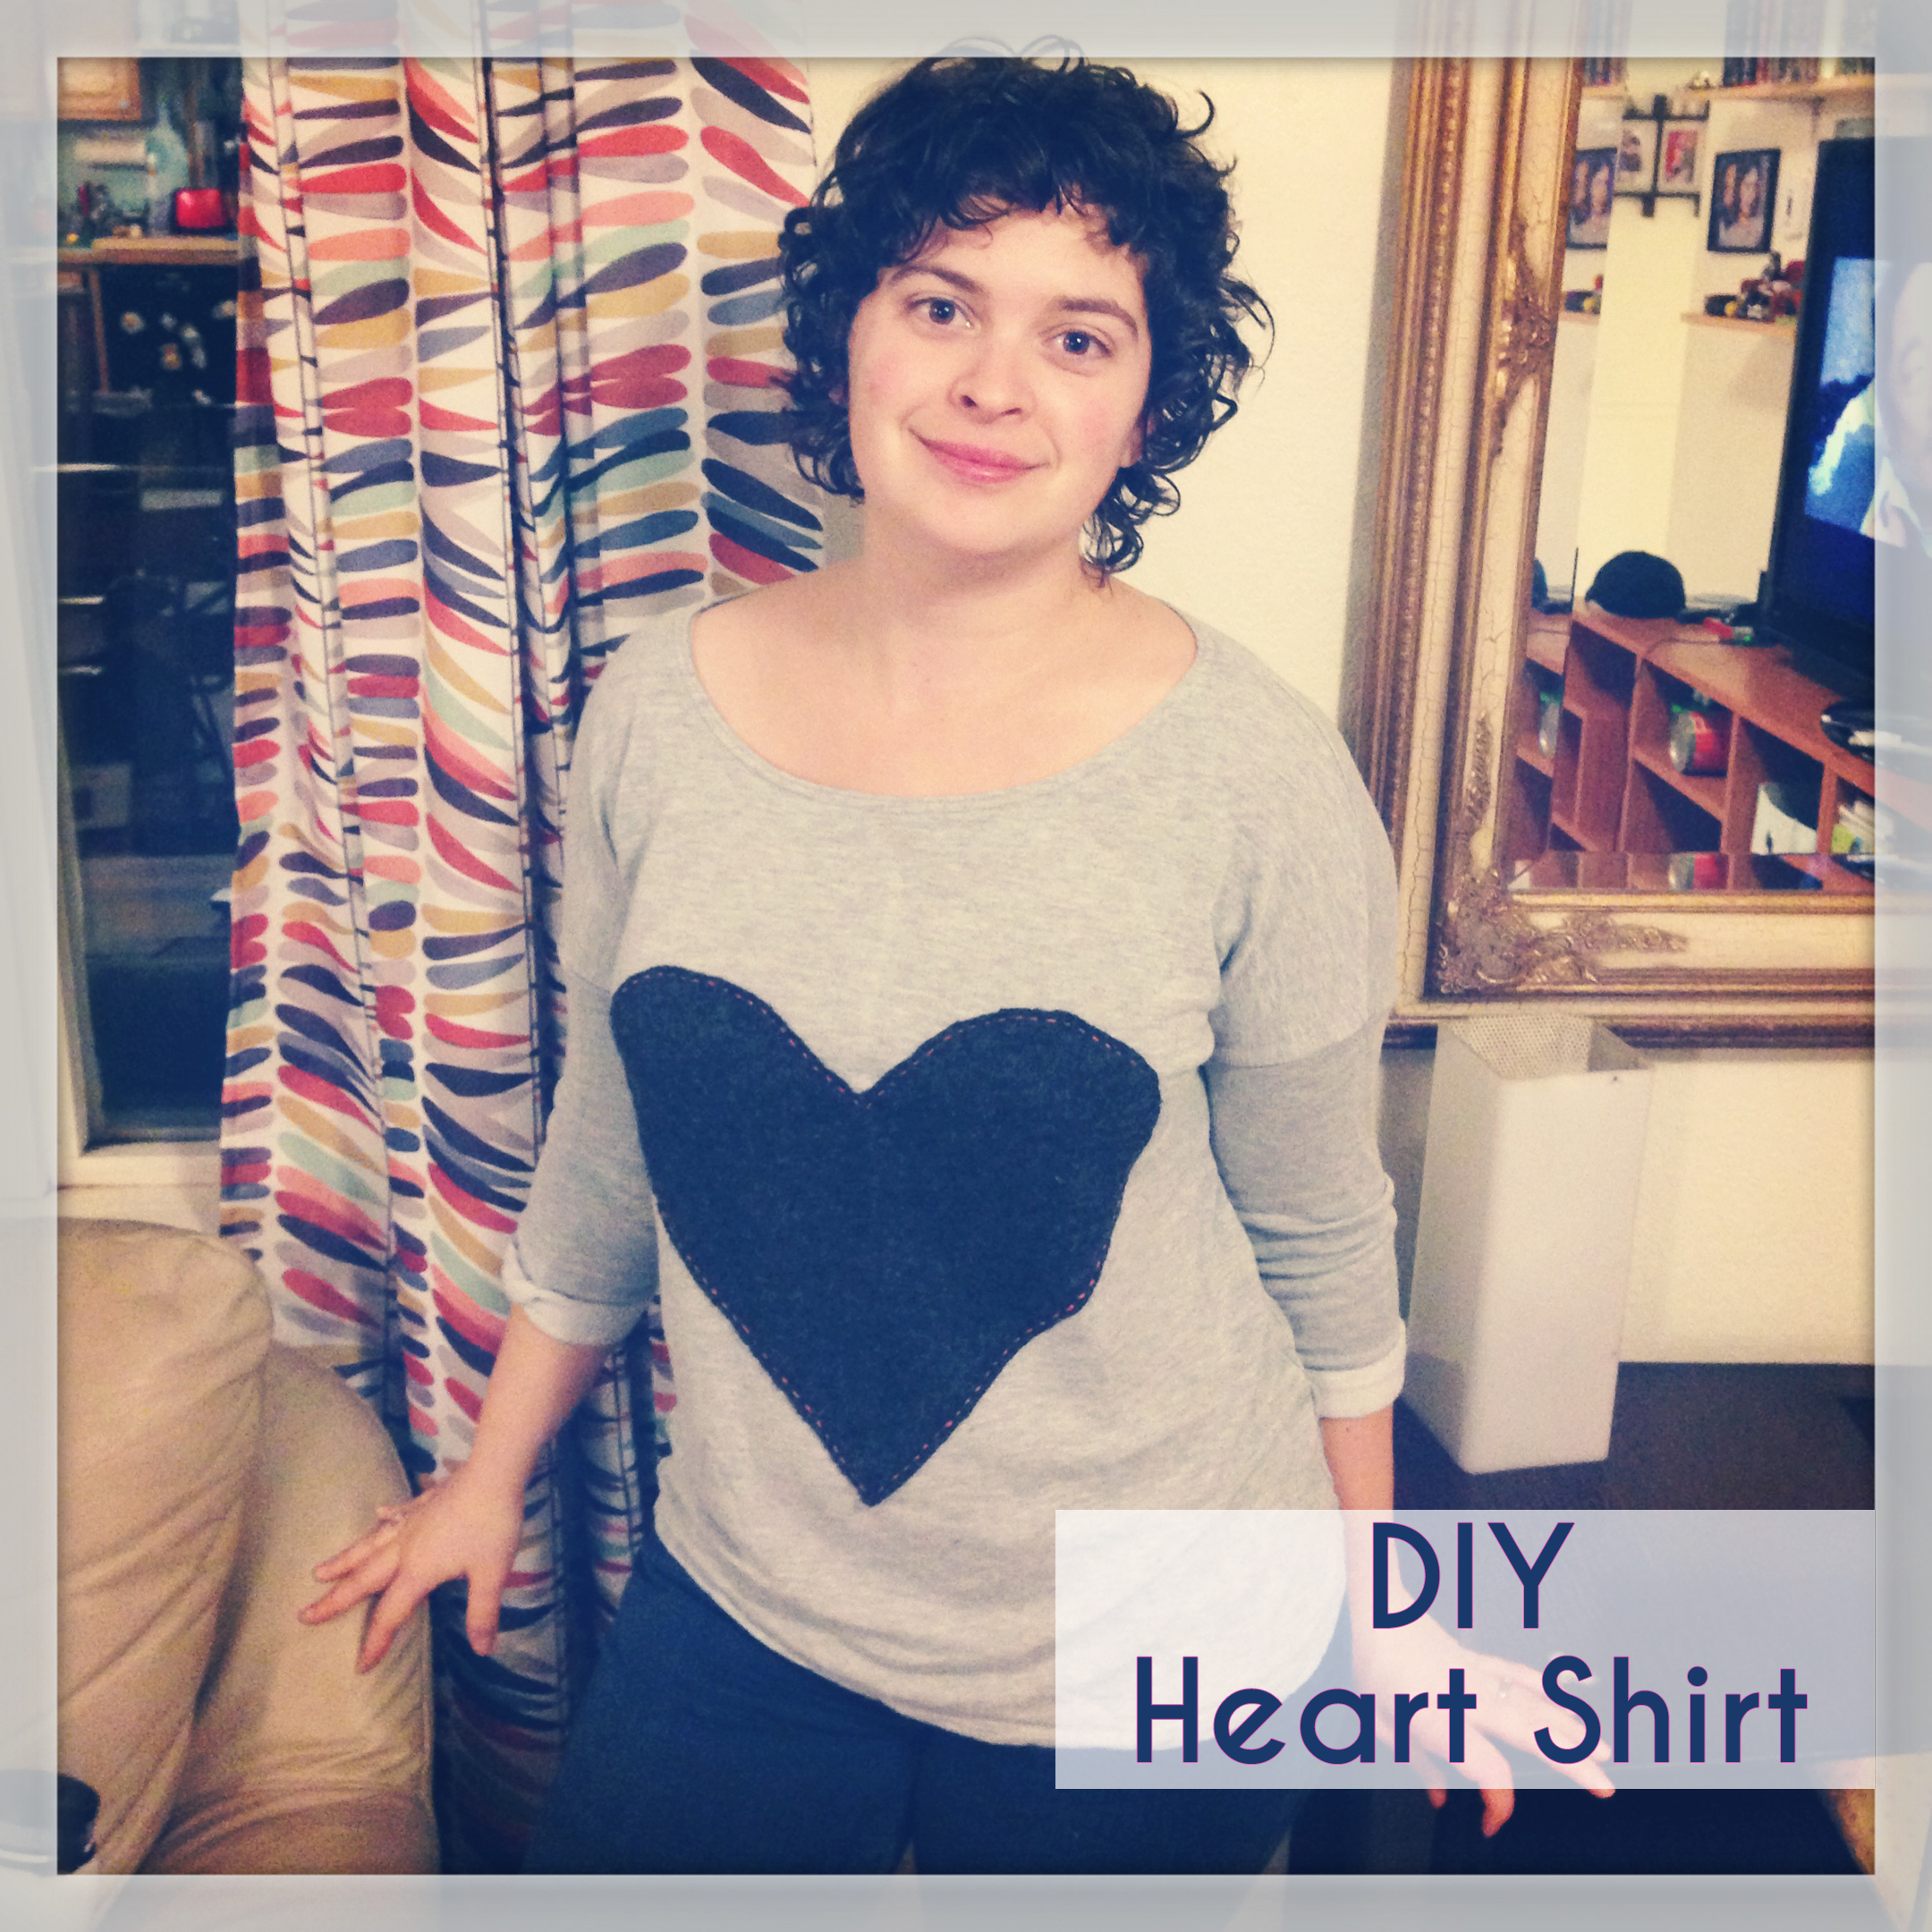
DIY heart shirt — No. 8 in Alaska Knit Nat’s DIY Holiday Craft Guide
What you’ll need:
For the full tutorial, click here.

I know this is supposed to be a crafty holiday guide, but I had to include this simple treat in the list in case you find yourself needing to provide a snack at an office holiday party. I don’t like baking much and I don’t have the time to create four dozen sugar-coated almond cookies. Grab a bag of pretzel chips and chocolate chips from Costco and dig around your cabinets for some Girl Scout cookies. You won’t be sorry. 
Chocolate-covered pretzels with Thin Mint sprinkles — No. 7 on Alaska Knit Nat’s DIY Holiday Craft Guide
Ingredients:
Directions: Process Thin Mints in a food processor until coarsely ground. Set aside in a bowl. Line two baking sheets with parchment paper. Place 3/4 cups chocolate chips in microwave-safe bowl. Microwave in increments of 30 seconds, stirring in between, until chocolate is melted. Add the remaining 1/4 chocolate chips and stir until melted. Dip half of each pretzel in the chocolate and place on cookie sheet. Sprinkle with a pinch of Thin Mint crumbles. Place cookie sheets in the fridge for 15 minutes or until chocolate is set.


There are vastly different ways to trim a Christmas tree. Some prefer the all-white glitter tree, while I love bright colors and a homey hodgepodge of ornaments and garlands.
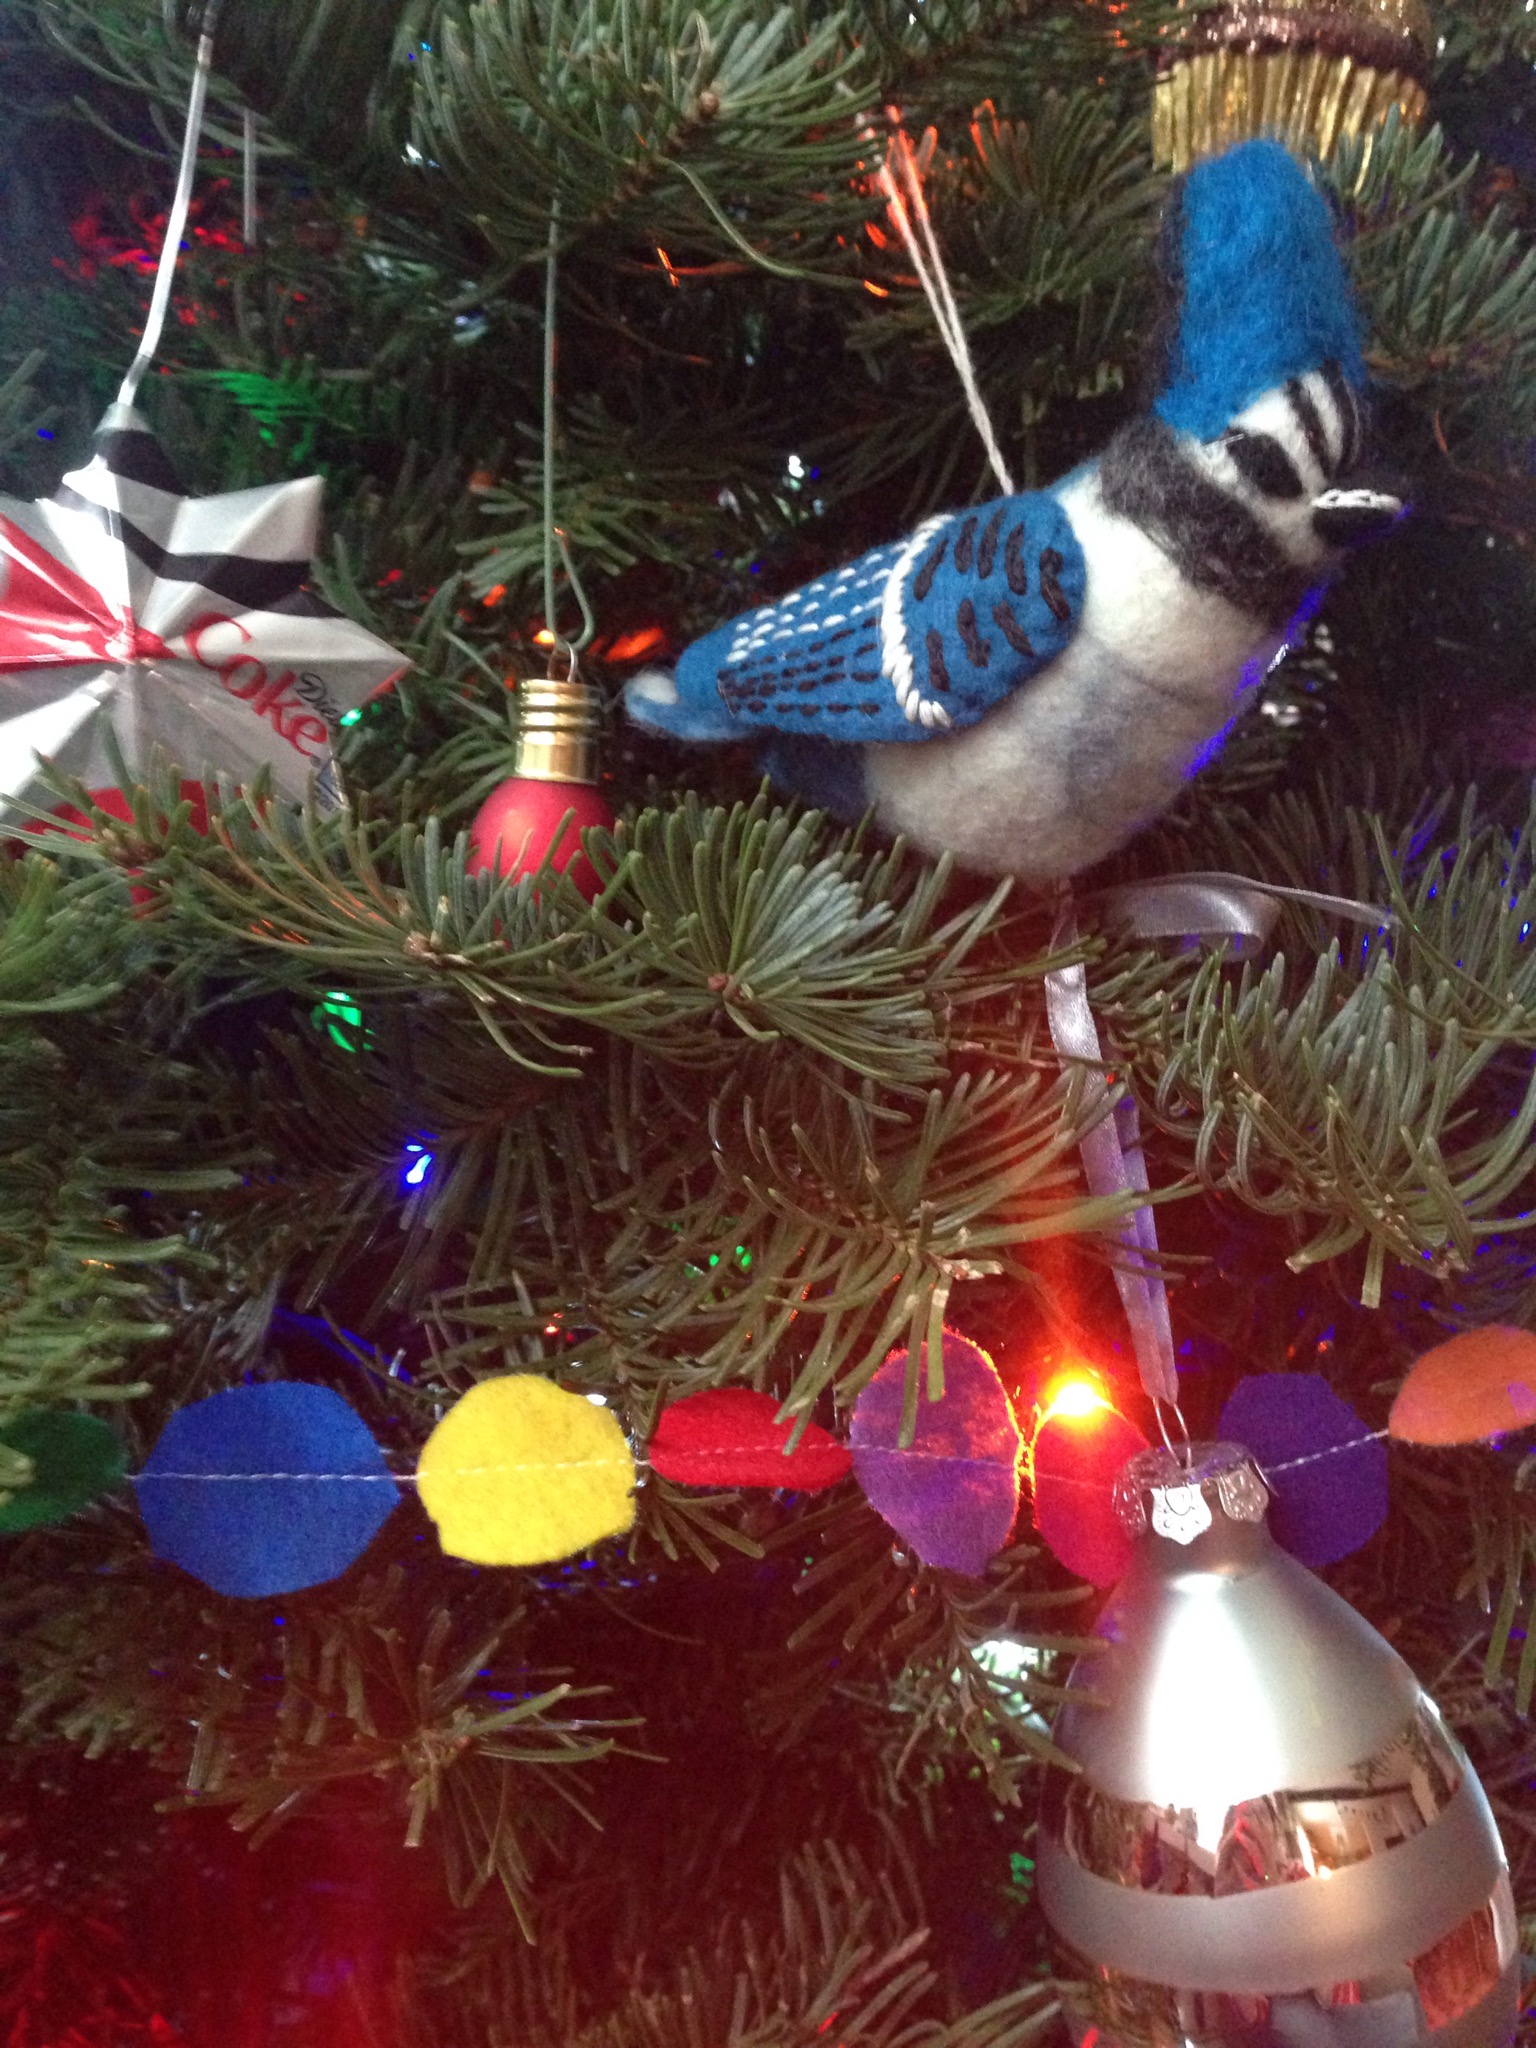
As I was preparing to trim our tree last week I opened our ornament box and was delighted to find a felt garland I’d constructed last year. I had forgotten about it and it kind of made my day to place it on our tree this year. I love popcorn garlands, but they get pretty messy and i have a toddler who is fascinated with the tree and eating things, so I imagine it wouldn’t last long.
This craft is cheery, colorful and easy. It does require the use of a sewing machine and some monotonous cutting. I recommend putting on “A Christmas Story” or some other holiday film you have memorized and cut out your felt while watching it. Mulled wine could be included, if desired.
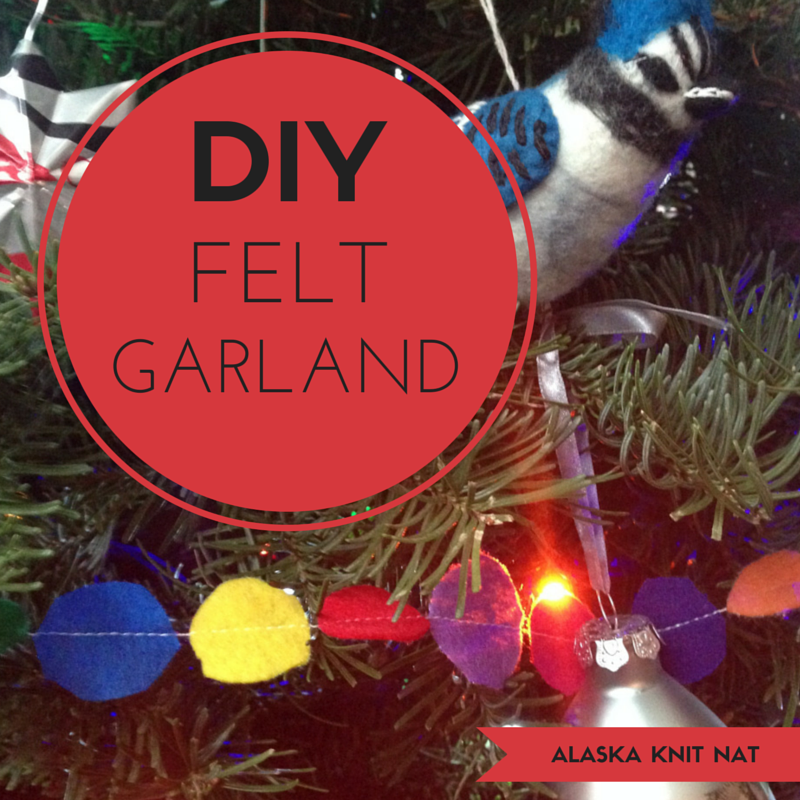
Easy felt tree garland: No. 6 on Alaska Knit Nat’s DIY Holiday Craft Guide
Directions:
Fold a piece of felt in fourths and cut out 1-inch circle-ish shapes. Repeat with other felt colors until you have about 300 hundred (I really didn’t count. I just cut out circles until I was sick of it.)
Place all your circles in a bowl and set next to your sewing machine. Start sewing across the diameter of a circle with a straight stitch. When you get to the end of the circle, start sewing through another circle. Repeat this until you’ve run out of circles. You’re basically just lining up the circles side by side and sewing a seam through them to keep them together. I didn’t follow a color pattern, I just sewed them randomly. It doesn’t matter what thread color you use, but I imagine gold thread would look neat. I used white. It’s ok if there are gaps between the circles. If you run out of thread mid-garland, just rethread your machine and sew across the most recently sewn circle.
Wrap your garland around your tree. If it’s too short, make more circles and take your garland back to your sewing machine.


Number 4 on my holiday craft guide was all about recycling. Today’s cheap craft is about upcycling. Instead of making planters, we’re going to make planters into something else.
Last week at the thrift store I found a couple of vintage ceramic baby planters. I’m sure you’ve seen them collecting dust somewhere. They are usually hideous with a thick layer of dirt crust inside.
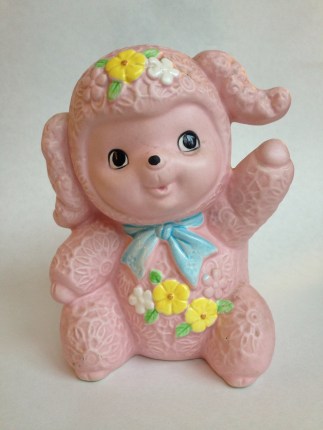
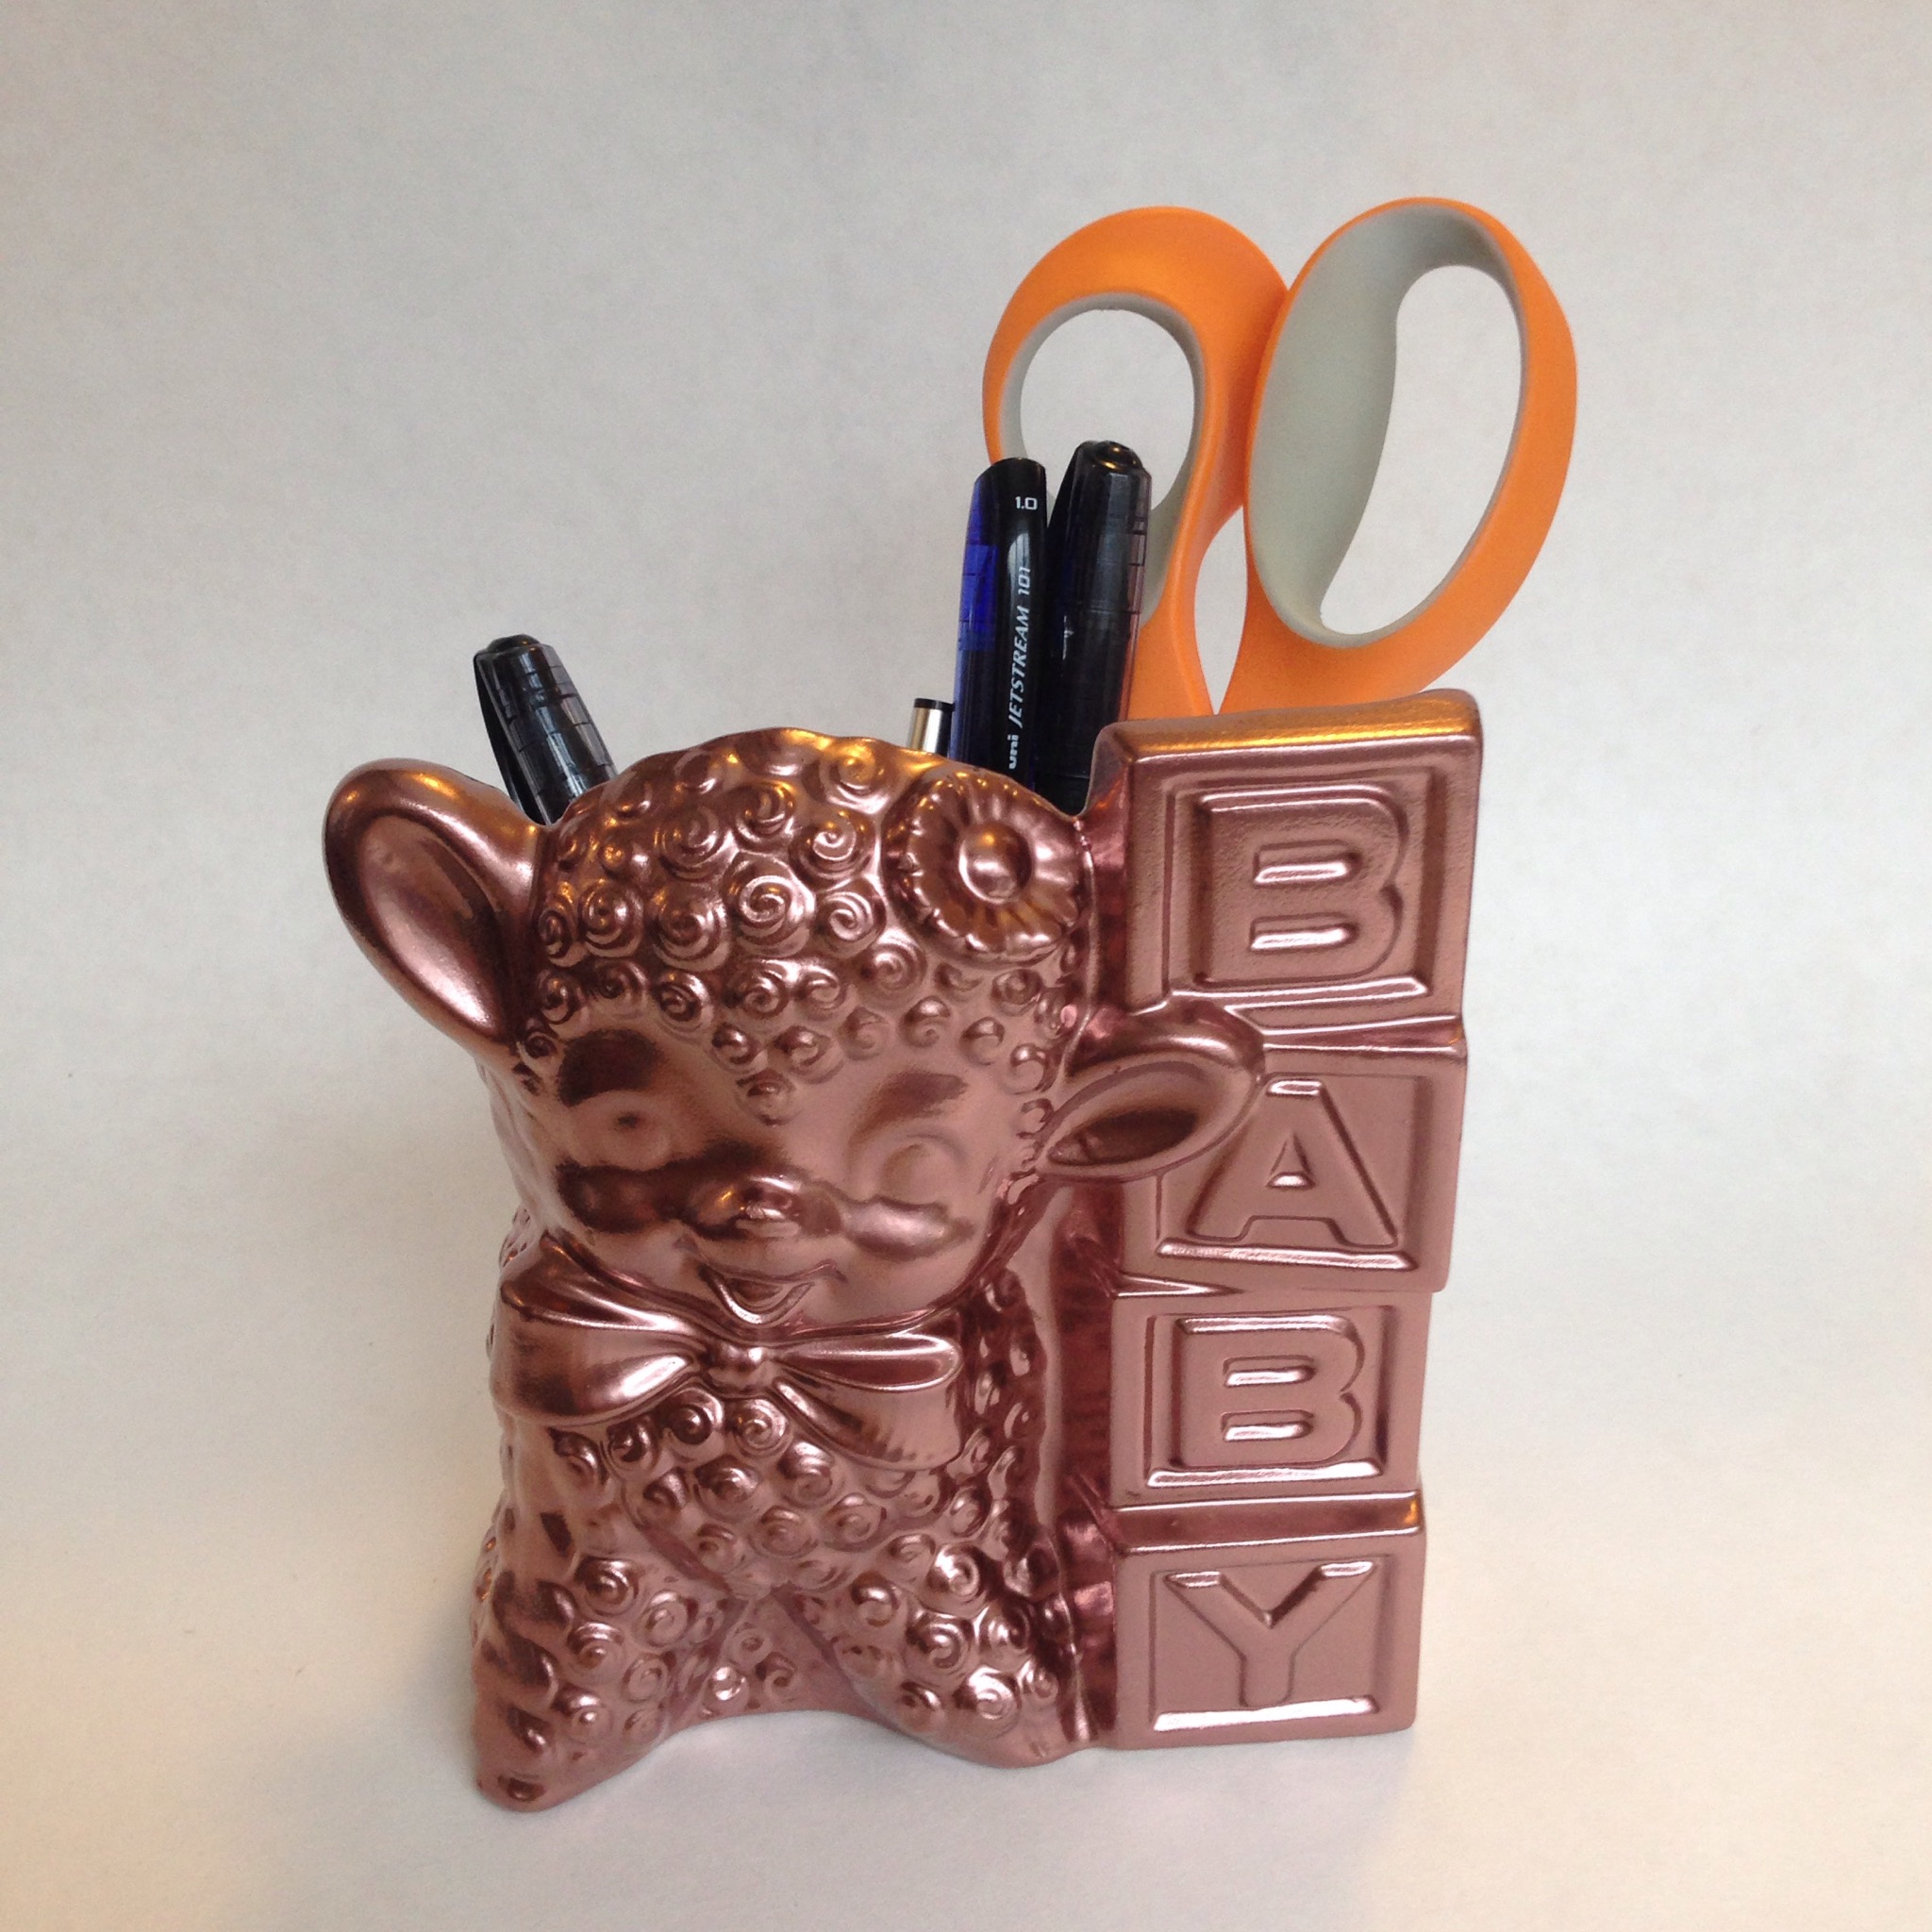
Metallic desk stuff is all the rage right now. I’m jumping on the golden bandwagon. This craft took very little time and even I was impressed with how well they turned out.

You need no artistic ability, just minute index finger strength. Use them to hold pencils, cell phones or place them in a kitchen to hold rubber spatulas. The world is your kitschy oyster!
A great place in Anchorage to find a vintage ceramic planter is The Packrat on Fireweed or Lazy Dog Antiques on Karluk. They are usually reasonably priced (about $10) but I lucked out at the Bishop’s Attic and found two for $2 apiece. But really, you could take soup cans and spray paint them gold and you’d probably mildly impress your significant other on Christmas Day.
DIY Kitschy Desk Caddy: No. 5 on Alaska Knit Nat’s DIY Holiday Craft Guide
What you’ll need:
Directions:
Wash your planter with hot water and soap and scrub away as much dirt as you can. This isn’t a huge deal because you’ll be spray painting it anyway so any super crust will be hidden.
Once the planter is dry, set on newspapers in your garage and apply a thin coat of spray paint. Spray the inside of the planter too. Let dry and apply another thin coat, being sure to spray any missed areas from the first coat. Once dry apply an optional glossy finish spray. Props to my graffiti artist friend, who shall remain anonymous, for lending me some of his stash.
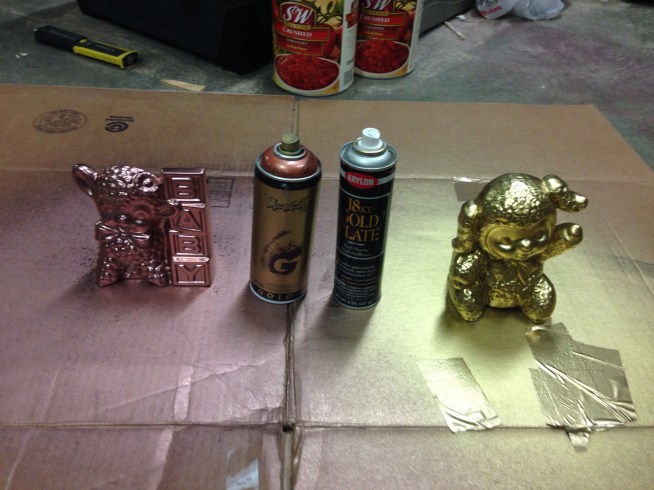
Revel in the cutest, shiniest thing you’ve probably ever made.


All right, now it’s time to start making some crafty gifts that hopefully don’t suck. I’m so over homemade bath salts, soup in a jar and t-shirt pillows. Let’s shake it up a bit and give the gift of creative recycling.
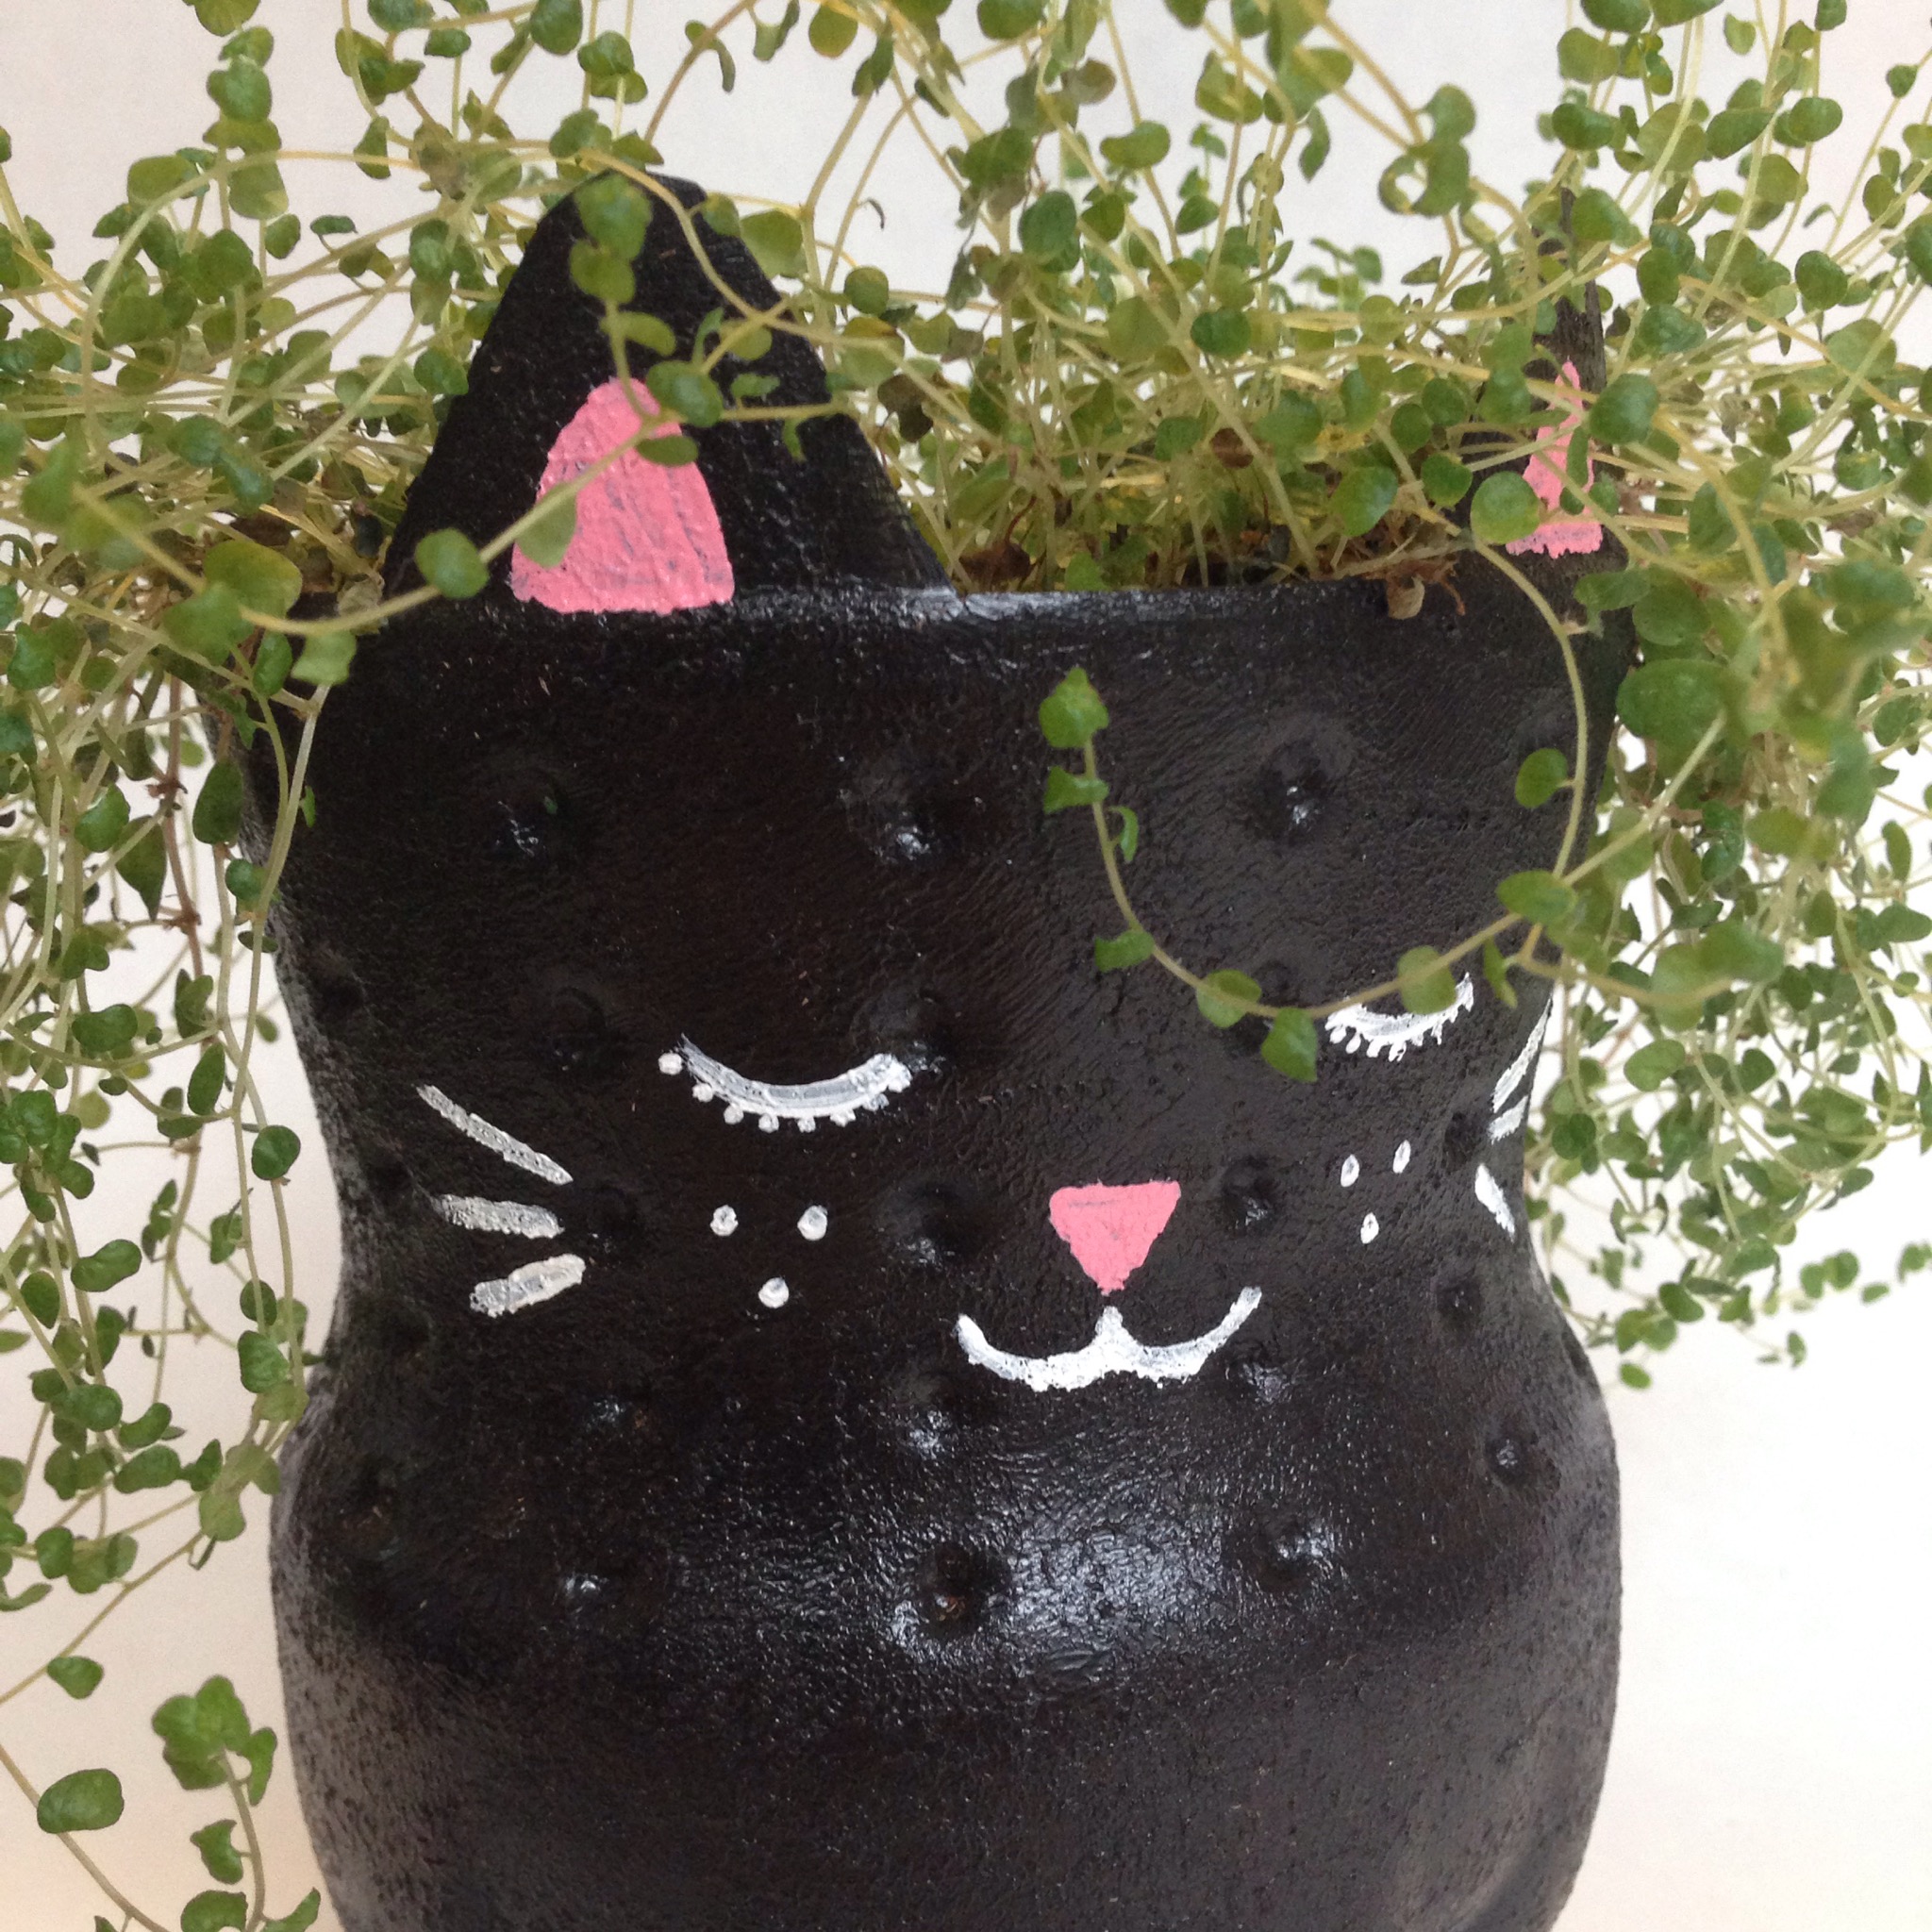
My best friend Kelly and I made kitty planters last spring out of 2-liter plastic soda bottles. Somehow, despite my brown thumb, I’ve managed to keep it alive. This craft is easy, not too time consuming and cute as hell. It requires minimal artistic ability, which is a big plus for me.

DIY Soda bottle kitty planters: No. 4 on Alaska Knit Nat’s DIY Holiday Craft Guide
What you’ll need:
Click here for the full tutorial.
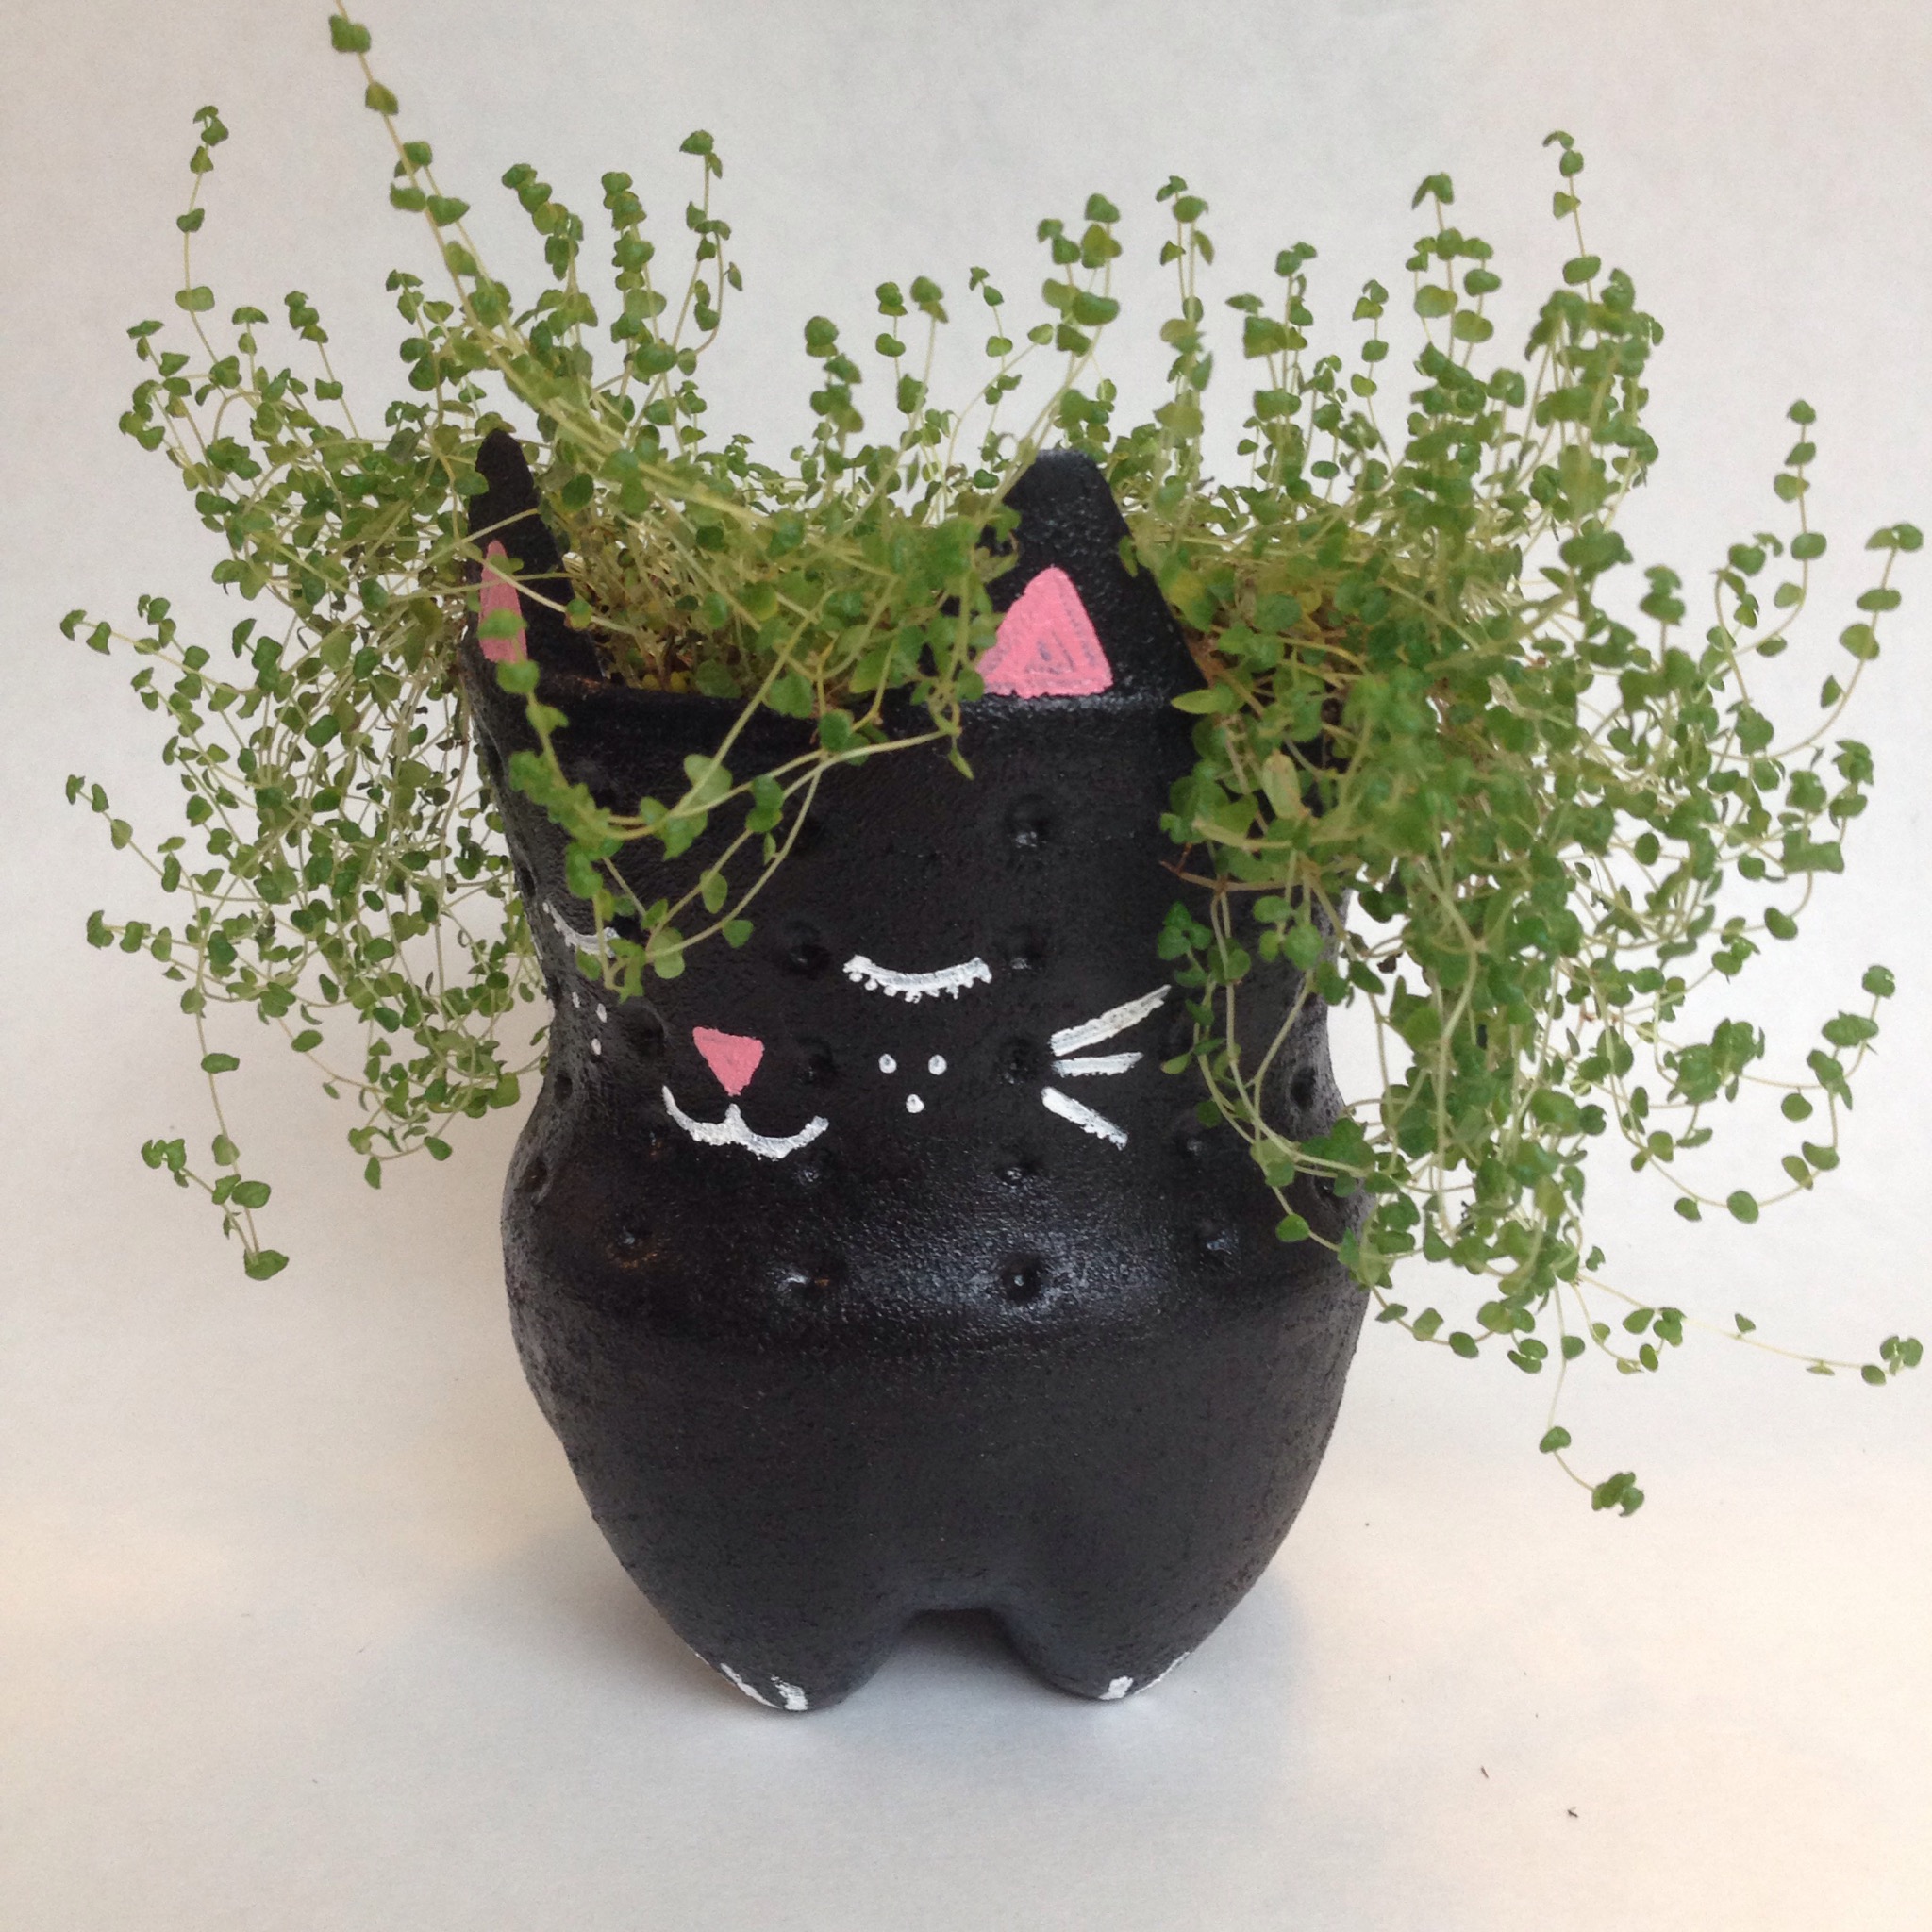
Isn’t she lovely? I call her Beatrice. I have a friend whose dog is called Jack (same name as my son), so I figured I should name my fake pet after her daughter.

Our front door is a sad, sad sight. It’s what I imagine the Crooked Man of nursery rhyme’s front door would look like. At Halloween, it must look so haunted because not once in the five years we’ve lived here has a single child trick-or-treated.
It’s beyond improvement, which is why I never bother to add holiday decorations; but when we were at Lowe’s yesterday picking up a Christmas tree, this hastily scrawled sign caught my attention:

More specifically, “FREE” caught my attention. Now, what could I use pine boughs for? I’d already utilized them for our Thanksgiving table décor, so I thought why not shoddily assemble a front door wreath-type thingie?
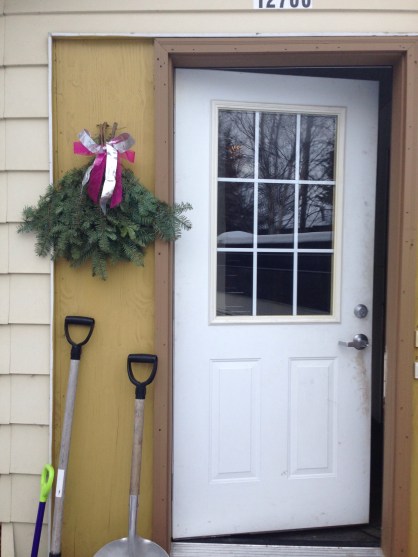
It cost me zero dollars and took five minutes to make. It took me 15 minutes to affix to our front door because I couldn’t find a single nail in our garage, but I worked it out. I don’t anticipate it lasting through Christmas, but it certainly adds cheer to our depressing entryway.
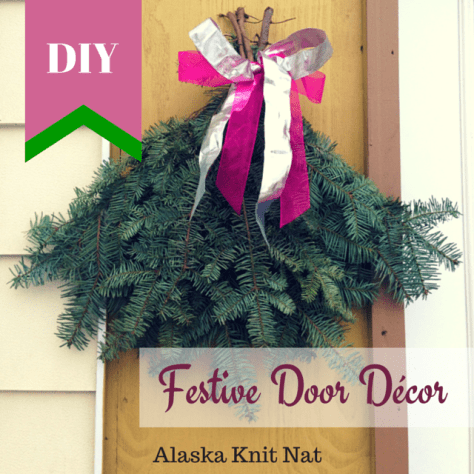
DIY Festive Door Decoration: No. 3 on Alaska Knit Nat’s DIY Holiday Craft Guide
What you’ll need:
Directions:
1. Trim off any excess or dead branches at the base of each pine bough.
2. Arrange the boughs like a big fan.
3. Tie the boughs together using a couple of twist ties.
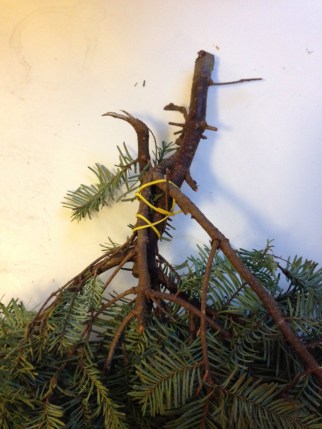
4. Cover up the twist ties by tying ribbon around them. Form a large bow out of the ribbon.
5. Hang up on your front door.


I just received a huge box from my mother-in-law and it included wrapped presents and several yards of crumpled up craft paper.
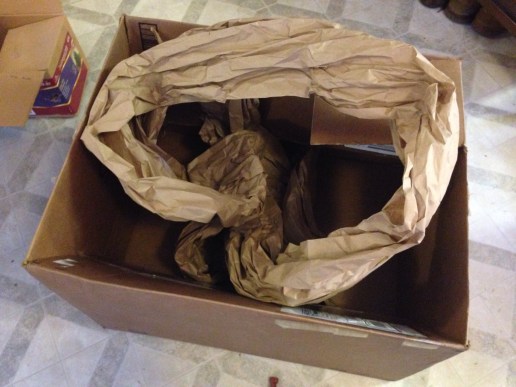
No more packing peanuts, thank goodness! When I see all this paper, I instantly think, “What can I make out of this?” It seems a waste to toss it. So I flatten it out, roll it up and use it as wrapping paper. Yay, free!


 Alaska Knit Nat