Sometimes I just don’t want to plan dinner. Today was the case as I opened my fridge at 5:10 p.m. to figure out what to prepare for my family. I came up with frozen chicken breasts, frozen broccoli, lemon and fresh thyme. I was uninspired, but decided to put the frozen chicken in the pressure cooker and figure it out as I went along.
Then, when my son called me out to the yard to look at the newest addition to his playhouse, the best thing happened: I found two pristine king bolete mushrooms standing proudly under our large spruce trees.

I’ve been waiting all summer for this moment. King boletes are the most delectable of the mushrooms my family gathers and they happen to grow in my yard every summer from late July to early September. For the past three weeks I’ve been checking the areas under the spruce trees for these meaty, delicious fungi. They pop up overnight and you have to pick them when they are fresh otherwise bugs will lay claim to them.
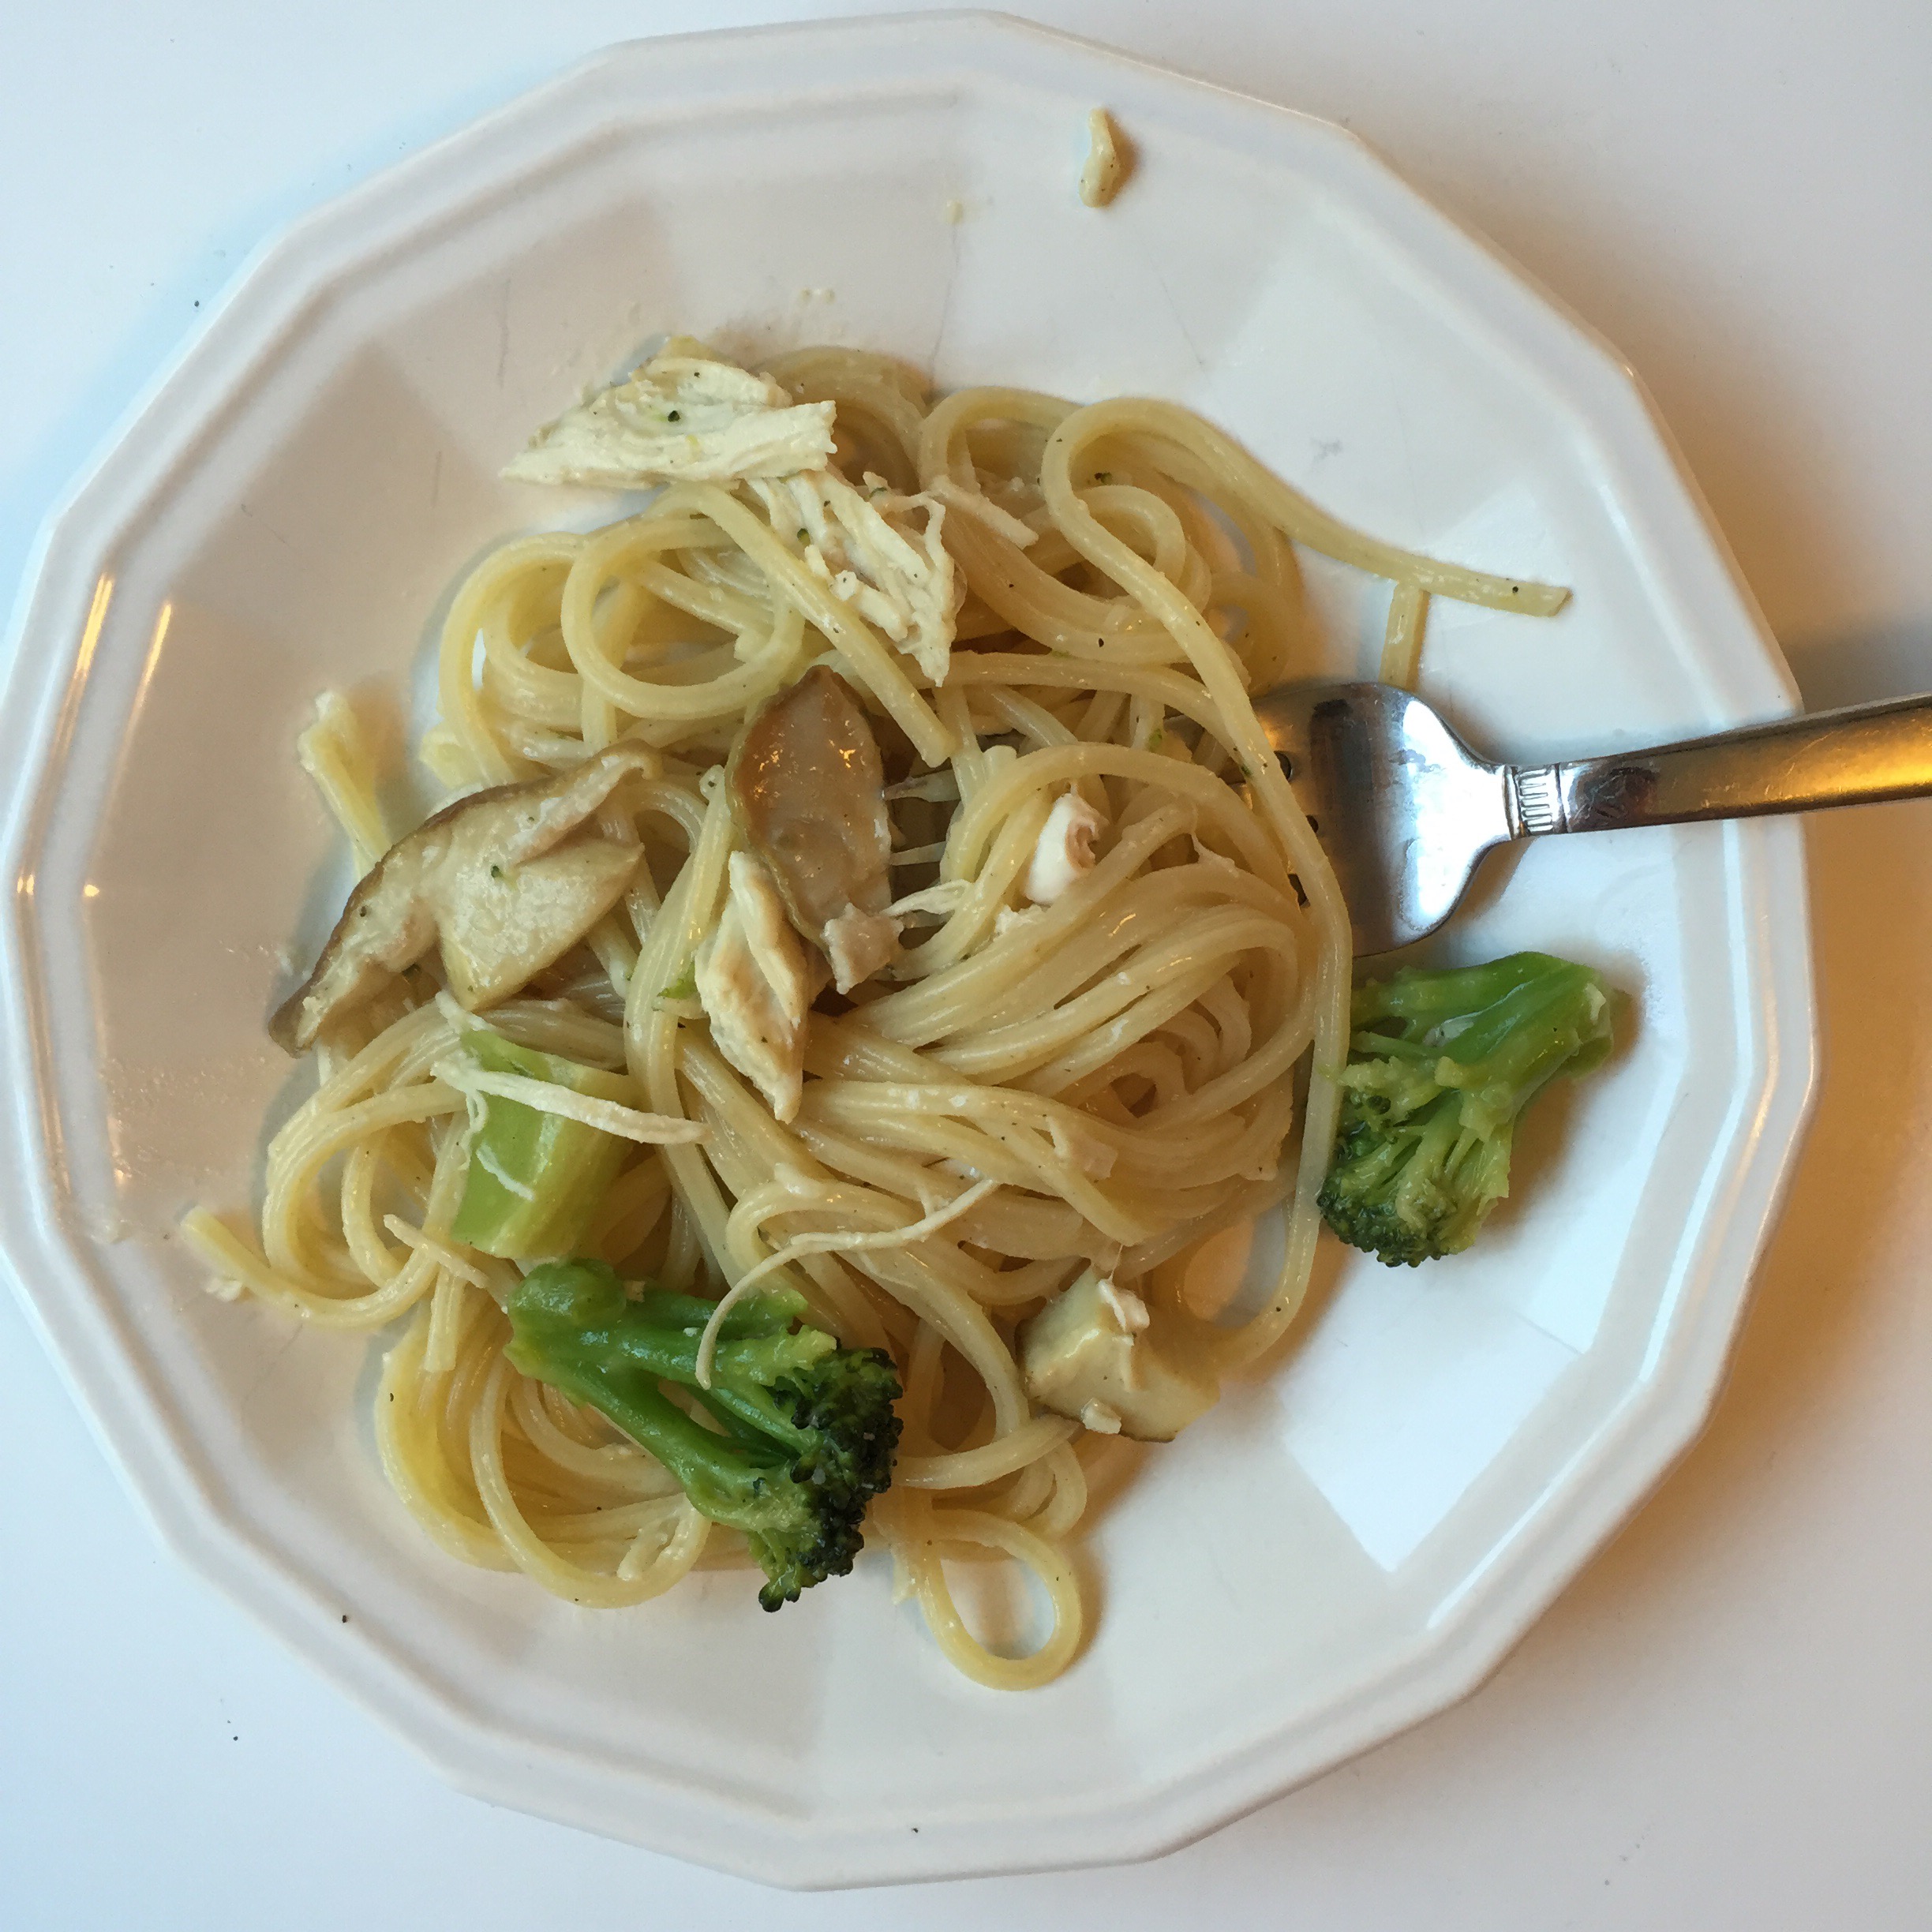
As soon as I cleaned my two treasures I had formed a supper strategy. Lemon, thyme, mushrooms, broccoli, garlic, chicken and pasta — yeah, that’s a good combination. By 6:15 I had a decent meal that was a real crowd pleaser.
Of course you can use store bought mushrooms, but if you happen to have wild porcini, I encourage you to cook them as soon as you can.
Spaghetti & Chicken in a Lemon Thyme Mushroom Sauce
Serves 4
Ingredients:
- 2 frozen boneless, skinless chicken breasts
- 1-2 cups chicken stock
- 1 tsp. lemon zest
- 1 lemon, sliced
- 3 sprigs of fresh thyme
- Salt and pepper
- 2 cups frozen broccoli florets
- 1 tablespoon olive oil
- 3 tablespoons butter
- 8 oz. fresh mushrooms, sliced
- 1/4 cup dry cooking sherry (optional)
- 2 tablespoons butter
- 3 garlic cloves, minced
- 8 oz. spaghetti
- 1/4 cup freshly grated parmesan cheese
Directions:
Place 1/2 cup of chicken stock in a pressure cooker. Line the bottom of the cooker with lemon slices. Add the frozen chicken, zest, thyme and salt and pepper. Set the pressure cooker to 35 minutes. When it’s done, slice the chicken into bite-sized pieces. Set aside and reserve the cooking liquid as well.
Bring a large pot of salted water to a boil. Cook pasta until al dente, drain and set aside.
Meanwhile, place broccoli and 1/4 cup chicken stock in a large sauté pan. Cover and steam over high heat for 5 minutes or until broccoli is tender. Set broccoli with stock aside.
In the same sauté pan, add the olive oil and 1 tablespoon of butter. Heat on medium-high and add the mushrooms. Sauté until mushrooms have given off their liquid and they begin to brown, about 7 minutes.
Add the garlic and cook for 30 seconds. Pour in the sherry and let it evaporate, about 2 minutes.
Create a slurry with the flour and 1/4 cup chicken stock. Add this to the mushrooms and garlic. Once it’s thickened, add some of the stock from the pressure cooker until it’s a sauce-like consistency. Add some more butter if you want it creamier. Add the drained pasta, broccoli and chicken. Toss until evenly coated. Sprinkle with cheese and serve.