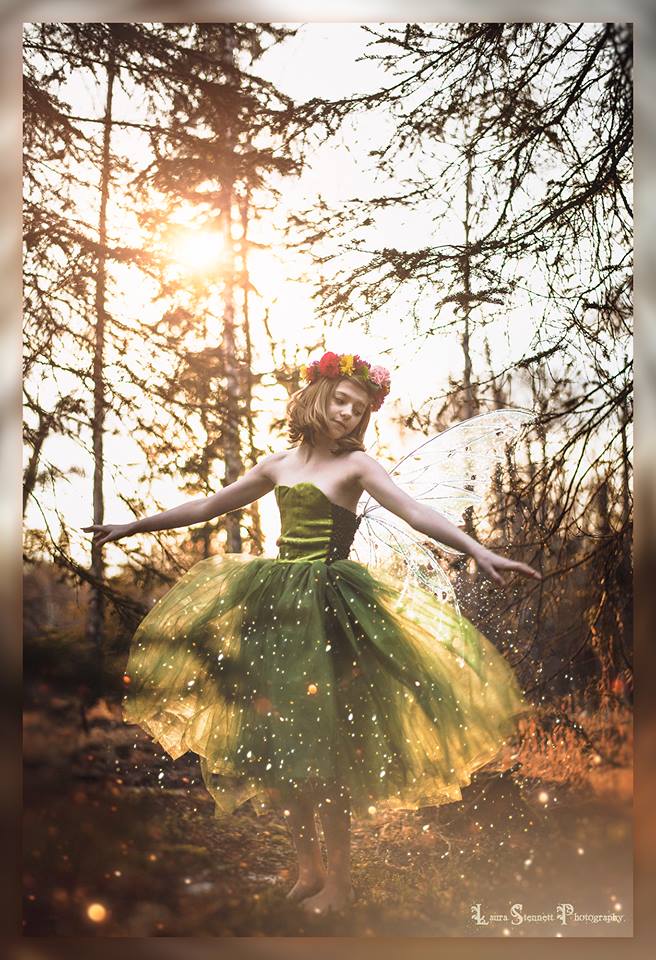
It’s week two of the Halloween Blog Party with AK Shopgirl and Tessie Style Blog. This week’s theme is “Woodland Creatures.” We’ll be featuring crafts, costumes, decorations, cocktails and music mixes that represent the fairies, flora and fauna of the forest.
Earlier this week I posted a video tutorial on how to make a fresh flower crown. I’m kicking it up a notch today with a fresh garland to decorate your woodland creatures party or to spruce up your mantle. No video for this tutorial, but I encourage you to watch the time-lapse flower crown tutorial as the technique is similar.
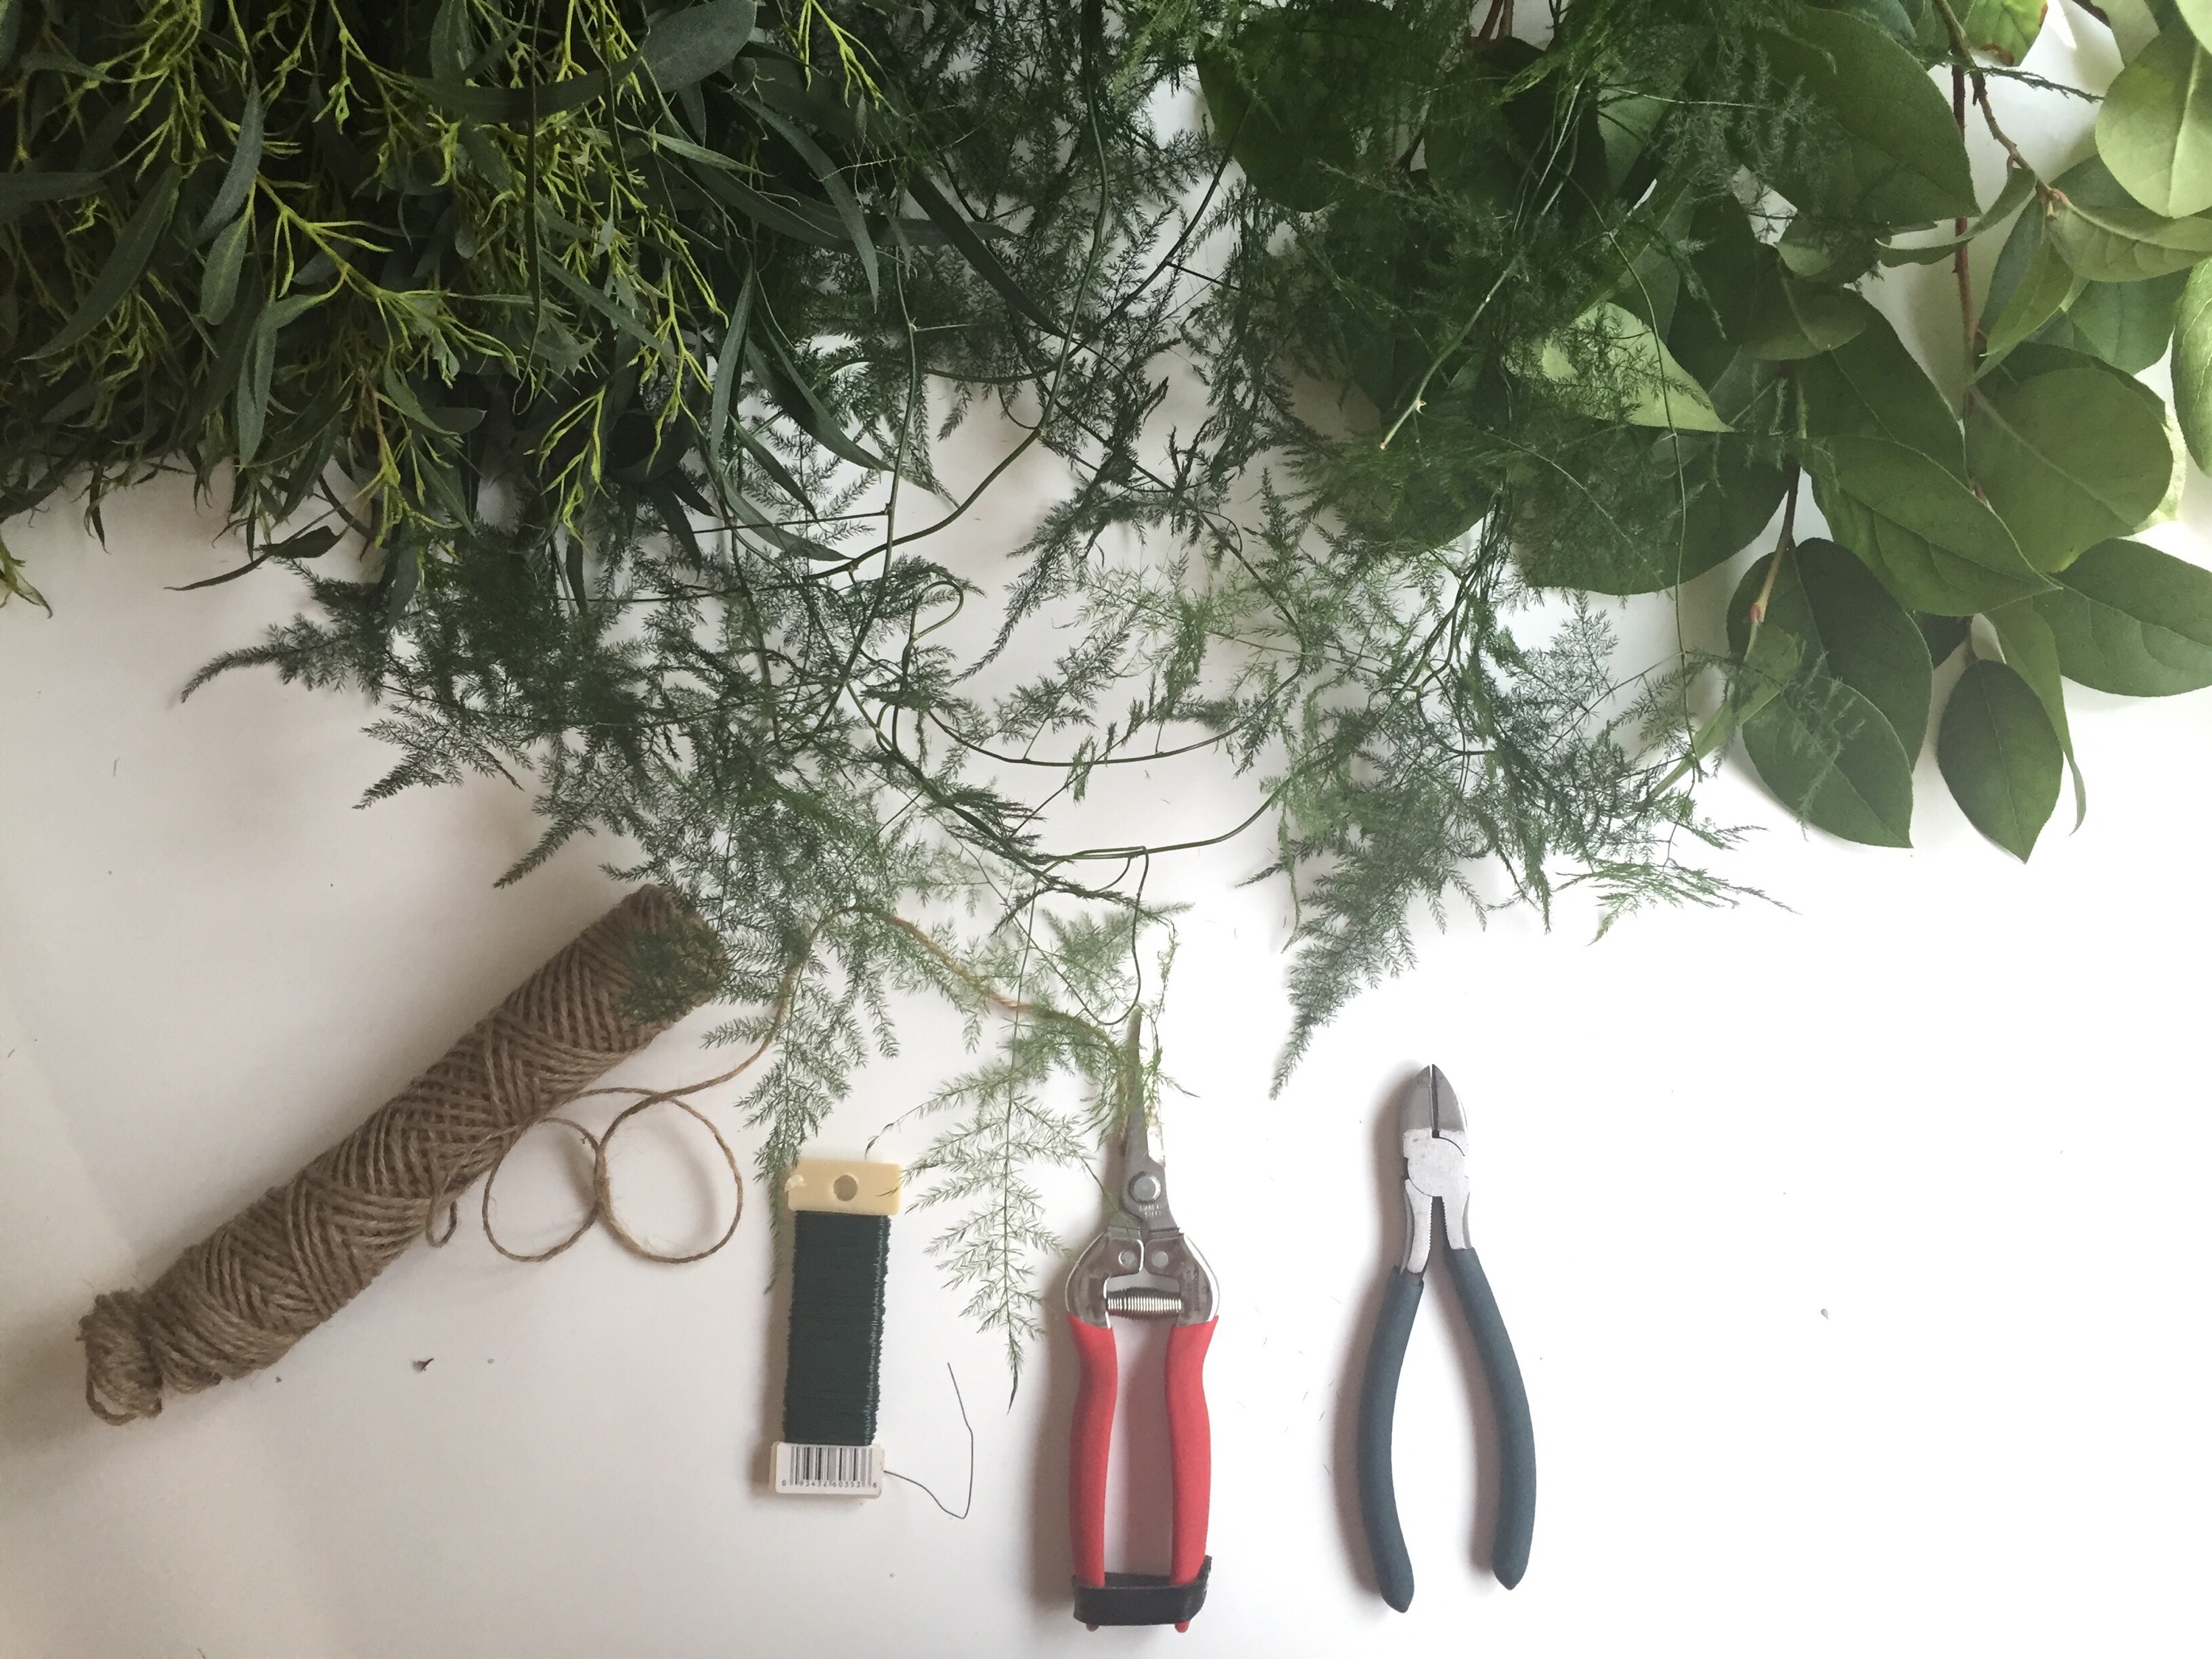
DIY Fresh Garland
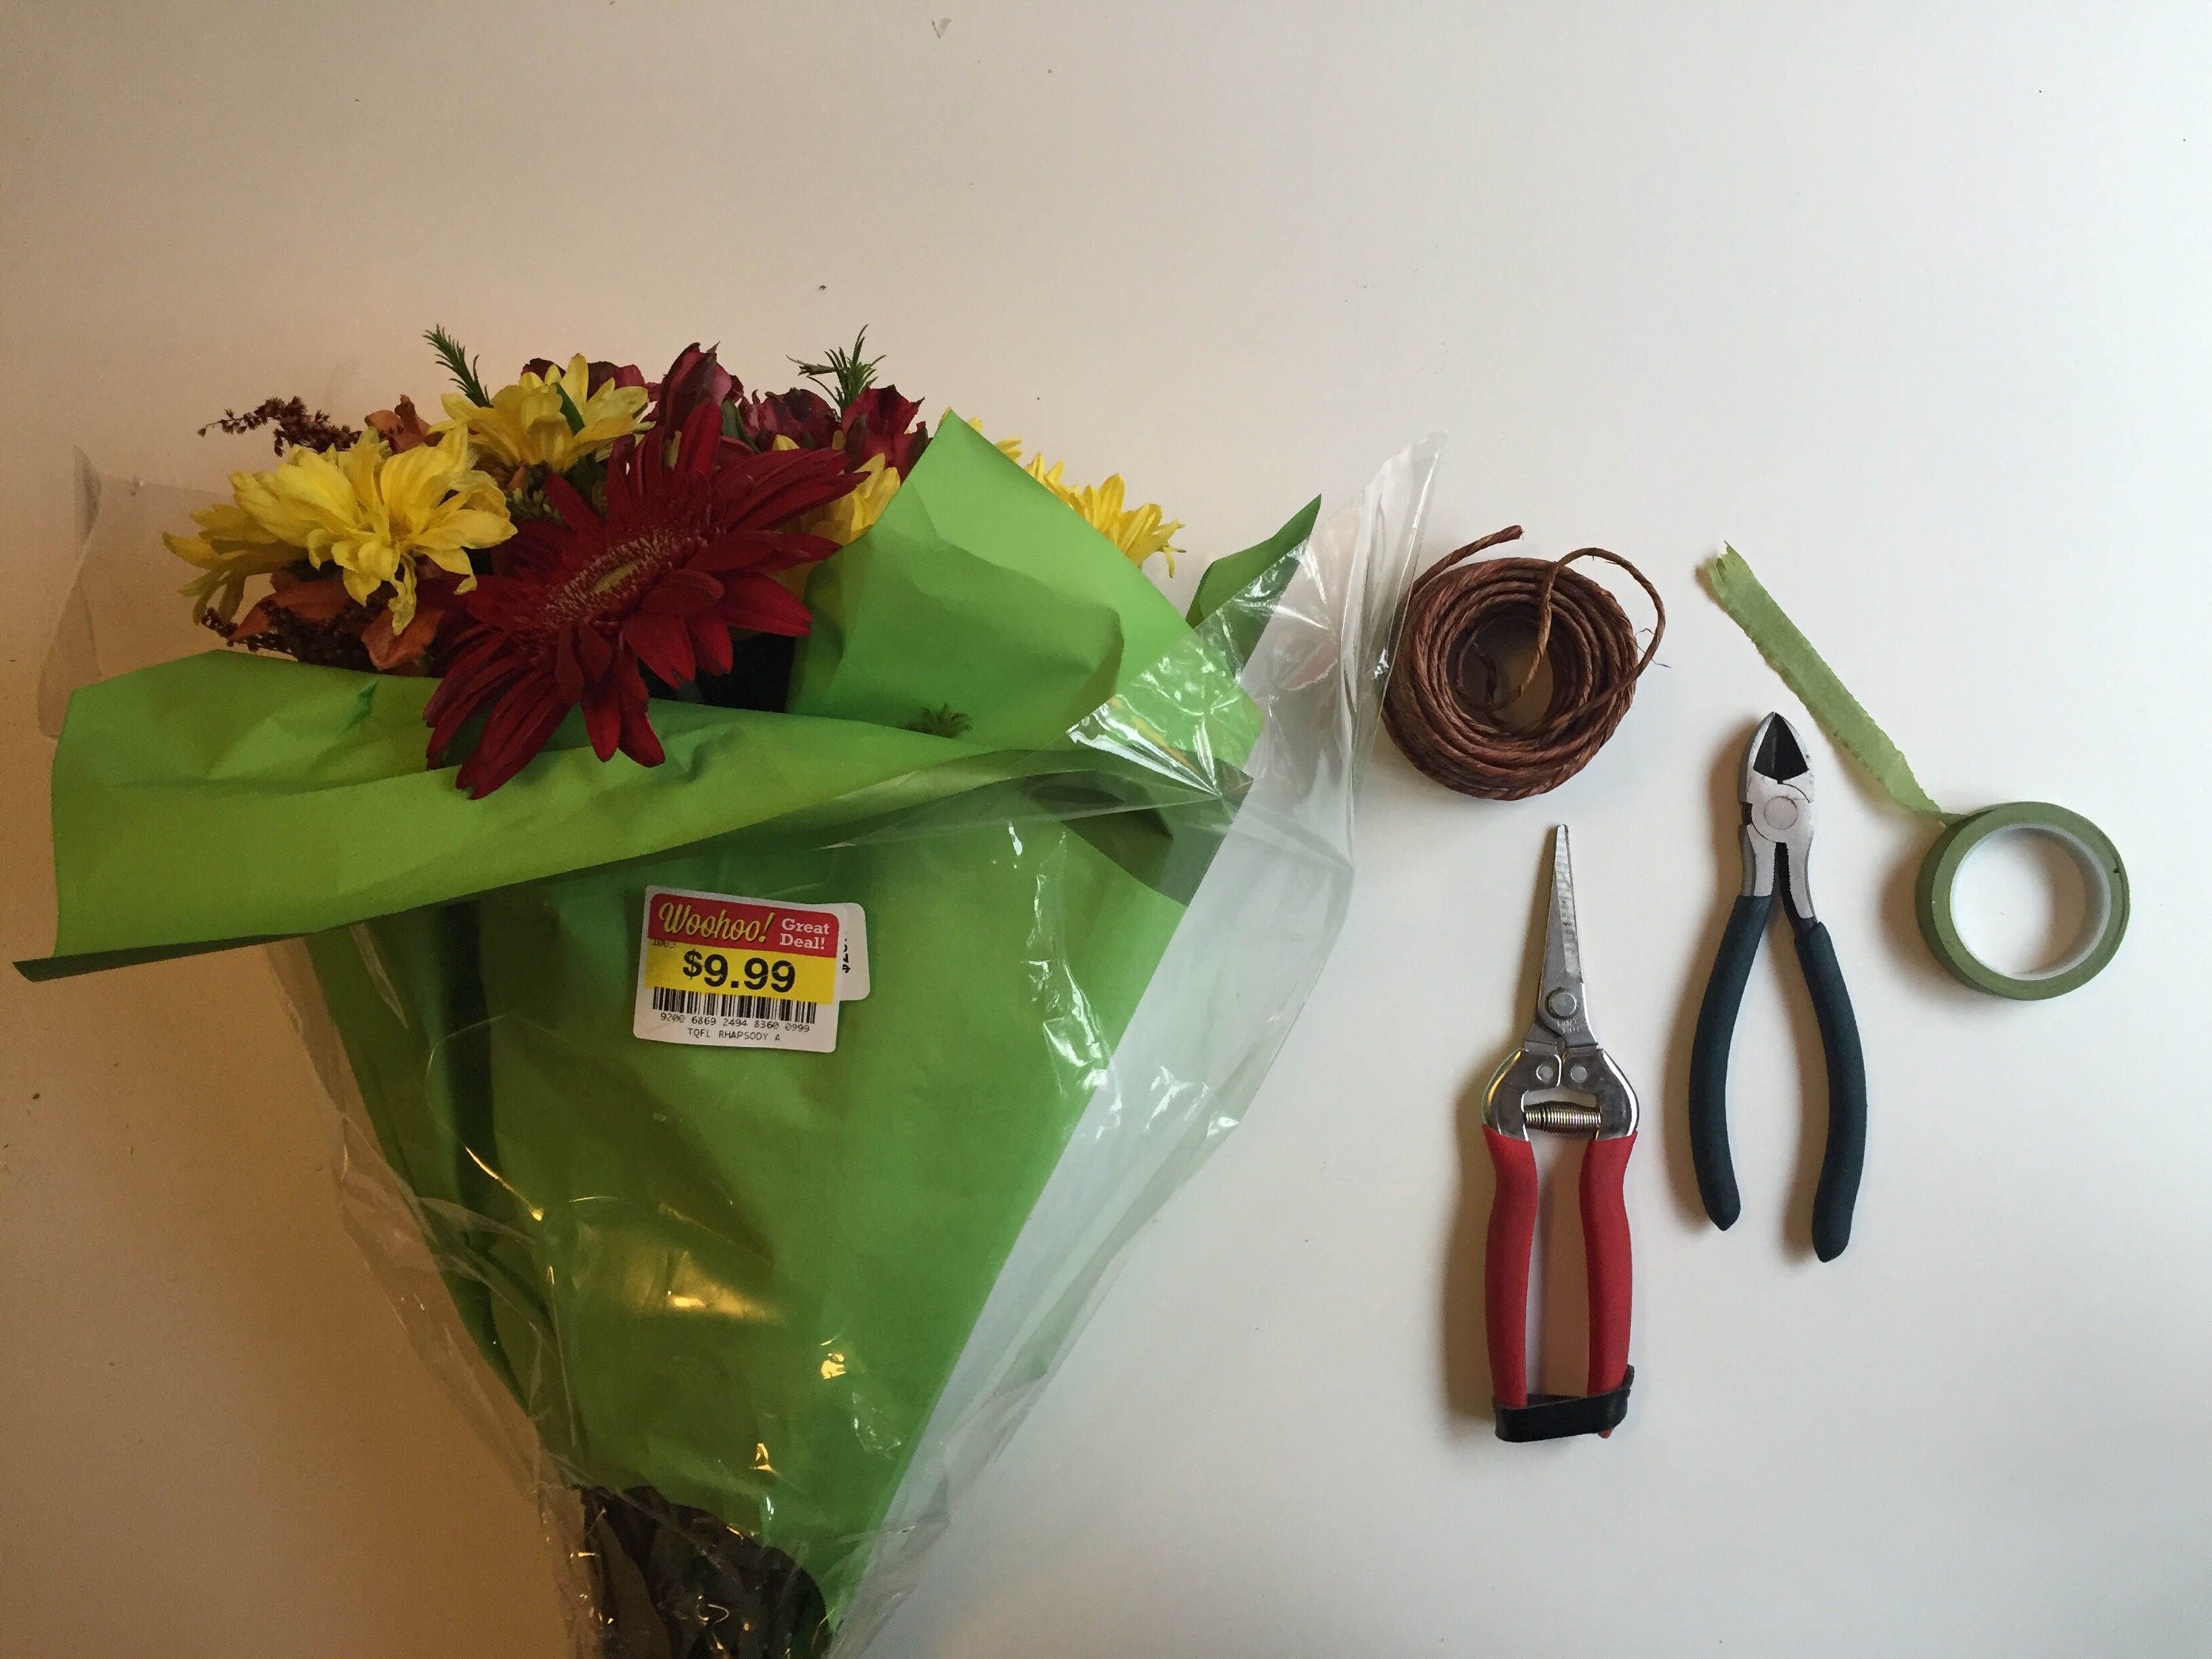
Here’s what you’ll need:
About four feet of twine
floral wire (available at crafts stores)
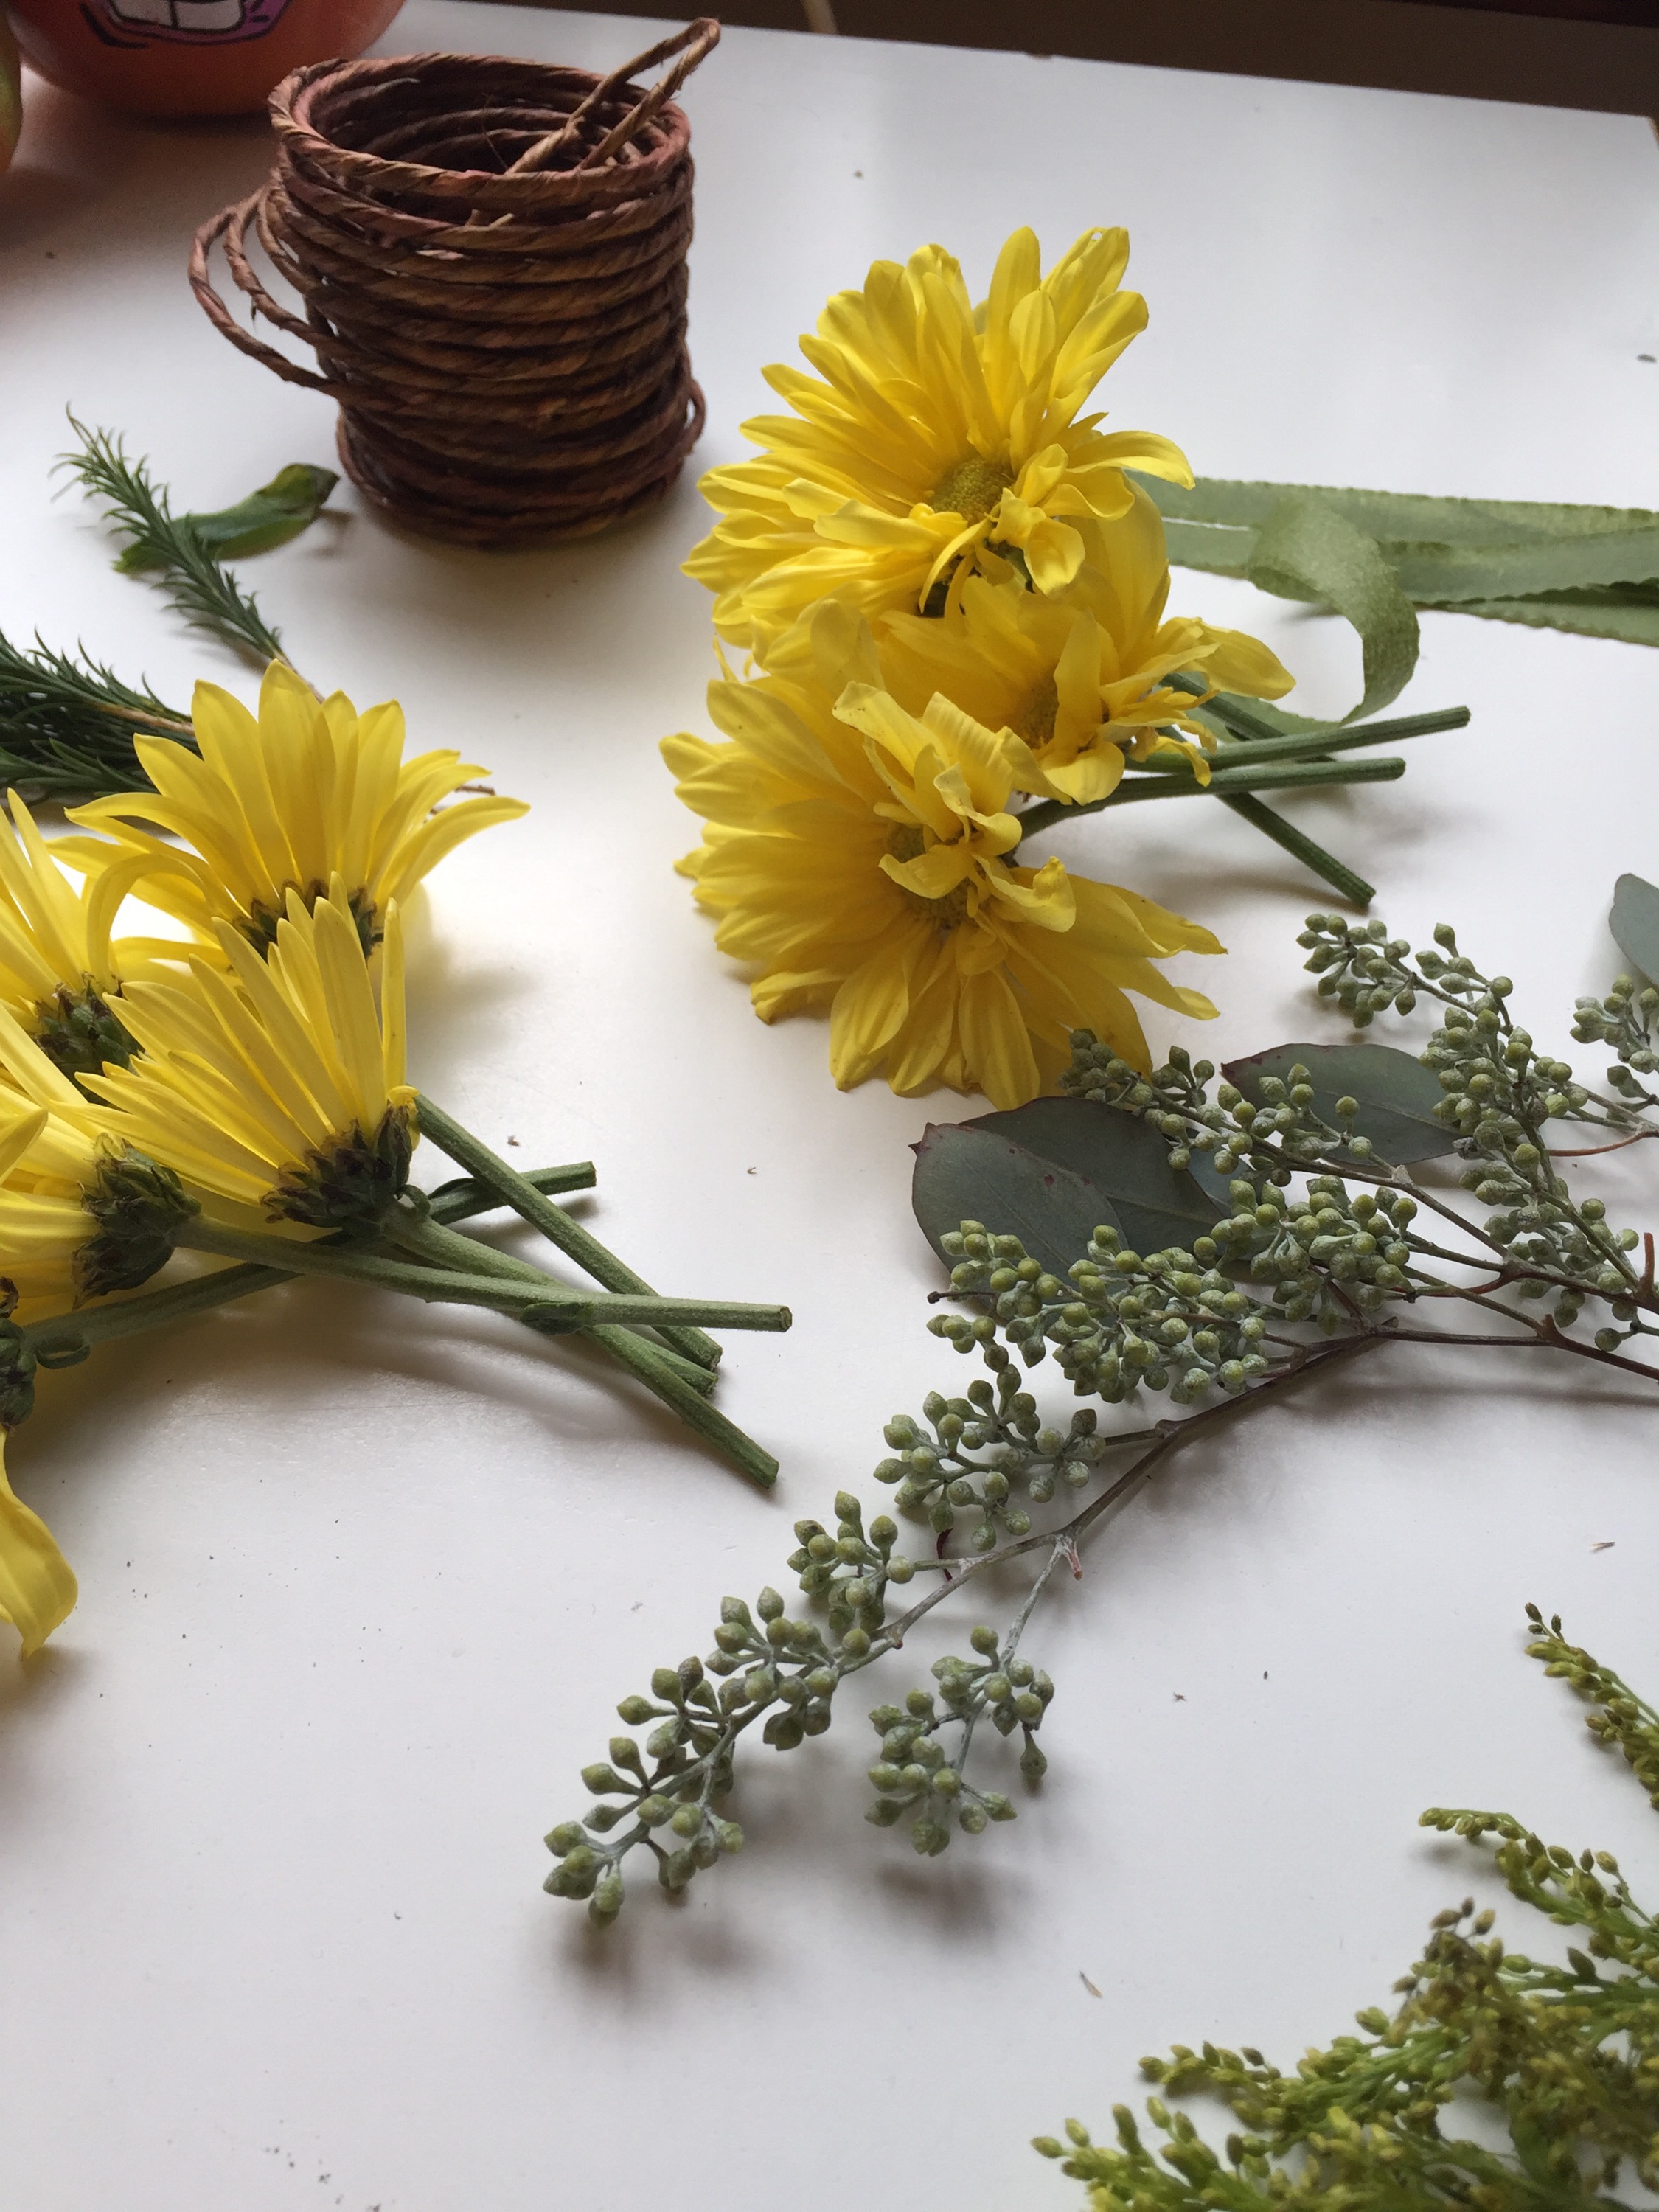
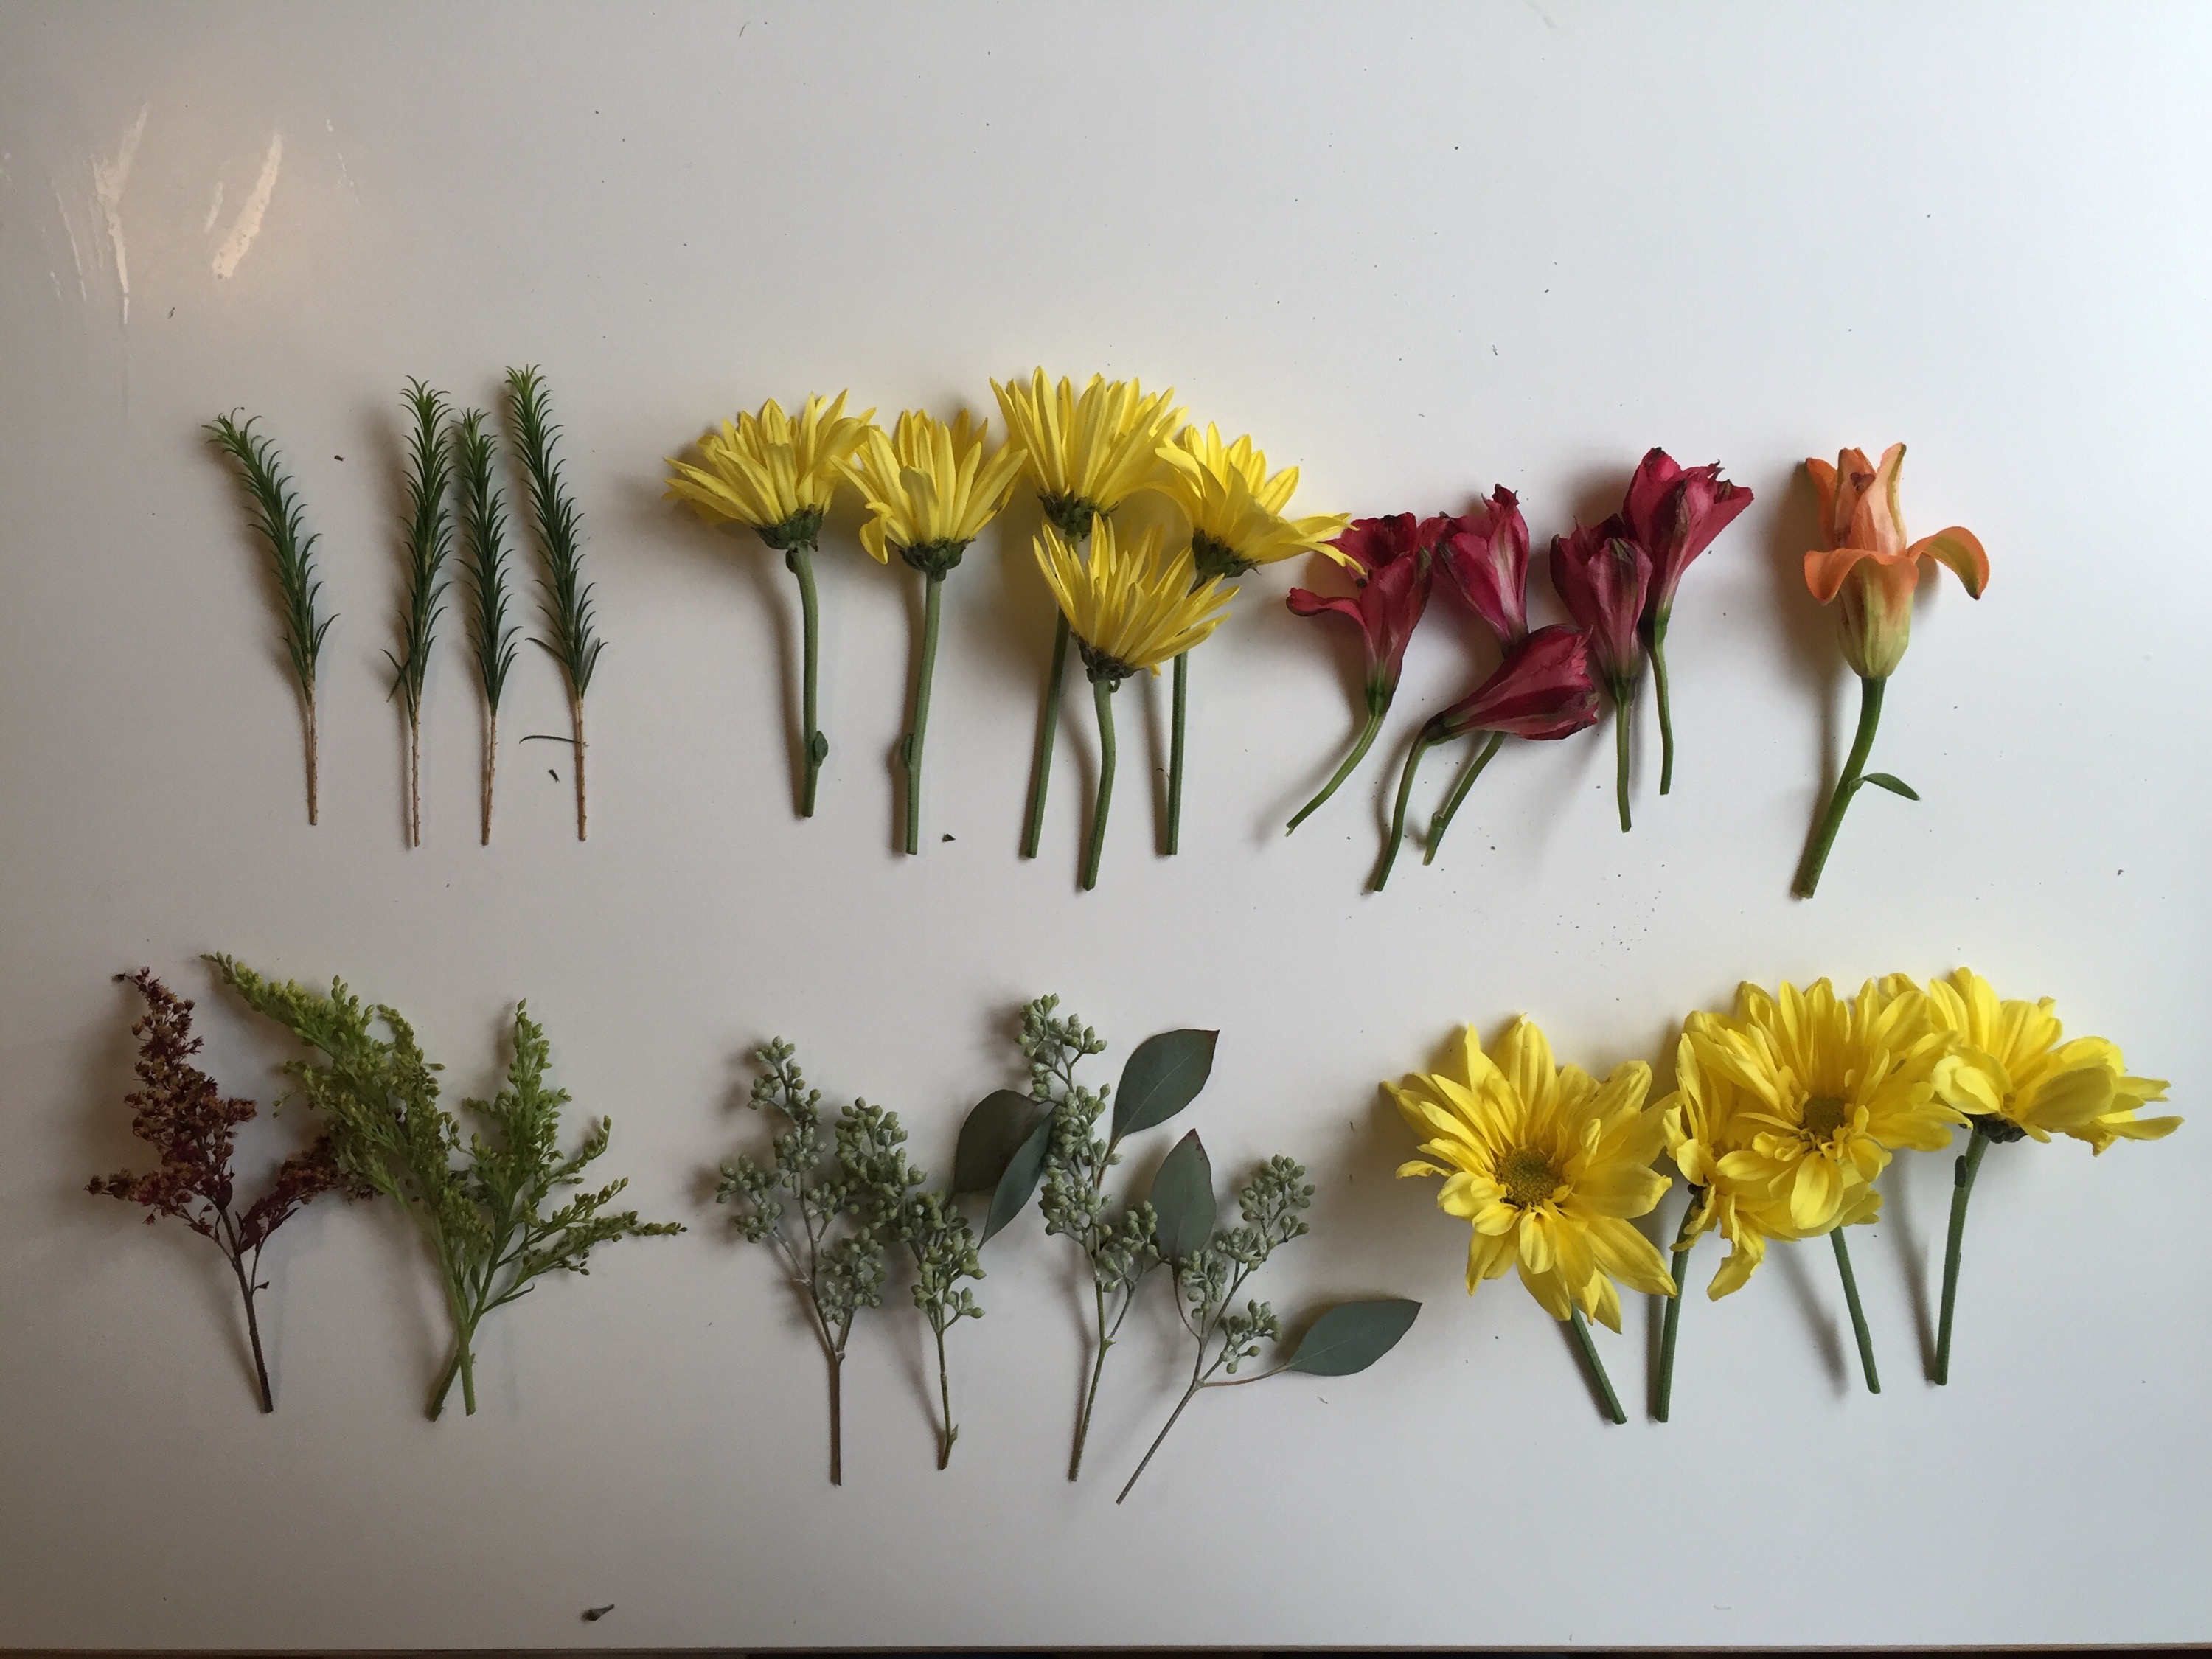
Fresh greens such as salal, plumosa ferns and eucalyptus
Flower crowns are my thing. I love making them and I certainly love wearing them. After months of working with Meringue Studio Boudoir and having a couple of booths set up with the Anchorage Downtown Partnership, I’ve had lots of people ask me if I have a tutorial for my flower crowns.
Check all three of our sites this week for costume ideas, décor, music mixes and more.
My flower crowns are no trade secret (although you do have to have a florist business license to acquire the light green floral tape). I’ve been held up by simple technological difficulties (I don’t have a tripod that allows for bird’s eye view).
I asked my husband to figure it out. Five minutes and some duct tape later, he had rigged up a suitable bird’s eye camera. Thanks to The Alaska Life for the free selfie stick — I finally found a non-silly way to use it ;).
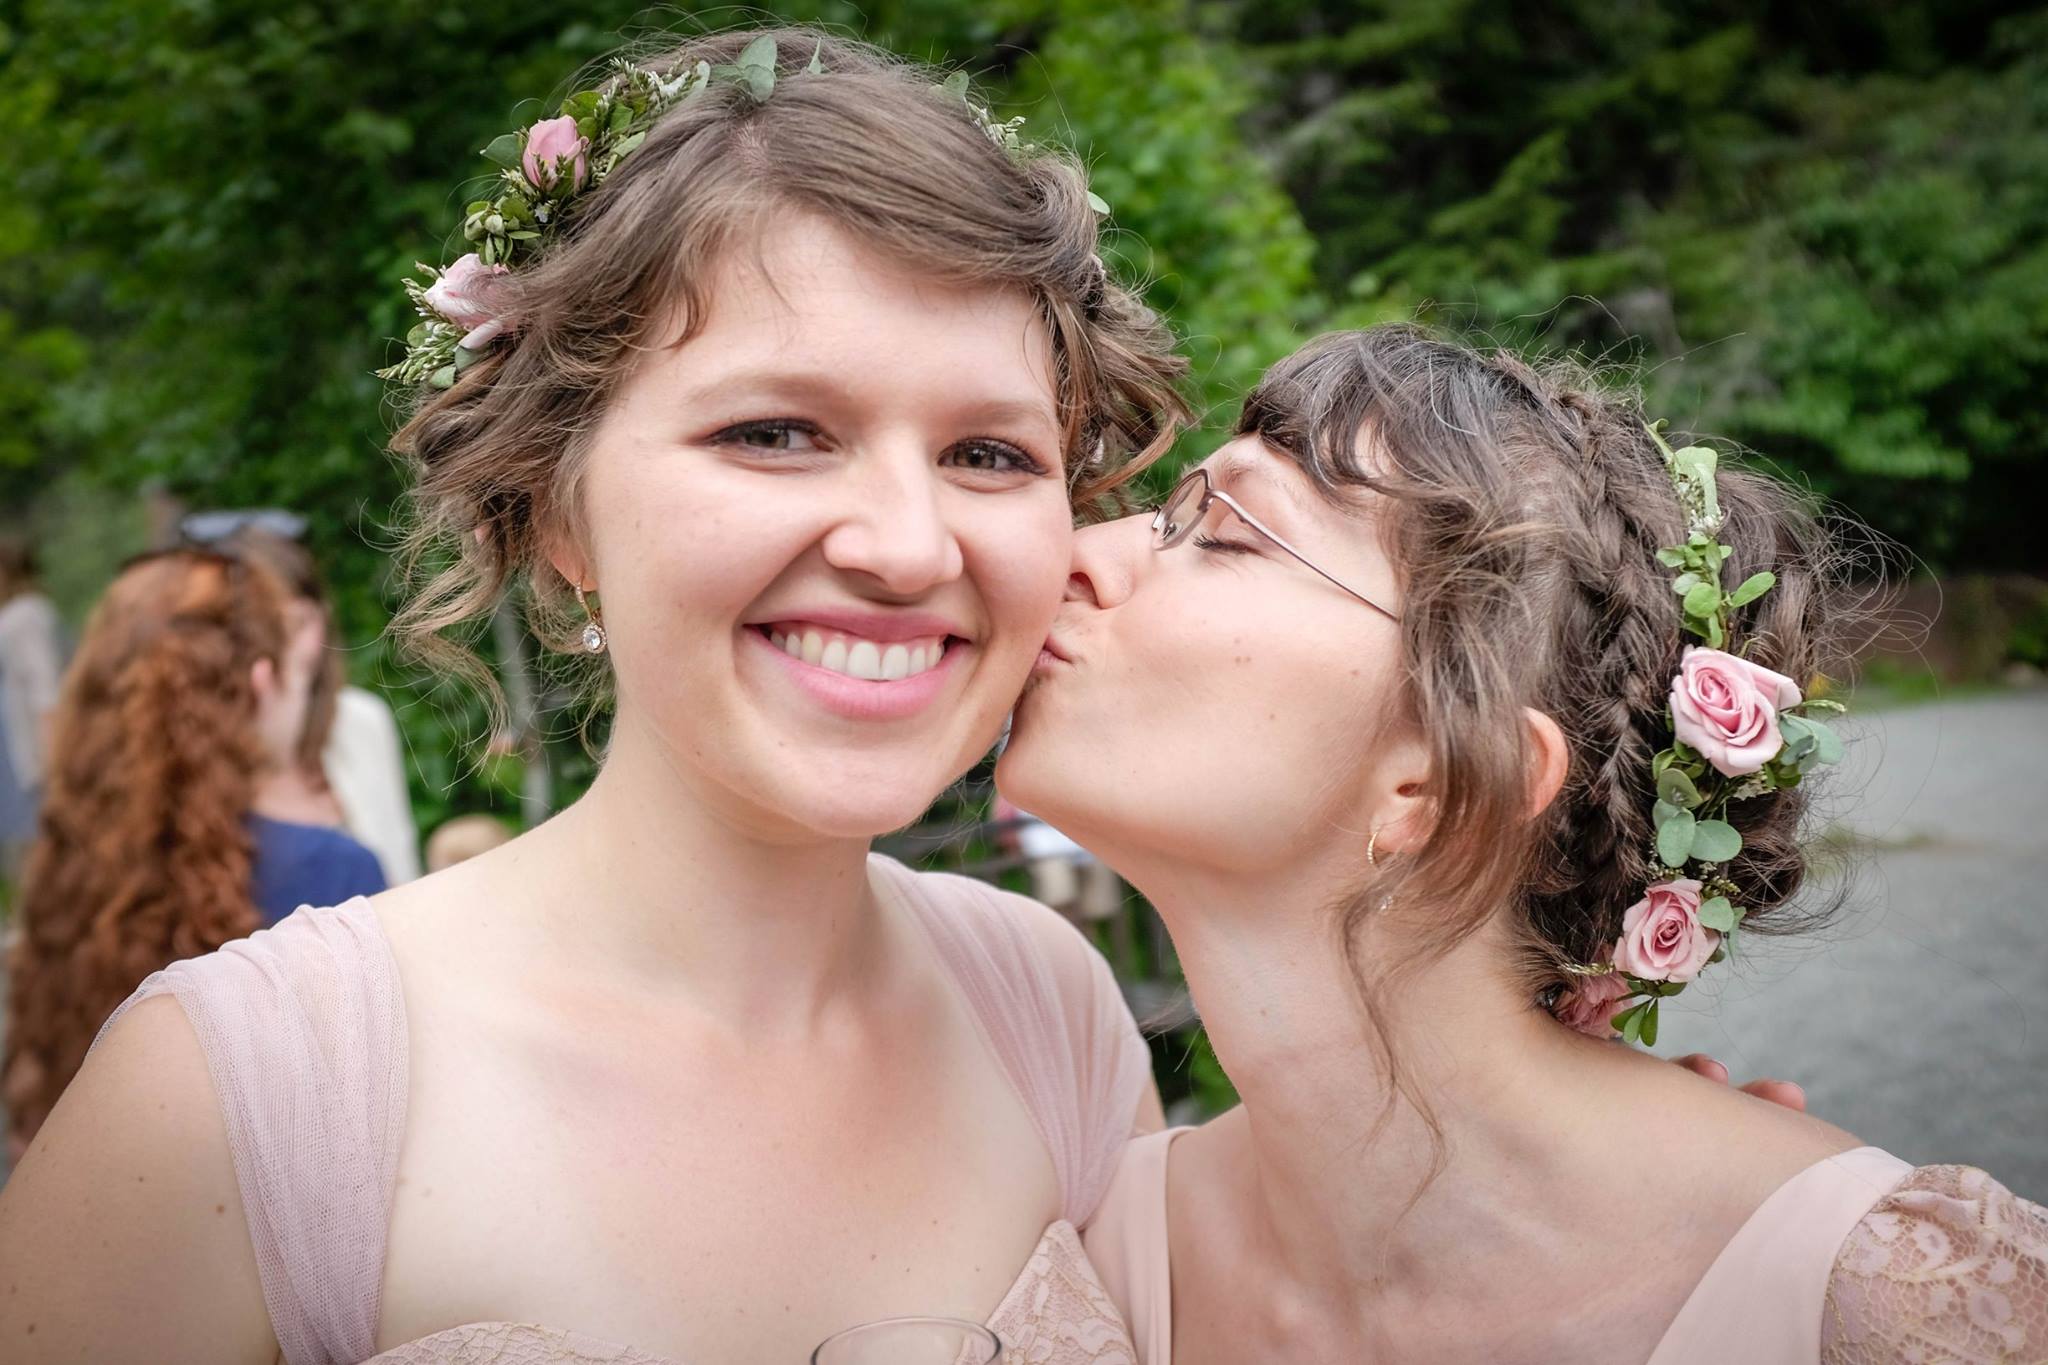
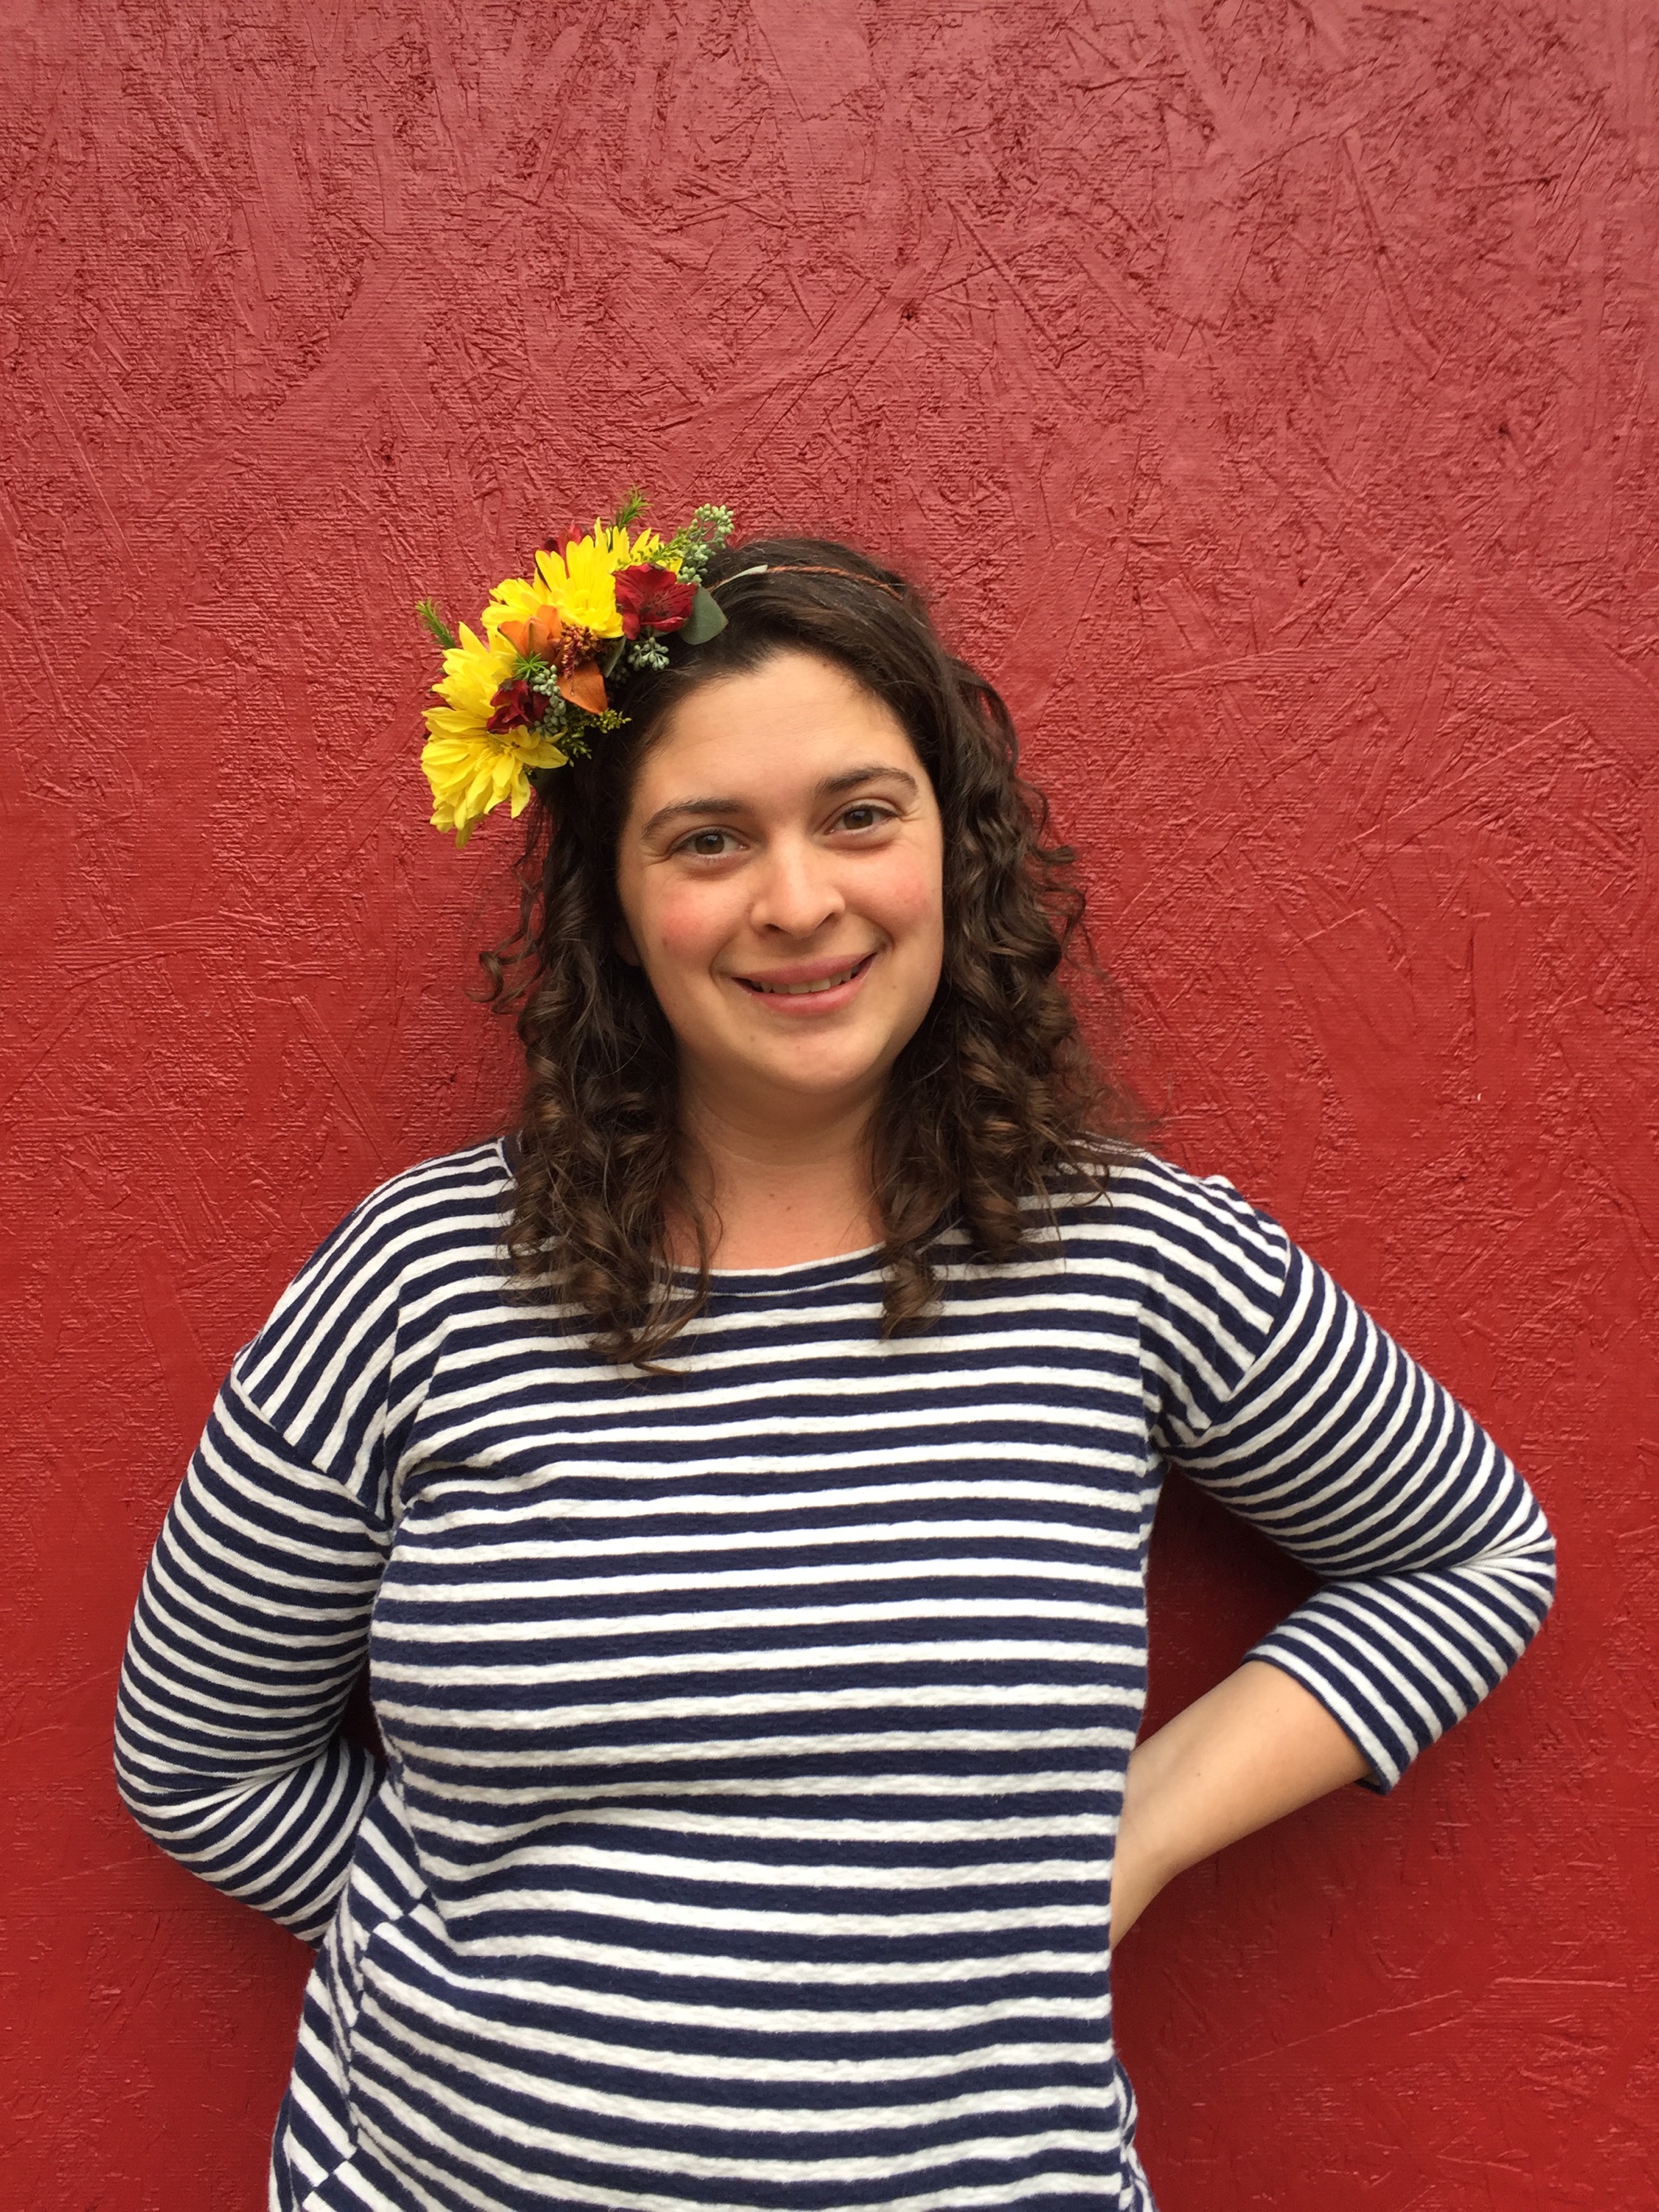
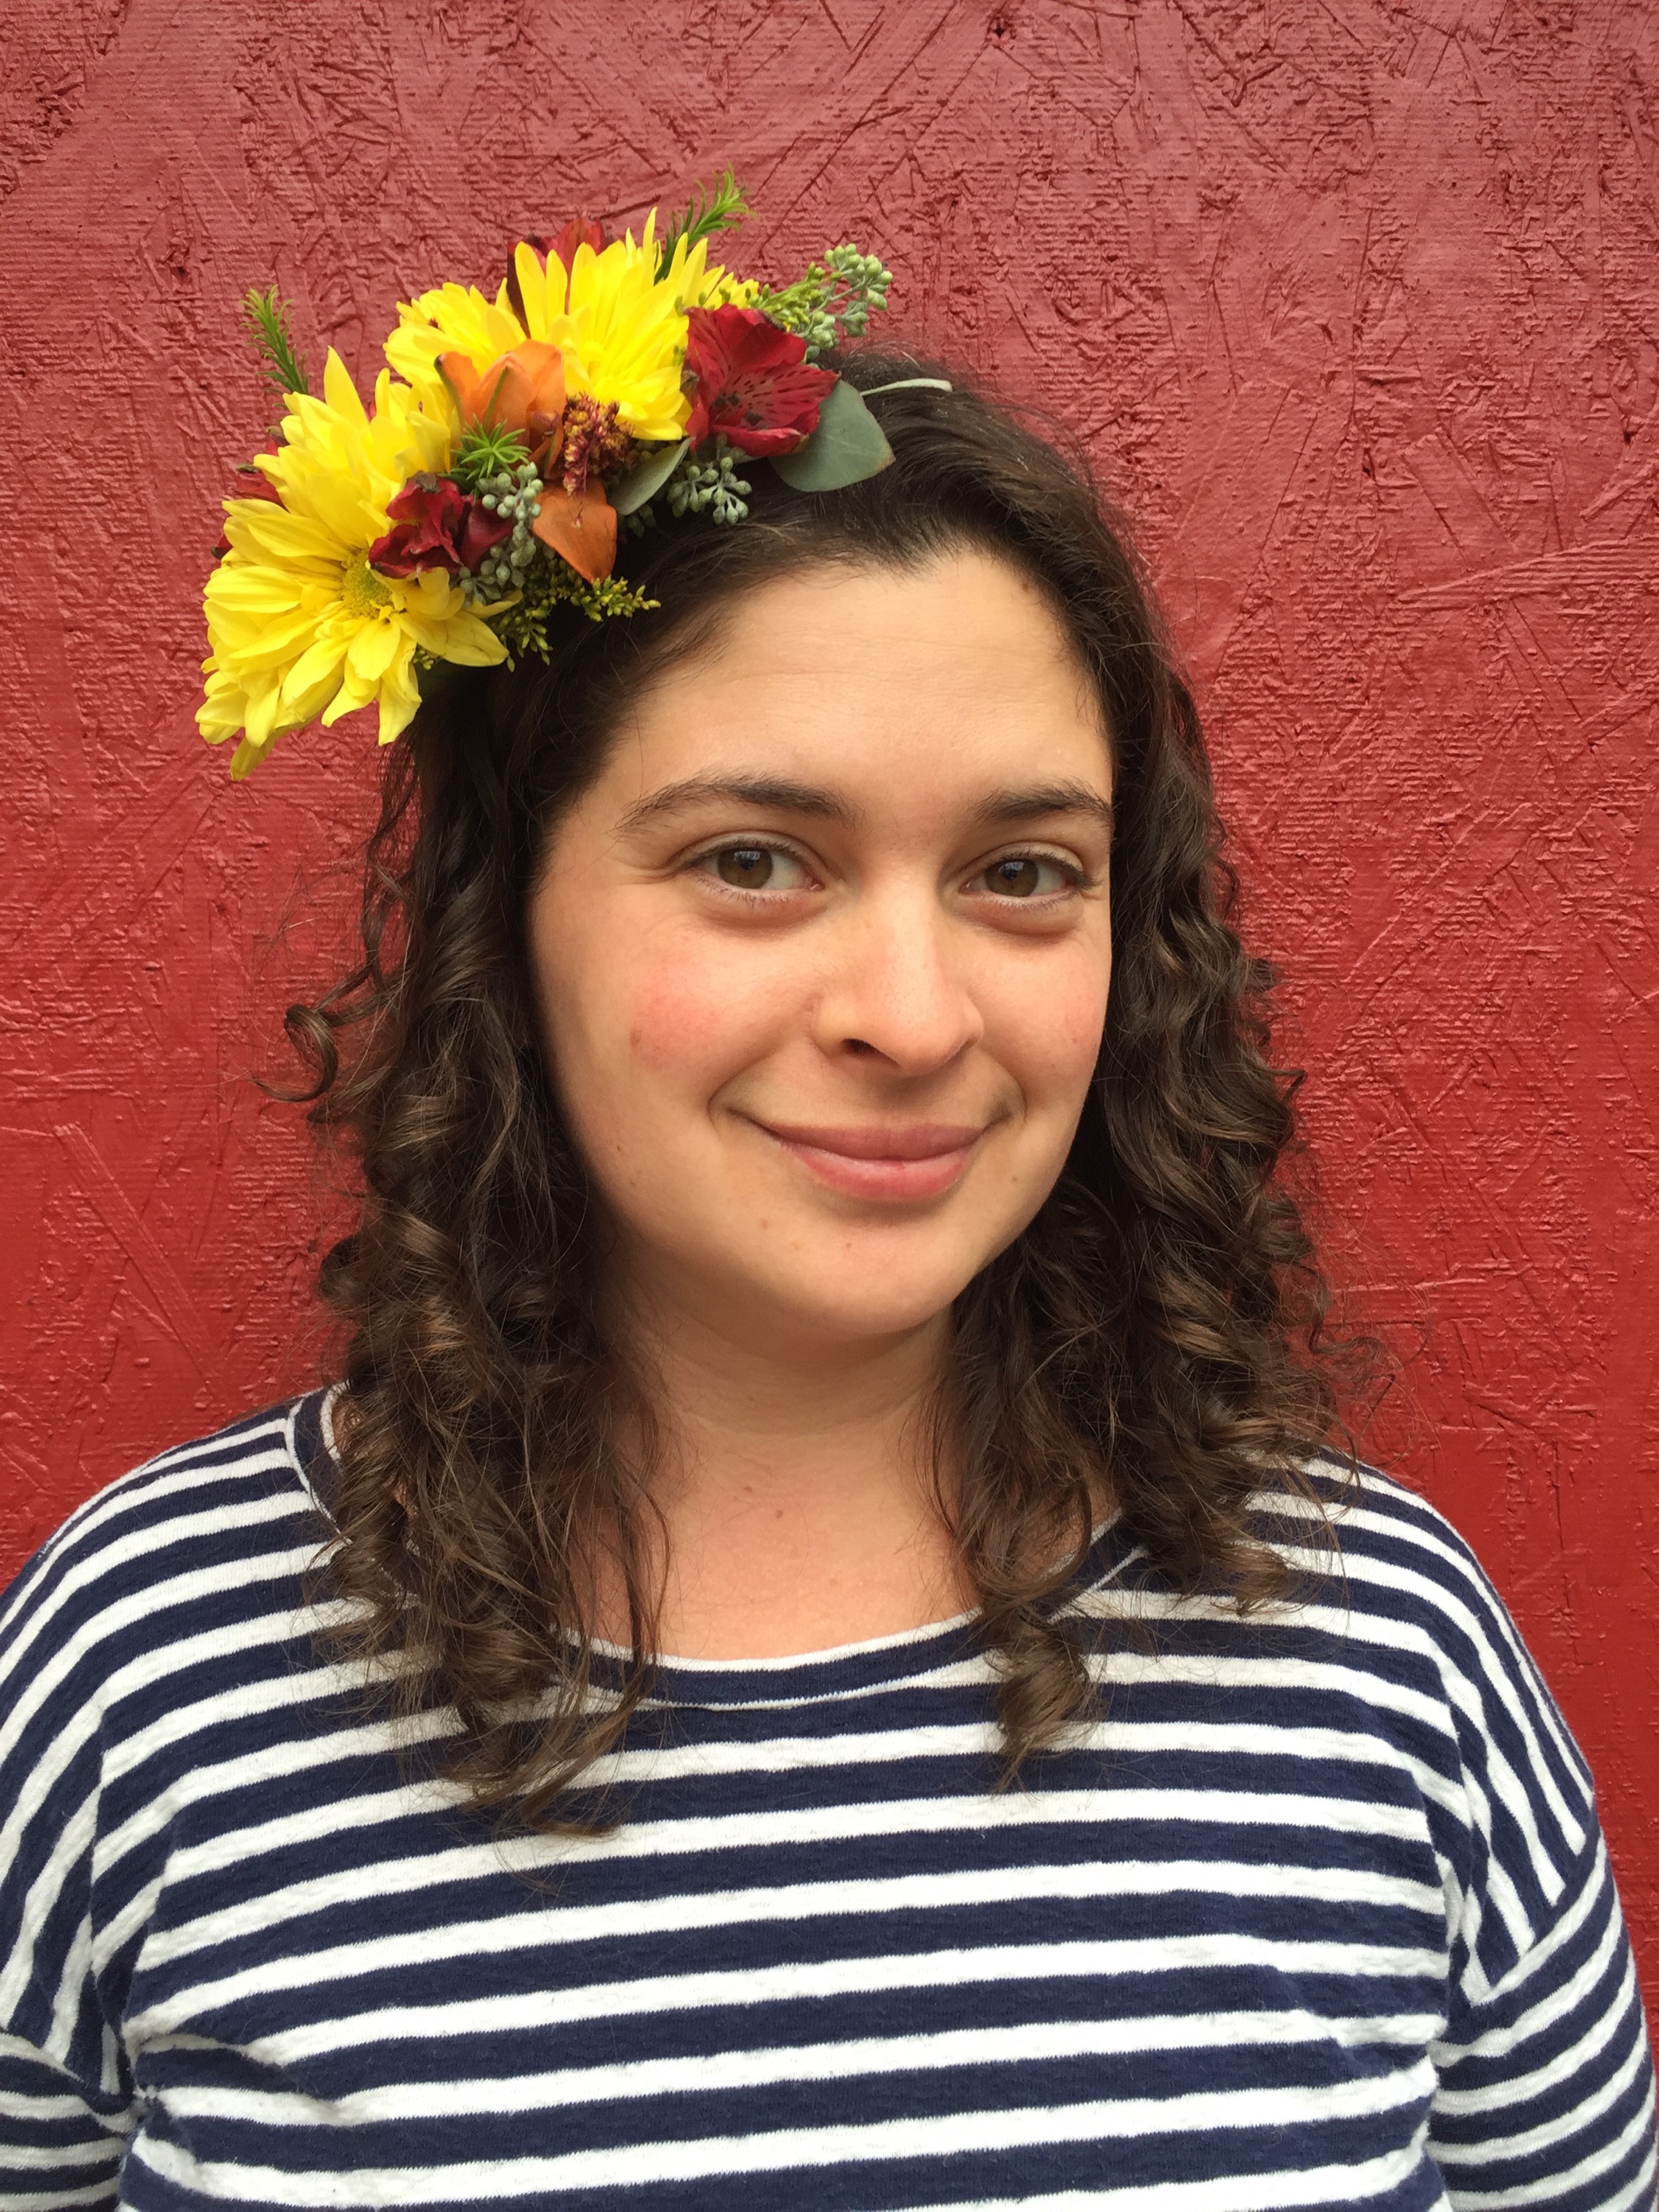
Whether you’re dressing up yourself or your little girl this Halloween, there’s no reason you shouldn’t have a fresh flower crown to compliment your fairy costume.
Flowers and greens (in this tutorial I used chrysanthemums, alstroemeria, eucalyptus, and saladago)
Directions:
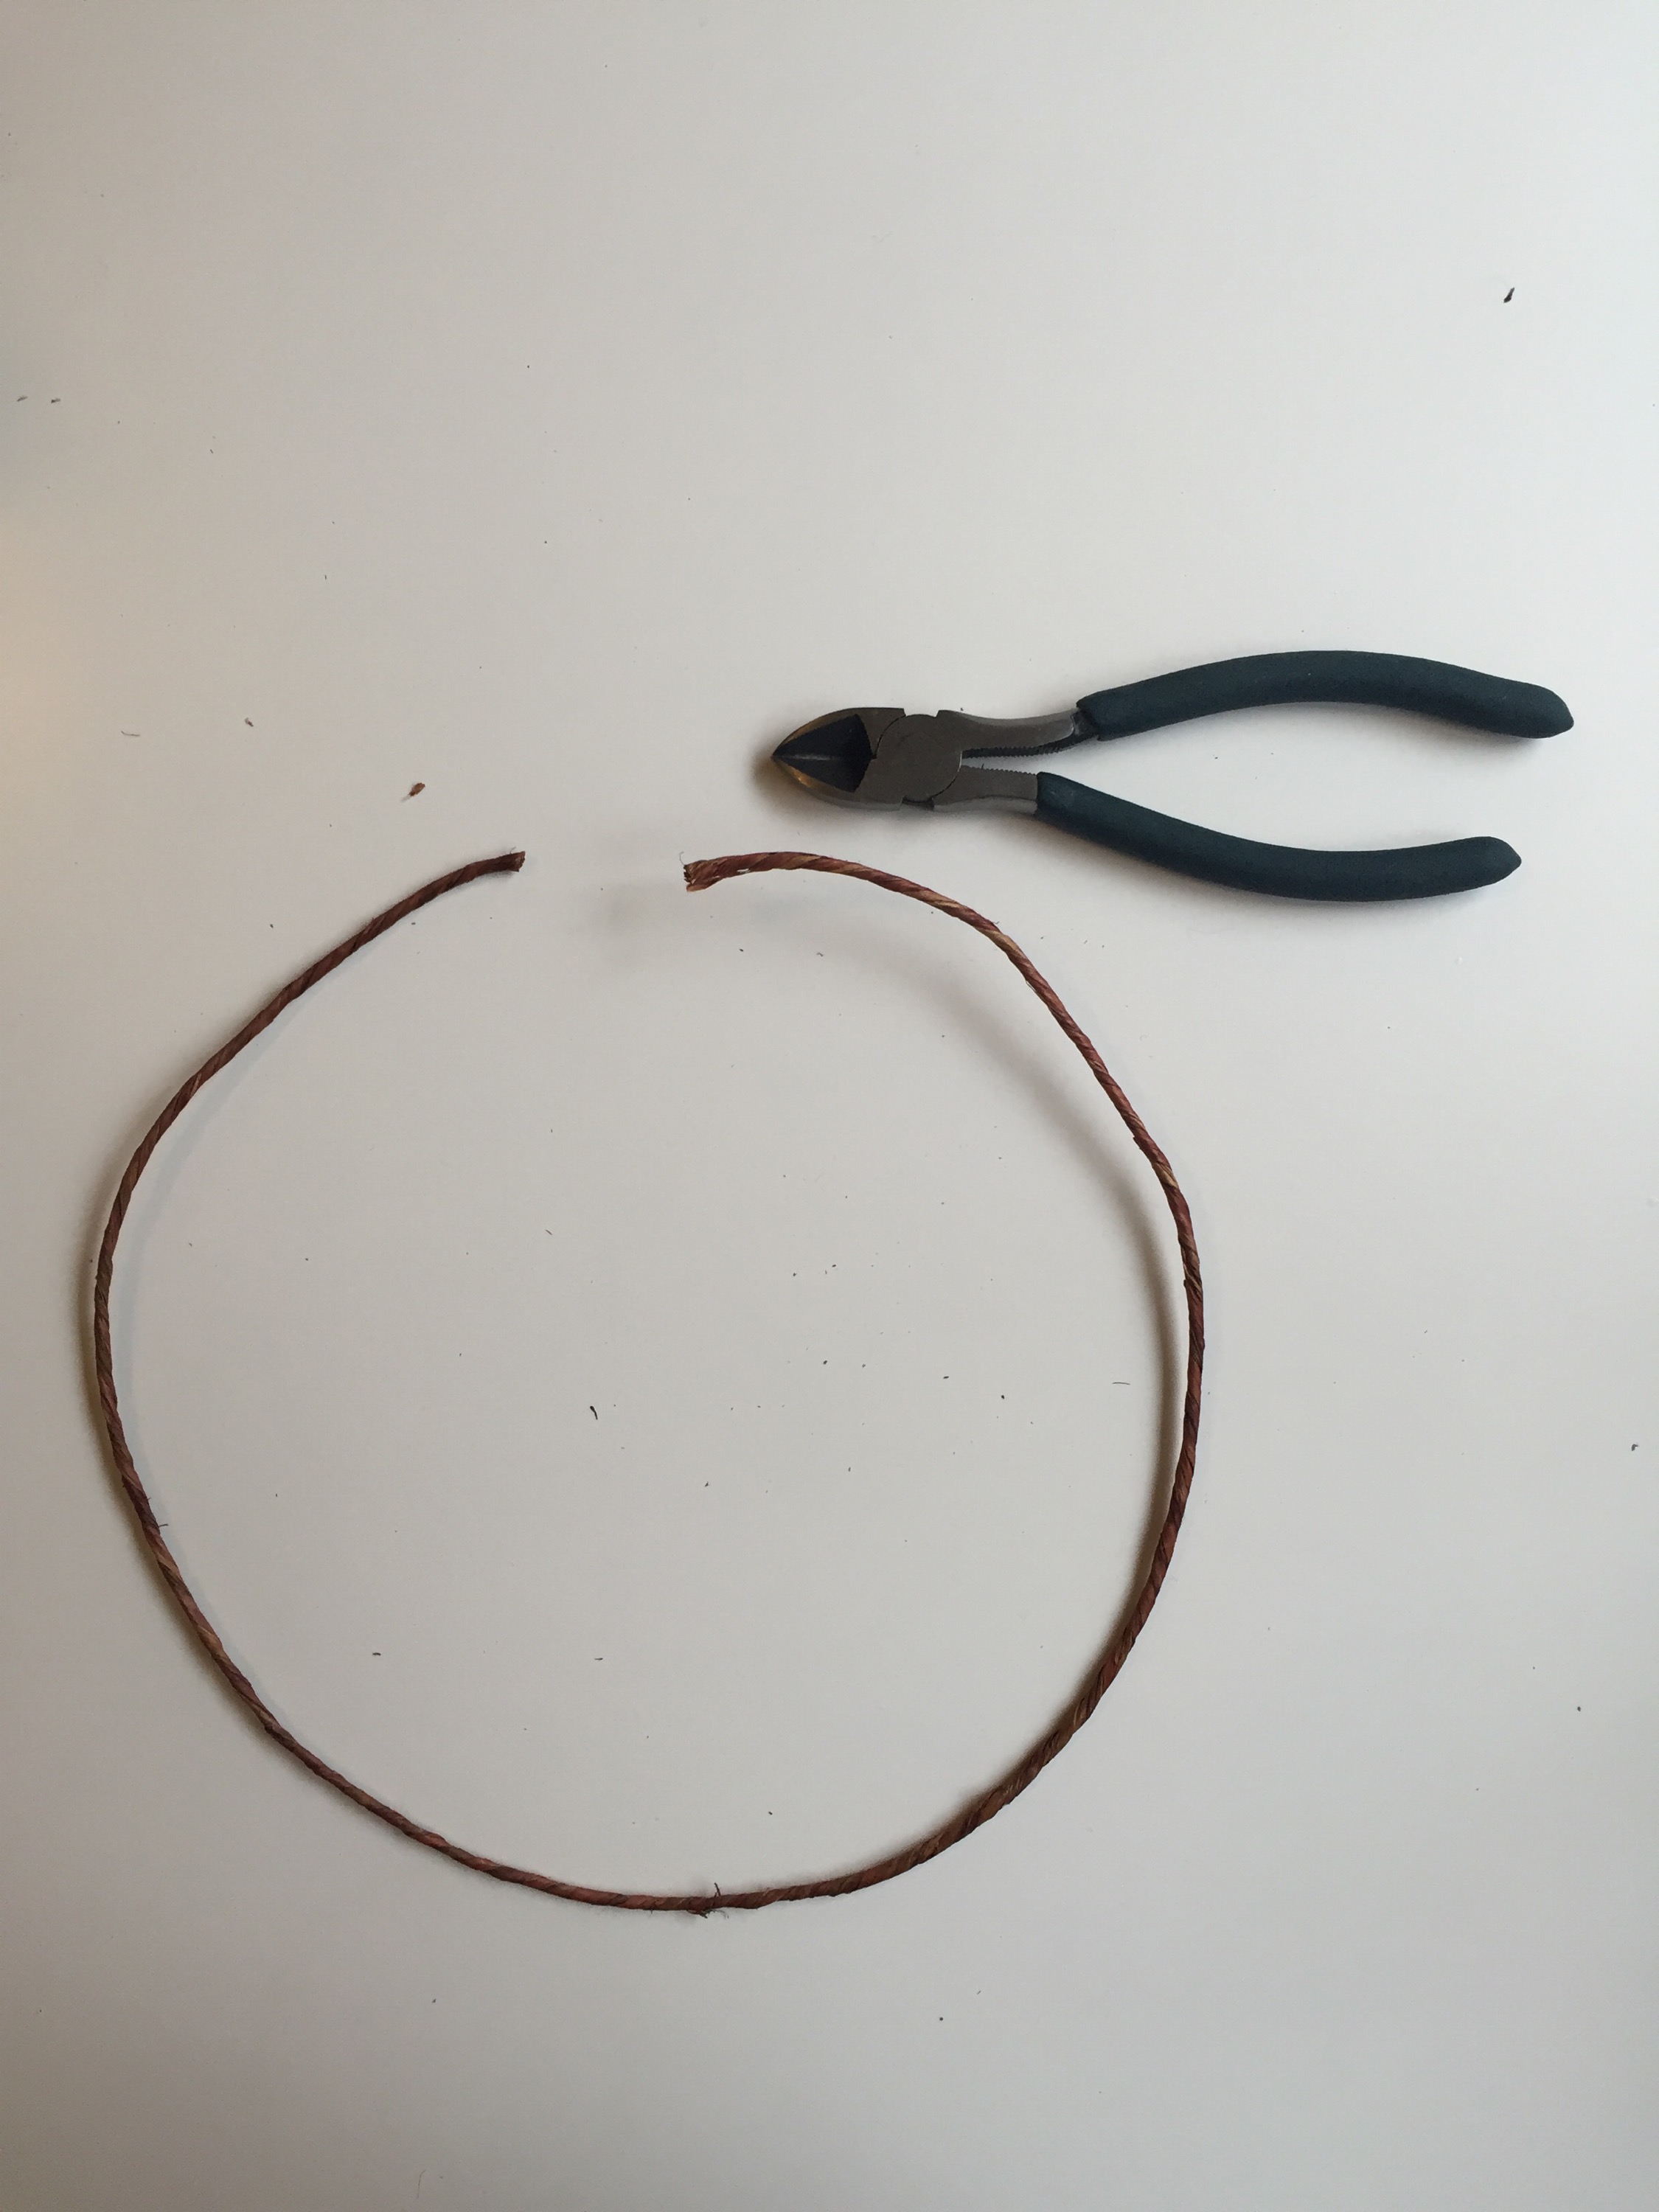
Measure your wire around your head and cut the wire with four inches extra length.
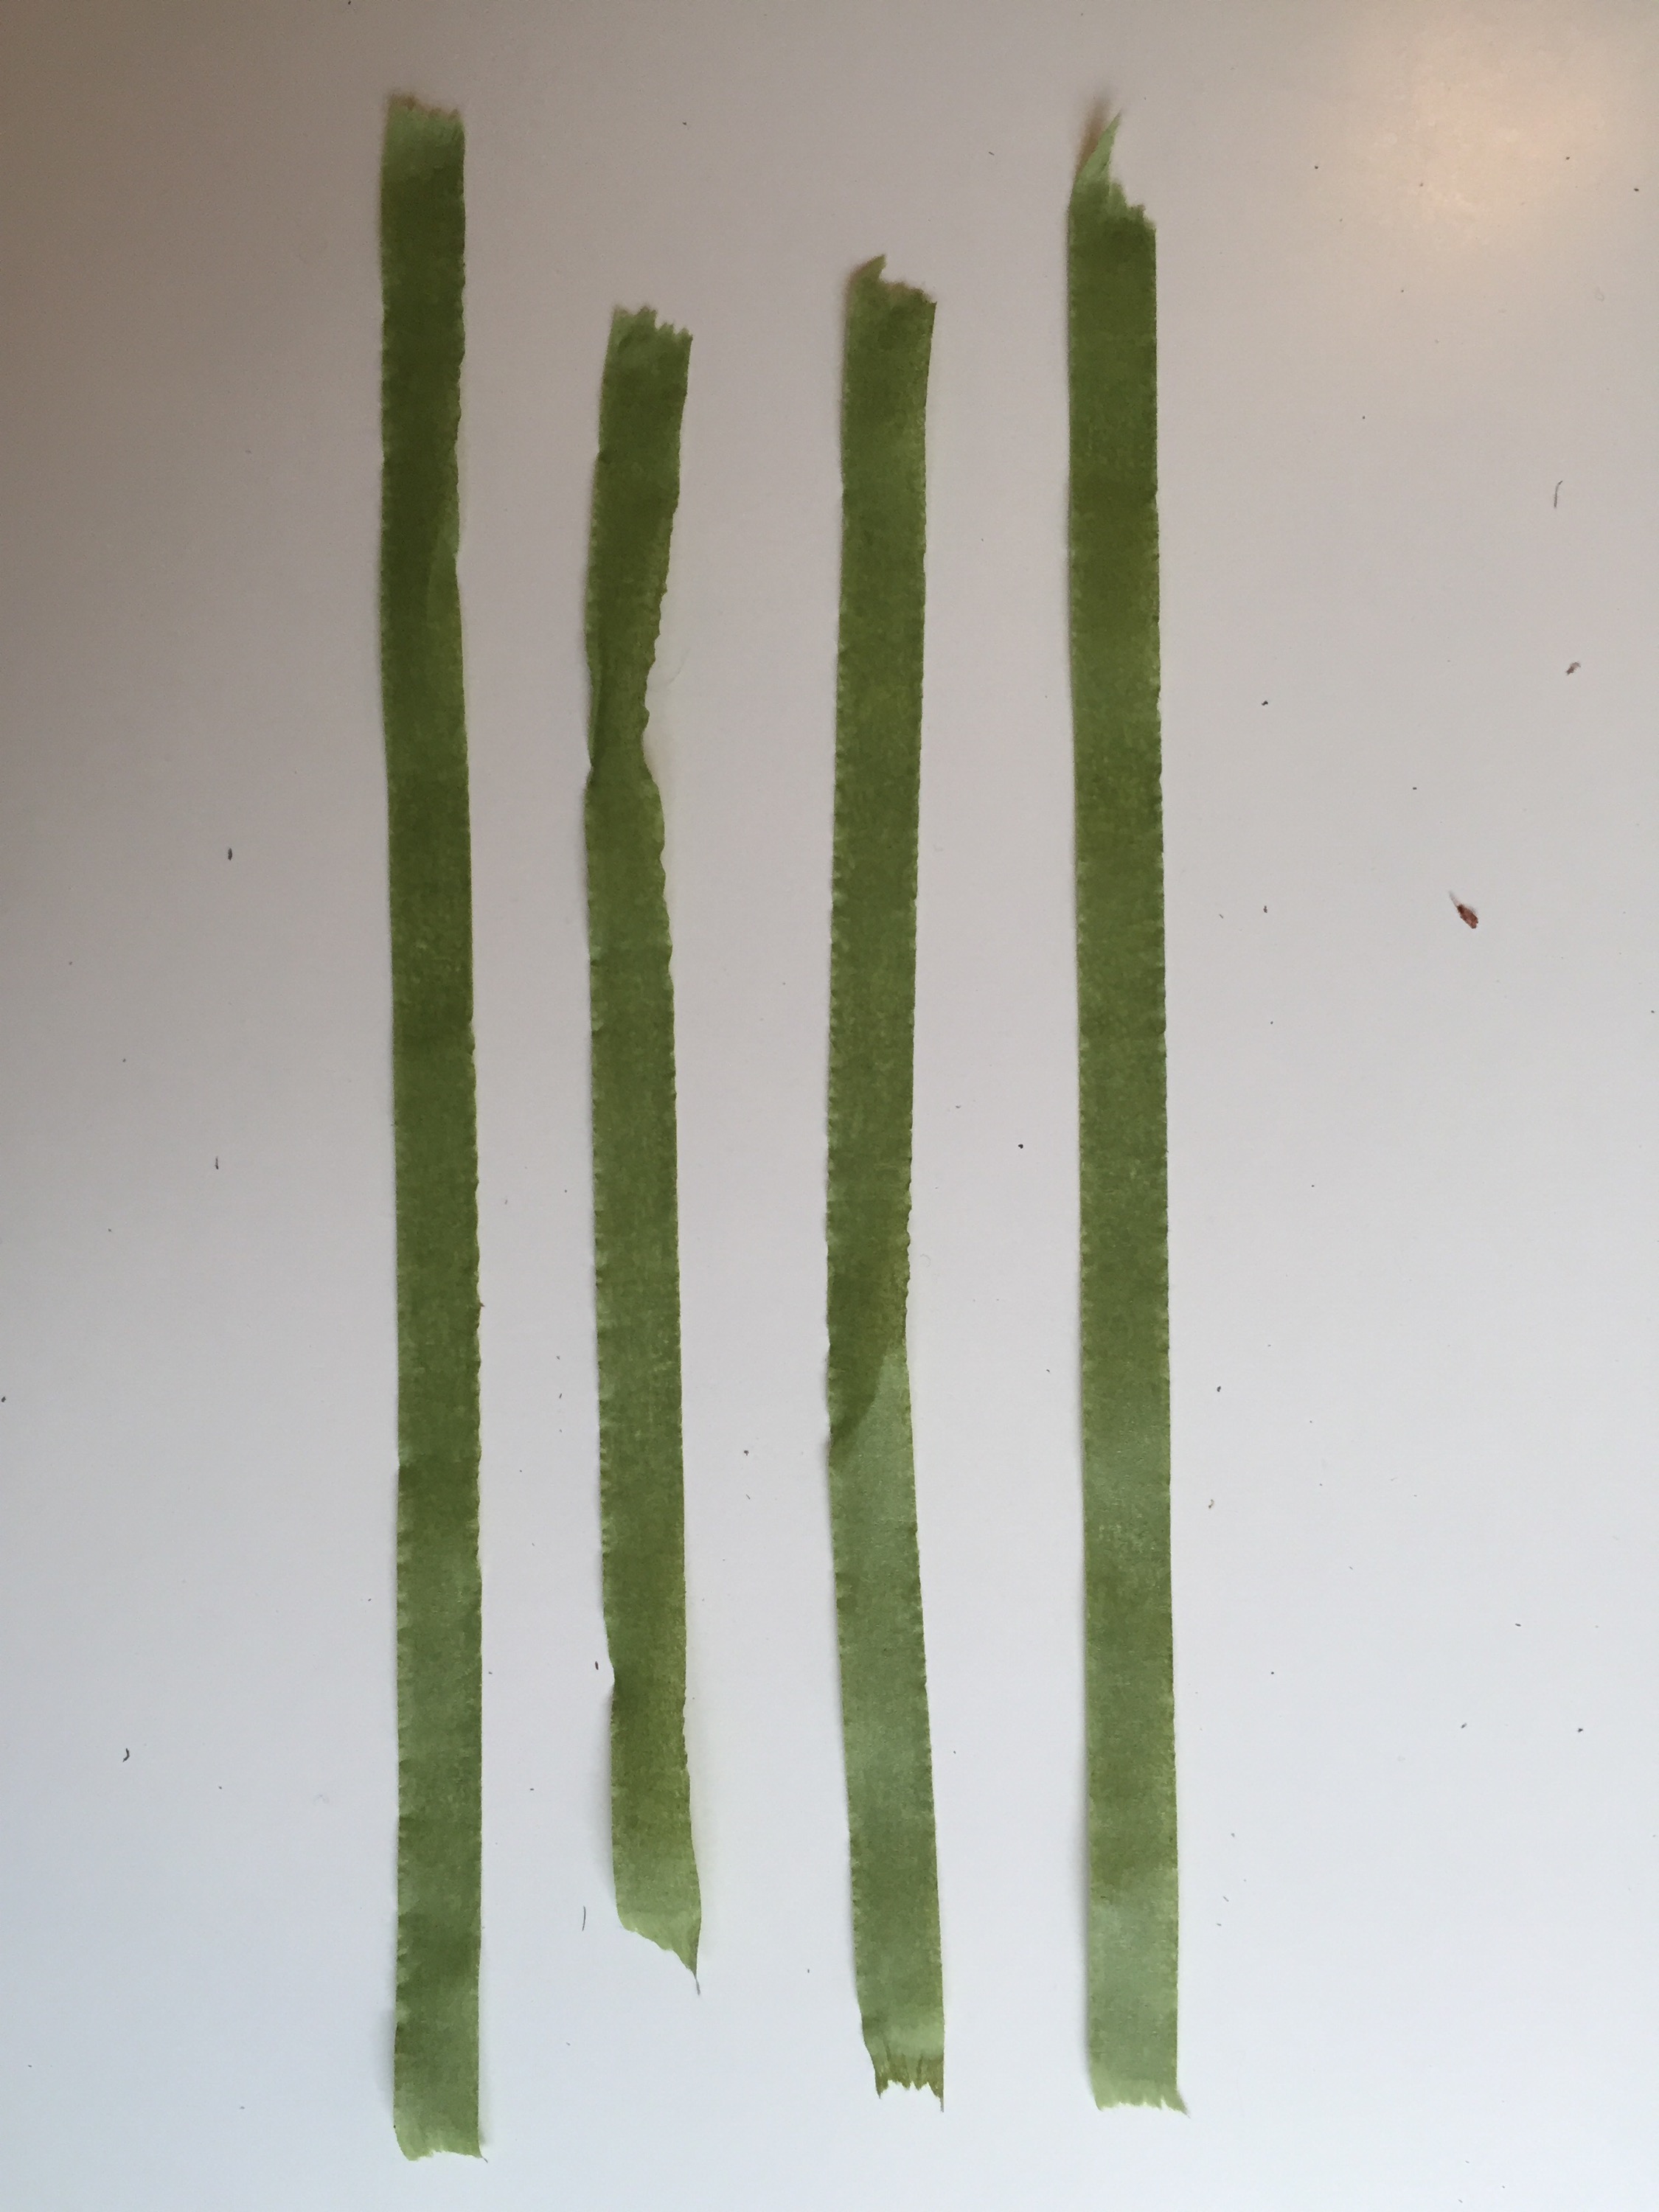
Tear off pieces of floral tape about six inches long. You’ll need several, but I usually tear off five at a time.
In this time lapse video I show you how I construct a partial crown, which is worn off to the side. I usually start in the middle of the wire and work my way toward the edge. If you want a full flower crown, start about three inches from one end and work your way toward the other end.
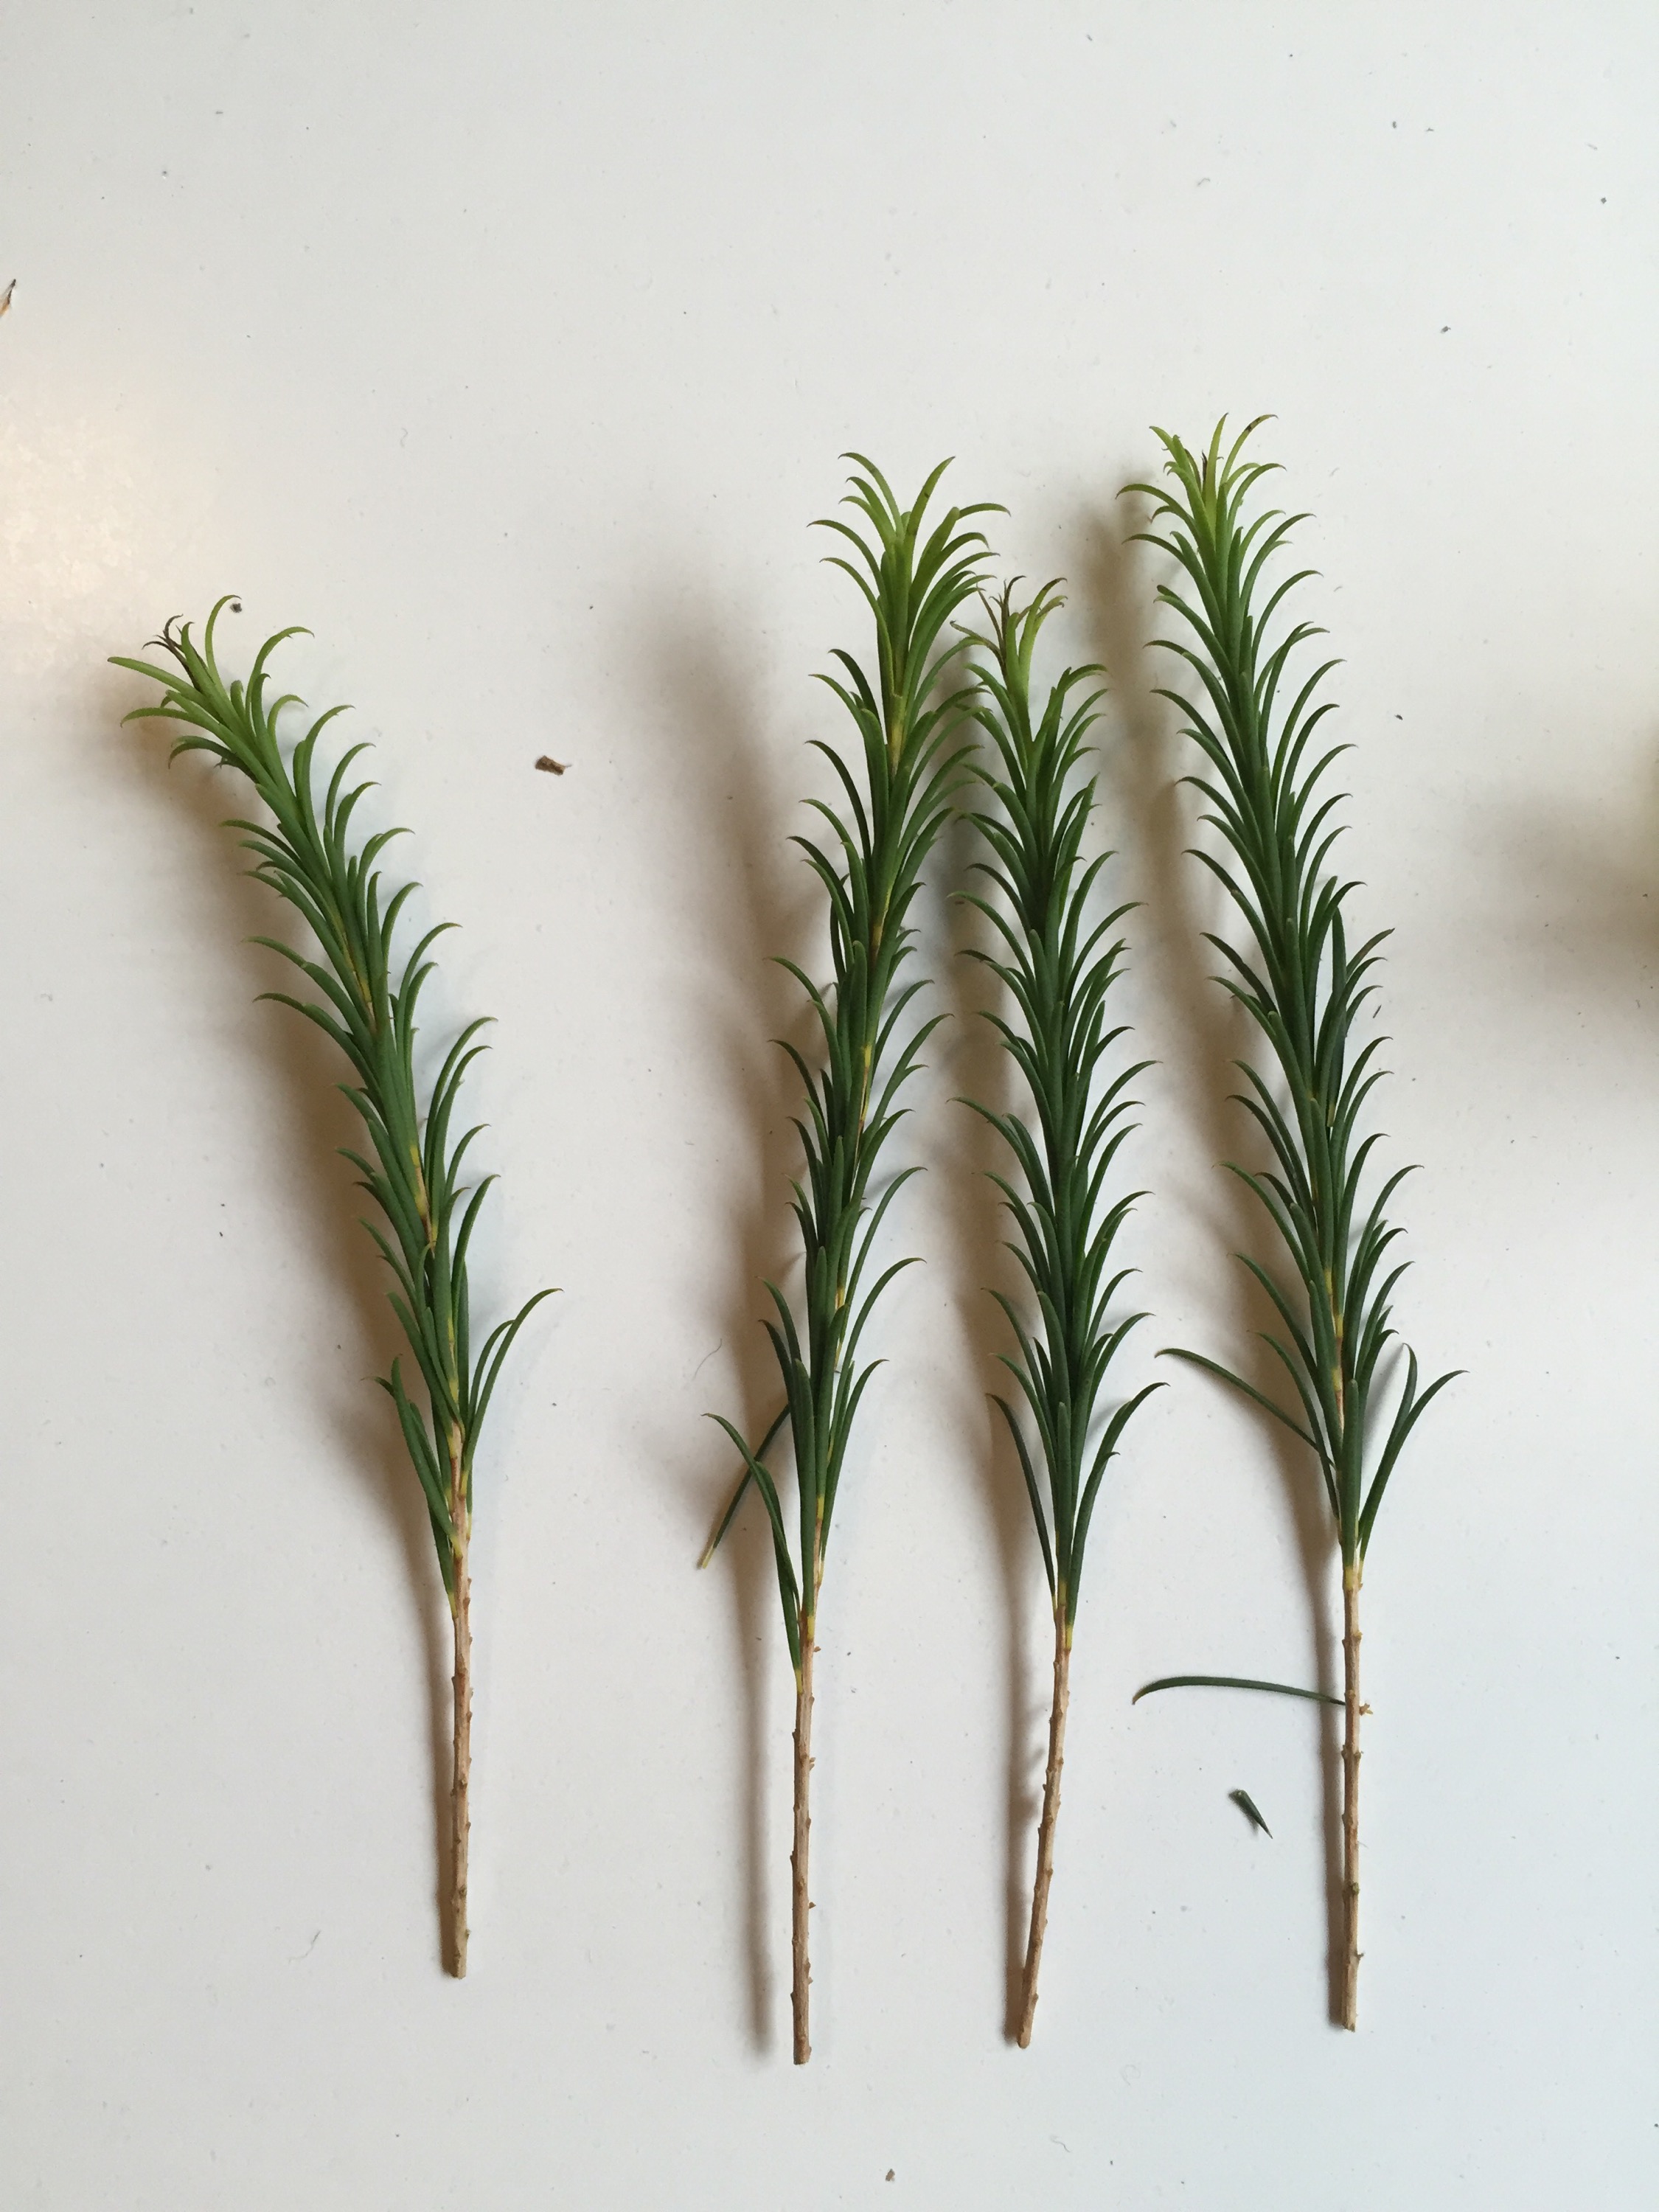
Prepare your flowers and greens by leaving two inches of stem remaining. Trim away any excess leaves or buds.
Starting at the middle of the crown, lay a green against the wire and tightly wrap the tape around it, working your way down the stem. Add a new flower to the wire and position it to cover the first wrapped stem. Tightly wrap this stem with the floral tape.
Work your way down the wire, positioning the flowers and greens in a herringbone fashion. I usually wrap a green tilting toward the left, then a flower tilting toward the right, a flower tilting toward the left and a green tilting toward the right.
Use your best judgment to nestle greens and flowers together. Pay attention to the natural curve of each flower and place them so they are featured in a pleasing way.
When you have about three inches remaining on the wire, stop adding more flowers. Wrap the ends of the wire around each other so it fits your head well.
Store in the fridge whenever you’re not wearing it. It should last for a few days.
Here is a one-minute time lapse of my making a flower crown. Pretty neat! View the long version here.
When I was asked to pick up a last minute wedding gig this week, I was more than thrilled to accept. A chance to work with white peonies and garden roses? Yes, please!
Bride Emily wanted a forest look to her arrangements, so I did the sensible thing and I foraged from the forest. I gathered dwarf hemlock from Glenn Alps, which I incorporated into the woodland fairy-like crowns, the delicate boutonnières and corsages and the perfectly-sized bridal bouquet.
Wild geranium, wood ferns and forget-me-nots mixed perfectly with the centerpieces of queen Anne’s lace, veronica and lisianthus.
Emily’s biggest desire was to have a big bridal flower crown of peonies and garden roses. When a fully bloomed peony is the size of a large grapefruit, a large crown is LARGE. My first draft was a little too big, I could barely hold my head up. After I downsized, I made Emily a smaller crown in case the original was too gigantic.