It’s been a fun couple of weeks here in Alaska blogland, with akshopgirl taking the lead in week one with “Where the Wild Things Are,” and the whimsical wonders of week two’s “Woodland Creature” theme.
In a similar vein, we are dedicating this week to Wes Anderson. We’ve got costume ideas, knitting patterns, cocktails, music mixes, and in this post I’ll show you how to set your table for a Wes Anderson theme party.
We’re all adults here. Our days of Halloween ragers have long passed, but that doesn’t mean we can’t celebrate. This theme party is for the folks who have left their kids with the grandparents for the night. It’s fun, it’s classy and you can probably find all the materials in your house (I raided my parents’ place, which, as it turns out, is very Tenenbaum-esque).
A huge thanks to Black Cup for letting us stage our tablescape in their remodeled cafe. The floor tiles alone would make Royal Tenenbaum stop and smirk. If you haven’t had a chance to take a look at Cafe Del Mundo’s makeover, I highly recommend it.
Here’s what you’ll need to host your very own Wes Anderson dinner party.
In our family, home is where the kitchen is. This week we are visiting family in Pittsburgh. My kid sister just moved into a cavernous brick home in Lawrenceville, coincidentally the neighborhood where my husband was born.
Her kitchen is absolutely Pinterest perfect and I couldn’t wait to cook in there.
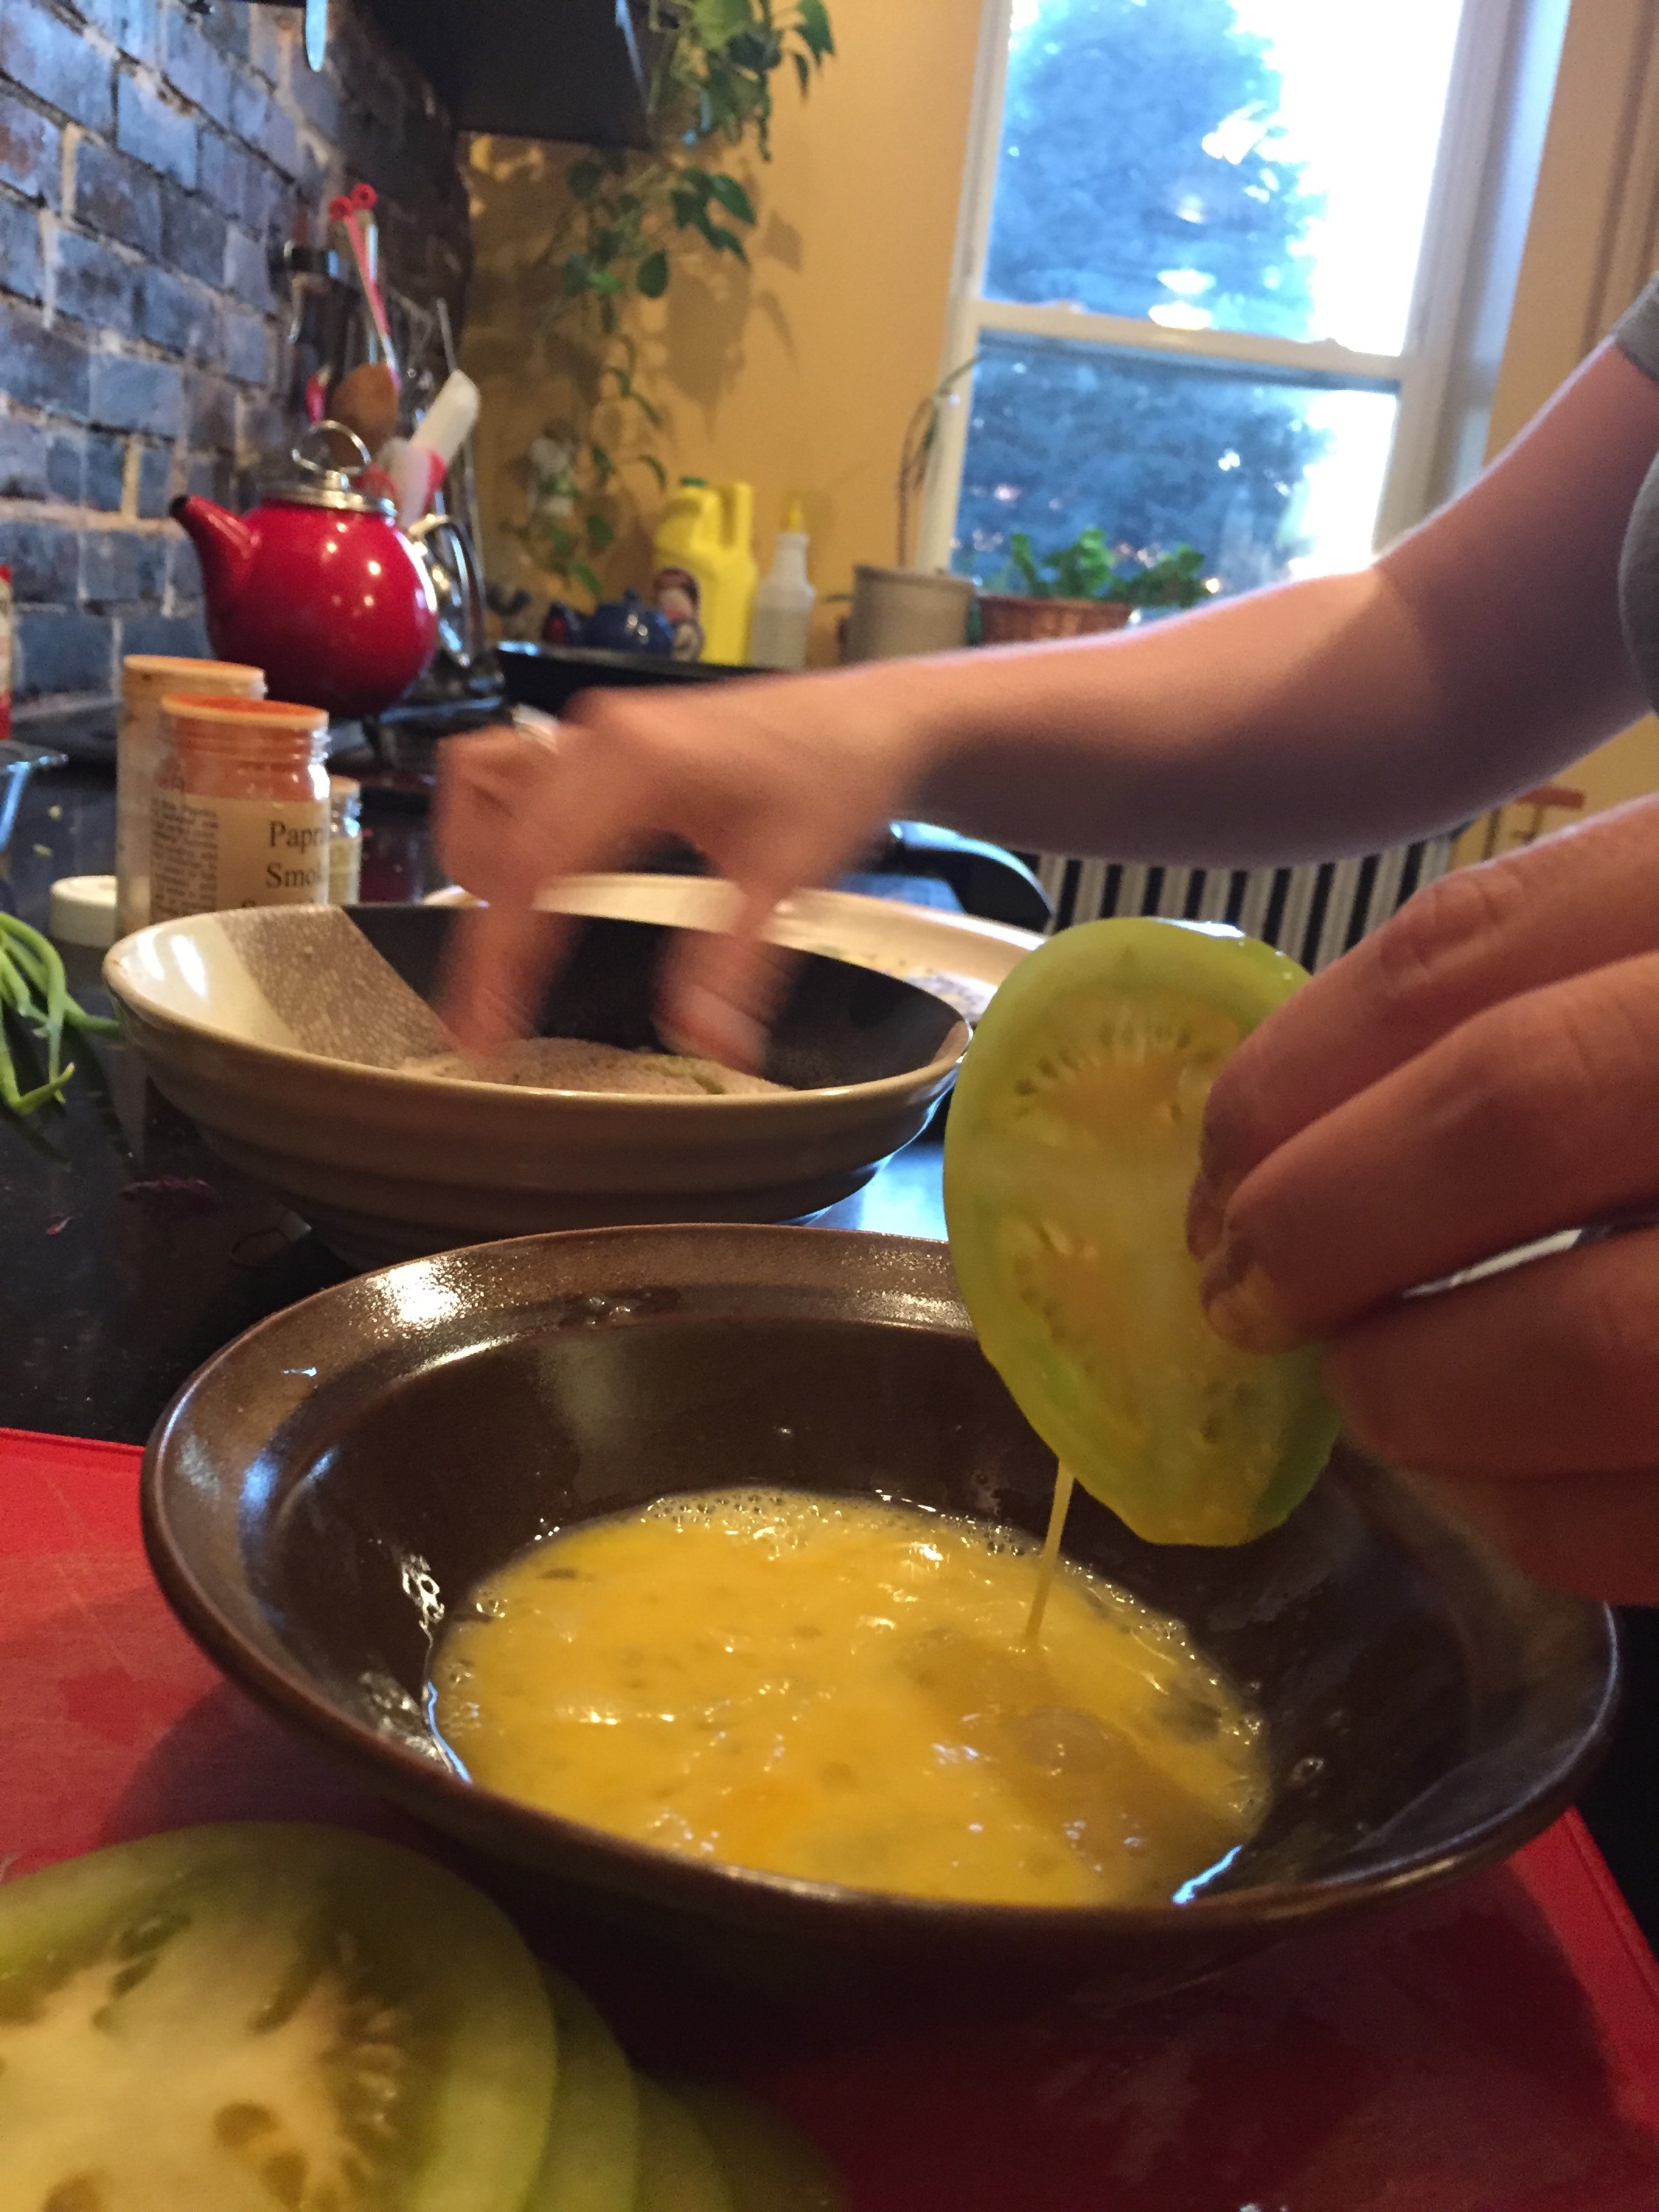
This evening we stopped by a farmers market full of squash, zinnia bouquets, goat cheese and apple cider. We picked up some green tomatoes and made them as a light dinner.
Here’s a quick post about how my sister prepares them.
Fried Green Tomatoes
Ingredients:
Serves 4
4 medium green tomatoes, sliced into 1/4 thick slices
1/2 cup cream of wheat
1/4 tsp smoked paprika
1/4 tsp chili powder
1/8 tsp cayenne powder
Ground pepper
Pinch of salt
2 eggs
Peanut oil
In a shallow bowl, mix together the Cream of Wheat, paprika, chili powder, cayenne, pepper and salt. Whisk the eggs in another shallow bowl.
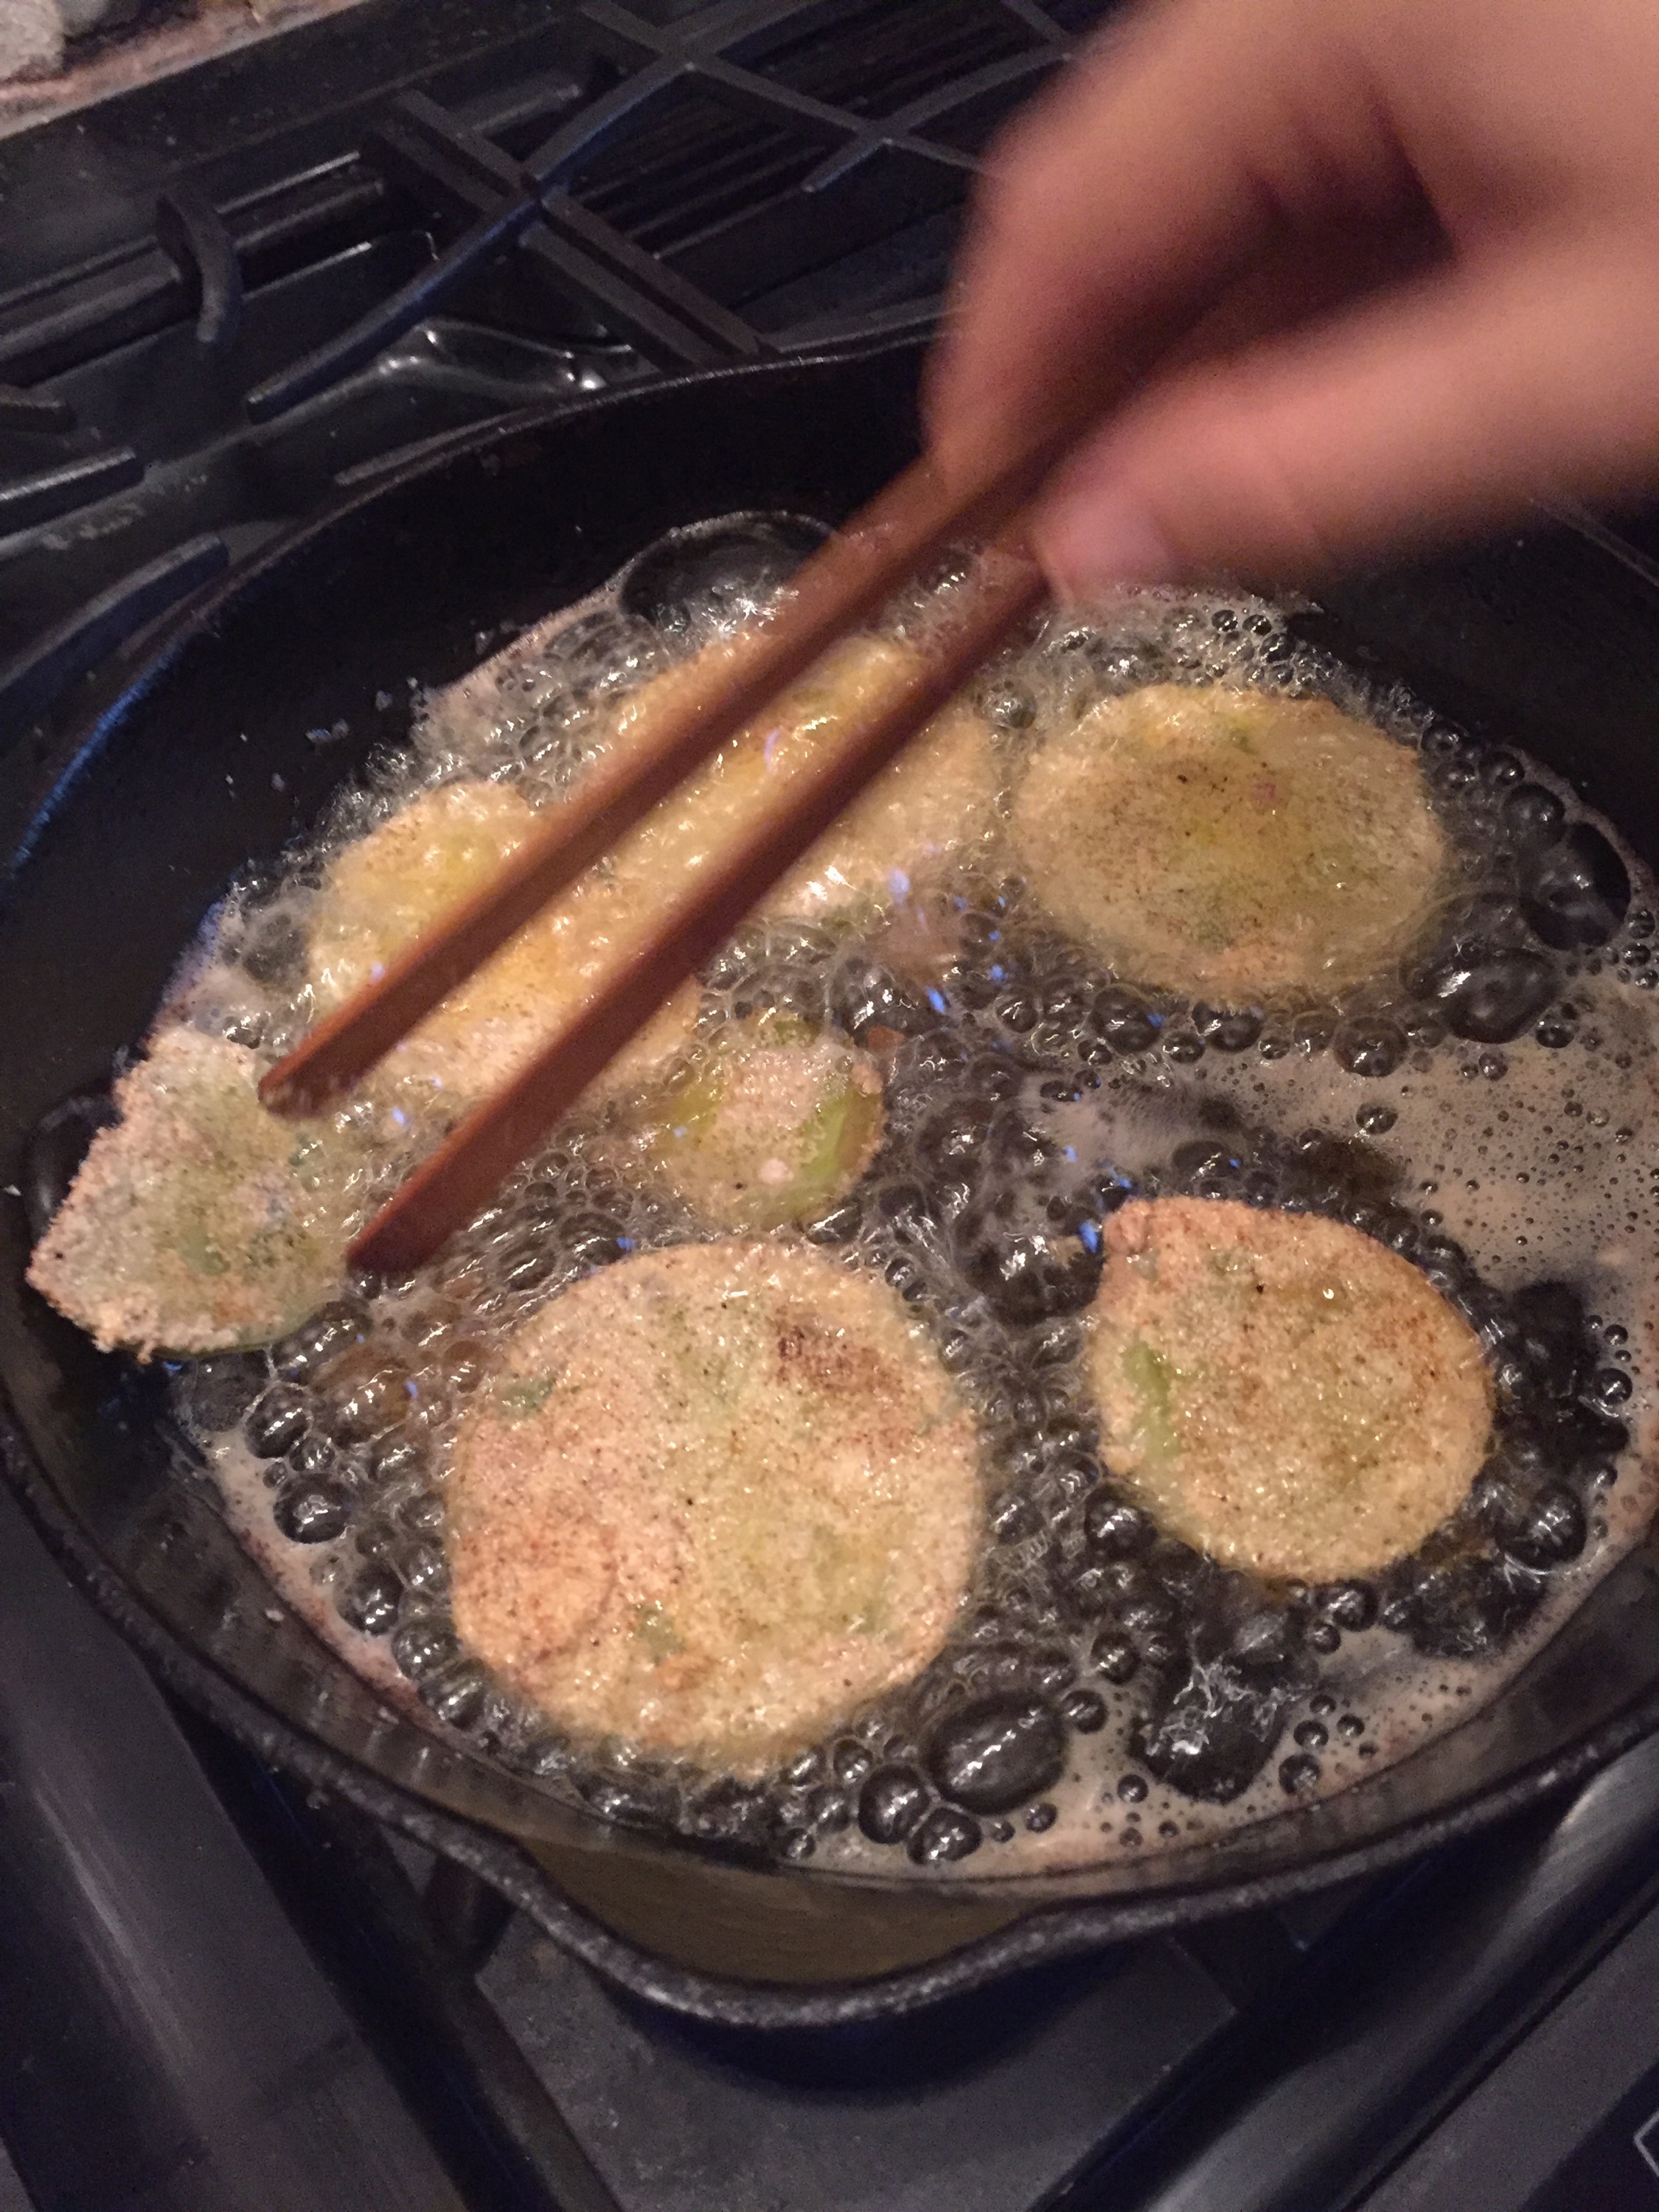
Add half a fingernail’s depth of oil to a cast iron skillet and turn heat to high.
Dredge the tomatoes in the egg and then in the breading.
When oil is glistening, add tomatoes in one layer in the pan. You may need to fry them in three or four batches.
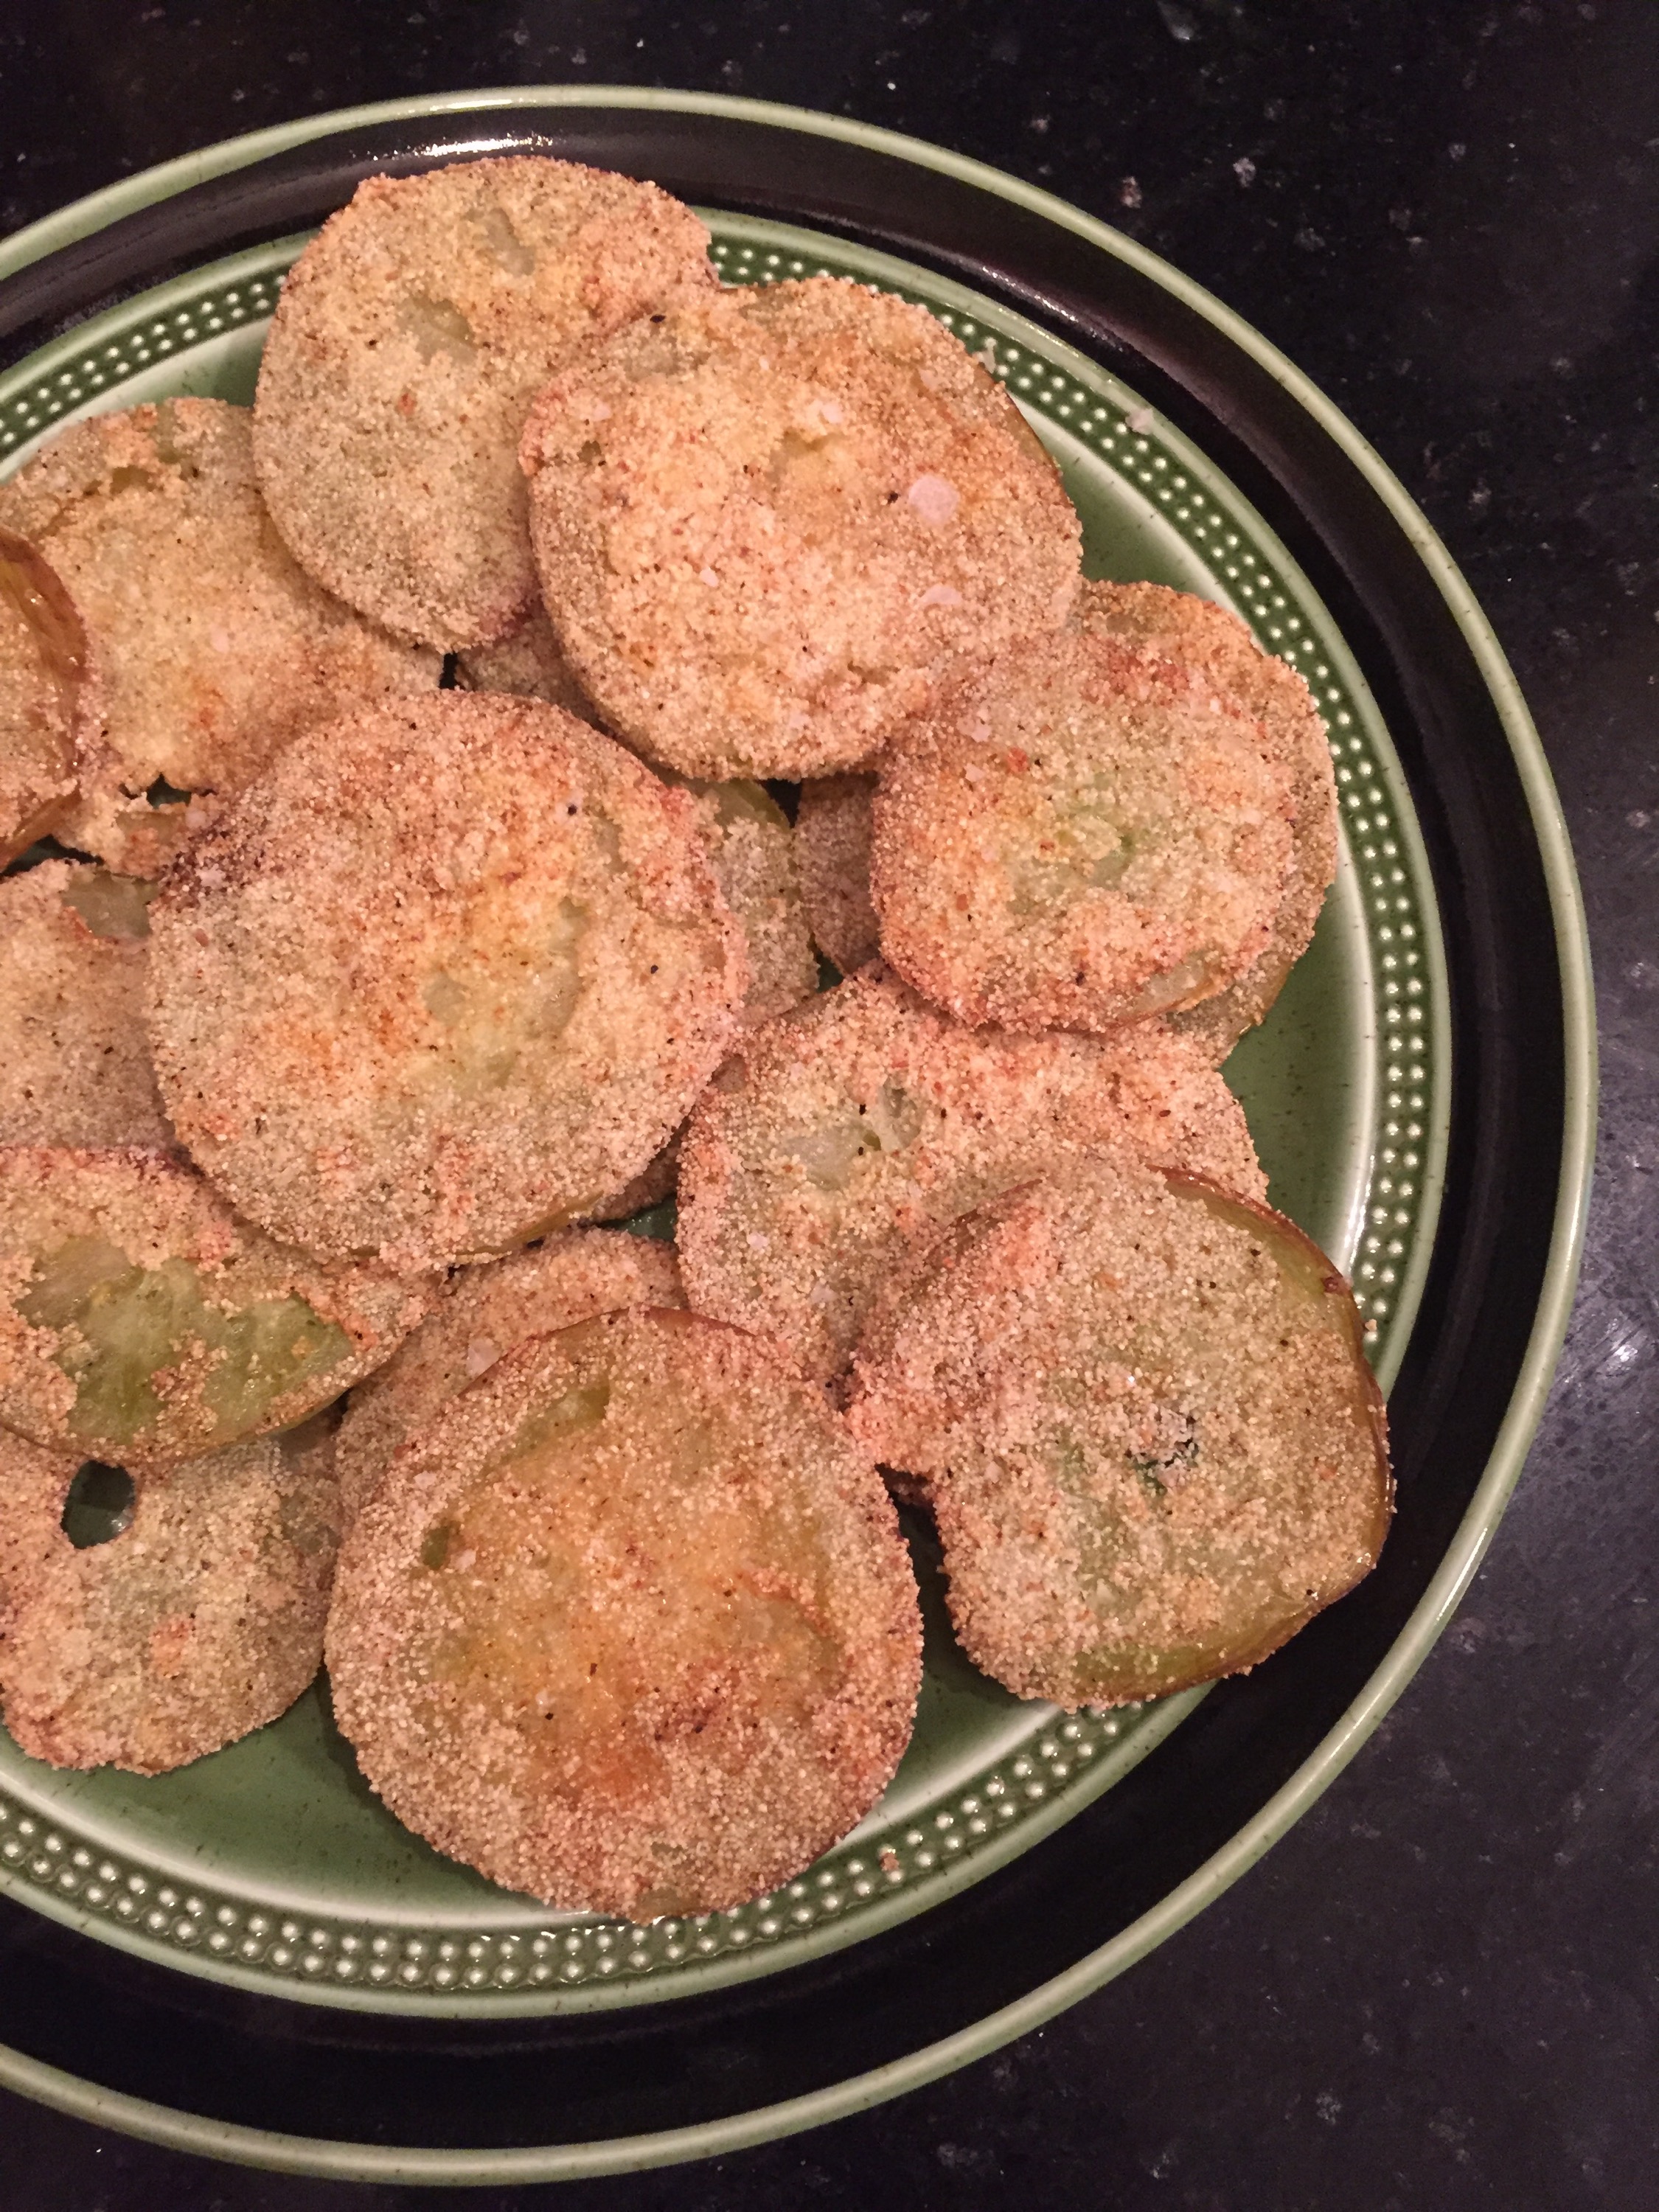
Fry for a few minutes on each side, till browned. Place on a paper towel-lined plate. Sprinkle lightly with salt.
Serve as-is or with a yogurt dipping sauce. Recipe below:
Yogurt Herb Dipping Sauce
Ingredients:
1/4 cup plain Greek yogurt
1/4 cup sour cream
1/8 tsp. smoked paprika
dash of garlic powder
1 tsp. chopped fresh herbs such as oregano, basil or parsley
salt and pepper to taste
Mix together all the ingredients. Serve with fried green tomatoes.
I’m thrilled to introduce fellow Anchorage blogger, Ashley Taborsky, in this week’s “Harvesting Anchorage.” Ashley is the woman behind Alaska Urban Soil Project where she aims to create an “online community of fellow urban hippies who want to get into Alaskan backyard farming.”
This gal is diving deep into Alaska gardening and I admire her for her tenacity and willingness to try new things.
Throughout the summer I’ve been blogging about how I interact with the wild foods of Anchorage and Alaska, but you’ll notice that I don’t garden. It’s partially due to my hectic working mom/florist/other stuff schedule, part laziness and also that I don’t have an easily accessible water source in my yard (ok, this equates to laziness. I just don’t want to stretch my hose to the other side of my lawn where we actually get sun).
Ashley is obviously more determined than I am to produce her own food and it appears that she is succeeding. This is why I thought she would be a great guest to talk about how she harvests Anchorage in her own back yard.
Check out her site for lots of DIY projects and recipe ideas. Today I’ll be passing the mic to Ashley to let her talk about pickling and canning her homegrown beets.
I know it’s a superb fall when I close my eyes at night and all I see behind my eyelids are lowbush cranberries.
Blood-red jewels hug the mossy ground in my secret south Anchorage picking spot. It must have been the warm May weather that caused patches of usually dormant cranberry bushes to produce large, pea-sized berries.
What my family calls lowbush cranberries are, in fact, lingonberries. These short plants can be found in most Anchorage forests. They have round, shiny leaves and if there’s enough sunlight during the summer they bear tart, red berries.
I prefer these to highbush cranberries, which are more watery and have a big, oblong seed in each berry. Lowbush cranberries are opaque and have no seeds. They are also firmer than the highbush variety.
Cranberries are my favorite wild berry to pick because they are durable, highly nutritious and they freeze well. They can also be substituted for any recipe that calls for commercial cranberries.
I once again refer to my mama for this segment of “Harvesting Anchorage.” She’s a pro when it comes to cranberry marmalade. The cranberries have so much natural pectin there is no need to add any of the store-bought kind. This simple marmalade is a perfect addition to any breakfast table.
Cranberry Orange Marmalade
Ingredients:
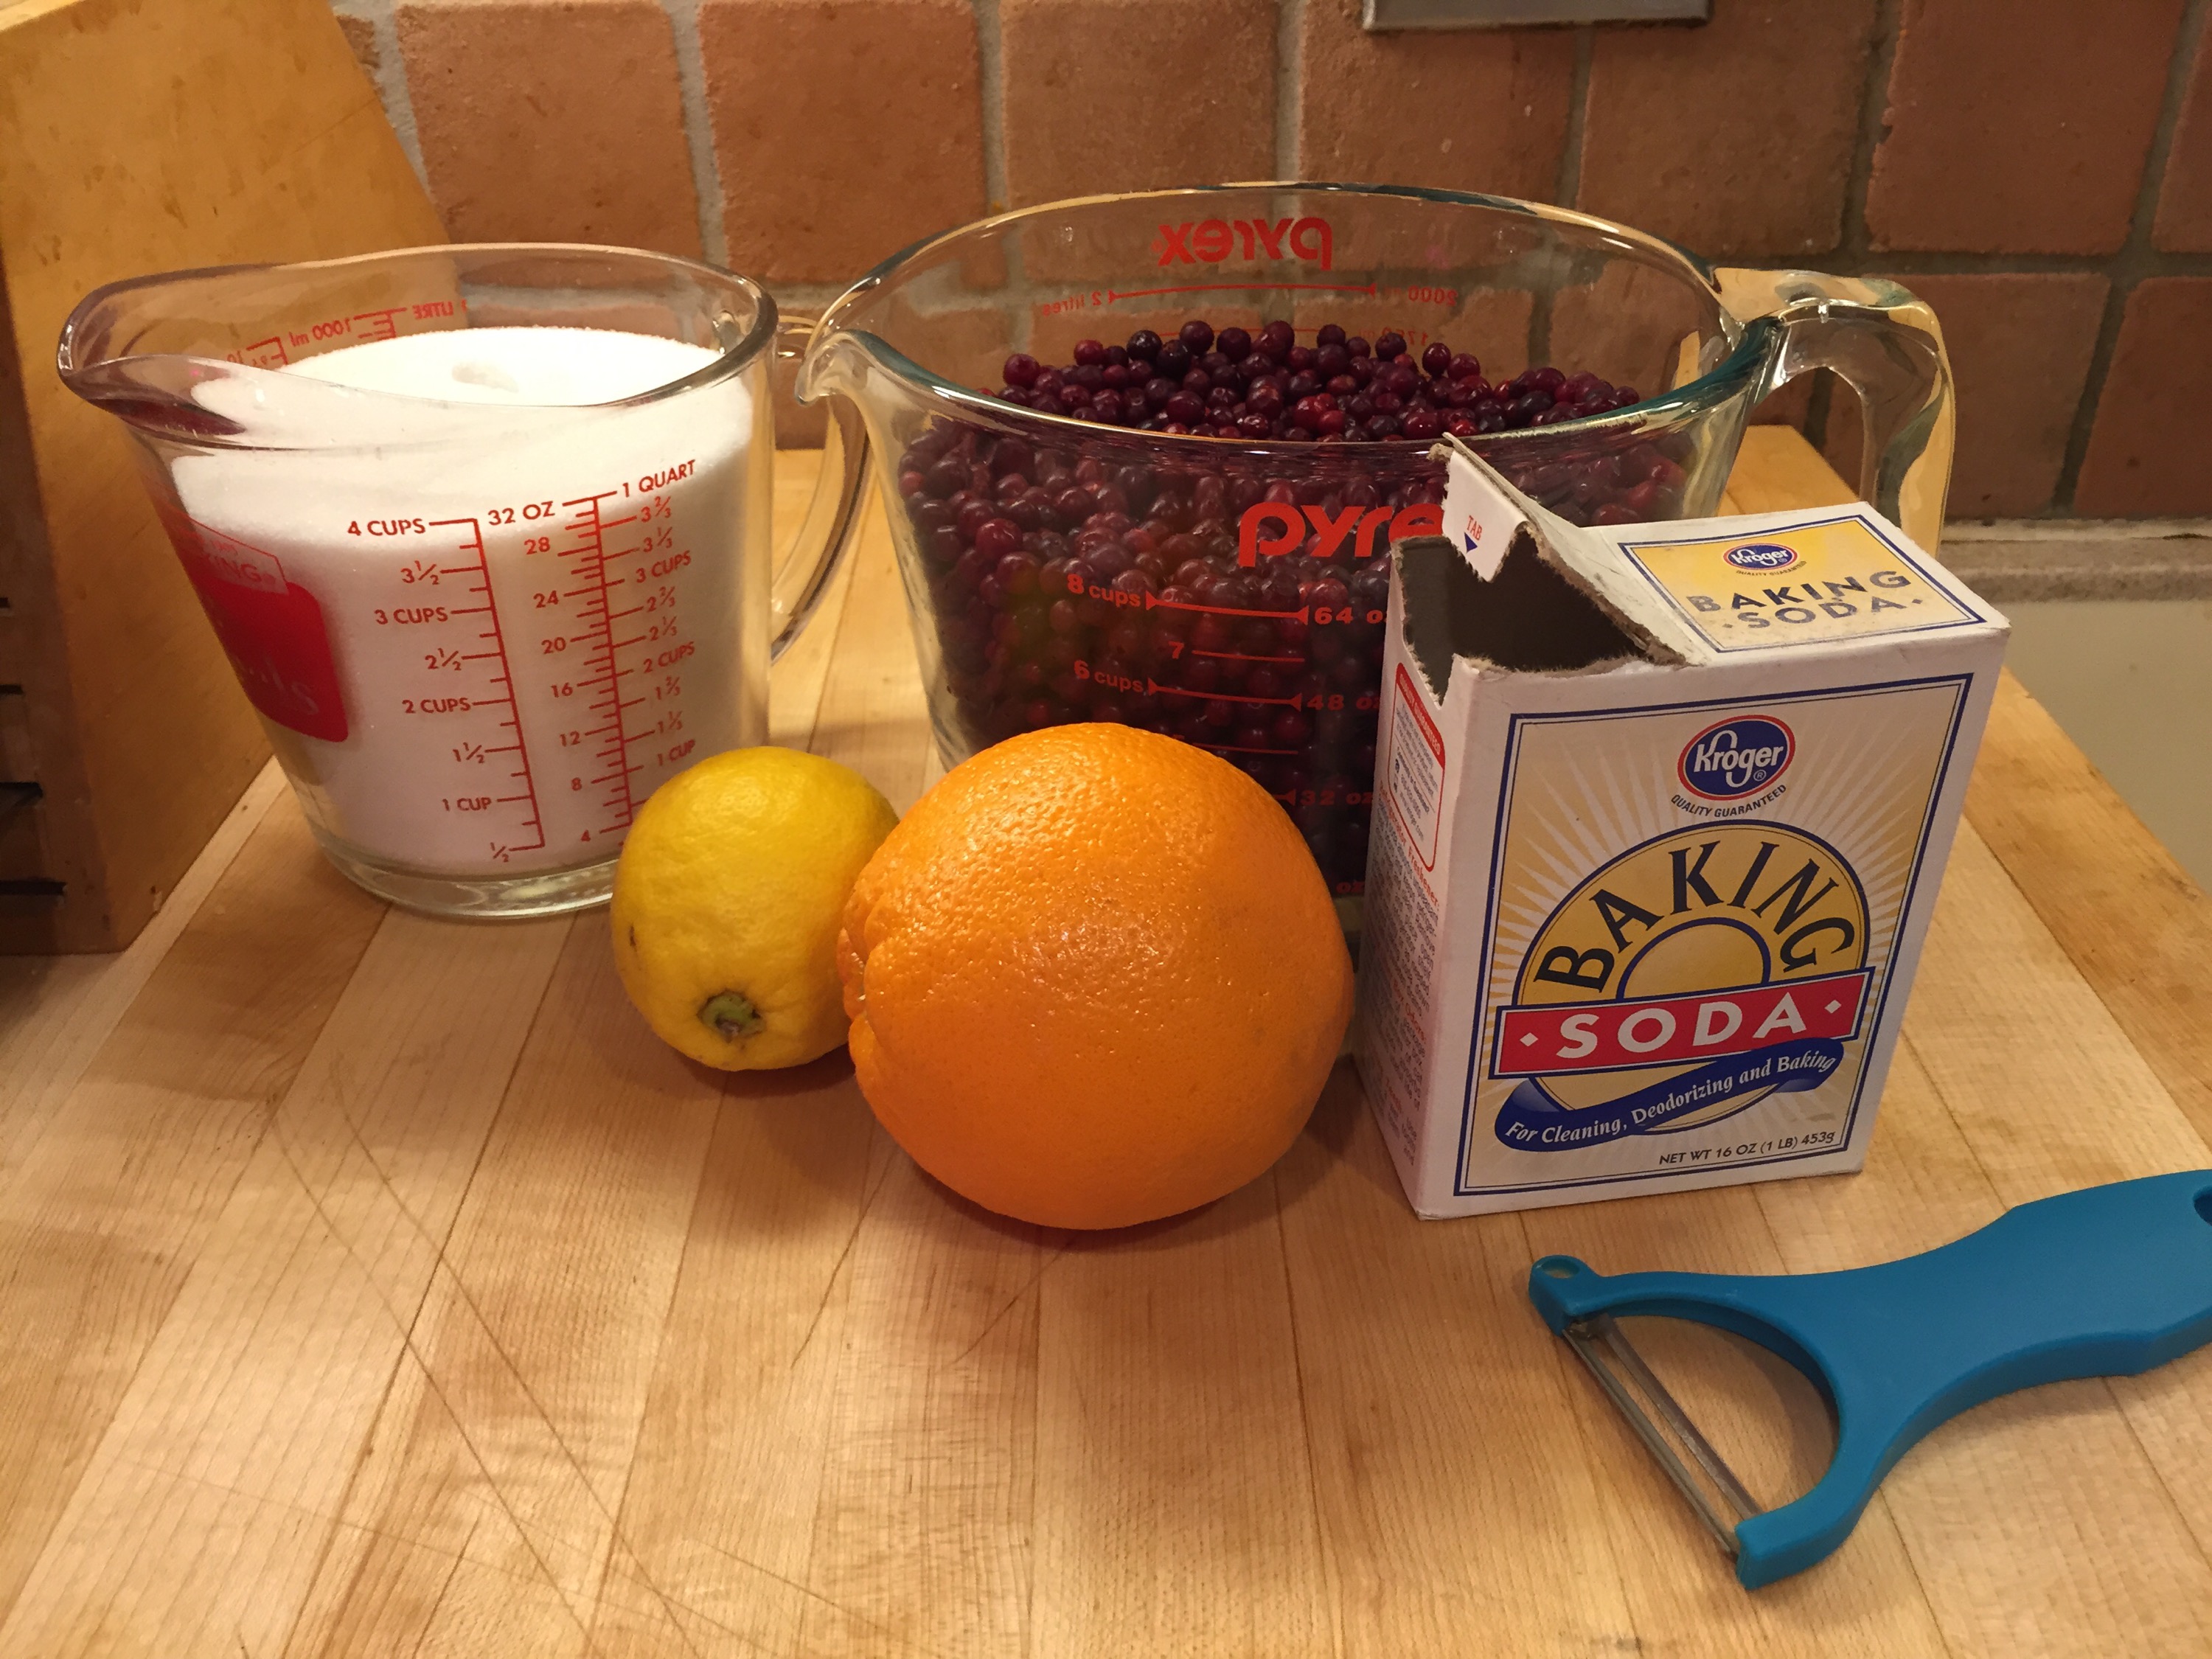
3 oranges (or 2 oranges and 1 lemon)
Water
1/4 tsp. baking soda
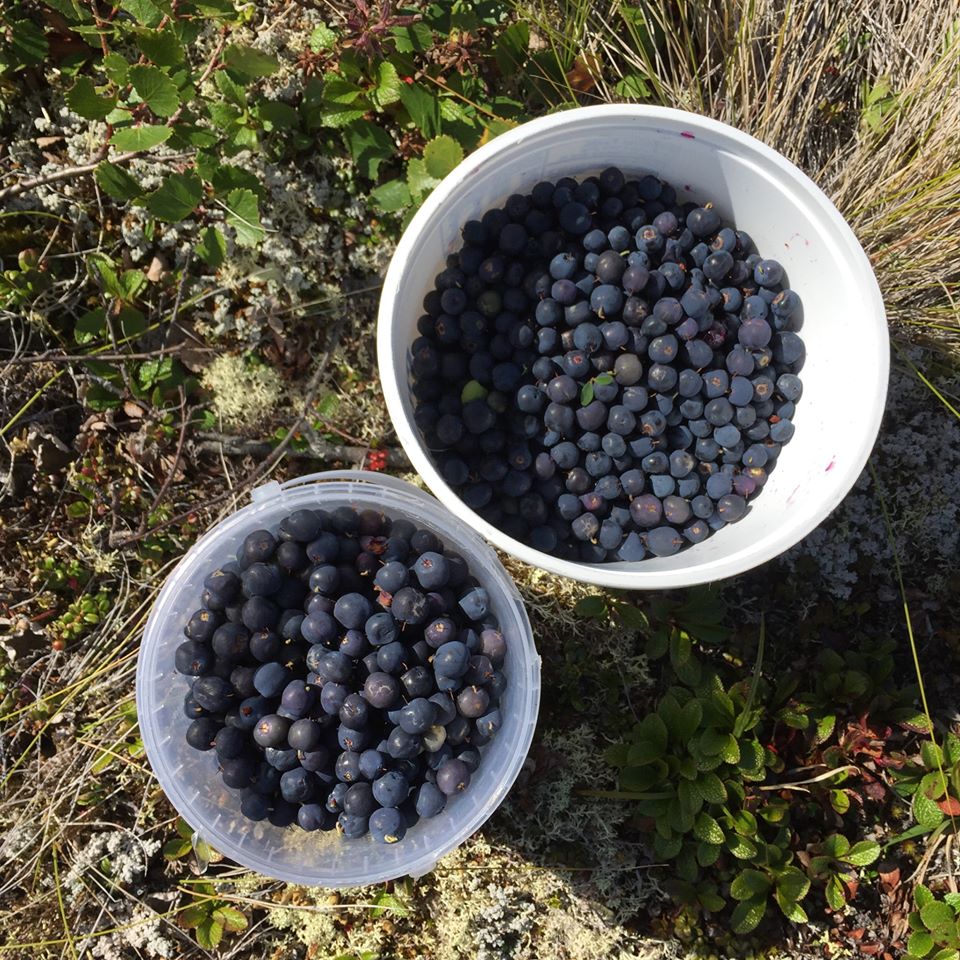
8 cups wild lowbush cranberries
4 cups sugar
Directions:
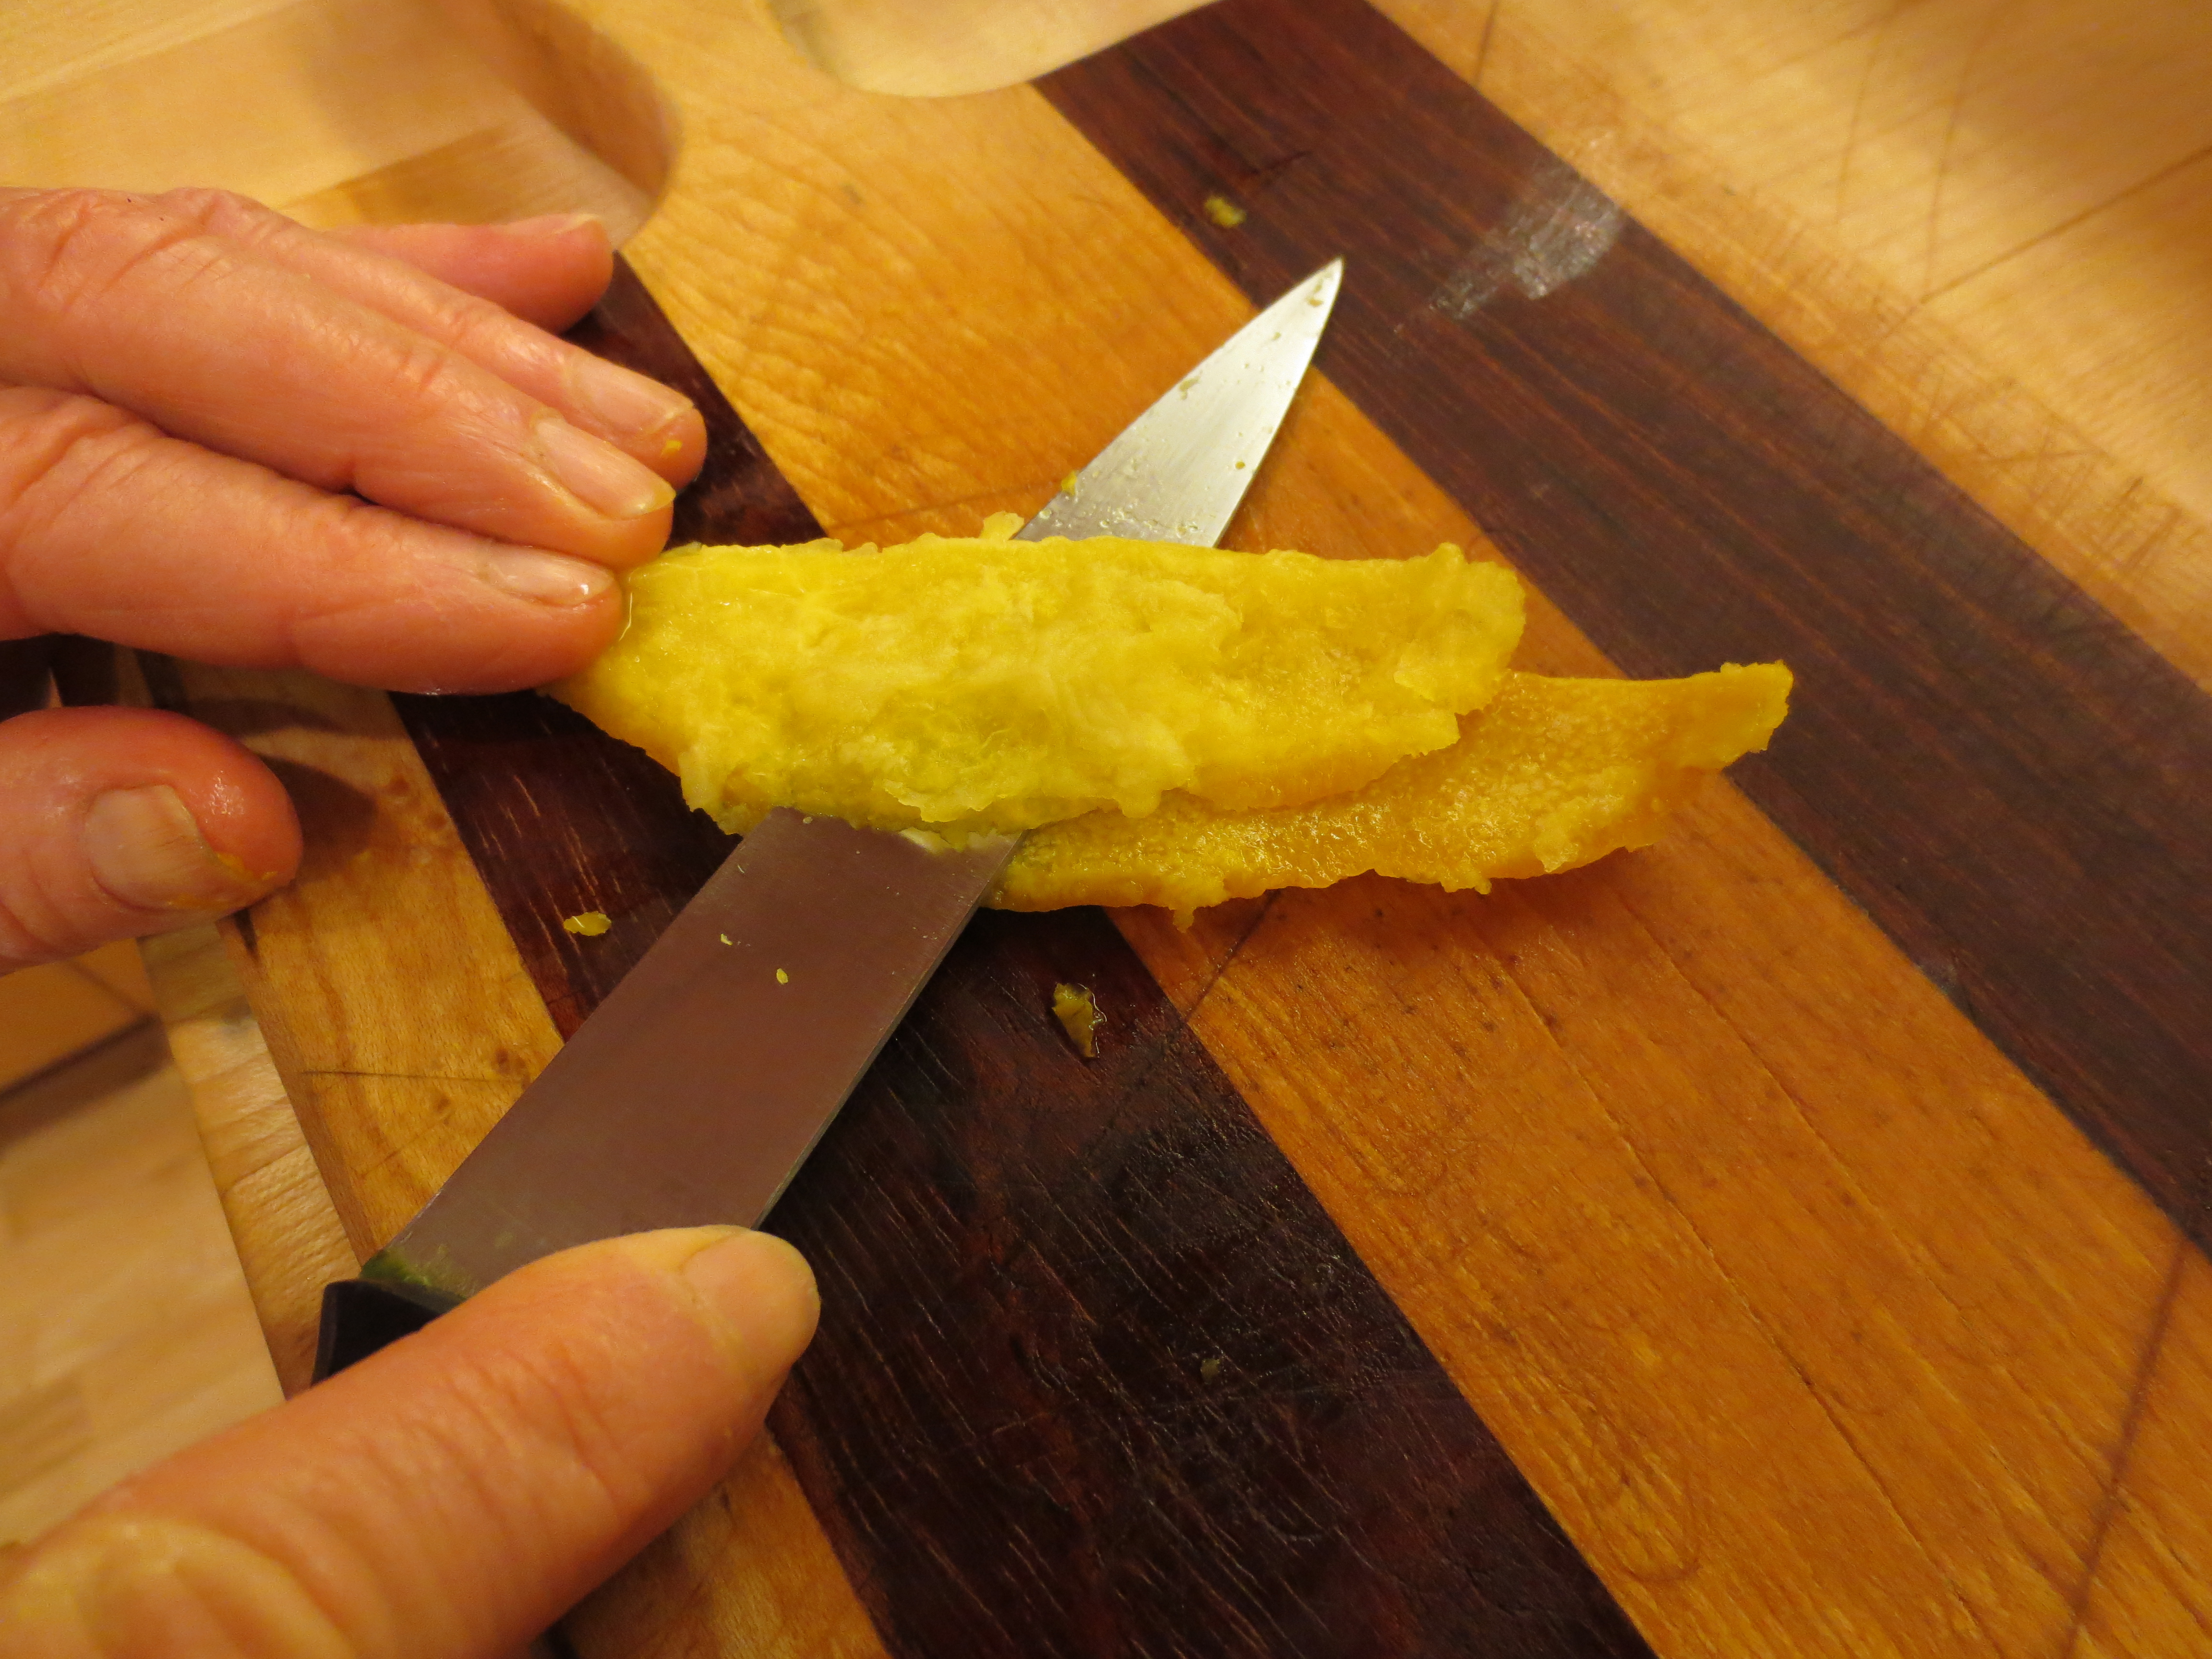
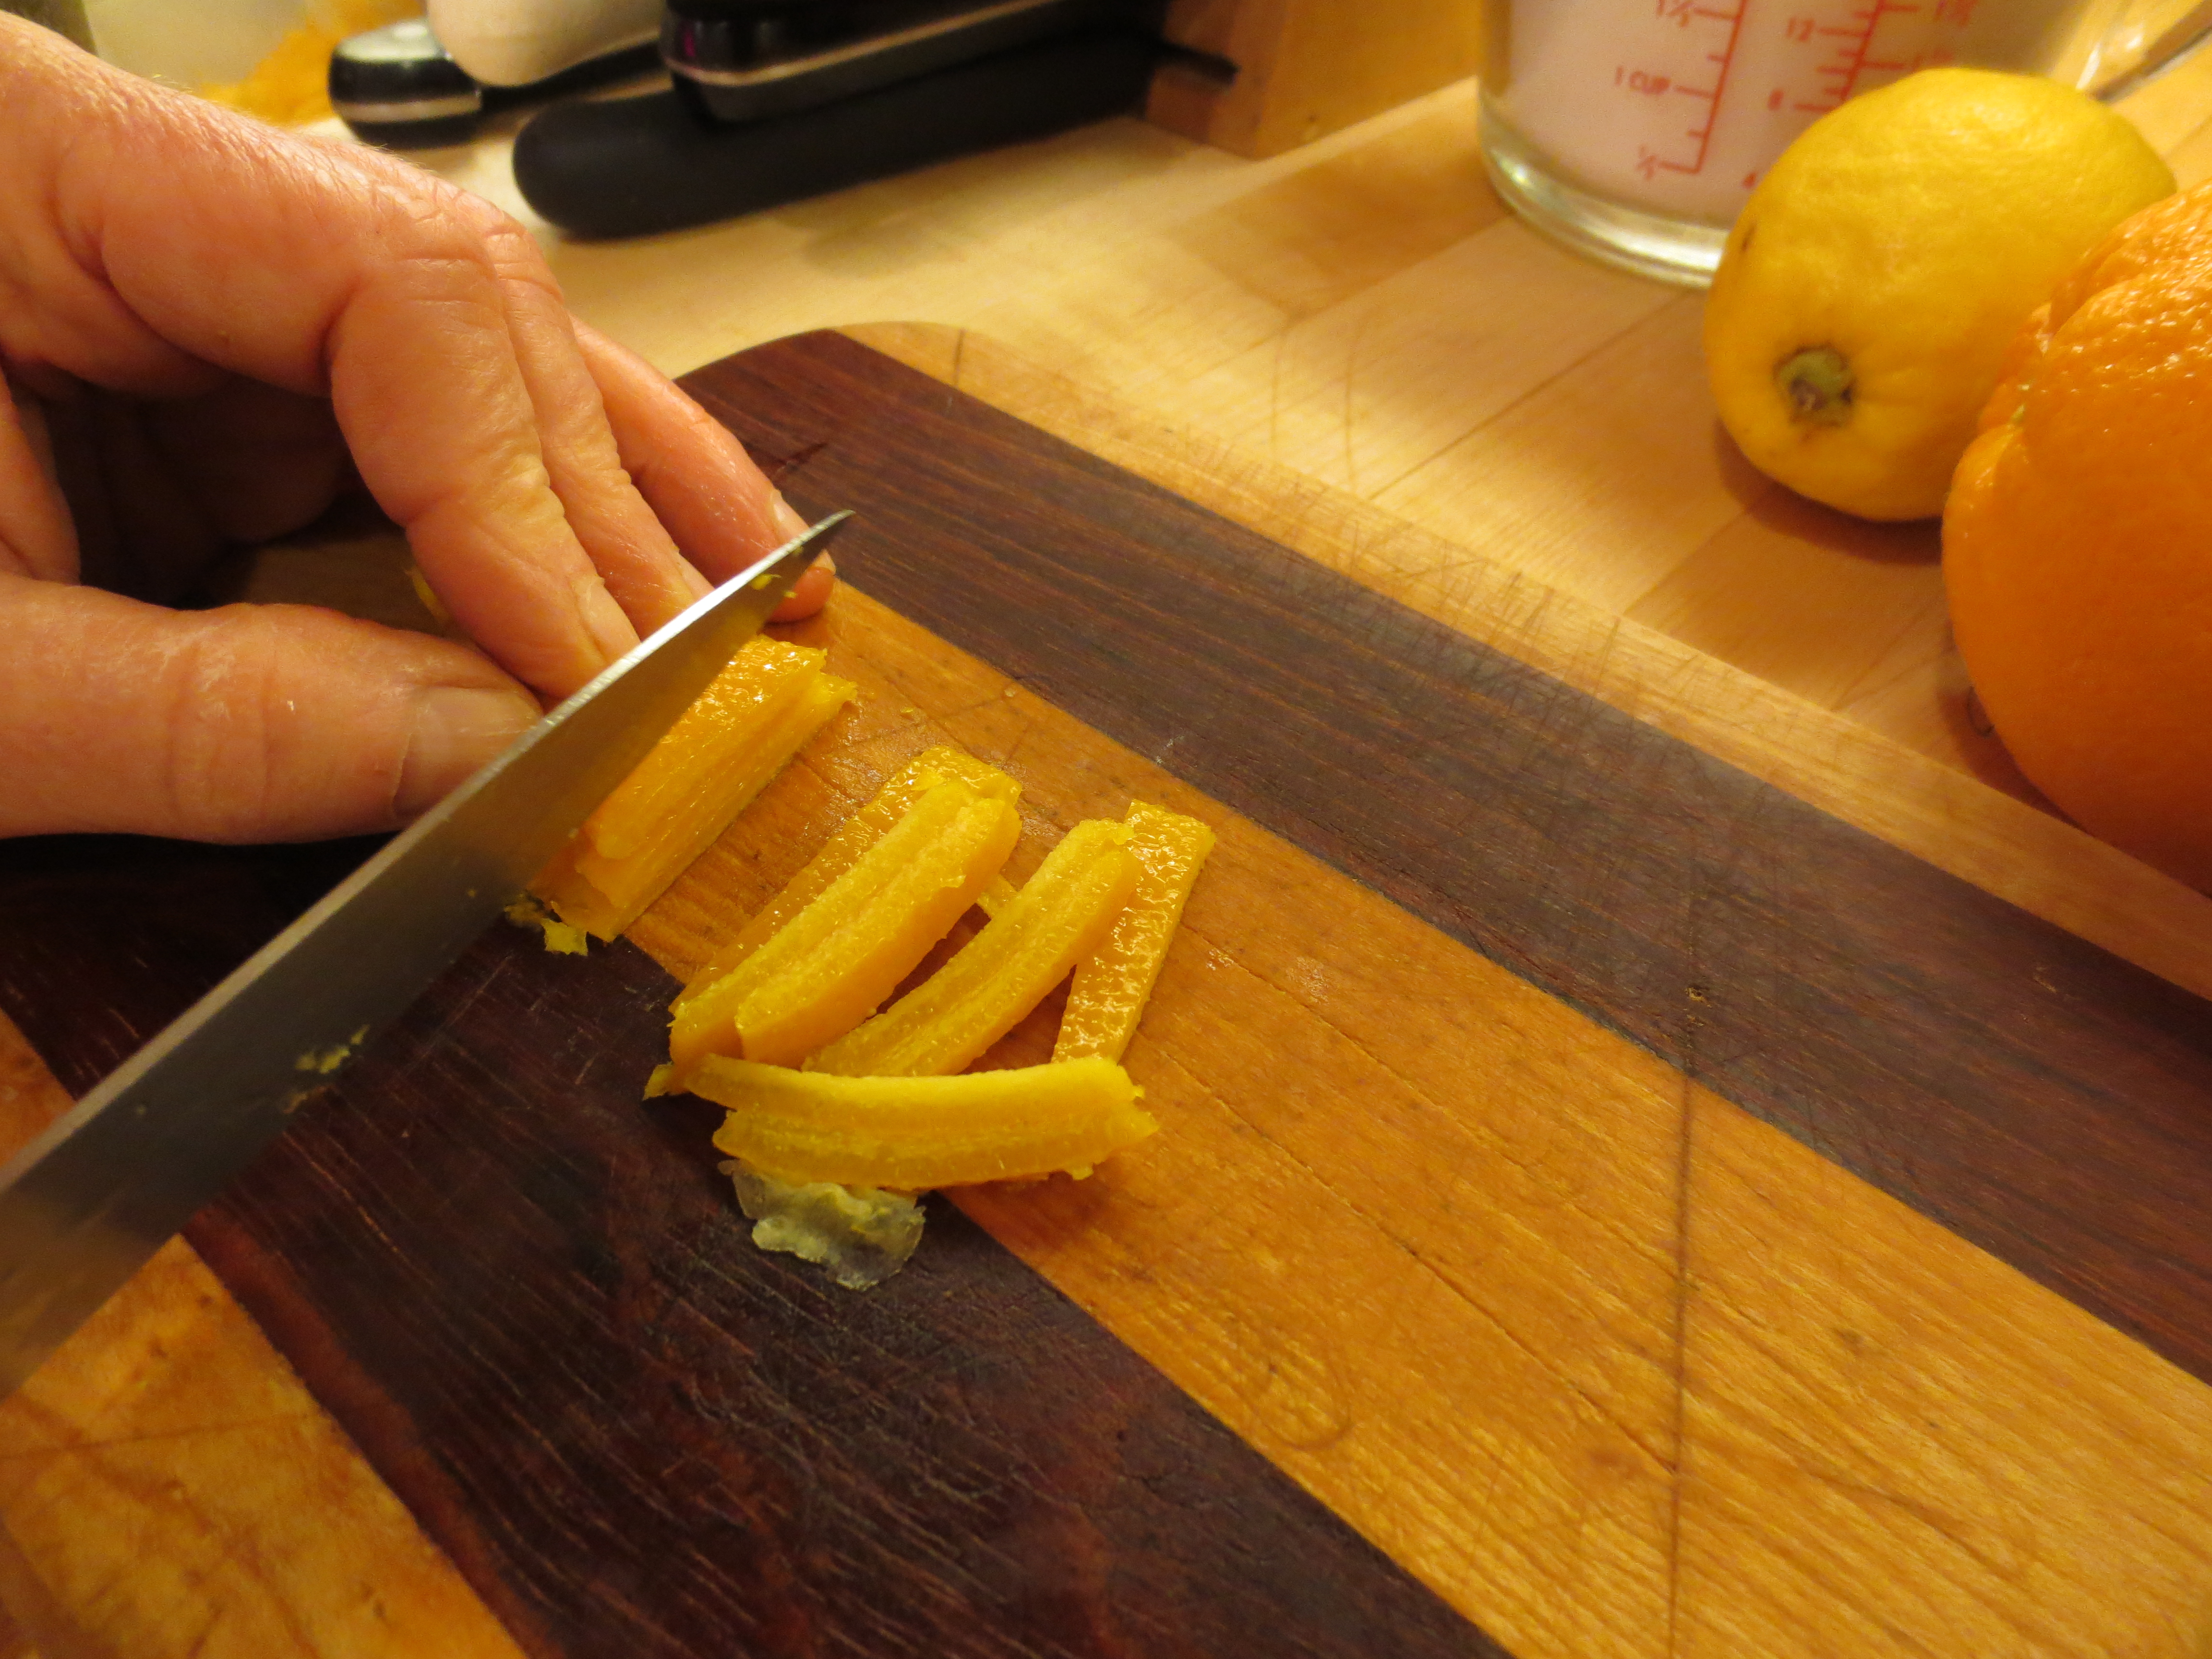
Remove the skins of the oranges in quarters. Cover rinds with water and boil with baking soda for 15 minutes. Shave off as much of the white pith as you can from the rind and slice rind very thin.
An alternative method is to use a vegetable peeler to peel off the rind and slice it. If you choose this method you won’t need to boil the rinds since they are so thin.
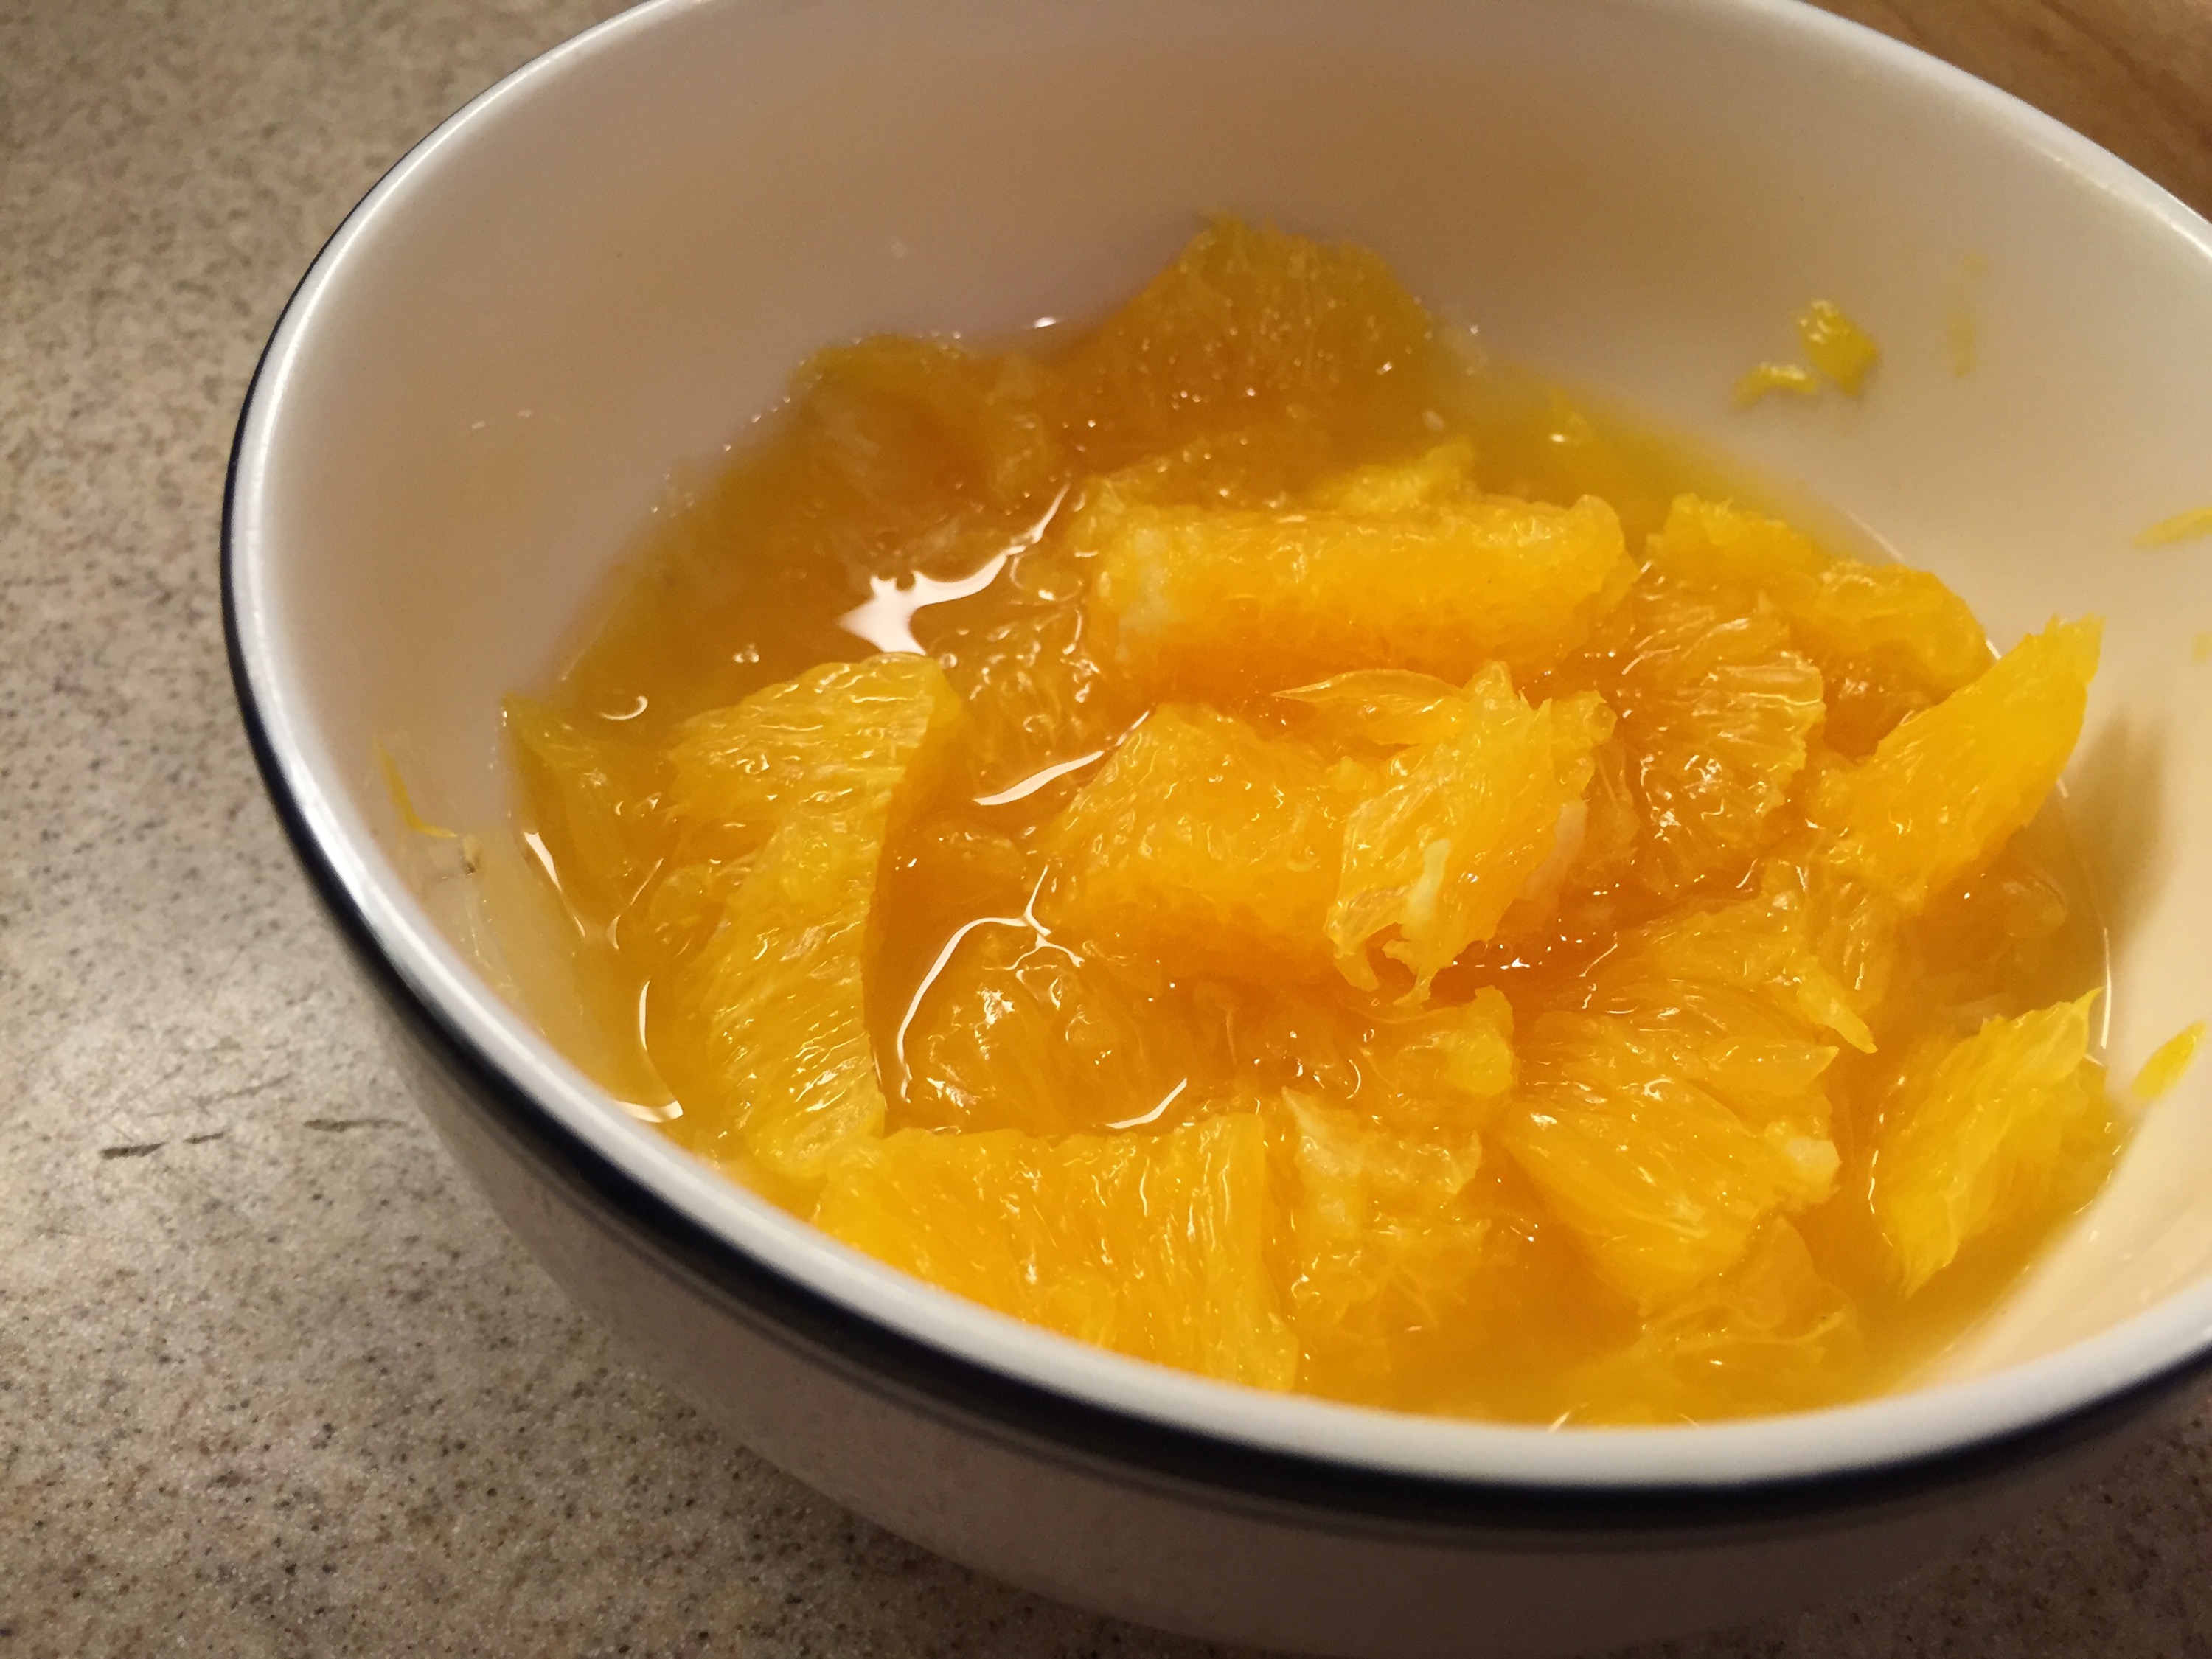
Meanwhile remove the membrane from each orange segment and reserve the pulp in a bowl. Take the membranes in your hands and squeeze the remaining pulp and juice into the bowl. Discard the membranes. If you’re really lazy you could probably use a couple of cans of mandarins, drained and rinsed. I’ve never tried it, but it could work.
Combine pulp, rinds with their water, cranberries and sugar in a saucepan. Boil, stirring often, skimming off any foam.
Let the mixture boil down and thicken, about 15-18 minutes. Take a spoonful of the mixture and pour it back into the pot. If there are lots of frequent droplets, the mixture isn’t ready yet. If the drips are slow and turn into one big droplet, then it’s ready (that’s called “sheeting”). Turn off the heat and place a tablespoon of liquid in a bowl and place it in the freezer for about 3 minutes.
Remove sample from freezer and tip it slightly. The sample should stay put. If the jam slides around the bowl it means it’s not ready yet. Bring the jam back to a boil and continue stirring constantly for another 5 minutes.
Ladle jam into sterilized canning jars with brand-new lids. Fill leaving about 1/4 inch of space at the top. Add the lids and let cool. When you hear little pops that means the lids have sealed. If you’d like more details about canning I recommend this thorough tutorial from The Alaska Urban Soil Project.
Our son starts preschool this week, which means I’ve got to mom up and start making snacks and lunches. I don’t plan on being some sort of super mom who prepares intricate bento boxes with pandas made out of cheese wheels and olives, but I do hope to serve my son healthy foods. Ok, I admit, we did buy fruit snacks and granola bars during our epic Costco run yesterday. I’m not perfect!
Here’s a recipe I came up with for healthy mini muffins. Apples, dried apricots, wheat bran — who cares what’s in it as long as it’s mini?
Apple Apricot Bran Mini Muffins
Makes about 48 mini muffins or 24 regular muffins
Ingredients:
1 cup whole wheat flour
1 cup all-purpose flour
1.5 cups wheat bran
1.25 teaspoons baking soda
2 tablespoons sugar
1/4 teaspoon salt
1 teaspoon cinnamon
2 cups of milk + 1 Tablespoon apple cider vinegar
1/4 cup molasses
1/4 cup honey
1 egg
3 tablespoons coconut oil, melted
1 cup finely chopped apples, peeled
1/2 cup finely chopped dried apricots
Directions:
Preheat oven to 350 degrees F. Grease a mini muffin tin.
In a large mixing bowl, combine the flours, bran, baking soda, sugar, salt and cinnamon.
In a one-quart liquid measuring cup combine the milk, vinegar, molasses, honey, egg and coconut oil.
Pour the wet ingredients into the mixing bowl. The mixture should be like thick pancake batter. Stir in the apples and apricots. Spoon batter into muffin tins. Bake for 13 minutes or until a toothpick comes out clean. Let cool on a drying rack.
Store in an airtight container or freeze and defrost as needed.
Last weekend I had the pleasure of spending time in Seattle. Despite the smoky air, I made it a point to get outdoors and do some urban foraging. Blackberry brambles are abundant around the city. My best friend, her boyfriend, my sister and I headed out to Discovery Park and found several briars laden with sweet blackberries.
This wasn’t my first blackberry rodeo. Although it was a hot day I made sure to wear pants, shoes and socks. There’s good reason Sleeping Beauty was surrounded by a thick wall of brambles — these bushes are brutal! My friend Matt didn’t heed my pants advice.
We picked a quart of berries in about half an hour. I got a few unbelievably ripe, juicy peaches at Pike’s Market and we knew that pie was on the horizon.
I’m not a baker and I’ve probably made one pie in my life, but I was inspired by the blueberry pie at South Restaurant + Coffeehouse. I tasted it the other day and noticed a subtle, unusual ingredient: pink peppercorns. I don’t know if the pepper was in the crust or the filling, but I found a pretty cool recipe from the L.A. Times that incorporated blackberries, nectarines and pepper. I wanted to try it.
A big thanks to my best friend Jess for her pie lattice expertise because this pie was a winner inside and out!
We used 3 cups of blackberries and two cups of peeled, sliced peaches. We used honey instead of corn syrup. The ground pepper was incorporated into the crust and gives the pie a bit of zing.
After placing the bottom crust in the pan, we set a circle of parchment paper on the crust and used some dry beans as pie weights. Then we baked the bottom crust for about 15 minutes in the preheated oven, let it cool for about five minutes and added the filling.
We brushed the lattice with milk and sprinkled cinnamon and sugar on top.
Having been raised harvesting Alaska wildberries you’d think I would be a pro at making jams and jellies. Truth is, I really stink at it. It always comes out syrupy. It’s like you have to have some sort of instinctual jam-making knowledge passed down through the generations.
But in reality all it takes is a lot of stirring. My mom has been making jam since she moved here in 1982. I turned to her for this segment of “Harvesting Anchorage.”
It was a bluebird day in Anchorage as we made our way to our super-secret blueberry spot. The only downside of picking berries on a sunny day is they are harder to see — but I’m not complaining!
I’ll never stop promoting Costco rotisserie chicken. It’s only $5 and not only is it delicious hot off the shelf (I sometimes don’t even bother with a plate or silverware), but the leftovers can be used for myriad dishes such as pesto lasagna roll ups, quick matzo ball soup and homemade chicken stock.
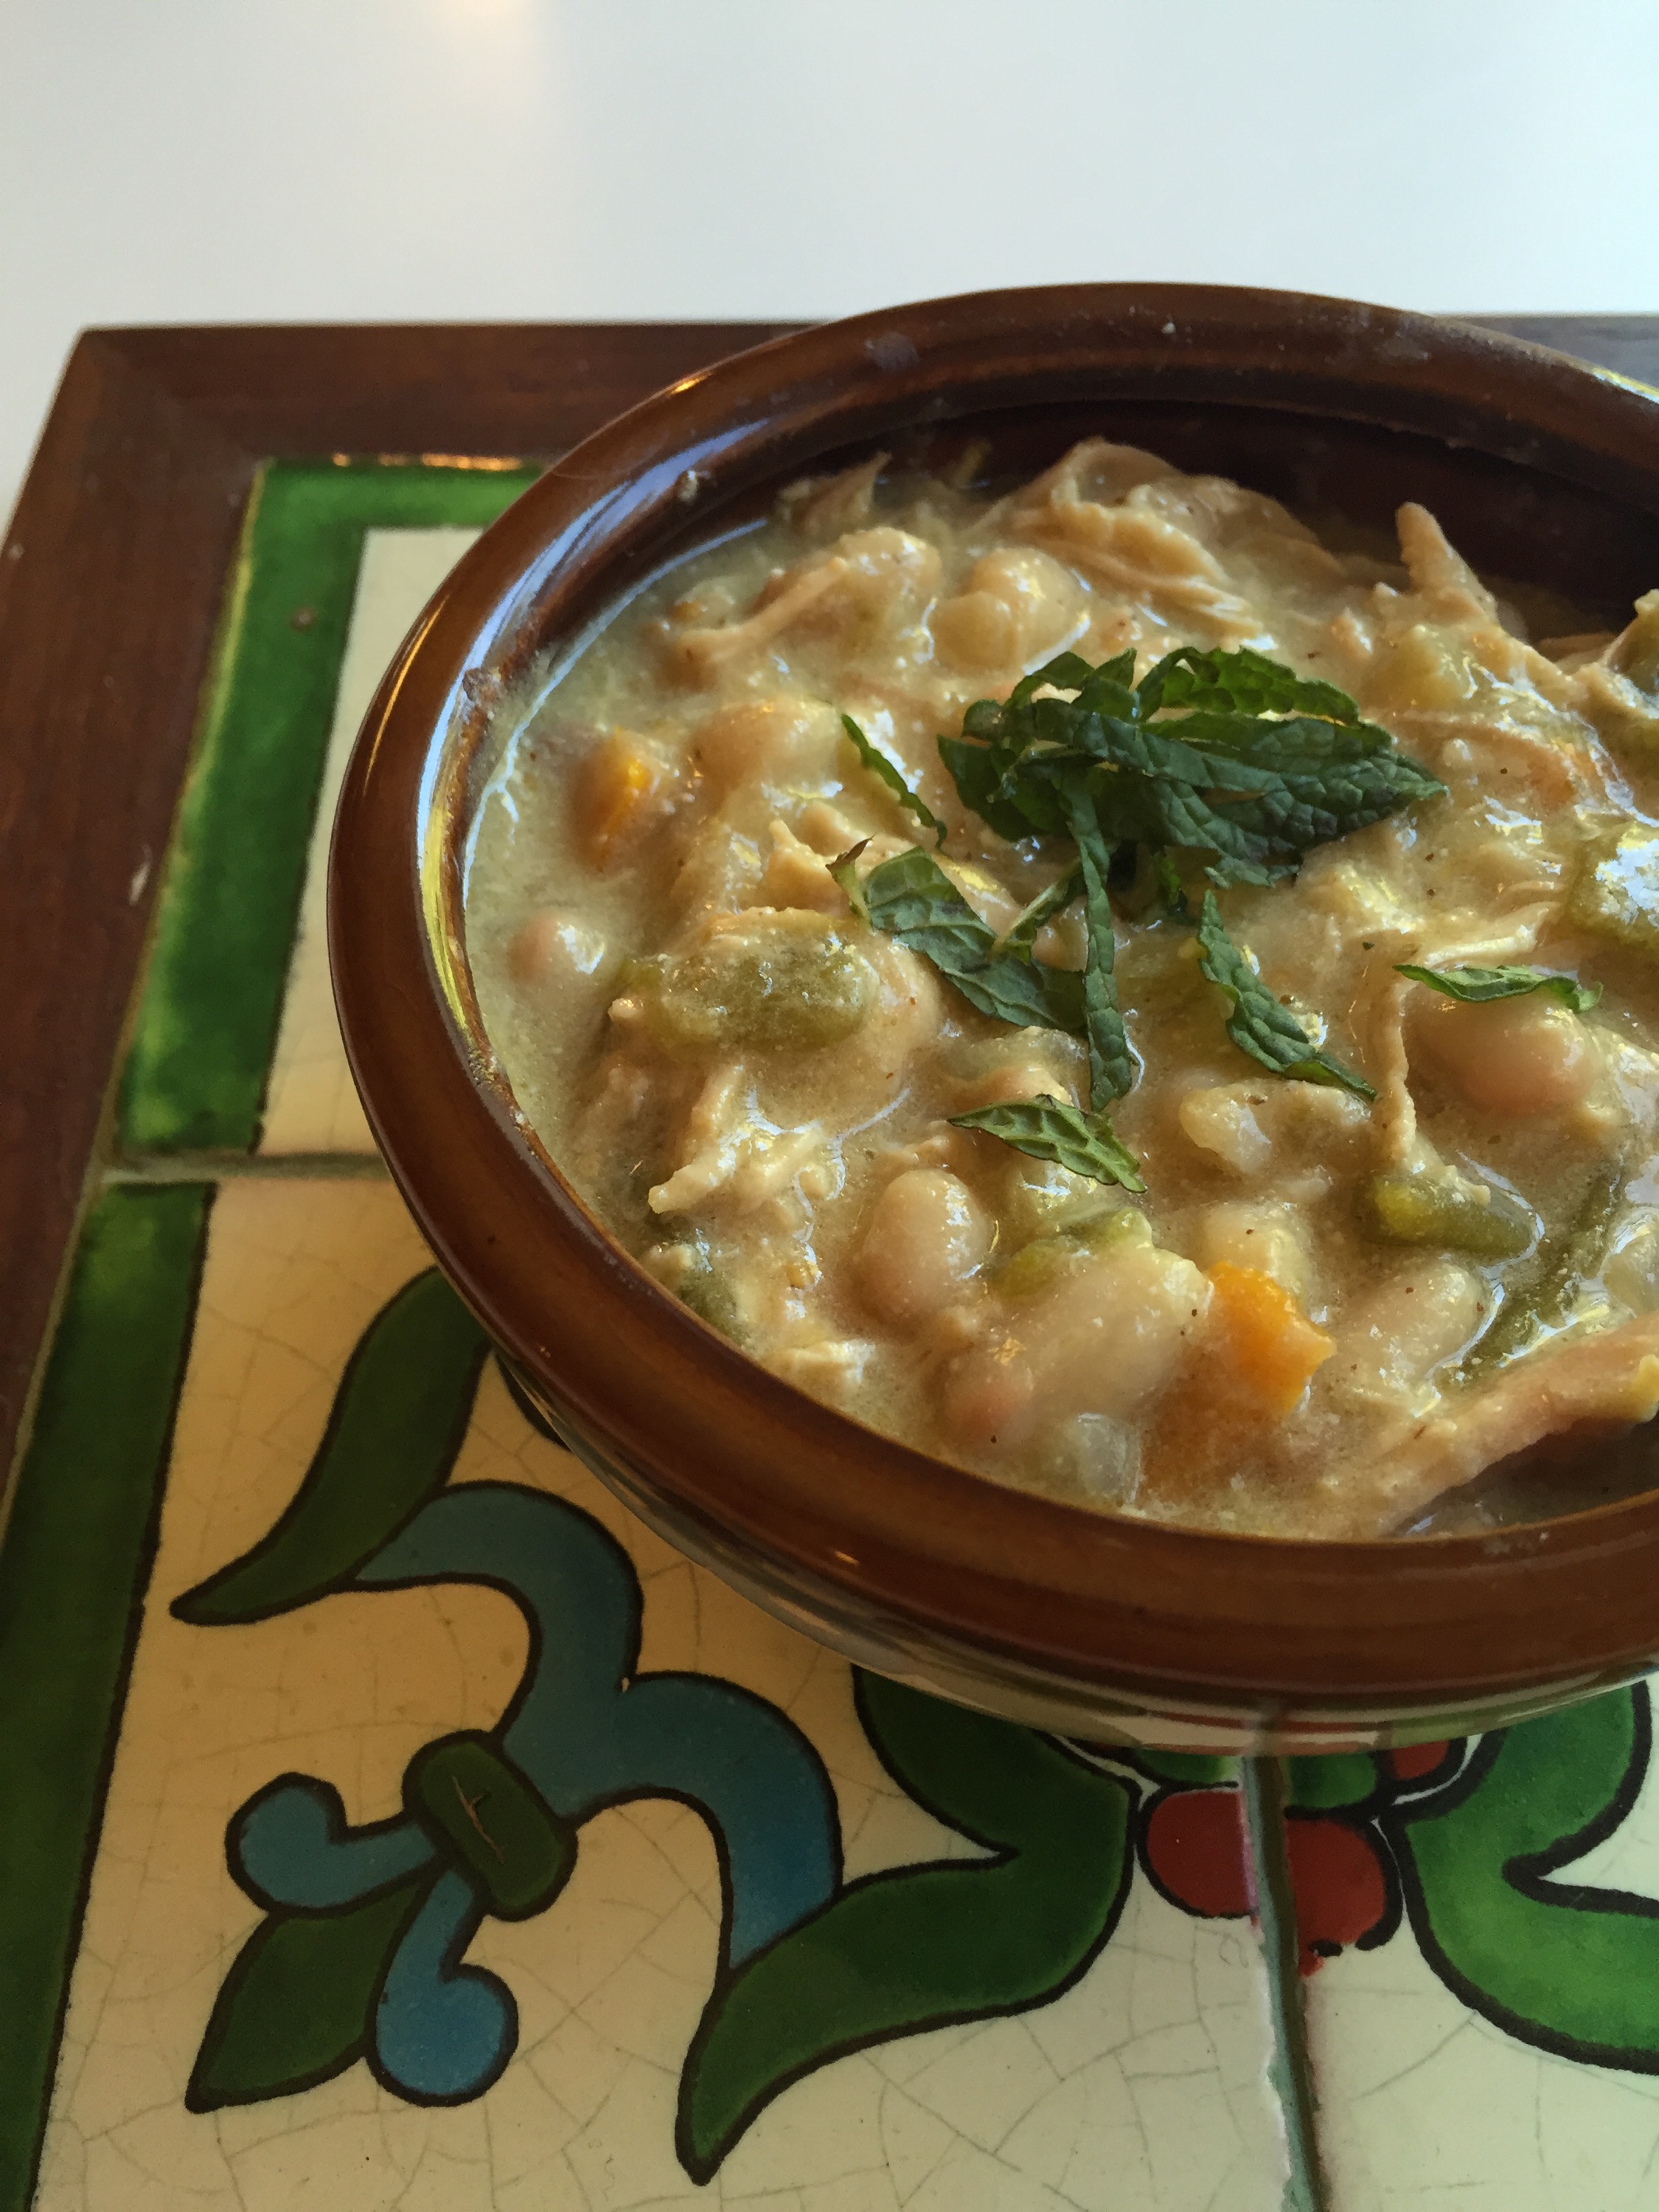
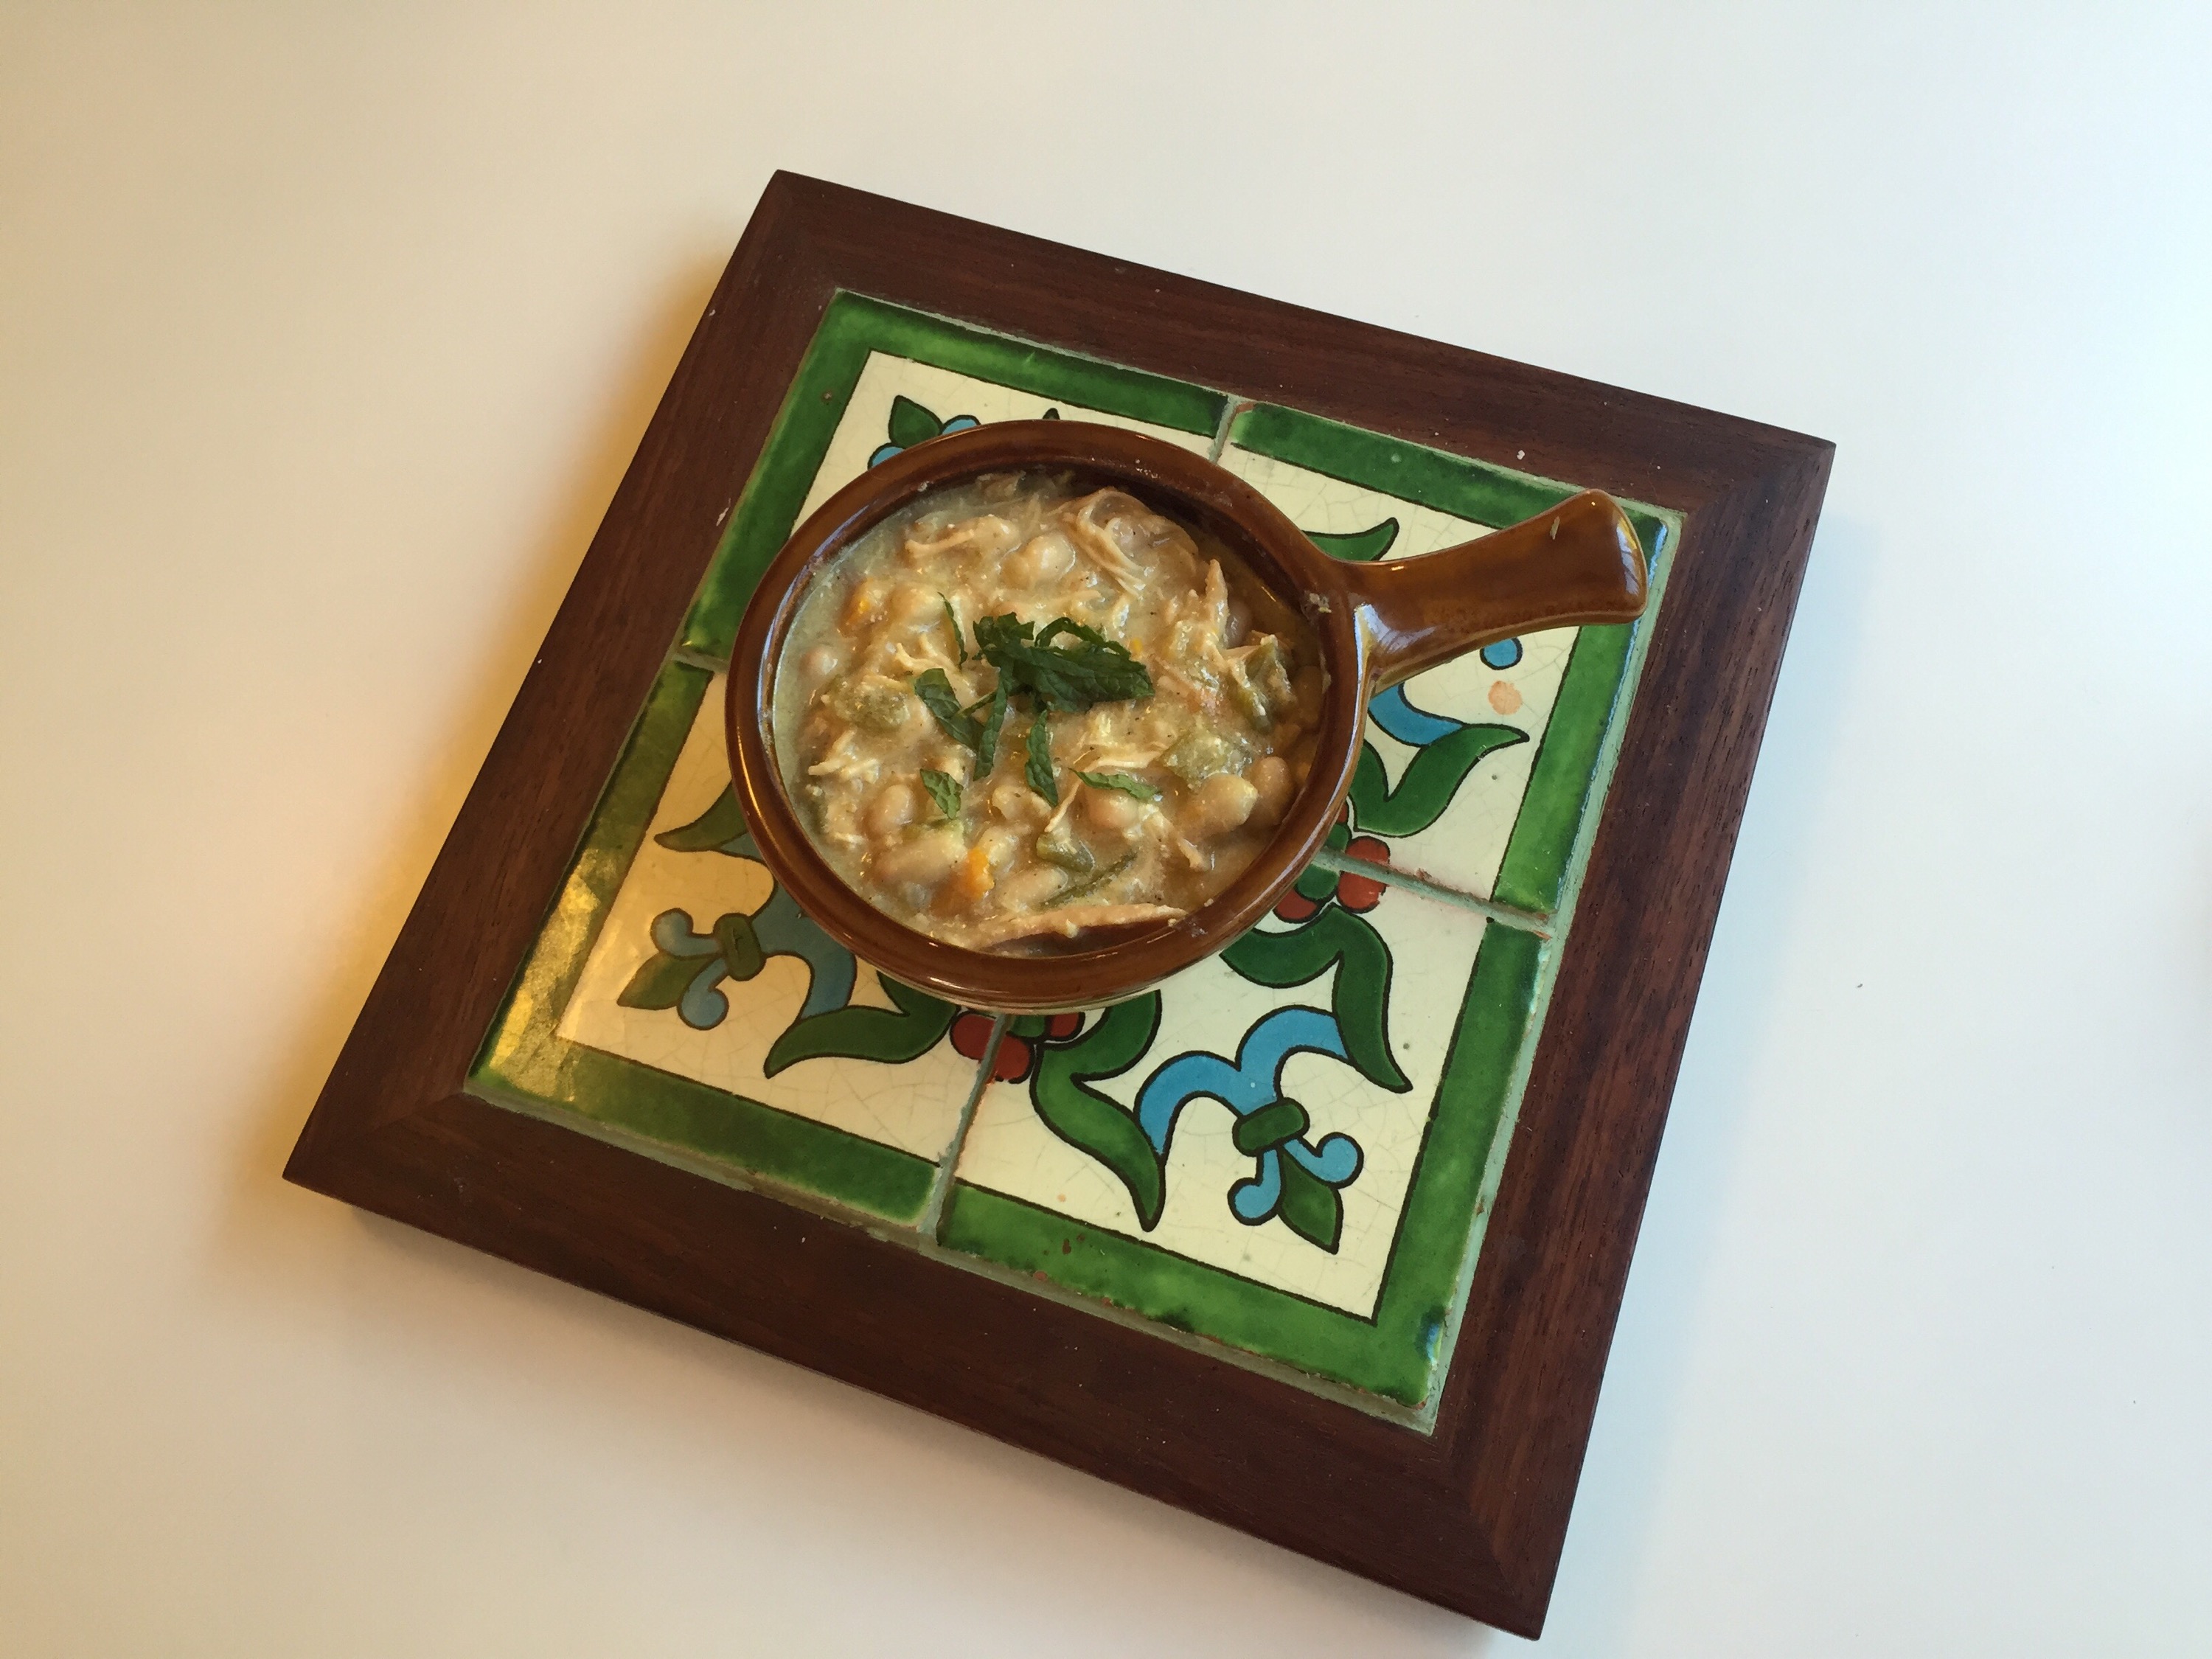
Tonight on the menu is white chili. My friend Danielle introduced me to the notion of non-tomato chili about eight years ago and when I thought of the dish for tonight I was surprised I hadn’t blogged about it yet.
This one-pot wonder has similar flavors to traditional chili. With the addition of salsa verde and sour cream you give chili night a new twist.
White chili with chicken
Serves 6
Ingredients:
1 Tbs. olive oil
1 cup chopped onion
1/2 cup chopped yellow bell pepper
1 can diced green chiles
leftover rotisserie chicken meat, shredded
1, 16-oz. jar salsa verde
1.5 cups chicken stock
2 tsp. ground cumin
1/4 tsp. chili powder
1/4 tsp. garlic powder
1/2 tsp. dried oregano
1 bay leaf
2 cans great white northern beans, drained
1 cup sour cream
Directions:
Heat oil in a dutch oven. Sauté the onions and peppers till onions are soft, about 7 minutes. Add the chiles, chicken, salsa, stock and spices. Bring to a simmer, turn to low and simmer one hour.
Add the beans and cook another 10 minutes. Add the sour cream just before serving. Top with cilantro sprigs and shredded cheddar cheese.
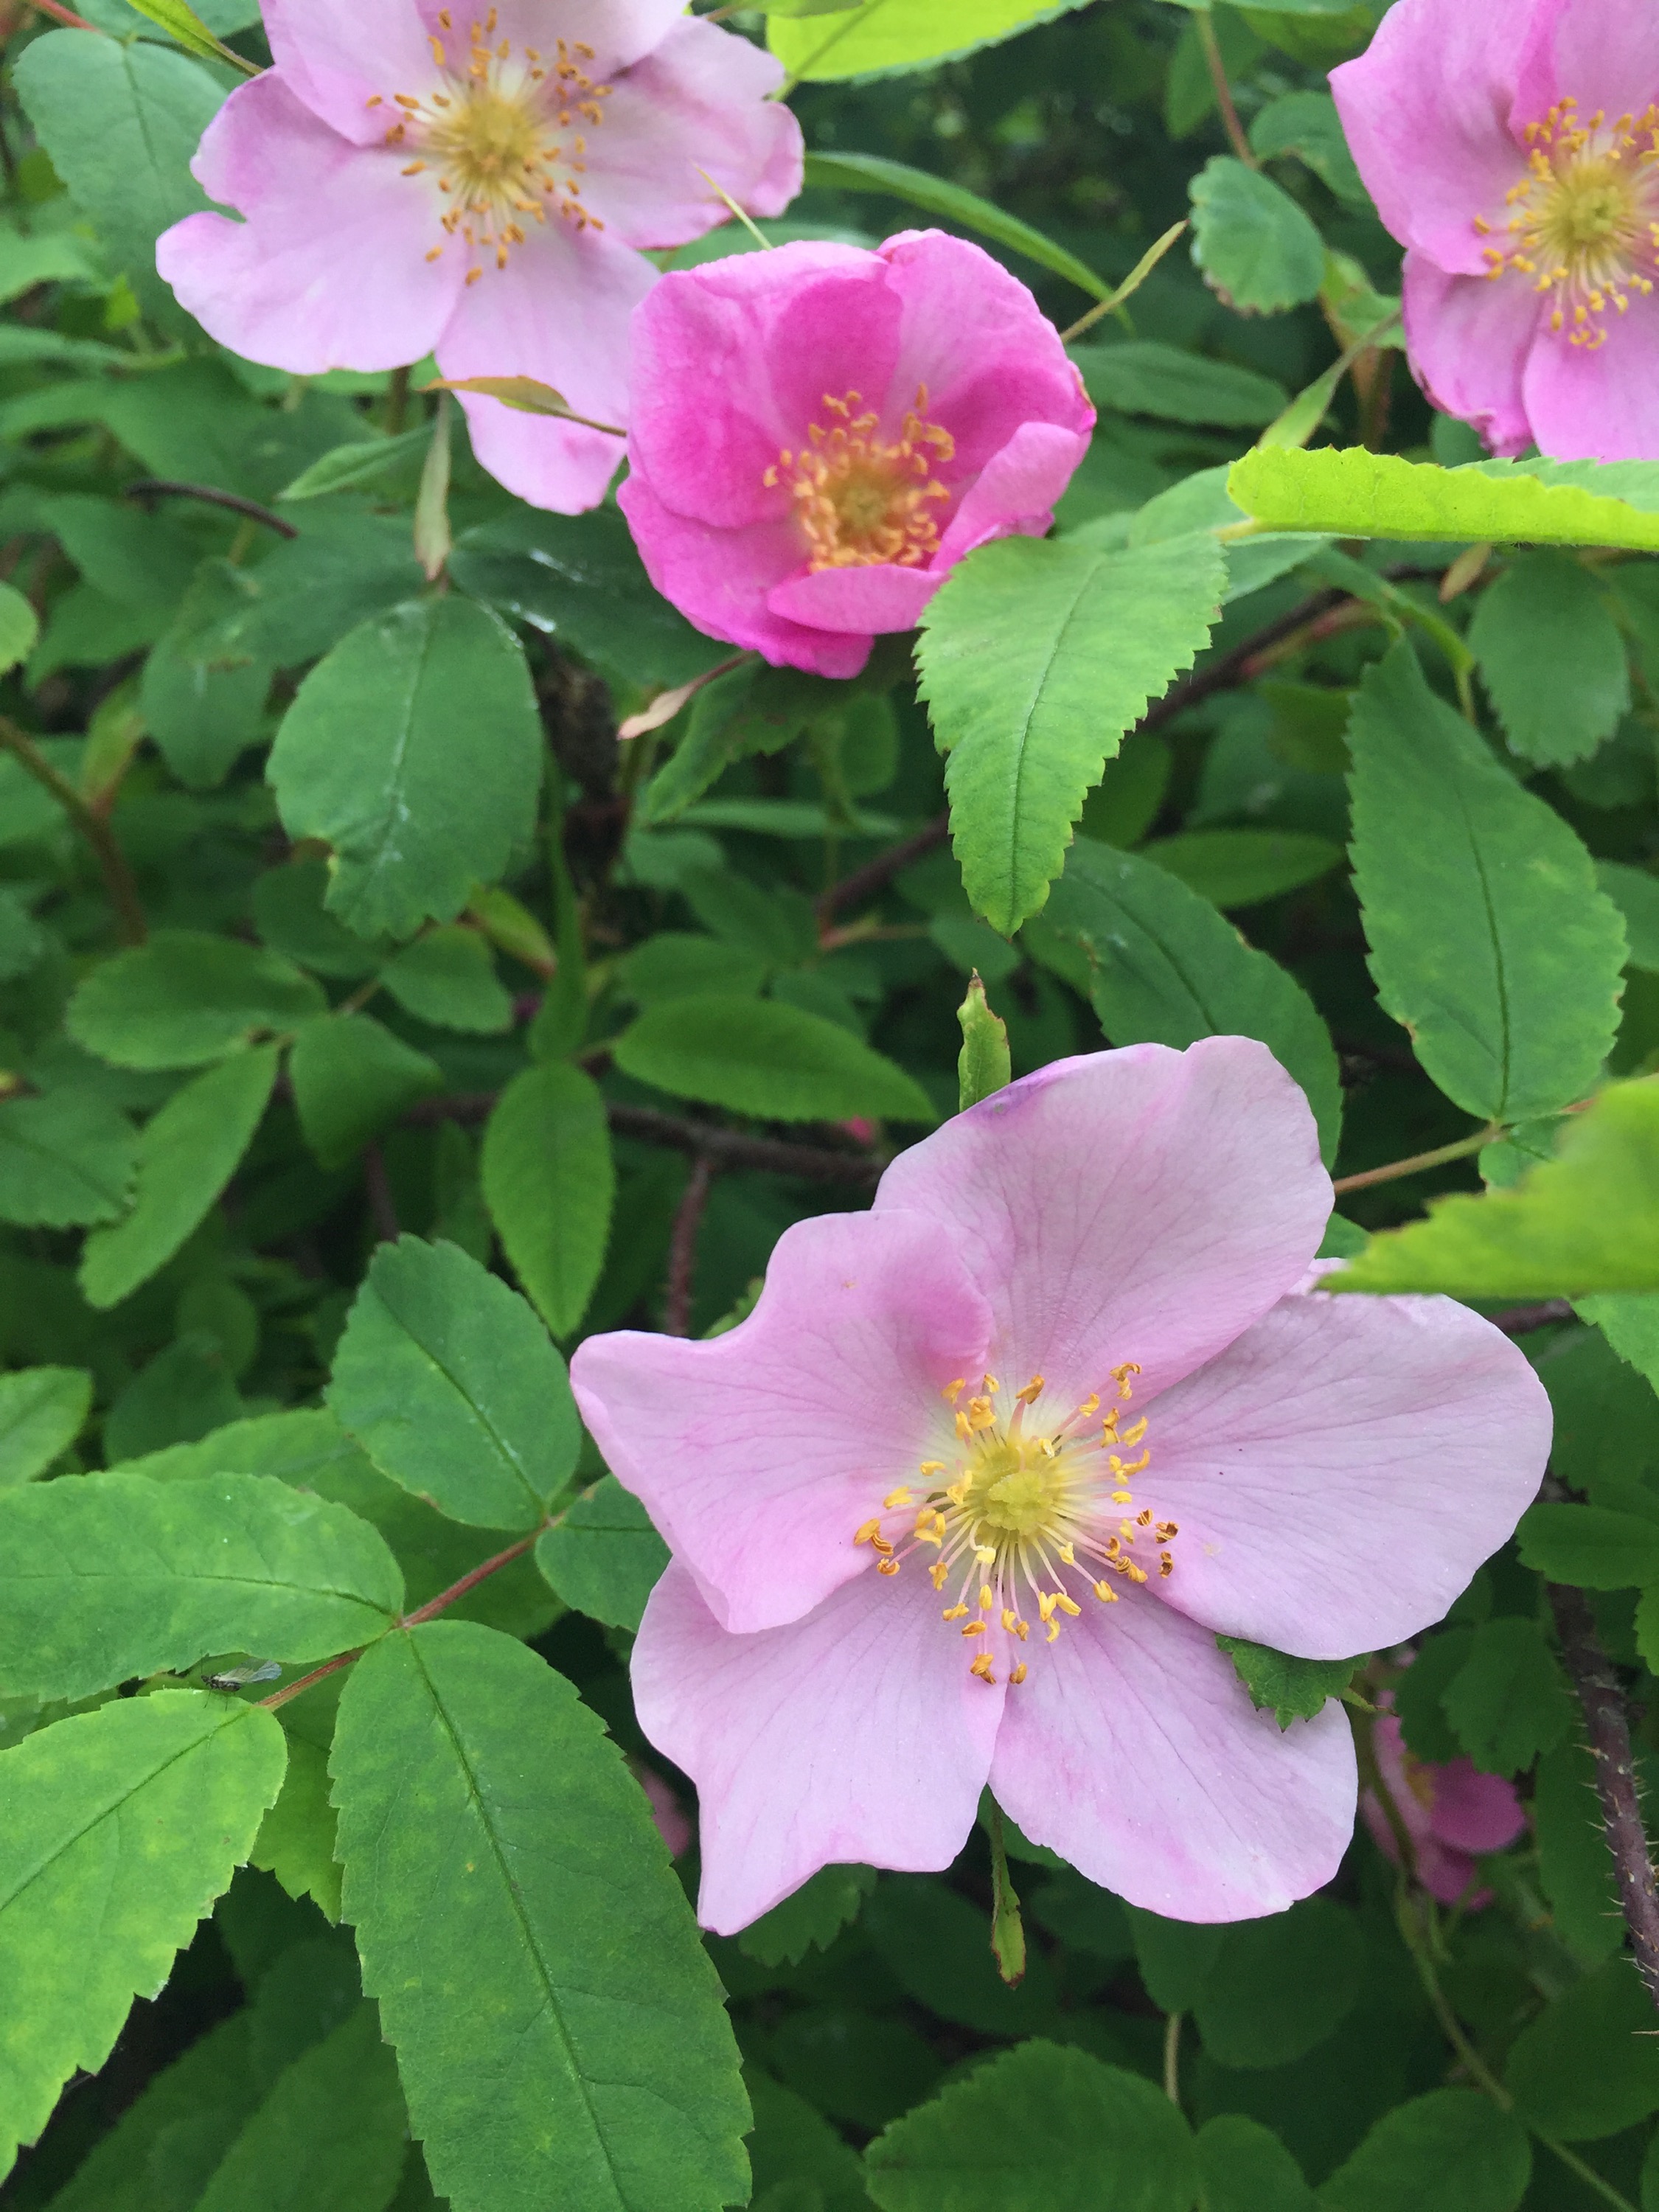
As part of my personal challenge to forage at least one edible plant a month this summer in Anchorage, I decided to revisit wild rose petals. Several years back I collected these perfectly pink petals and made a just-OK jelly out of them. Thing is, I don’t eat jelly. I’m not a toast and jam kind of gal, I guess.
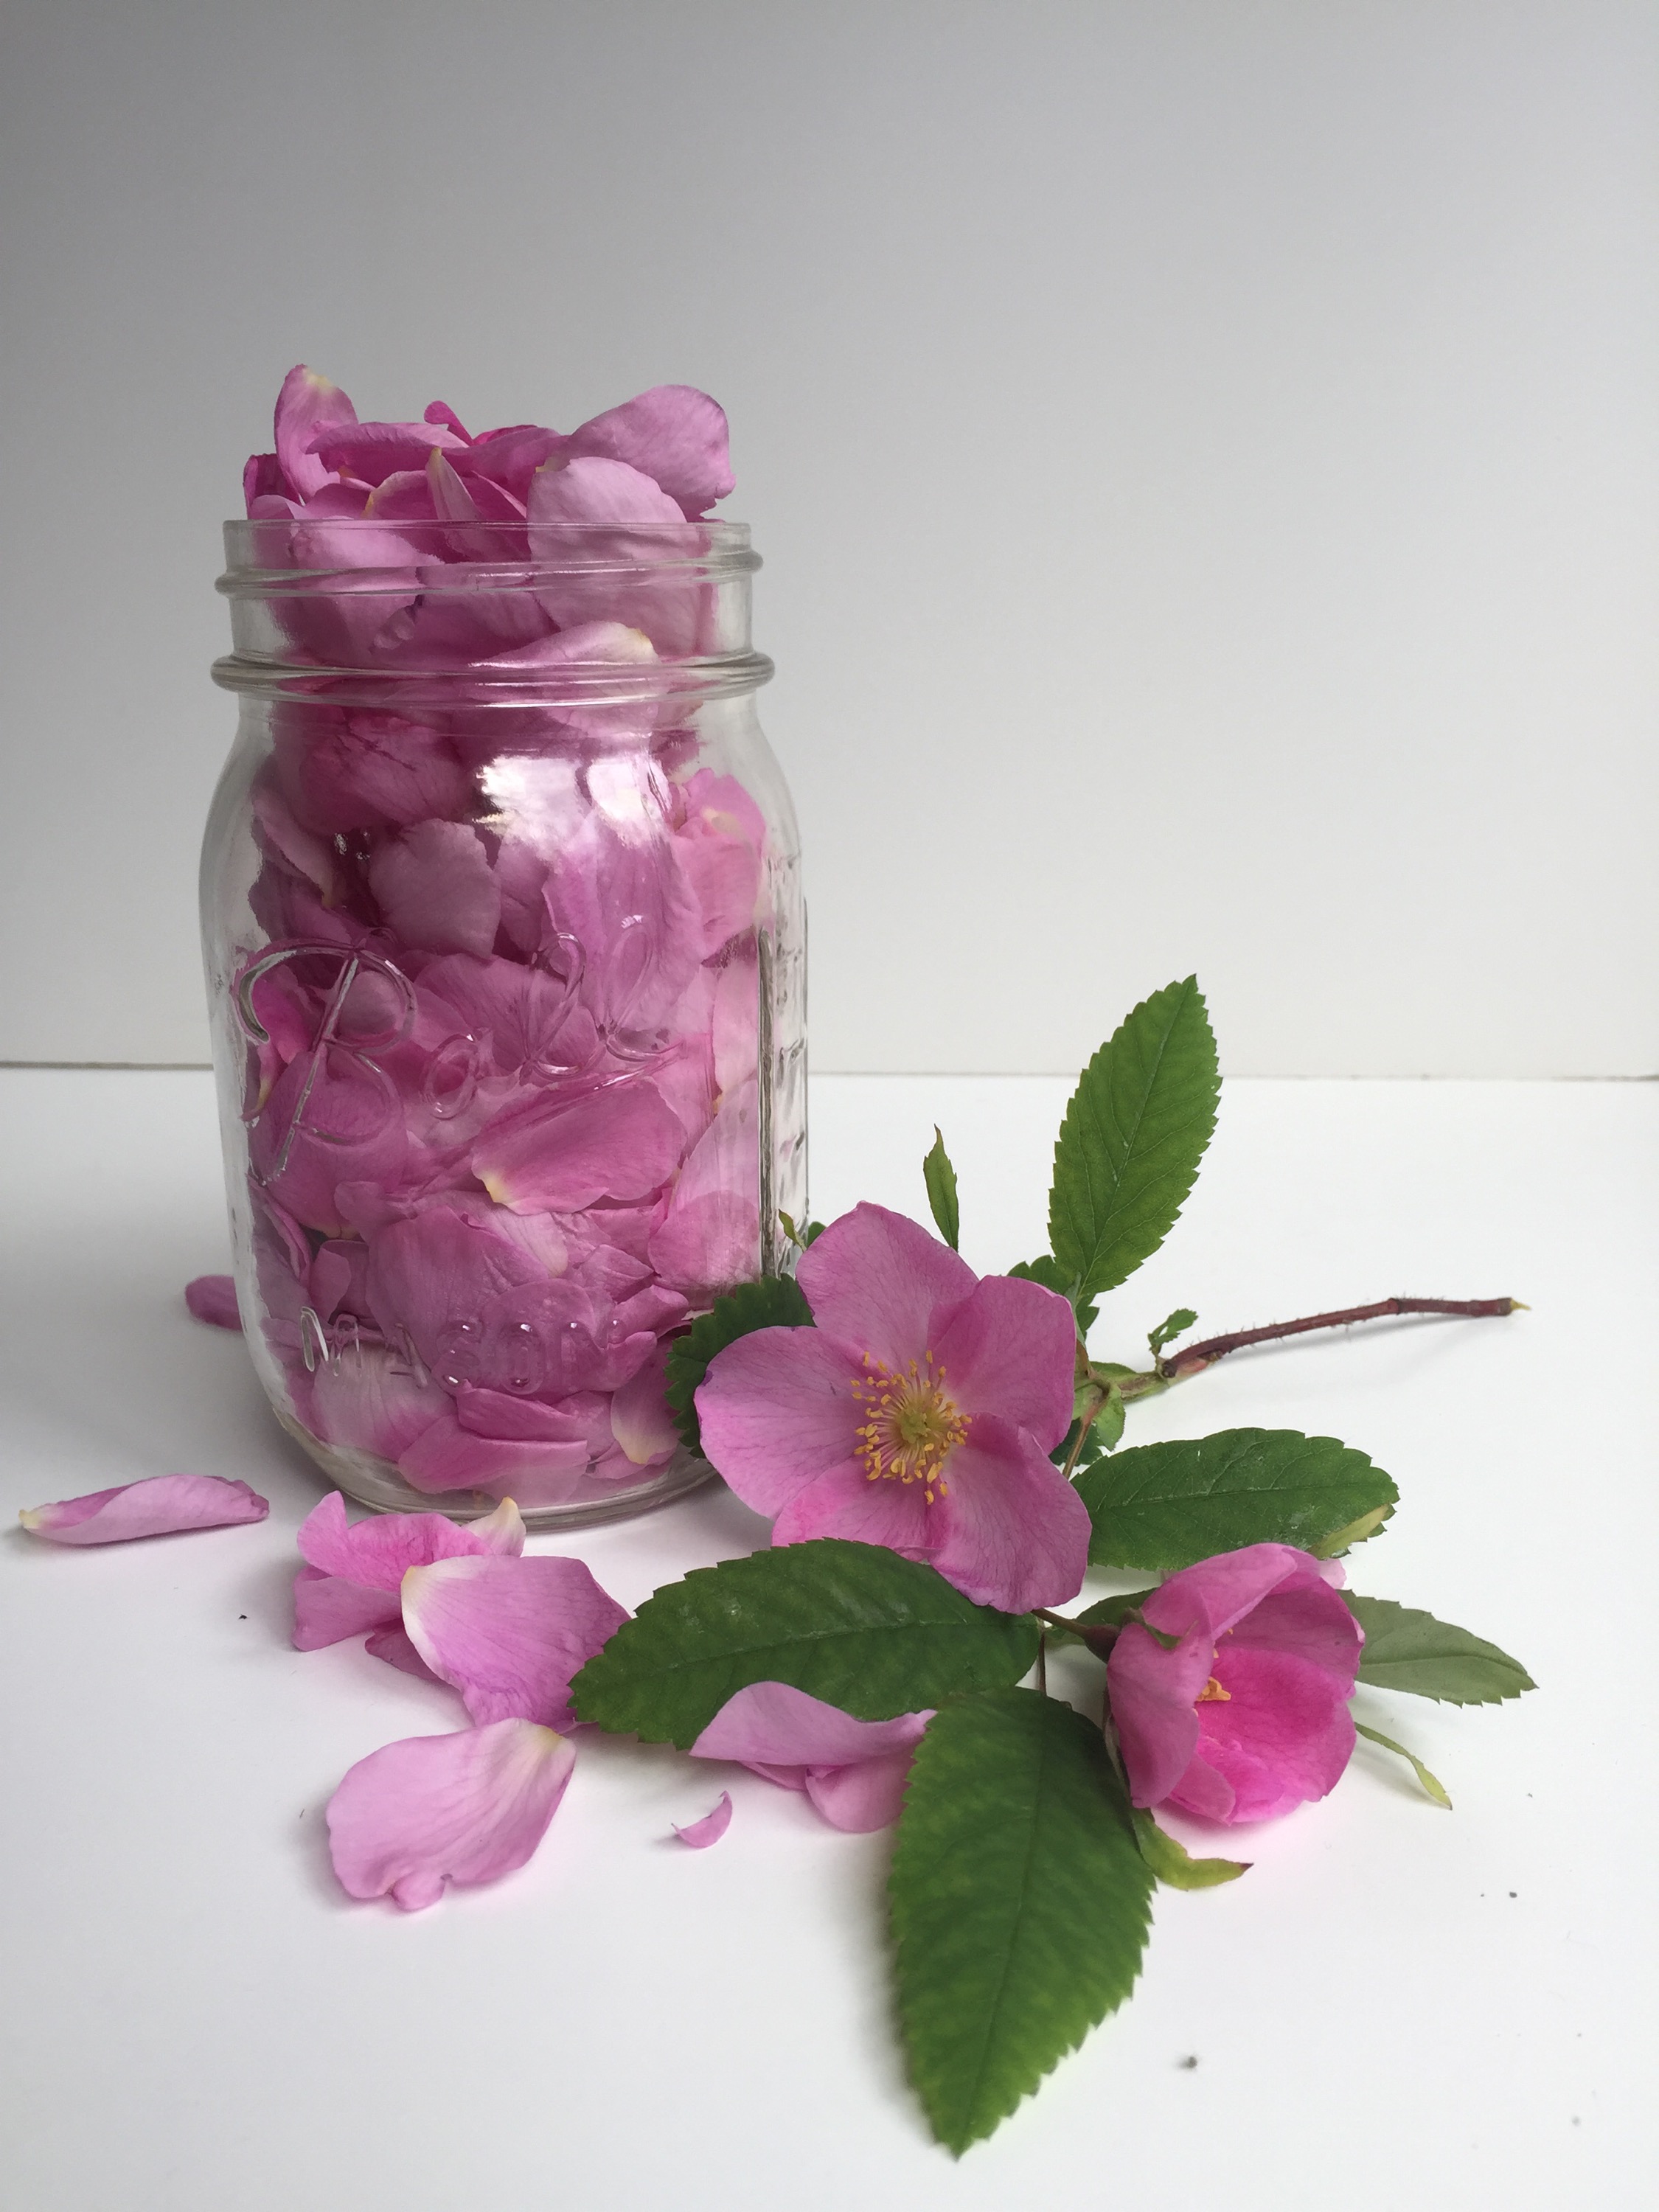
This time I opted to make rose petal syrup. It was easy to prepare and resulted in a gorgeous pink concoction that tasted as good as roses smell.
You can find wild roses just about everywhere in Anchorage in June. This bush is on the on-ramp to the Seward Highway.
The wild roses are in full bloom here in Anchorage and it’s hard not to find them. I picked petals on the side of the highway, on my street and in my back yard. They have been in bloom since the first week of June and will probably be around for another week before they fade, fall and begin to turn into rose hips (and that’s another foraging adventure!)
Rose Petal Syrup
To make one bottle of syrup I collected about 2 gently packed cups of petals. Be ready to encounter some caterpillars, bugs and spiders (I lost about a cup of petals when I spotted an arachnid creeping around my collecting jar).
*2023 update* – I realized I didn’t have a written recipe for the syrup. Here it is!
Ingredients:
6 cups fresh wild rose petals
5 cups sugar
1 quart plus 1 cup of water
2 teaspoons salt
2 tablespoons lemon juice
Fill the sink with cold water and pour in the petals. Stir them around and let the bugs and debris settle. Spin the petals dry in a salad spinner and place in a medium mixing bowl. Add 3/4 cup of sugar and muddle the petals with a potato masher.
Place the pulpy petals in a sealable container in the fridge overnight. Before cleaning the mixing bowl, scoop out remaining sugar gloop and exfoliate your hands. It’s lovely.
The next day, bring the water to a boil. Add the remaining sugar till dissolved. Toss in the petals and any pulp, lemon juice and salt and simmer on low until the color has been extracted from the petals. There’s no science to this. I think I simmered mine for 30 minutes. The liquid should be bright pink.
Turn off the heat and let the syrup cool. Using a mesh strainer lined with a clean linen dishcloth, ladle the syrup into a pitcher, pressing on the petals and tossing them as you go.
Pour into sanitized jars or bottles. Keep refrigerated. Keeps for several months.
I came home from work today and didn’t want to think much about making dinner. What with eight wedding floral gigs this summer, parenting, plus my near full-time job, I have a lot of other things on my mind.
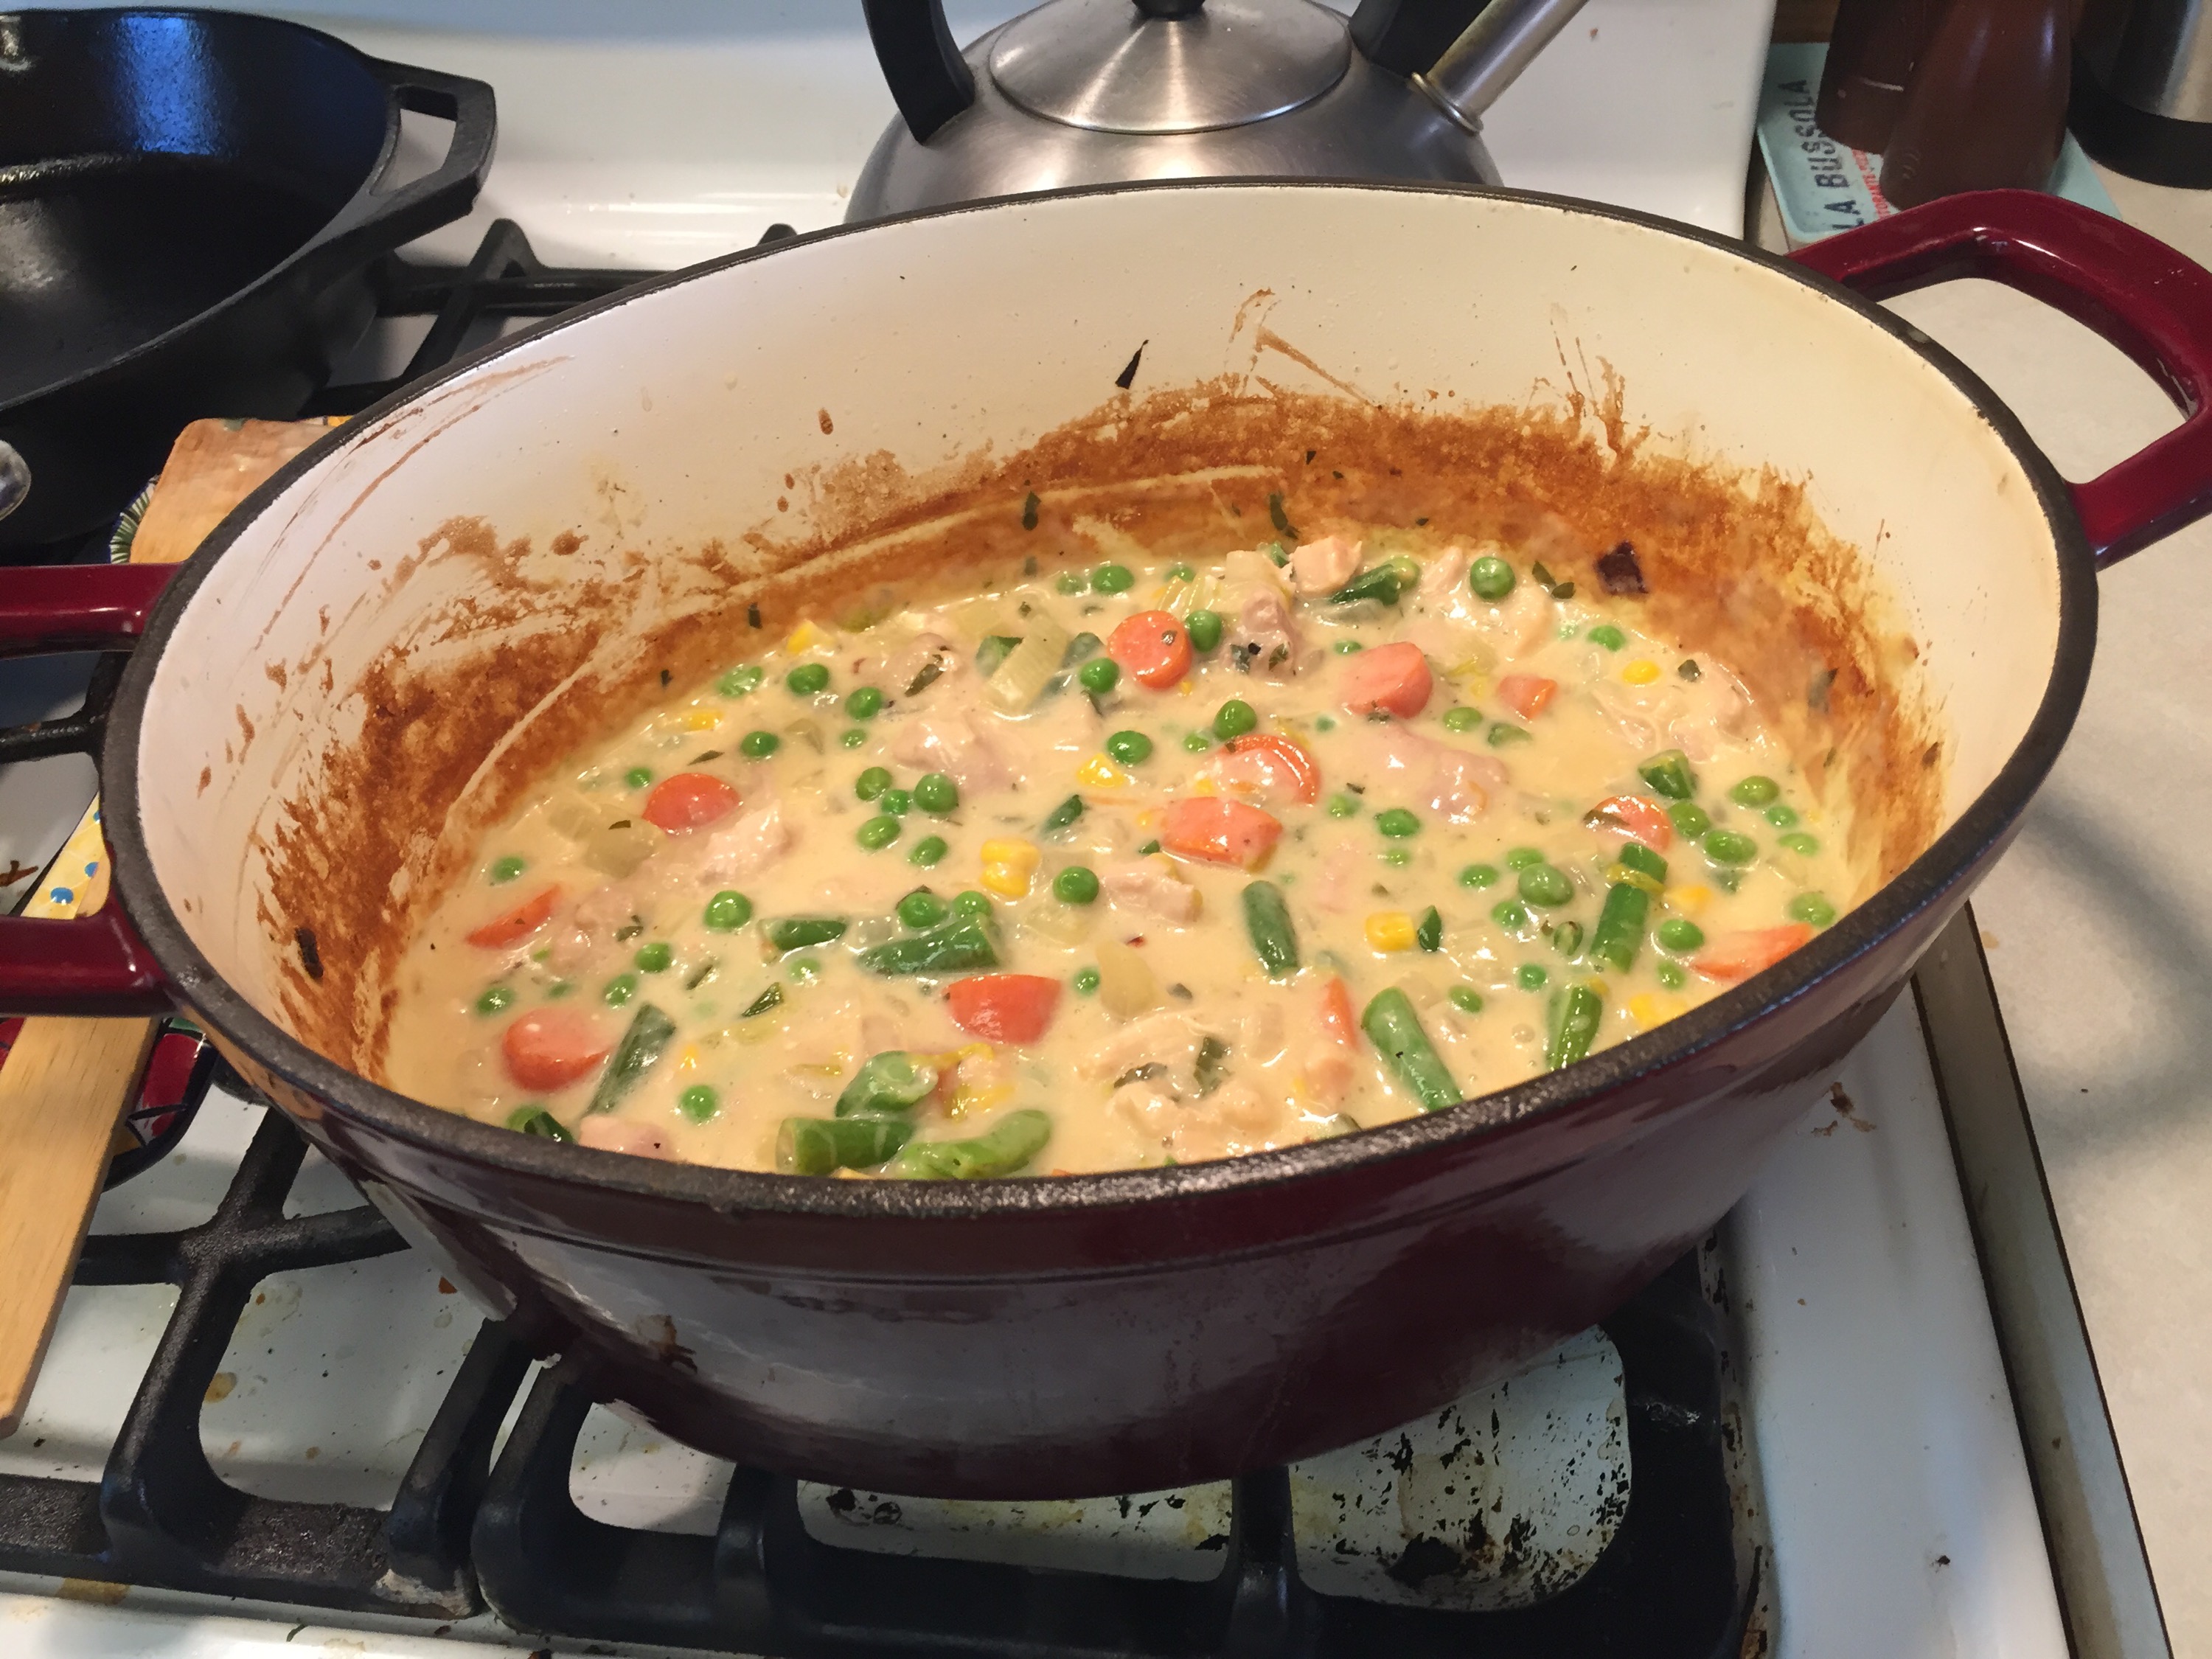
Enter condensed cream of chicken soup. I tend to avoid recipes that call for this salty, globby ingredient but sometimes I’ll make an exception.
Chicken, veggies, herbs and soup over rice or noodles is always a crowd pleaser. Comfort food at its finest.
This was simple to assemble and although it’s not quick, it requires very little effort or thought, which is perfect for today.
Chicken & Vegetable Stew-like Casserole Dinner
Serves 4
Ingredients:
2 tbs. butter
olive oil
3-4 skinless chicken thighs (breast works too)
1/2 cup flour
3 celery stalks, chopped
1/2 onion, chopped (about 1 cup)
3 carrots, chopped
1 bay leaf
2 Tbs. chopped fresh parsley
1 can cream of chicken soup
6 oz. cream cheese
chicken stock
1/2 cup frozen peas
1/2 cup frozen green beans
1/2 cup frozen peas
salt and pepper
Directions:
Preheat oven to 350 degrees F. Heat butter and 2 Tbs. olive oil in a dutch oven oven. Place flour in a pie pan. Dredge chicken thighs in flour and shake off any excess. Place thighs in dutch oven and brown on both sides, about 5 minutes total. Set thighs aside and pour out excess oil.
Add another tablespoon of oil and toss in the celery, onion and carrot. Cook until onions are soft, about 5 minutes. Add the parsley, bay leaf and cream of chicken soup. Fill the empty can with chicken stock and pour that too. Break up the cream cheese with your fingers and add to the pot. Add salt and pepper to taste.
Nestle the thighs into the sauce and place into the oven. Take out and stir the pot every 20 minutes or so to prevent any burning.
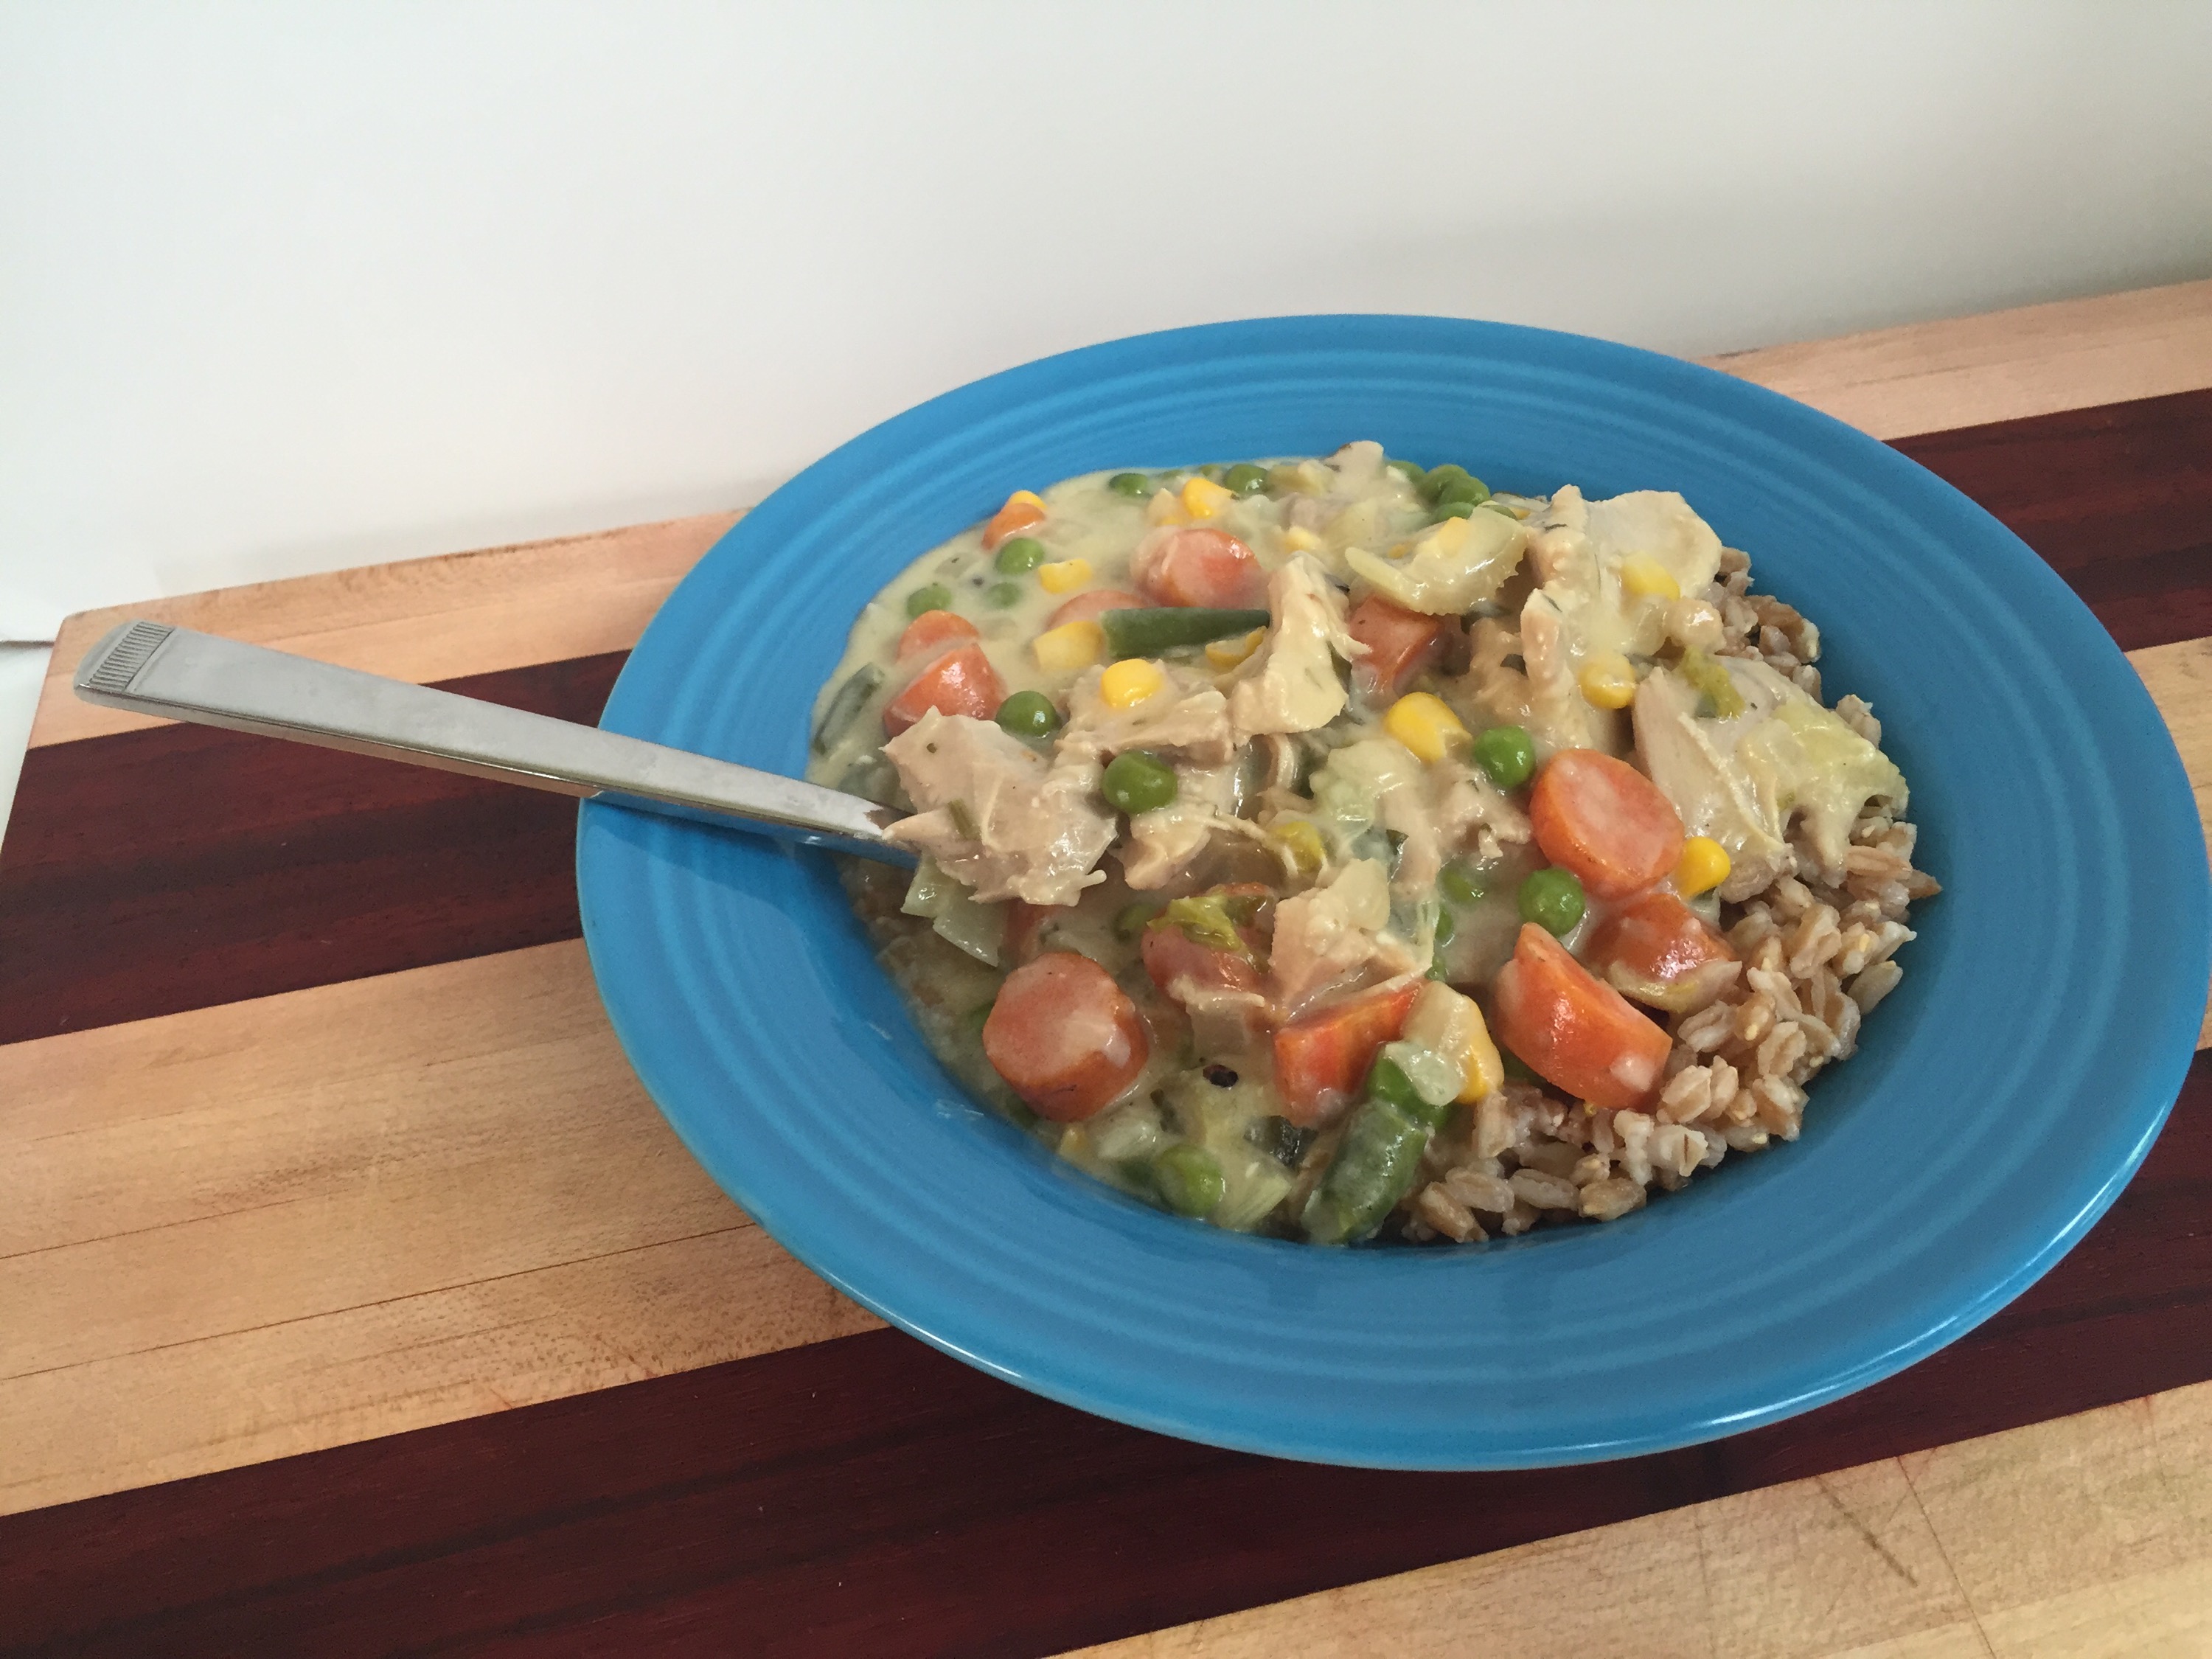
After 45 minutes in the oven, stir in the frozen veggies and break up the thighs with a fork. Place back in the oven and bake another 30 minutes.
Remove from oven and break up any other chicken pieces. Remove bay leaf and serve over egg noodles or brown rice.