I’m thrilled to introduce fellow Anchorage blogger, Ashley Taborsky, in this week’s “Harvesting Anchorage.” Ashley is the woman behind Alaska Urban Soil Project where she aims to create an “online community of fellow urban hippies who want to get into Alaskan backyard farming.”
This gal is diving deep into Alaska gardening and I admire her for her tenacity and willingness to try new things.
Throughout the summer I’ve been blogging about how I interact with the wild foods of Anchorage and Alaska, but you’ll notice that I don’t garden. It’s partially due to my hectic working mom/florist/other stuff schedule, part laziness and also that I don’t have an easily accessible water source in my yard (ok, this equates to laziness. I just don’t want to stretch my hose to the other side of my lawn where we actually get sun).
Ashley is obviously more determined than I am to produce her own food and it appears that she is succeeding. This is why I thought she would be a great guest to talk about how she harvests Anchorage in her own back yard.
Check out her site for lots of DIY projects and recipe ideas. Today I’ll be passing the mic to Ashley to let her talk about pickling and canning her homegrown beets.

Preserving Your Harvest: Pickling & Canning Beets in Alaska
By guest author Ashley Taborsky

From the instant my eager little hands yanked the first red beet out of my hugelkultur raised bed garden, to the moment I was standing in the kitchen with piping hot jars in front of me, anxiously counting the “pops” as they cooled down and sealed shut, about seven hours had passed.
The first time pickling and canning your fresh, organic beets is a rush. All season, you’ve been growing them with love, sweat, and mosquito head netting (gotta love our Alaska summers). Now cold temperatures threaten to destroy your hard-earned backyard crops, and you need a way to preserve them so they last the winter.
Because beets are a low-acid food, you’ll either need a pressure canner (and a recipe for pressure canning beets from a reputable source) or to pickle them with the hot water bath method. Pressure canners have a bigger learning curve and require more of an investment, but most people already own a pot big enough to submerge a pint jar in water. That’s what fueled my decision to pickle beets – it was the route that required less intense processing.
I took a few classes on canning earlier this year from the UAF Cooperative Extension Service in Anchorage, so I was familiar with the differences between the hot water bath canning method and a pressure canner, but I had never done it on my own.
Hot Water Bath Canning Versus Pressure Canning
The hot water bath method uses a really big pot to totally submerge the glass jars in boiling water to seal them. It’s good for high-acid foods (ex. pickles) that don’t spoil as easily, whereas cans of low-acid foods (ex. plain beets) require being processed in a pressure cooker because pressure cookers reach higher temps and can fully sterilize what’s inside to prevent future bacteria growth inside your canned food.
Canning is Jarring
Here’s something weird about canning that nobody talks about, but is super confusing to a newbie canner: 99% of people who say “canning” are actually referring to sealing food in glass jars – not cans. There are a few rare people who have the equipment to seal real metal cans, but the majority of people who talk about canning are actually doing it with jars. It really should be called “jarring.”
I’m sure the official cannery board has been meaning to get that petition started, but they’re busy people.
** Click here for Ashley’s full list of canning supplies **
Pickled Beets Recipe
I slightly modified the “Beet Pickles” recipe from the Ball Blue Book “Guide to Preserving” Magazine. I wanted to link to it, but I couldn’t find this recipe online. Here’s the recipe I came up with:
- 3 quarts beets (about 24 small)
- 1 cup honey
- 1 teaspoon ground cinnamon
- 1/4 teaspoon ground cloves
- 1 1/2 teaspoon Ball-brand Salt for Pickling & Preserving
- 3 1/2 cups vinegar, 5% acidity
- 1 1/2 cups water
When you’re using a hot water bath for canning, and you’re canning a low acid food like beets, the teacher at the UAF canning course said it’s important to not adjust the vinegar in the recipe (for safety reasons). With pickling in a hot water bath, the vinegar concentration is what helps to keep your food from spoiling in long-term storage.
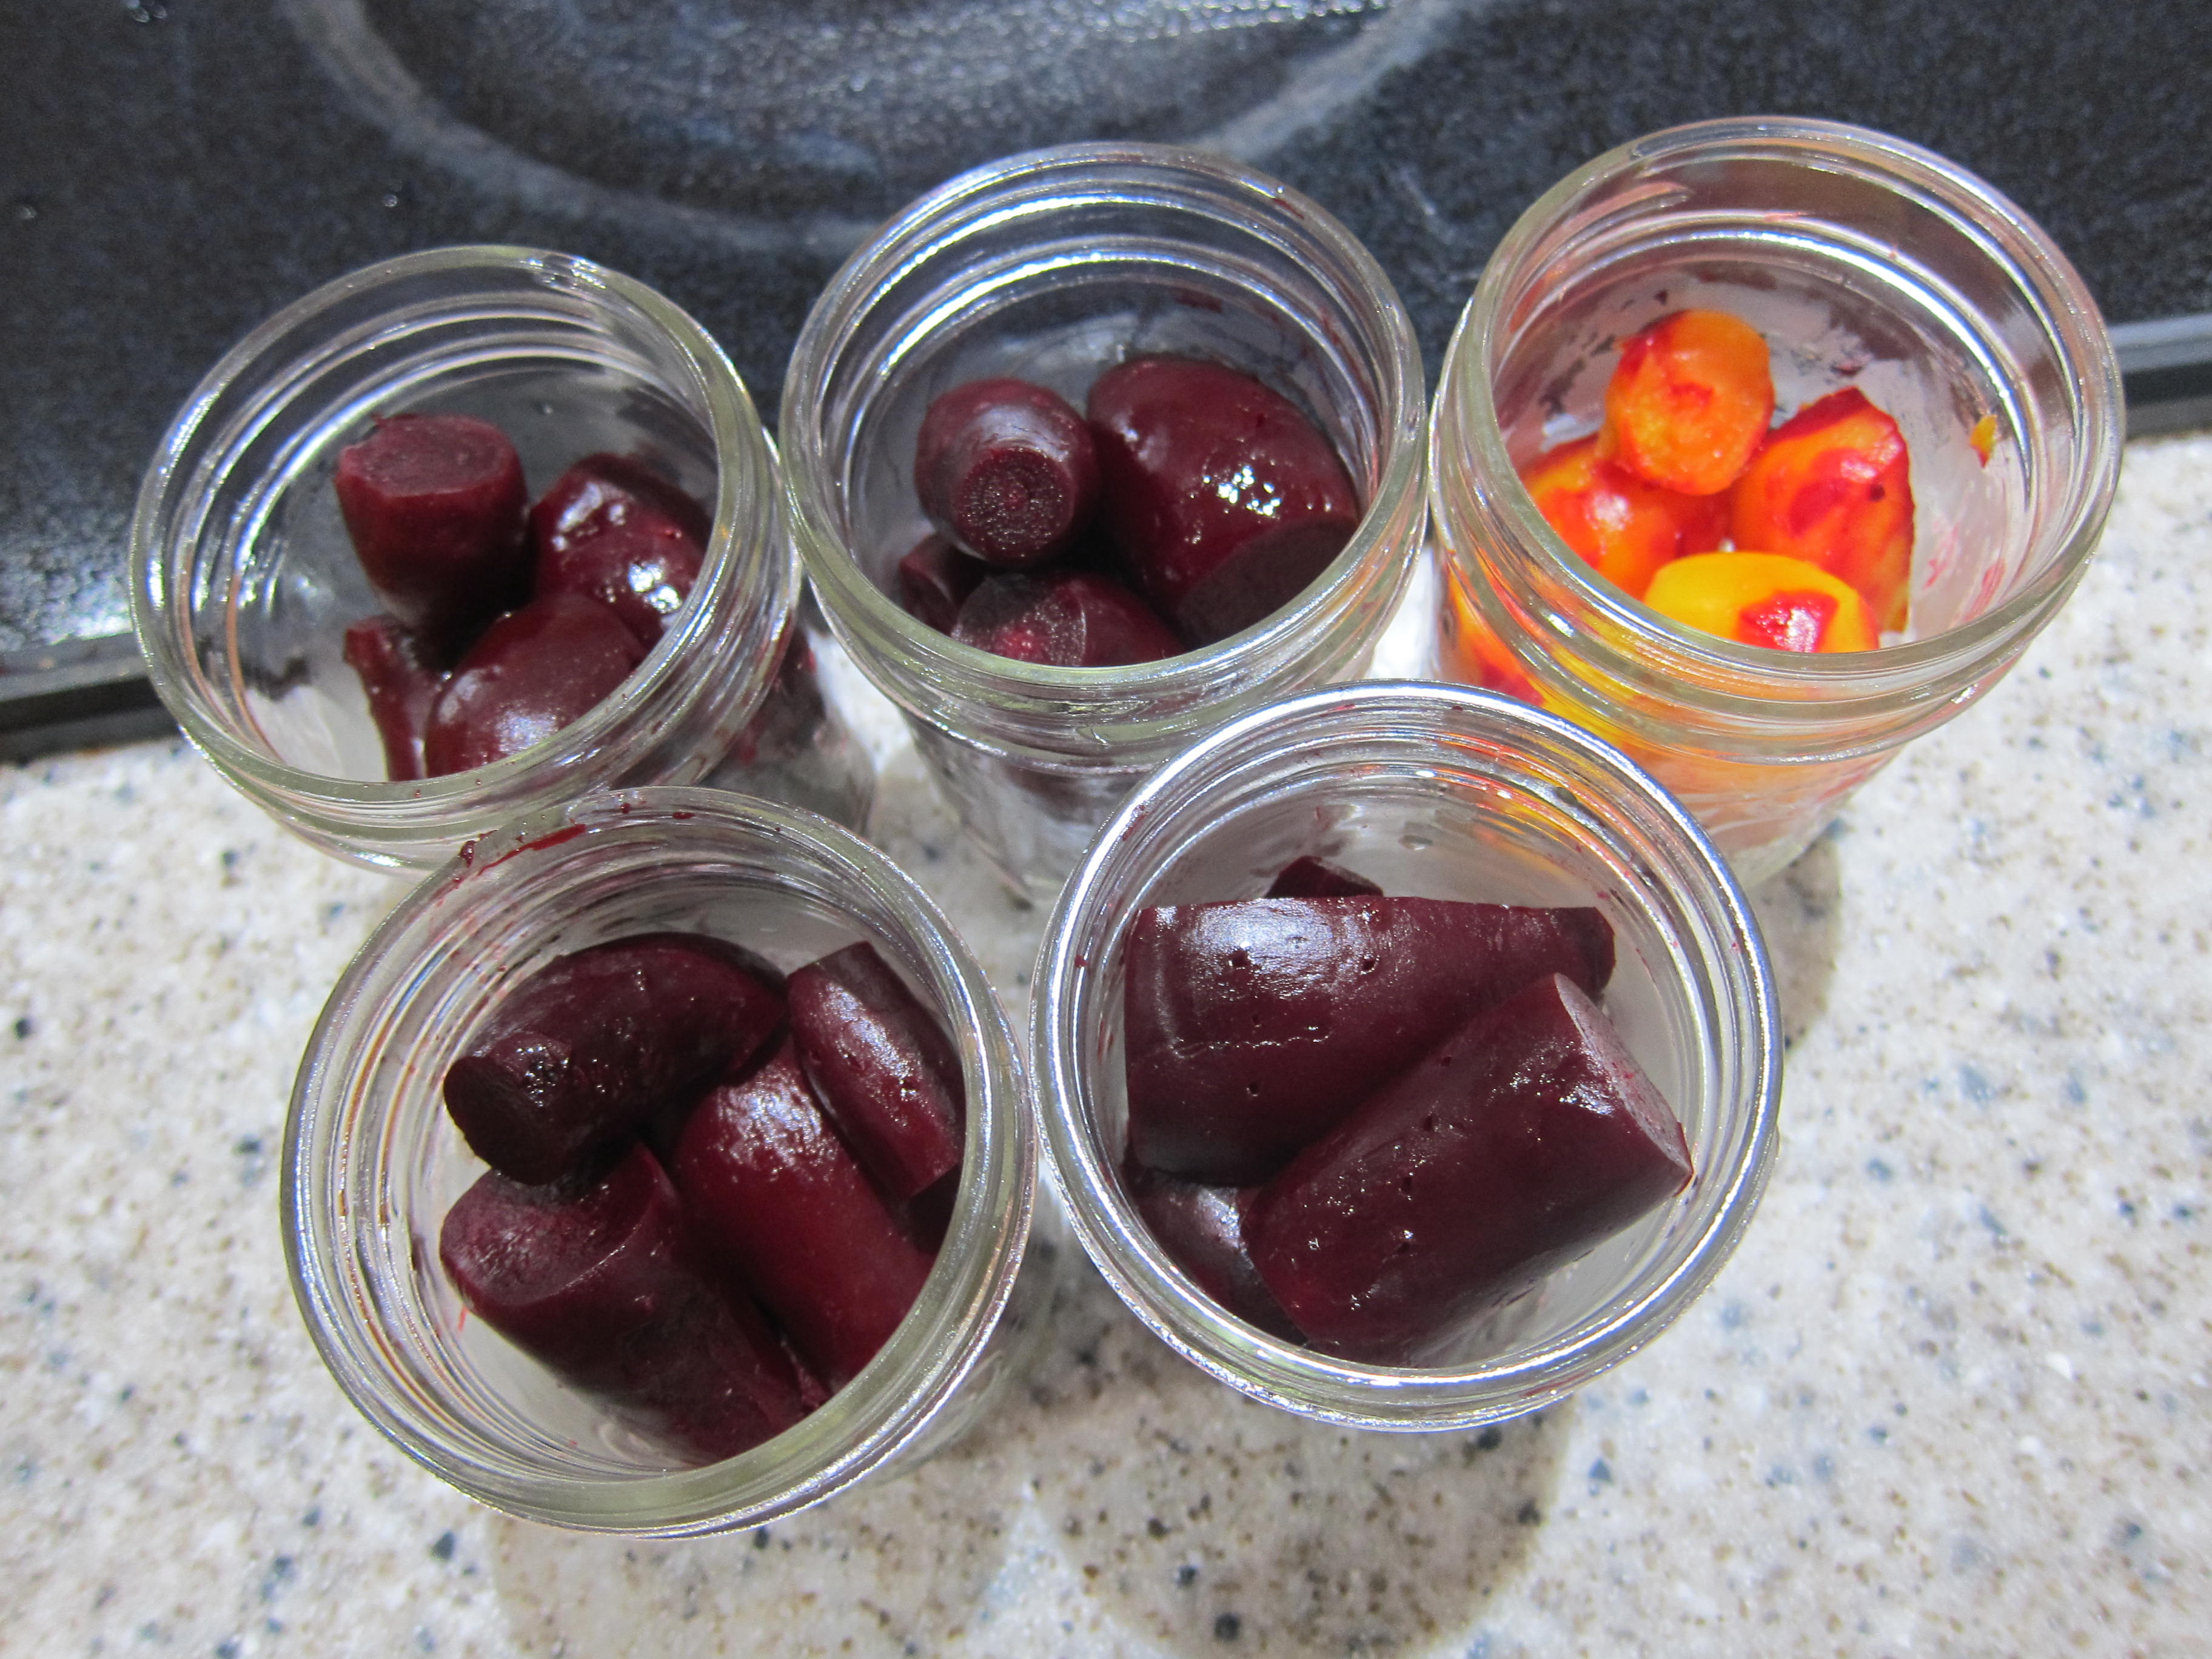
Prep and cook the beets, then boil all of the ingredients (except beets) for 15 minutes. Put the beets into their jars, then pour the vinegar solution into the jars leaving 1/2″ head room. This vinegar solution is what actually pickles the beets.

Put on the hot lids and rings, then put the jars into your big pot of boiling water. The water should come up at least 1″ above the top of the jars.
Process (boil) for 30 minutes, then turn off the heat and wait 5 minutes before removing the jars from the hot water.
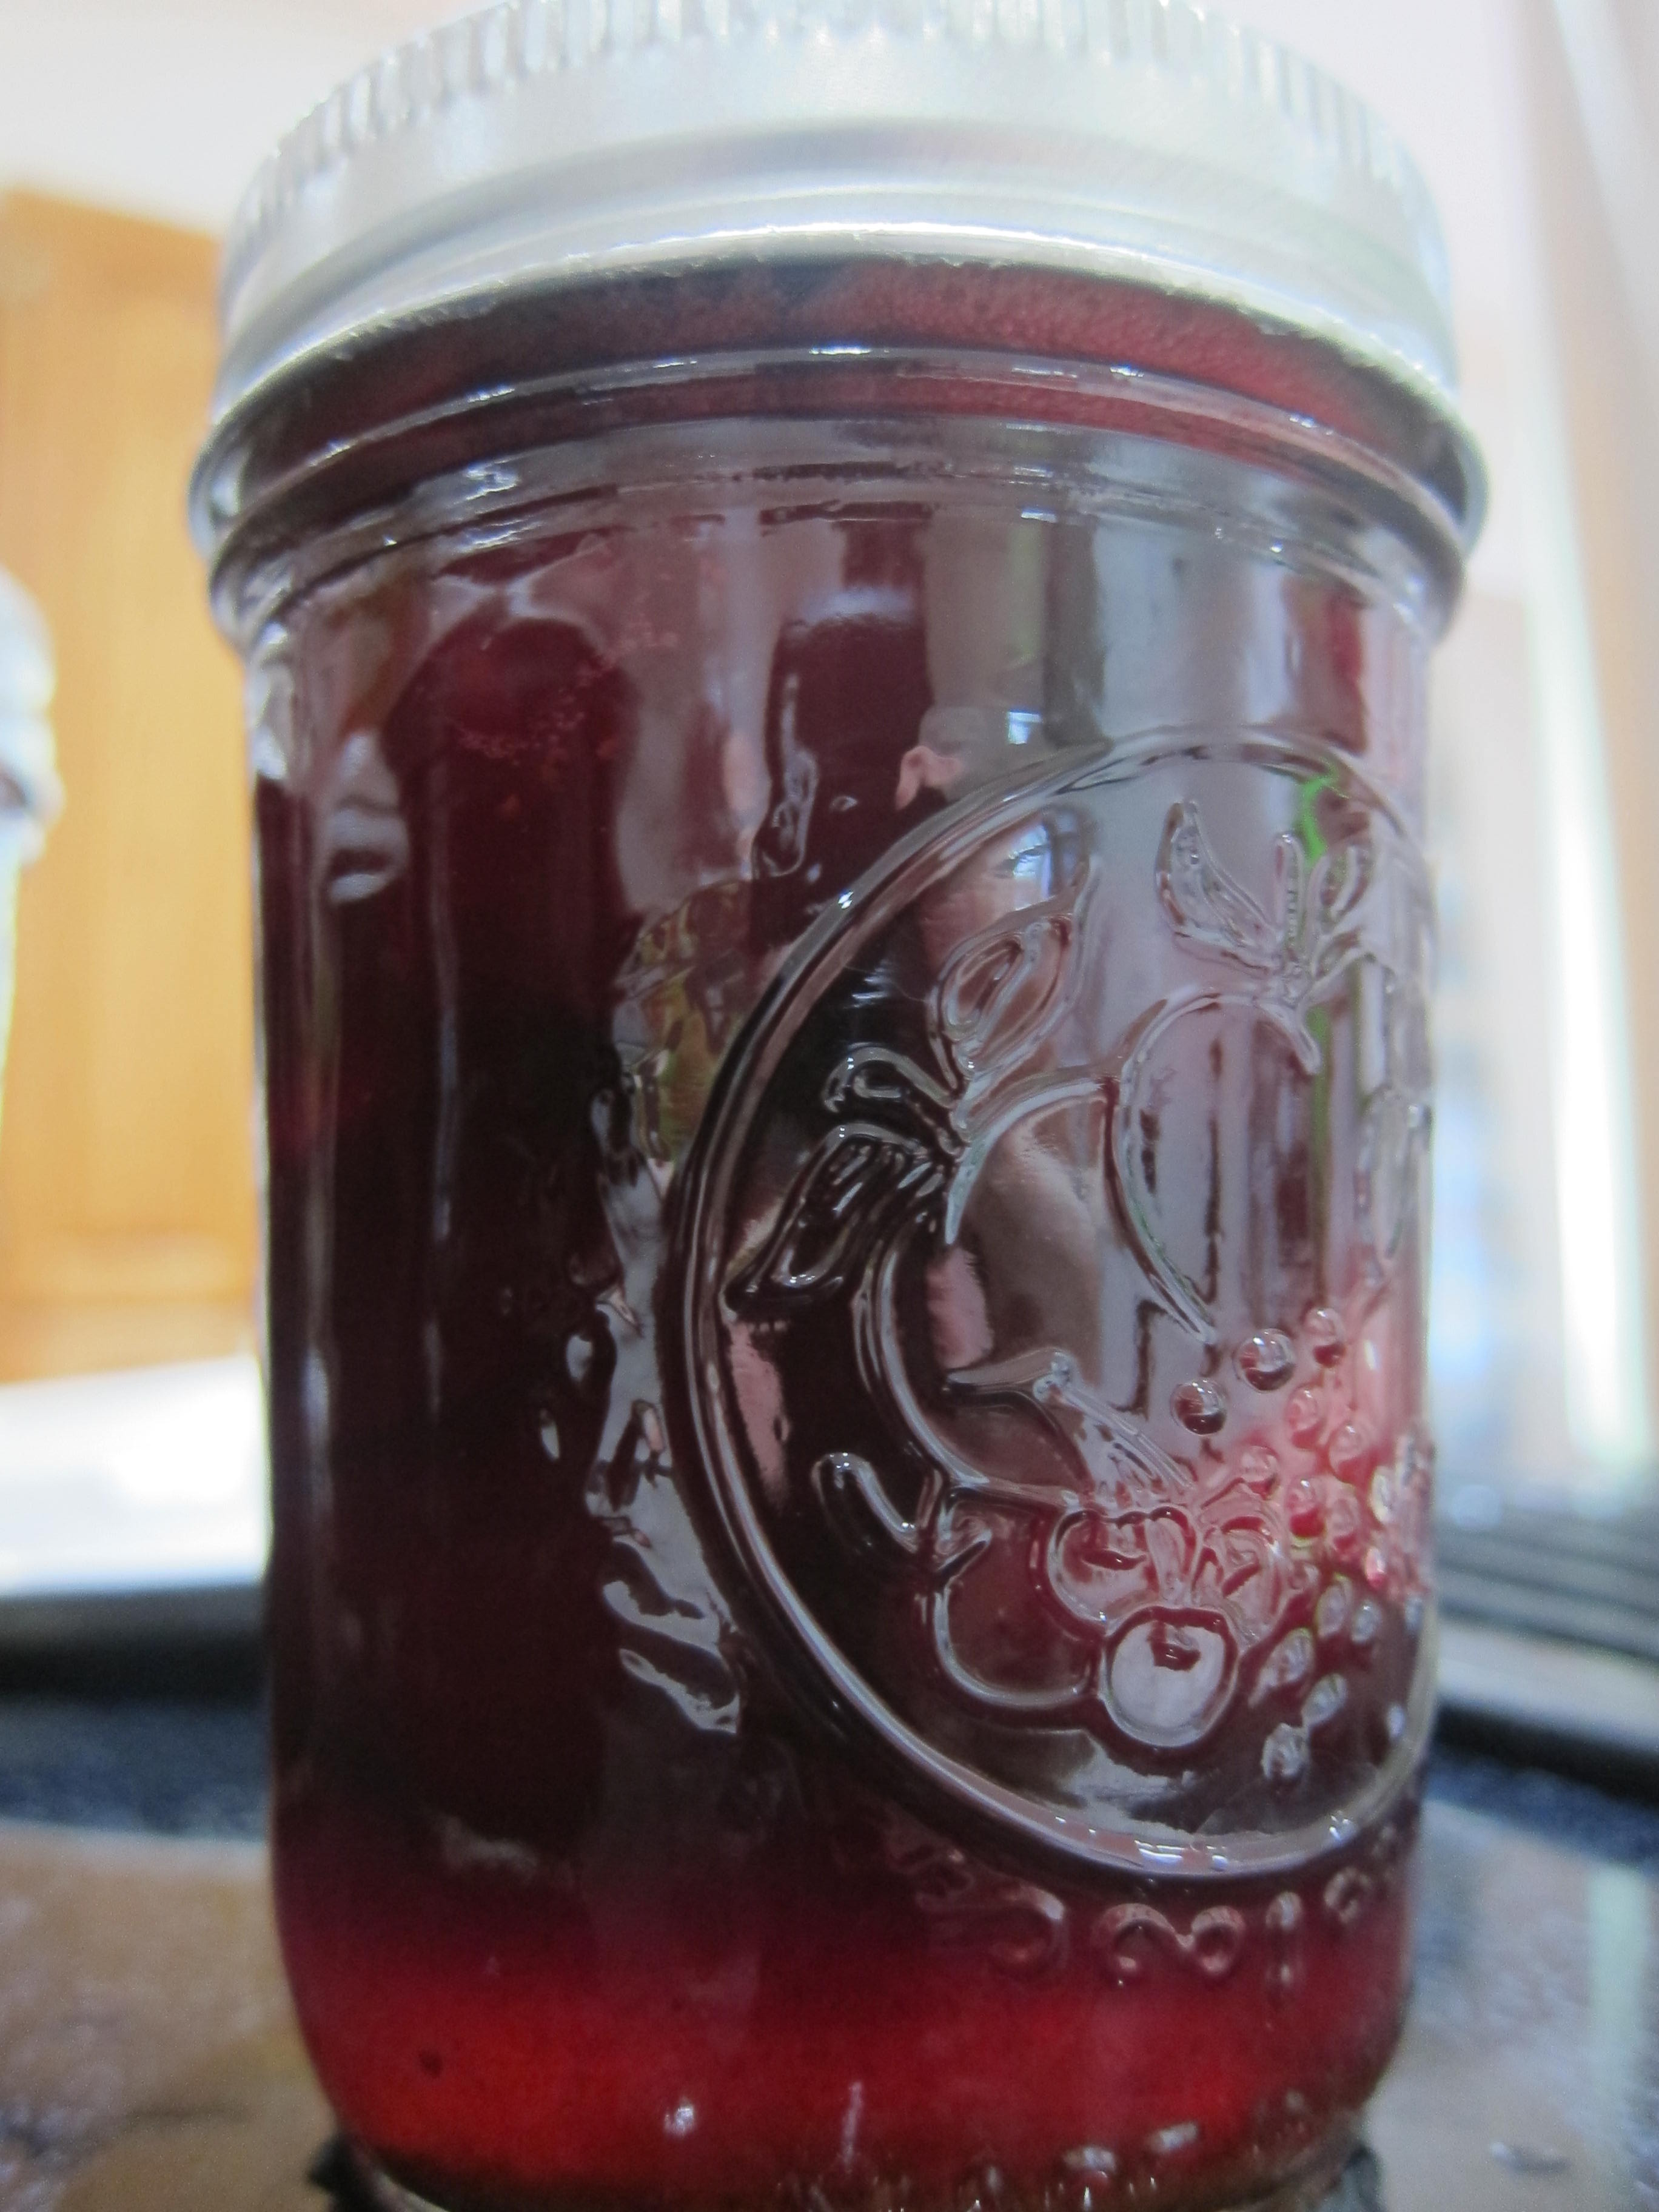
After you carefully remove the jars from the hot water with the metal jar grabber tool, you’ll start hearing the jar lids pop as they cool down and seal shut.
It was my first time canning and pickling my own backyard beet harvest. I took photos along the way and offered a unique perspective from a first-time, non-pro canner. Check out the full post on my blog, AlaskaUrbanSoilProject.com.