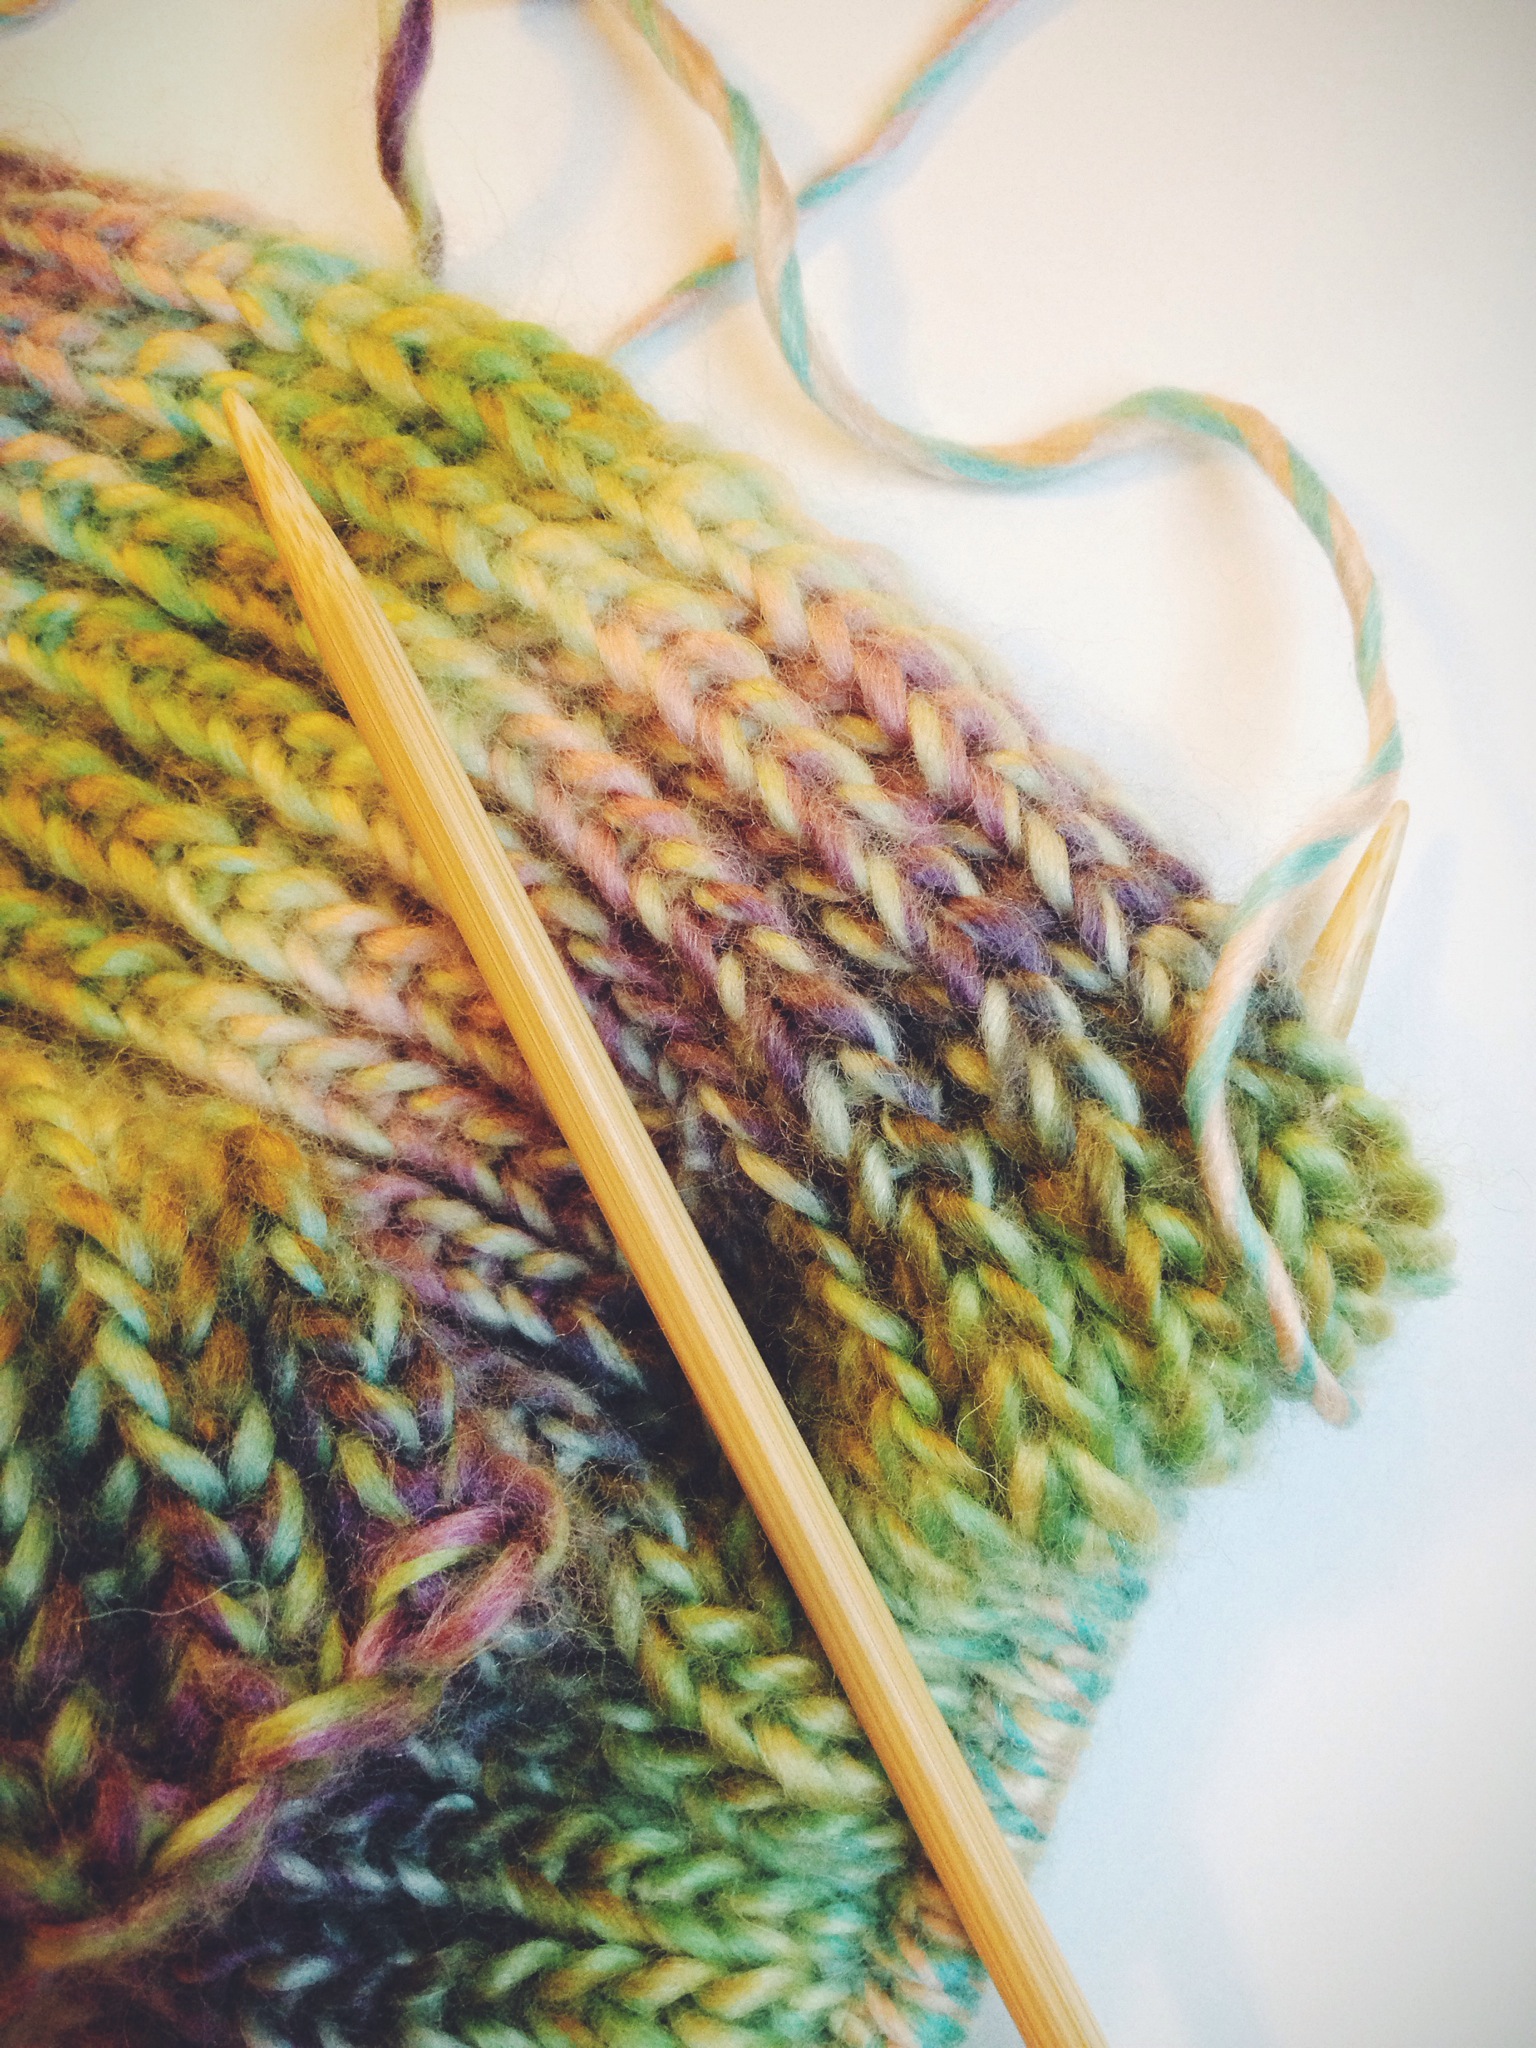
Wild Mushroom Marinara

Last week as I was scrolling through a local online events calendar I saw that Habitat Housewares was having a recipe contest. I’ve not entered a recipe contest save for last week when my husband’s work hosted a chili cook-off. I disqualified my recipe after discovering my husband failed to start up the Crock Pot properly and the beans were still crunchy.

That being said, I was determined to redeem myself purely for my own satisfaction. This contest also had some sweet prizes, namely a $500 gift card to a fantastic kitchen supply store and a Le Creuset dutch oven, retailing at $230.

The contest was for an original pasta sauce recipe. One of the judges was head chef at Villa Nova, one of the only originally Italian-owned restaurants in Anchorage (most Italian places are owned by Greek families here). The other judge was a local food writer who is all about local foods. The third was a local celebrity with whom I once performed “The Rocky Horror Show” at a local gay bar. I knew I had a chance.

Turns out I won second place and scored a pretty awesome dutch oven. First place was a stunning creamy Alaska seafood sauce that was a perfect blend of flavors.

I hope you enjoy my second-place pasta sauce.

Wild Mushroom Mariana Sauce | A recipe from Alaska Knit Nat

Wild Mushroom Marinara Sauce

Ingredients:

3 Tbs. extra virgin olive oil

1.5 oz. dried porcini mushrooms

6 oz. baby Portobello or crimini mushrooms, sliced

½ cup chopped onion

8 cloves garlic, crushed

2 Tbs. red wine

1/3 cup reserved mushroom water

42 oz. crushed Italian tomatoes (1 ½ 28-oz. cans)

2 dried red chilies

2 tsp. sugar

1 cup fresh basil leaves, roughly chopped

1 Tbs. fresh oregano, chopped

2 Tbs. butter

salt and pepper to taste

Directions:

Boil 2 cups of water. Place the dried porcini in a bowl and cover with the boiling water. Cover and set aside for 30 minutes. Strain the mushrooms through a sieve and reserve the water. Roughly chop the porcini.

In a large sauté pan, heat the oil over medium-high flame. Add the garlic, turn heat to medium and cook till garlic is lightly browned. Add the porcini, Portobello and onions. Sprinkle with a little kosher salt. Sauté till onions are soft and mushrooms have lost much of their liquid, about 10 minutes.

Deglaze the pan with the wine and a couple of tablespoons of mushroom water. Transfer to a saucepan and set over medium-high flame. Add the tomatoes, remaining mushroom water, chilies, sugar, basil, oregano and butter. Salt and pepper to taste. Bring to a simmer. Reduce the heat to medium-low, cover and simmer for an hour.

Pour over pasta of your choice, cooked al dente. Top with freshly grated Parmesan cheese. Serve alongside Italian sausage and steamed green beans.

Pasta with Chard & Sausage in Pumpkin Cream Sauce

Time to jump on the pumpkin bandwagon. I’ve had a medium baking pumpkin sitting around the house for a couple of weeks and I’ve been putting off cooking with it because I have so little pumpkin-cooking experience.

I was inspired by a recipe from Hezzi-D’s Books and Cooks, but I also had items in the fridge I needed to use up, so I winged it a little. What I came up with was a flavorful casserole that was creamy, cheesy and somewhat healthy too.

You can use canned pumpkin, but I recommend baking your own using this method, as it was super easy and fresh.

Pasta with chard, sausage & mushrooms in a creamy pumpkin sauce | a tasty recipe from Alaska Knit Nat

Pasta with Chard & Sausage in Pumpkin Cream Sauce

Serves 6-8

Ingredients:

4-5 hot Italian sausages, casings removed

14.5 oz.-box farfalle noodles

10 cremini mushrooms, sliced

1/2 onion, chopped

2 cups chopped Swiss chard

3 garlic cloves, minced

1/2 cup chicken stock

1/2 cup evaporated milk

1.5 cups pumpkin puree

3 Tbs. chopped Italian parsley

salt and pepper to taste

1 tsp. dried oregano

1/2 cup shredded mozzarella

1/2 cup freshly grated parmesan

Pasta with chard, sausage & mushrooms in a creamy pumpkin sauce | a tasty recipe from Alaska Knit Nat

Directions:

Preheat oven to 350 degrees. Boil noodles till just al dente, drain and set aside. Meanwhile, brown the sausage in a large saute pan, breaking it up as it cooks. Set sausage aside and in the same pan, add the mushrooms, onions, chard, salt and pepper and toss till coated with the sausage grease. Add a small amount of olive oil if needed. Cover and let steam for five minutes. Uncover, stir in the garlic and saute another minute.

Stir in the pumpkin, chicken stock and oregano. Bring to a simmer for a few minutes. Add the evaporated milk, sausage and parsley and bring back to a simmer. If it’s too thick, add more chicken stock.

Place pasta in a large casserole dish and pour sauce over noodles. Sprinkle in half the cheese and mix thoroughly. Top with remaining cheese (and more cheese if you’d like) and bake for 30 minutes or until cheese is bubbling.

Remove from oven and let sit 10 minutes before serving.

Pasta with chard, sausage & mushrooms in a creamy pumpkin sauce | a tasty recipe from Alaska Knit Nat

This is a wholesome dish the whole family will love!

Pasta with chard, sausage & mushrooms in a creamy pumpkin sauce | a tasty recipe from Alaska Knit Nat

Ravioli Nudi and the End of Summer Camp

This weekend I had the opportunity to attend End of Summer Camp, which proved to be a unique bonding experience for Anchorage grown-ups. I met bloggers, event planners, printmakers, food critics, photographers, storytellers and other local professionals all while enjoying nostalgic campy activities. The campers were fed by Fork Catering, and I took every available moment to enjoy their meals and chat with chefs Rob and Dave.

Chef Rob Kinneen taught a cooking workshop, which I eagerly signed up for. Turns out he was going to demonstrate homemade pasta-making. I’m familiar with making my own pasta, such as comb pastas, basil fettuccine and Russian pelmeni, but I was interested in learning techniques from a professional chef.

He led a hands-on lesson on tortelloni and ravioli nudi. The tortelloni, which were essentially large tortellini, were familiar to me, but the ravioli nudi were entirely new. The nudi are like ravioli without the noodle, literally naked ravioli. Instead you incorporate cheeses, flour, herbs and egg into a sticky, soft dough and create small dumplings, which are then boiled. They are sort of like gnocchi, but with cheese instead of potato.

Chef Rob Kinneen (left) instructs campers on how to roll out ravioli nudi dough.
Chef Rob Kinneen instructs campers on how to roll out ravioli nudi dough.

My only attempt at making gnocchi in the past was a complete slimy failure and Rob’s technique for making nudi could be easily translated to gnocchi. I had to try the recipe myself when I got home.

And I did.

Ravioli Nudi | Alaska Knit Nat

Ravioli Nudi with Spinach, Ricotta, and Parsley

Serves 3

Ingredients:

  • 2 eggs
  • 2 egg yolks
  • 1 garlic clove, minced
  • 1/4 tsp. red chili flakes
  • 1/4 tsp. salt
  • 1/8 tsp. ground nutmeg
  • 1/4 tsp. ground black pepper
  • 8 oz. part-skim ricotta cheese
  • 1 cup freshly grated parmesan cheese
  • 2 Tbs. chopped Italian parsley
  • 2 Tbs. chopped frozen spinach, thawed and well drained
  • 1/4 cup all-purpose flour plus about 1/2 cup for coating dough

Useful utensil: spider strainer

Directions:

Bring a large pot of salted water to a boil. Fill a large bowl with ice and cold water and set beside the pot. Meanwhile beat together the eggs, yolks, garlic, chili flakes, nutmeg, salt and pepper in a medium bowl. Incorporate the ricotta till smooth. Add the parmesan, parsley and spinach. Slowly add the 1/4 cup flour till a super sticky dough forms. It should be the consistency of thick, lumpy pancake batter. Heavily flour a large cutting board. Gently turn the dough onto the board and work in enough extra flour for it to be very soft and sticky inside, but coated on all sides in flour. Form the dough into a 1.5-inch tall rectangle.

Cut the dough into 1.5-inch strips and gently roll each strip around, dusting with flour, till coated evenly on all sides. Cut each strip on a diagonal into 1-inch pieces so you have small, oblong dumplings. Gently roll each dumpling around in your floured hand till they are each coated and no sticky dough is exposed.

Ravioli Nudi | Alaska Knit Nat

When the water is at a rolling boil, gently add the ravioli in batches so the water doesn’t cool down too much. Boil for just a few minutes, until the ravioli float to the surface. With a slotted spoon, strain out the ravioli and add to the ice water bath. Repeat with remaining ravioli.

Ravioli Nudi | Alaska Knit Nat

Now that you have made your ravioli nudi, there are lots of ways to serve them. Use them in any ravioli recipe, or fry them up with butter till lightly browned and crusty.

Ravioli Nudi | Alaska Knit Nat

Thanks again, Chef Rob, for your excellent instruction. I’m happy to add this technique to my repertoire.

Ravioli Nudi with Spinach and Parsley | Alaska Knit Nat

Rainbow Stir Fry with Orange Garlic Sauce

I’ve been eating an awful lot of burgers lately. Not sure why, but I felt like a healthy dinner was in order. My two-year-old son and I decided on a veggie-packed stir fry. Today at the grocery store he helped me pick out many colors of the rainbow: red bell pepper, carrots, broccoli and purple cabbage. 

I never use a recipe when I make stir-fry sauce, so all of the following measurements are approximate. Feel free to substitute vegetables of your choice. This recipe seems to have a lot of ingredients, but most of them are staples in my cabinet so it wasn’t an expensive dish. You could also add beef or chicken, I just forgot to thaw out any meat for tonight.

Rainbow Vegetable Stir Fry | A quick, healthy dish from Alaska Knit Nat

Rainbow Stir Fry with Orange Garlic Sauce

Serves 4

Ingredients:

Coconut oil

1/2 red bell pepper, julienned

1/2 large carrot, julienned

1/2 cup fresh green beans

1 small head of broccoli, cut into small florets

1/4 of a small red cabbage, chopped

4 crimini mushrooms, sliced

1/2 onion, chopped

1 brick of firm tofu, cut into 1-inch cubes

3 green onions, chopped


For the sauce:

1/4 cup soy sauce

1/4 cup chicken stock

2 tsp. rice vinegar

1/2 tsp. agave nectar

2 Tbs. orange juice

1 Tbs. chili garlic sauce

1 tsp. powdered or freshly grated ginger

splash of fish sauce

splash of sesame oil

freshly ground pepper

1/2 tsp. corn starch

Rainbow Vegetable Stir Fry | A quick, healthy dish from Alaska Knit Nat

Directions:

I like to serve this over brown rice. I recommend Alton Brown’s technique, which takes an hour in the oven, so prepare your rice and then start on the stir fry when there’s about 30 minutes remaining.

Whisk together the sauce ingredients and set aside.

In a large frying pan or wok, add two tablespoons of coconut oil and crank up the heat to high. Add the tofu and don’t move it for one minute. This will create a nice brown crust. Gently turn tofu to brown the other sides and set it aside for later.

Add another tablespoon of coconut oil and reheat the pan. Add all of the veggies except the green onions and toss till well coated in the oil. Let the pan heat up again and add 1/4 cup of water or chicken stock. Cover and steam for about 7 minutes, until the broccoli and carrots are just tender. 

Pour in the sauce and coat the vegetables evenly. Add the green onions and tofu and gently toss. Serve over brown rice.

Wild Cranberry & Lemon Muffins

This is my favorite time of year in Anchorage. The air is crisp and smells of earth and cranberries. Cranberries are my favorite wild berry to pick because they are durable, high in nutritive value and they freeze well. They can also be substituted for any recipe that calls for commercial cranberries.

I only pick low-bush cranberries, also called lingonberries. These short plants can be found in most Anchorage forests. They have round, shiny leaves and if there’s enough sunlight during the summer they bear tart, red berries. High-bush cranberries, which are abundant in Anchorage, have a similar flavor but they have a large seed in each berry, must be strained during processing and aren’t pleasing to eat whole.

Wild Cranberry & Lemon MuffinsWild Cranberry & Lemon Muffins

One would be inclined to harvest low-bush cranberries when they are at their brightest red color, but it’s best to wait until after the first frost when they’ve turned a deep wine red. I don’t know the science behind it, but the berries become juicier after they’ve endured a frost.

I found buried in my freezer a pint of last year’s cranberries. So to make way for this year’s harvest, I decided on a simple muffin recipe based on this one from Simple Nourished Living.

I’m not much of a bakist, so I was surprised by how thick the batter was. Have no fear, for these muffins were fluffy, tart, sweet and zesty. It’s like a party in my mouth!

Wild Cranberry & Lemon Muffins | Healthy Recipe from Alaska Knit Nat

Wild Cranberry & Lemon Muffins

Makes 12 muffins

Ingredients:

  • 1 cup all-purpose flour
  • 1 cup whole-wheat flour
  • 1 Tbs. baking powder
  • 1 tsp. salt
  • scant 1/3 cup sugar
  • zest of one lemon
  • 3/4 cup milk
  • 1 egg
  • 1/2 cup melted coconut oil, cooled
  • 1 cup low-bush cranberries, frozen or thawed

Directions:

Preheat oven to 400 degrees.

In a large bowl combine the dry ingredients and the lemon zest.

In another bowl combine the milk, egg and oil.

Pour the wet ingredients into the dry ingredients and mix until just combined. The batter should be lumpy and wet, but almost the consistency of dough. If it’s too dry add a little more milk. Fold in the cranberries and divide batter into a muffin tin lined with cupcake liners. Bake 20 minutes or until golden brown on top. Let cool for a few minutes before removing muffins from tin and placing on a cooling rack.

Leftover Spaghetti Pie

Growing up we had a lot of spaghetti dinners. It was common knowledge that my dad made a wicked marinara sauce, so much so that he was head chef at several of my school’s spaghetti dinner fundraisers.

We inevitably ended up eating a lot of leftover spaghetti, and I have to be honest, it wasn’t ever as good as the fresh stuff.

But sometimes my dad would whip together spaghetti pie. He would take the leftover pasta, stick it in a skillet with some eggs and cheese and bake it till it was crusty and delicious.

I don’t know his recipe, but I decided to try it out myself and it was an instant success — well, a 30-minute success. 

This is comfort food at its best and is perfect for a quick weeknight meal. Plus, it’s easy cleanup since you only use one skillet.

Leftover Spaghetti Pie - A Quick Weeknight Meal | Alaska Knit Nat

Leftover Spaghetti Pie

Serves 6

Ingredients:

1/2 pound leftover pasta

3 italian sausages, cooked

One jar of marinara sauce

1 cup shredded Italian blend cheese

1/4 cup cream

Leftover Spaghetti Pie - A Quick Weeknight Meal | Alaska Knit Nat

Directions:

Preheat the oven to 400 degrees. Slice the cooked sausages into bite-sized pieces. Heat an oven-proof skillet over medium-high and brown the sausages on both sides. Meanwhile, roughly chop the leftover spaghetti into 2-inch pieces. Toss the pasta into the skillet with the marinara sauce. Turn heat to medium-low and heat thoroughly, stirring occasionally, about 7 minutes. Stir in 1/3 cup of the cheese and the cream. Top with a hefty layer of cheese and bake for 30 minutes, or until cheese is browned and bubbly. Let rest 10 minutes before serving.

Leftover Spaghetti Pie - A Quick Weeknight Meal | Alaska Knit Nat

Chiles Rellenos with Smoky Cream Sauce

Chiles Rellenos with Smoky Cream Sauce | Alaska Knit Nat

Ingredients:

7 fresh pasilla or poblano chiles

3/4 lb. ground pork

1 Tbs. taco seasoning

3/4 cup canned black beans, drained

3 oz. cream cheese

1 cup shredded mexican blend cheese plus more for topping

1 can diced green chiles

1/4 cup cream (optional)

black pepper

oil

Chiles Rellenos with Smoky Cream Sauce | Alaska Knit Nat

Directions:

Grill the chiles over high heat till blackened on all sides. Place in a paper bag and let steam for 10 minutes. Gingerly remove the skins and slice open on one side. Let cool completely and carefully remove the pith and seeds. Set peppers aside. Meanwhile, brown the pork in a lightly oiled pan over medium high heat. Add the taco seasoning and break up the meat. Remove from heat and let cool.

Preheat the oven to 375 degrees. Mix together the beans, pork, cream cheese, Mexican cheese and diced green chiles and season with pepper to taste. Stuff each chile and secure with a toothpick. Place stuffed peppers in a greased casserole dish and sprinkle liberally with more shredded cheese. Pour cream over the chiles and bake, uncovered, for 30 minutes till cheese is bubbling. Serve with brown rice and southwestern roasted butternut squash. Drizzle with smoky cream sauce — recipe below.

Smoky Cream Sauce

Ingredients;

1 Tbs. butter

1 Tbs. flour

2 Tbs. cream

1/2 cup milk

2 Tbs. cream cheese

1/2 cup Mexican shredded cheese

1/2 tsp. smoked paprika

1/4 tsp. garlic salt

1/4 tsp. cumin

salt and pepper to taste

Directions:

Melt the butter in a small saucepan over medium heat. Whisk in the flour and cook for one minute, stirring frequently. Add the cream and milk and whisk till thickened, about two minutes. Turn down heat till just bubbling and add the cheese and spices. Serve immediately. If it’s too thick, add more milk.

Chiles Rellenos with Smoky Cream Sauce | Alaska Knit Nat

Wild Alaska Salmon Poke

If you live in Southcentral Alaska then you’re probably keenly aware it is sockeye salmon season. My husband is getting his hipwaders and dipnets all ready for the coming week where he will camp out on the shores of the Kenai River and make the most of the everlasting daylight by fishing into the wee hours of the night.

We still have some vacuum-packed filets in the freezer from last year so to make way for this year’s bounty we are trying to find creative ways to use it up. Sure, there’s nothing better than simple grilled salmon with a drizzle of lemon, but my dad started preparing poke out of the frozen filets that tops any store bought ahi poke.

Poke is a Hawaiian salad made of cubed sashimi such as ahi tuna, soy sauce, sesame oil, onions and hot chili sauce. It’s a bit like spicy tuna sushi without the rice and seaweed.

Wild Alaska Salmon Poke | Alaska Knit Nat

Here’s my dad’s recipe, which uses fresh-frozen sockeye, a.k.a. red, salmon. Keep in mind that the Food and Drug Administration recommends freezing fresh fish and thawing it before consuming it raw because this kills any parasites. This is how sushi-grade fish is prepared in America. The FDA also says cooking seafood is the safest way to consume it, so prepare poke at your own risk. If you are pregnant or are at risk for food-borne illness, then please be cautious about consuming fresh-frozen fish.

With that disclaimer out of the way, here’s my dad’s recipe!

Wild Alaska Salmon Poke

As featured on Anchorage Food Mosaic

makes about 4 cups

Wild Alaska Salmon Poke | Alaska Knit Nat

Ingredients:

2 pounds red salmon, previously frozen and thawed in the fridge overnight

1 bunch of green onions, finely chopped

1/2 cup finely chopped white onion

2 Tbs. Nori Komi Furikake rice seasoning (optional)

2 Tbs. soy sauce

3 Tbs. sesame oil

2 Tbs. chili garlic sauce

2 tsp. sugar

1 Tbs. sesame seeds

Wild Alaska Salmon Poke | Alaska Knit Nat

Wild Alaska Salmon Poke | Alaska Knit Nat

Wild Alaska Salmon Poke | Alaska Knit Nat

Directions:

Using a sharp filet knife, remove the skin from the salmon filets. If there are any pin bones, carefully remove them with needle nose pliers. Cut the salmon into bite-sized cubes.

Wild Alaska Salmon Poke | Alaska Knit Nat

Add all the ingredients in a medium bowl and mix thoroughly. If you are not using the rice seasoning, add salt to taste. If you like a little more kick, add an extra tablespoon of the chili garlic sauce.

Wild Alaska Salmon Poke | Alaska Knit Nat

Serve immediately or refrigerate for later. Serve with sesame or rice crackers.

For more tasty Alaska recipes, check out my dad’s website.


Tokyo Tie Bag — Free Pattern and Tutorial

A few years ago I went sewing machine crazy and sewed a couple dozen Tokyo tie bags. I was inspired by a pattern on Darling Petunia’s blog. I never got around to posting my own pattern because I was too caught up in sewing them. My pattern, which I tweaked slightly from Darling Petunia’s, sadly sat in my craft pile for a few years until someone from Mexico emailed me last month and asked if she could buy one. I sewed it, shipped it and was reminded how easy and fun it was to make.

So here I am, three years later, ready to offer a full tutorial and pattern for the Tokyo tie bag. I hope you enjoy making them as much as I do!

Tokyo Tie Bag -- Free pattern and tutorial from Alaska Knit Nat. Great beginner project.

Tokyo Tie Bag

An easy sewing project that can be completed in an hour

Materials:

3/4 yard each of lining and outer fabric (100% cotton is recommended)

fabric scissors

rotary cutter and board (optional)

Tokyo tie bag pattern 1 & Tokyo tie bag pattern 2 printed at 100% to match the indicated dimensions, cut out and taped together


Directions:

Tokyo Tie Bag -- Free pattern and tutorial from Alaska Knit Nat. Great beginner project. Tokyo Tie Bag -- Free pattern and tutorial from Alaska Knit Nat. Great beginner project.

1. Iron your fabric and cut out two pieces of the pattern from the lining and outer fabrics. If your fabric is directional (meaning it looks different upside down) be sure you cut your pattern so the bottom of the pattern is on the same edge for both pieces. You should have four pieces.

Tokyo Tie Bag -- Free pattern and tutorial from Alaska Knit Nat. Great beginner project.

2. With right sides together, sew each edge of the lining with a  3/8 inch seam allowance. Repeat for outer fabric.

Tokyo Tie Bag -- Free pattern and tutorial from Alaska Knit Nat. Great beginner project.

3. Iron open the seams.

Tokyo Tie Bag -- Free pattern and tutorial from Alaska Knit Nat. Great beginner project.

4. Turn your lining right side out and slip it inside the outer fabric.

Tokyo Tie Bag -- Free pattern and tutorial from Alaska Knit Nat. Great beginner project.

5. Make sure the seams from the outer and lining fabrics match up in the middle and pin all around the top edge and handles.

Tokyo Tie Bag -- Free pattern and tutorial from Alaska Knit Nat. Great beginner project.

Tokyo Tie Bag -- Free pattern and tutorial from Alaska Knit Nat. Great beginner project.

6. Sew all around the top edge, along the handles and back down again. Your seam should end at the same place you began as you’ll be sewing in a giant loop.

Tokyo Tie Bag -- Free pattern and tutorial from Alaska Knit Nat. Great beginner project.

7. Trim the corners of the handles so there is less bulk.

Tokyo Tie Bag -- Free pattern and tutorial from Alaska Knit Nat. Great beginner project.

8. Cut notches at the center curves so the seam will be more smooth when turned right-side out.

Tokyo Tie Bag -- Free pattern and tutorial from Alaska Knit Nat. Great beginner project.

9. Turn the bag right-side out and use a chopstick to push out the handles. Stuff the lining down into the outer fabric. It should now look somewhat like a bag but with the bottom unfinished. Iron the whole bag flat.

Tokyo Tie Bag -- Free pattern and tutorial from Alaska Knit Nat. Great beginner project.

10. Lay the bag flat so the side seams are now in the middle. Make sure these seams line up on the bottom and then iron the bag flat.

Tokyo Tie Bag -- Free pattern and tutorial from Alaska Knit Nat. Great beginner project.

11. Using a rotary blade, cut the bottom edges of the bag so it’s all even. Sometimes things just aren’t lined up well and a good fresh cut will make it turn out better. This step is optional.

Tokyo Tie Bag -- Free pattern and tutorial from Alaska Knit Nat. Great beginner project.

12. With the bag right-side out pin along the bottom edge, starting at the center seams so they line up on both sides. Sew along the edge with the shortest seam allowance possible.

13. Trim closely along this seam and turn inside out.

Tokyo Tie Bag -- Free pattern and tutorial from Alaska Knit Nat. Great beginner project.

14. Pin the now sewn shut bottom edge again and sew a new seam with 1/4-inch seam allowance. You have now created a French seam. Hurrah!

15. Turn your bag right-side out and iron one more time.

Tokyo Tie Bag -- Free pattern and tutorial from Alaska Knit Nat. Great beginner project. Tokyo Tie Bag -- Free pattern and tutorial from Alaska Knit Nat. Great beginner project. Tokyo Tie Bag -- Free pattern and tutorial from Alaska Knit Nat. Great beginner project.

16. Join the two handles by tying a square knot.

Tokyo Tie Bag -- Free pattern and tutorial from Alaska Knit Nat. Great beginner project.
17. Admire your work. You’re a super sewer!

Tokyo Tie Bag -- Free pattern and tutorial from Alaska Knit Nat. Great beginner project.

Lina + Bill: A Midsummer Kaleidoscope

Last year my knitting friend Lina asked if I would design the flowers for her wedding. When she described the colors she wanted there was no way I could say no. She envisioned a wild, rainbow bouquet.

Midsummer Kaleidoscope Wedding | Alaska Knit Nat


Midsummer Kaleidoscope Wedding | Alaska Knit Nat


I created a slightly unkempt bouquet of peonies (from her own garden), Japanese asters, mini sunflowers, green trick dianthus, bupleurum, gerber daisies, spray roses, wild daisies, wild grass cattails and wild yarrow.

Midsummer Kaleidoscope Wedding | Alaska Knit Nat

Midsummer Kaleidoscope Wedding | Alaska Knit Nat

Lina had saved pussy willow branches from the spring, which I used on the boutonnières.

Midsummer Kaleidoscope Wedding | Alaska Knit Nat
The groom’s boutonnière mimics the bridal bouquet with a small band of lace wrapped around the fuchsia stem.

Midsummer Kaleidoscope Wedding | Alaska Knit Nat


Billy balls are the perfect accompaniment to fuchsia spray roses and iridescent fuchsia ribbon gave everything a polished look with great pops of color.

Midsummer Kaleidoscope Wedding | Alaska Knit Nat

Because the bride selected so many types of flowers I was left with an excess of product. I decided to make flower crowns for her daughter and niece who were flower girls. My mother models it here.

Midsummer Kaleidoscope Wedding | Alaska Knit Nat

Marigolds and pale pink rosebuds from my garden were a necessary addition to the garlands.

I had yet even more product, including a full peony (no way I was wasting that!) so I created a draping arrangement in an antique orange vase, which I left on the dining table in the wedding party’s bed and breakfast.

Midsummer Kaleidoscope Wedding | Alaska Knit Nat

Pink, fuchsia, orange, green, purple and yellow — a magical array of color for a perfect summer day.

Congratulations, Lina and Bill!

I was lucky to find pale pink yarrow growing wild in field by my local grocery store.

Free knitting patterns, DIY crafts, easy recipes and more!