As part of my personal challenge to forage at least one edible plant a month this summer in Anchorage, I decided to revisit wild rose petals. Several years back I collected these perfectly pink petals and made a just-OK jelly out of them. Thing is, I don’t eat jelly. I’m not a toast and jam kind of gal, I guess.
This time I opted to make rose petal syrup. It was easy to prepare and resulted in a gorgeous pink concoction that tasted as good as roses smell.

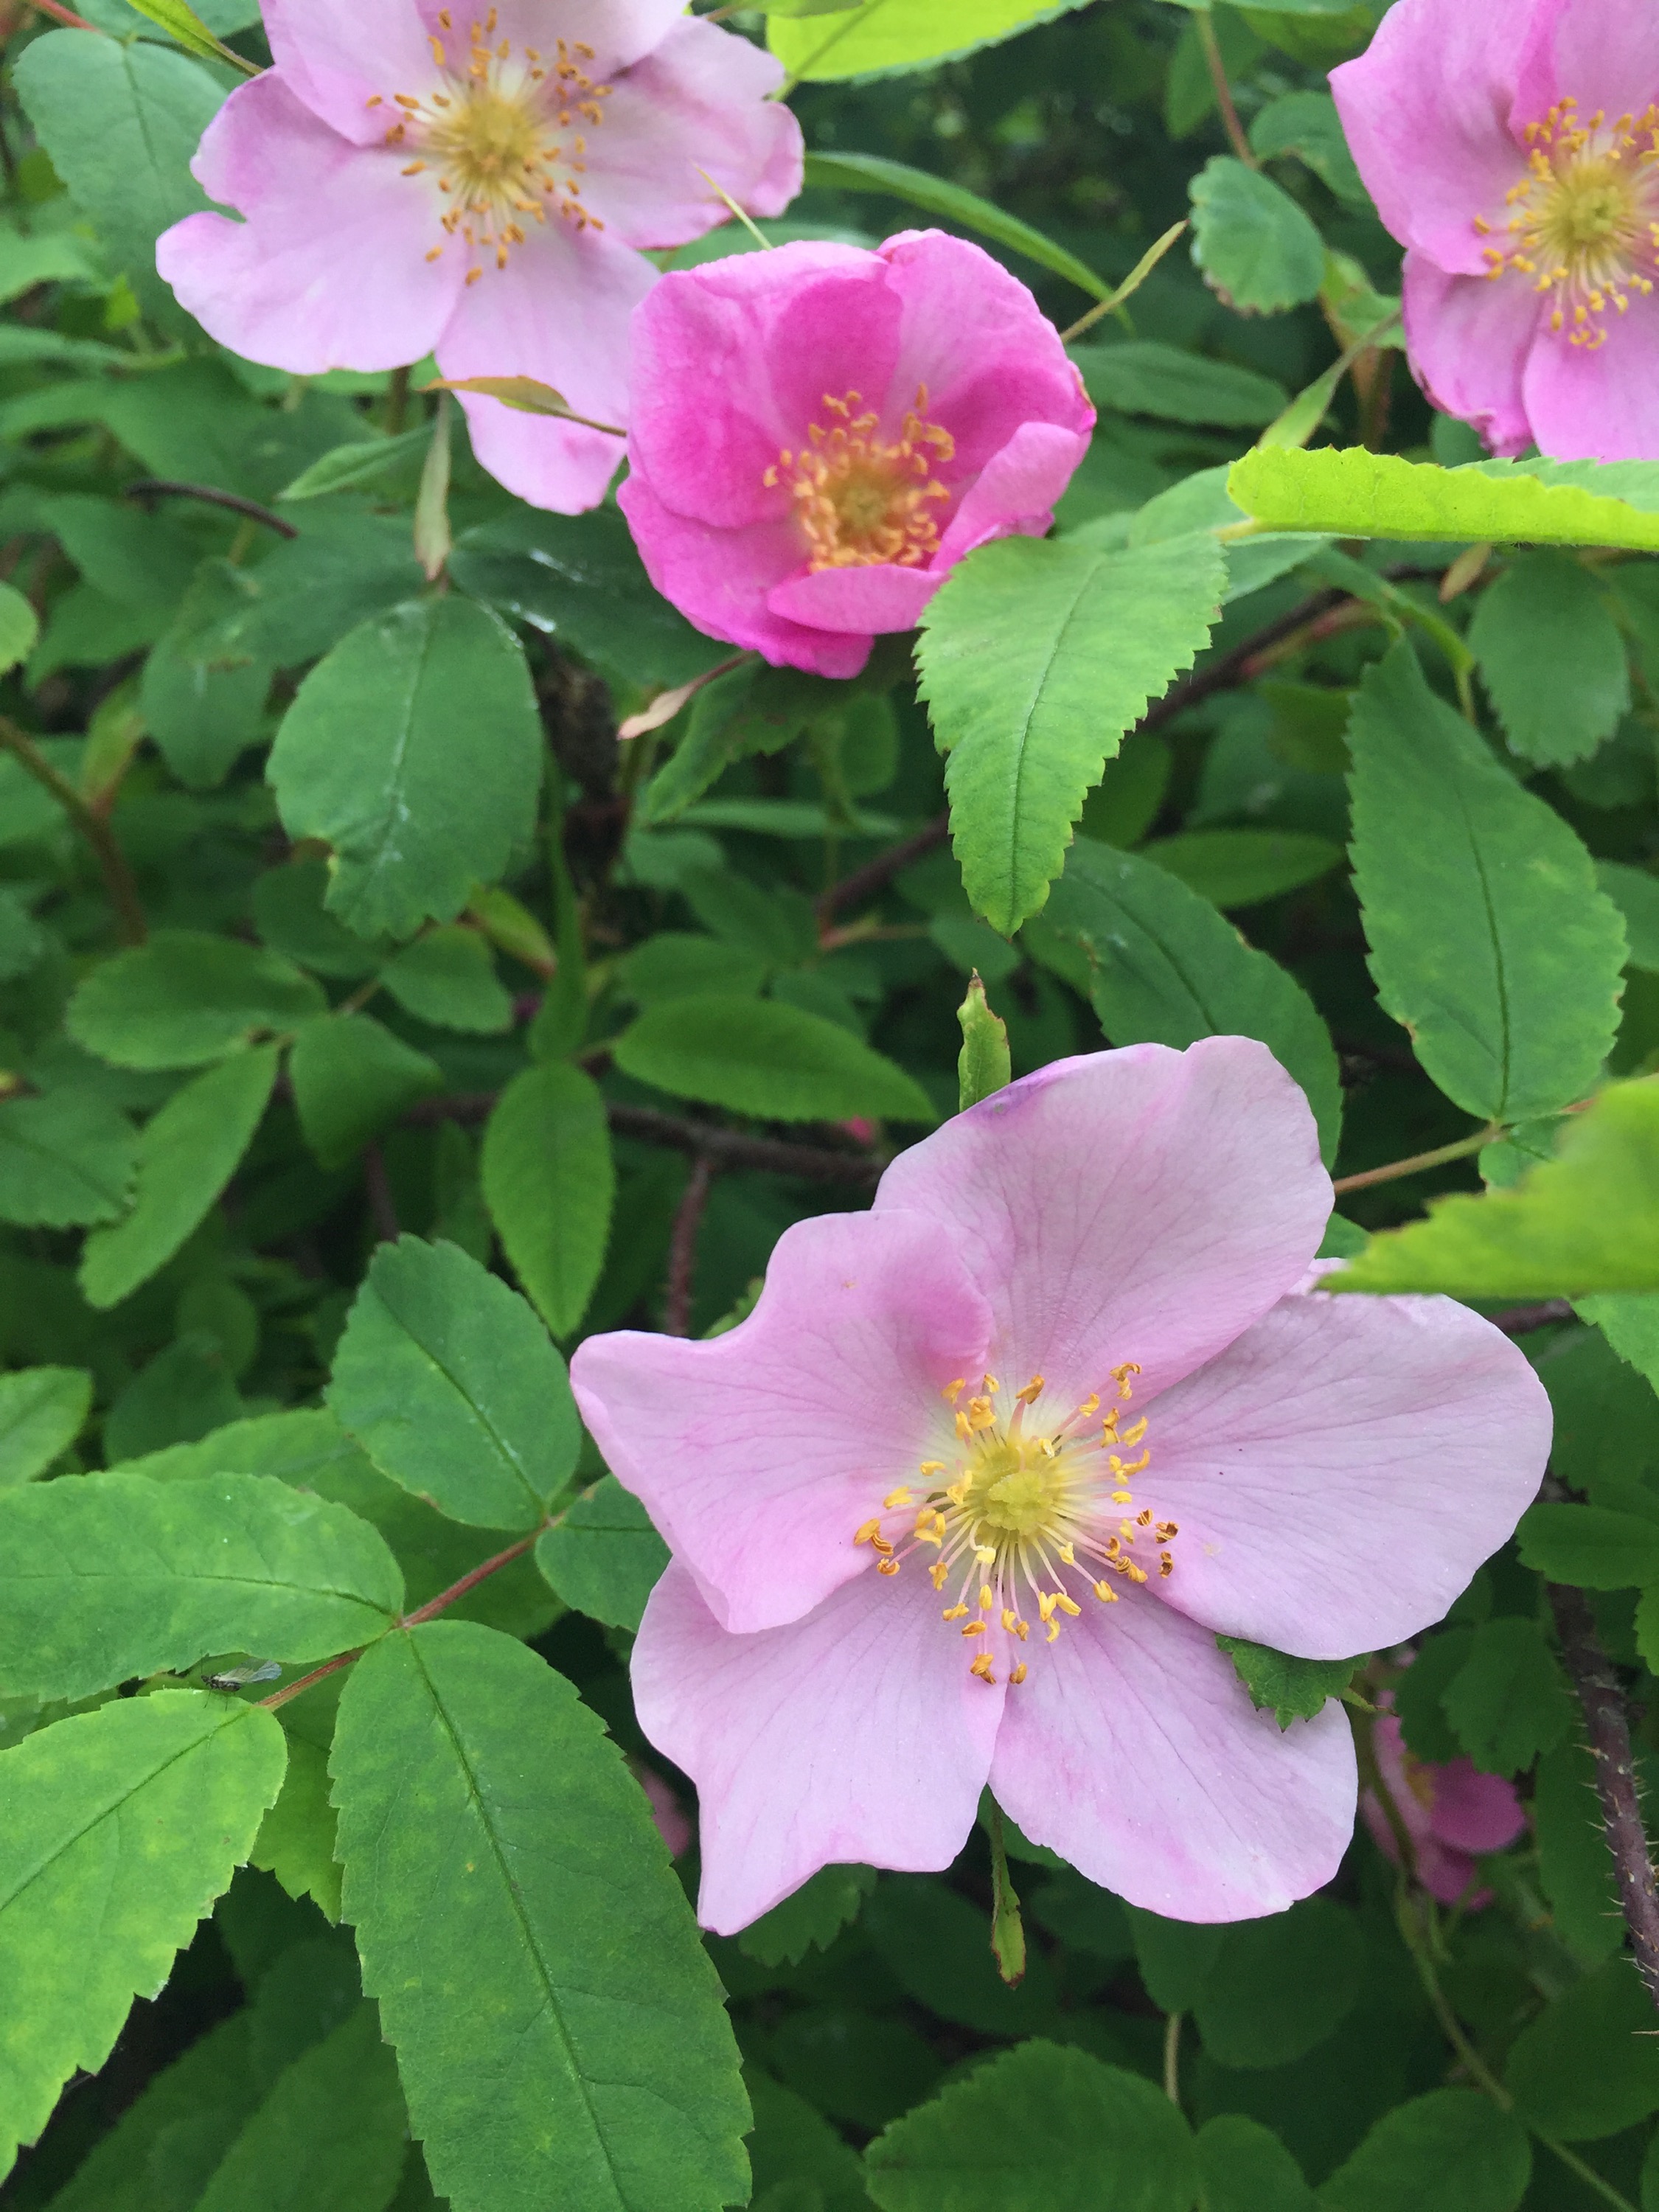
The wild roses are in full bloom here in Anchorage and it’s hard not to find them. I picked petals on the side of the highway, on my street and in my back yard. They have been in bloom since the first week of June and will probably be around for another week before they fade, fall and begin to turn into rose hips (and that’s another foraging adventure!)
Rose Petal Syrup
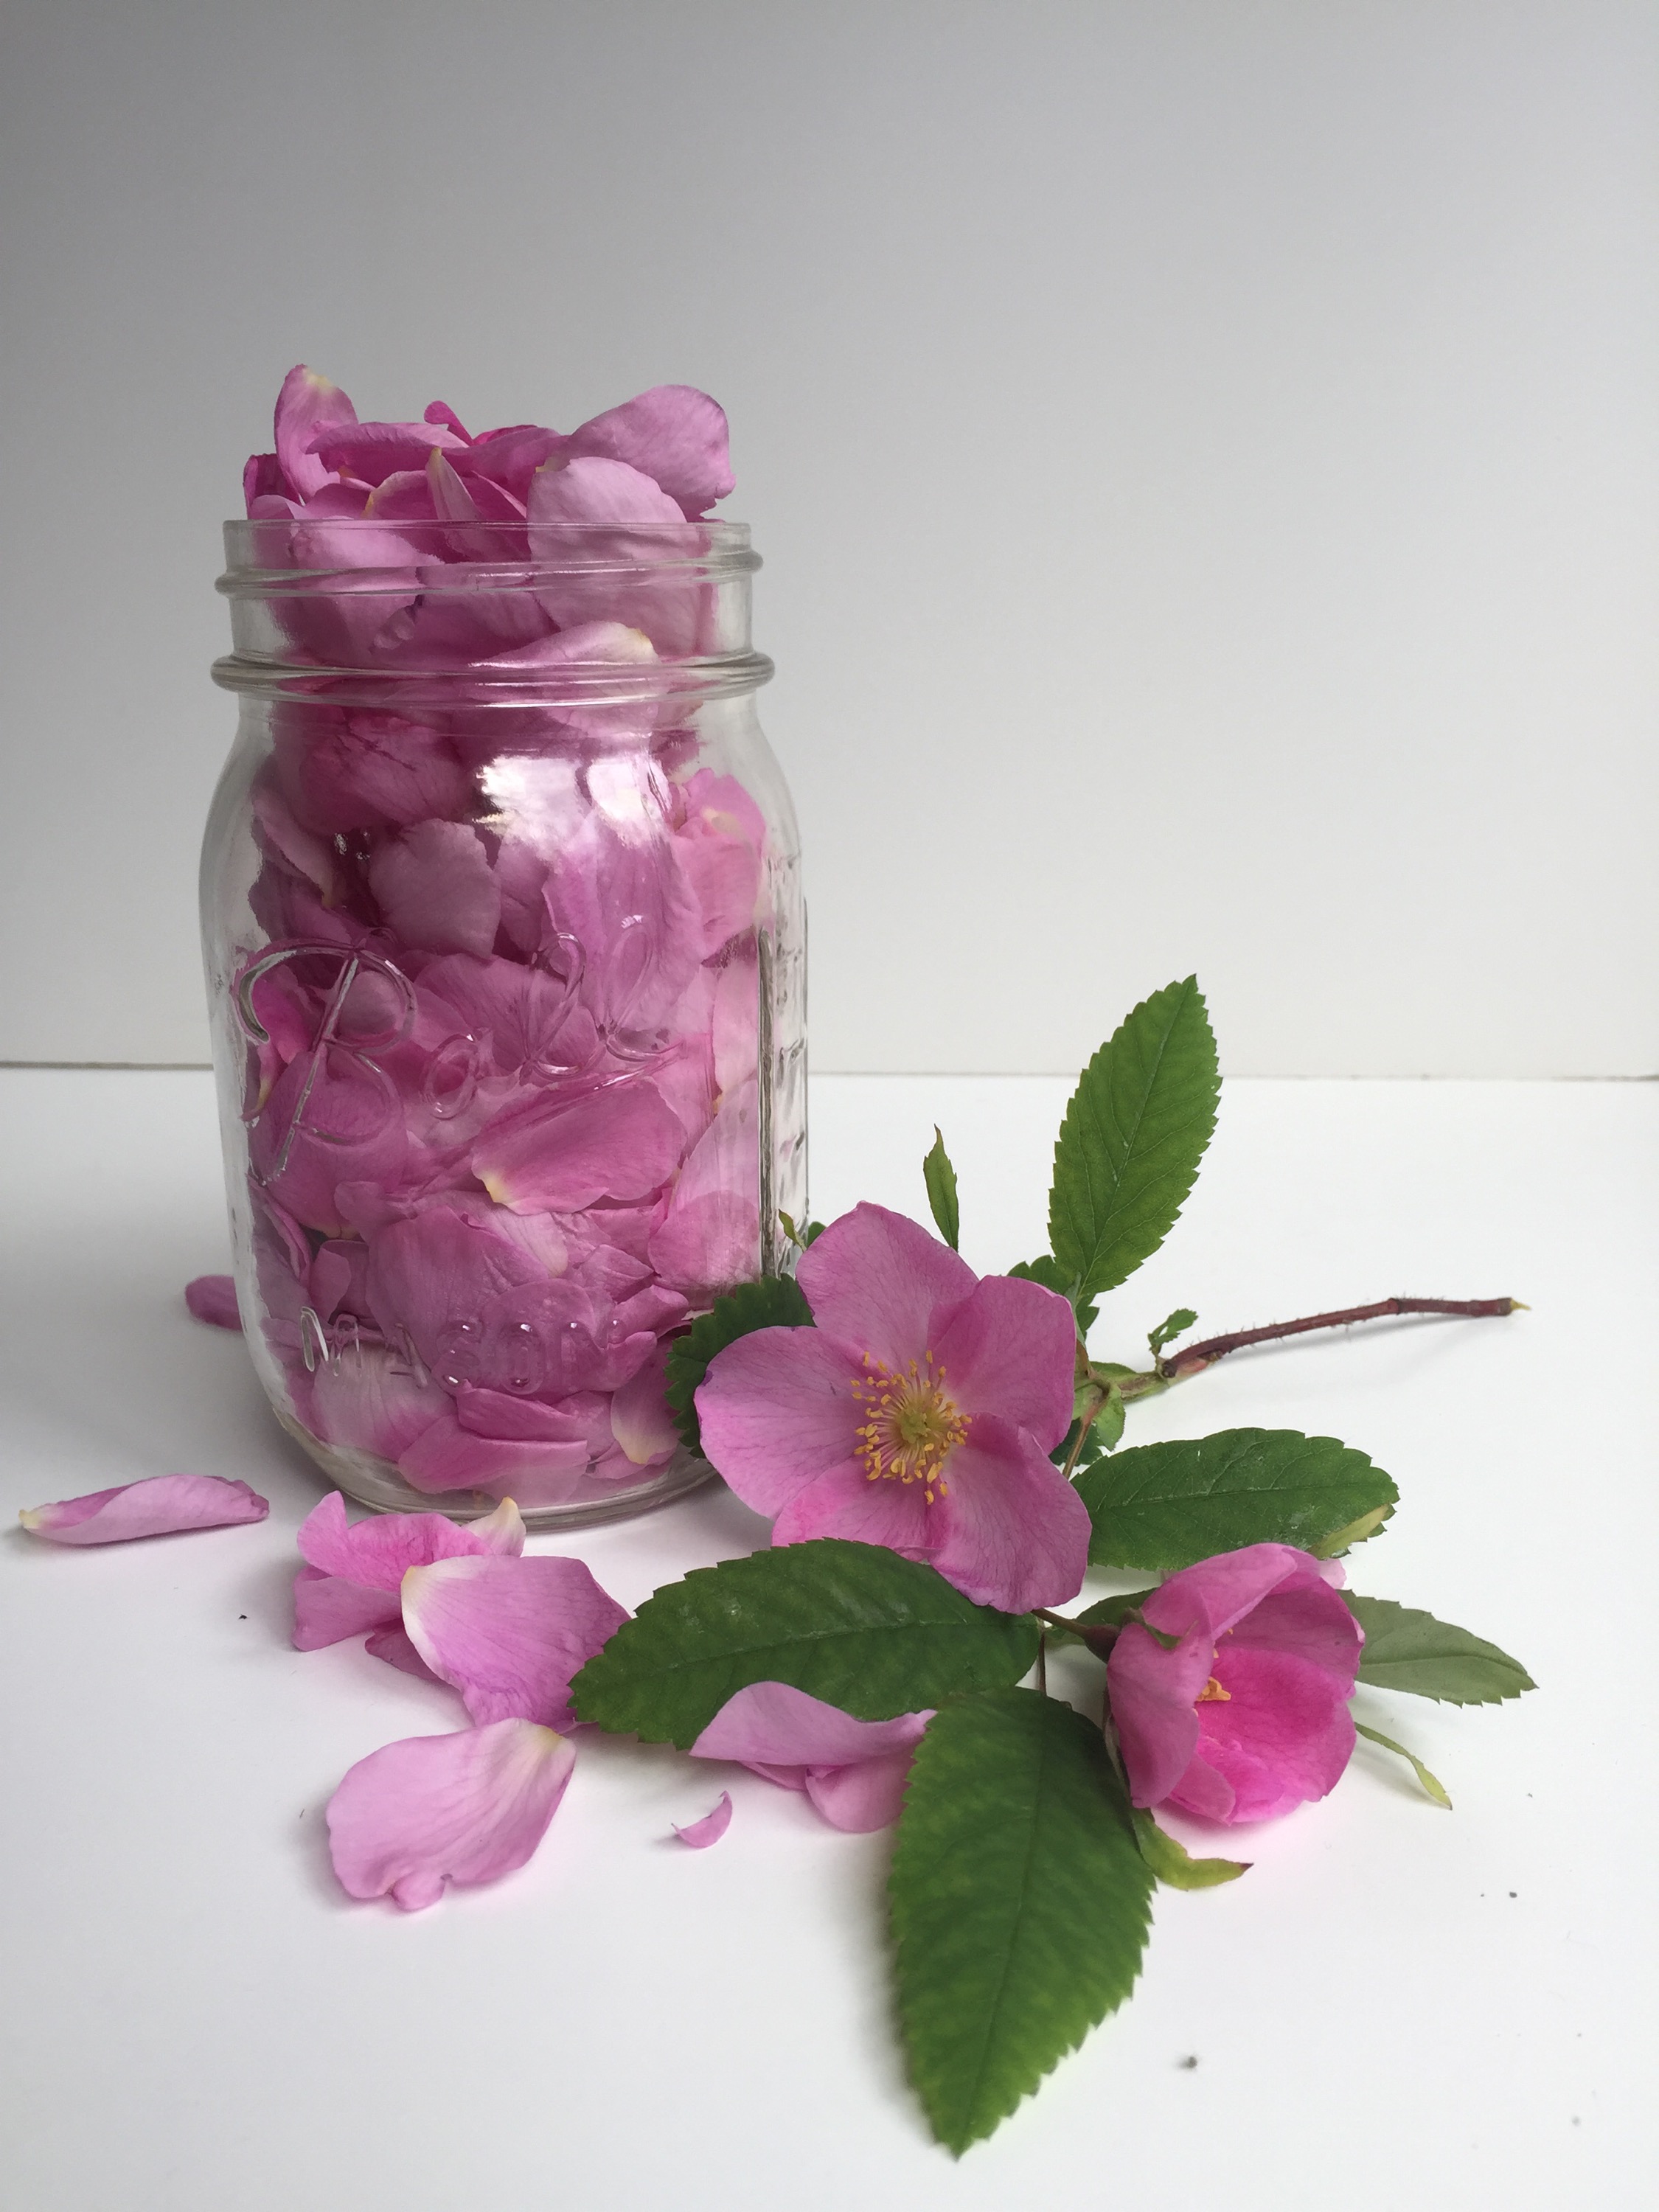
To make one bottle of syrup I collected about 2 gently packed cups of petals. Be ready to encounter some caterpillars, bugs and spiders (I lost about a cup of petals when I spotted an arachnid creeping around my collecting jar).

I followed this recipe from Nitha Kitchen to make the syrup.
*2023 update* – I realized I didn’t have a written recipe for the syrup. Here it is!
Ingredients:
6 cups fresh wild rose petals
5 cups sugar
1 quart plus 1 cup of water
2 teaspoons salt
2 tablespoons lemon juice
Fill the sink with cold water and pour in the petals. Stir them around and let the bugs and debris settle. Spin the petals dry in a salad spinner and place in a medium mixing bowl. Add 3/4 cup of sugar and muddle the petals with a potato masher.
Place the pulpy petals in a sealable container in the fridge overnight. Before cleaning the mixing bowl, scoop out remaining sugar gloop and exfoliate your hands. It’s lovely.
The next day, bring the water to a boil. Add the remaining sugar till dissolved. Toss in the petals and any pulp, lemon juice and salt and simmer on low until the color has been extracted from the petals. There’s no science to this. I think I simmered mine for 30 minutes. The liquid should be bright pink.
Turn off the heat and let the syrup cool. Using a mesh strainer lined with a clean linen dishcloth, ladle the syrup into a pitcher, pressing on the petals and tossing them as you go.
Pour into sanitized jars or bottles. Keep refrigerated. Keeps for several months.
Continue reading Harvesting Anchorage: Rose and rhubarb cookies (and a Rose Collins)