Most Anchorage residents would tell you that autumn is here. It arrived last Tuesday, to be precise. There was a nip in the air this morning as I made my way up the windy dirt road to Arctic Valley for my last gig of the wedding season.
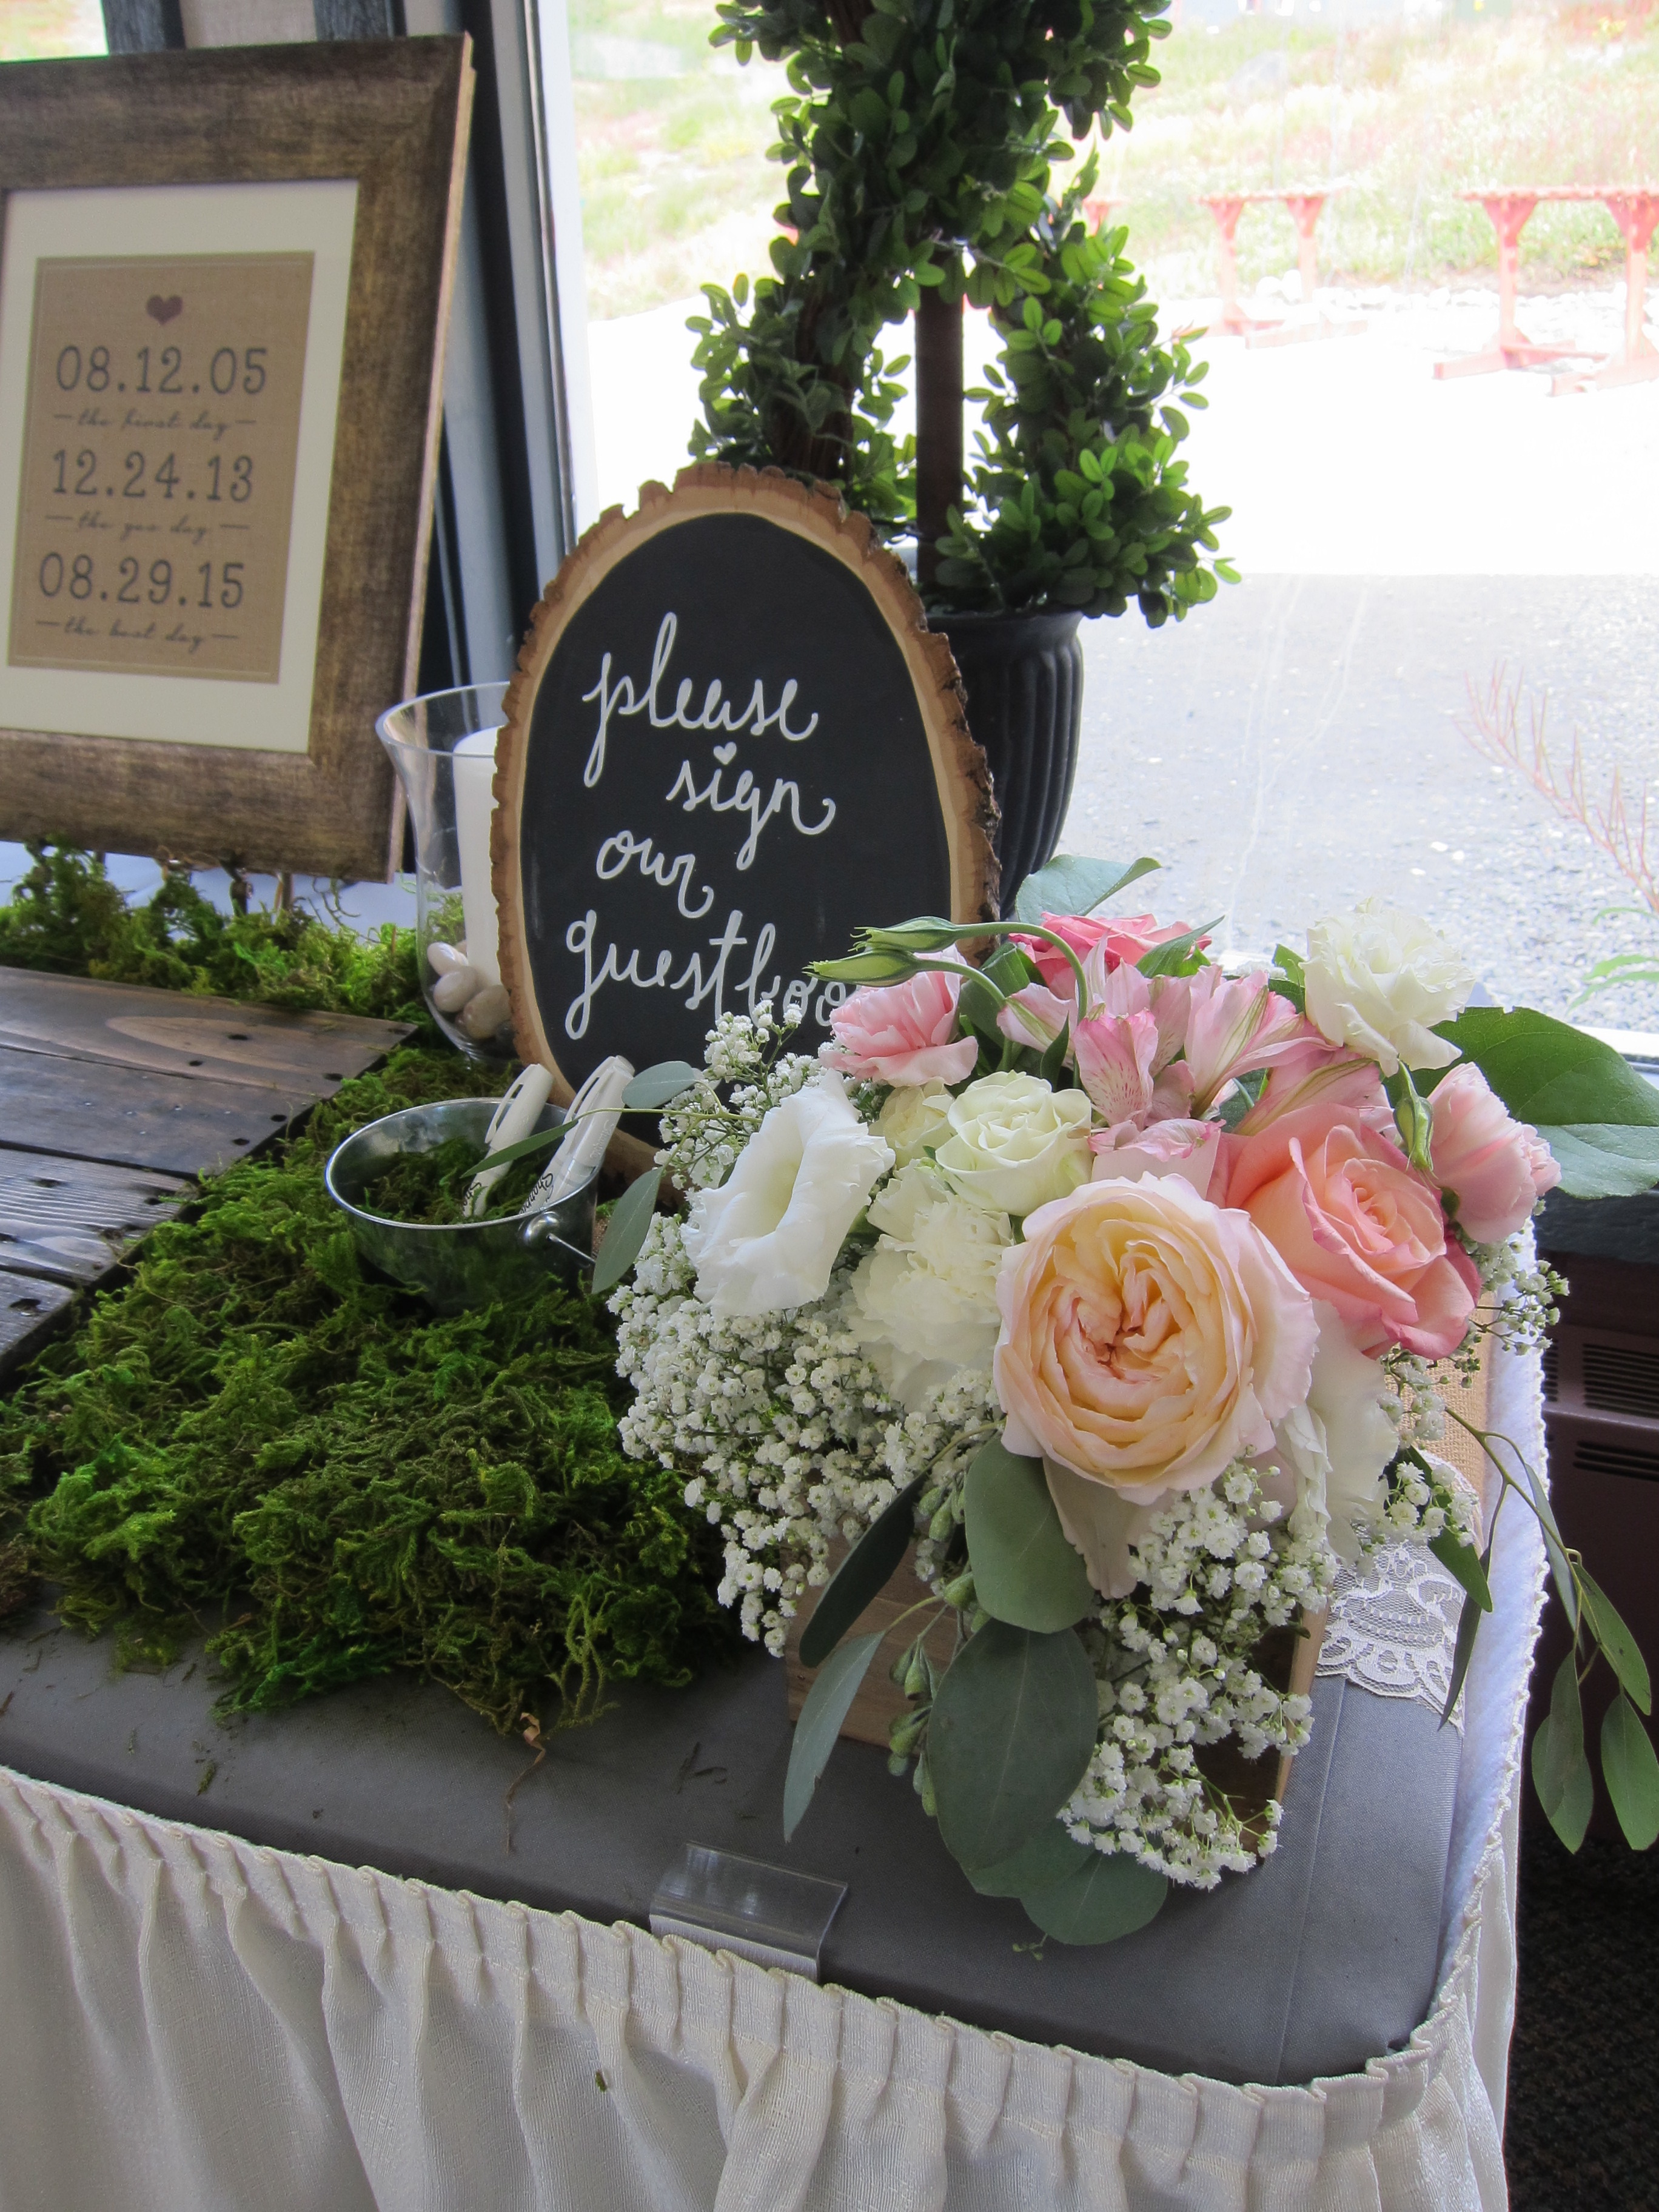
Cara and Tyler chose a rustic theme for their wedding, which was fitting against the wilderness surrounding the Arctic Valley chalet. Burlap table runners dressed with vintage lace and slabs of raw birch logs surrounded by moss were just the right touch.
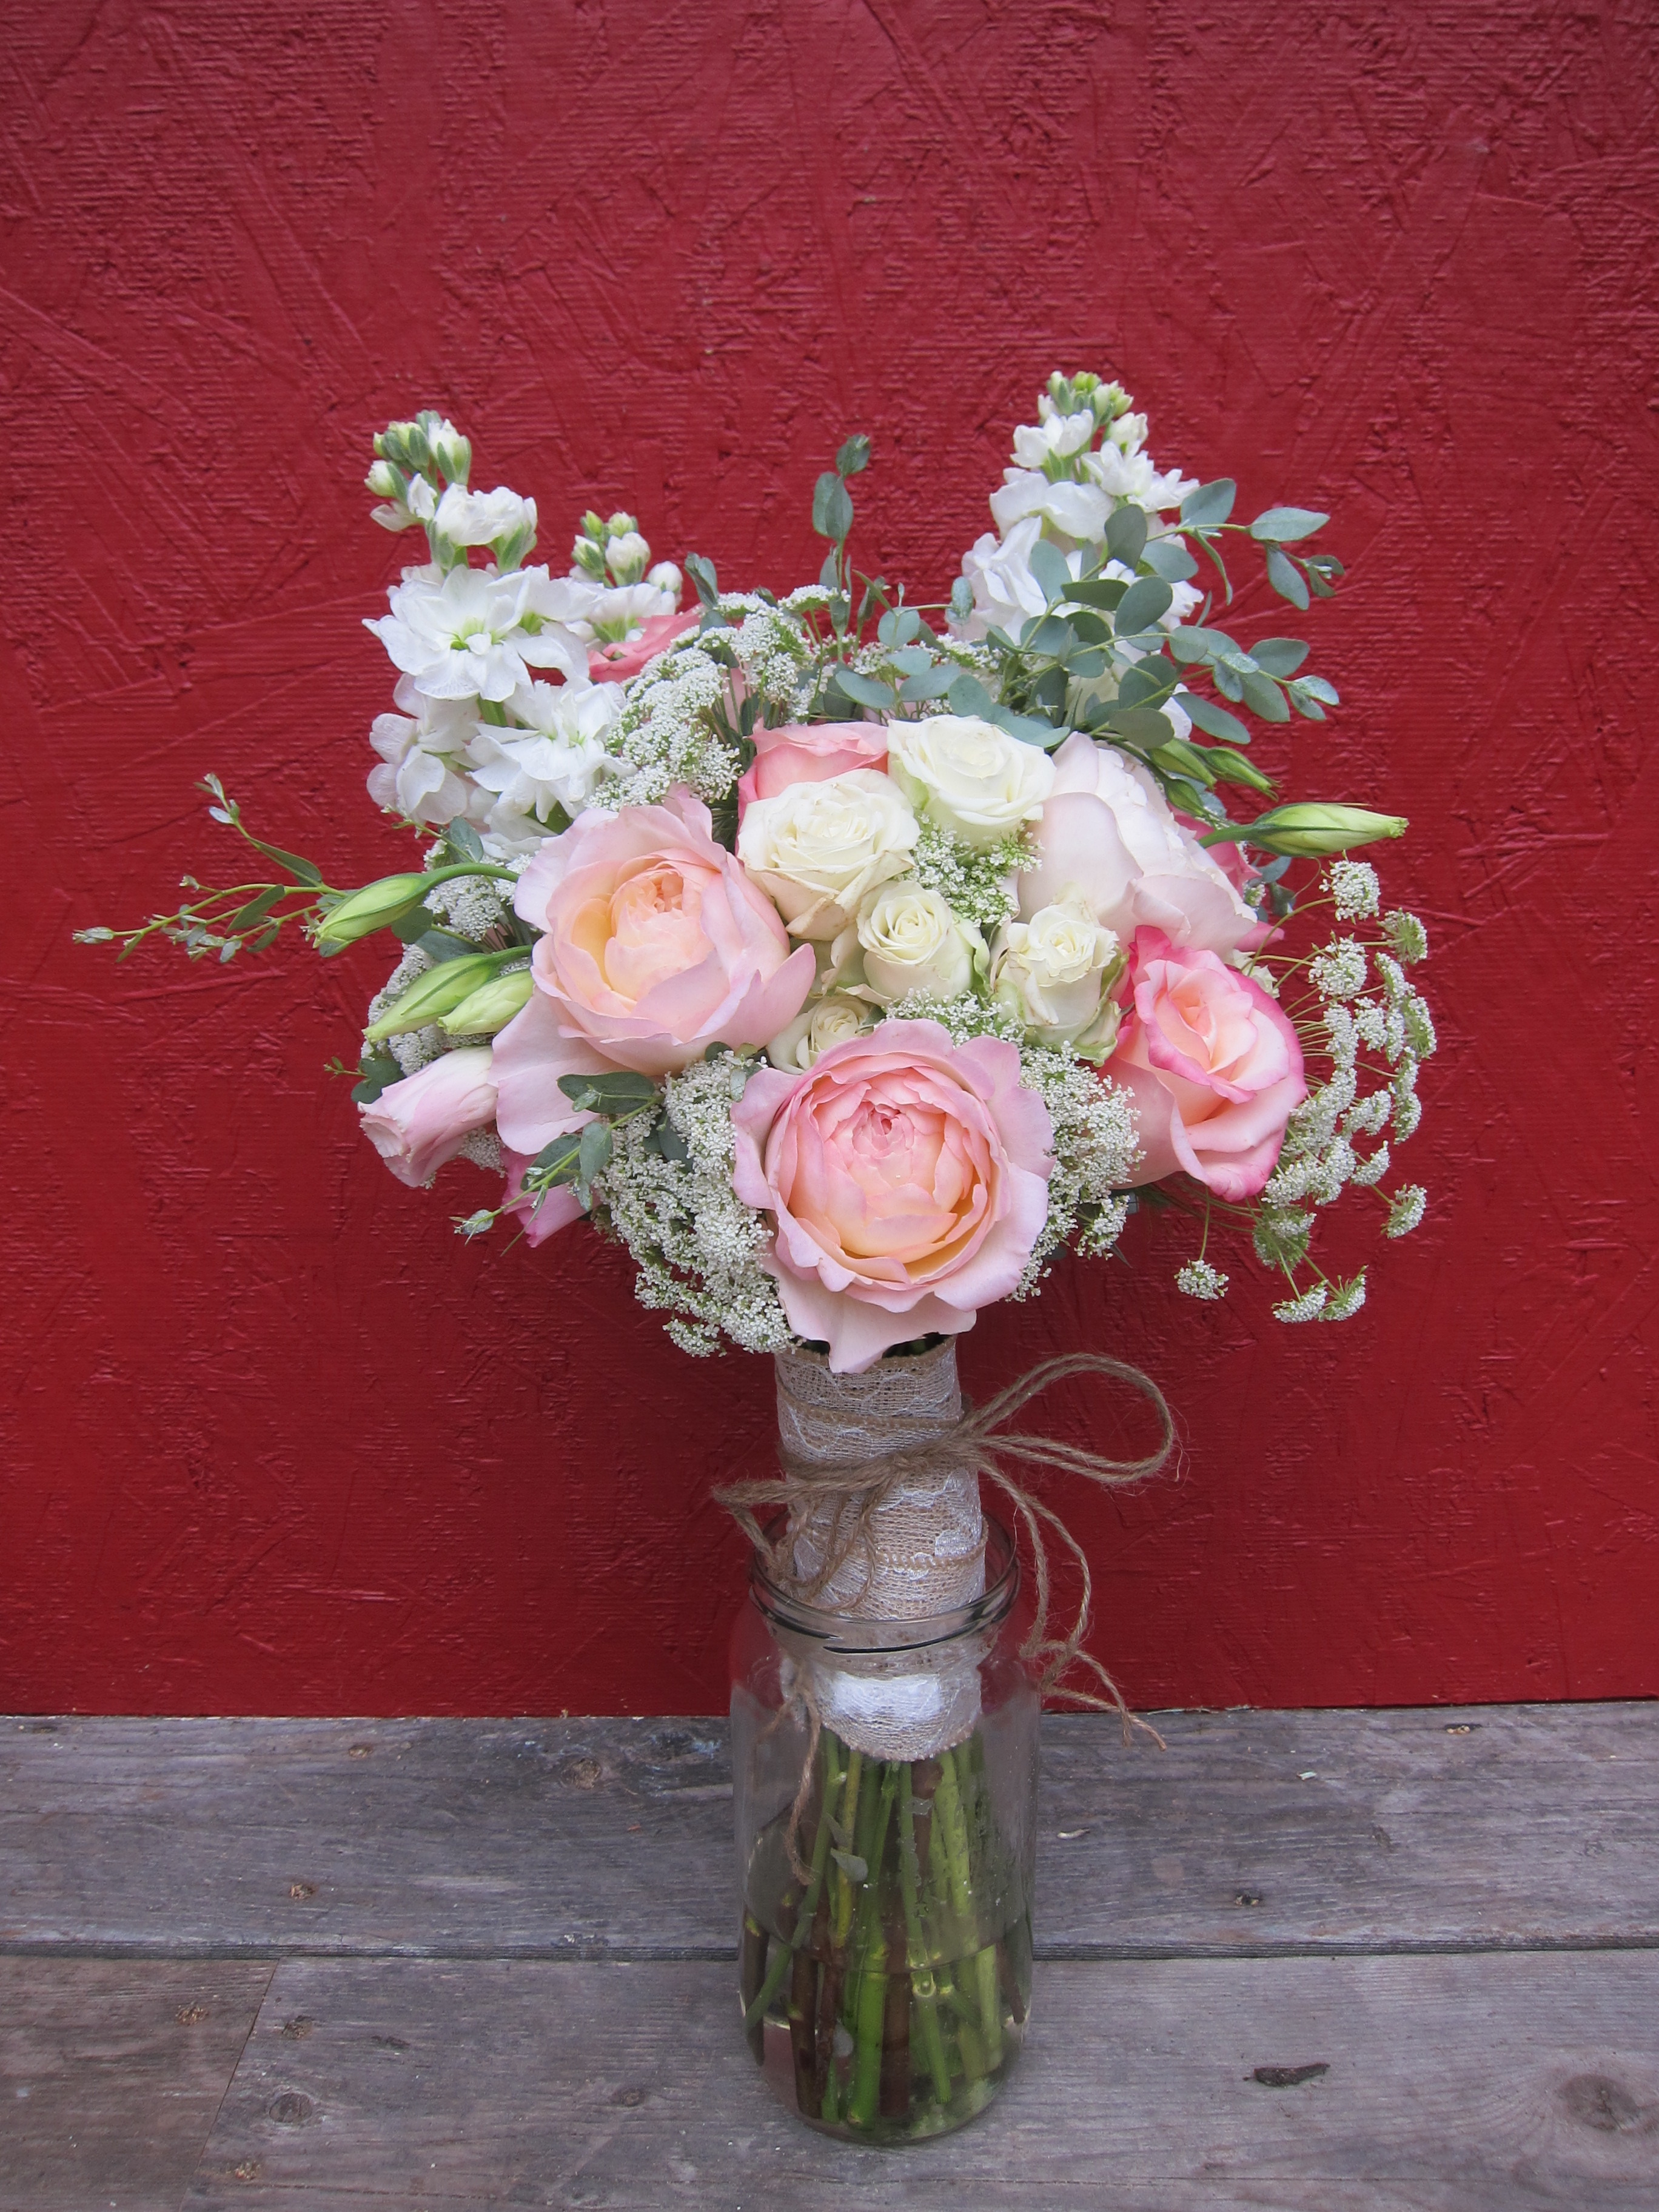
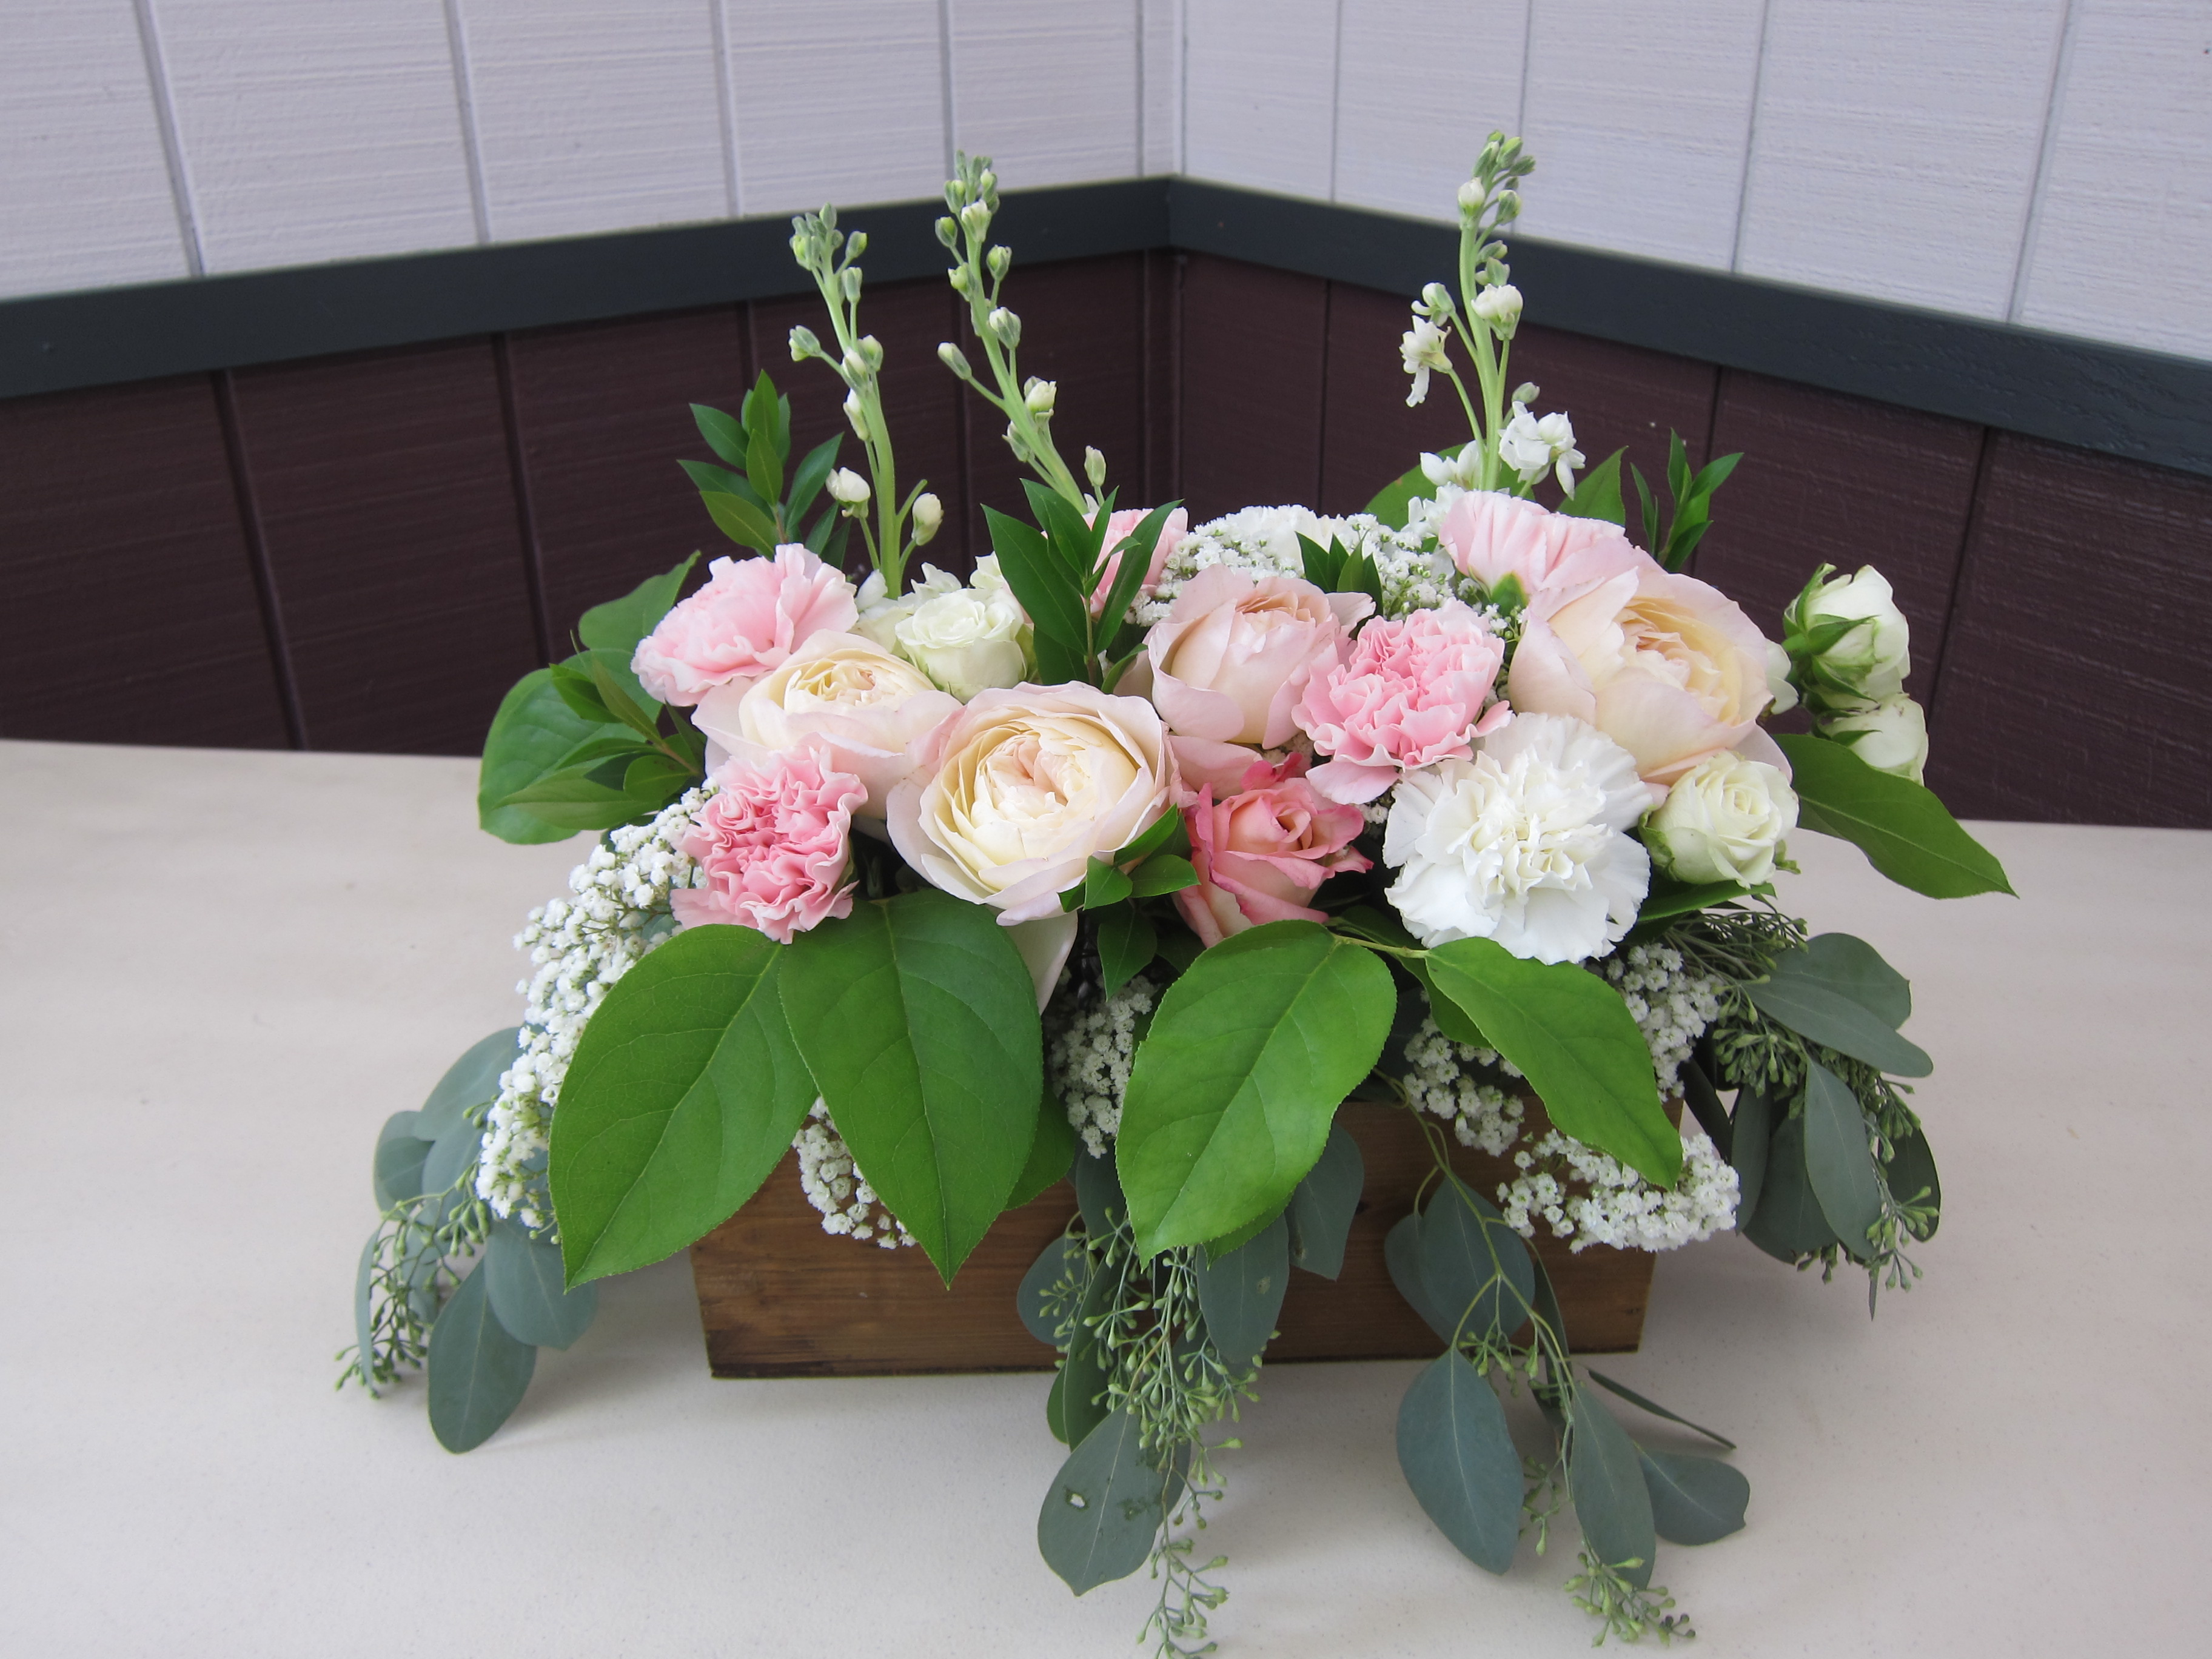
Cara chose pink, blush, white and sage green for the floral arrangements. The shabby-chic color palette complimented the rest of the decor perfectly.
I had the pleasure of working with feather-light garden roses, the color of rosy cheeks on a crisp autumn day.
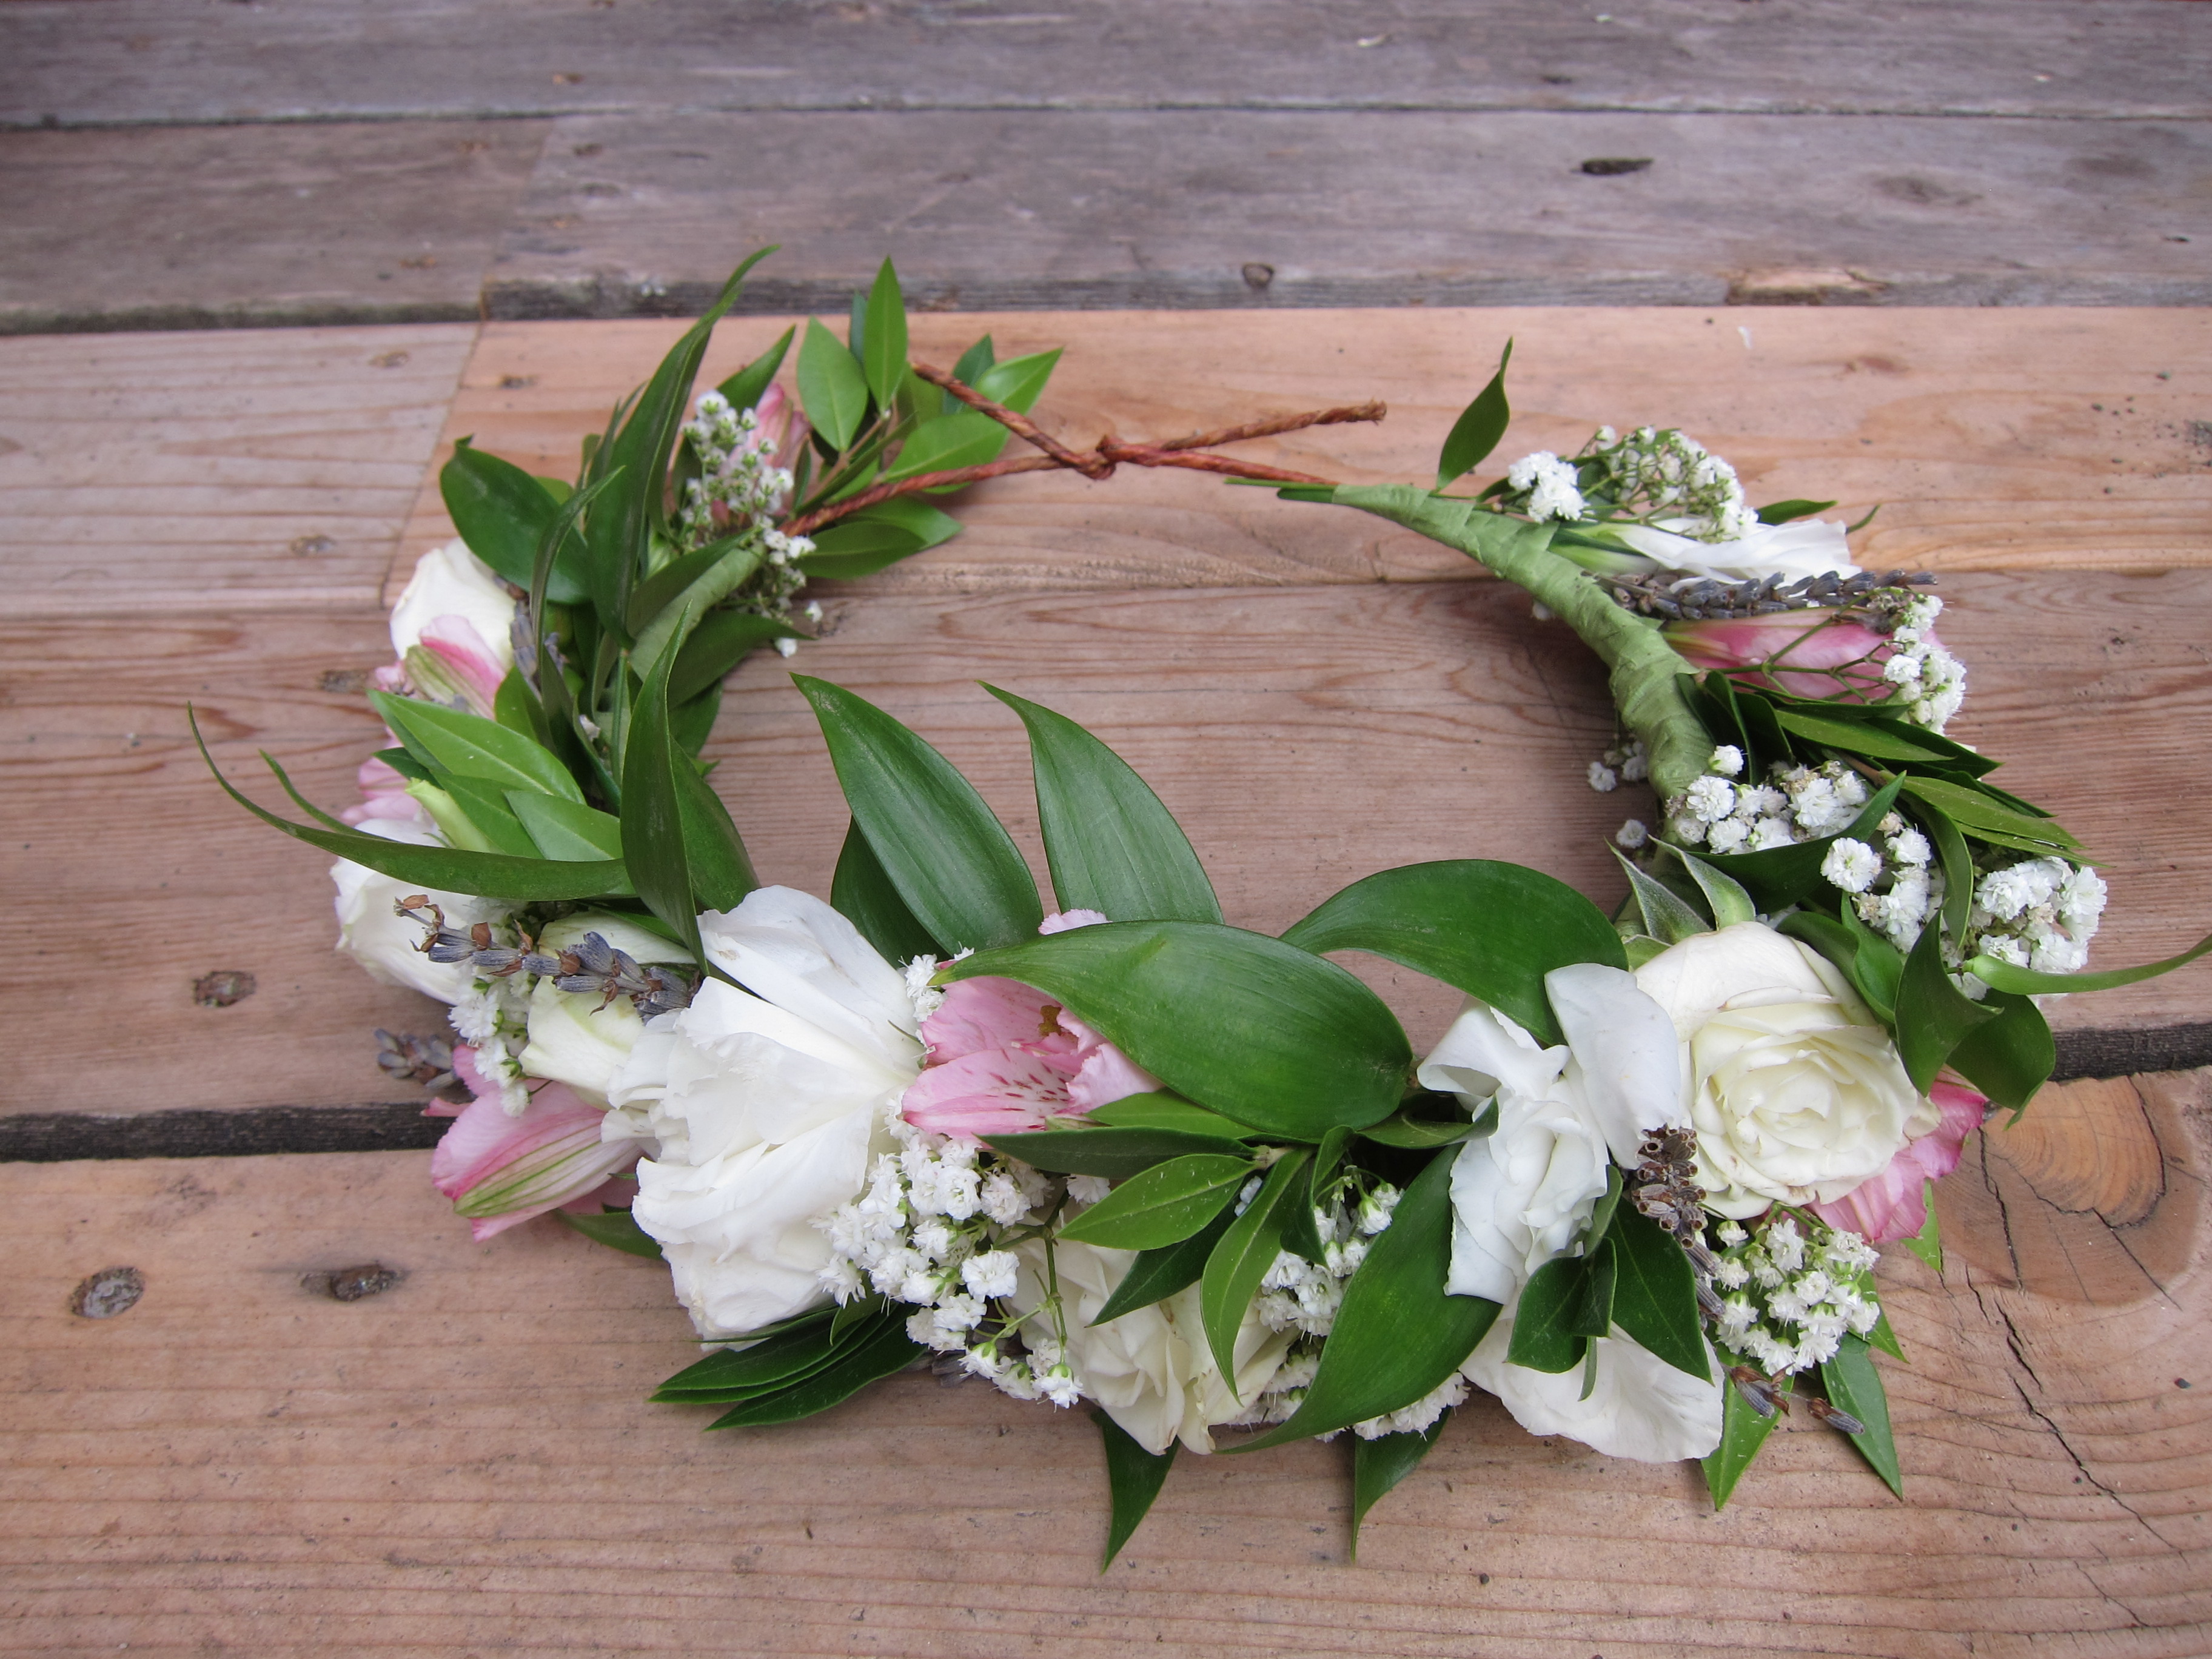
The mother of the bride requested a garland over the birch tree wedding arch, which I was looking forward to creating. It was my first try at a garland and I constructed it sort of like a giant flower crown. I put the garden roses in water tubes and wired them in just before hanging to ensure the blooms lasted as long as possible.
What a truly wonderful close to my wedding season. This was a challenging, fun summer. I learned a lot through my experience of being a new florist on my own and I’m grateful to the brides who put their trust in me. I can’t wait for next summer!
Last weekend I had the pleasure of spending time in Seattle. Despite the smoky air, I made it a point to get outdoors and do some urban foraging. Blackberry brambles are abundant around the city. My best friend, her boyfriend, my sister and I headed out to Discovery Park and found several briars laden with sweet blackberries.
This wasn’t my first blackberry rodeo. Although it was a hot day I made sure to wear pants, shoes and socks. There’s good reason Sleeping Beauty was surrounded by a thick wall of brambles — these bushes are brutal! My friend Matt didn’t heed my pants advice.
We picked a quart of berries in about half an hour. I got a few unbelievably ripe, juicy peaches at Pike’s Market and we knew that pie was on the horizon.
I’m not a baker and I’ve probably made one pie in my life, but I was inspired by the blueberry pie at South Restaurant + Coffeehouse. I tasted it the other day and noticed a subtle, unusual ingredient: pink peppercorns. I don’t know if the pepper was in the crust or the filling, but I found a pretty cool recipe from the L.A. Times that incorporated blackberries, nectarines and pepper. I wanted to try it.
A big thanks to my best friend Jess for her pie lattice expertise because this pie was a winner inside and out!
We used 3 cups of blackberries and two cups of peeled, sliced peaches. We used honey instead of corn syrup. The ground pepper was incorporated into the crust and gives the pie a bit of zing.
After placing the bottom crust in the pan, we set a circle of parchment paper on the crust and used some dry beans as pie weights. Then we baked the bottom crust for about 15 minutes in the preheated oven, let it cool for about five minutes and added the filling.
We brushed the lattice with milk and sprinkled cinnamon and sugar on top.
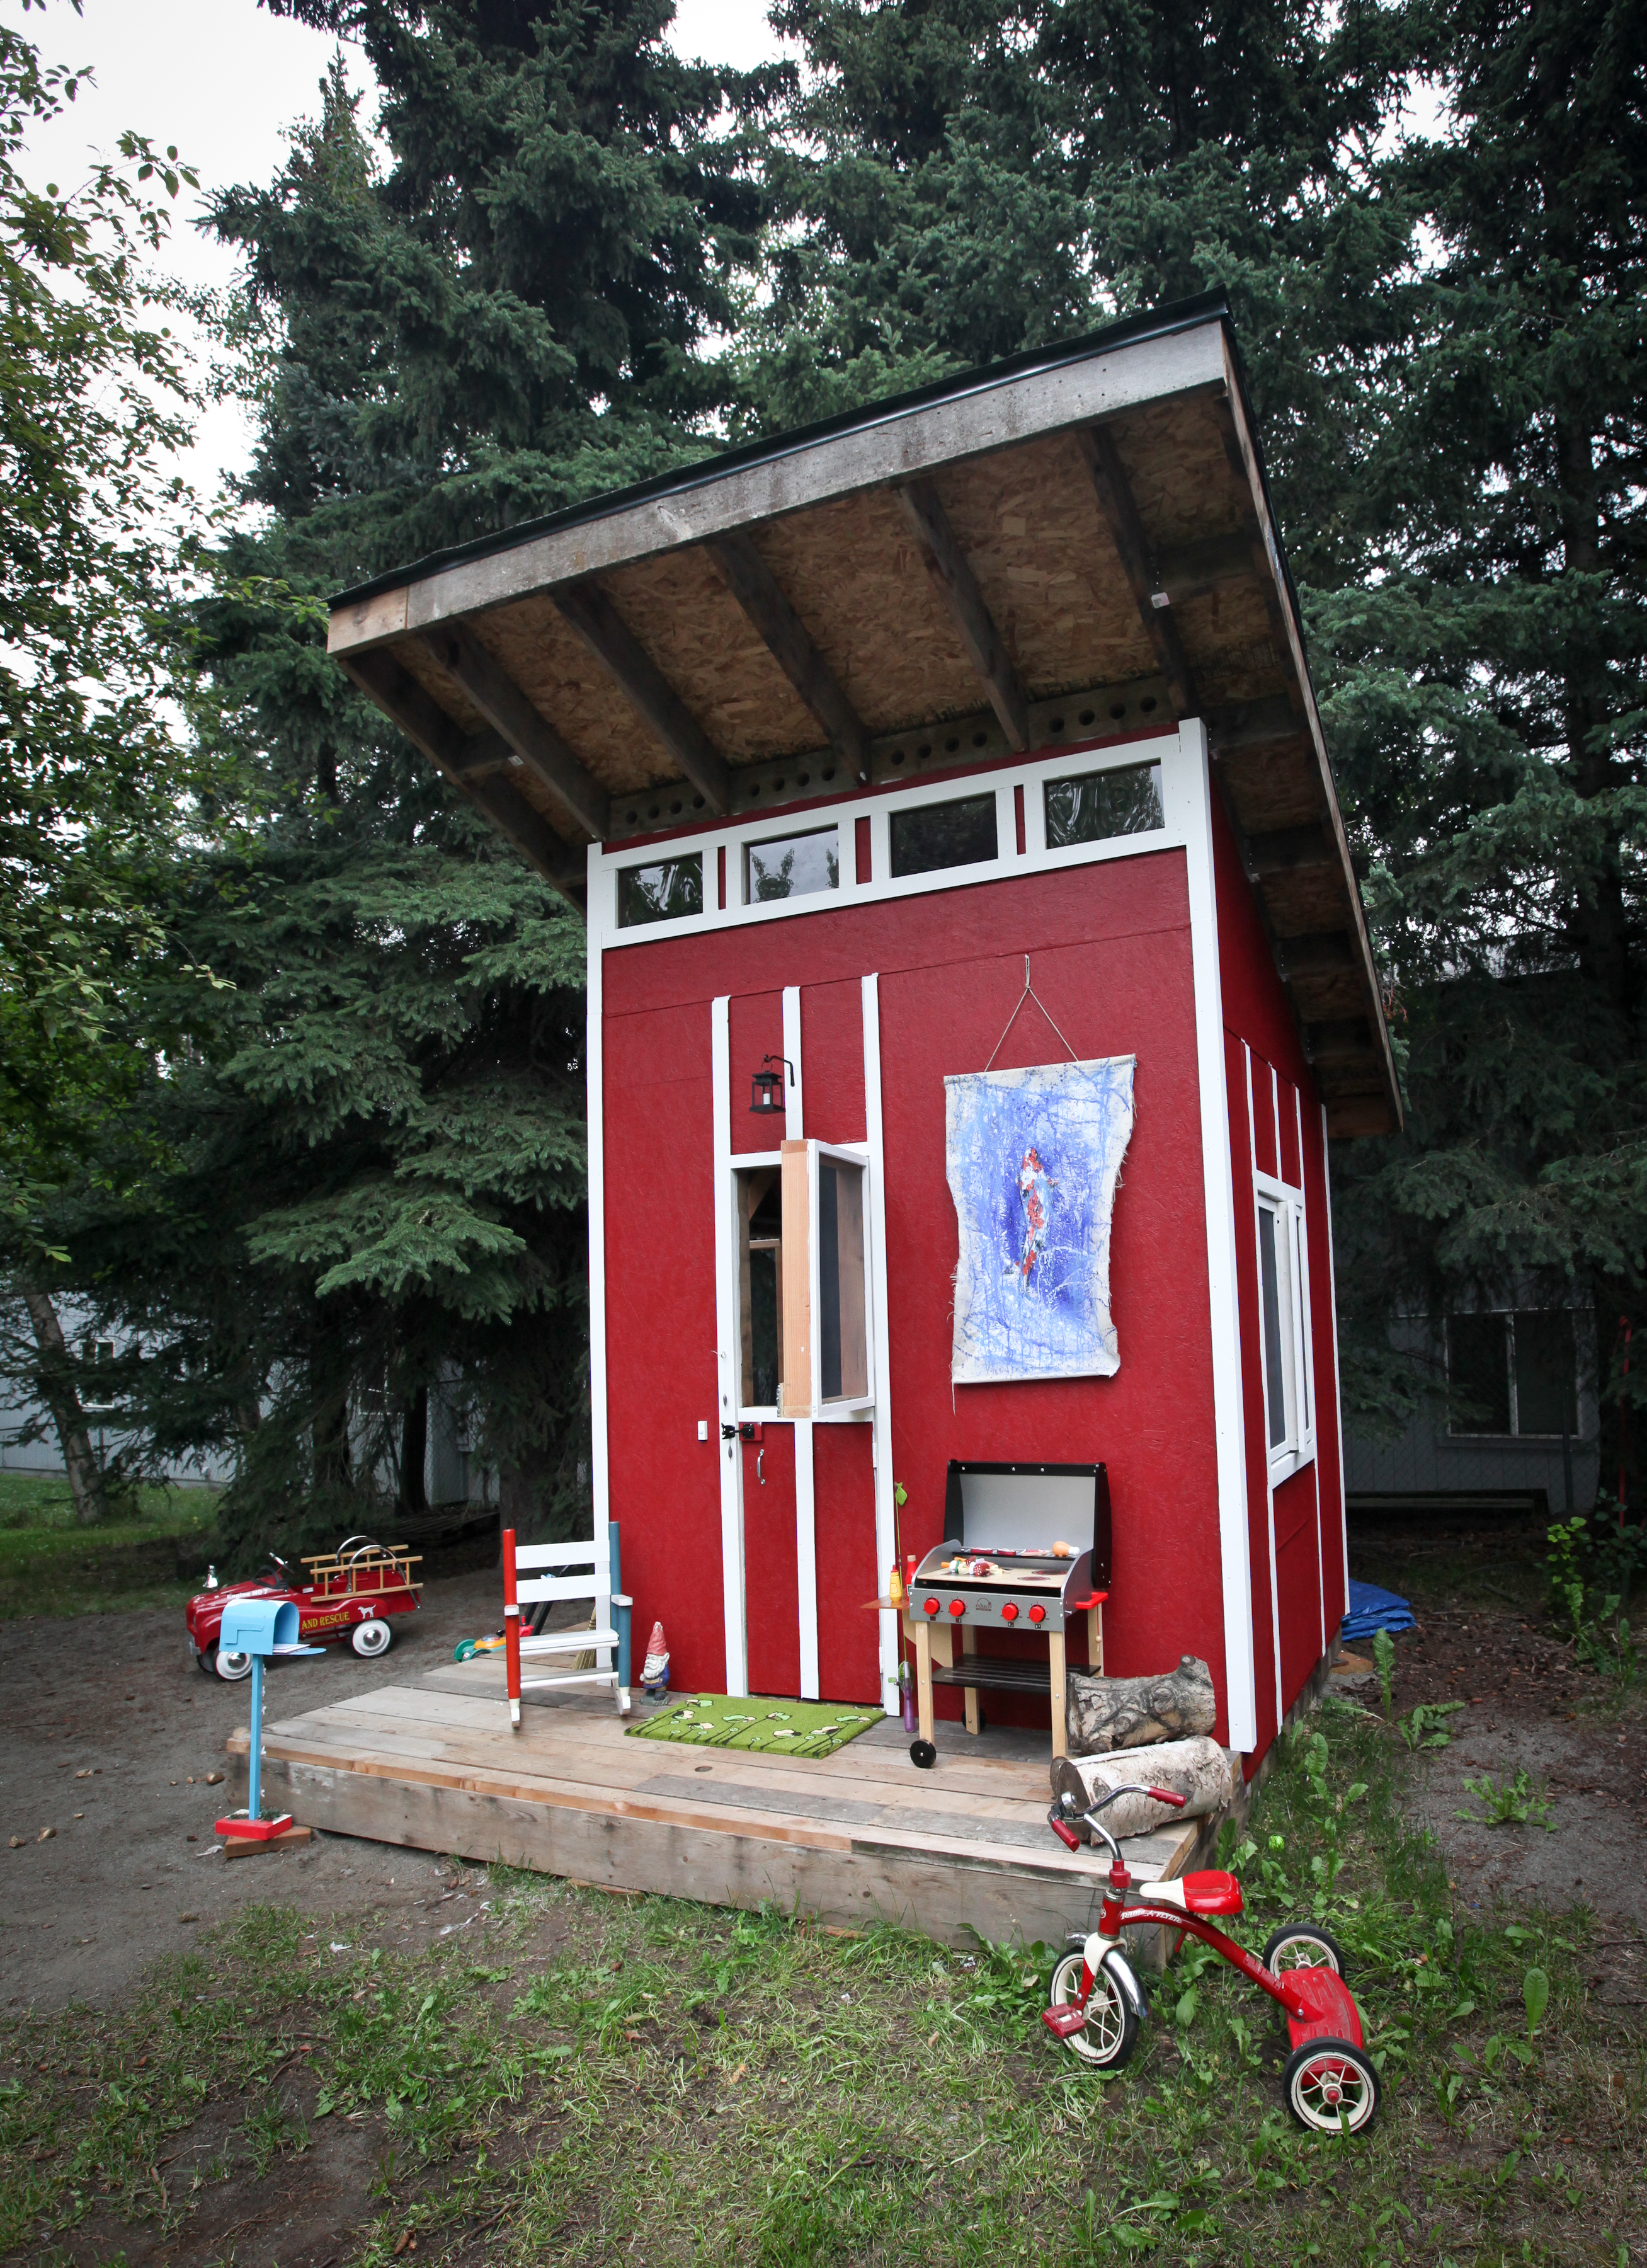
All summer my husband has been the quintessential handyman — ladder leaning against the house, body splayed across the roof, a hammer hanging from his Carhartts, screws sticking out of his mouth. Only this house is 10 square feet and lives in our back yard.
Last year my husband, Stephen, became my father’s apprentice and took up woodworking with unbridled gusto. We are slowly replacing our particle-board furniture with hardwood heirlooms. He has thoroughly impressed every one of our family and friends. I’ve even made him his own hashtag (#hubbycraft, if you’re interested in seeing some of his projects on Instagram).
My parents recently replaced their deck and Stephen diligently ran every discarded board through a planer. Twenty-five-year-old faded, mossy cedar planks turned out to be healthy, sturdy wood perfect for reuse.
In May, Stephen started working on the plans for our son Jack’s playhouse. He used the repurposed deck planks for the frame and the miniature wrap-around porch. He spent every non-working and sleeping moment perfecting the playhouse from the screened vents under the roof to the retractable rope ladder leading up to the loft.
At the end of July we were finally ready for the playhousewarming party. All of Jack’s buddies gathered for food, treasure hunts, pool splashing and a chance to break in the new house.
Stephen estimates he spent about $500 on the house — a worthwhile investment for years of yard fun.
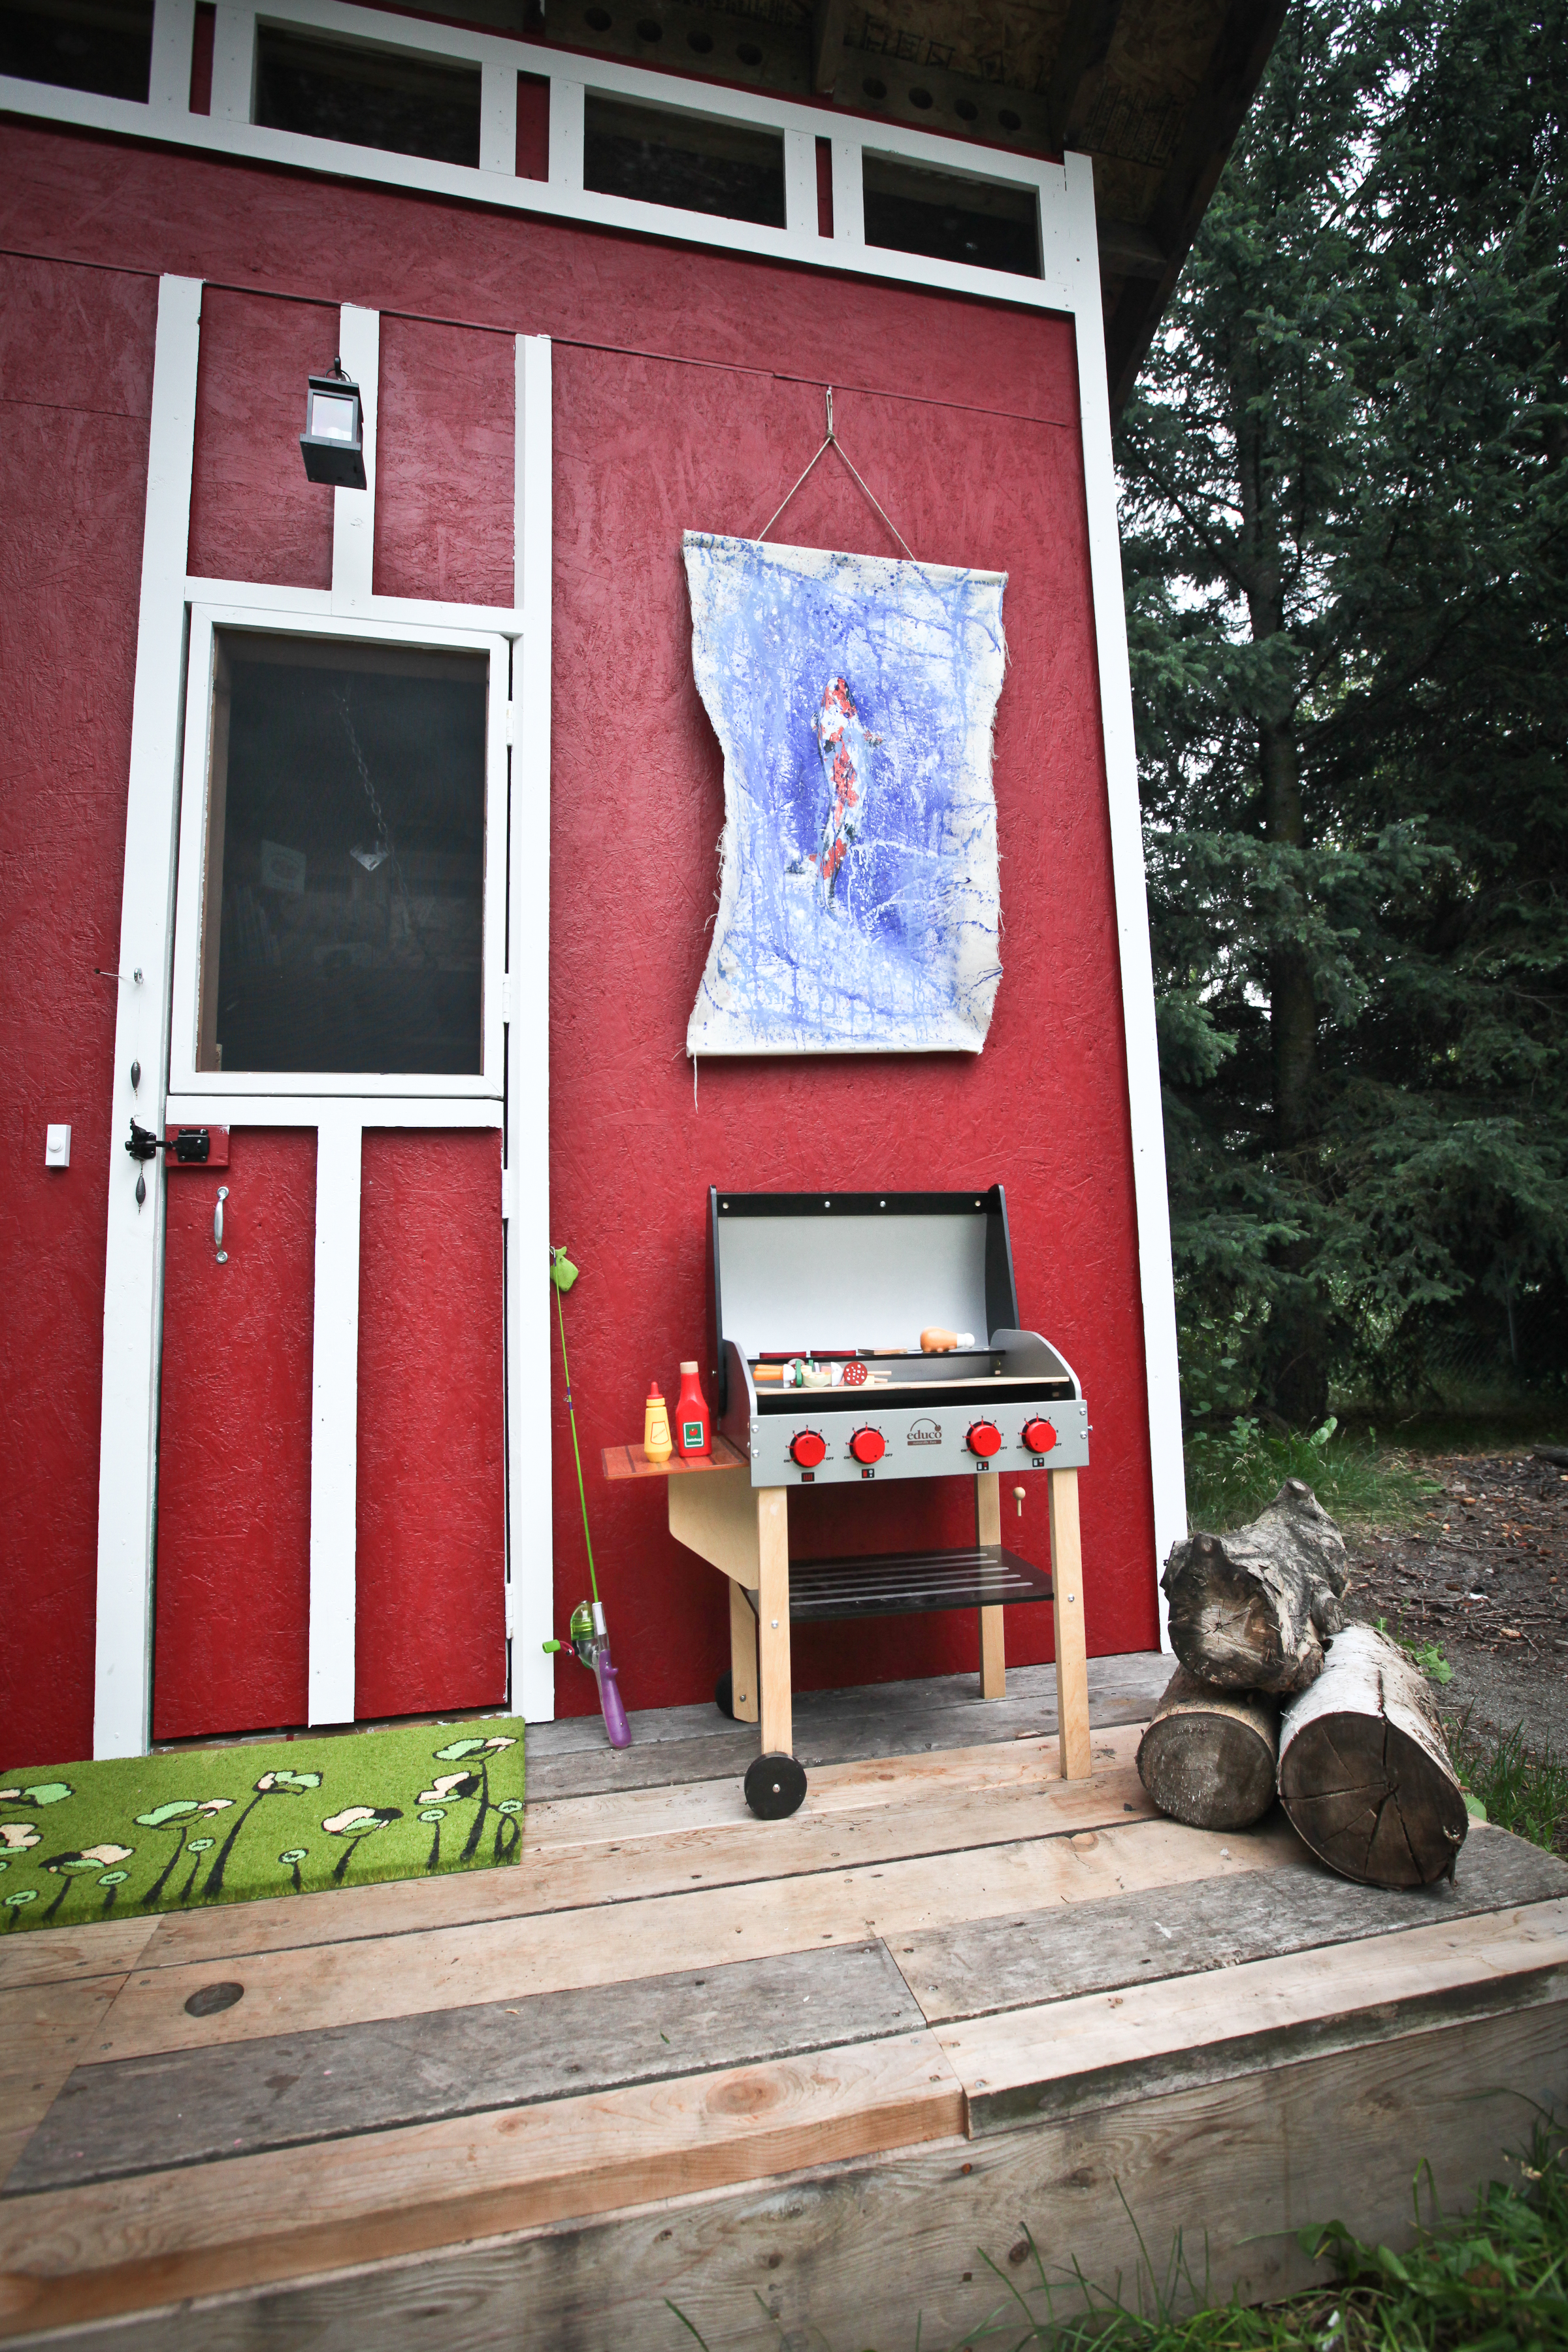
Thanks to the interior design expertise of Fernanda Conrad. She was an immense help in staging the playhouse. Check out some of her regular-sized designs here.
The toy grill was a $60 Craigslist score. The little lantern is solar powered and flickers in the night. The cheerful doormat was just $12 at Fred Meyer.
Sometimes I just don’t want to plan dinner. Today was the case as I opened my fridge at 5:10 p.m. to figure out what to prepare for my family. I came up with frozen chicken breasts, frozen broccoli, lemon and fresh thyme. I was uninspired, but decided to put the frozen chicken in the pressure cooker and figure it out as I went along.
Then, when my son called me out to the yard to look at the newest addition to his playhouse, the best thing happened: I found two pristine king bolete mushrooms standing proudly under our large spruce trees.
I’ve been waiting all summer for this moment. King boletes are the most delectable of the mushrooms my family gathers and they happen to grow in my yard every summer from late July to early September. For the past three weeks I’ve been checking the areas under the spruce trees for these meaty, delicious fungi. They pop up overnight and you have to pick them when they are fresh otherwise bugs will lay claim to them.
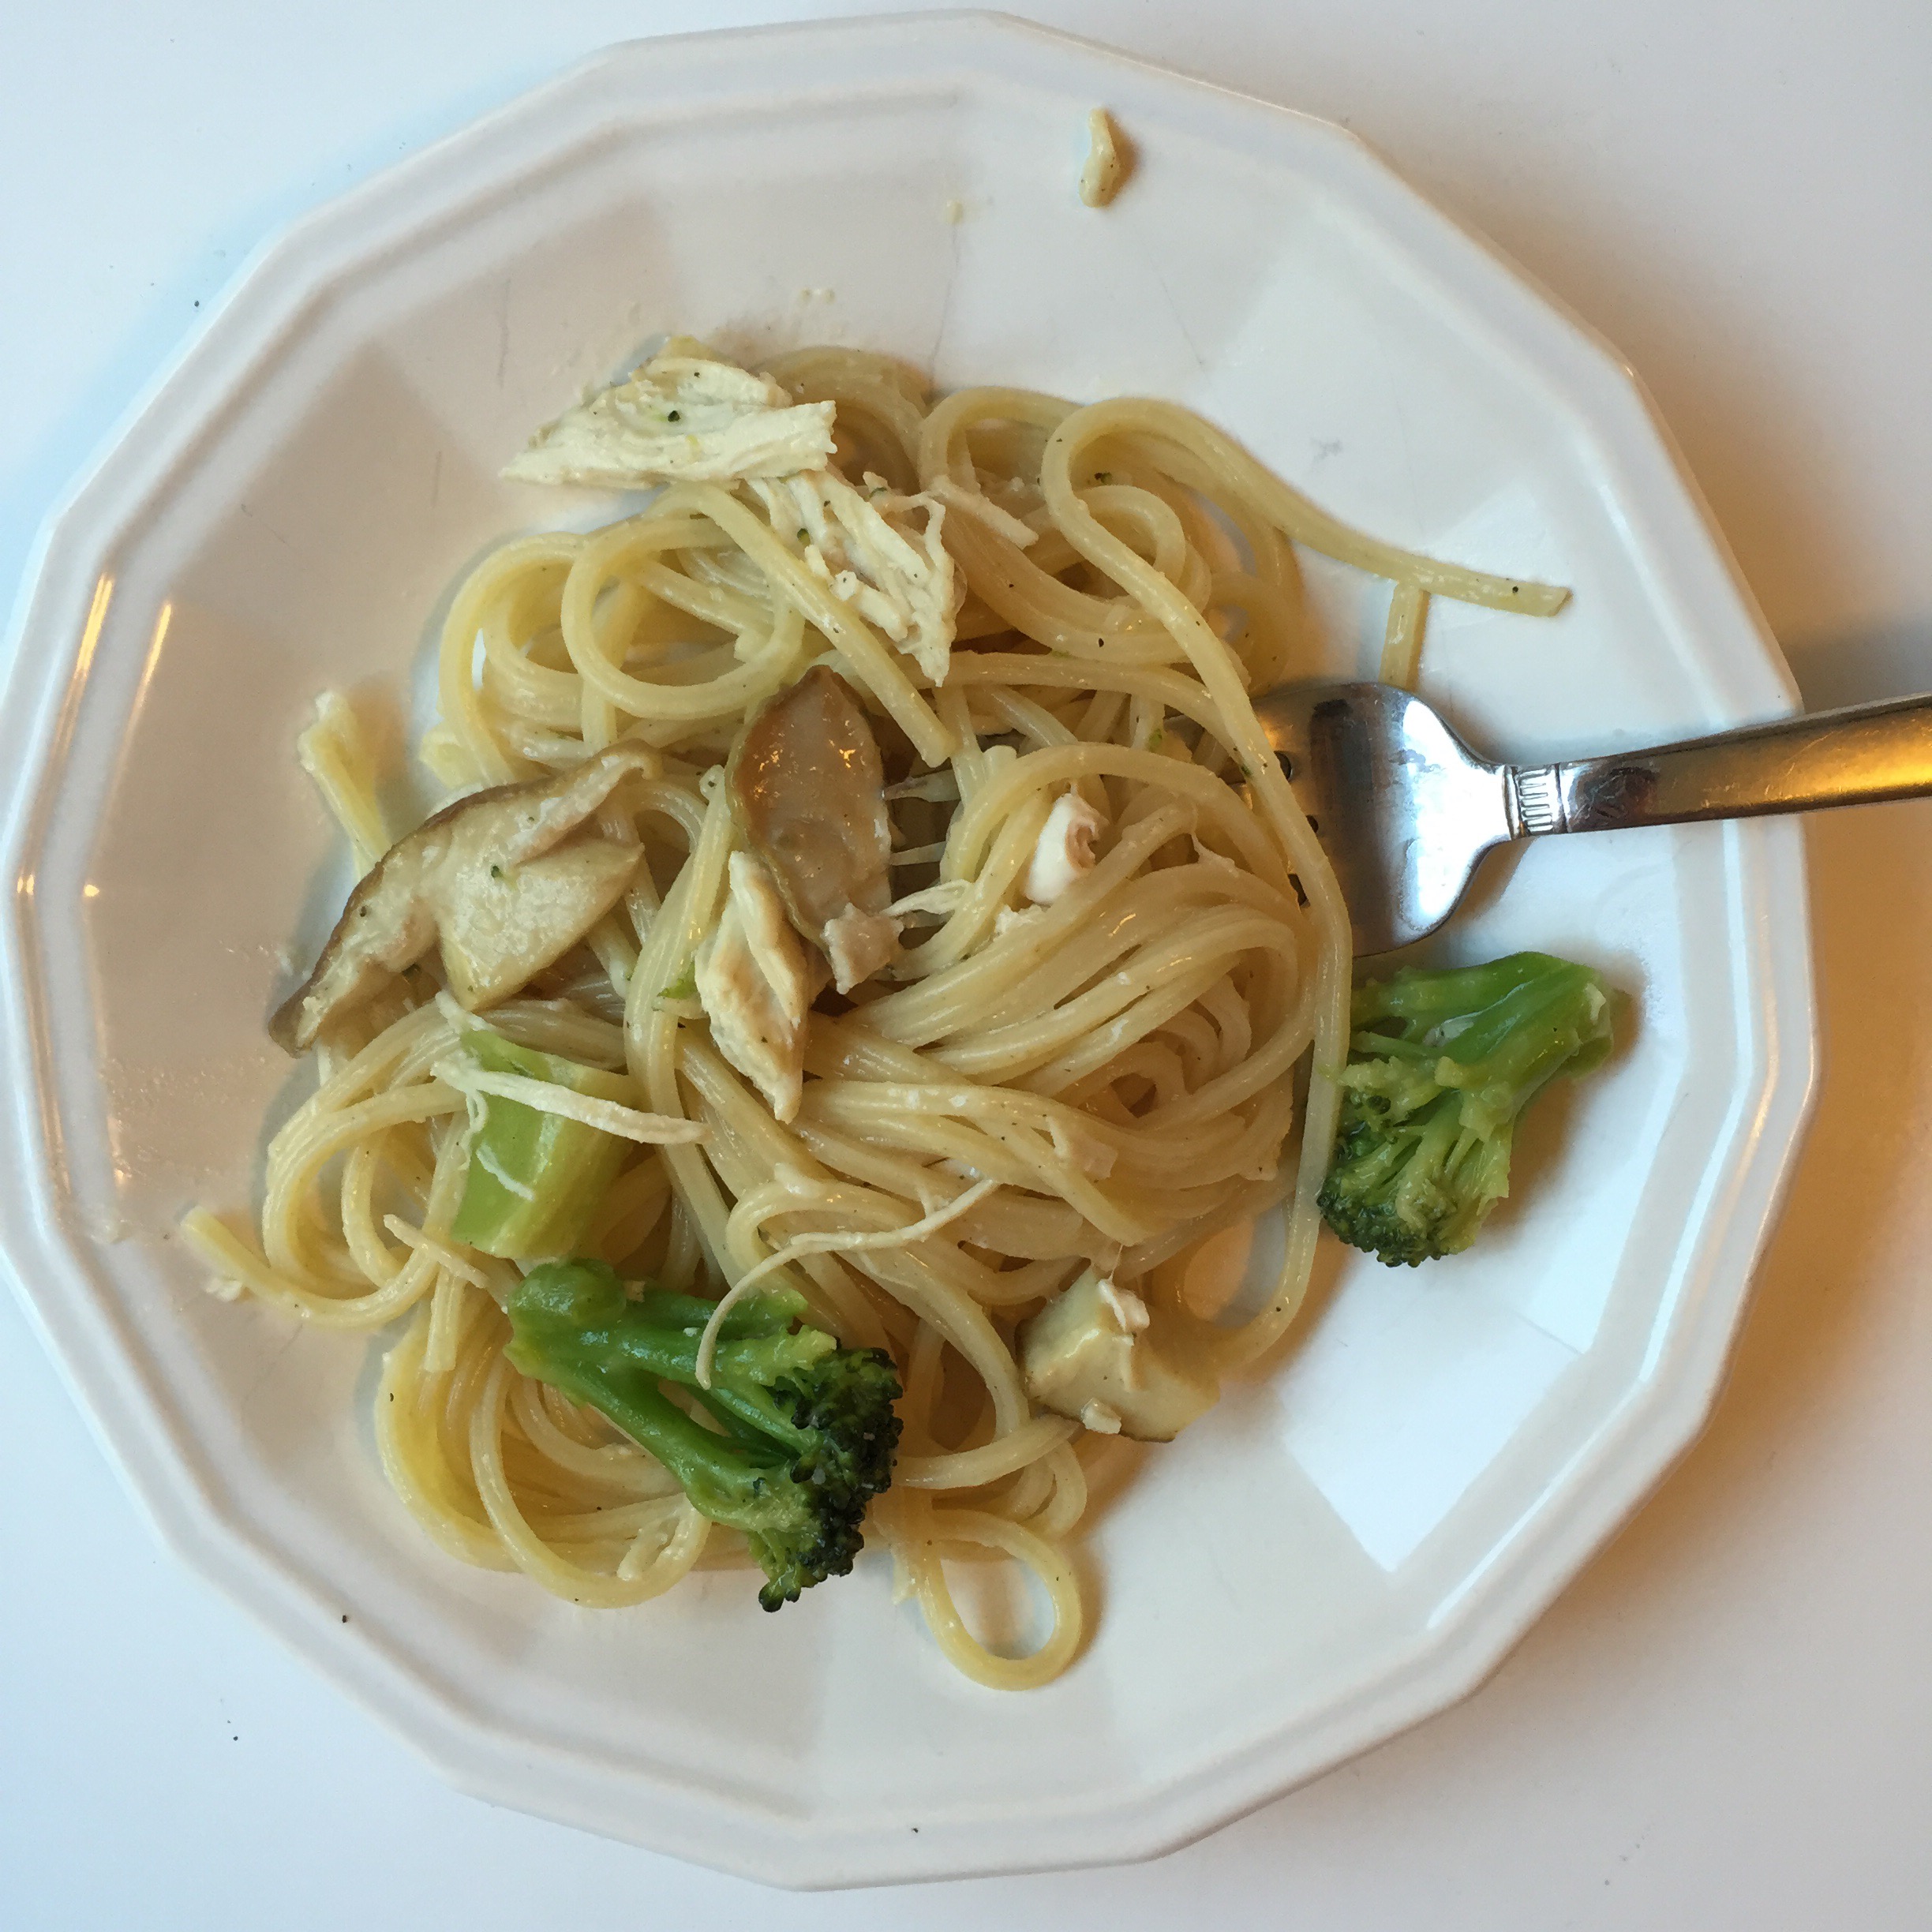
As soon as I cleaned my two treasures I had formed a supper strategy. Lemon, thyme, mushrooms, broccoli, garlic, chicken and pasta — yeah, that’s a good combination. By 6:15 I had a decent meal that was a real crowd pleaser.
Of course you can use store bought mushrooms, but if you happen to have wild porcini, I encourage you to cook them as soon as you can.
Spaghetti & Chicken in a Lemon Thyme Mushroom Sauce
Serves 4
Ingredients:
2 frozen boneless, skinless chicken breasts
1-2 cups chicken stock
1 tsp. lemon zest
1 lemon, sliced
3 sprigs of fresh thyme
Salt and pepper
2 cups frozen broccoli florets
1 tablespoon olive oil
3 tablespoons butter
8 oz. fresh mushrooms, sliced
1/4 cup dry cooking sherry (optional)
2 tablespoons butter
3 garlic cloves, minced
8 oz. spaghetti
1/4 cup freshly grated parmesan cheese
Directions:
Place 1/2 cup of chicken stock in a pressure cooker. Line the bottom of the cooker with lemon slices. Add the frozen chicken, zest, thyme and salt and pepper. Set the pressure cooker to 35 minutes. When it’s done, slice the chicken into bite-sized pieces. Set aside and reserve the cooking liquid as well.
Bring a large pot of salted water to a boil. Cook pasta until al dente, drain and set aside.
Meanwhile, place broccoli and 1/4 cup chicken stock in a large sauté pan. Cover and steam over high heat for 5 minutes or until broccoli is tender. Set broccoli with stock aside.
In the same sauté pan, add the olive oil and 1 tablespoon of butter. Heat on medium-high and add the mushrooms. Sauté until mushrooms have given off their liquid and they begin to brown, about 7 minutes.
Add the garlic and cook for 30 seconds. Pour in the sherry and let it evaporate, about 2 minutes.
Create a slurry with the flour and 1/4 cup chicken stock. Add this to the mushrooms and garlic. Once it’s thickened, add some of the stock from the pressure cooker until it’s a sauce-like consistency. Add some more butter if you want it creamier. Add the drained pasta, broccoli and chicken. Toss until evenly coated. Sprinkle with cheese and serve.
Having been raised harvesting Alaska wildberries you’d think I would be a pro at making jams and jellies. Truth is, I really stink at it. It always comes out syrupy. It’s like you have to have some sort of instinctual jam-making knowledge passed down through the generations.
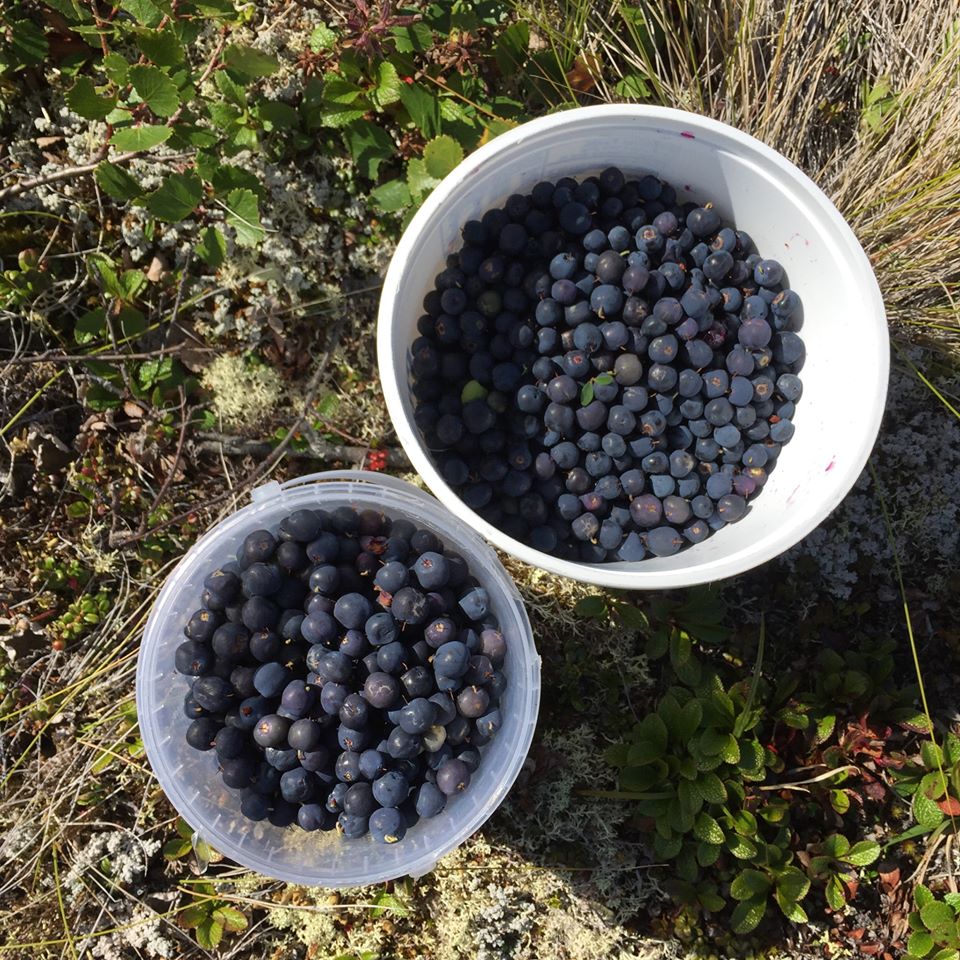
But in reality all it takes is a lot of stirring. My mom has been making jam since she moved here in 1982. I turned to her for this segment of “Harvesting Anchorage.”
It was a bluebird day in Anchorage as we made our way to our super-secret blueberry spot. The only downside of picking berries on a sunny day is they are harder to see — but I’m not complaining!
Earlier this summer I made a patriotic hat that I just knew I’d wear at least once before fall. Sure enough it was cool and rainy on the Fourth of July. I was finishing up the pom pom of my Old Glory Hat last month before meeting with my friend Fernanda about some flower arrangements. She lit up when she saw the stars and stripes; she was gaga for the giant pom pom.
She offhandedly suggested I made an Alaska flag hat. I was up for the challenge.
I started this hat on a road trip to Homer where I would be meeting Fernanda and a group of people on Yukon Island for a writing retreat with Julia O’Malley.
By the time my carpool arrived in Homer I was finishing up the North Star.
I think I’ll be making quite a few of these babies.
Alaska Flag Hat — A Free Knitting Pattern
If you’re wanting to knit this pattern with a different needle size and different weight yarn, I am unable to adjust the pattern for you. This pattern is written for a specific needle size and yarn weight.
Materials:
Lamb’s Pride bulky in Lemon Drop and Blue Boy
Size US 10 circular needle
Size US 10 double pointed needles
Darning needle
Place marker
Abbreviations:
CO – cast on
K2, P2 – knit 2, purl 2
st st – stockinette stitch
K2tog – knit two stitches together
Directions:
CO 72 st. K2, P2 ribbing for 13 rounds. Place marker.
Switch to blue and knit in st st for 36 rounds or until piece measures 8 inches total length.
Begin decreasing as follows:
*K2tog, k6*, repeat till end of round.
K 1 round
*K2tog, k5*, repeat till end of round.
K 1 round
*K2tog, k4*, repeat till end of round.
K 1 round. While doing this, transfer to the double points as you go so there are about 11 stitches on each needle (four in all).
*K2tog, k3*, repeat till end of round.
K 1 round
*K2tog, k2*, repeat till end of round.
K 1 round
*K2tog, k1*, repeat till end of round.
*K2tog*, repeat till end of round. Cut yarn leaving an 8-inch tail. Weave in all ends.
Big Dipper Motif:
Stitching motifs as I knit is hard for me because I end up pulling the yarn too tightly behind the work. Instead, you’ll be top-stitching the design. It’s super simple to learn. I was a bit disappointed that I didn’t learn this technique sooner as it’s much easier than fair isle or intarsia when it comes to non-repeating motifs. I recommend the tutorial from Wool and the Gang (pronounce “wool” with a British accent and it then it’s a play on words).
I made this chart by layering the actual constellation on top of graph paper. Yay science! That being said, you can rough it a little if you feel as though the spacing isn’t quite right. I ended up shifting the front star slightly. This is really a guideline.
I started with the lowest star on the dipper. It really doesn’t matter where you start the motif, but I eyeballed it so that beginning of the round was in the back. Some of the stars I did individually, gently double-knotting the ends as I went. But for the handle of the dipper I was able to continue without breaking the yarn. Triple knot the ends on the inside of the hat and trim.
Giant pom pom:
I used a small book to make the pom pom. Wrap yellow yarn around the book several times till it’s borderline too bulky to handle. Be sure not to wrap it too tightly so that you are able to slide it off the book easily. Gently remove the book. Take a 24-inch piece of yellow yarn and double it over. Tie this around the middle of the loops as tightly as possible. Double knot it. Use fabric scissors to trim pom pom to your liking, but be sure not to trim the long pieces you used to tie it together. Use these long pieces to sew the pom pom to the hat using the darning needle. Tie ends on the inside of the hat and trim.
The perfect slouch
And, because I’m feeling patriotic, here’s the Alaska state song depicting our glorious flag.
Alaska’s Flag Written by Marie Drake
Composed by Elinor Dusenbury
Eight stars of gold on a field of blue –
Alaska’s flag. May it mean to you
The blue of the sea, the evening sky,
The mountain lakes, and the flow’rs nearby;
The gold of the early sourdough’s dreams,
The precious gold of the hills and streams;
The brilliant stars in the northern sky,
The “Bear” – the “Dipper” – and, shining high,
The great North Star with its steady light,
Over land and sea a beacon bright.
Alaska’s flag – to Alaskans dear,
The simple flag of a last frontier.
Every summer I look forward to the week of our wedding anniversary; and not because I’m a hopeless romantic — because it’s sockeye salmon season on the Kenai River.
My husband is never here to celebrate our anniversary during the second week of July because he’s dipnetting three hours away.
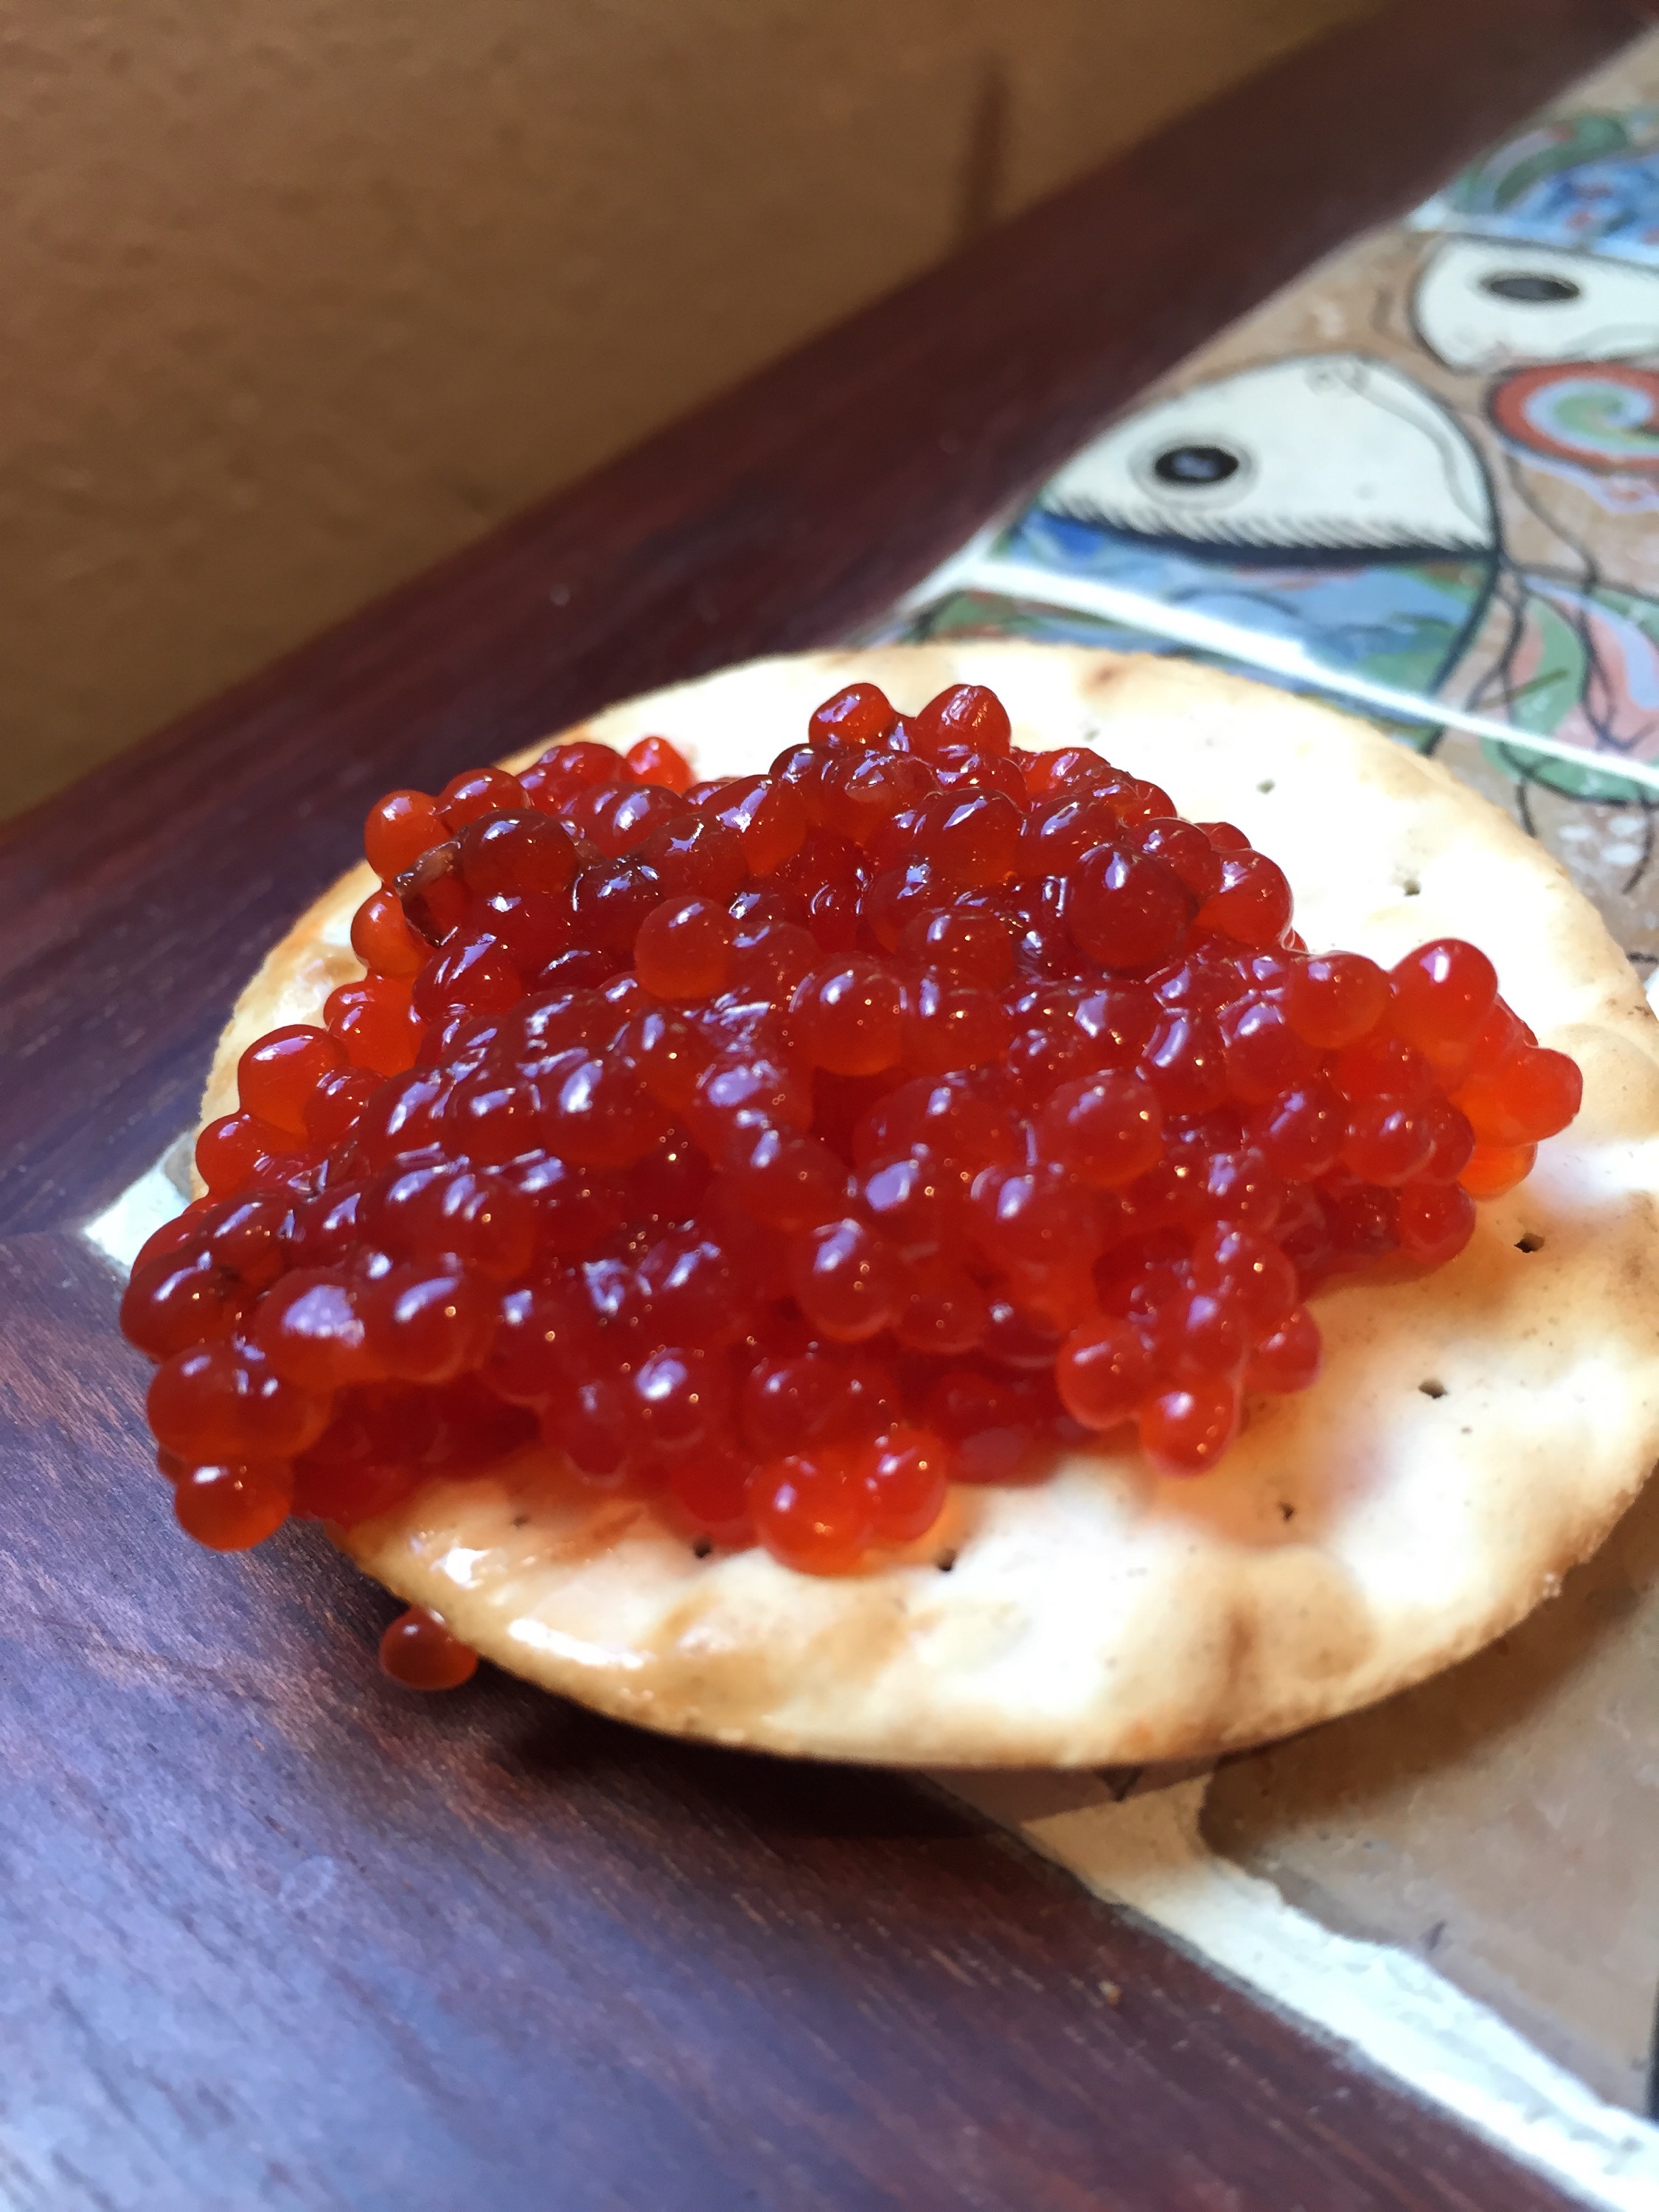
And although I love a good fresh grilled salmon steak (last night we grilled them over alder branches), it’s the roe that I crave. We usually brine the roe in a simple salt and water solution and serve them with crackers and white wine. You can read my post from last year about wild salmon caviar.
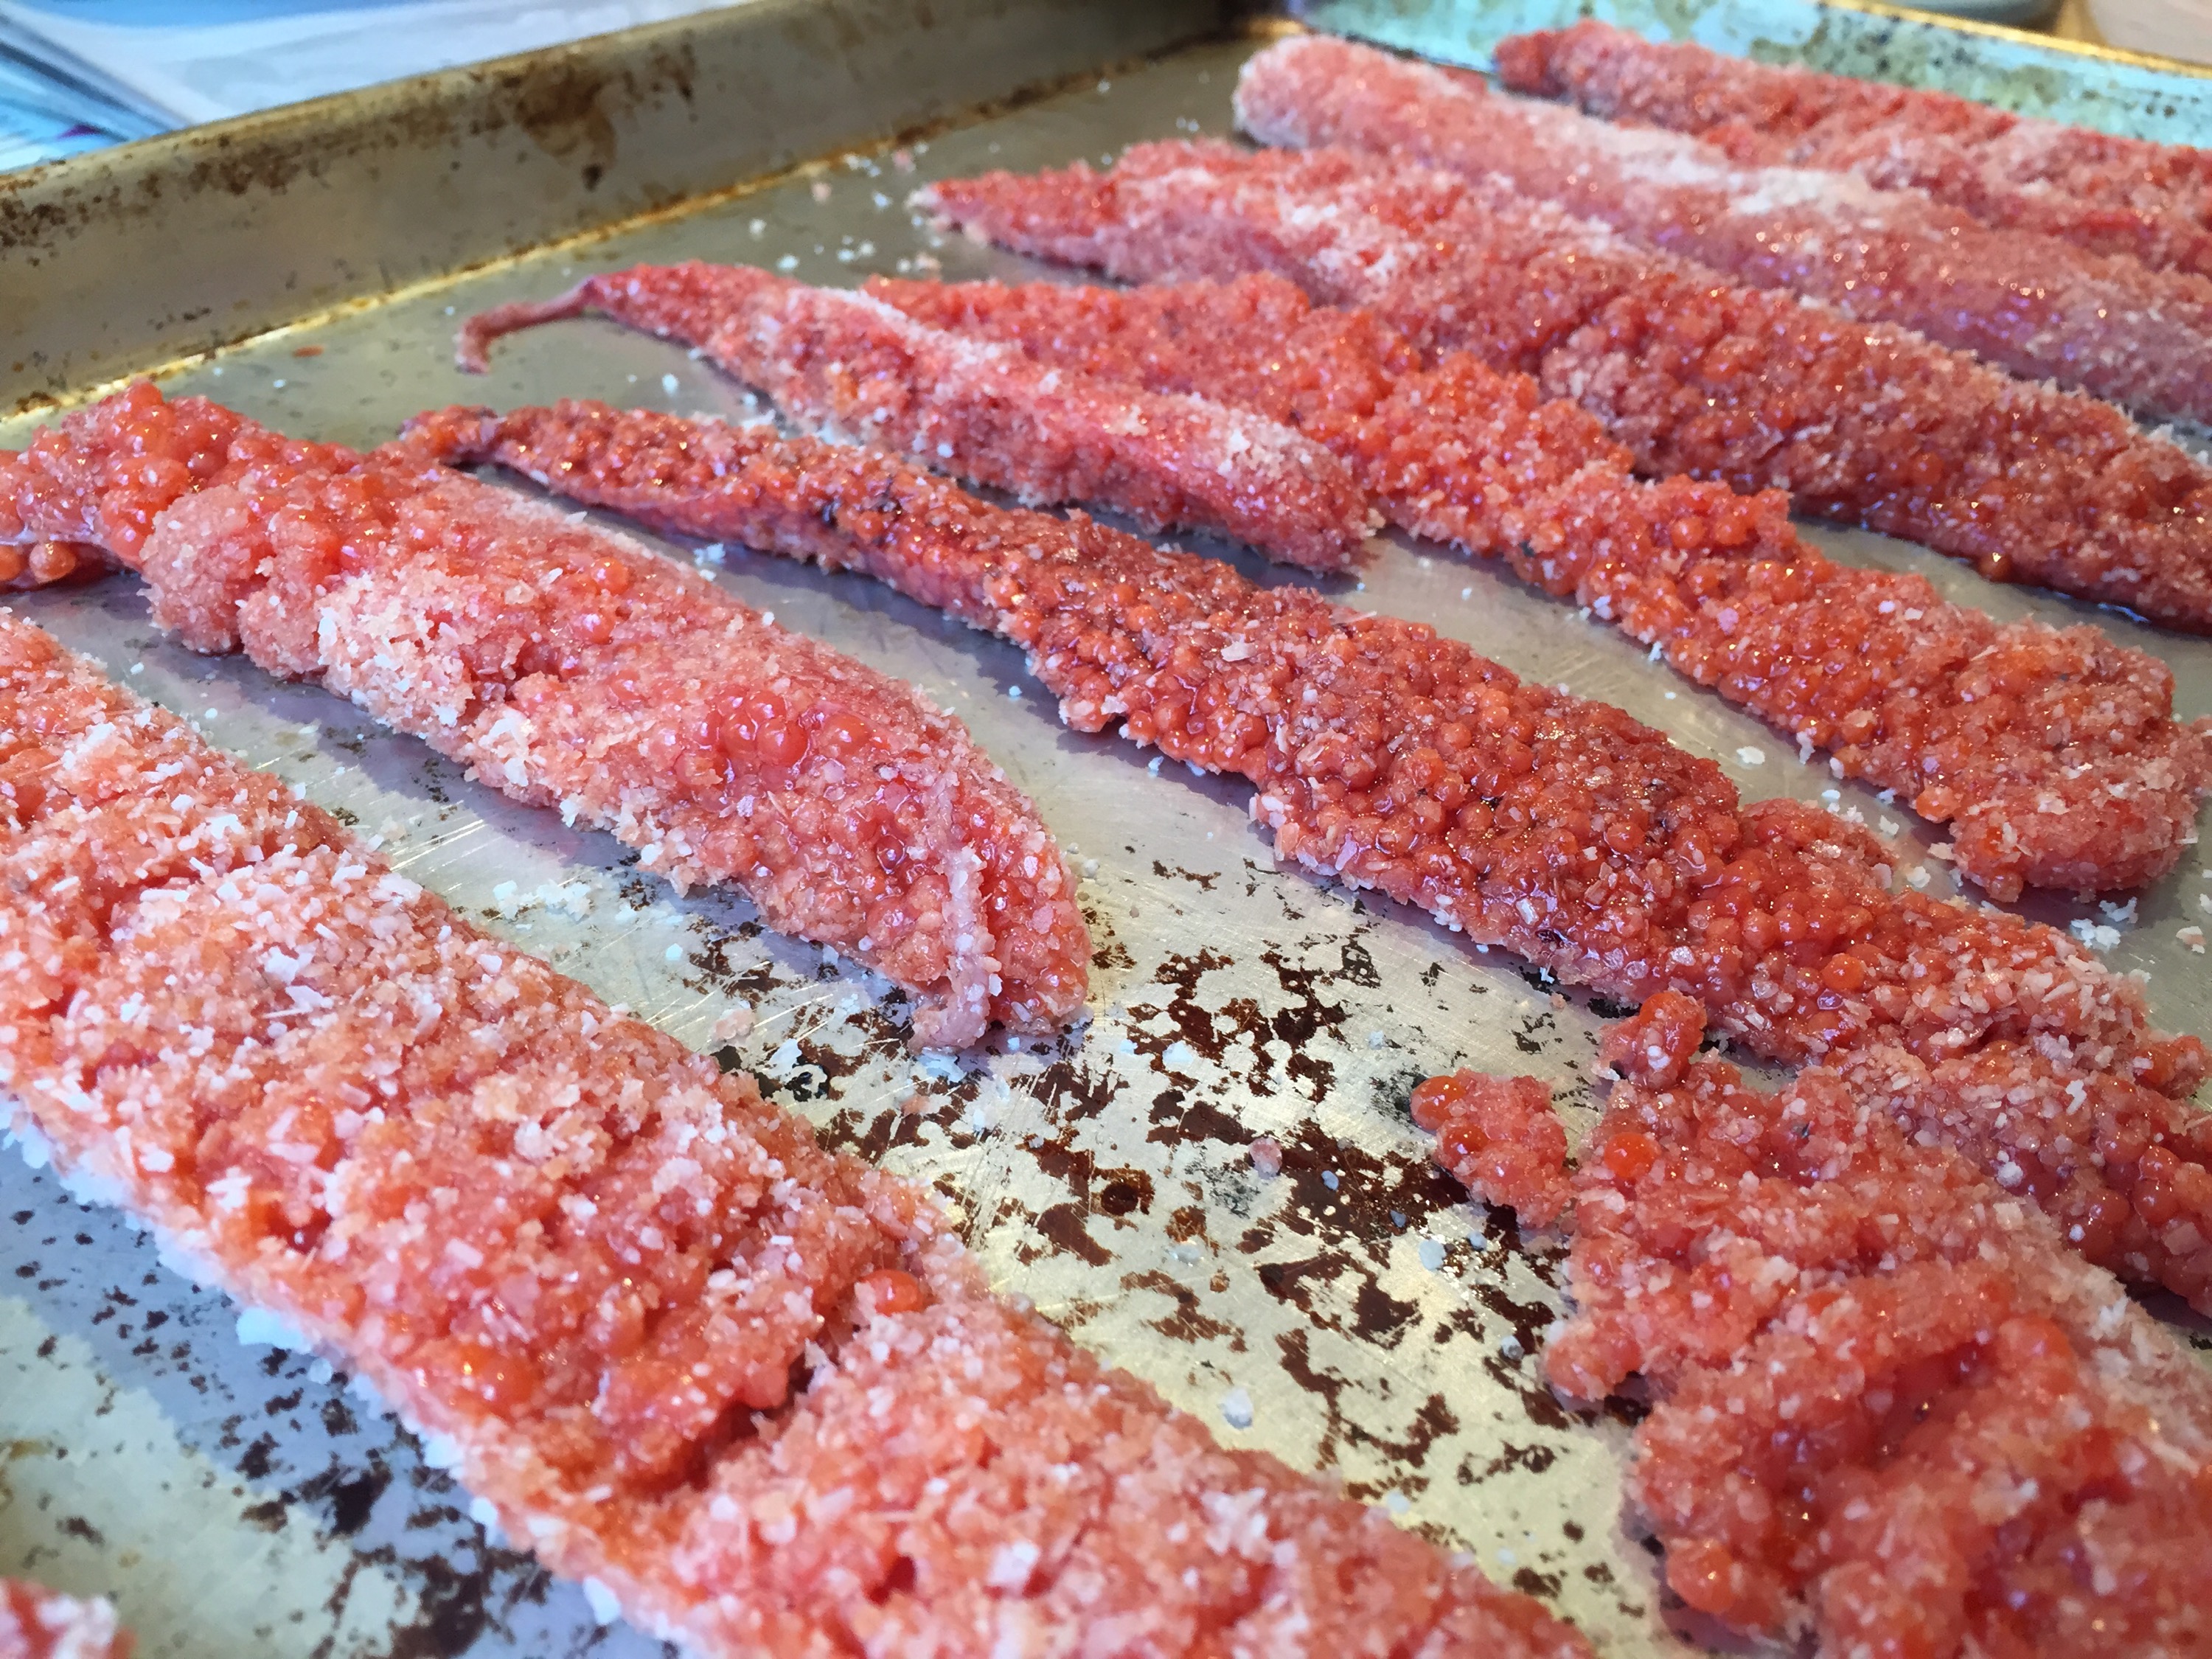
Today, though, a friend dutifully gave me his roe from the silver salmon he caught in Seward over the weekend. When I went to process them I realized they were too small and delicate. Pushing them through a metal grate was ruining them. I didn’t want to waste them so I thought outside the box. Or inside the box, rather, as my dad had just removed some red salmon lox from his smoker.
I found this incredibly simple recipe for smoked salmon roe and decided to give it a try. It turned out splendidly! A friend told me it tasted a bit like smoked oysters. I will definitely try it again, but I might rinse the eggs of their salt brine before smoking them as they are a bit on the salty side.
This recipe assumes that you know how to use a smoker. I only say this because my dad is the smoke master in my family and I haven’t learned to operate one. All I can say is we cold smoked the eggs since heat would ruin the texture altogether.
Make sure the roe is fresh, fresh, fresh. That means it’s either been in a freshly caught fish or if the fish was processed on the beach that the eggs were kept on ice the entire time for no more than two days.
Smoked Salmon Roe
Directions:
Rinse the salmon roe skeins in fresh cold water to remove any grit. Pat them dry with paper towels and dredge them in kosher salt.
Place them on a rimmed baking sheet in the fridge for 20 minutes. In the meantime, turn on your smoker.
Remove the skeins from the fridge and rinse them again under cold water. Pat dry. Rinse off the baking sheet and wipe dry. Place the skeins back on the tray.
Place your baking sheet on the top shelf and leave the smoker door slightly ajar. Smoke for 30-45 minutes.
Place roe in fridge until cold. Use a butter knife to scrape the eggs away from the skein membrane. Store in a jar for up to 5 days (but they shouldn’t last that long, really). Enjoy on crackers or in any way you deem fit. Today I made sushi with the smoked roe. It was fabulous.
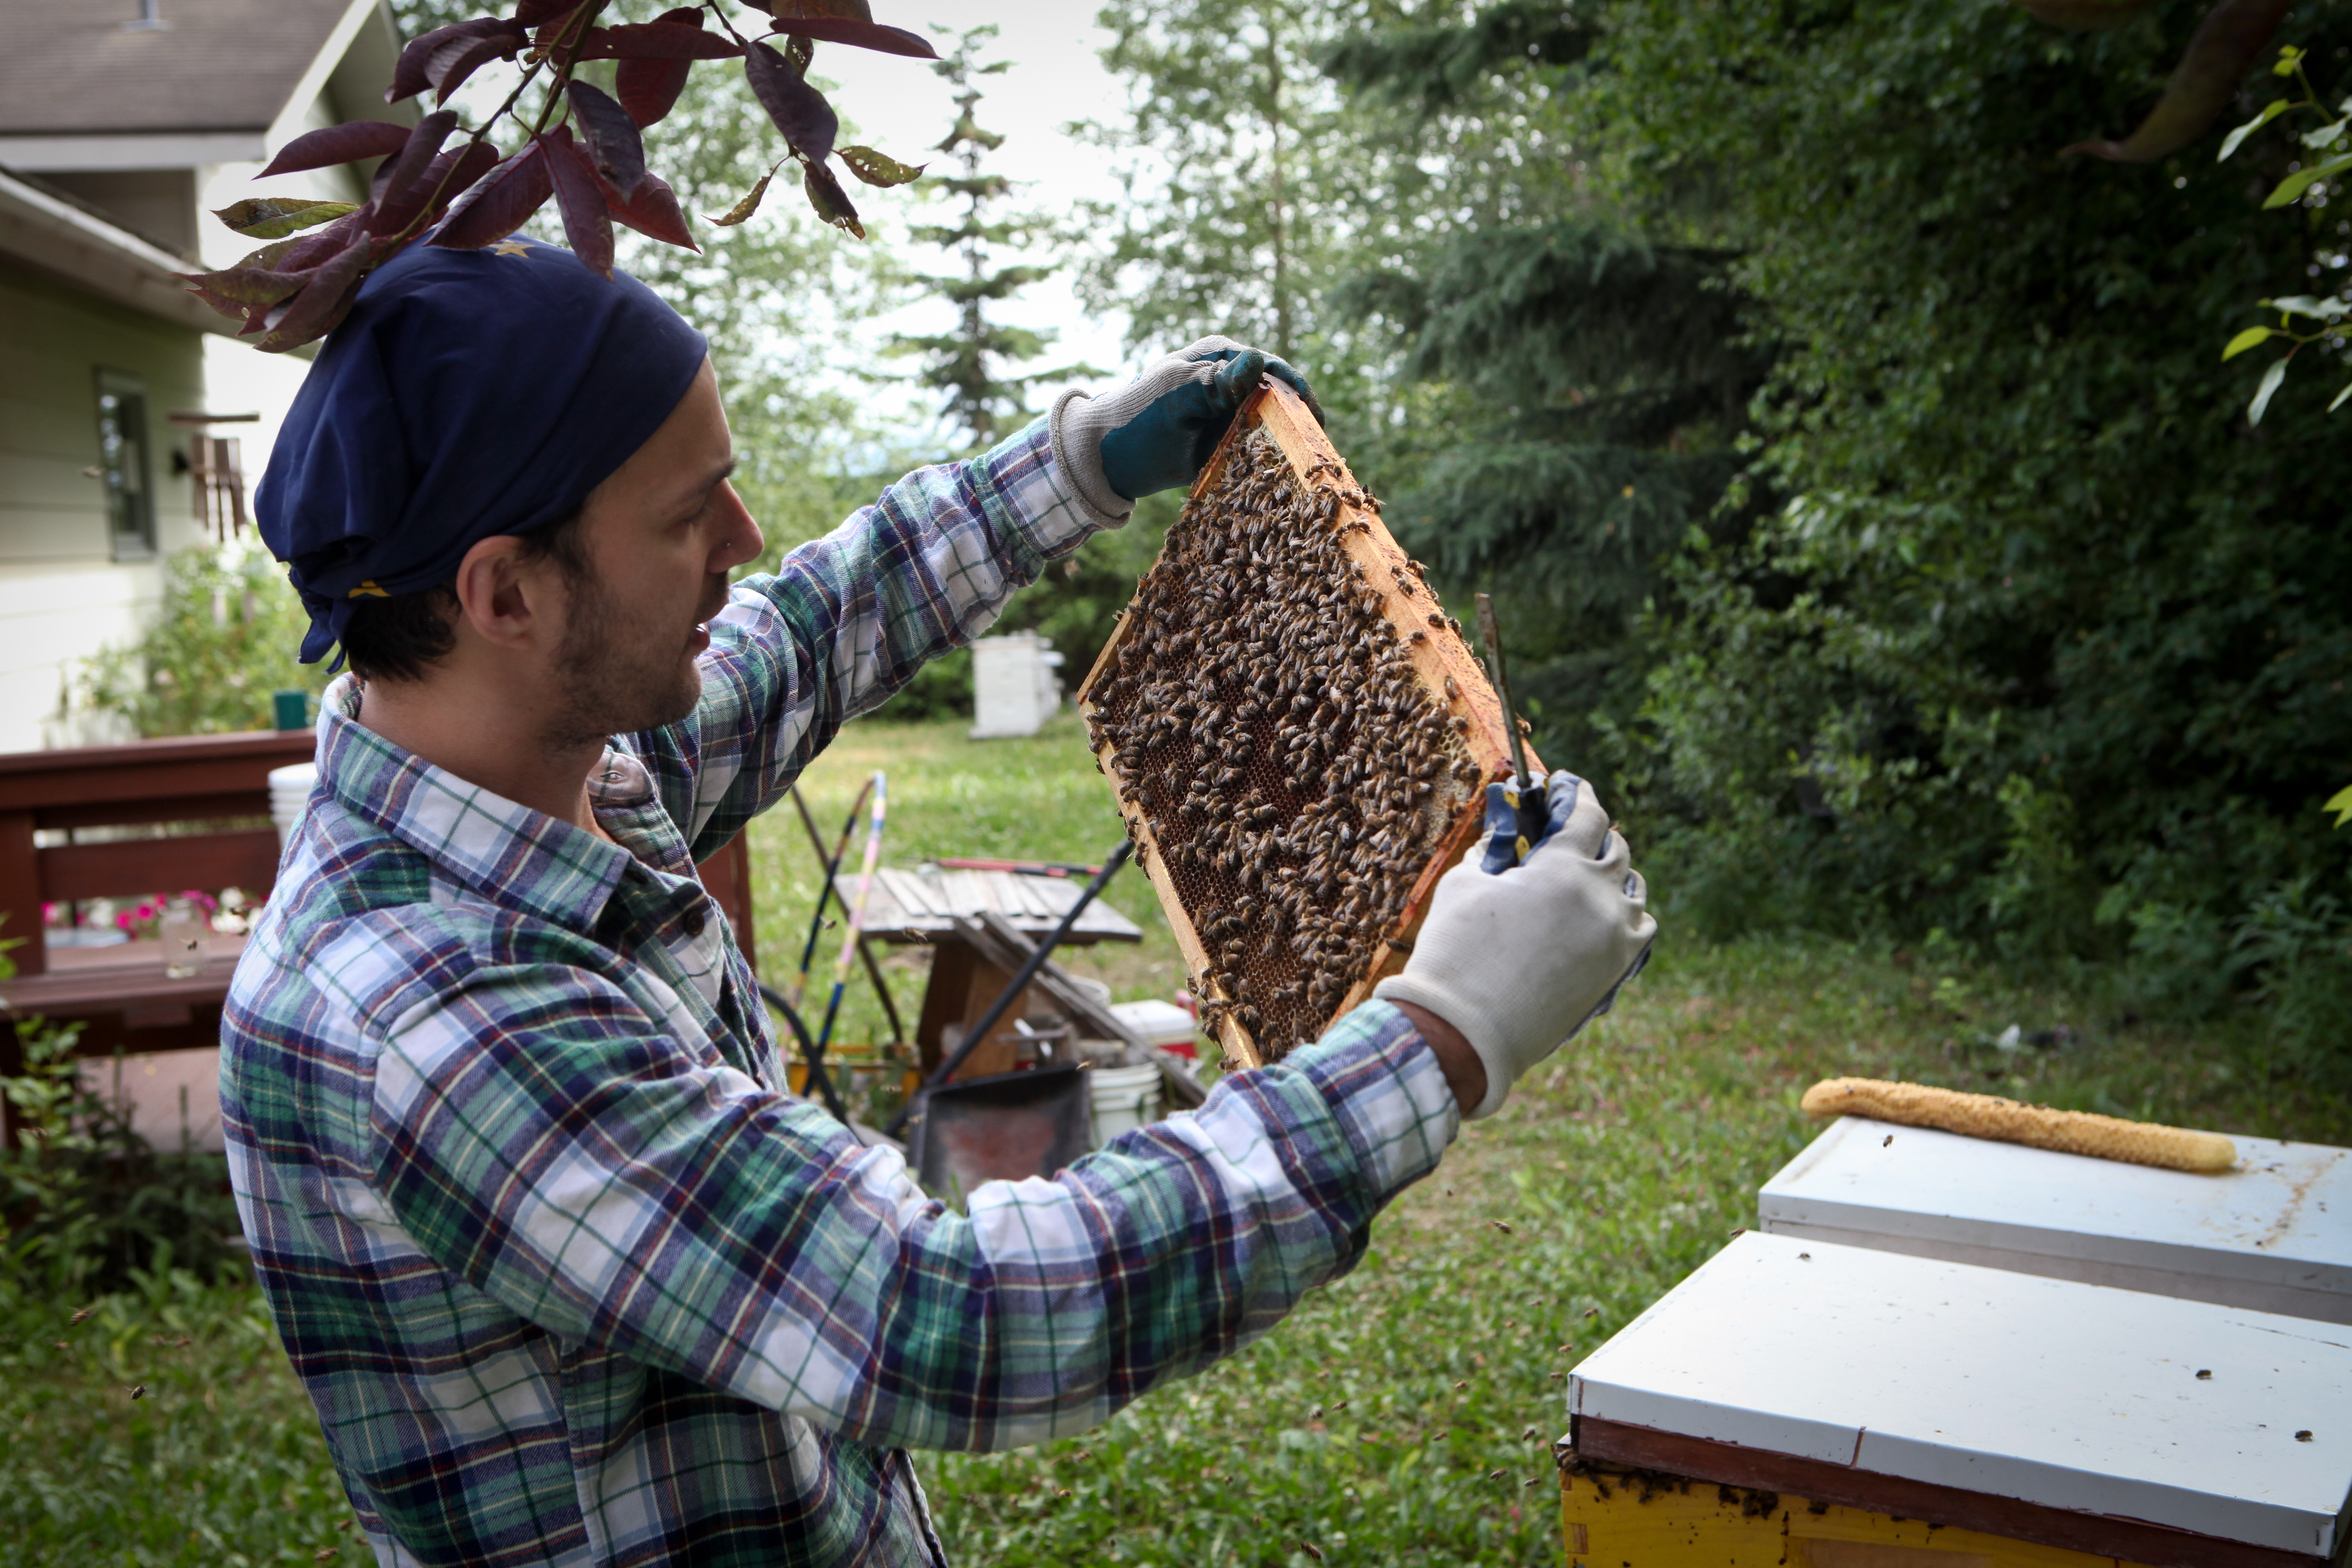
My old friend Ivan Night is a man of many talents; he’s a musician, an educator, a sound technician, a beer brewer, but for the sake of this blog post we’ll stick to just one of his titles: an apiarist.
Ivan has been keeping bees for about eight years. His family has owned and operated Alaska Wild Teas for more than three decades, so honey is a natural side project. Check the bottom of this post for a homemade tea recipe.
Recently I visited Ivan’s home to see how he harvests honey from his busy little bees.
Oh, how I love Alaska weddings! There’s something about an Alaska bride. She loves to incorporate her home state into her most special day. Philly was no exception. Her vision was simplicity for the bridal party and big and wild for the bridal bouquet.
The photos can’t do this bouquet justice. There are peonies from every angle. The wholesaler’s peonies were small, but thanks to an old friend with a big peony garden, I was able to compensate with two HUGE blooms, which are what take up most of the photos. While snipping these two gorgeous flowers I sneaked a couple of poppy pods, which add some vintage green to the arrangement. I foraged many wildflowers including clover blossoms, yarrow, cow parsnip and grass berries. Wrapped in lace and twine and you’ve got a soft beauty with a twinge of wild. Utterly romantic.
I’ll never stop promoting Costco rotisserie chicken. It’s only $5 and not only is it delicious hot off the shelf (I sometimes don’t even bother with a plate or silverware), but the leftovers can be used for myriad dishes such as pesto lasagna roll ups, quick matzo ball soup and homemade chicken stock.
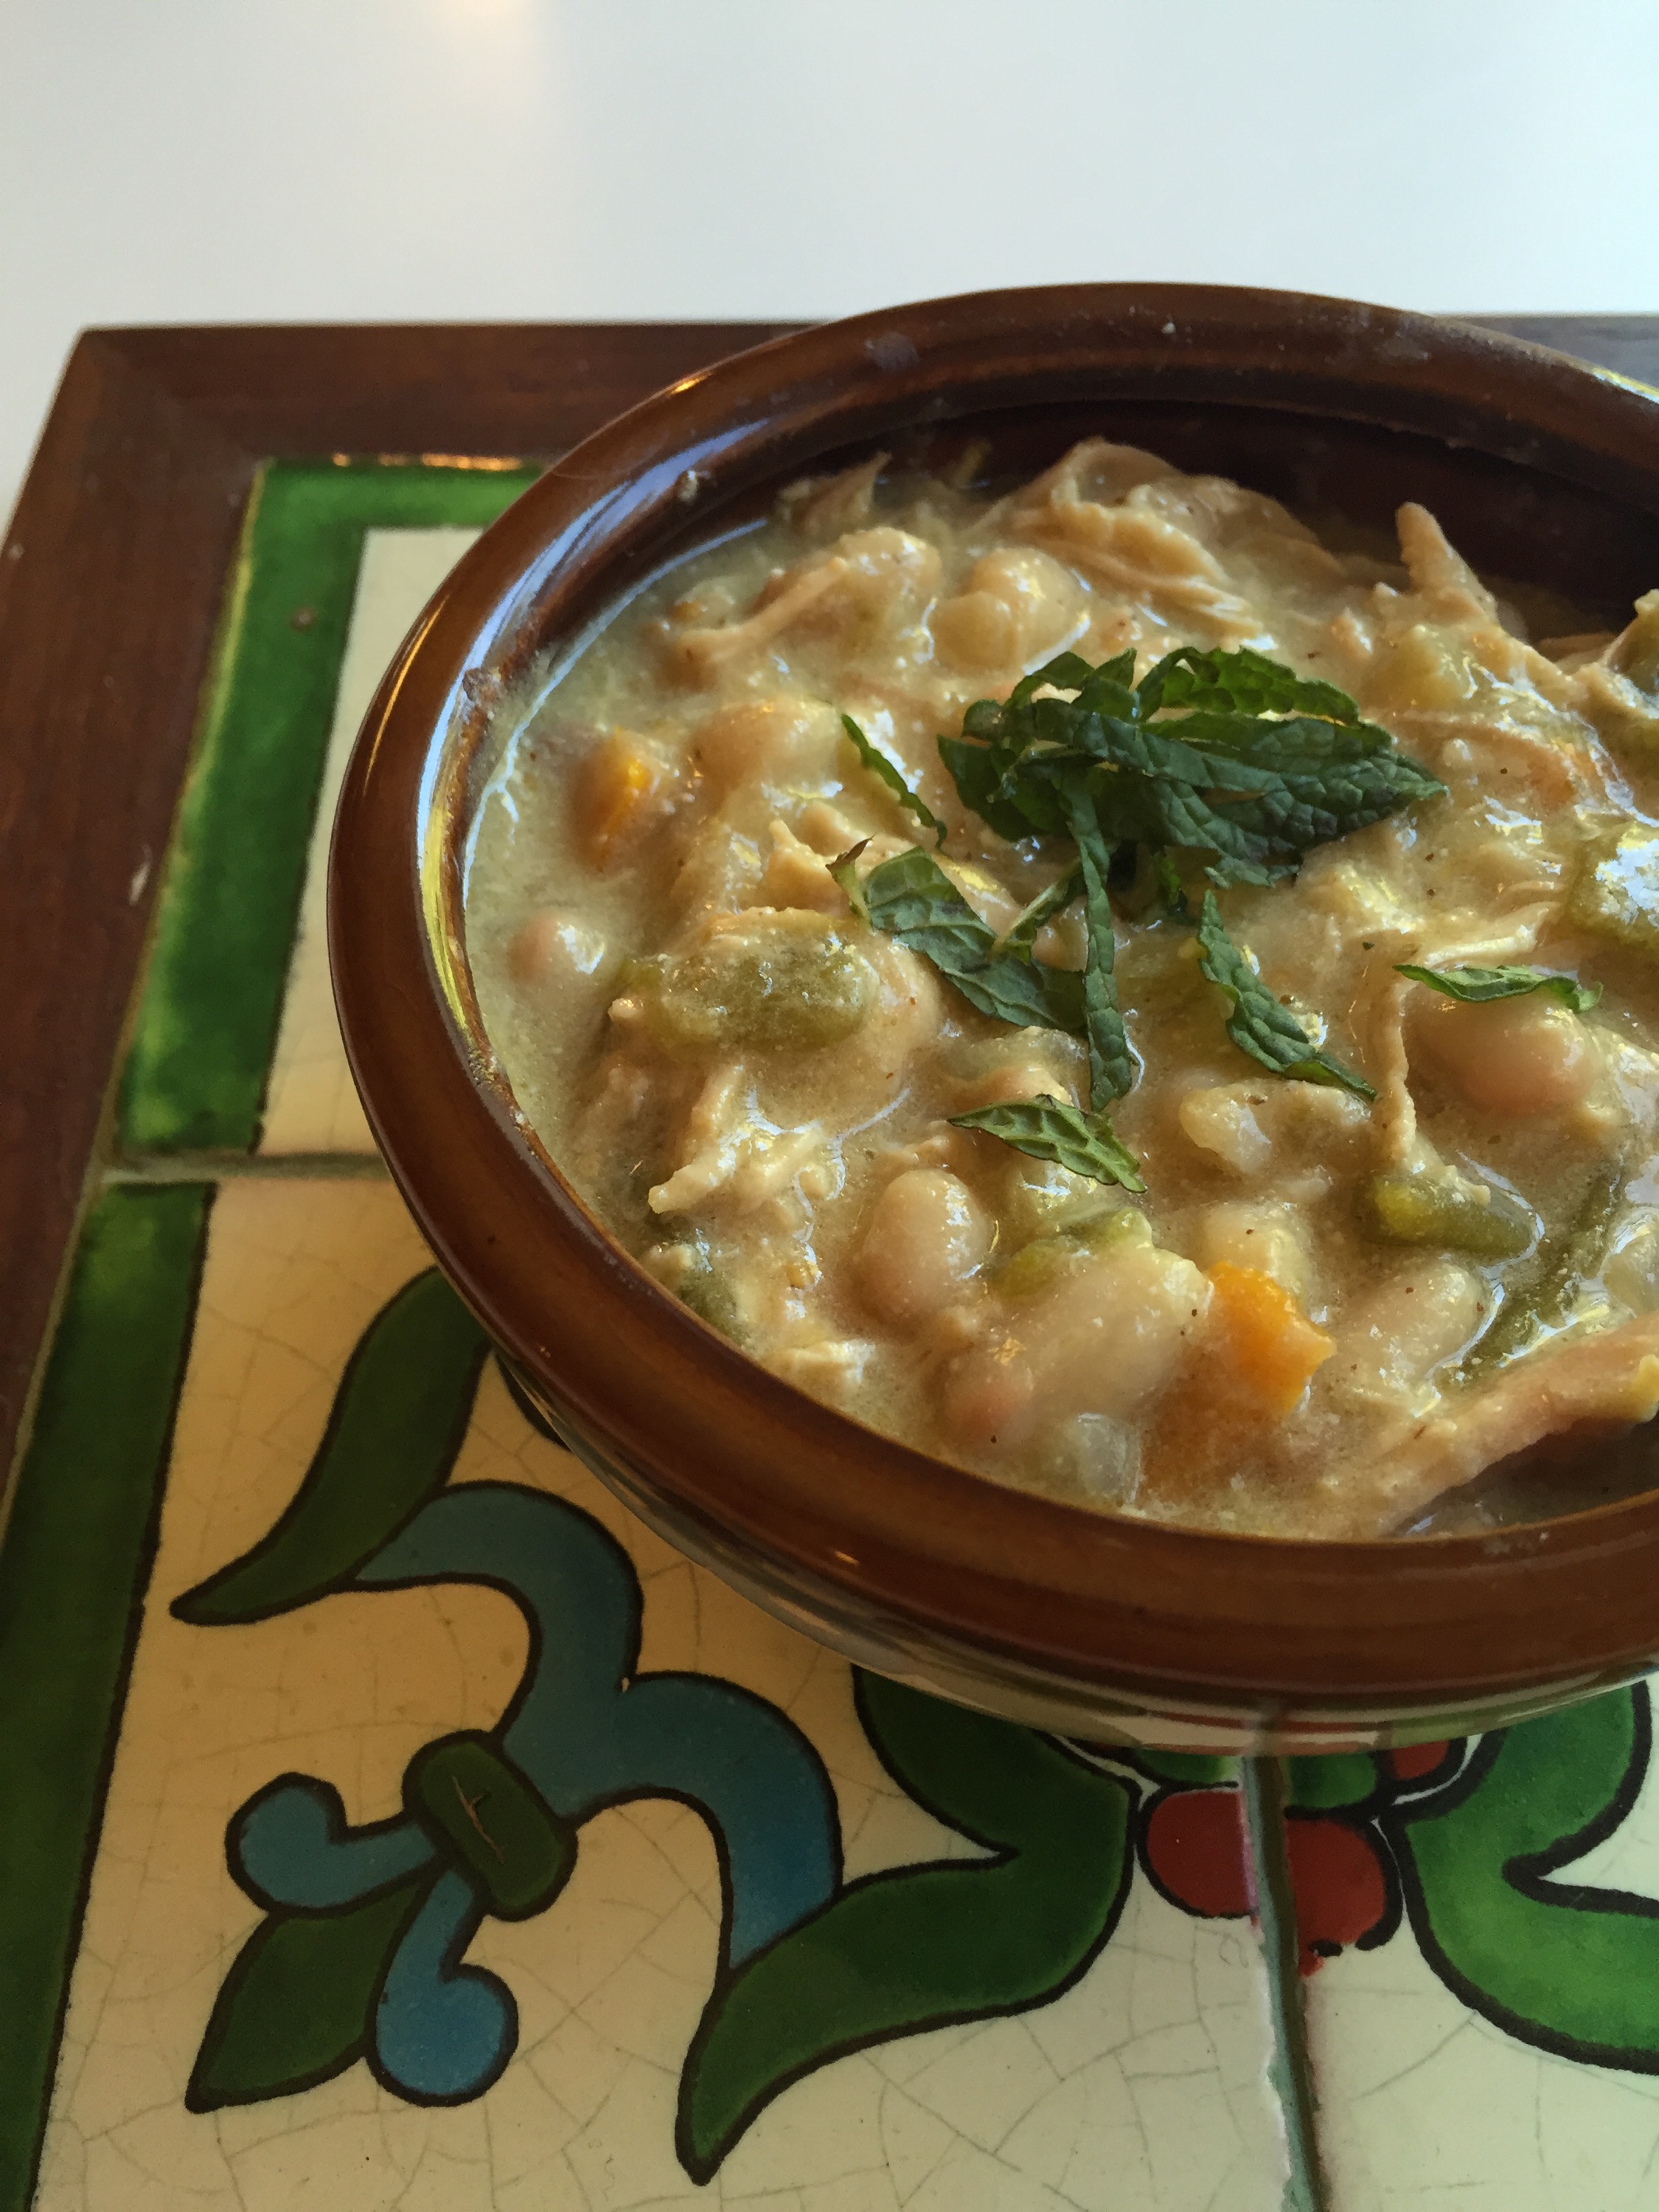
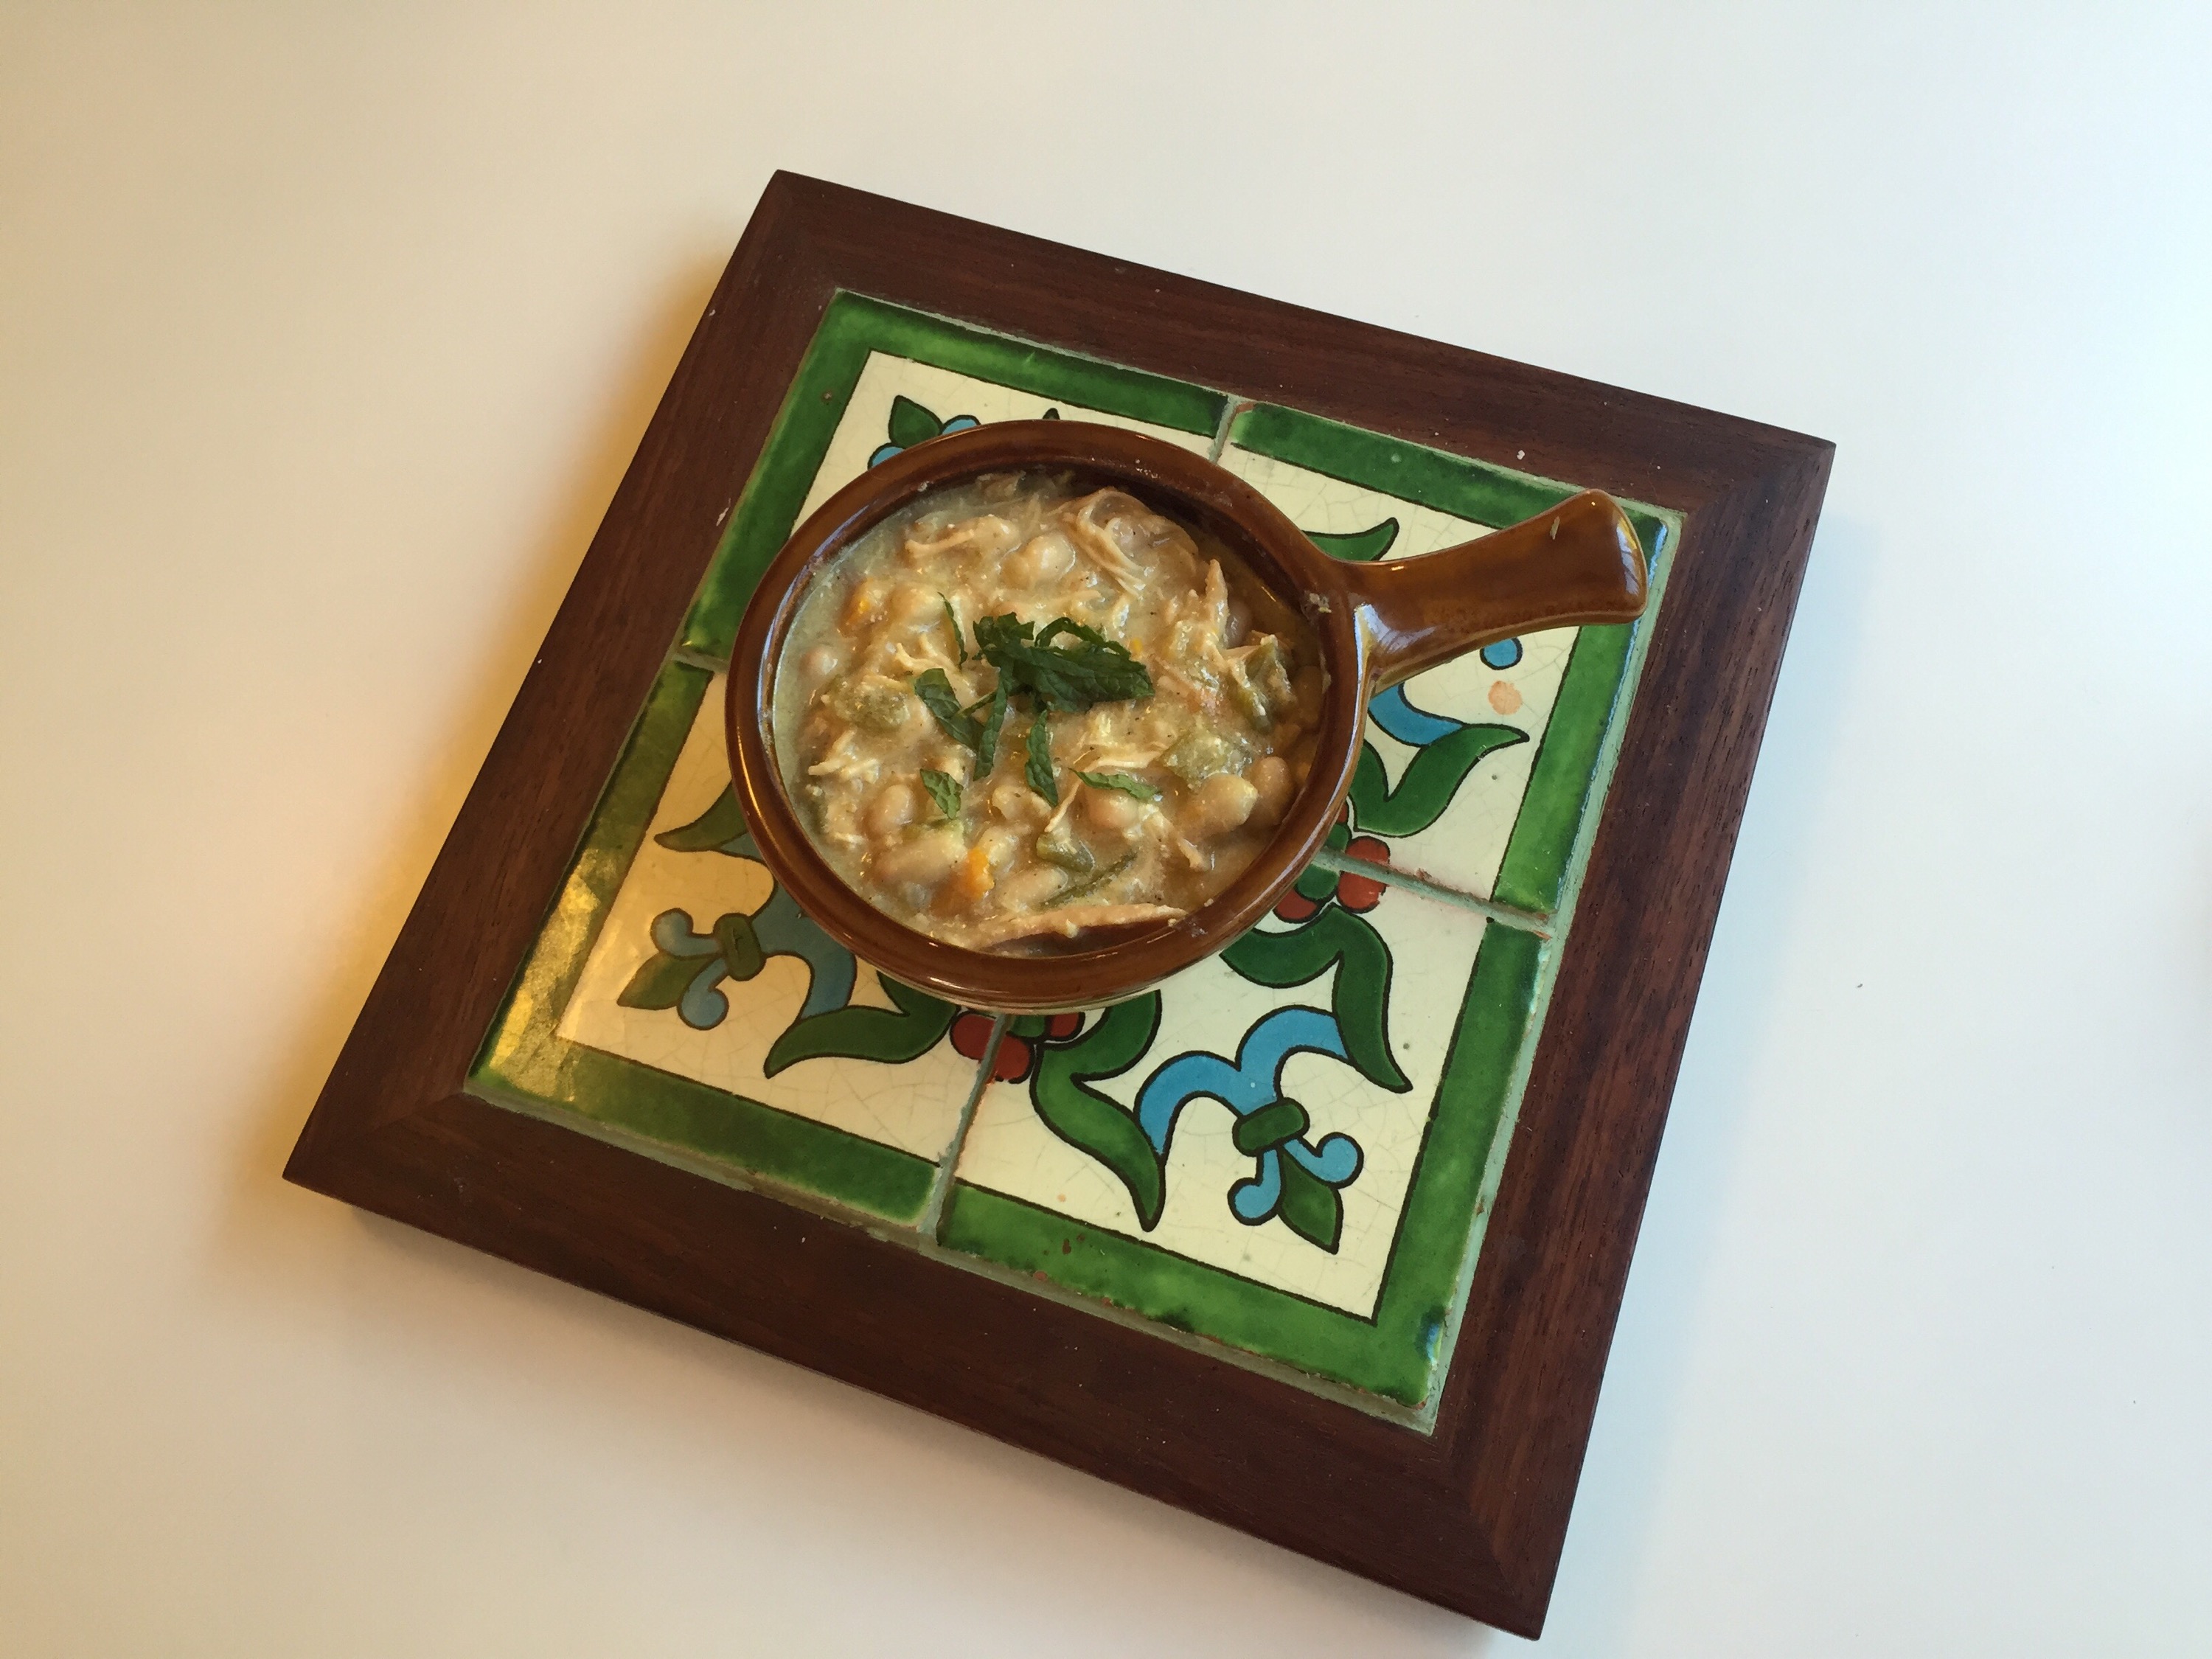
Tonight on the menu is white chili. My friend Danielle introduced me to the notion of non-tomato chili about eight years ago and when I thought of the dish for tonight I was surprised I hadn’t blogged about it yet.
This one-pot wonder has similar flavors to traditional chili. With the addition of salsa verde and sour cream you give chili night a new twist.
White chili with chicken
Serves 6
Ingredients:
1 Tbs. olive oil
1 cup chopped onion
1/2 cup chopped yellow bell pepper
1 can diced green chiles
leftover rotisserie chicken meat, shredded
1, 16-oz. jar salsa verde
1.5 cups chicken stock
2 tsp. ground cumin
1/4 tsp. chili powder
1/4 tsp. garlic powder
1/2 tsp. dried oregano
1 bay leaf
2 cans great white northern beans, drained
1 cup sour cream
Directions:
Heat oil in a dutch oven. Sauté the onions and peppers till onions are soft, about 7 minutes. Add the chiles, chicken, salsa, stock and spices. Bring to a simmer, turn to low and simmer one hour.
Add the beans and cook another 10 minutes. Add the sour cream just before serving. Top with cilantro sprigs and shredded cheddar cheese.