Category Archives: Uncategorized

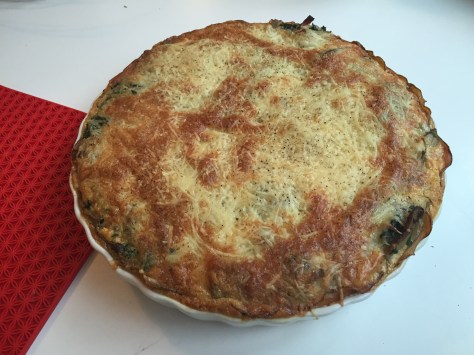
Wild porcini, bacon and spinach quiche

It’s been a helluva good mushroom season so far. This week I found three primo porcini in my yard. I wanted to try something different from my typical porcini and pasta recipes. Quiche sounded about right.

I’m not familiar with making quiches. I know it’s a crust, some egg, cream, cheese and filling, but beyond that I have to follow a recipe. When I asked my coworker, Allison, today if she has ever made quiche she gave me a resounding “yes.” She had a few quiche tricks up her sleeve and was happy to share them.

Instead of following a recipe, I winged it using Allison’s advice. What came out of the oven was smoky, mushroomy, fluffy and not overly eggy.

Wild porcini quiche with bacon and spinach | a recipe from Alaskaknitnat.com

Continue reading Wild porcini, bacon and spinach quiche

Alaska Weddings: a winter reception

In Alaska, winter solstice is kind of a big deal. It’s the shortest day of the year. In Anchorage we had a little under five and a half hours. It becomes part of the daily winter grind. The sun doesn’t rise until well after you arrive at work and it’s already set when you drive home for the day.

After December 21 we will gradually gain more daylight. It’s a celebratory time for Alaskans.

Recently a friend of mine got married and decided to have her reception around solstice time. When I was hired to make some centerpieces for her I was thrilled to create more wintery pieces.

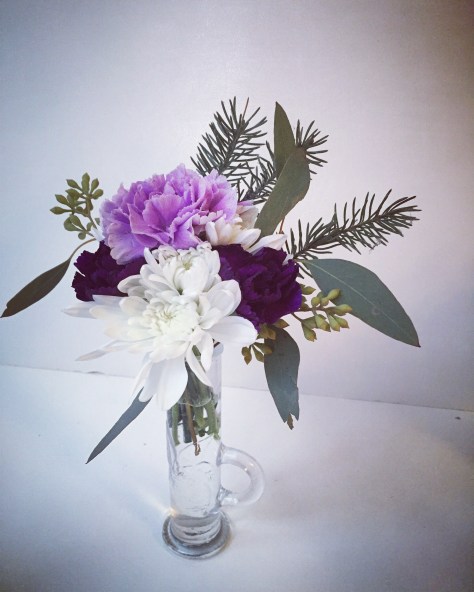
Purple and lavender carnations, white chrysanthemums, eucalyptus and spruce sprigs were all I needed to bring some winter cheer to her reception.

Winter Weddings: Purple carnations, white chrysanthemums, spruce sprigs and eucalyptus create a soft, festive look for any winter celebration | designed by Natasha Price of Alaskaknitnat.com

The couple loves Italy so it was fitting that many of the bud vases were little limoncello glasses.

Winter Weddings: Purple carnations, white chrysanthemums, spruce sprigs and eucalyptus create a soft, festive look for any winter celebration | designed by Natasha Price of Alaskaknitnat.com

Continue reading Alaska Weddings: a winter reception

The truth about Garland, Alaska

Welcome, Hallmark Channel fans! If you’re looking for answers about Garland, Alaska feel free to read my post about it below. I do hope you’ll find it informative and I encourage you to poke around my site for fun recipes, crafts, tutorials and more.

I don’t pay much attention to what people search for to find my blog, but for the past year something has consistently caught my eye.

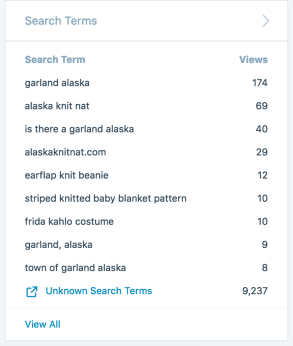
At least twice a week someone finds my site by searching “Garland Alaska.”

In fact, it was the most searched term on my site in 2016. More than 10,000 people found my site in 2016 because of Garland, Alaska.

The truth about Garland, Alaska

Sometimes people look up “Is there a Garland, Alaska?”

The truth about Garland, Alaska

I was mystified, so I finally did some Facebook crowd sourcing.

About three minutes later I had my answer. Turns out there was a Hallmark Channel made-for-TV-movie in 2014 called “Christmas Under Wraps,” which takes place in a fictional remote town of Garland, Alaska and stars Candace Cameron Bure (most famous for her role of D.J. Tanner on “Full House”).

Fictional, folks, fictional. There is no town in Alaska with that many brick buildings or with leaves on the deciduous trees in the middle of winter. But if there’s one thing the film got right (and I finally did watch it), it’s that shipping things to Alaska is often a huge hassle!

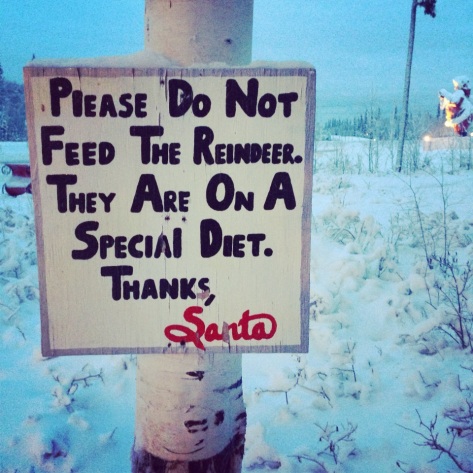
And for the record, Santa lives in North Pole, Alaska. You can send him your wish list here.

Here’s a photo I took last time I visited North Pole:

The truth about Garland, Alaska

Happy holidays!

The truth about Garland, Alaska | Alaskaknitnat.com
Due to copyright infringement, I am unable to display a photo of the cover of this Hallmark movie, so here is a far cuter public domain photo.

The Aspen Ascot – a free knitting pattern

Happy Easter! It’s currently snowing here in Anchorage, which makes today’s pattern just perfect.

I was scrolling through some old knitting patterns on my blog and I came across my Chunky Ascot Pattern, which included a terrible Hipstamatic photo (before Instagram existed). I decided it was worth making a new ascot just to update the photo.

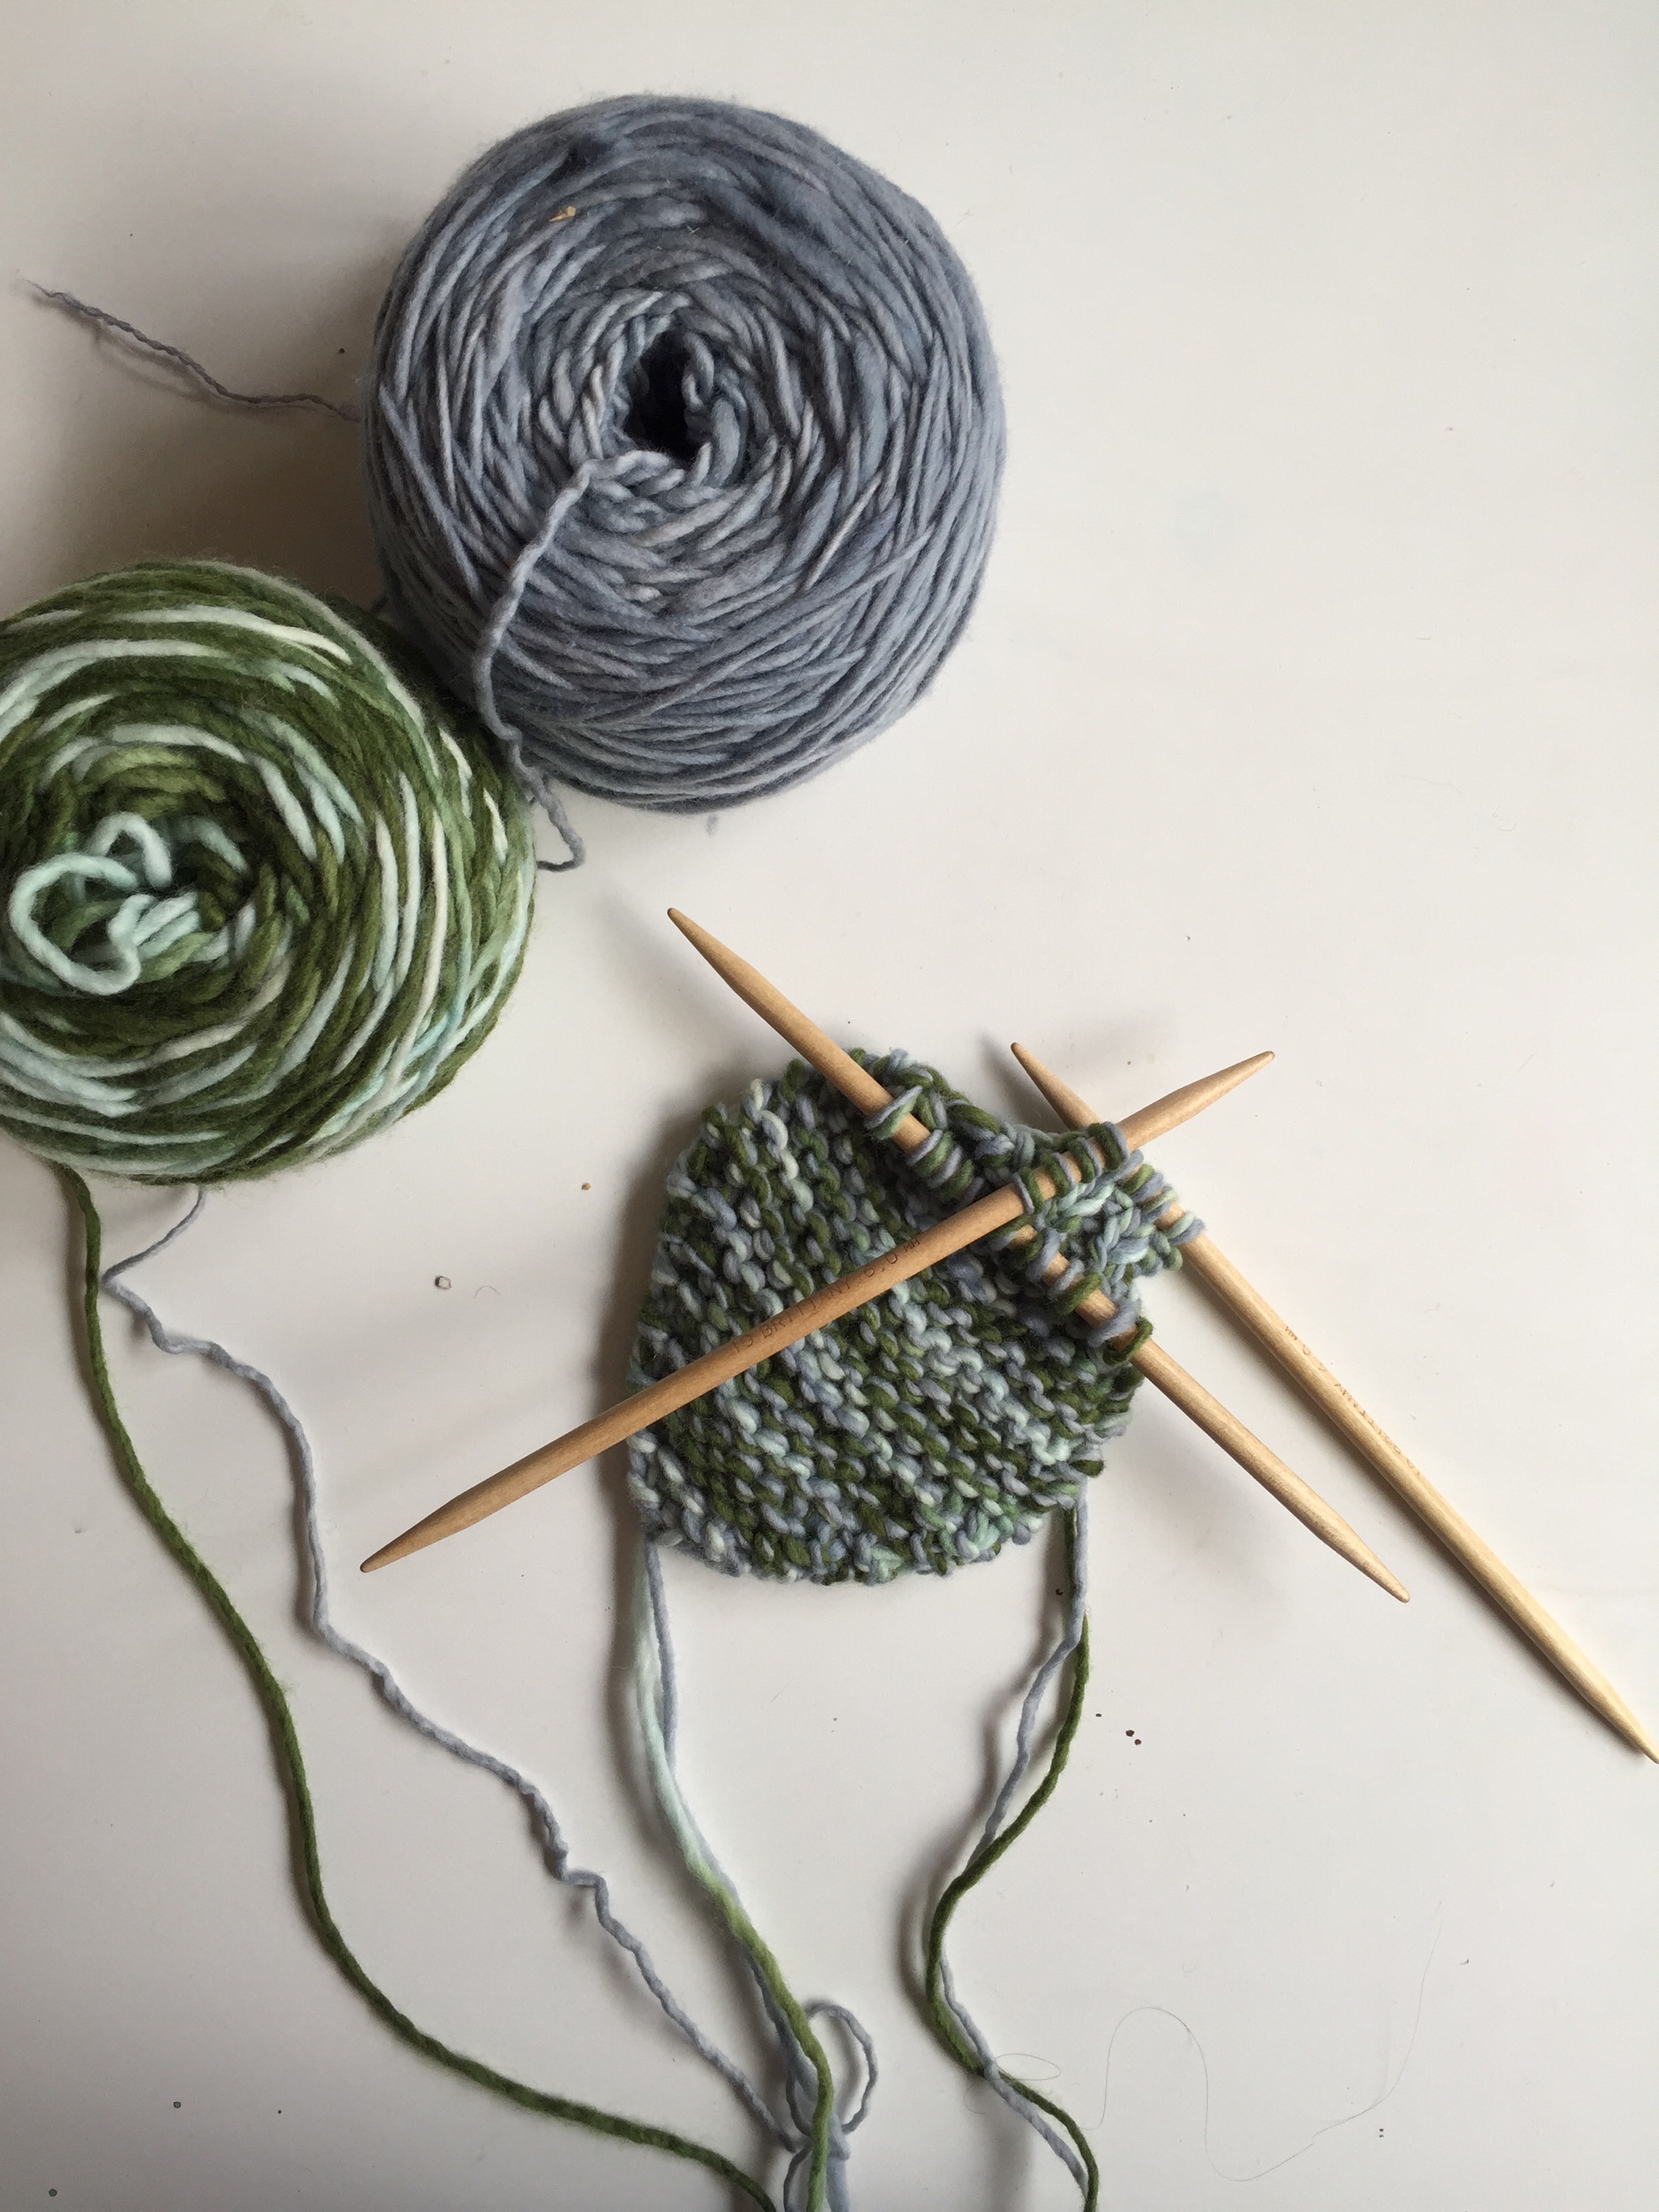
This pattern uses chunky yarn or you can knit two strands of worsted weight yarn together. It takes very little yarn, so it’s a great way to use up any leftover high quality fibers. I used Malabrigo and Manos de Uruguay worsted alpaca.

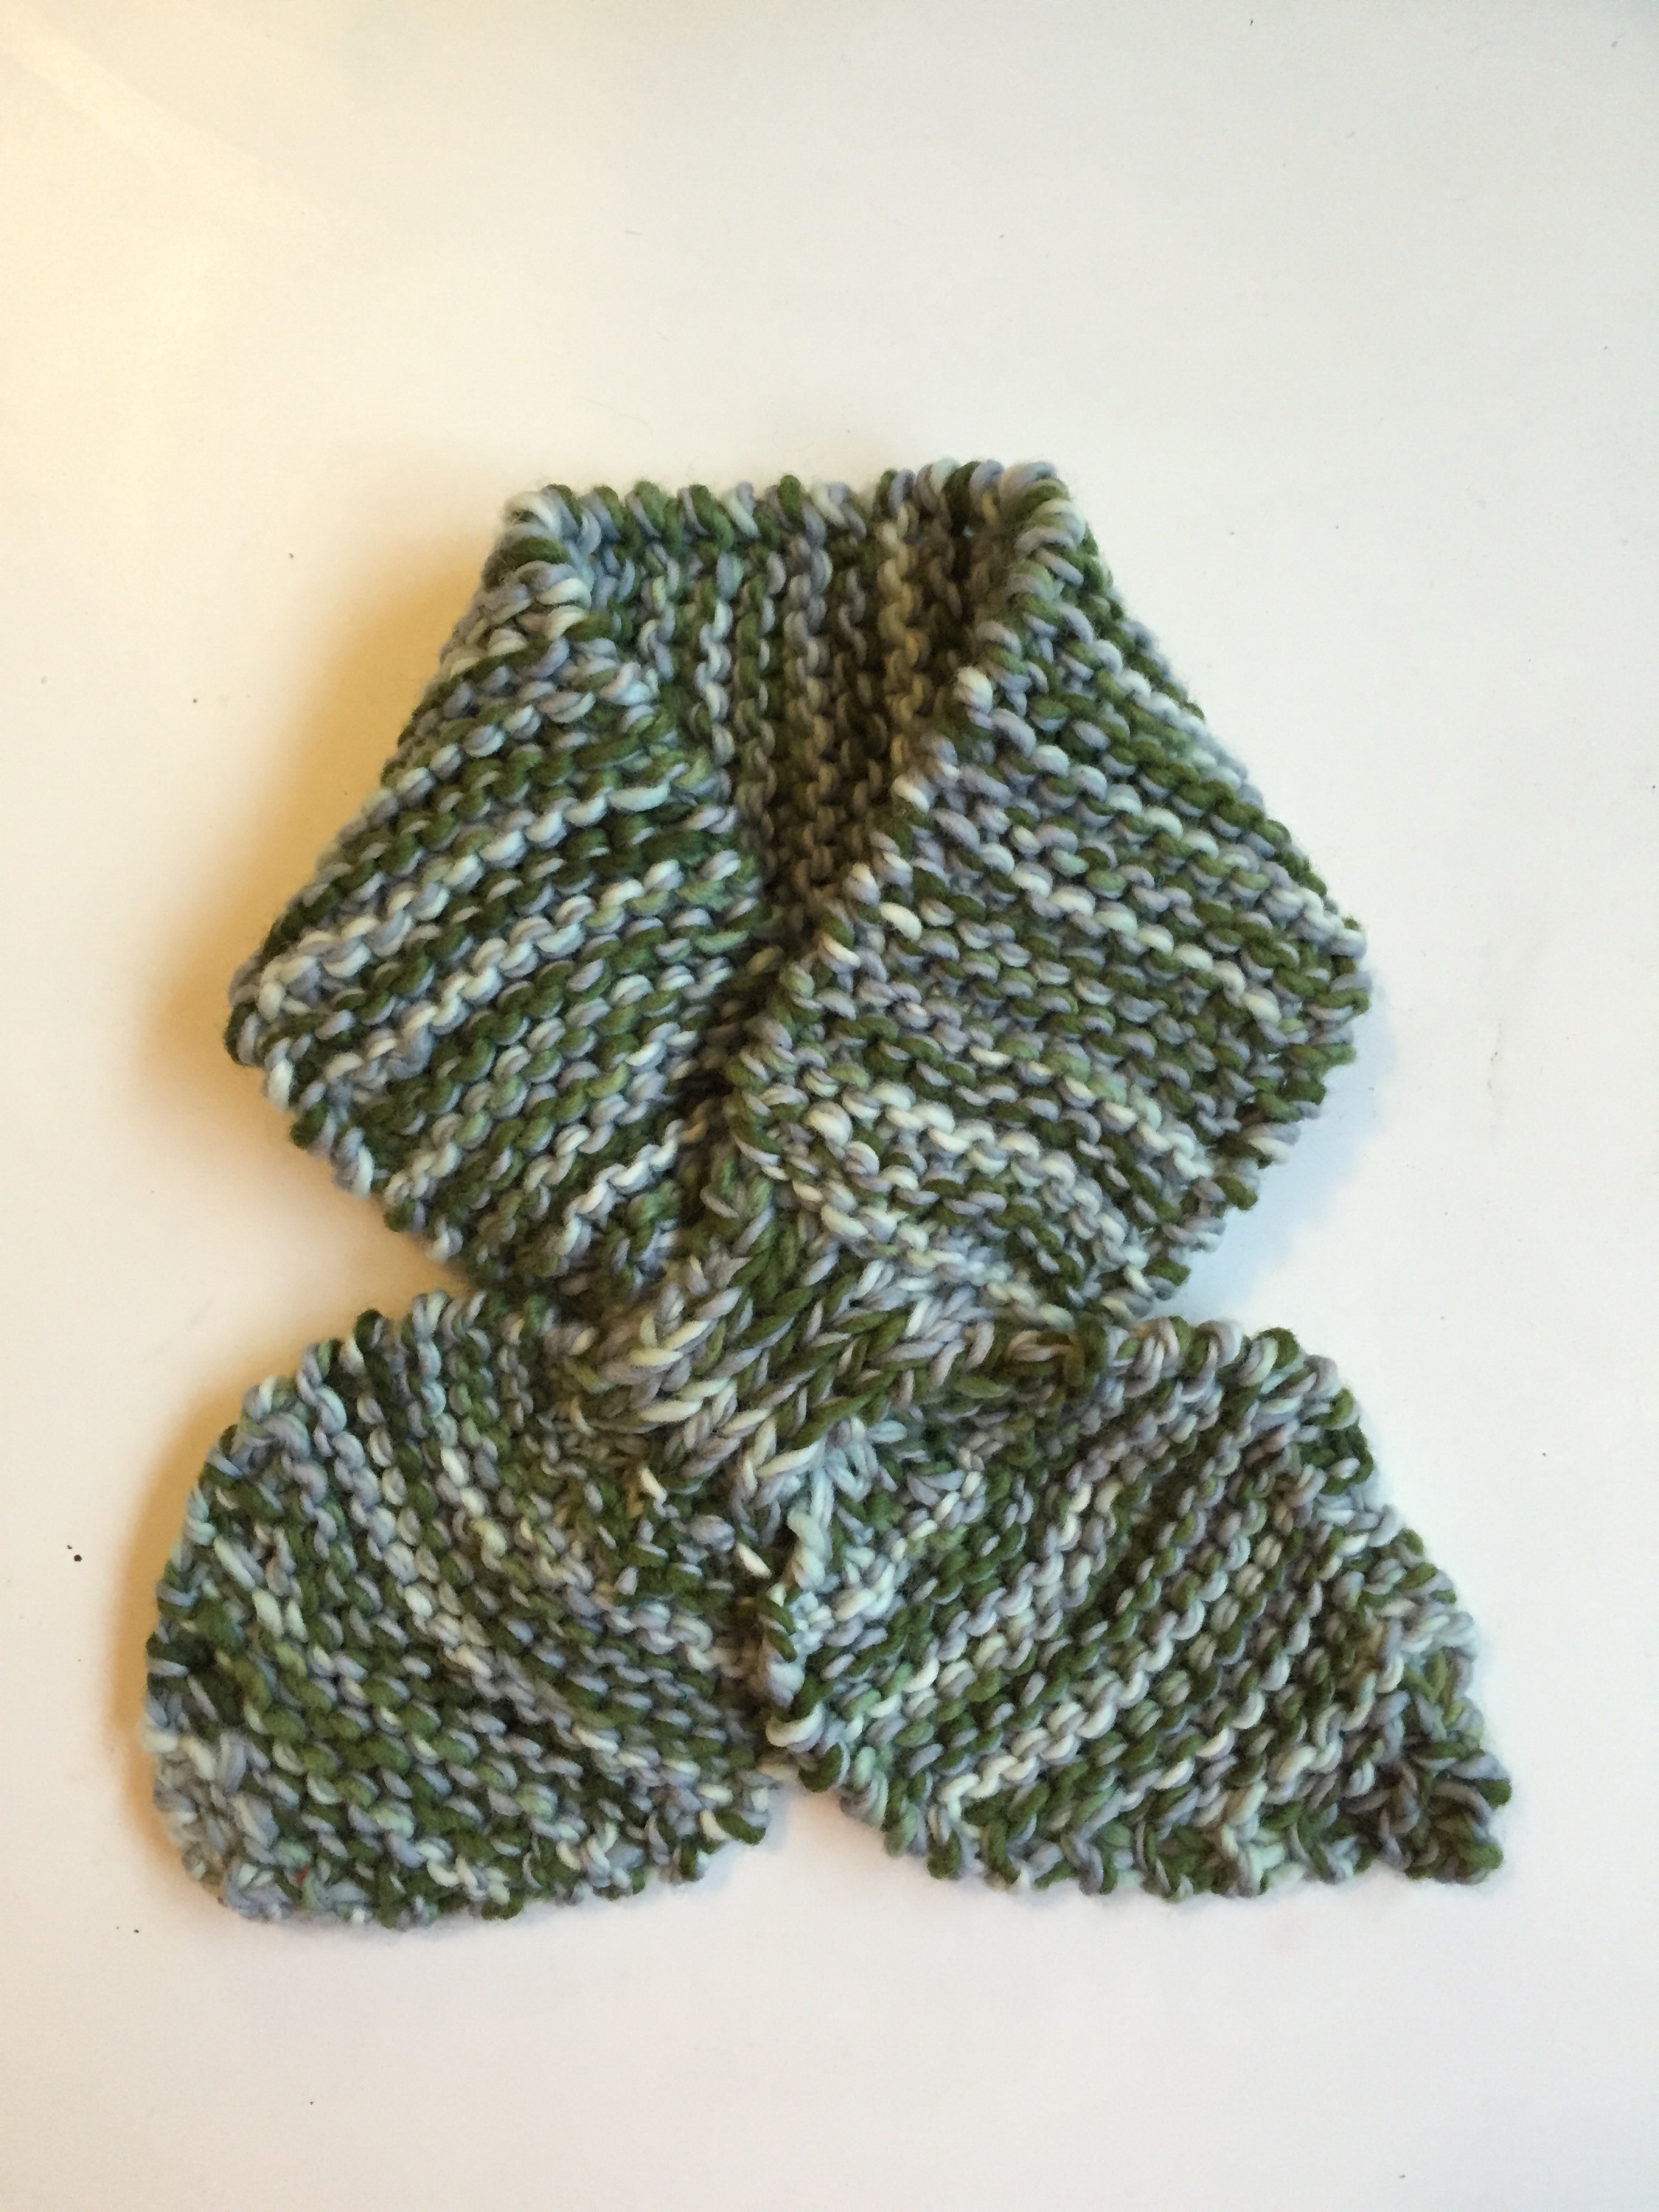
The Aspen Ascot is just right for a chilly spring morning when you don’t need a bulky scarf. The two spade-shaped ends create a lovely bow look.

The pattern isn’t difficult, but it does require thinking outside the box. You’ll use three double-pointed needles for the part where you create the loop. The instructions sound sort of whack, but trust the way it’s written and it should make sense in the end.
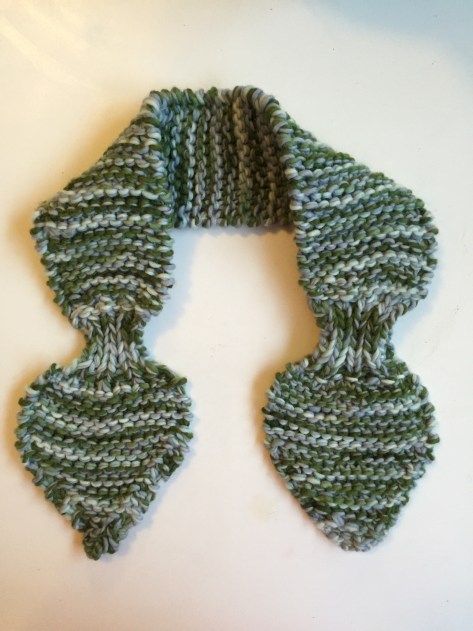
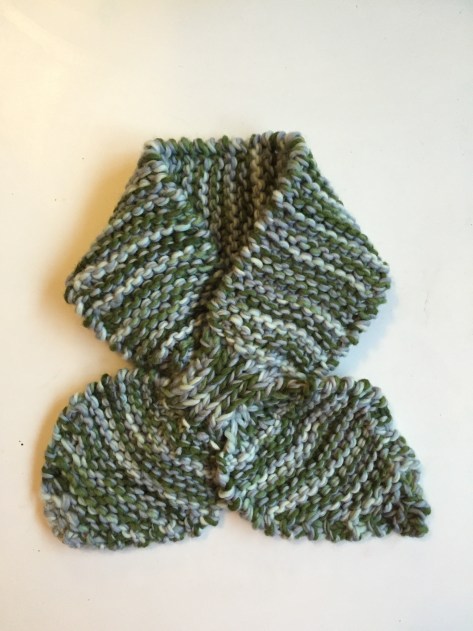
The Aspen Ascot | A free pattern from Alaska Knit Nat. Perfect afternoon project! The Aspen Ascot | A free pattern from Alaska Knit Nat. Perfect afternoon project!

The Aspen Ascot – a free knitting pattern from Alaska Knit Nat

Materials:

One ball of chunky alpaca, or two strands of worsted knitted together

3 size US 10 double-pointed needles

darning needle

Abbreviations:
M1FB — make 1 stitch in the front and 1 stitch in the back of the same stitch, thus increasing the piece by 1 stitch

k2tog— knit two stitches together

Directions:
Cast on 2 stitches. M1FB of the first stitch, K the next stitch.
Continue to M1FB of the first stitch of every row till you have 16 stitches.
K 12 rows in garter stitch. I slip the first stitch of every row to keep the rows neat and even.
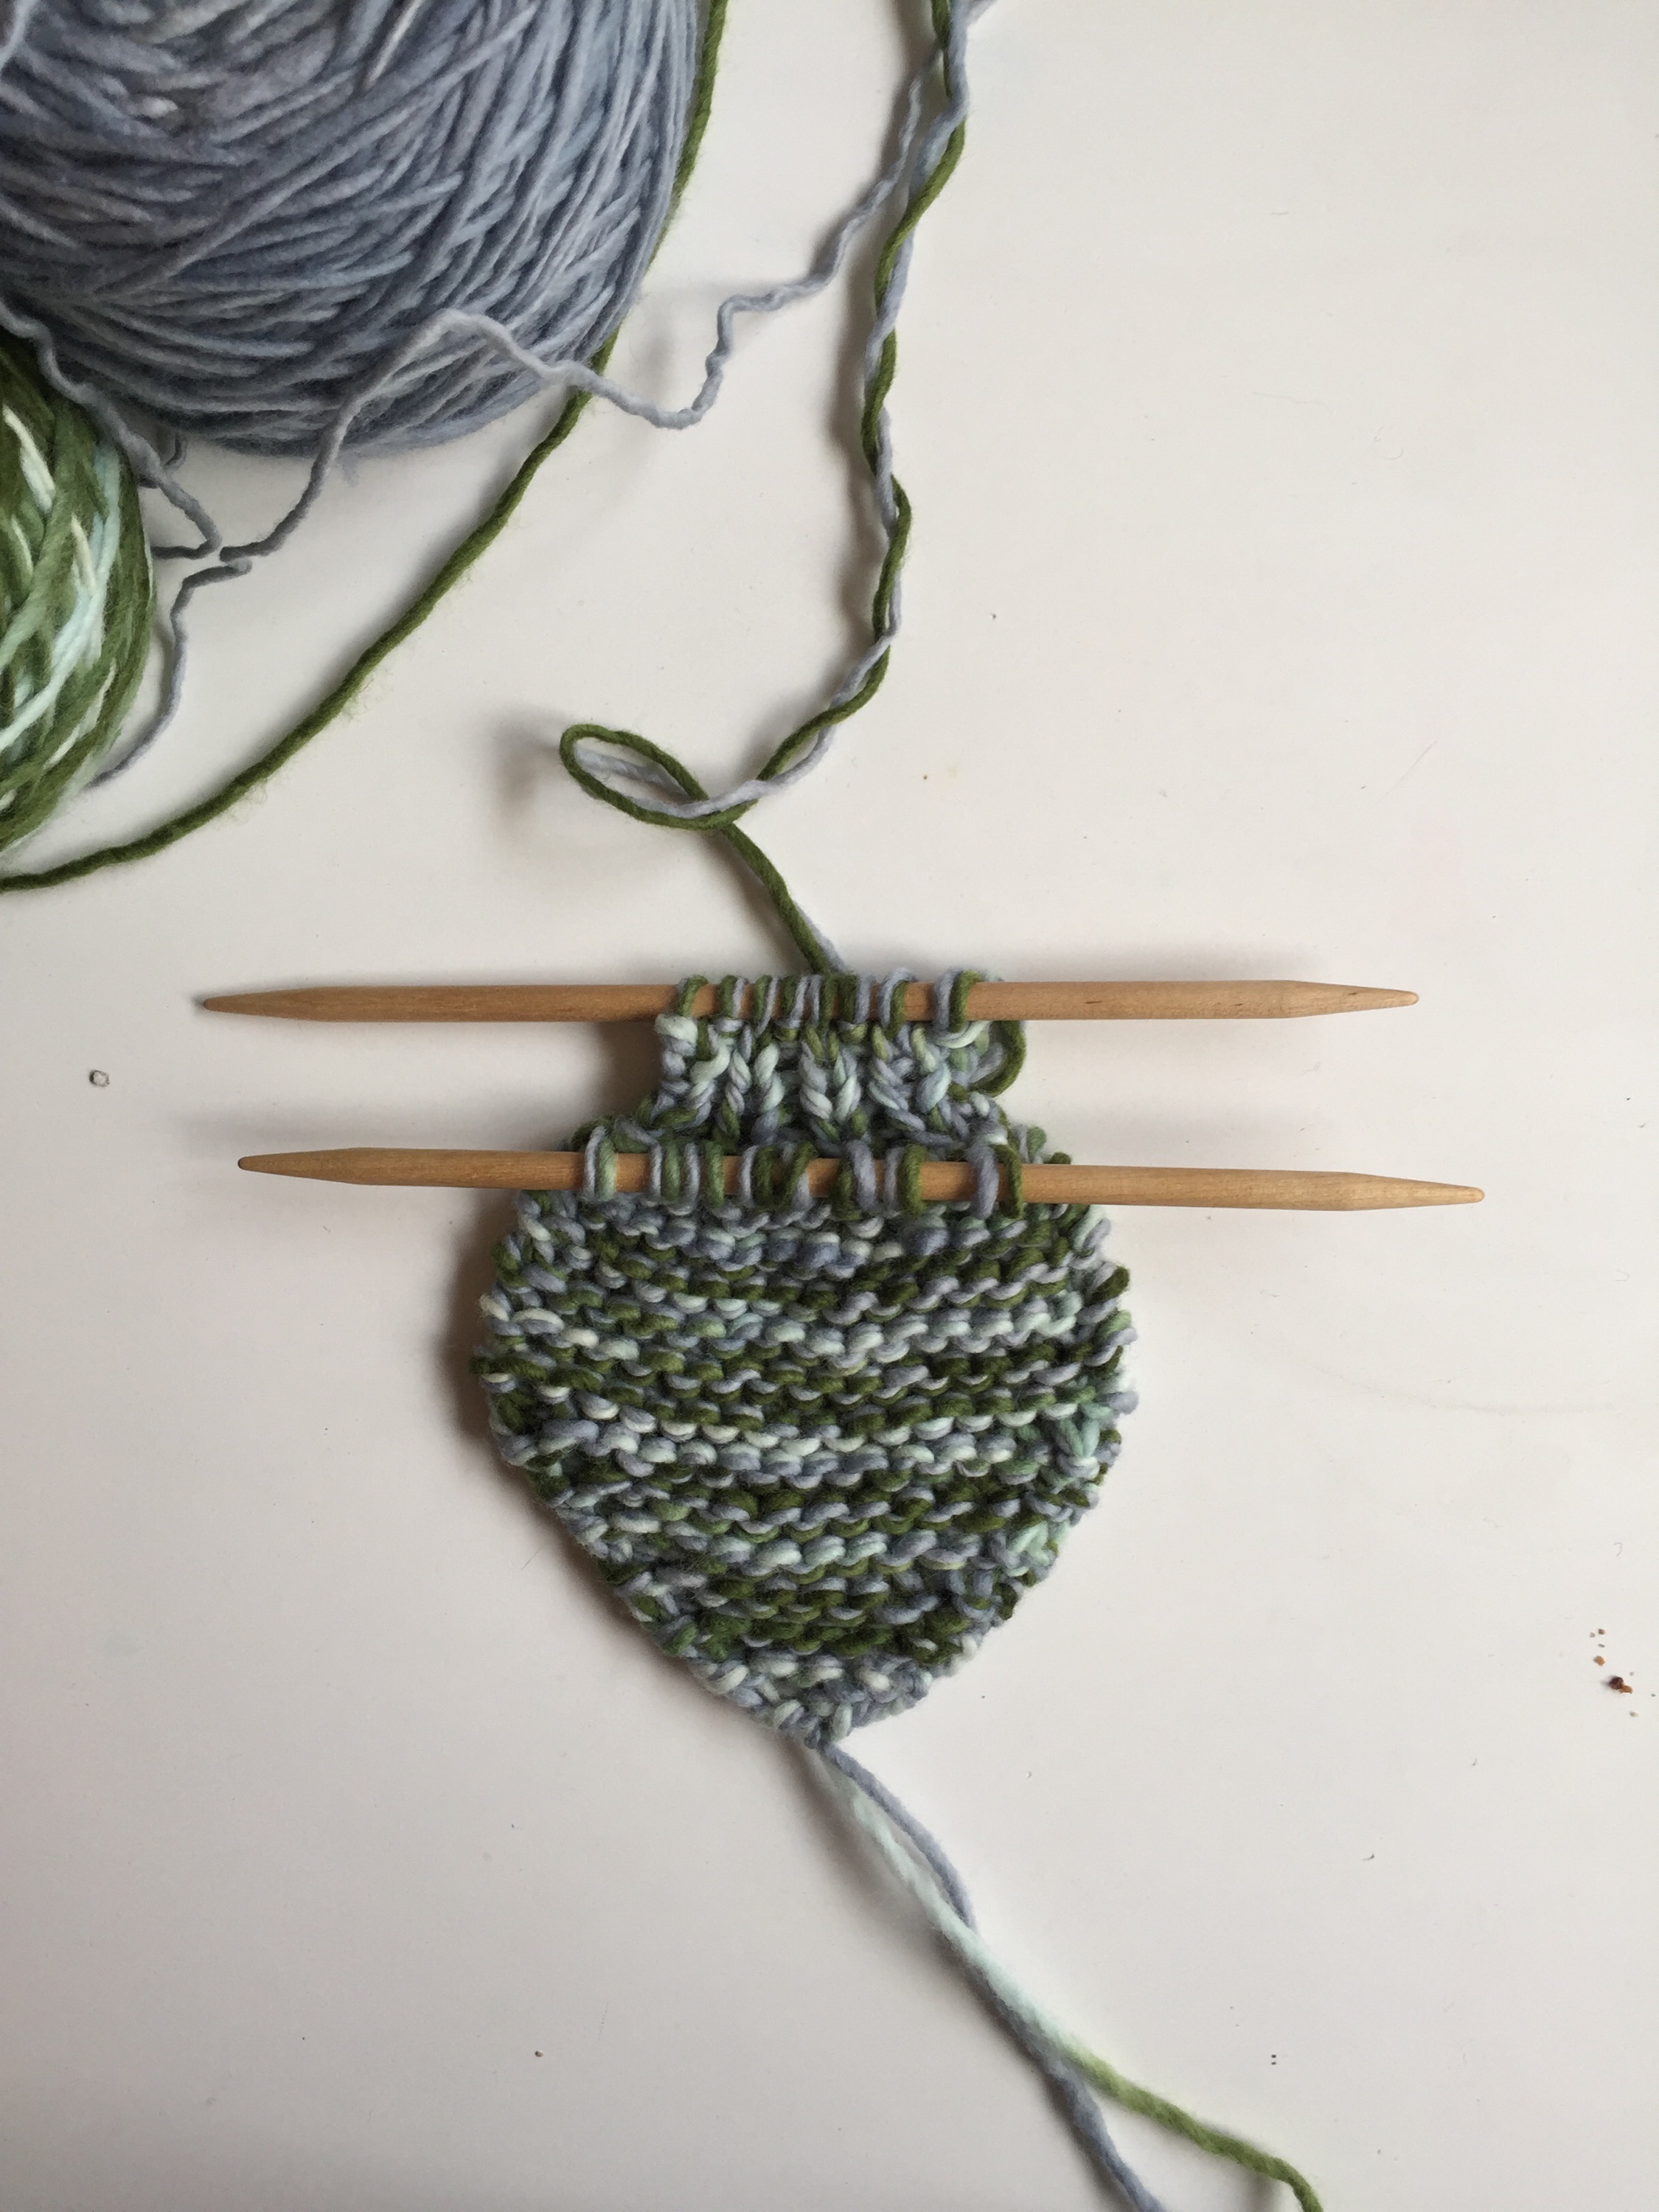
Next row: *Knit the first stitch, transfer the second stitch to the third double point needle.* Repeat * to end of row. You should have 8 stitches on each needle.
Starting with the needle that has the working yarn, K1, P1 for 9 rows. Cut yarn, leaving a 6-inch tail.

The Aspen Ascot | A free pattern from Alaska Knit Nat. Perfect afternoon project!

The Aspen Ascot | A free pattern from Alaska Knit Nat. Perfect afternoon project!
With the other needle holding 8 stitches, leave a 6-inch tail and K1, P1 for 9 rows, but don’t cut the yarn when done.

Next row: *Knit the first stitch from both the front and back needles together, then knit one from the front and one from the back.* Repeat * till there is 1 stitch on each needle. Knit these two stitches together. You should now have 12 stitches on one needle.

Knit in garter stitch till the work is long enough to go around your neck and touch the loop you just created, about 12 inches.

Next row: *K1, K2tog* Repeat * to end of row. You should now have 8 stitches again. K1, P1 for 9 rows.

Next row: M1FB in each stitch. You should now have 16 stitches.

Knit in garter stitch for 12 rows.

Next row: K1, K2tog, K to end of row. Repeat the last row till there are 3 stitches remaining.

Bind off. Weave in tails. Sew on decorative button to one side of the loop if you desire.
 

Dear Knitting and Crochet Followers…

I realized that lately I’ve only been writing cooking-related posts and I just wanted to reach out to all my fellow knitters and crocheters. I’ve been a busy little bee with my needles and hooks, so stay tuned. I’ll have something for you soon!

Xoxo,
Natasha

IMG_1801.JPG

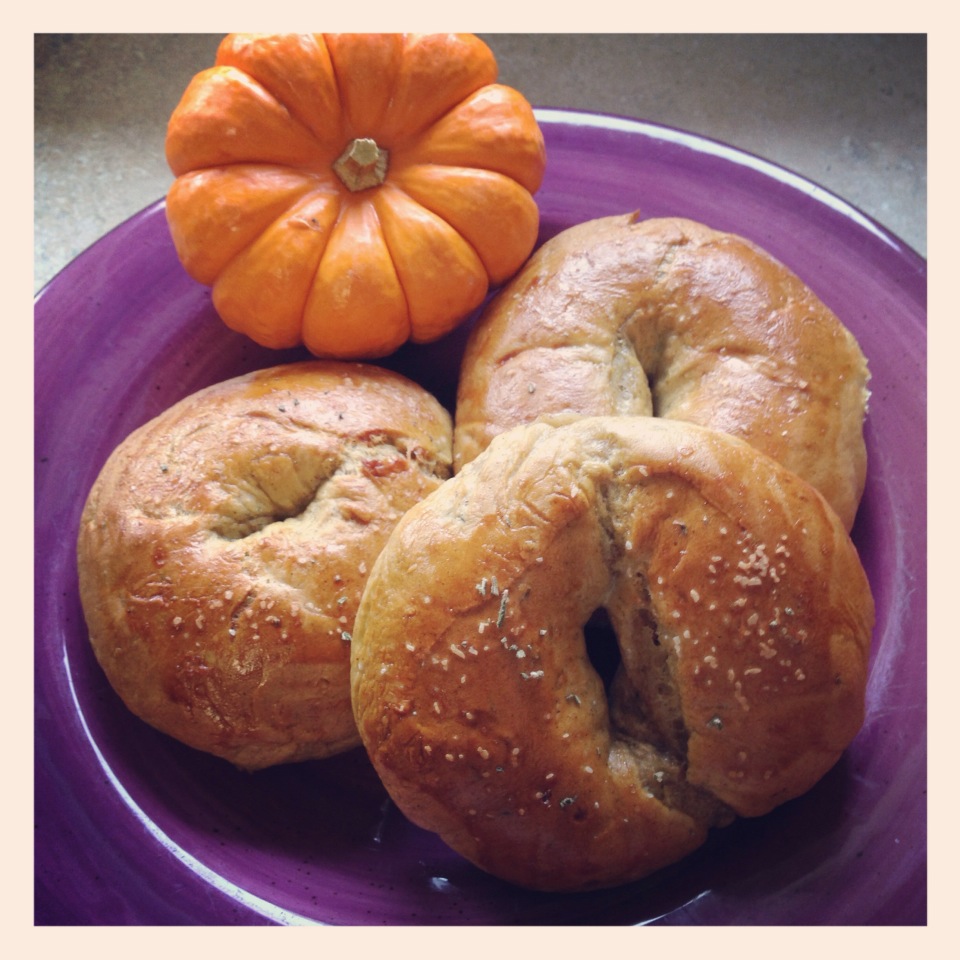
Pumpkin Rosemary Bagels

When I told my best friend I was making bagels today, she first asked if they were hard to make and then asked if they were fried. The answer to both is no, and I’ll clear up this bagel mystery by saying they aren’t too difficult to make, it’s a fun process and if you’ve made bread and boiled water, you can make bagels.

Today was pumpkin cooking day with my friend Kelly, so naturally I needed to make a pumpkin bagel. I’m not one for sweet flavored bagels so I thought adding rosemary to the dough and sprinkling them with kosher salt would please me. And it did.

Pumpkin Rosemary Bagels
I based my recipe off this fine one at SweetSpatulas.com.

I did not have any wheat flour so I used only white and I really like the texture.

Ingredients:
4 cups white flour
4 tsp. yeast
1 cup warm (not hot!) water
1.5 tsp. salt
2 Tbs. chopped fresh rosemary, extra for sprinkling on top if you like
1/2 cup brown sugar
3/4 cup pumpkin puree
1 tsp. ground allspice
2 tsp. cinnamon
1 egg

Directions:
Combine the yeast, rosemary and two cups of flour in a large mixing bowl or the bowl to your KitchenAid mixer. In another mixing bowl combine the water, salt, sugar, pumpkin and spices. Add the wet to the dry and thoroughly combine. Slowly start incorporating the remaining flour. I switched to the KitchenAid hook and let the machine go for about 3 minutes.

Remove the dough and knead on a floured surface till you have an elastic, smooth ball. Place in a bowl and cover for 15 minutes.

Pumpkin Rosemary Bagels

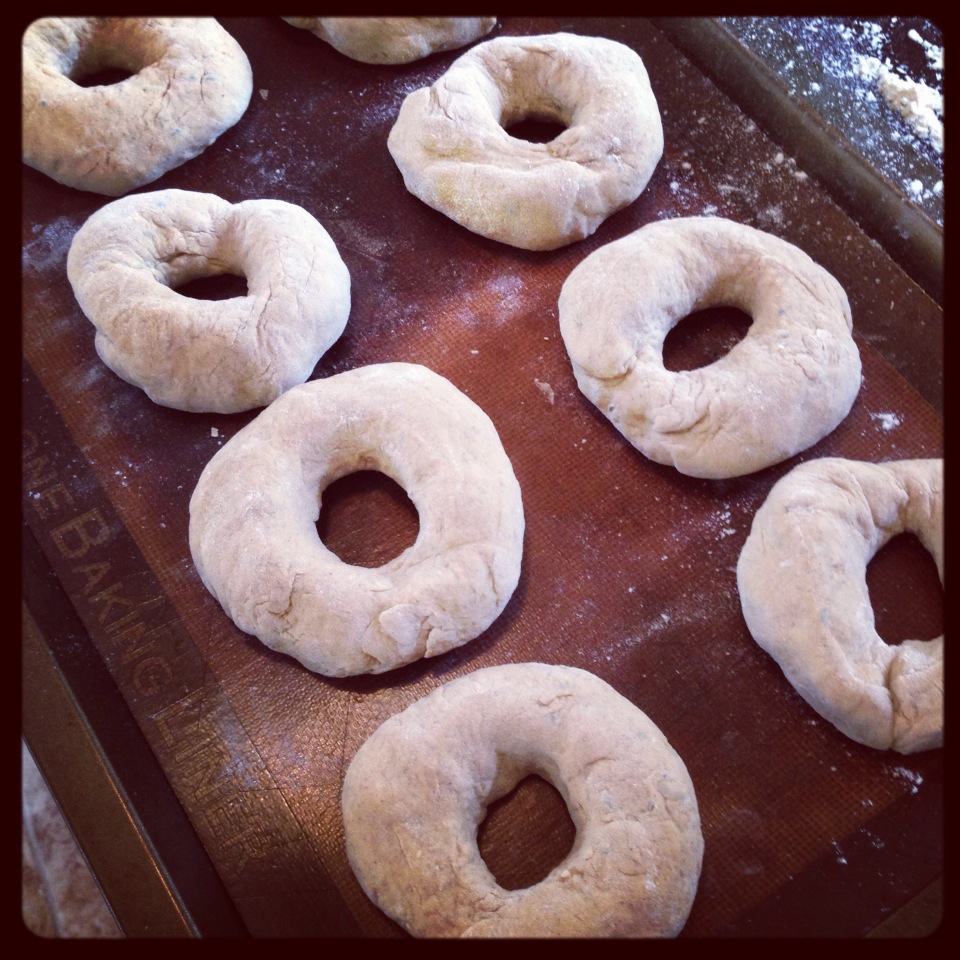
Divide the dough into eight equal balls. Make them as round and smooth as you can and punch a hole in the center of each ball. Dust each hole with a little flour. Use your thumbs and fingers to shape the hole evenly so it’s two inches in diameter. Place on a lightly greased baking sheet. Cover with a towel and let sit for 20 minutes.

Pumpkin Rosemary Bagels

Meanwhile, turn on your broiler and set two big pots of water on the stove to boil.

Why boil bagels, you ask?

Well…according to thekitchn.com, boiling them is what gives them that signature crust and also helps with the classic chewiness.

Now you know! Let’s continue with the bageling.

Place your bagels under the broiler for 1.5 minutes. You could turn them and broil the other side, but I didn’t do that and they turned out fine. Next, place two or three bagels at a time into the boiling water. Let them boil on each side for one minute. While this is going on, whisk your egg in a bowl and set aside.

bagle4

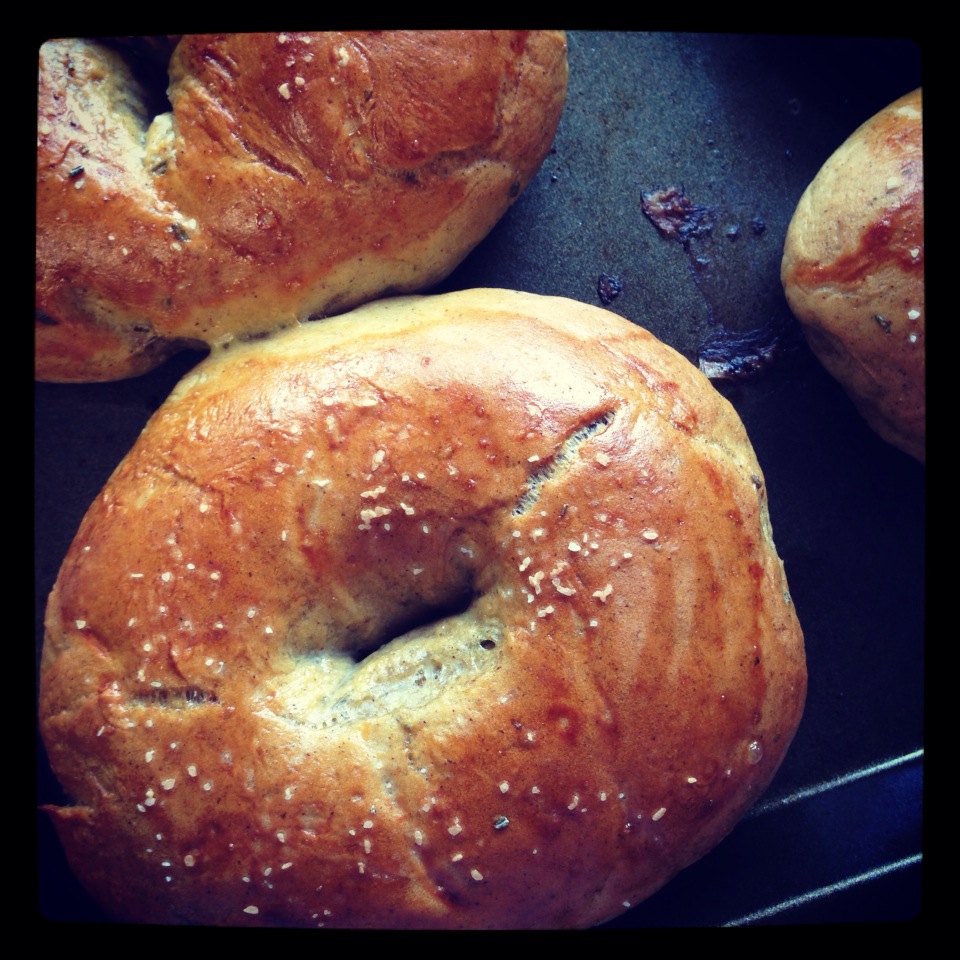
Using tongs, gently place your boiled bagels back on the cookie sheet. Brush with the egg and sprinkle with chopped rosemary and kosher salt.

When all the bagels are boiled, egged and sprinkled, bake them for 25 minutes or until the tops are nicely brown.

Pumpkin Rosemary Bagels

Let cool on a rack. Serve with cream cheese and revel in the fact that you just made bagels.

Pumpkin Rosemary Bagels