This recipe is based on one from The Pioneer Woman Web site with a few alterations.
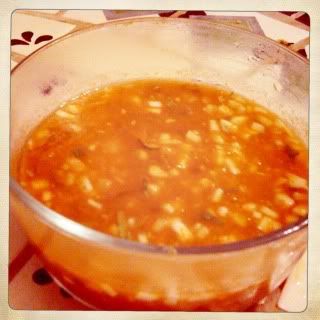
There are still a few shrimp left in this photo! They were so good, I forgot about blogging altogether.
Appetizer for 2
Ingredients:
1/2-3/4 pounds of raw shrimp, peeled and deveined
A small carton or jar of orange juice
6 cloves of garlic, thinly sliced
dash of cayenne pepper
several shakes of Old Bay seasoning
olive oil
1 tbs. honey
salt and pepper
2 tablespoons butter
Directions:
With a large Ziplock bag propped up in a bowl, pour in about a cup of orange juice and three sliced cloves of garlic. Add a glug of olive oil, some salt and pepper, and a shake of cayenne powder. Add the shrimp, seal up the bag and marinate for a couple of hours.
This dish only takes a few minutes to prepare, so when you’re ready, take out the shrimp and dry them on a couple of paper towels. In a liquid measuring cup, combine 3/4 cups of orange juice, a few sliced garlic cloves, some cayenne and the Old Bay. Add salt and pepper to taste. Heat up a large non-stick skillet on high. Add the butter. When it’s melted, add the shrimp. Cook for about one minute, flip shrimp and cook another minute. Set aside. With the pan still on the heat, add the orange juice mixture and the honey. Let it bubble and thicken for about five minutes. Take care not to let it burn by stirring often. When it’s a little thicker, add the shrimp and toss thoroughly. Transfer to a shallow bowl. The leftover glaze is phenomenal when sopped up with rustic bread.