My husband travels for work so I’m frequently “solo parenting.” Working full time, picking up our son and getting dinner on the table by 6 or 6:30 can be a struggle. Tonight was really tricky since we got home late, but thanks to my rare meal planning this week I was able to put together a wholesome pasta dish in under 30 minutes.
By marinating the frozen chicken in the fridge overnight I didn’t have to make a mad dash to thaw it out and flavor it right before preparing the dish. I felt like a winner, winner, chicken dinner!
Pasta with chicken and spinach in a creamy garlic sauce
Serves 4
For the chicken marinade:
5 frozen chicken tenders
3 tablespoons olive oil
2 tablespoons balsamic vinegar
juice of 1/2 lemon
zest of 1/2 lemon
2 cloves of garlic, minced
1 tablespoon dried basil
salt and pepper
For the pasta:
3/4 pounds pasta
3 tablespoons olive oil
1 tablespoon butter
5 oz. baby spinach
3 cloves garlic, minced
1 cup chopped cherry tomatoes
1/4 cup chopped parsley
1 cup grated parmesan
1/2 cup cream
salt and pepper to taste
Directions:
The night before, place the frozen chicken in a large Ziploc bag with all the marinade ingredients. Let sit overnight in the fridge. It’ll be delicious by tomorrow.
Place a large pot of salted water on the stove to boil. Cook the noodles according to packaging.
Meanwhile, heat a skillet with a tablespoon of oil over high heat. When the pan is hot, cook the chicken tenders till browned, about 4 minutes on each side. Set aside. When cooled, chop into bite-sized pieces.
Clean out the pan with a paper towel and add the rest of the oil and the butter. Add the spinach and tomatoes and cook spinach till it’s wilted. Add the garlic and cook for another 30 seconds or so. When pasta is drained, add it to the pan with the chicken, Parmesan and cream. Add salt and pepper to taste. Serve immediately.
Sometimes I just don’t want to plan dinner. Today was the case as I opened my fridge at 5:10 p.m. to figure out what to prepare for my family. I came up with frozen chicken breasts, frozen broccoli, lemon and fresh thyme. I was uninspired, but decided to put the frozen chicken in the pressure cooker and figure it out as I went along.
Then, when my son called me out to the yard to look at the newest addition to his playhouse, the best thing happened: I found two pristine king bolete mushrooms standing proudly under our large spruce trees.
I’ve been waiting all summer for this moment. King boletes are the most delectable of the mushrooms my family gathers and they happen to grow in my yard every summer from late July to early September. For the past three weeks I’ve been checking the areas under the spruce trees for these meaty, delicious fungi. They pop up overnight and you have to pick them when they are fresh otherwise bugs will lay claim to them.
As soon as I cleaned my two treasures I had formed a supper strategy. Lemon, thyme, mushrooms, broccoli, garlic, chicken and pasta — yeah, that’s a good combination. By 6:15 I had a decent meal that was a real crowd pleaser.
Of course you can use store bought mushrooms, but if you happen to have wild porcini, I encourage you to cook them as soon as you can.
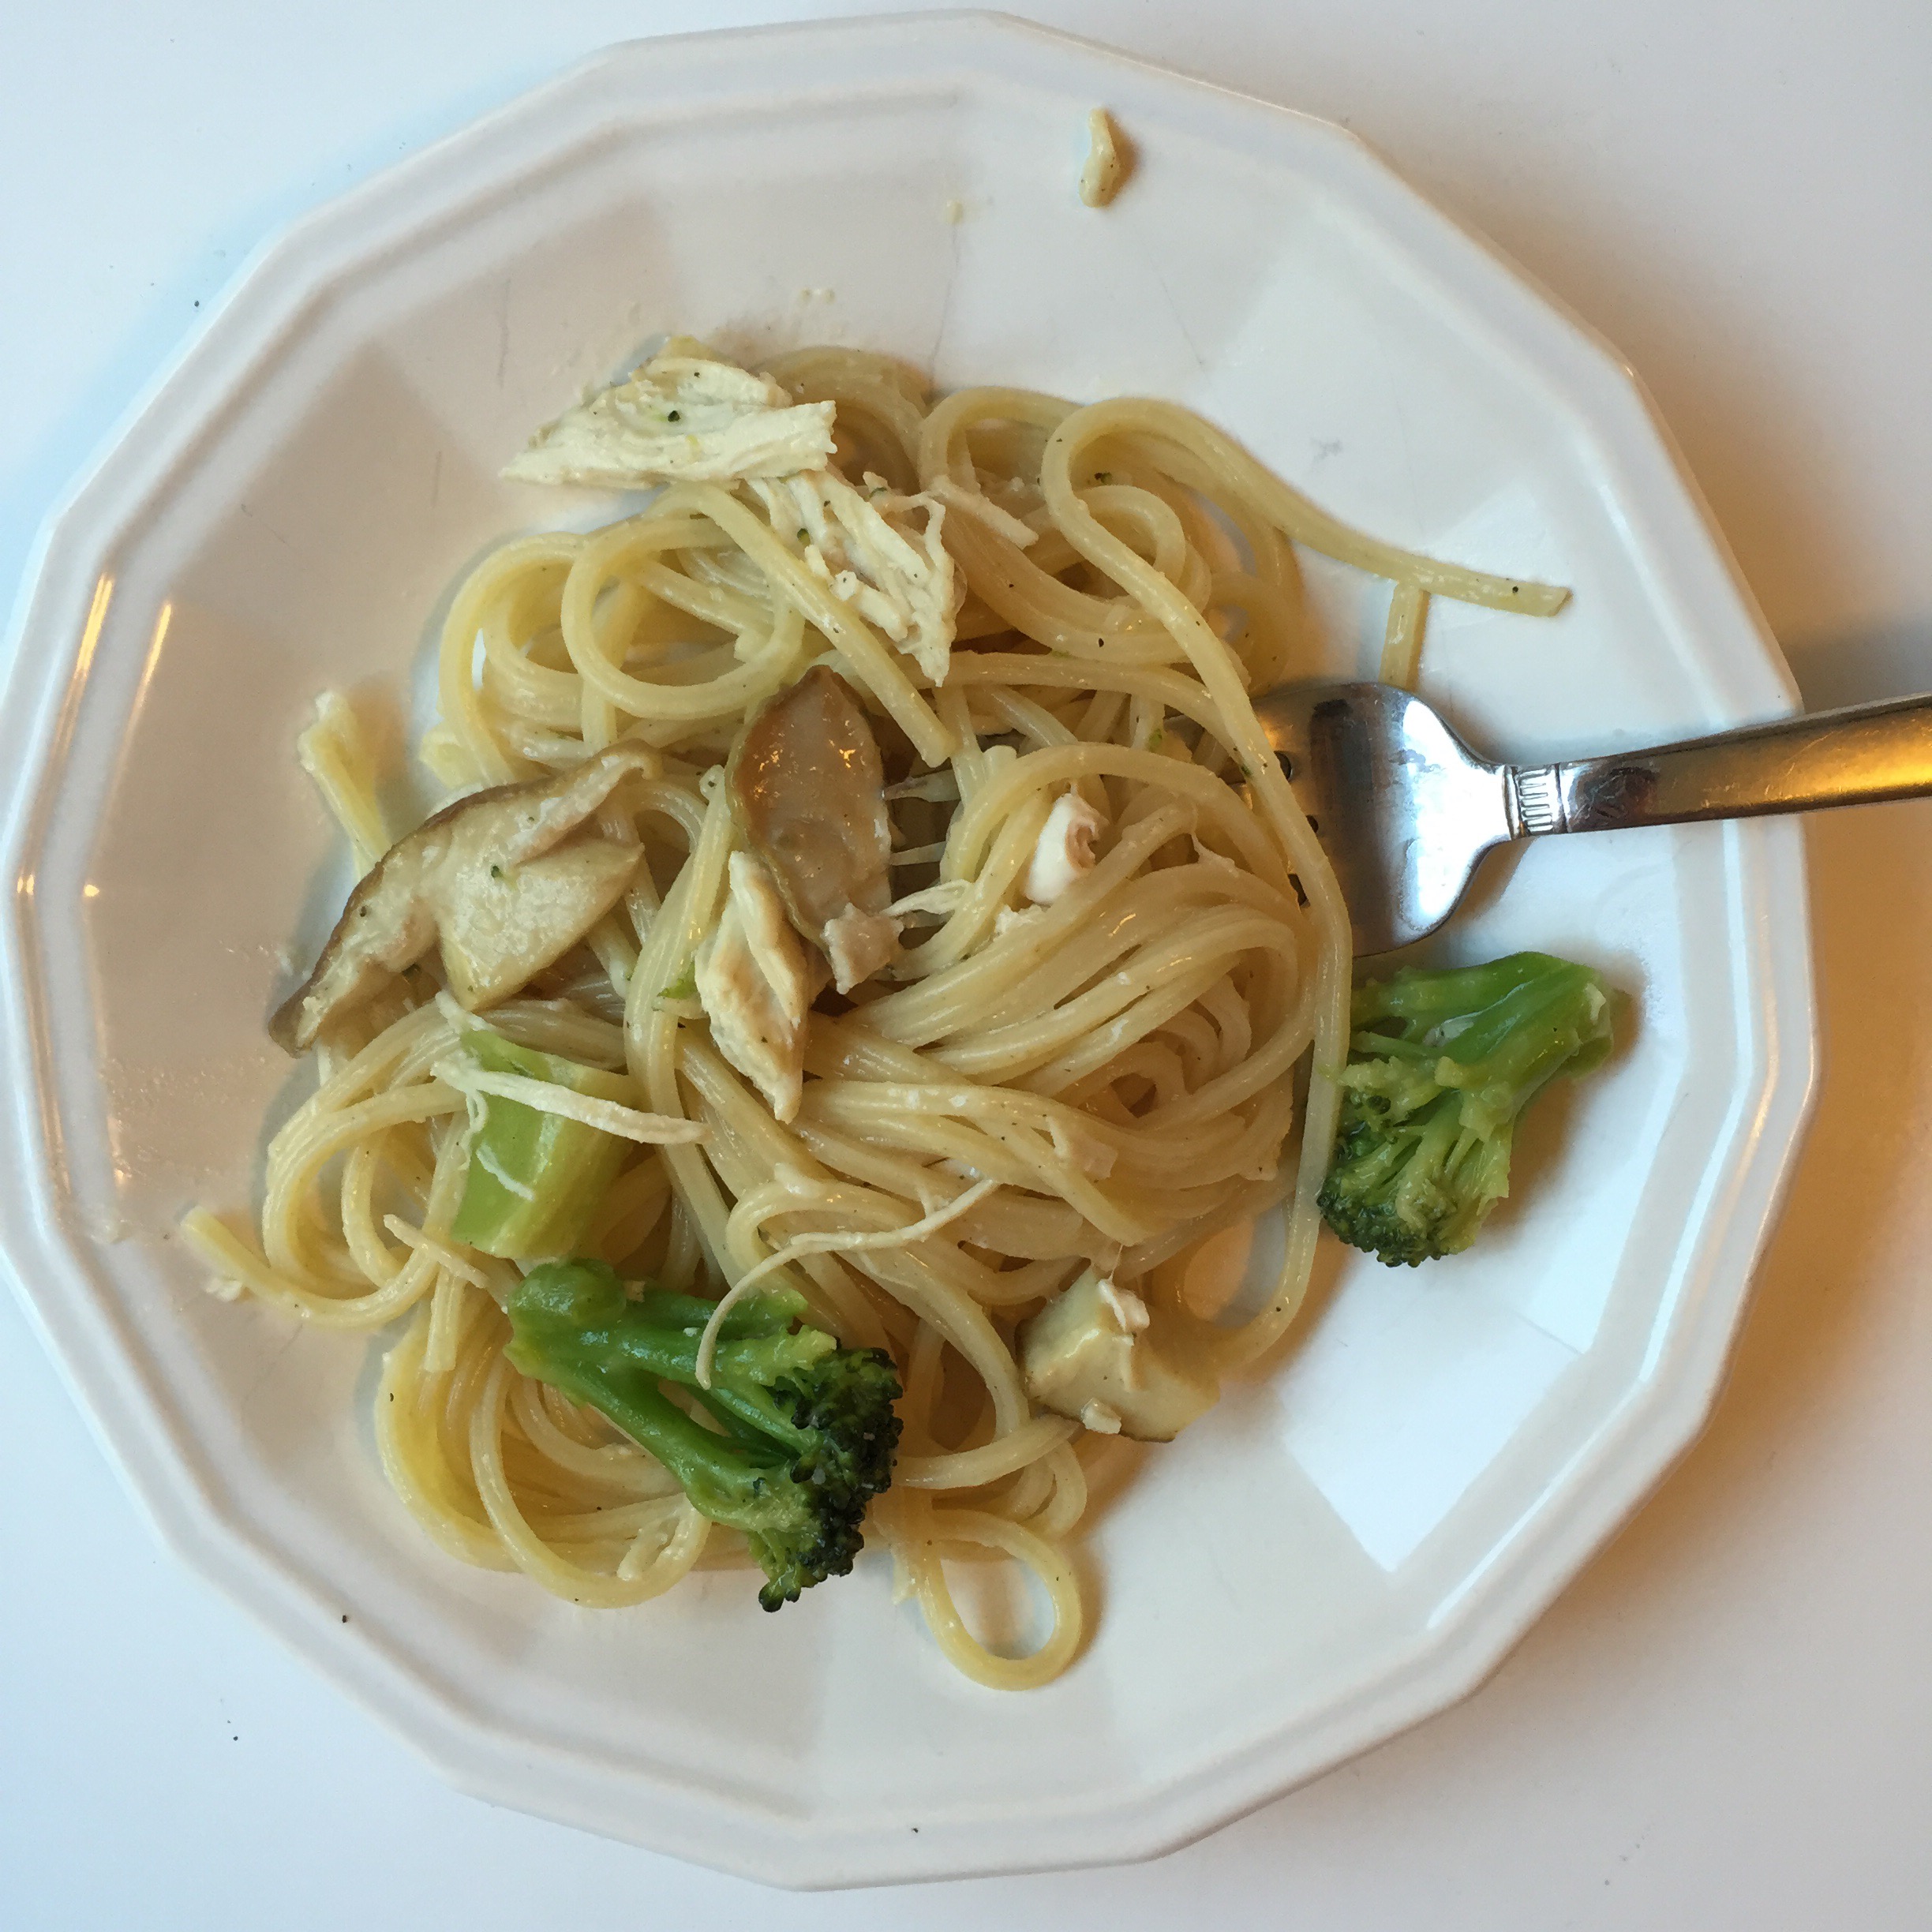
Spaghetti & Chicken in a Lemon Thyme Mushroom Sauce
Serves 4
Ingredients:
2 frozen boneless, skinless chicken breasts
1-2 cups chicken stock
1 tsp. lemon zest
1 lemon, sliced
3 sprigs of fresh thyme
Salt and pepper
2 cups frozen broccoli florets
1 tablespoon olive oil
3 tablespoons butter
8 oz. fresh mushrooms, sliced
1/4 cup dry cooking sherry (optional)
2 tablespoons butter
3 garlic cloves, minced
8 oz. spaghetti
1/4 cup freshly grated parmesan cheese
Directions:
Place 1/2 cup of chicken stock in a pressure cooker. Line the bottom of the cooker with lemon slices. Add the frozen chicken, zest, thyme and salt and pepper. Set the pressure cooker to 35 minutes. When it’s done, slice the chicken into bite-sized pieces. Set aside and reserve the cooking liquid as well.
Bring a large pot of salted water to a boil. Cook pasta until al dente, drain and set aside.
Meanwhile, place broccoli and 1/4 cup chicken stock in a large sauté pan. Cover and steam over high heat for 5 minutes or until broccoli is tender. Set broccoli with stock aside.
In the same sauté pan, add the olive oil and 1 tablespoon of butter. Heat on medium-high and add the mushrooms. Sauté until mushrooms have given off their liquid and they begin to brown, about 7 minutes.
Add the garlic and cook for 30 seconds. Pour in the sherry and let it evaporate, about 2 minutes.
Create a slurry with the flour and 1/4 cup chicken stock. Add this to the mushrooms and garlic. Once it’s thickened, add some of the stock from the pressure cooker until it’s a sauce-like consistency. Add some more butter if you want it creamier. Add the drained pasta, broccoli and chicken. Toss until evenly coated. Sprinkle with cheese and serve.
After my less-than-stellar morel hunt last weekend I needed to forage something more gratifying. It’s the perfect time for spruce tips. Pretty much all the spruce trees in town are boasting bright green tips with brown papery casings. I ventured as far as my yard to collect a pound of them. They required very little processing; just remove the papery casings and you’re good to go.
I’ve never been quite sure what to make with these edibles. I’m not much for tea or jelly. I wanted something savory.
I first referenced the Goddess of Alaska Forests, Laurie Constantino, and made a delectable dip with mayo, Greek yogurt, lemon juice and minced spruce tips. It was perfect for the garlic bread crusts I had leftover on my dinner plate last night.
Recently a friend of mine told me about a Juneau-based blog that’s all about foraging Alaska edibles. There was an intriguing recipe for spruce tip gnocchi. I had to try it.
As Part Two of my summertime Alaska blog series, I tried to harvest a few things such as fiddlehead ferns and fireweed shoots, but I only successfully cooked something using devil’s club.
You’ve probably encountered devil’s club in any Alaska forest. It’s pretty much the last plant you want to encounter because it’s covered top to bottom in sharp thorns that can easily embed themselves in your skin; but in the spring the plants produce short buds covered in premature, soft thorns. This part of the plant is edible. Is it good? That’s what I aimed to find out.
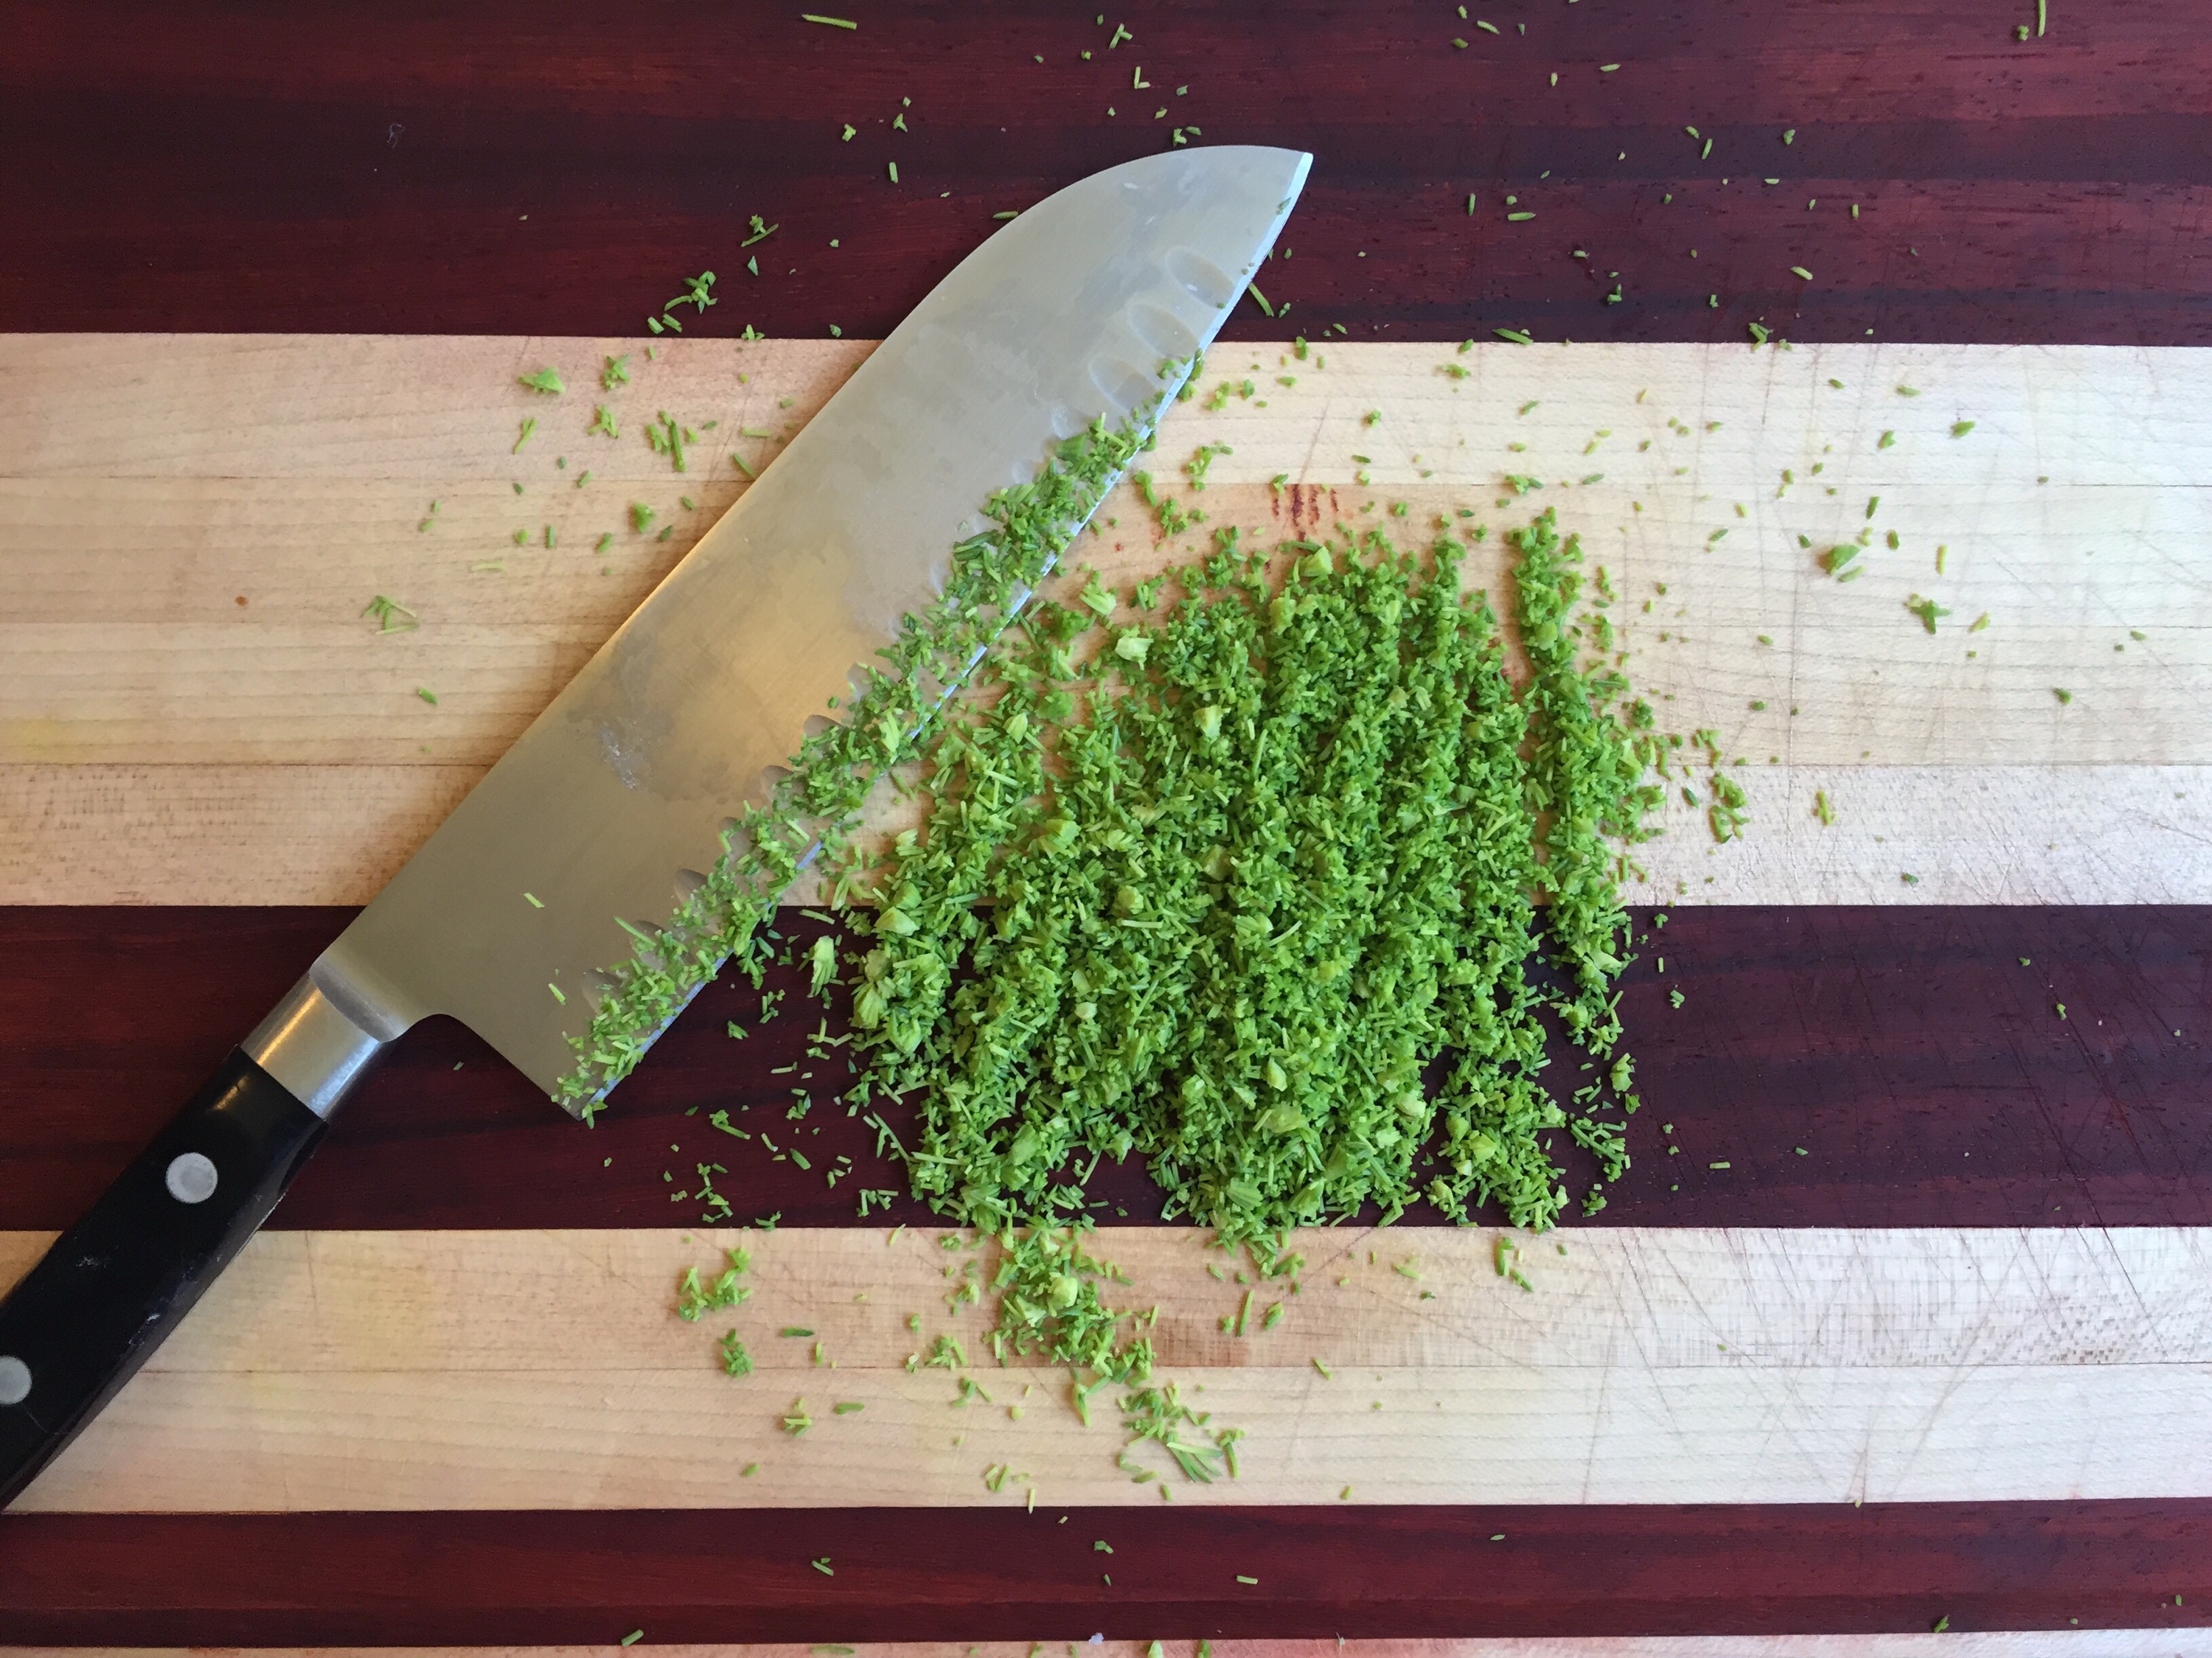
I embarked on my devil’s club hunt on a sunny spring day after the birch trees had started budding. I had no trouble finding a thicket of devil’s club up on the hillside. They all had 1-to-3-inch buds emerging from the dry, wheat-colored stalks. I used a gardening glove to pluck them and collected them in a bucket.
This one isn’t quite ready yet. There should be an inch or two of green coming out of the brown sheath.This one is ripe for the plucking!
After getting stuck with thorns a few times I felt as though I had enough to work with. On the drive home my car started smelling like an Alaska forest. The devil’s club buds had a spicy, celery-like scent.
Time to jump on the pumpkin bandwagon. I’ve had a medium baking pumpkin sitting around the house for a couple of weeks and I’ve been putting off cooking with it because I have so little pumpkin-cooking experience.
I was inspired by a recipe from Hezzi-D’s Books and Cooks, but I also had items in the fridge I needed to use up, so I winged it a little. What I came up with was a flavorful casserole that was creamy, cheesy and somewhat healthy too.
You can use canned pumpkin, but I recommend baking your own using this method, as it was super easy and fresh.
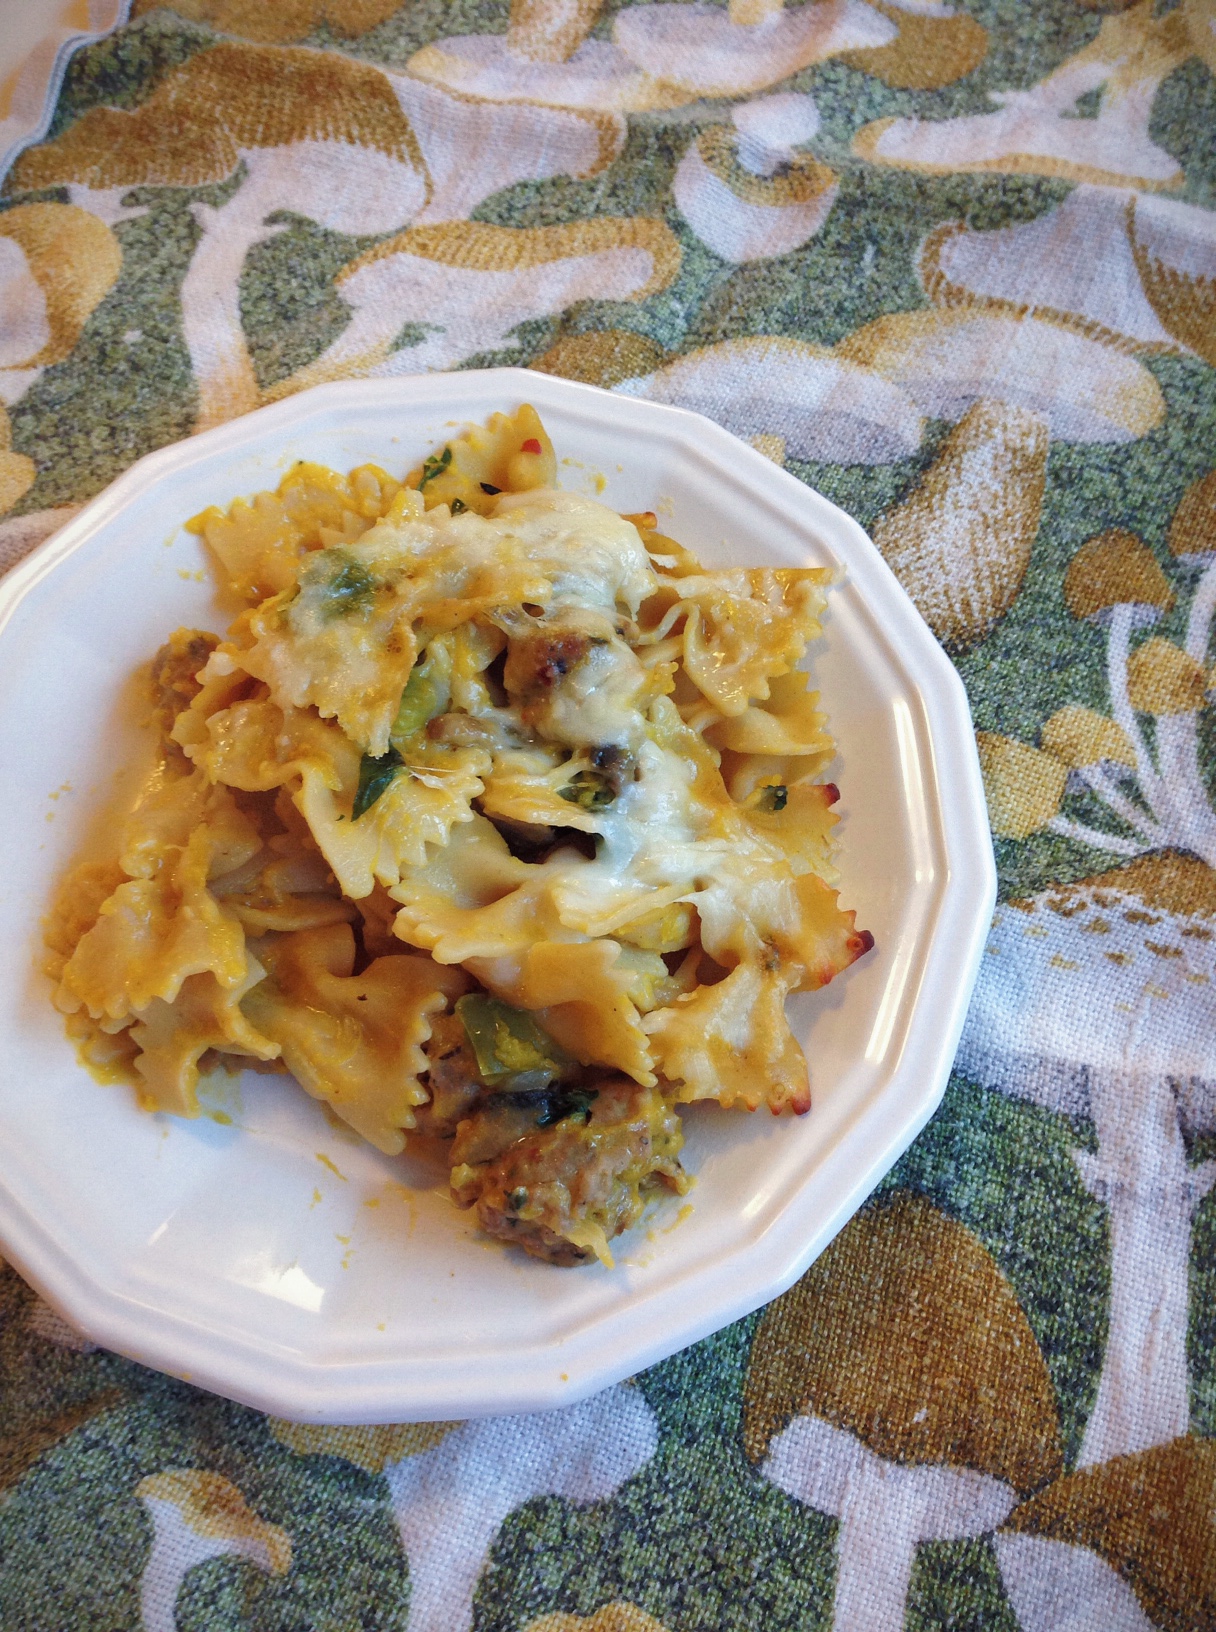
Pasta with Chard & Sausage in Pumpkin Cream Sauce
Serves 6-8
Ingredients:
4-5 hot Italian sausages, casings removed
14.5 oz.-box farfalle noodles
10 cremini mushrooms, sliced
1/2 onion, chopped
2 cups chopped Swiss chard
3 garlic cloves, minced
1/2 cup chicken stock
1/2 cup evaporated milk
1.5 cups pumpkin puree
3 Tbs. chopped Italian parsley
salt and pepper to taste
1 tsp. dried oregano
1/2 cup shredded mozzarella
1/2 cup freshly grated parmesan
Directions:
Preheat oven to 350 degrees. Boil noodles till just al dente, drain and set aside. Meanwhile, brown the sausage in a large saute pan, breaking it up as it cooks. Set sausage aside and in the same pan, add the mushrooms, onions, chard, salt and pepper and toss till coated with the sausage grease. Add a small amount of olive oil if needed. Cover and let steam for five minutes. Uncover, stir in the garlic and saute another minute.
Stir in the pumpkin, chicken stock and oregano. Bring to a simmer for a few minutes. Add the evaporated milk, sausage and parsley and bring back to a simmer. If it’s too thick, add more chicken stock.
Place pasta in a large casserole dish and pour sauce over noodles. Sprinkle in half the cheese and mix thoroughly. Top with remaining cheese (and more cheese if you’d like) and bake for 30 minutes or until cheese is bubbling.
Remove from oven and let sit 10 minutes before serving.
This is a wholesome dish the whole family will love!
This weekend I had the opportunity to attend End of Summer Camp, which proved to be a unique bonding experience for Anchorage grown-ups. I met bloggers, event planners, printmakers, food critics, photographers, storytellers and other local professionals all while enjoying nostalgic campy activities. The campers were fed by Fork Catering, and I took every available moment to enjoy their meals and chat with chefs Rob and Dave.
Chef Rob Kinneen taught a cooking workshop, which I eagerly signed up for. Turns out he was going to demonstrate homemade pasta-making. I’m familiar with making my own pasta, such as comb pastas,basil fettuccine and Russian pelmeni, but I was interested in learning techniques from a professional chef.
He led a hands-on lesson on tortelloni and ravioli nudi. The tortelloni, which were essentially large tortellini, were familiar to me, but the ravioli nudi were entirely new. The nudi are like ravioli without the noodle, literally naked ravioli. Instead you incorporate cheeses, flour, herbs and egg into a sticky, soft dough and create small dumplings, which are then boiled. They are sort of like gnocchi, but with cheese instead of potato.
Chef Rob Kinneen instructs campers on how to roll out ravioli nudi dough.
My only attempt at making gnocchi in the past was a complete slimy failure and Rob’s technique for making nudi could be easily translated to gnocchi. I had to try the recipe myself when I got home.
And I did.
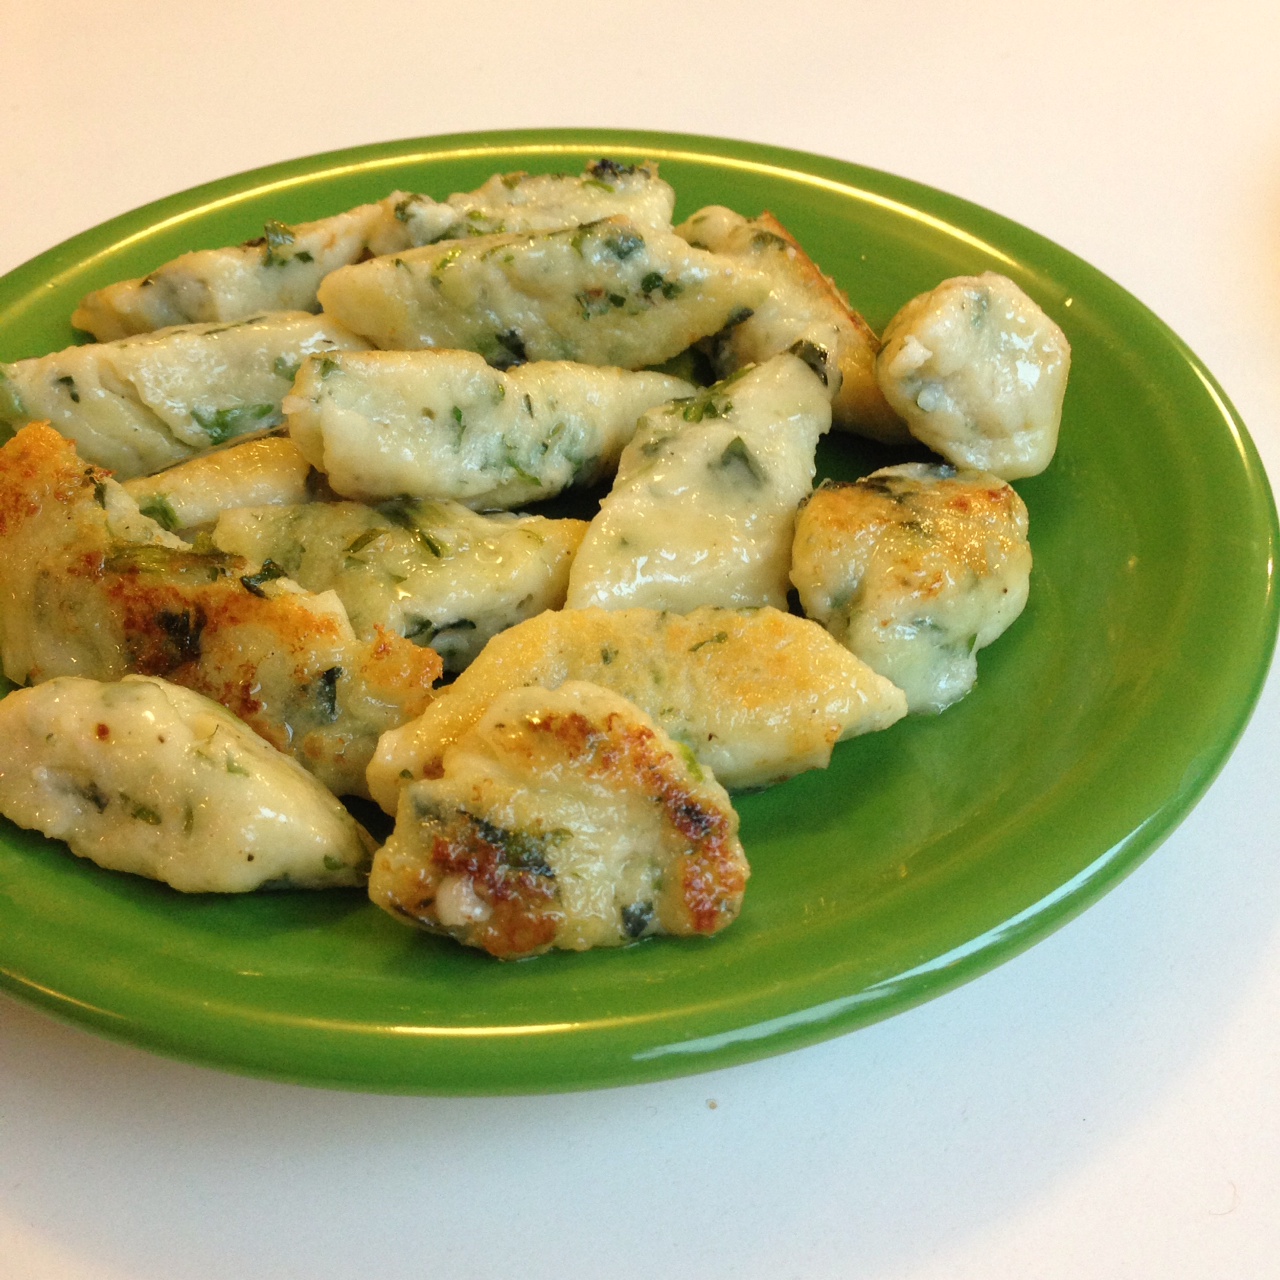
Ravioli Nudi with Spinach, Ricotta, and Parsley
Serves 3
Ingredients:
2 eggs
2 egg yolks
1 garlic clove, minced
1/4 tsp. red chili flakes
1/4 tsp. salt
1/8 tsp. ground nutmeg
1/4 tsp. ground black pepper
8 oz. part-skim ricotta cheese
1 cup freshly grated parmesan cheese
2 Tbs. chopped Italian parsley
2 Tbs. chopped frozen spinach, thawed and well drained
1/4 cup all-purpose flour plus about 1/2 cup for coating dough
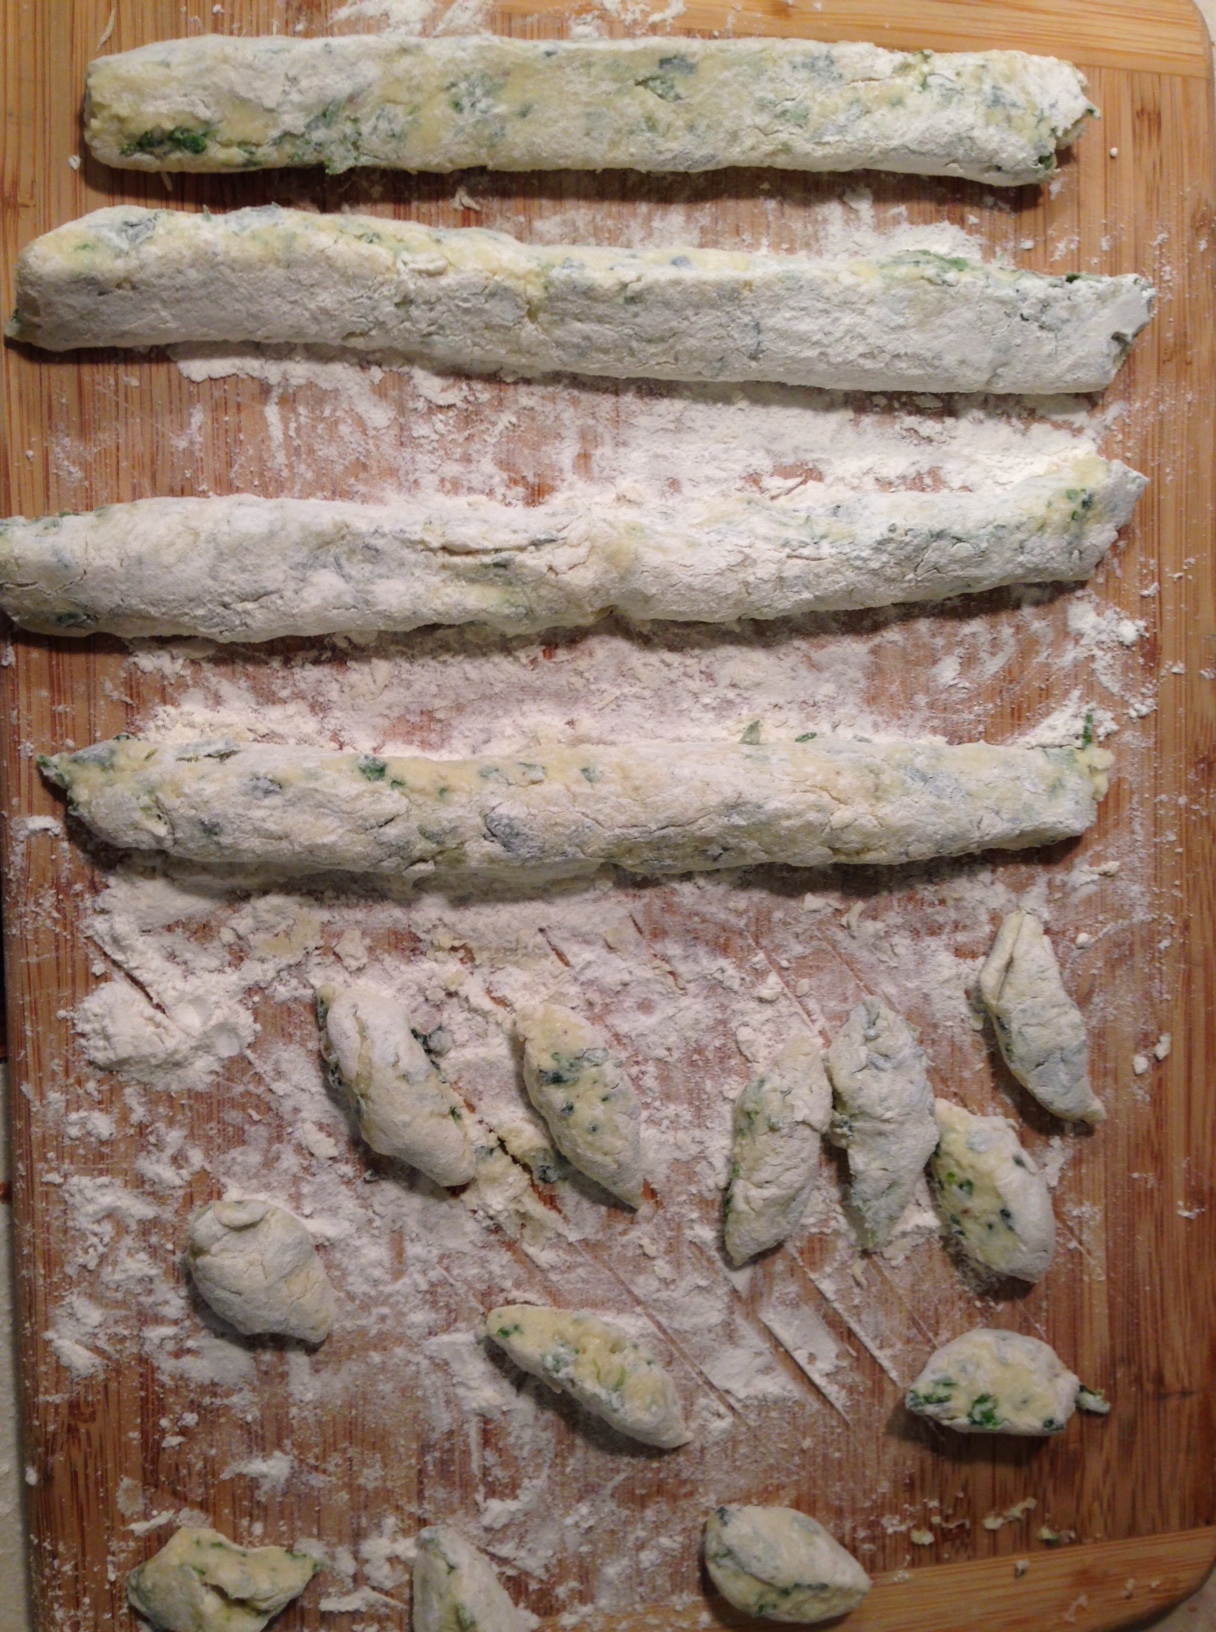
Bring a large pot of salted water to a boil. Fill a large bowl with ice and cold water and set beside the pot. Meanwhile beat together the eggs, yolks, garlic, chili flakes, nutmeg, salt and pepper in a medium bowl. Incorporate the ricotta till smooth. Add the parmesan, parsley and spinach. Slowly add the 1/4 cup flour till a super sticky dough forms. It should be the consistency of thick, lumpy pancake batter. Heavily flour a large cutting board. Gently turn the dough onto the board and work in enough extra flour for it to be very soft and sticky inside, but coated on all sides in flour. Form the dough into a 1.5-inch tall rectangle.
Cut the dough into 1.5-inch strips and gently roll each strip around, dusting with flour, till coated evenly on all sides. Cut each strip on a diagonal into 1-inch pieces so you have small, oblong dumplings. Gently roll each dumpling around in your floured hand till they are each coated and no sticky dough is exposed.
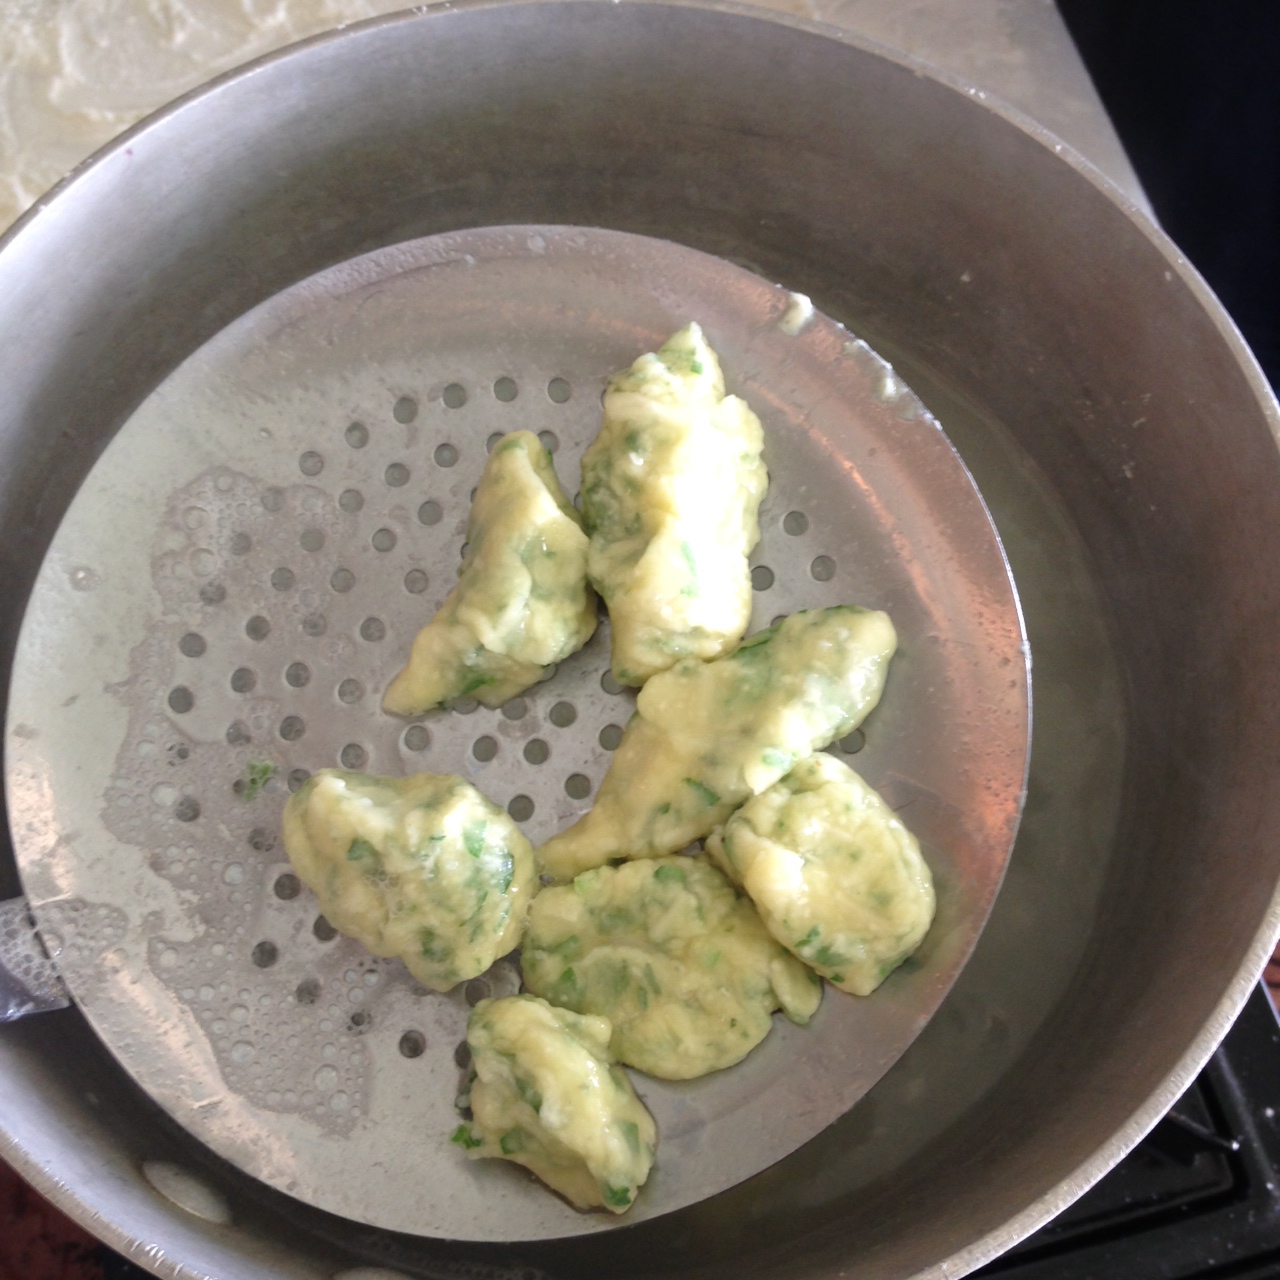
When the water is at a rolling boil, gently add the ravioli in batches so the water doesn’t cool down too much. Boil for just a few minutes, until the ravioli float to the surface. With a slotted spoon, strain out the ravioli and add to the ice water bath. Repeat with remaining ravioli.
Now that you have made your ravioli nudi, there are lots of ways to serve them. Use them in any ravioli recipe, or fry them up with butter till lightly browned and crusty.
Thanks again, Chef Rob, for your excellent instruction. I’m happy to add this technique to my repertoire.
Growing up we had a lot of spaghetti dinners. It was common knowledge that my dad made a wicked marinara sauce, so much so that he was head chef at several of my school’s spaghetti dinner fundraisers.
We inevitably ended up eating a lot of leftover spaghetti, and I have to be honest, it wasn’t ever as good as the fresh stuff.
But sometimes my dad would whip together spaghetti pie. He would take the leftover pasta, stick it in a skillet with some eggs and cheese and bake it till it was crusty and delicious.
I don’t know his recipe, but I decided to try it out myself and it was an instant success — well, a 30-minute success.
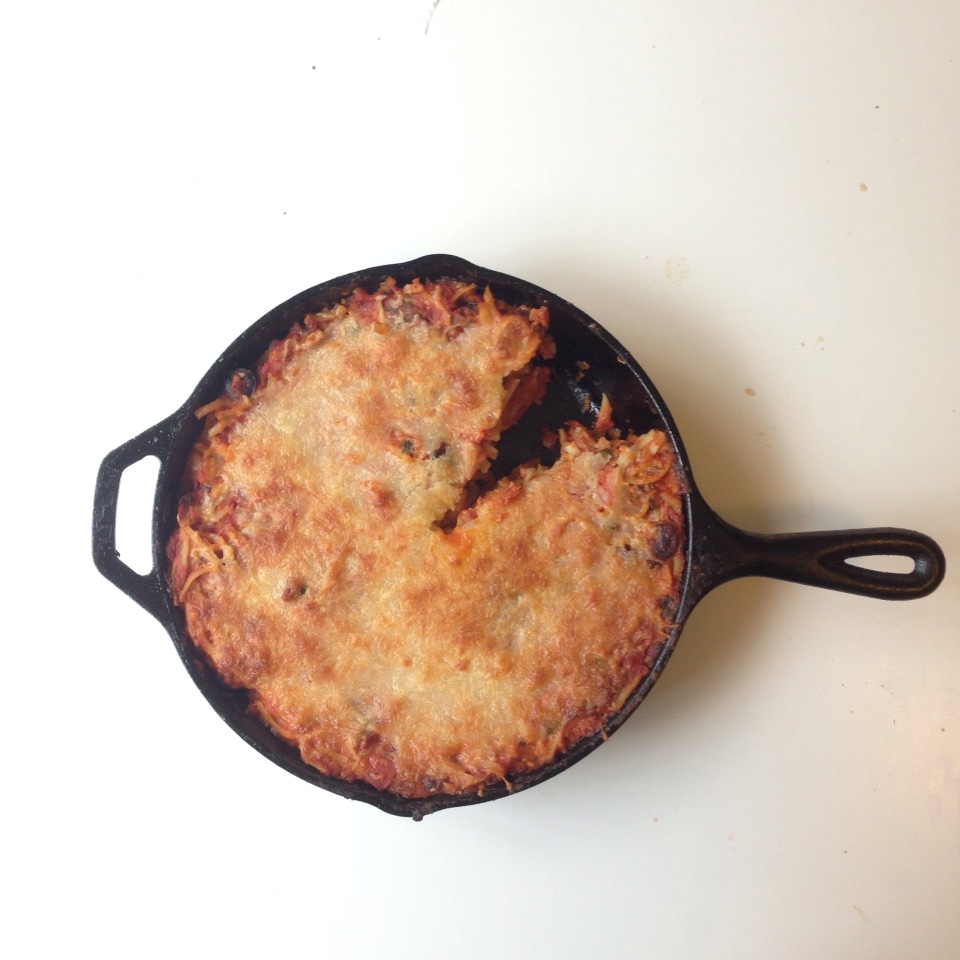
This is comfort food at its best and is perfect for a quick weeknight meal. Plus, it’s easy cleanup since you only use one skillet.
Leftover Spaghetti Pie
Serves 6
Ingredients:
1/2 pound leftover pasta
3 italian sausages, cooked
One jar of marinara sauce
1 cup shredded Italian blend cheese
1/4 cup cream
Directions:
Preheat the oven to 400 degrees. Slice the cooked sausages into bite-sized pieces. Heat an oven-proof skillet over medium-high and brown the sausages on both sides. Meanwhile, roughly chop the leftover spaghetti into 2-inch pieces. Toss the pasta into the skillet with the marinara sauce. Turn heat to medium-low and heat thoroughly, stirring occasionally, about 7 minutes. Stir in 1/3 cup of the cheese and the cream. Top with a hefty layer of cheese and bake for 30 minutes, or until cheese is browned and bubbly. Let rest 10 minutes before serving.
Last year we picked hundreds of pounds of boletes — wild porcini mushrooms. We dried them and have since not consumed many of them; so before we hit mushroom season this summer we decided we better start using these earthy, flavorful morsels.
Wild mushrooms pair well with risotto. I had a half box of Barilla Orzo pasta, which look like grains of rice. I thought the orzo would taste super with portobello and porcini with a hint of lemon and garlic.
Costco sells a four pack of portobello caps for just a few dollars. I lightly marinated them in oil and vinegar then grilled them over high heat and topped them with roasted bell peppers and chèvre. The fresh arugula salad was the perfect accompaniment to the meal with a simple lemon vinaigrette.
This is a quick meal that’s hearty and vegetarian too.
Wild Porcini Orzo with Grilled Portobello Caps and Baby Arugula Salad
Serves 3
Ingredients:
4 portobello caps
1 oz. dried porcini mushrooms
4 Tbs. butter
Olive oil
2 Tbs. apple cider vinegar
1 Tbs. balsamic vinegar
1 cup dry orzo pasta
2 cloves garlic
zest and juice of one lemon
1/4 cup Pecorino Romano cheese
1/4 cup crumbled chèvre
3 mini bell peppers
salt and pepper
Directions:
Bring a cup of water to boil. Pour over the dried mushrooms and cover. Set aside for 15 minutes. Remove the stems from portobello caps and set aside. Remove the gills with a spoon. Lightly score the tops of three of the caps with a paring knife. Reserve one cap for the orzo. Combine 1/3 cup olive oil, the vinegars, one minced clove of garlic salt and pepper to a one-gallon ziploc bag. Carefully add the caps, seal and gently toss to coat the caps. Let sit 30 minutes to an hour.
Chop the stems and one portobello cap. Remove the porcini mushrooms and reserve the liquid. Chop the porcini. Set aside.
Bring a pot of water to boil and cook the orzo for 7 minutes. Drain and set aside. Lightly toss with olive oil so they don’t stick together. Meanwhile, heat the butter and one tablespoon olive oil in a large sauté pan. Add the chopped mushrooms and cook for about 5 minutes until some of the liquid has evaporated from them. Add the lemon zest and one minced clove of garlic. Cook for another couple of minutes, till garlic is fragrant. Add the orzo, 1/4 cup of reserved mushroom liquid and the juice of 1/2 lemon. Toss thoroughly and season with salt and pepper.
Set all burners on your gas grill to high and heat for 15 minutes. Chop the tops off the bell peppers and remove the seeds. Skewer them on a metal skewer. Turn grill burners to med-high and set the peppers and the mushroom caps, top side down, on the grill. Cover and grill for about 4 minutes. Flip and grill another 4 minutes. Remove everything from grill and slice the peppers. Serve the caps with sliced peppers and crumbled chèvre alongside the orzo, sprinkled with grated Pecorino Romano cheese.
For the salad: Top baby arugula with sliced cherry tomatoes, blueberries and crumbed chèvre. Squeeze fresh lemon on top and drizzle on extra virgin olive oil. Season with salt and pepper.
I never thought I’d be a label reader. But then I had a child and started feeding him. I quickly realized there’s a lot of extra stuff in store-bought food. I could be making a lot of that food myself and it would probably be cheaper.
Then again I am pretty lazy. I’ll make homemade marinara every once in a while, but when I’m in a pinch, I just go buy the jarred stuff. If I want the good jarred stuff it usually costs about $4.
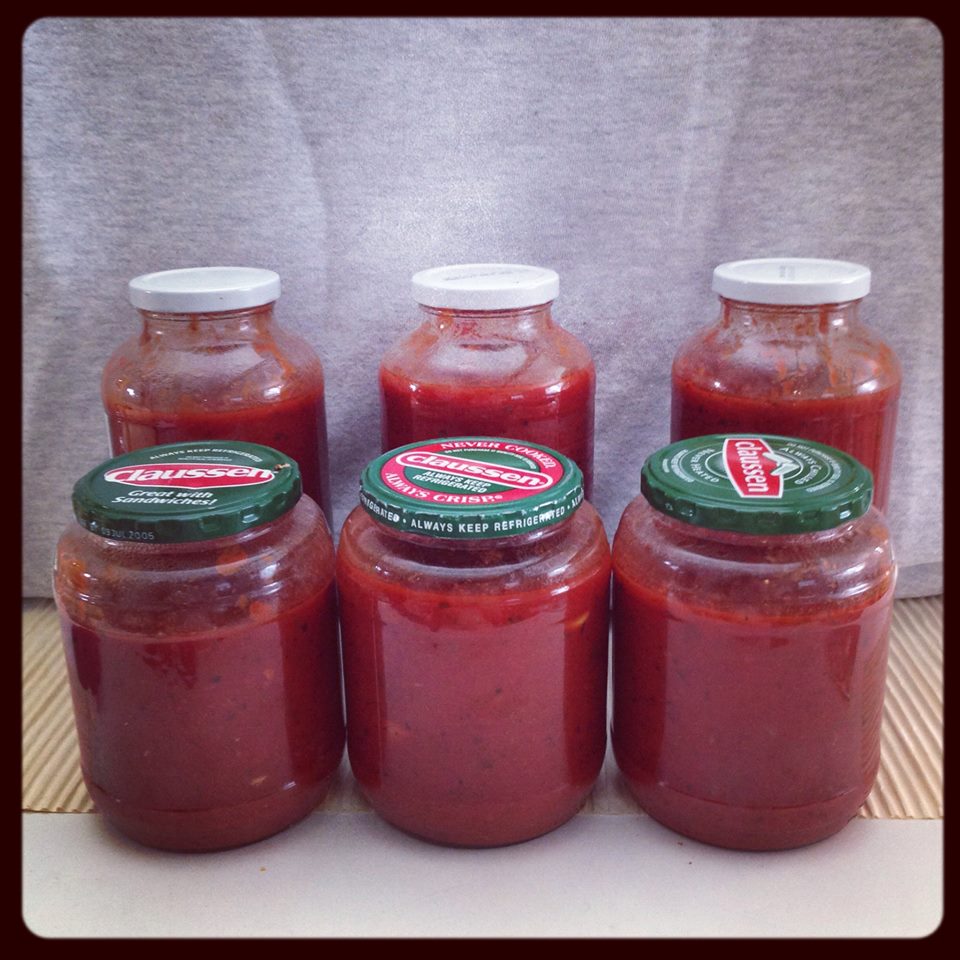
Here is where I take a lesson from good ol’ dad. My entire life he has cooked sauce in bulk and freezes jars of it for later. I’ve been saving quite a few pickle and sauce jars so why not give it a try?
It was easy and in the end cost less than half as much as store bought; and it’s probably twice as good.
Here’s what you’ll need:
2 GIANT 106-oz. cans of crushed tomatoes – $2.99 apiece at Costco
25 cloves of garlic, smashed
about 1/3 cup good olive oil
1/4 cup dried basil
2 Tbs. dried oregano
2 Tbs. sugar
8 dried red chilis
salt and pepper to taste
6-7 large 40-oz. jars with lids
Directions:
Heat the olive oil in an extra large stock pot over medium-high. When oil is heated, toss in the garlic and turn heat to medium. Stir frequently and sauté till garlic is golden, about five minutes. Add all the other ingredients and turn heat to high. Cover and bring to a simmer. Turn heat to med-low and simmer for about two hours, stirring every once in a while so sauce doesn’t burn.
Let cool and spoon into jars. Do not fill right to the top because the sauce will expand in the freezer and then you’d have a sauce bomb to clean up later. If sauce is still hot enough, the jars might self seal as once they cool on the counter. Freeze up to six months.
To thaw: Defrost in microwave according to your microwave settings or leave out on the counter during the day. Once it’s slightly thawed and can be loosened into a sauce pot, thaw the rest of the way over medium-low flame.