Tag Archives: hat

Simple Fox Hat — Free Pattern

In case you haven’t noticed, foxes are really in right now. This season I’ve already crocheted a nifty fox basket and sewn several felt fox ornaments. I really wanted to make a fox hat for a friend’s baby, but I’m pretty terrible at fair isle and halfway through my first attempt, I scratched the whole thing. The snout was all scrunched and I didn’t like the look of it.

I decided on something much simpler — my regular old hat pattern with some ears sewn on top. I winged the ears, but I really like how they turned out. For this project I used some Montera Classic Elite llama/wool chunky yarn I’d been coveting for some time. This hat is fuzzy, warm and downright delightful.

Simple Fox Hat -- Free Pattern | Alaska Knit Nat

If you’re wanting to knit this pattern with a different needle size and different weight yarn, I am unable to adjust the pattern for you. This pattern is written for a specific needle size and yarn weight.

Here’s what you need:

1 skein of orange chunky yarn (I used Bolsita Orange from Montera Classic Elite)

size 9, 16-inch circular needle

one set of size 9 double pointed needles

darning needle

Size: This pattern fits a 12-18-month baby. For a larger hat (2T-3T), cast on 72 stitches and follow the same pattern. For a smaller hat, knit this same pattern on size 8 needles.

Gauge: I do not gauge my work, but according to Montera yarn’s website, it should be 3.5-4 sts/inch on size 9 needles.

Abbreviations:

k2tog= knit two stitches together

For the main body of the hat, cast on 64 stitches on the circular needle and knit last stitch to first stitch without twisting the stitches. Knit 1, purl 1 ribbing for five rounds. Knit in stockinette stitch for 22 more rounds, or until piece measures about 5.5 inches.

Decrease as follows:

Place a marker at beginning of round.

K2tog, K6, repeat till end of round

Knit one round

K2tog, K5, repeat till end of round

K one round

K2tog, K4, repeat till end

K one round while transferring to double pointed needles. Or knit the round and transfer stitches — whatever’s easier for you.

K2tog, K3, repeat till end

Knit one round

K2tog, K2, repeat till end

Knit one round

K2tog, K1, repeat till end

K2tog, repeat till end.

Cut yarn leaving a long tail. Run the yarn through the remaining stitches with a darning needle and draw up the hole tight. Weave in ends.
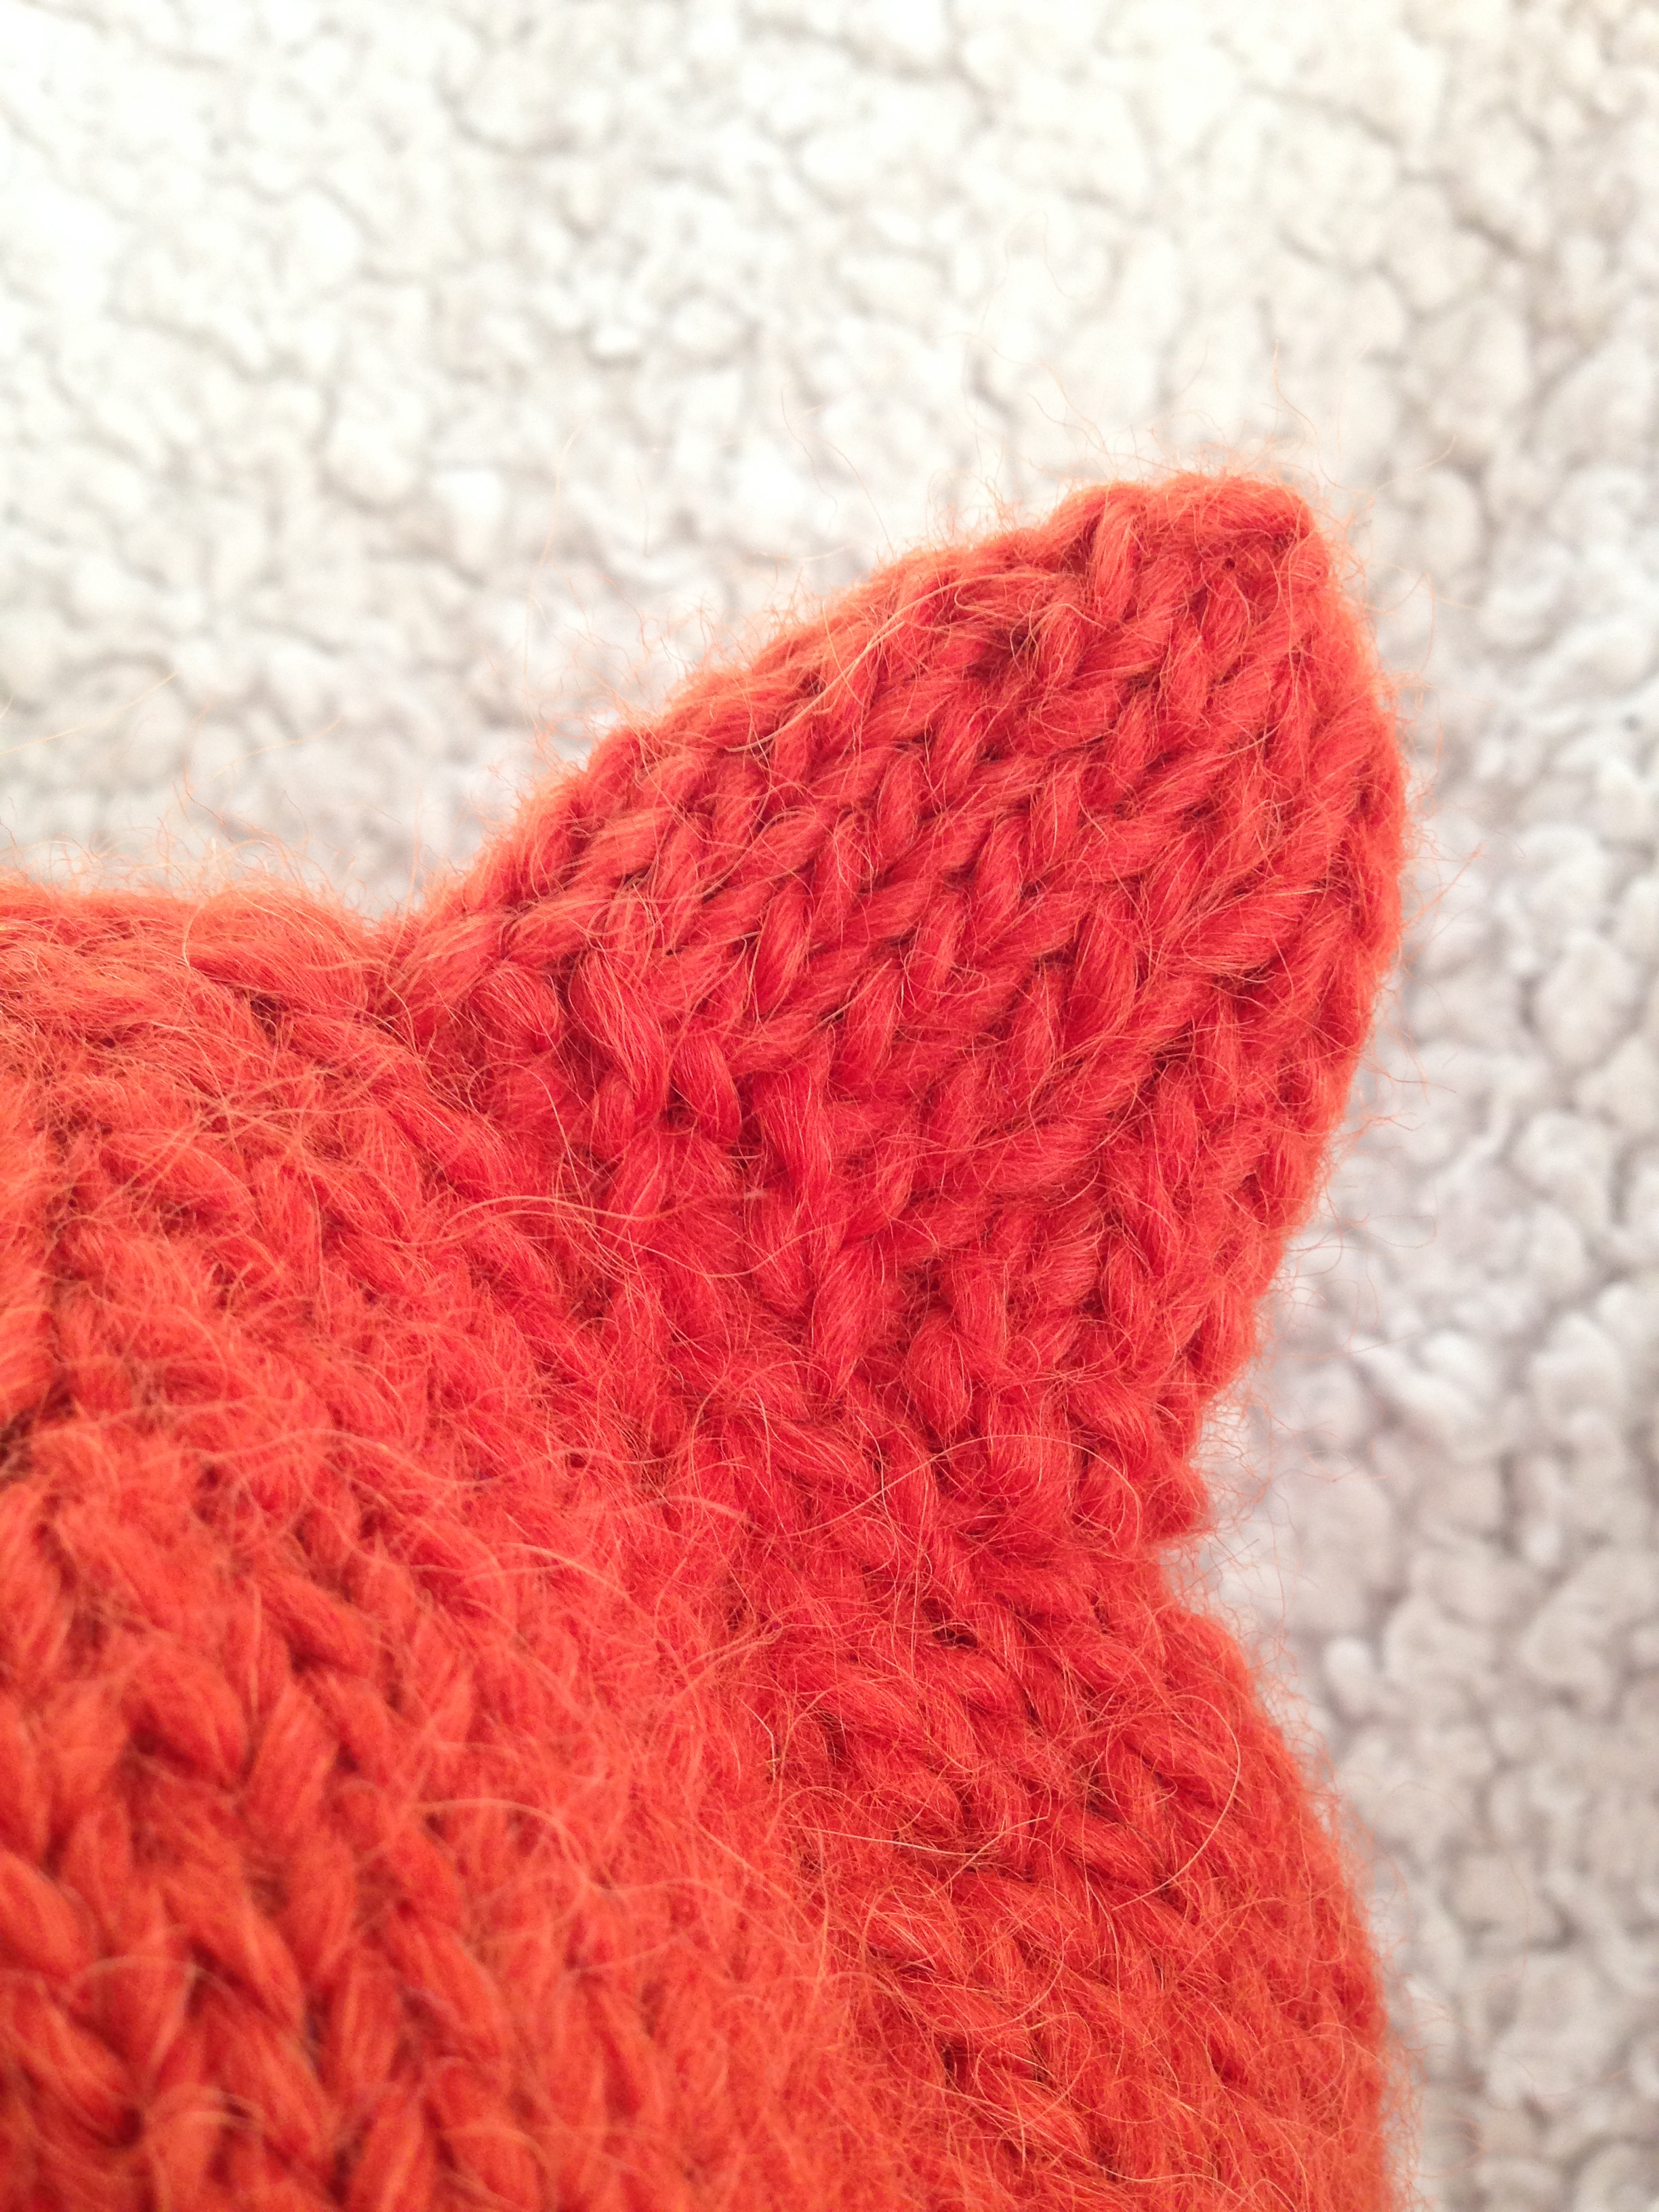
Ear (make 2):

Simple Fox Hat -- Free Pattern | Alaska Knit Nat

With three double pointed needles, cast on 16 stitches (5, 5, 6), leaving a 12-inch tail. Connect last stitch to first stitch and begin knitting in the round. Knit 3 rounds.

K2tog, k3, K2tog, k3, K2tog, k4

Knit 2 rounds

K2tog, k2, k2tog, k2, k2tog k3

Knit 1 round

K2tog, k1, k2tog, k1, k2tog, k2

Cut yarn leaving a 6-inch tail. Run yarn through the remaining stitches and draw up tight. Weave in the end on the inside of the ear.

With your darning needle and the long cast-on tail, sew the bottom of the ear closed.

Simple Fox Hat -- Free Pattern | Alaska Knit Nat

As for sewing on the ears, I folded my hat in half and determined the best placement of the ears. I sewed each ear on with the remaining length of cast-on yarn. I didn’t use any special technique for sewing, so I recommend whatever you feel most comfortable with. I actually didn’t have enough cast-on yarn so I did some touch ups with extra yarn.

Simple Fox Hat -- Free Pattern | Alaska Knit Nat

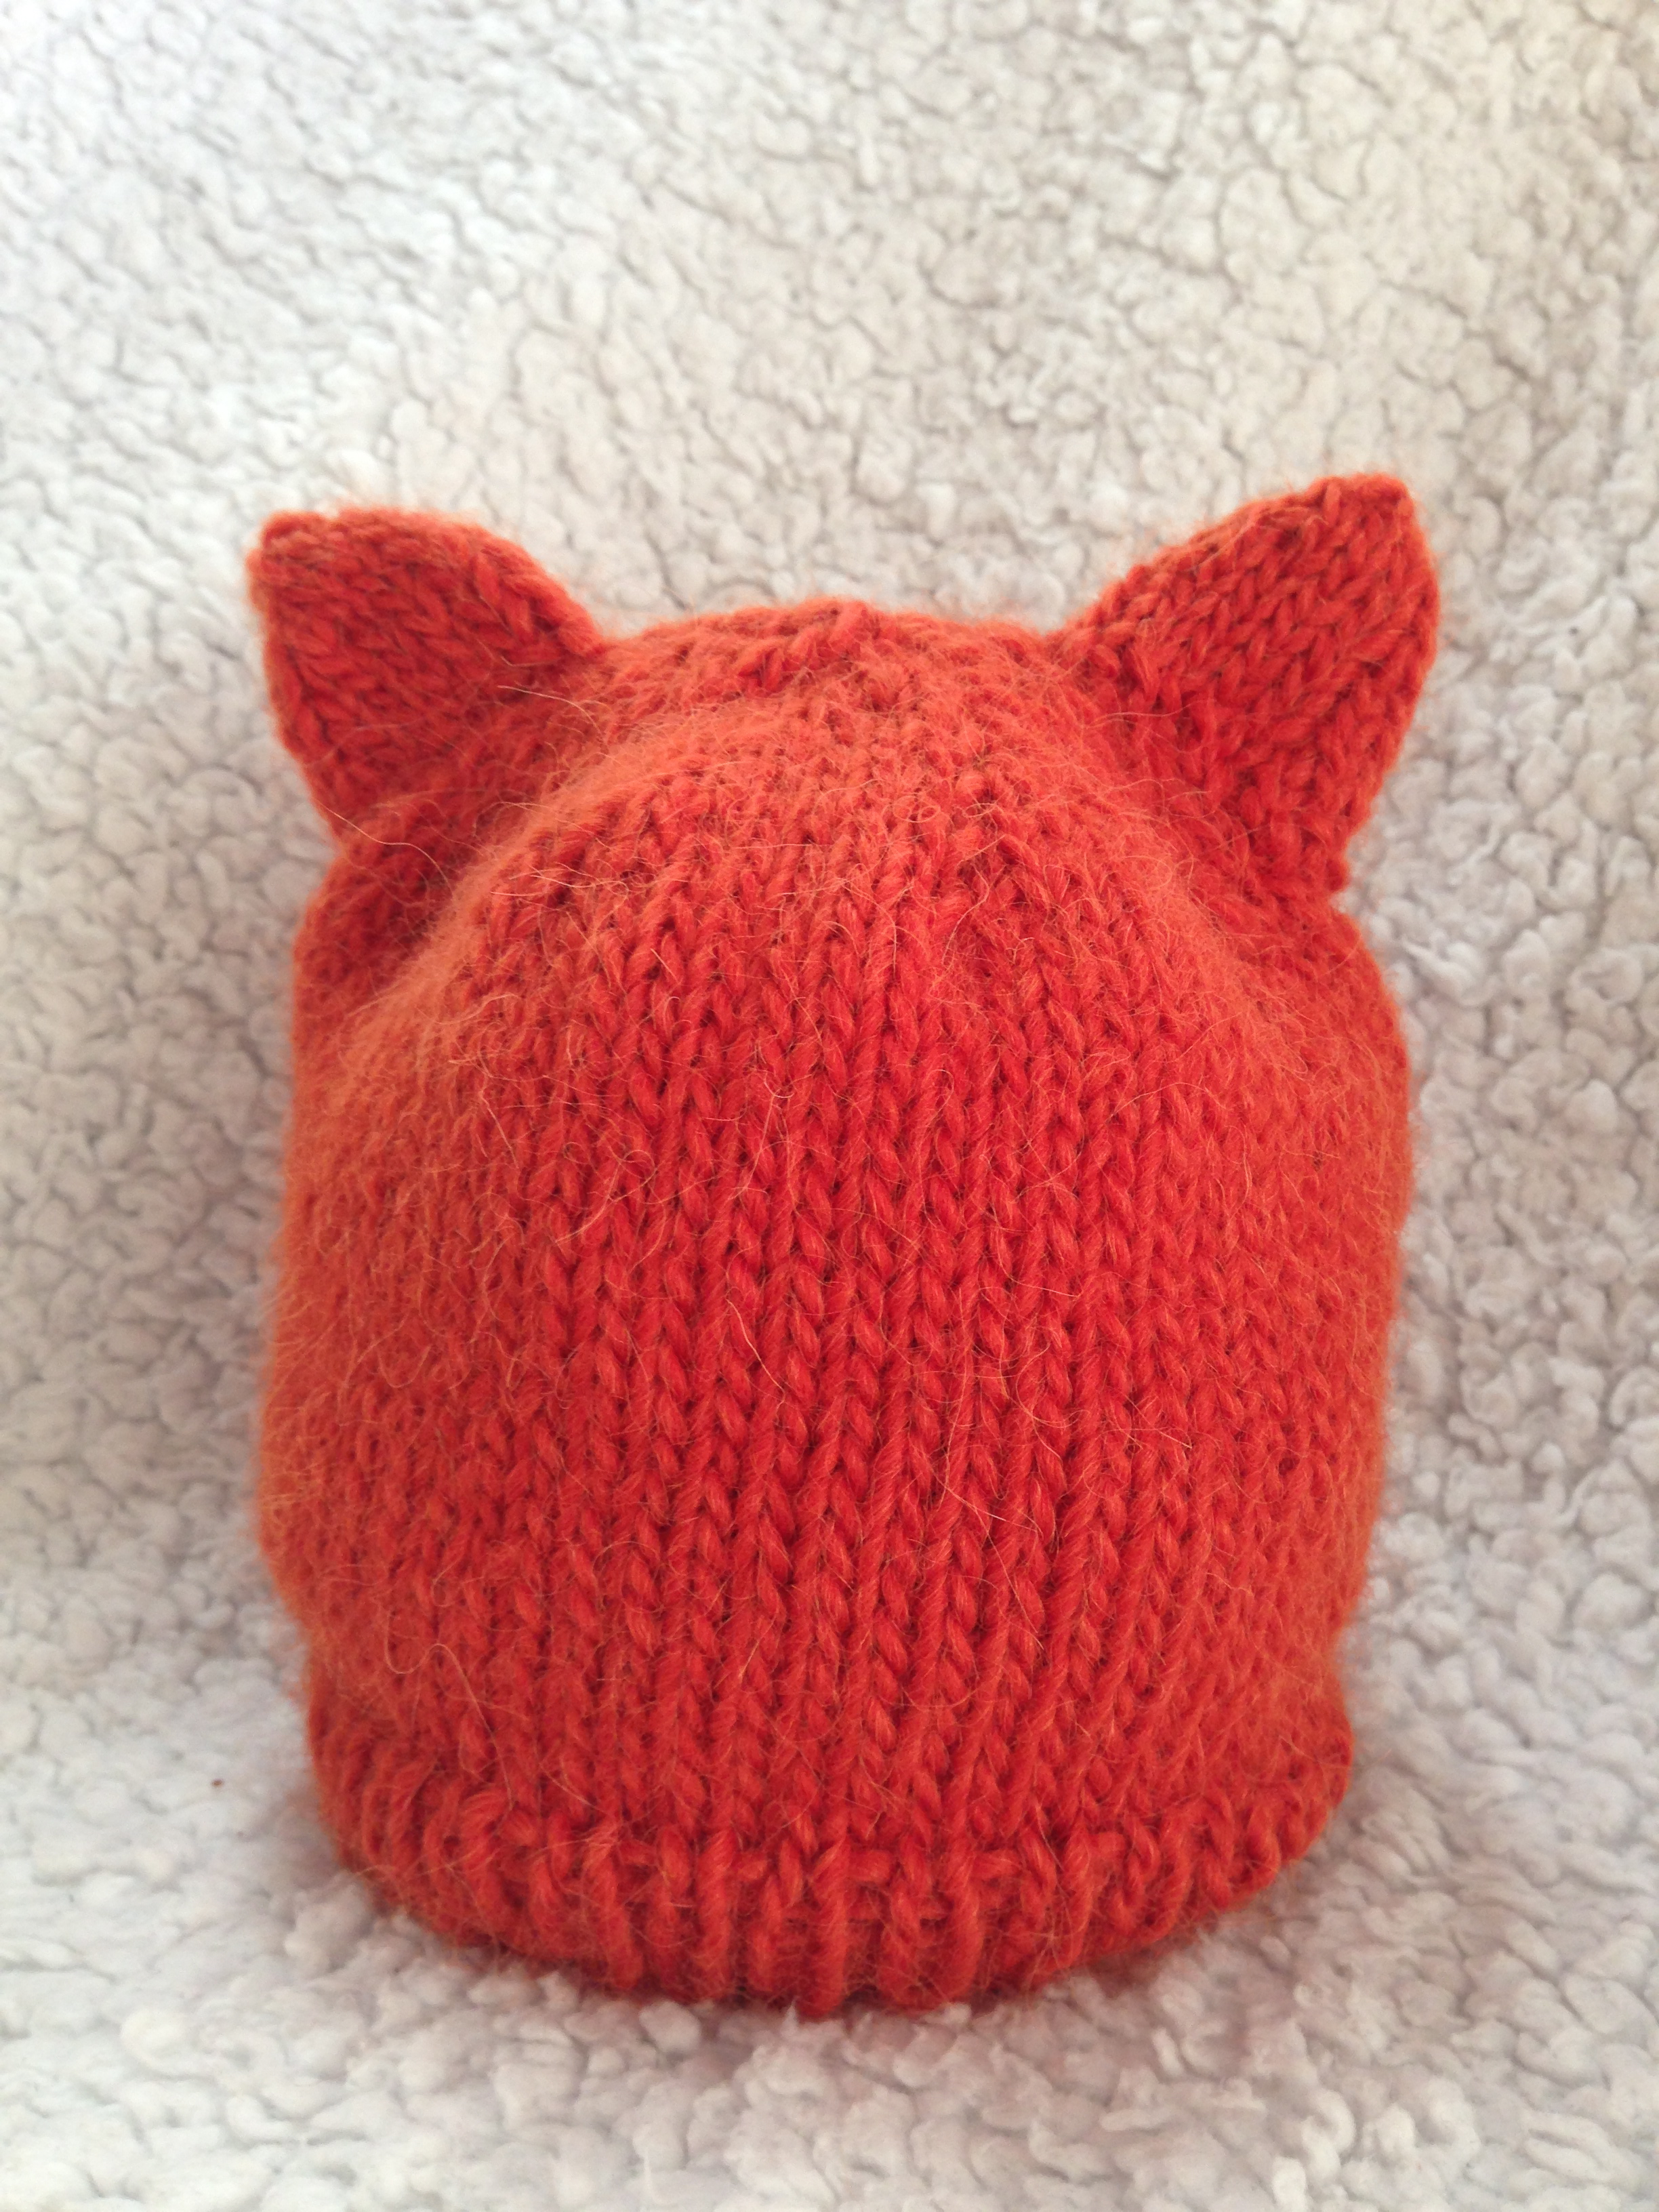
Now it’s up to you whether to stitch a little nose and eyes on the front of the hat. I decided not to as I figured the child’s face would be the fox’s face. Either way would be cute!

Simple Fox Hat -- Free Pattern | Alaska Knit Nat

Baby Candy Cane Stocking Cap — Free Pattern

My photographer friend commissioned me to make a cute stocking cap for her holiday baby photo shoots.

I’ve never made anything so tall and pointy, but I think the effect is perfect. Could a baby look more like an adorable naked Christmas elf?

Photo by Laura Stennett Photography

This pattern is for a 3-6 month head. It’s also a great introduction to knitting stripes.

Ho ho hope you enjoy it!

If you’re wanting to knit this pattern with a different needle size and different weight yarn, I am unable to adjust the pattern for you. This pattern is written for a specific needle size and yarn weight.

Baby Candy Cane Stocking Cap

Materials:

One skein of red worsted weight yarn

One skein of cream worsted weight yarn (I used Red Heart soft)

Size 9 circular needles

Set of 9 double-point needles

darning needle

pom pom maker or large fork

Abbreviation: K2tog = knit two stitches together

Directions:

With the red yarn cast on 64 stitches on your circular needle. Join with first stitch being careful not to twist the stitches. Begin ribbing in k1, p1 for six rounds.

Switch to white yarn and knit 2 rounds. There is no need to cut the red yarn as the rows are so narrow you can easily bring up the other yarn when you need it.

Continue knitting in stockinette stitch for 25 more rounds changing colors every 2 rounds. Transfer stitches to double pointed needles and begin decreasing as follows (while continuing to switch colors every 2 rounds):

*K2tog, k6, repeat * till end of round

knit 3 rounds

*K2tog, k5, repeat * till end of round

knit 4 rounds

*K2tog, k4, repeat * till end of round

knit 6 rounds

*K2tog, k3, repeat * till end of round

knit 15 rounds

*K2tog, k2, repeat * till end of round

knit 16 rounds

*K2tog, k1, repeat * till end of round

knit 5 rounds

*K2tog, repeat * till end of round

k 4 rounds. Cut yarn leaving a 12-inch tail. Using a darning needle, draw up remaining stitches and weave in all ends.

Make your pom pom and sew it to the top.

Happy Holidays from Alaska Knit Nat!

Simple Striped Winter Hat Pattern

Last night an anonymous viewer commented on an old blog post for a winter hat I made a couple of years ago. I didn’t provide a pattern, but now I will. This is my basic pattern for every winter hat I make without earflaps. (For my earflap hat pattern, click here).

I don’t decide on stripes til I get there on the hat, but my general rule for stripes is to start the first one after I’ve knit the same number of rounds that the ribbing is. So, if the ribbing is six rows, I knit six rows regularly and then start the color change.

Normally I make my hats about 32 rows tall including the ribbing before decreasing, so I try to leave the same number of rows as I did the ribbing after the stripes are over. This creates better balance with the hat. So as an example, my ribbing is six rows, then I knit six rows regularly, then do my stripe pattern for about 14 rows, then knit my original color for six rows, then decrease.

Also, this pattern is for a medium adult hat. To make it larger, add eight stitches. To make it smaller, subtract eight stitches and follow the pattern the same way. If you want it to be a baby hat, use lighter weight yarn and smaller needles. I will use the same pattern for a baby but use worsted yarn and size 7 needles, for instance. For instructions on how to change colors while knitting, just do a YouTube search because I’m sure there are good lessons out there.

Ok, ok here’s the pattern.

Simple Striped Winter Hat

If you’re wanting to knit this pattern with a different needle size and different weight yarn, I am unable to adjust the pattern for you. This pattern is written for a specific needle size and yarn weight.

Materials:

Chunky weight yarn

Size 10 circular and double point needles

darning needle

Abbreviations:

K2,P2 = knit 2, purl 2 ribbing

k2tog = knit two stitches together

Directions:

With your circular needle, cast on 72 stitches with your main color. Knit into the first stitch, being careful the stitches aren’t twisted.  K2, P2 for six rows. Knit six rounds regularly. Add in second color. Alternate your stripe pattern for 14 rows. Switch back to your original color and knit six rows. Your work should be about 6 inches tall before continuing (for an adult size).

Decrease as follows:

Round 1: Knit two together, knit 6. Repeat for one round.
Round 2 (and all even rounds): Knit
Round 3: K 2 tog, K 5 for one round
Round 5: K 2 tog, K 4 for one round (this is where you should probably switch to the double points).
Round 7: K 2 tog, K 3
Round 9: K 2 tog, K 2
Round 11: K 2 tog, K 1
Round 12: K 2 tog
Gather remaining stitches with a darning needle and fasten off. Weave in all tails.

Pom-pom: I use a pom-pom maker I purchased from a fabric store, but I found a neat idea on Pinterest, here.