My friend Laura had her son five weeks early. A few days after he was born she asked me if I would make him a Steelers hat (even though I know she’s a Colts fan, but I guess he’s daddy’s boy in the sports department).
I made the little guy the littlest hat. I couldn’t imagine this hat fitting a person, but it looks like it fits him just fine and with lots of room to grow.

I made the hat using the magic loop method because it was so small that I would have had to use double points from the get-go. A normal circular needle would have been too long. Magic loop uses an extra long circular needle and you work half the stitches at a time while the other half rests on the bendy part of the circular. This sounds confusing, but once you get the hang of it it can be much faster than using double points. Just remember, every knitting technique I know I’ve had to learn backwards since I’m left handed, so if I can do it, you can do it!
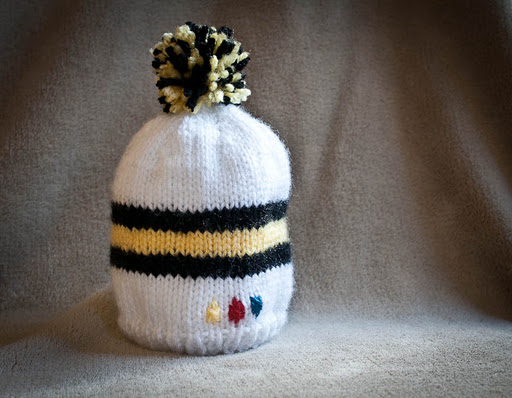
Preemie Steelers Hat
Materials:
Worsted baby yarn in yellow, black and white
At least a 32-inch long size 8 circular needle or one set of size 8 double points
Tapestry needle
Directions:
Cast on 56 stitches of the white yarn either using the magic loop method or divided onto three double pointed needles.
Join your work, making sure the yarn isn’t twisted. Place a marker if needed.
k1, p1 rib for five rounds.
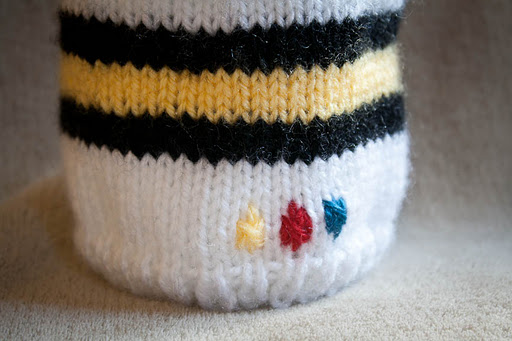
Knit eight rounds in stockinette stitch. Switch to black. Knit three rounds. Switch to yellow. Knit four rounds. Switch to black and knit three rounds. Switch back to white and knit eight rounds.
Decrease as follows:
At stitch marker, *k2tog, k6* Repeat * till end of round
K one round
*K2tog, k5*, repeat * till end of round
K one round
*K2tog, k4*, repeat * till end of round
K one round
*K2tog, k 3*, repeat * till end of round
K one round
*K2tog, k 2*, repeat * till end of round
K one round
*K2tog, k1*, repeat * till end of round
*K2tog*, repeat * till end of round.
Cut yarn leaving an 8-inch tail. Using a darning needle, weave in all ends.
For pom-pom:
Using something small, like a matchbook, wrap yarn around and around a ton of times. Remove the matchbook and tie a 12-inch piece of yarn around the middle of the yarn loops. Cut the loops. Trim pom pom to preferred size.