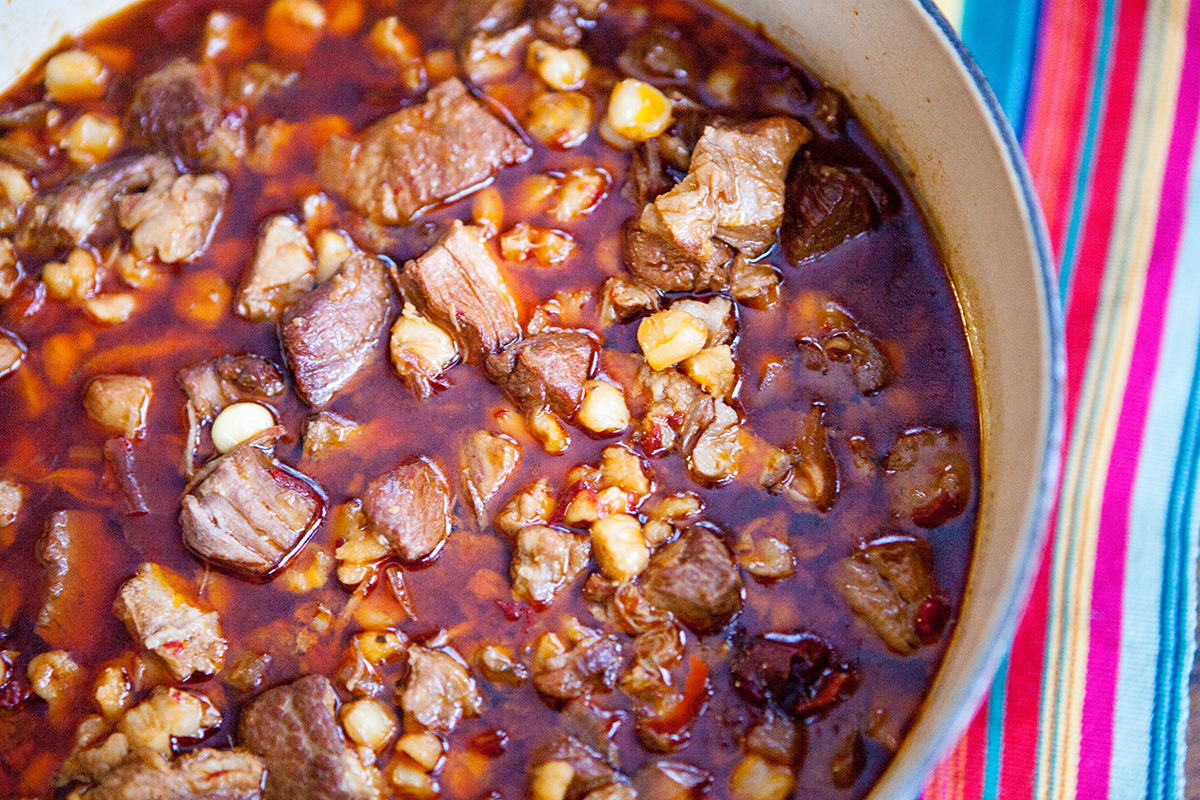
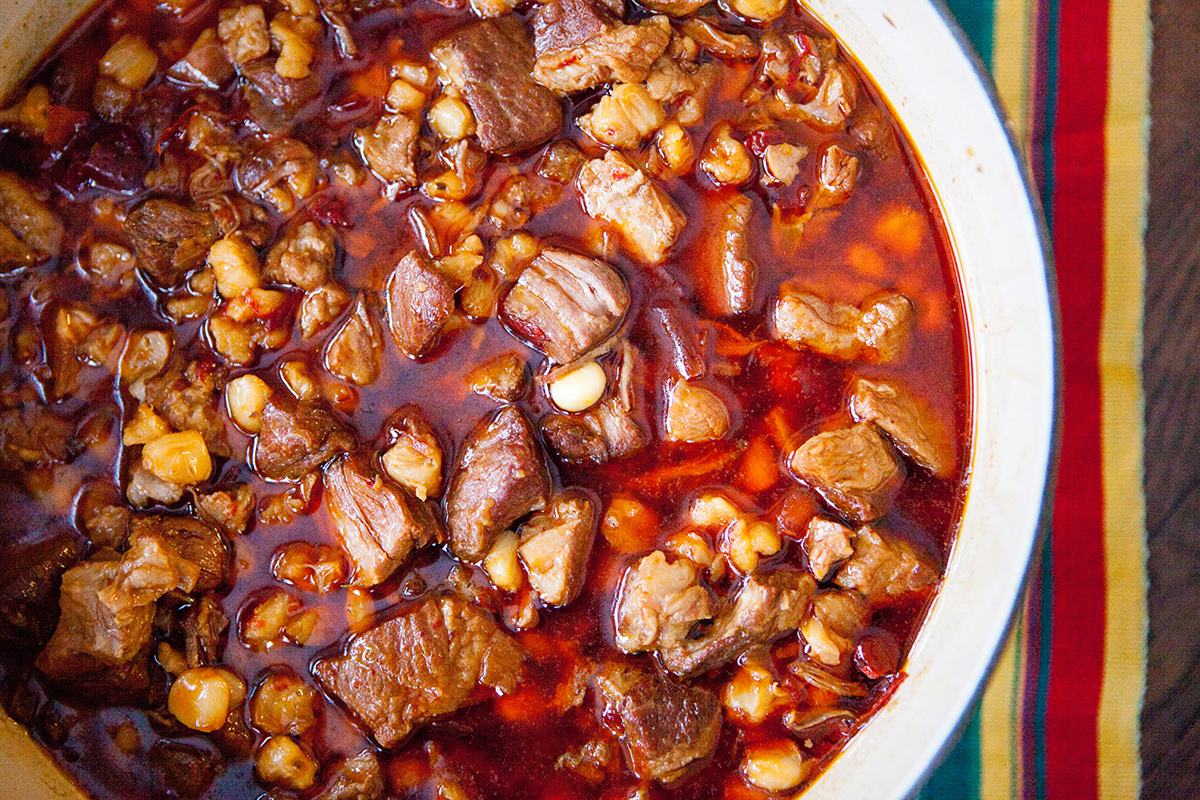
My mother spent several of her young adult years living in New Mexico and that’s where she first learned to cook. My favorite of her dishes was always posole, a pork stew with hominy, cooked all day until the pork is falling apart tender and the hominy is soft and chewy having absorbed the flavors of the soup. The house always smelled amazing when she cooked this dish and I could hardly wait to dip her homemade flour tortillas in the red, flavorful broth.
Many posole recipes call for canned hominy, but that just won’t do for my mom. She always uses dried hominy, which she soaked the night before. There’s something better about dried hominy than canned – it’s a texture thing I guess. For years I couldn’t find dried hominy locally, but recently I discovered my local natural foods store carries Rancho Gordo brand. It’s teriffic!
My mom doesn’t use a recipe but I never remember how she makes it. She just gifted me some dried hominy and New Mexico chiles for Christmas so I thought I would finally get down a recipe on my blog so I can stop hounding her every time I want to make it. I should note that this is a super flexible recipe. You could use 1 cup of tomatoes instead of 2 tablespoons and it would come out tasting pretty much the same, so don’t worry about exact measurements. 2025 update: it’s now been a few years that I’ve been making this recipe on my own and I have learned a couple of different techniques along the way, so look for the notes at the bottom of this recipe.
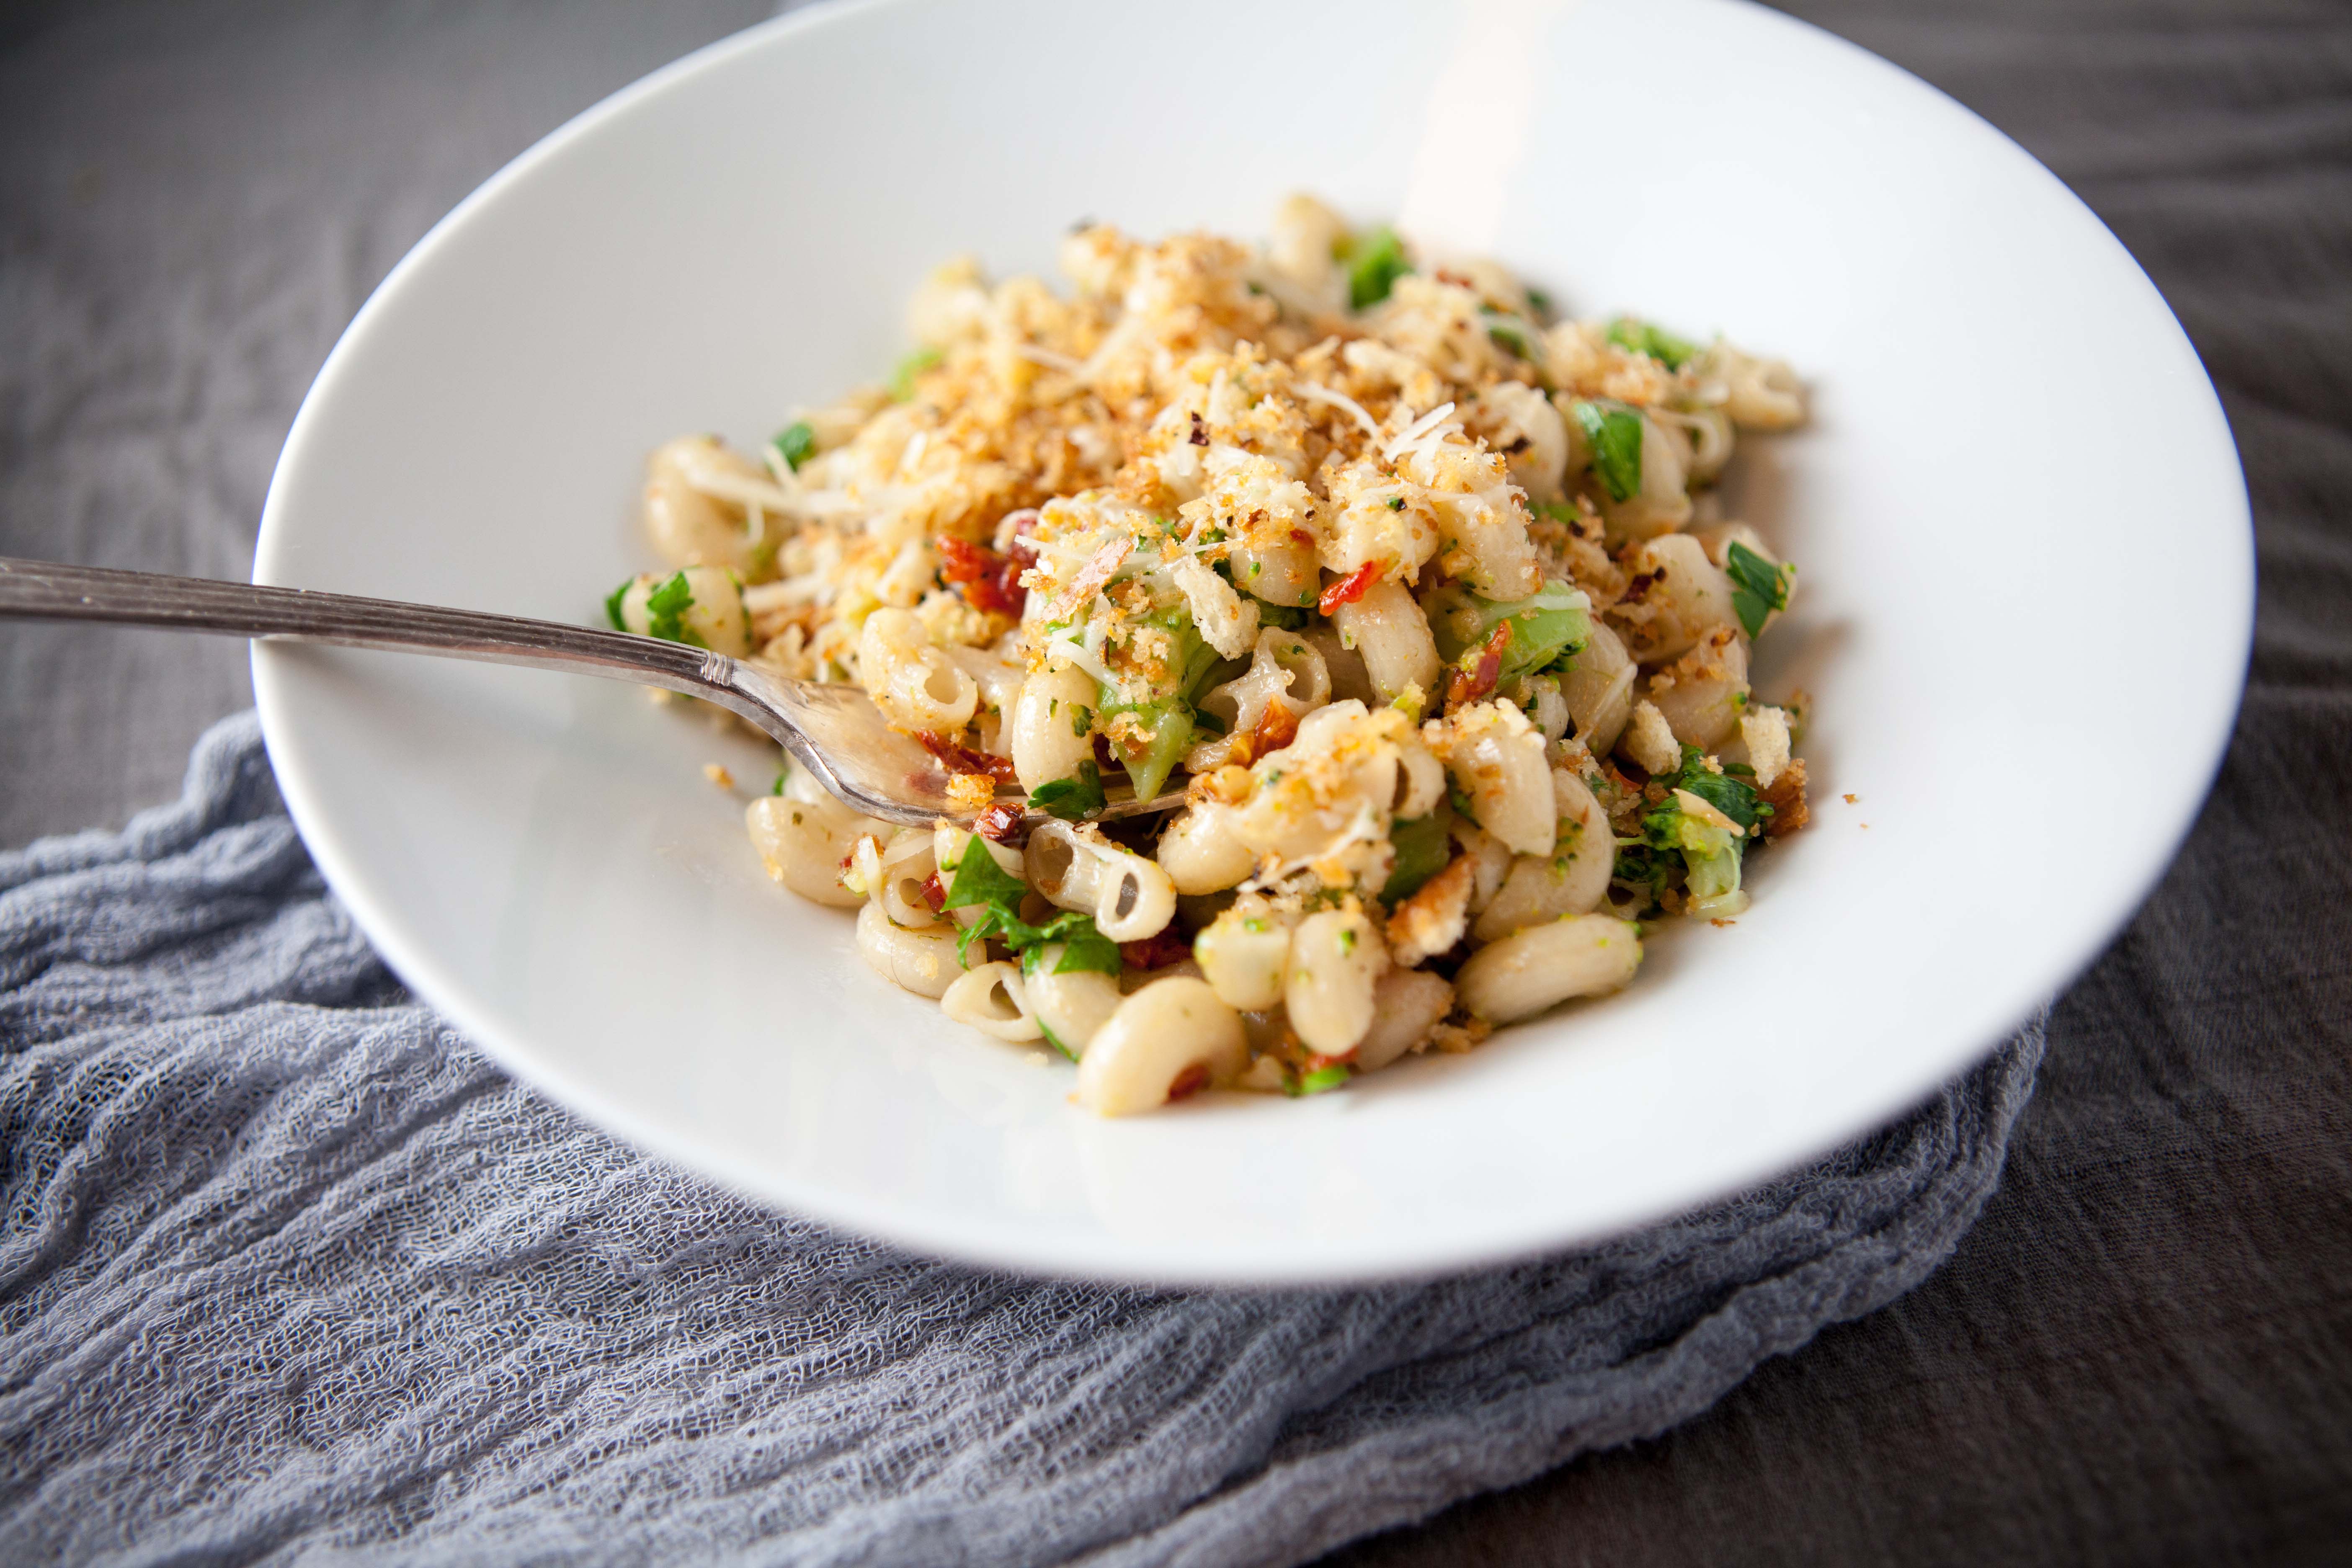
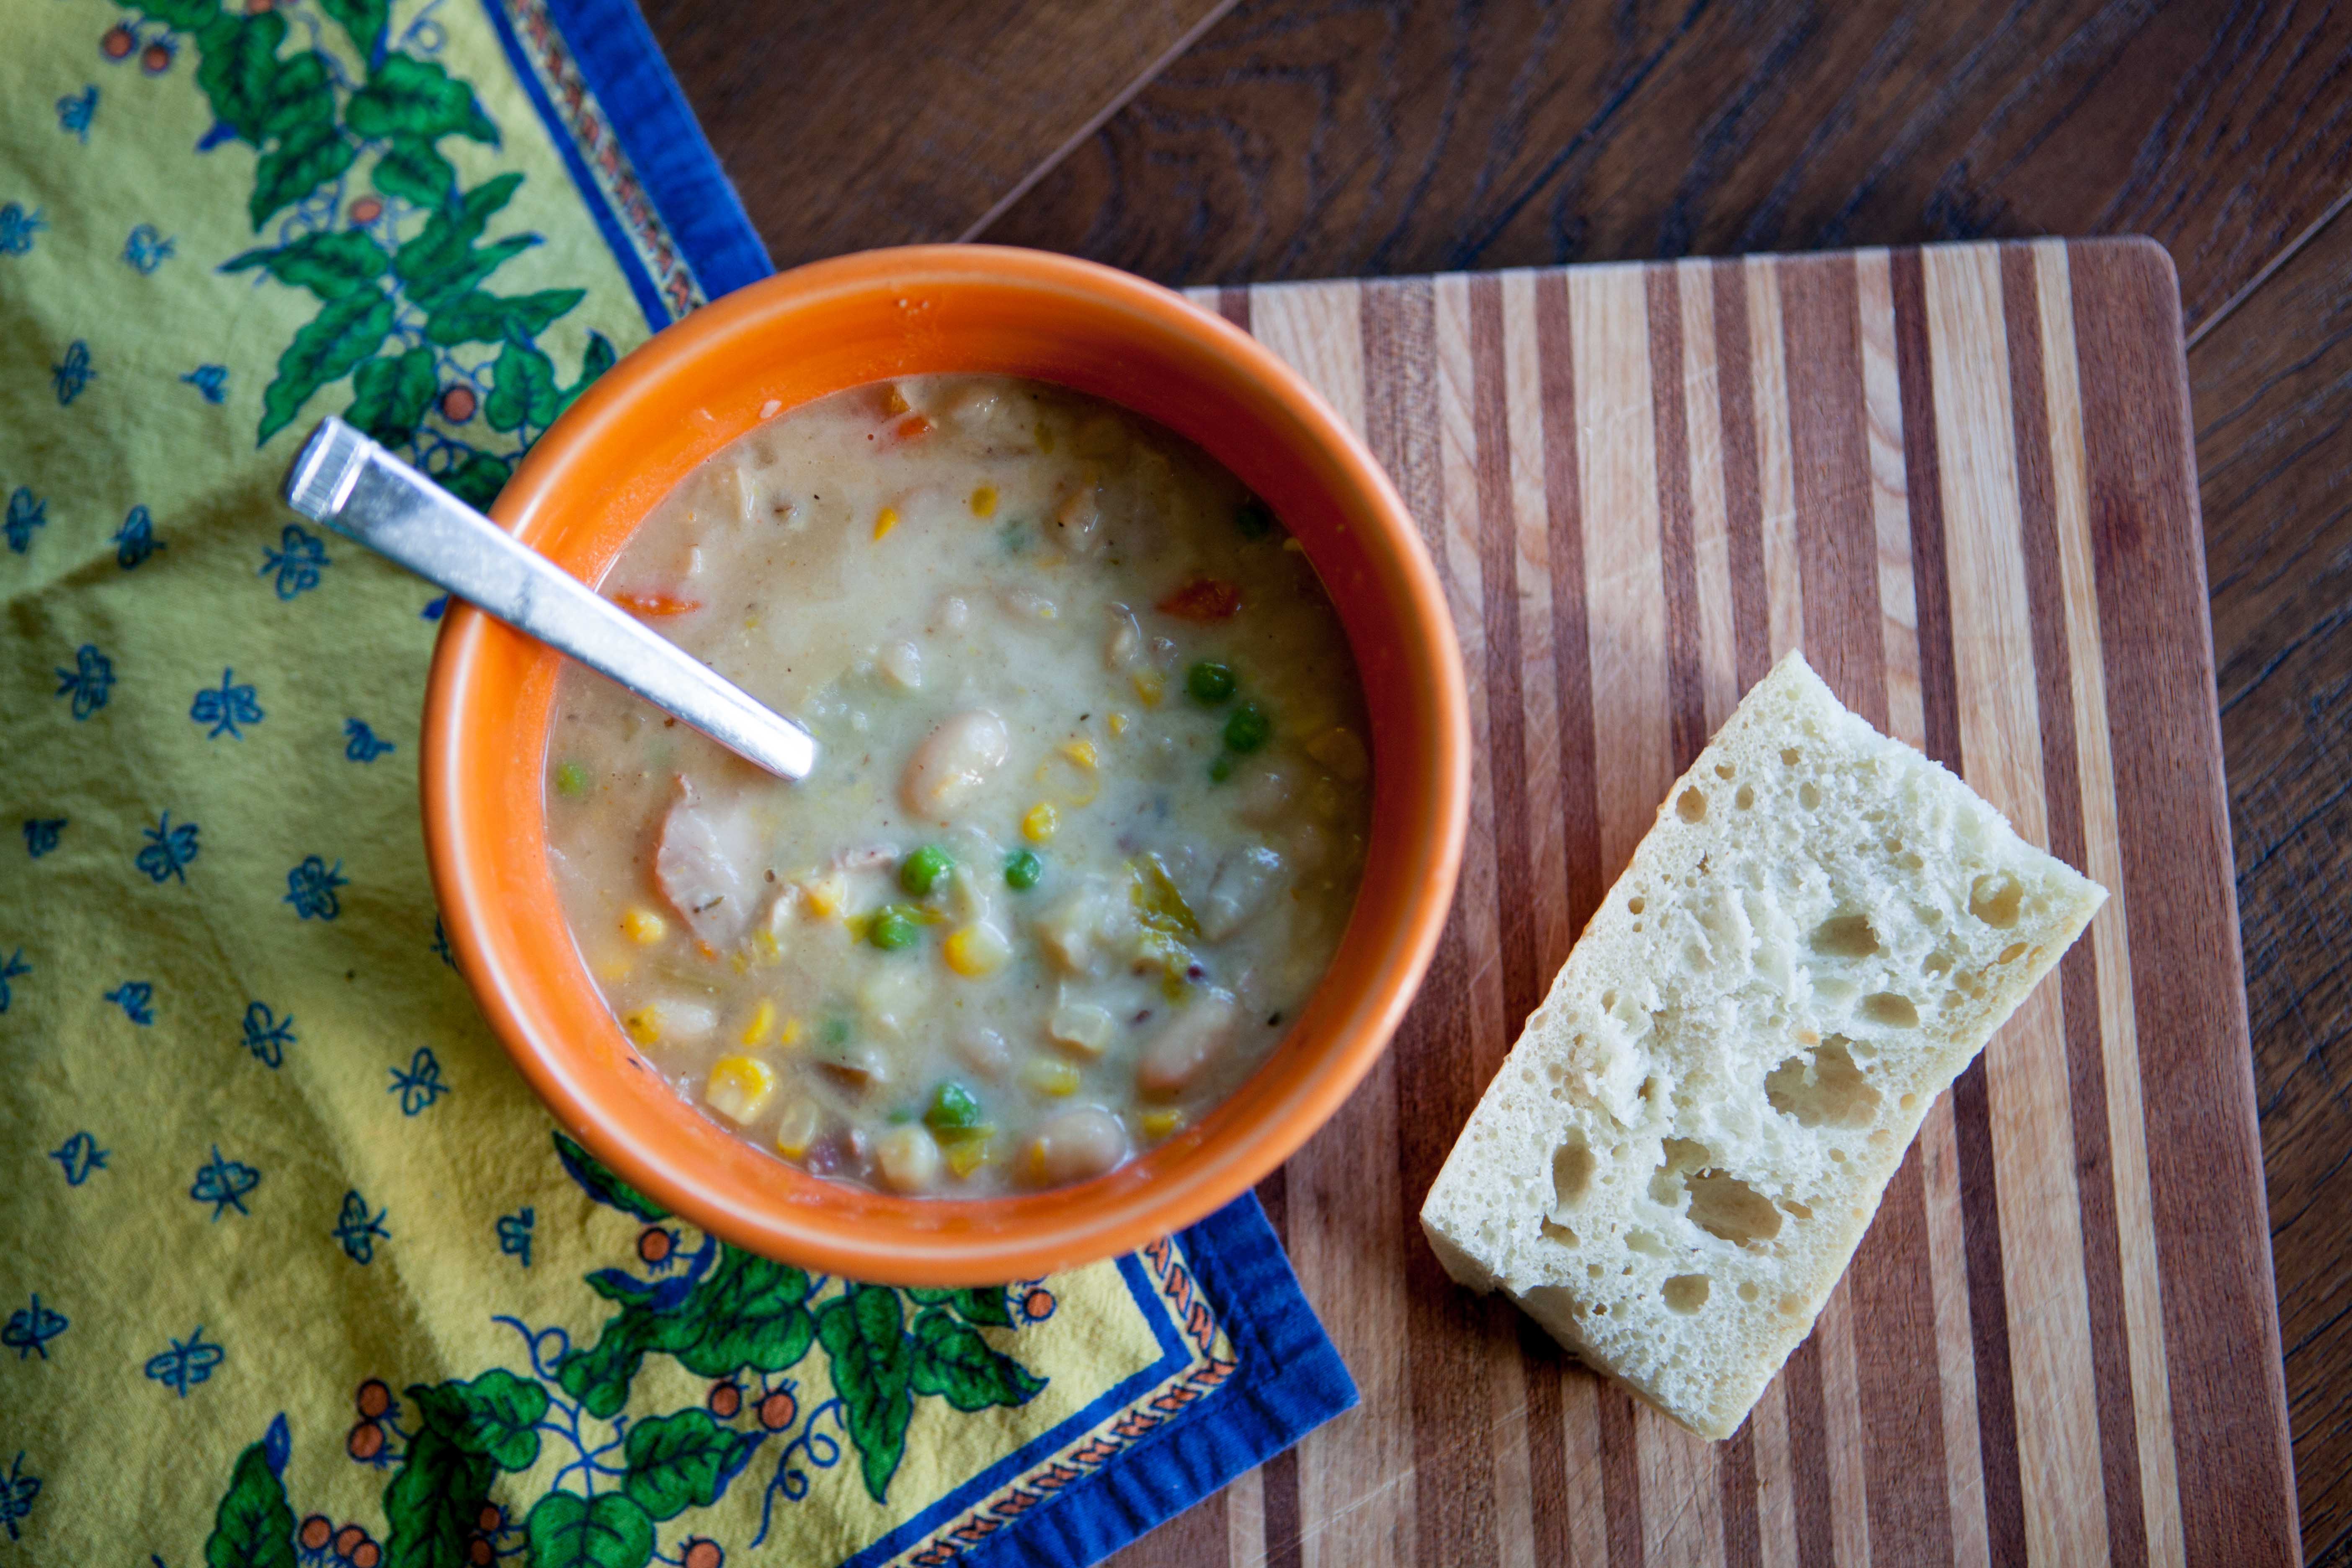
Traditionally posole is served with flour tortillas and a variety of fresh ingredients such as chopped cabbage, sliced avocado, sliced radishes, chopped green onions, cilantro and lime wedges. Since my mom’s posole is more stewlike than soupy we skip the salad toppings and just opt for the tortillas to sop up the rich broth. I hope you enjoy this meal as much as my family does!
-Natasha
Posole Rojo – in the style of my mother, Rachel
Serves 6
Ingredients:
- 8-10 oz. dried hominy, soaked in water overnight
- 8 dried New Mexico chiles
- 1 tablespoon olive oil
- 2.5-3 pounds pork shoulder, cut into cubes
- 1 onion, chopped
- 6 garlic cloves, smashed and roughly chopped
- 6 cups chicken stock
- 3-5 cups water (or more chicken stock)
- 2 bay leaves
- 3/4 teaspoon dried oregano
- 2 tablespoons tomato sauce or marinara sauce
- salt and pepper, to taste
Directions:
The night before, place the dried hominy in a pot and cover with several inches of cold water. Cover and let sit overnight. Drain and set aside when ready to make posole.*
Heat a large dutch oven on high and toast the dried peppers on both sides, being sure not to burn them. Set chiles aside. When cool, use scissors to cut off their tops and make a slit up the side of each pepper; discard the seeds.
Add the olive oil to the Dutch oven and heat on high. Pat dry the pork, lightly salt it, and add half of the pork to the dutch oven. Brown on both sides, set aside and add the rest of the pork to brown. Set second batch of pork aside, pour out any excess fat, leaving a little bit for the vegetables.
Add the onion, scraping up any fond that developed on the bottom of the pot as the onions release water. Cook until soft, about 3-5 minutes. Add the garlic and cook until fragrant, about 30 seconds.
Add 6 cups of stock, the bay leaves, oregano, tomato sauce, pork, hominy and the chiles. If there were any bones with your pork, add them too. Add salt and pepper to taste. Bring to a boil, cover, turn down the heat and simmer for several hours until pork is very tender and hominy is soft. If the hominy absorbs too much liquid during cooking, add more stock or water to keep it soupy.
When pork and hominy are tender, remove the chile skins with tongs and let cool. If any pulp remains on the inside of the skins, scrape it off with a spoon and place back into the pot. Discard chile skins.**
Serve with flour tortillas and accoutrements such as chopped cabbage, sliced avocado, sliced radishes, chopped green onions, cilantro and lime wedges, if desired.
*2025 update: I recently discovered you can cook dried hominy in a slow cooker and add it to the stew later. This was helpful for me when I had made carnitas in a chile Colorado sauce (which is essentially the same ingredients as this stew) and had a lot of leftovers. I soaked the hominy overnight, then slow cooked them for 4 hours and 30 minutes in lots of water with salt, two whole green onions and 3 whole cloves of garlic. When I came home from work I discovered the hominy was perfectly tender. I drained the hominy and added it to my leftover chile Colorado con puerco, let it simmer for an hour and it tasted exactly the same as my normal recipe!
**2024 update: It is much easier to remove the chiles and add them to a blender with about 1/2 cup of the posole liquid. Give it a whir and pour it back into the stew. No scraping necessary!