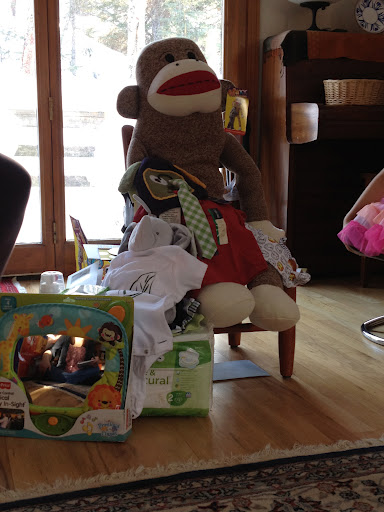
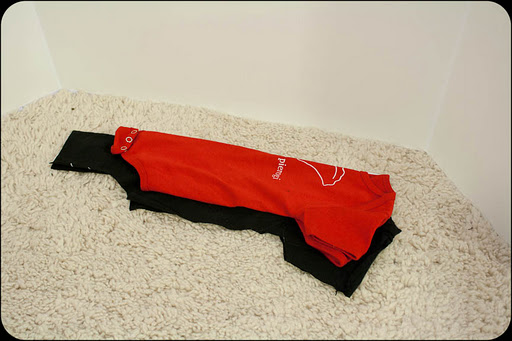
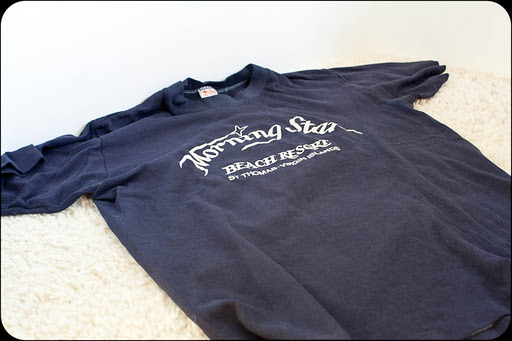
I’m a short-attention-span crafter. Making ten-minute baby pants is like instant gratification. When I found a long-sleeved waffle Tommy Hilfiger shirt being given away, I instantly saw its potential — baby long johns!
I didn’t use a pattern, but I based my creation on this pattern here. I just eyeballed it, but I’ll give you a step-by-step. What’s nice about making pants out of shirt sleeves is there’s already a cuff so you don’t have to turn anything under and you don’t have to sew any inseams.

The material is super stretchy, so I think they will fit for a long time.
Materials:
One adult long-sleeved t-shirt that’s either stretchy or has wide sleeves.
Narrow elastic
Safety pin
Sewing machine
fabric scissors
Directions:
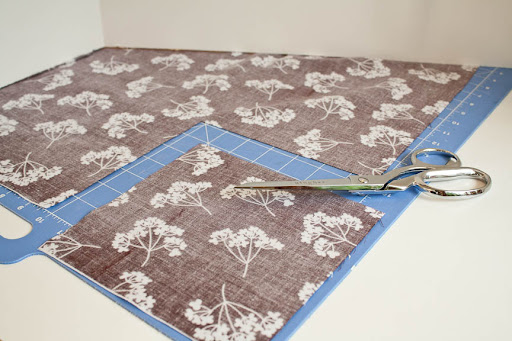
First, cut off the sleeves at the shoulders. It doesn’t have to be exact.

Once the sleeves are trimmed, cut the tops of the sleeves straight across so each sleeve (now we’ll call them legs) measures about 18 inches.
I then cut the crotch part out of each leg, starting about 7.5 inches down from the top of each leg.

I just eyeballed one leg and then laid it on top of the other leg and used it as a guideline for cutting the other.
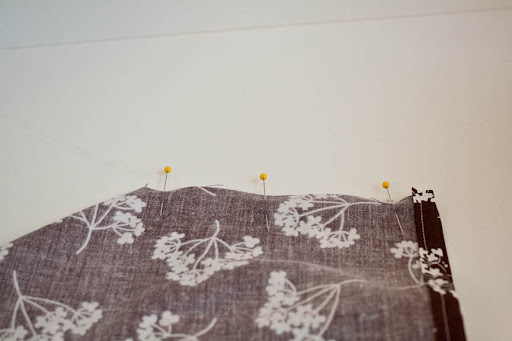
Then, turn one leg inside out. Slip the right-side out leg inside the inside-out leg and match them up at the crotch.
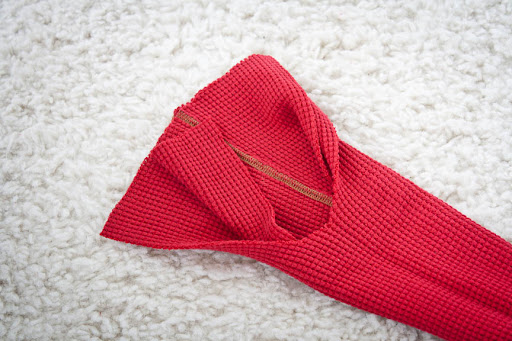
Now, sew the raw edges of the curved part together. This is the rise/crotch of the pant. Pull the inside leg out so the pants are now inside-out. They should pretty much look like the finished product, but with a raw edge at the waist.
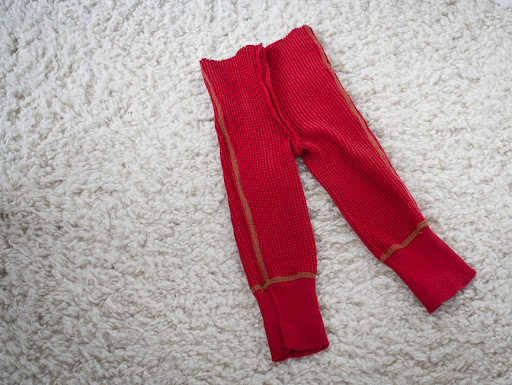
Now, turn down the waist wide enough for the elastic to easily be fed through it, about an inch. Sew all the way around, but leave a gap so you can feed in the elastic.
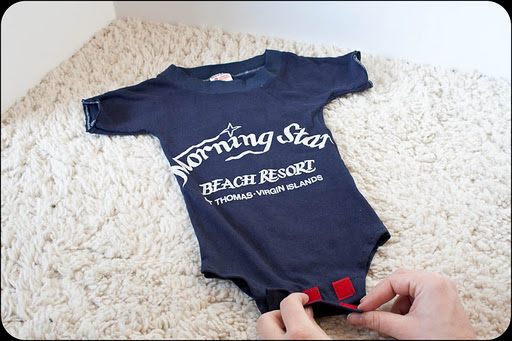
Pin the safety pin to the end of the elastic and feed it through the waistband area, being sure not to twist it.

When the elastic is fed all the way around, play with the length till you feel it’s good. I didn’t measure the length of the elastic. I just cut it where I thought it seemed best and sewed one end of the elastic on top of the other.
Finally sew up the gap of the waistband.
Ta-da!
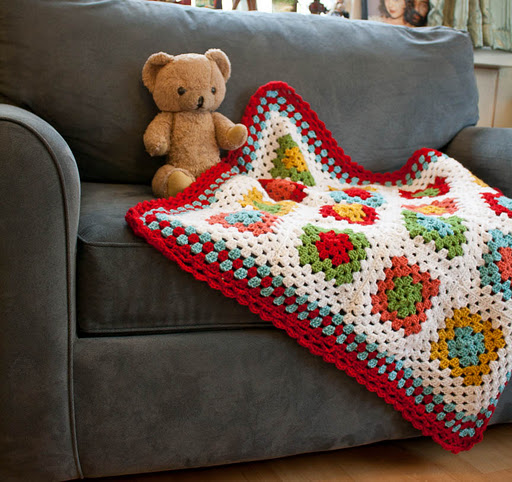
Cute Cute Cute