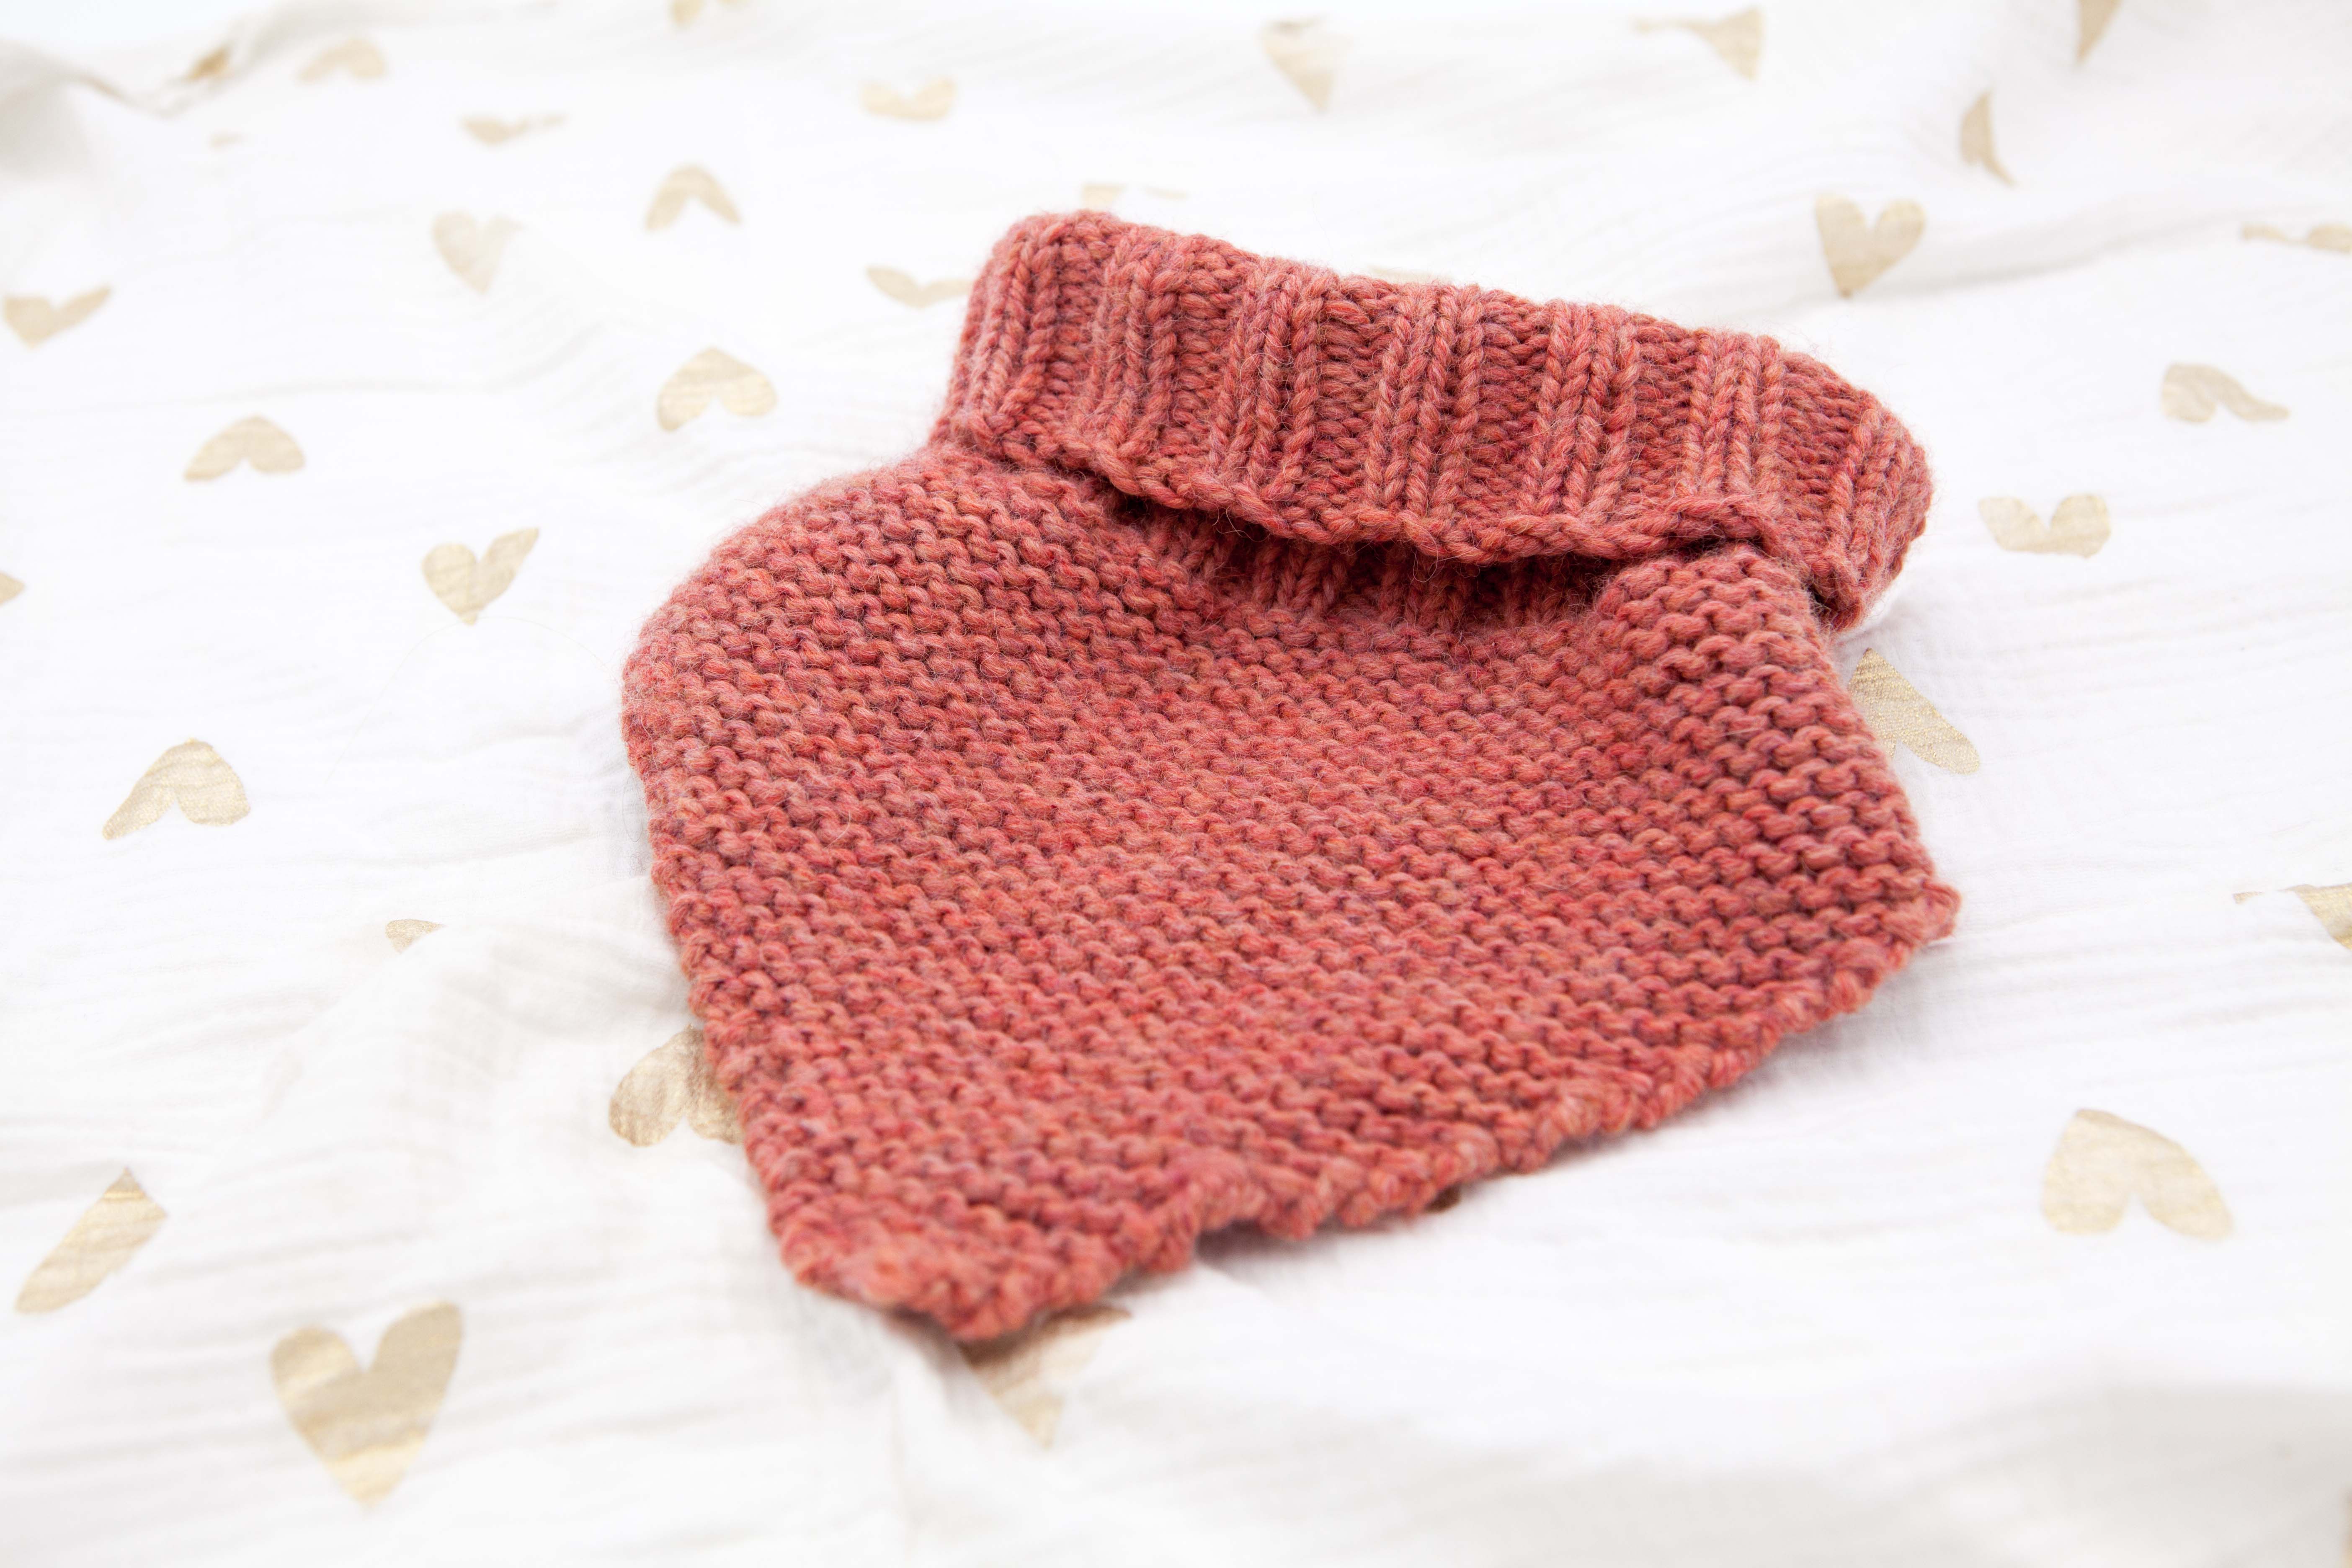
Recently a friend sent me an Instagram reel of a bandana cowl and it was the answer to all my cold neck problems. My hair has gotten so long that it’s becoming a hassle to wear it down with a hat and also manage to tie a scarf around my neck. So much hair everywhere! I decided it was something I could figure out – and I knit it up in about three hours. Then I made six more for holiday gifts. Here’s my sister modeling hers:
I’m calling this a “knitted bandana” to be trendy, but really I’m naming this pattern a dickie scarf. Remember dickies? If you’re over 40 I’m sure you’ve at least heard of them or definitely owned one in the past. It’s all the style of wearing a turtleneck sweater without the bulkiness of having to cram it under another layer of clothing. A dickey scarf is similar – you have the warmth of a cozy turtleneck without having to deal with the bulk of a scarf.
This pattern is so simple and a great stashbuster project.
Knitted Bandana – or as I’m calling it: knitted dickie scarf
Sizes: Adult M (L)
If you’re wanting to knit this pattern with a different needle size and different weight yarn, I am unable to adjust the pattern for you. This pattern is written for a specific needle size and yarn weight.
CO 60 (64) stitches; PM. Join the work being careful the stitches aren’t twisted and work in K2, P2 for 30 rounds. When you’ve reached the marker on the final round, turn your work and knit the other direction till you reach the marker again (WS). You’ll now be working back and forth in rows of garter stitch, decreasing by two stitches on each right side row.
Next row (RS): K2tog, knit to the last 2 stitches in row, K2tog.
Next row (WS): K
Repeat these two rows until you have 4 stitches remaining. Bind off and weave in ends. Ta-da – DICKIE SCARF.
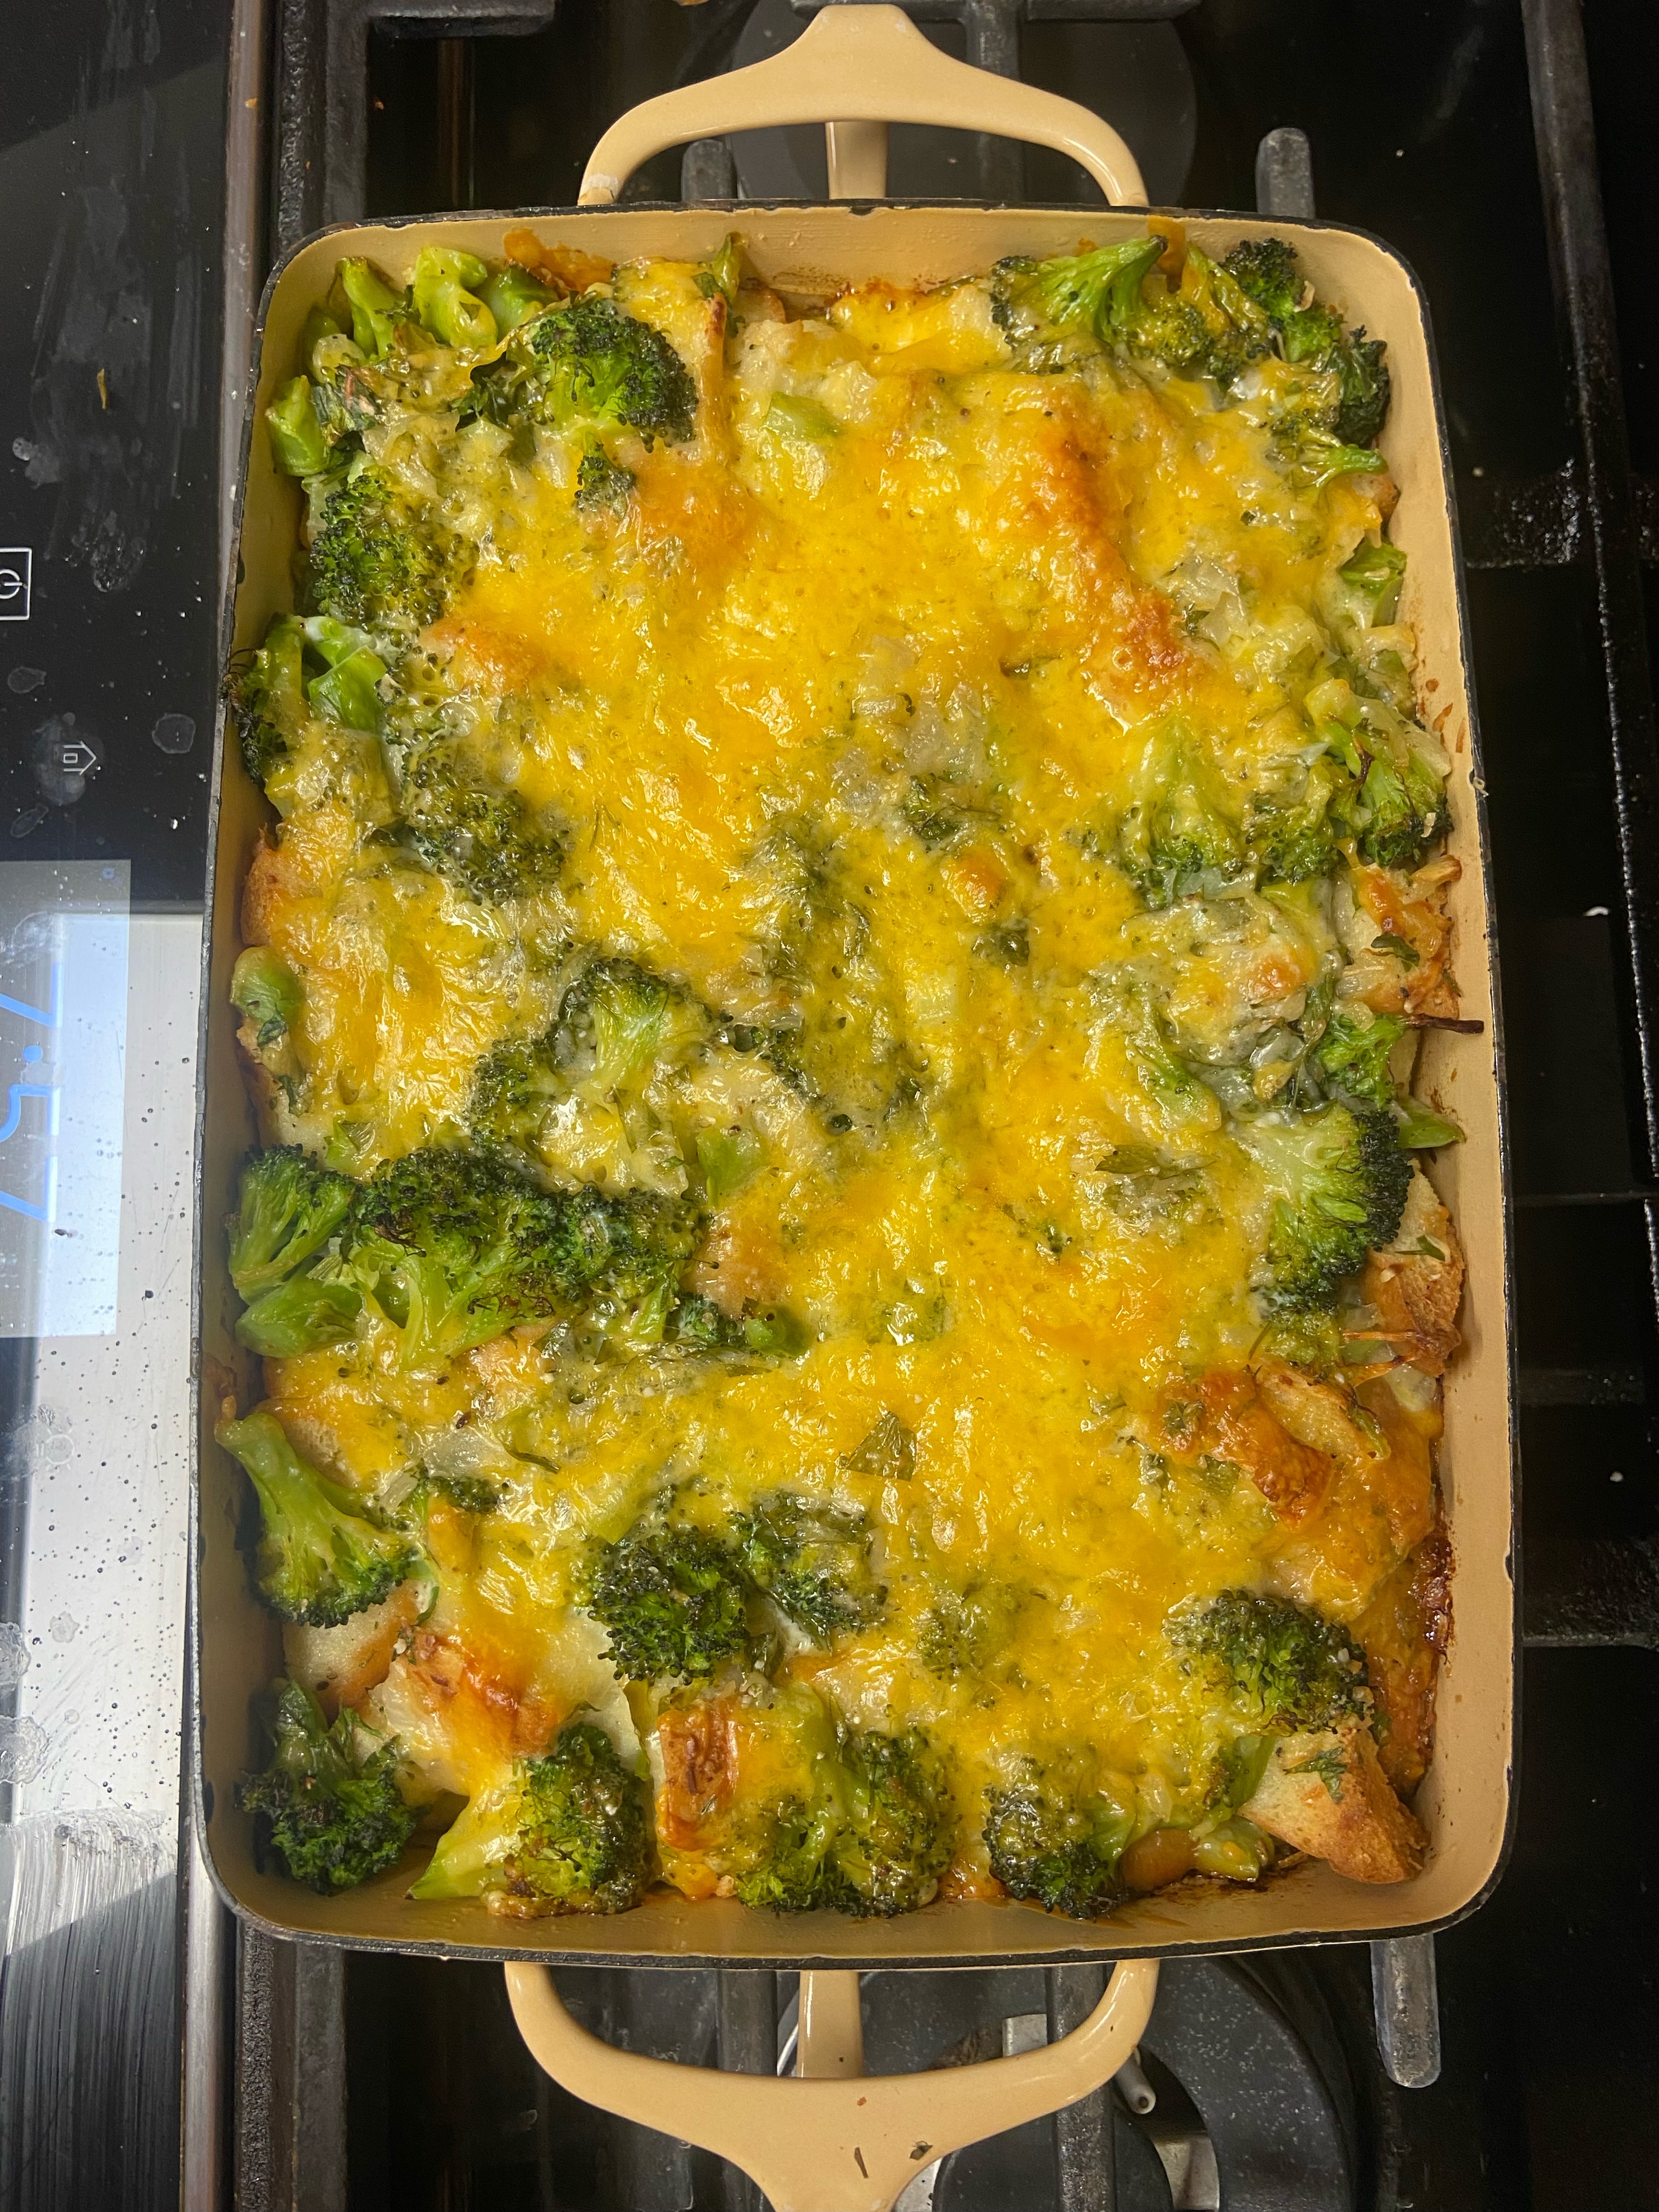
This Thanksgiving we were left with way too many dinner rolls. I wanted to make something savory with them so I put together a bread pudding that was perfect for dinner and even tastier the next morning for breakfast!
Broccoli and Cheese Bread Pudding A great use of leftover dinner rolls
Serves 4-6
Ingredients:
5-7 leftover dinner rolls, cut into cubes
2 tablespoons butter
1/2 onion, chopped finely
2 garlic cloves, minced
2 tablespoons fresh parsley, chopped
1 small head of broccoli, stems and crown chopped into small bits
1/2 cup cream
2/3 cup whole milk
2 eggs
salt and lots of pepper
pinch of ground nutmeg
1/2 cup shredded parmesan
1 cup shredded sharp cheddar
Directions:
Preheat oven to 375F. Coat a small casserole dish liberally with butter and place bread cubes in it. There should be enough bread cubes to cover the bottom of the dish. Set aside. Melt 2 tablespoons butter in a pan over medium-high heat. Add onions and sauté until soft, about 5 minutes. Turn down heat, add garlic and cook until fragrant, about 1 minute.
Meanwhile, boil a small pot of salted water and add the broccoli; cook for 3 minutes and drain well. Add the broccoli to the onion mixture and combine well. Spread this mixture evenly on the bread cubes.
In a mixing bowl, whisk together the cream, milk, eggs, salt, pepper and nutmeg. Evenly pour this mixture over the broccoli and bread cubes.
Sprinkle on the cheeses, then lightly press down on the mixture to help the bread absorb some of the liquid.
Cover with foil and bake for 30 minutes. Remove foil and bake another 15 minutes. Remove from oven and serve. Save leftovers overnight and eat for breakfast the next day for an even tastier dish!
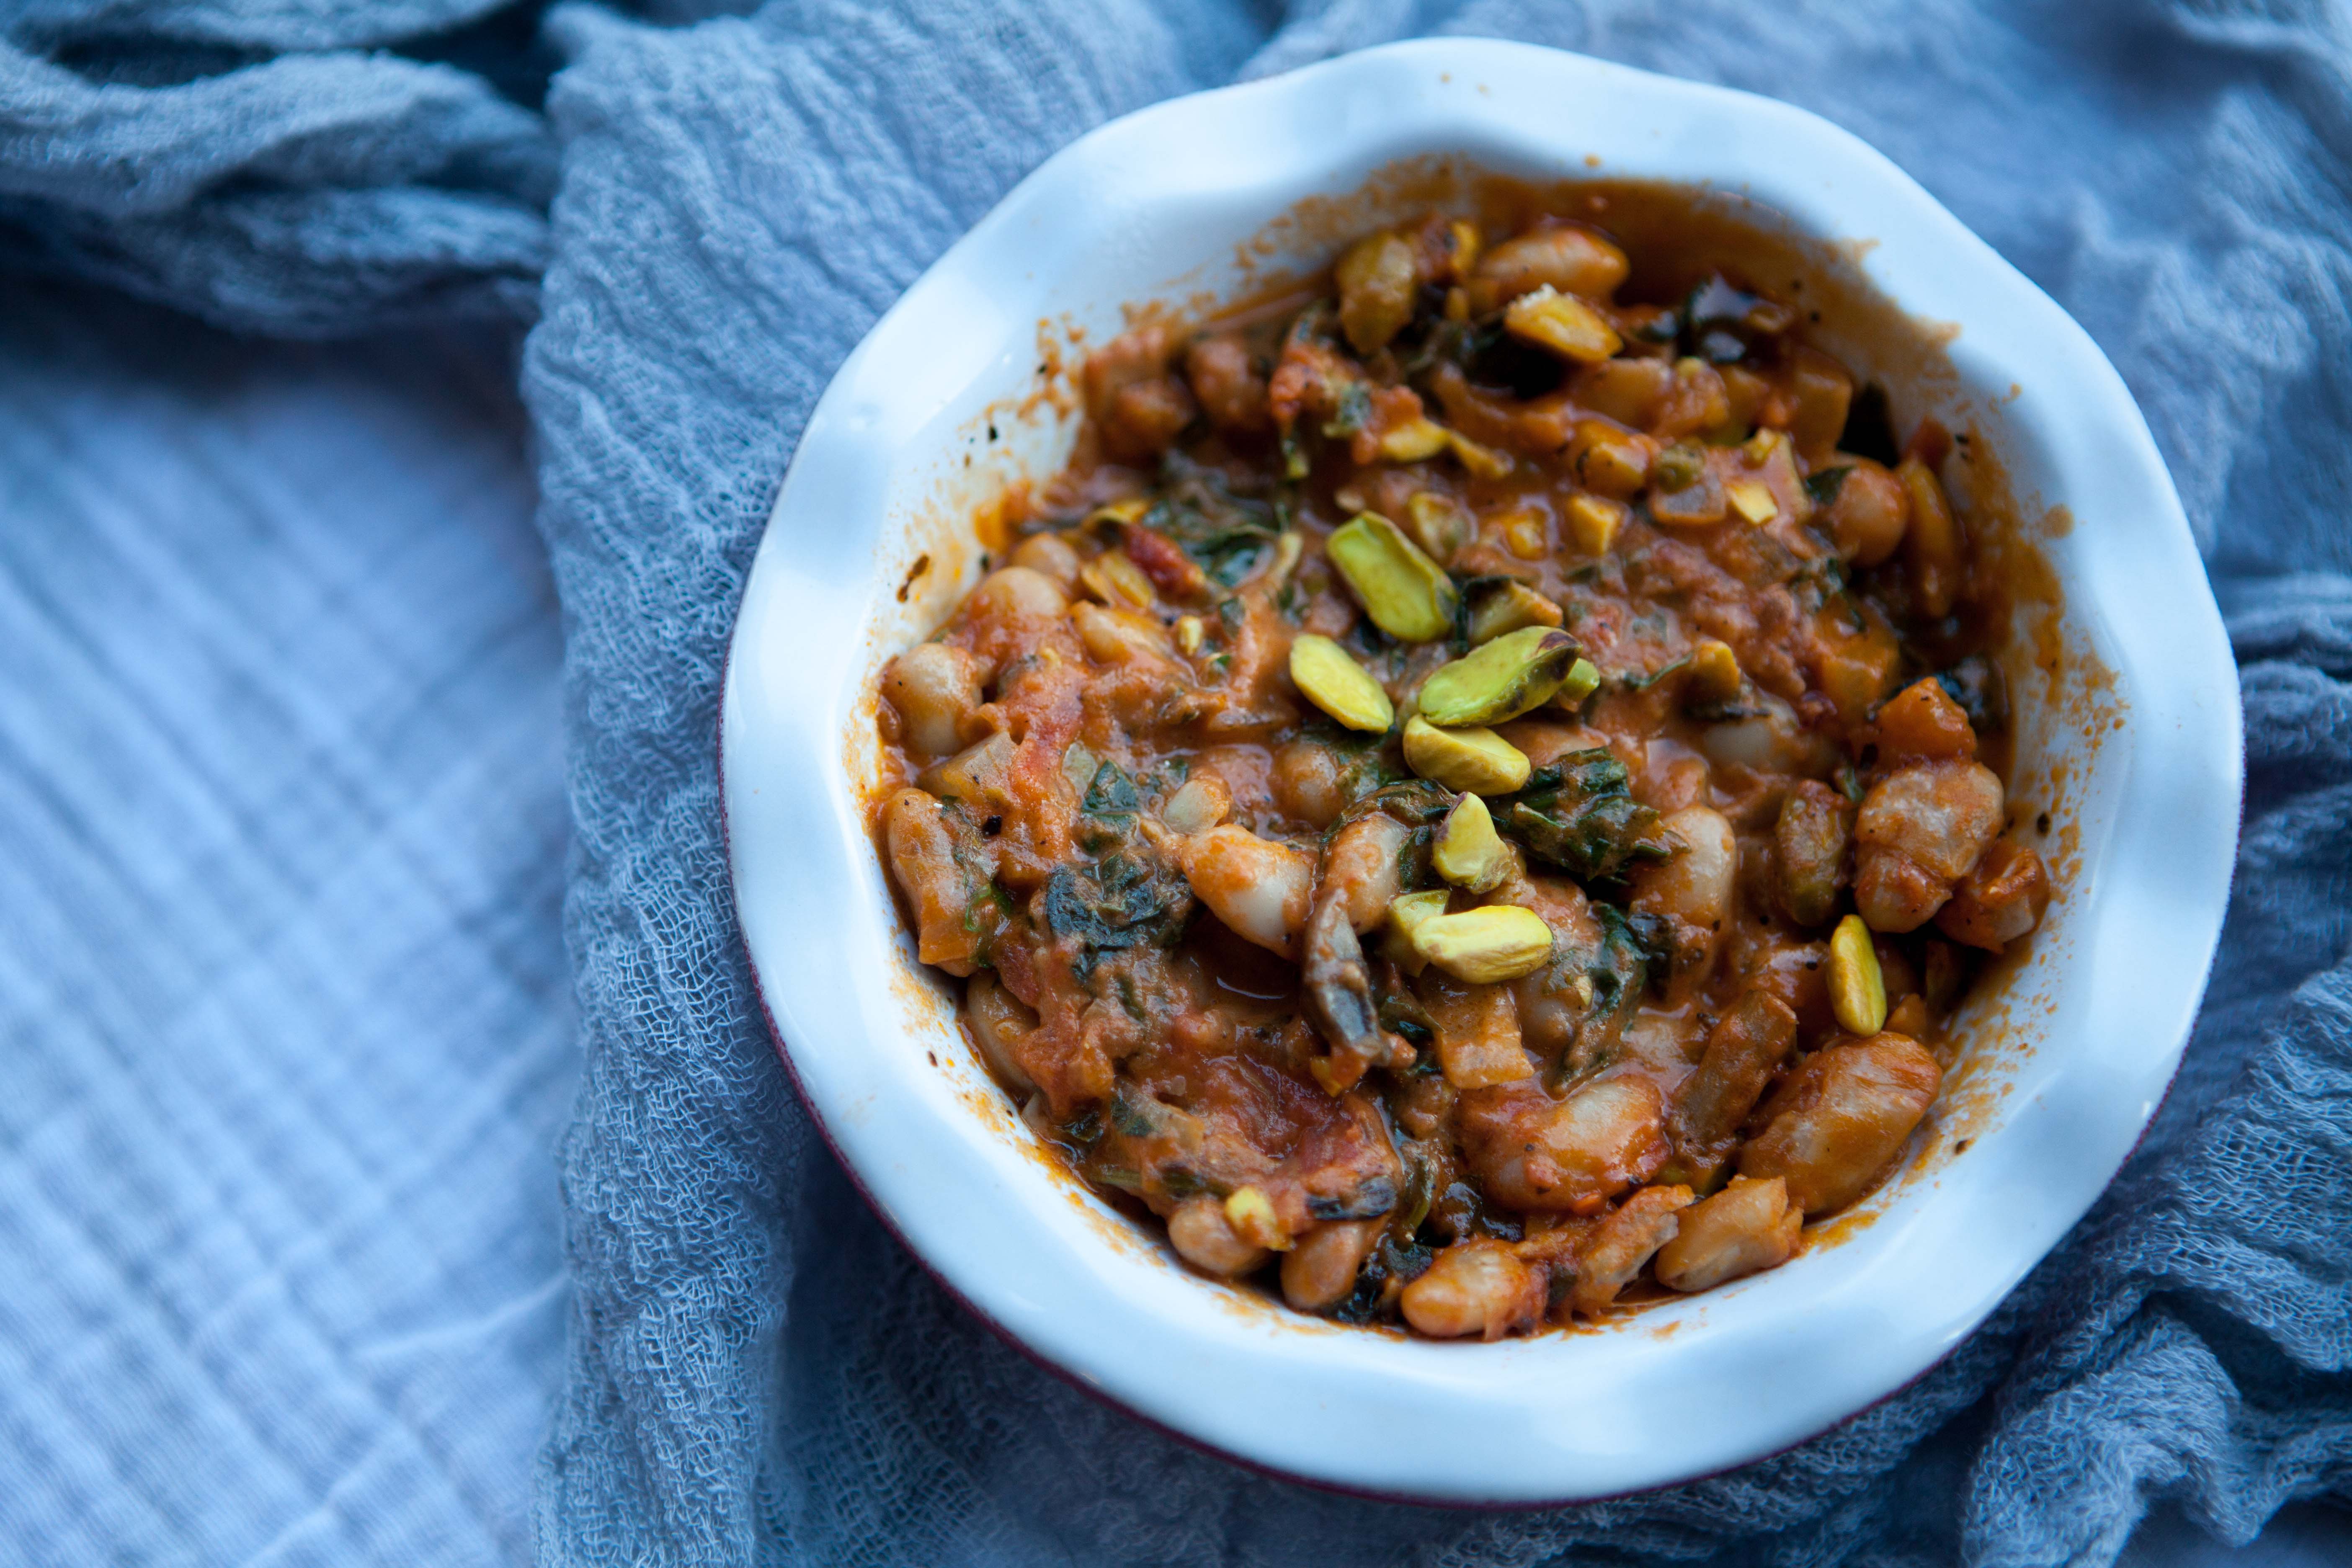
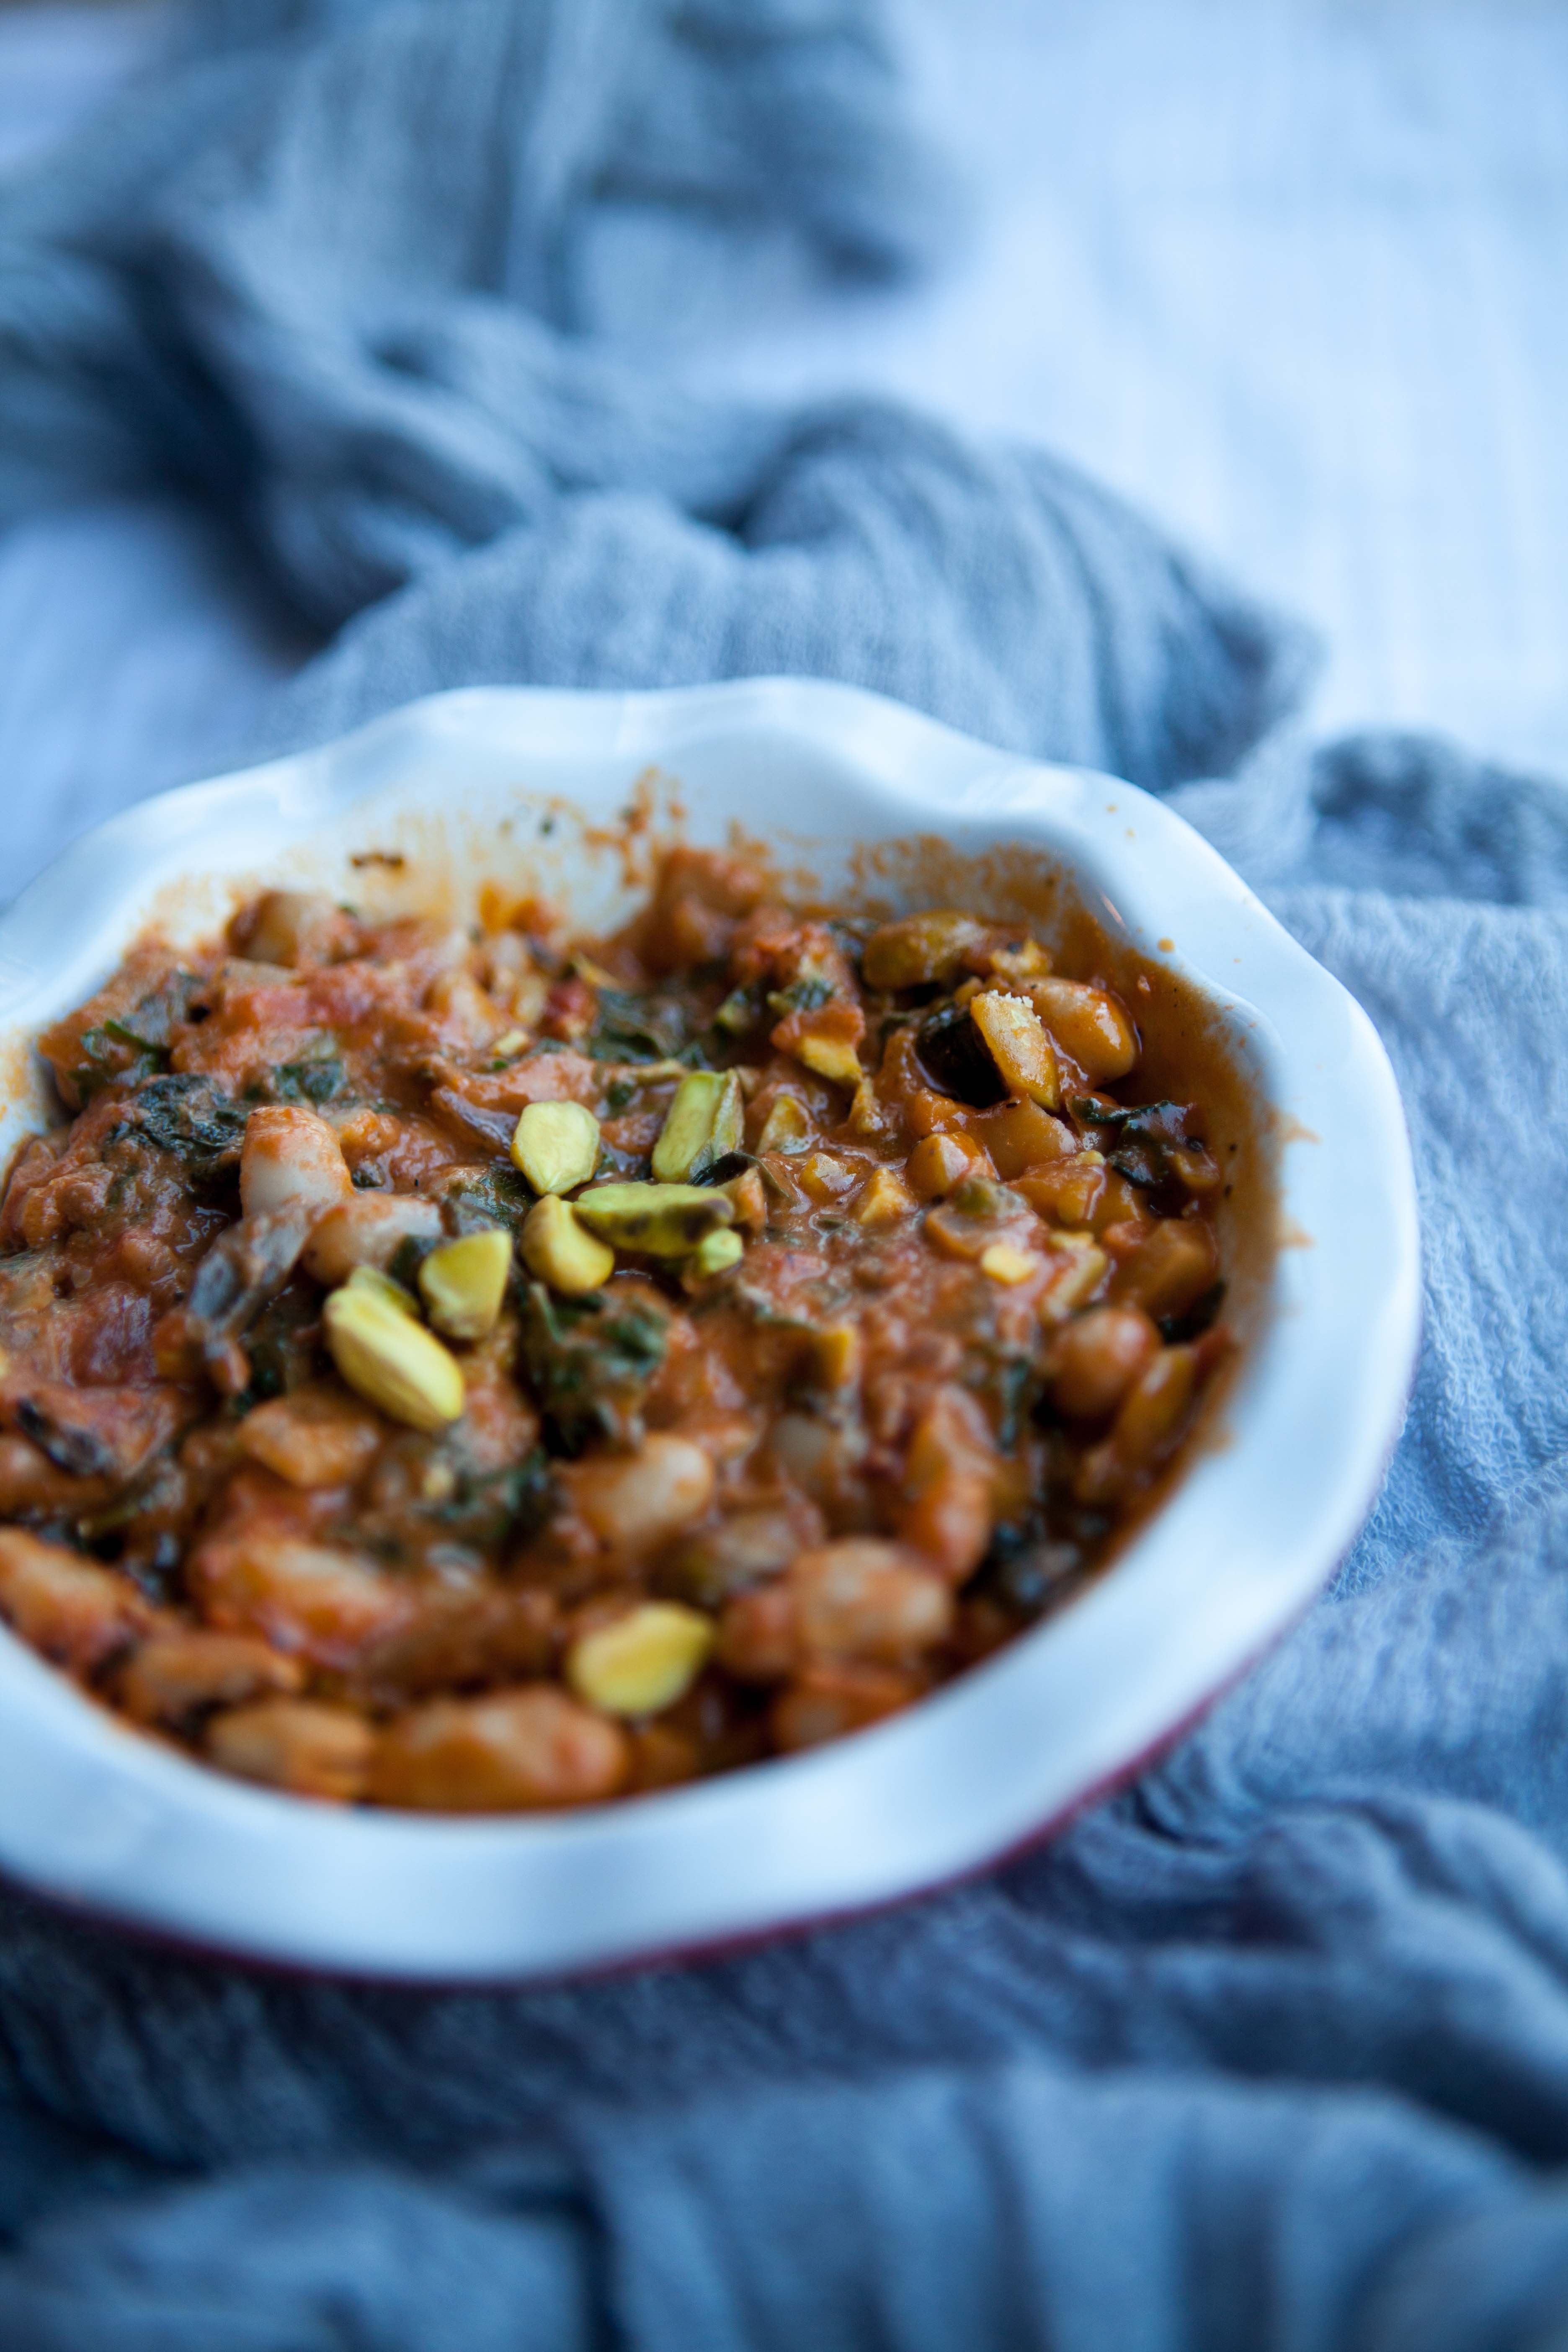
I pretty much want pasta all the time. It’s my Achilles heel, so to speak. But my body probably shouldn’t have pasta all the time. So here’s a recipe I tossed together that gives off perfect pasta vibes but uses canned white beans instead. It’s not a stew, exactly, but I didn’t know what else to call it.
White Bean + Tomato Stew: a quick meal to satisfy that pasta craving
Serves 4 Cook time: 20 minutes or so
Ingredients:
1 tablespoon butter
1/2 onion, chopped
6 ounces crimini mushrooms, roughly chopped
1/2 teaspoon salt
2 cloves garlic, chopped
3 tablespoons white wine or sake
1 teaspoon dried basil
1/2 teaspoon dried oregano
pinch of dried red pepper flakes
1 cup marinara sauce
1/4 cup cream
1 can white beans, drained
2 handfuls fresh baby spinach, roughly chopped
1/2 cup parmesan cheese
Salt and pepper, to taste
1 tablespoon fresh parsley, chopped
1/4 cup chopped pistachios
Directions:
Melt butter in a medium sauté pan over medium heat. Add the onions and mushrooms. Cook until onions are soft and mushrooms have released their liquid, about 7 minutes. Add the garlic and cook until fragrant, about 1 minute.
Deglaze the pan with the white wine and let it bubble for 1 minute. Add the dried basil, dried oregano and dried red pepper flakes. Pour in the marinara and cream, bring to a simmer and turn heat to low.
Add the beans and baby spinach; cook until spinach is wilted, just a few minutes. If stew is too thick, add in a little more cream. Stir in the parmesan cheese and add salt and pepper to taste. Sprinkle on the parsley and pistachios; serve immediately with a drizzle of good olive oil.
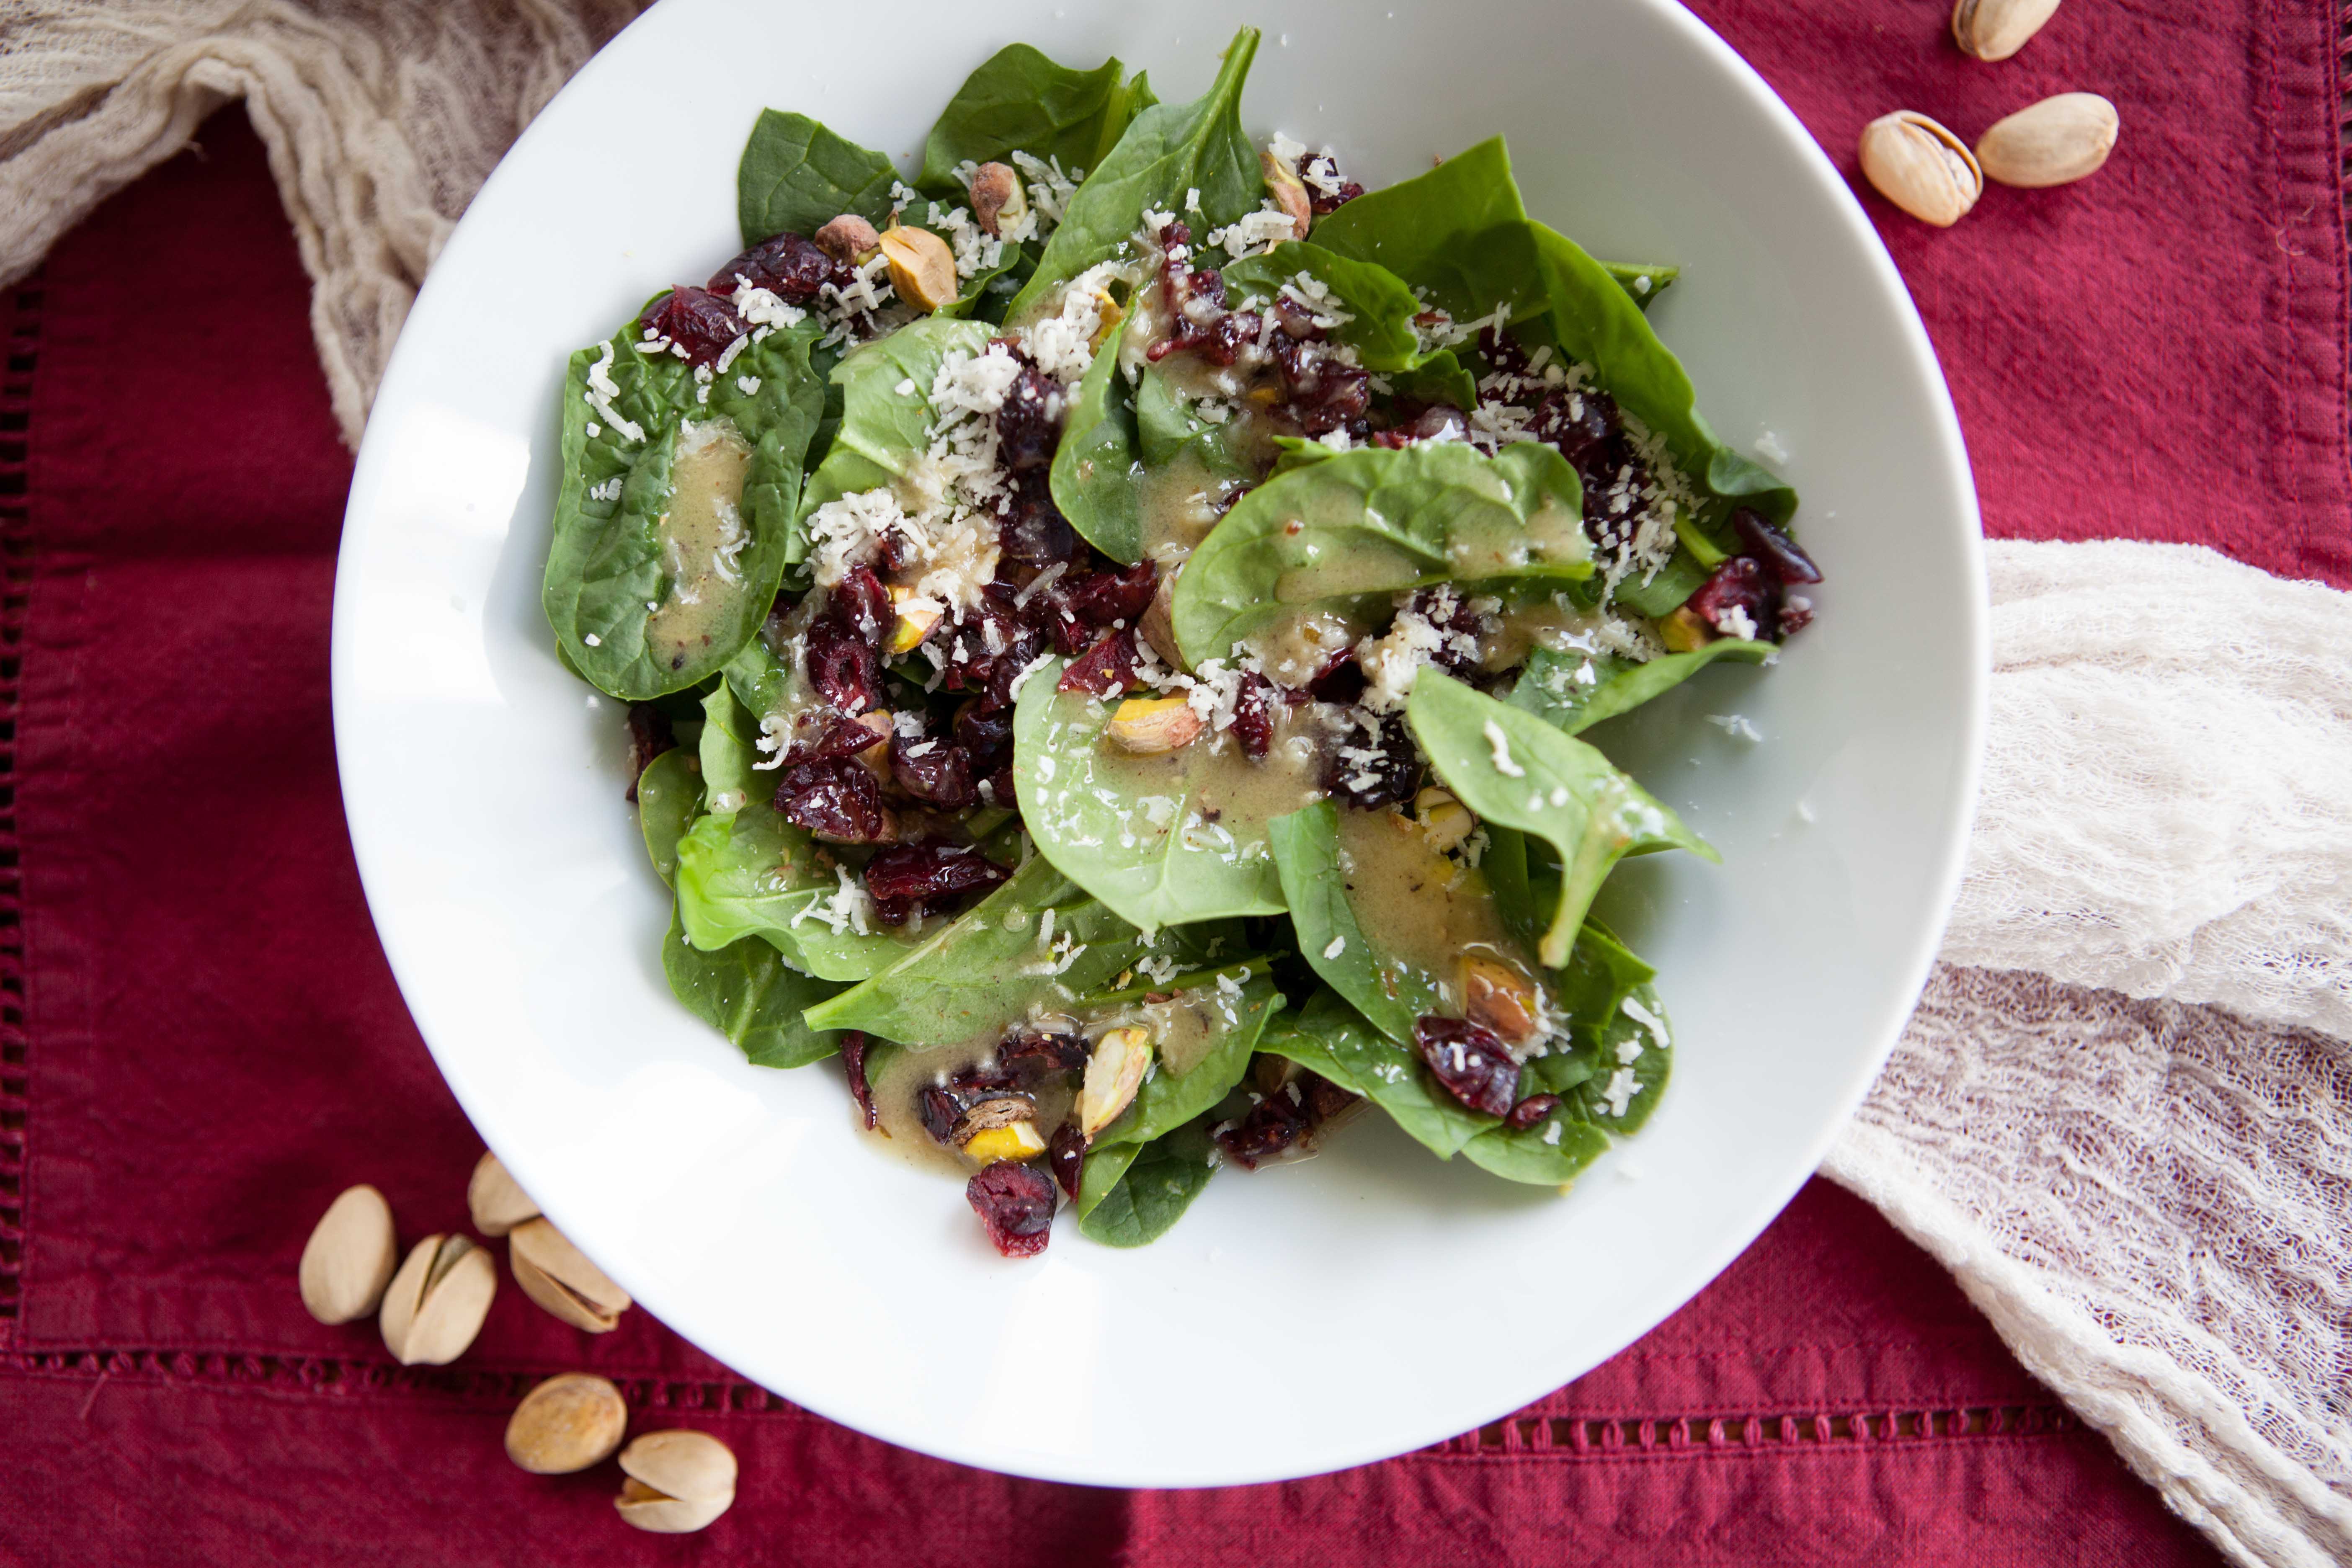
Salad isn’t my favorite. I’ll eat salad and occasionally enjoy salad, but it’s not a dish I love to make for myself. A few weeks ago I found a cookbook in a free box at a garage sale called “The Riversong Lodge Cookbook” by the renowned Alaska chef, Kirsten Dixon. In this beautiful book she has a recipe for a creamy herb vinaigrette in which she includes heavy cream. It never occurred to me to add cream to a salad dressing, but it sounded like a great idea.
So I whipped together a vinaigrette and used rice vinegar instead of my typical lemon juice to tame the acidity a little. I had some pistachios, craisins and chèvre so I tossed those in with some salad greens. It’s now my favorite salad of all time.
Use whatever types and quantities of salad fixings you prefer, but I recommend including something sweet because it pairs nicely with the honey in the dressing.
Salad Creamy Honey Vinaigrette
Makes about 4 side salads
Ingredients for the vinaigrette:
1/4 cup high quality olive oil
2 tablespoons rice vinegar (or white wine vinegar would work too)
1 tablespoon honey
1 teaspoon Dijon mustard
2 teaspoons cream
Pinch of dried oregano
Salt and pepper, to taste
For the salad:
Salad greens of your choice
1/3 cup shelled pistachios, roughly chopped
1/3 cup dried cranberries, chopped
Chèvre or freshly grated Parmesan, as much as you prefer
Add all the vinaigrette ingredients to a liquid measuring cup and use an immersion blender to blend until it’s emulsified. Assemble your salad in a large bowl and toss well with the vinaigrette. Serve immediately. Save any extra dressing in the fridge for up to five days or so.
I’m not really into banana bread. Enough said. So when I had a few overripe bananas on the counter the other day I decided to make up a recipe as I went and ended up with a delicious batch of banana blueberry muffins. They aren’t too sweet, aren’t too dense, aren’t too oily. I guess they are just right!
Banana Blueberry Muffins
Makes 12 muffins
Ingredients:
3 ripe bananas
2 eggs
1/3 cup white sugar
1/3 cup brown sugar
1 teaspoon vanilla
1/3 cup melted coconut oil
1 1/2 cups all-purpose flour
1 teaspoon baking powder
1/2 teaspoon baking soda
1/2 teaspoon salt
1 cup fresh blueberries
Preheat oven to 375F. In a mixing bowl, mash the bananas with a potato masher till they are a pulp. Add the eggs, sugars and vanilla and combine with an electric mixer. Mix in the coconut oil.
In a separate bowl, combine the flour, baking powder, baking soda and salt. Add this all to the banana mixture and mix till just combined. Fold in the blueberries.
Line a muffin tin with cupcake liners. Spoon in equal amounts of batter into each cupcake liner. Bake for 22-25 minutes, rotating the pan halfway, until the tops are golden brown and a toothpick inserted in the middle of a muffin comes out clean. Remove from oven and let cool for a few minutes. Carefully transfer muffins to a cooling rack and let sit till room temperature or until you can’t stand it anymore and have to eat a piping hot one and burn your tongue on a molten blueberry.
This is more of a “so I don’t forget” kind of recipe. Every year at Passover our family friends have prepared a bright red horseradish sauce as part of the Seder ceremony, going back more than 20 years. They couldn’t attend this year so I took it upon myself to try and make it.
This is clean-out-your-sinuses, see-through-time spicy horseradish. It’s not f-ing around. I was warned it would cause my eyes to tear up while making it, so as a precaution I wore safety glasses and they worked like a charm!
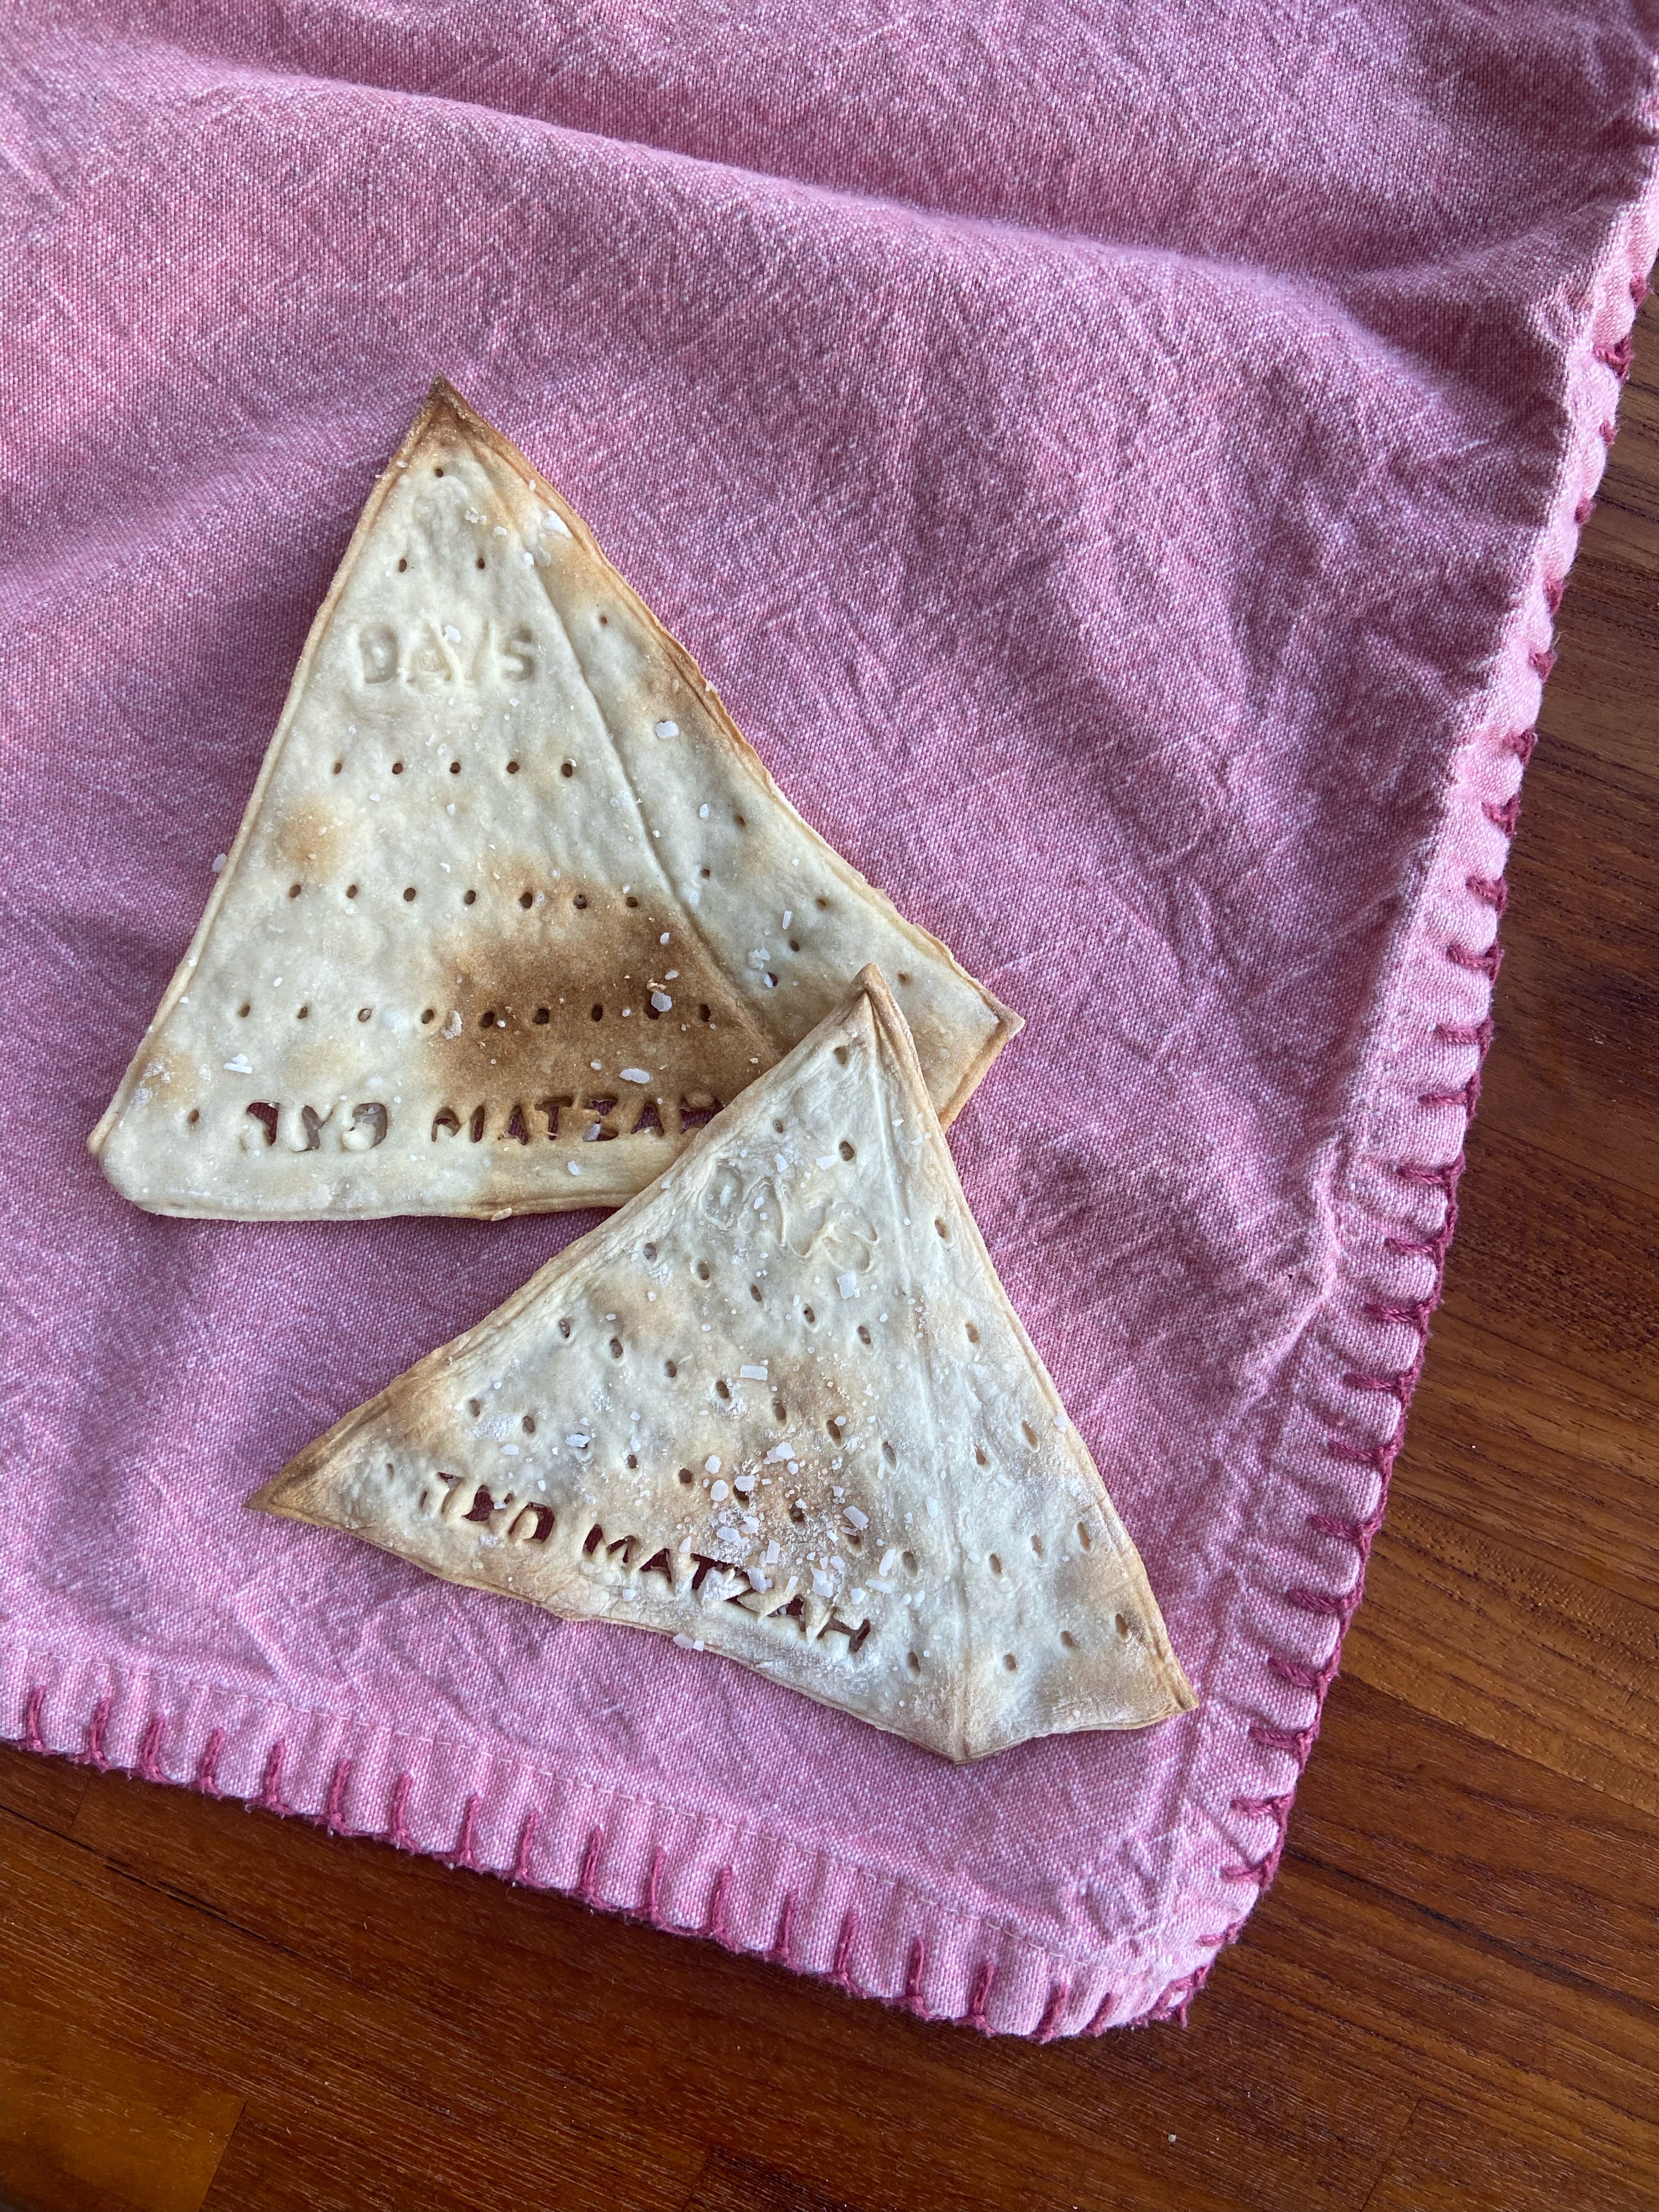
I also acquired a cute matzo stamp so rather than rush to the store last minute for a box of matzo I decided to make it myself. I was surprised how easy it was!
So here’s how I made the horseradish and the matzo so I don’t forget!
Beet Horseradish Sauce
Makes about 2-3 cups
Ingredients:
1 fresh horseradish root, about 6-8 inches, peeled
1/2 small beet, peeled
1/4-1/2 cup apple cider vinegar
1 teaspoon sugar
2 teaspoons salt, more if desired
Trim and discard the root ends from the horseradish and beet. Grate both of them with a box grater and place in a food processor with 1/4 cup of the vinegar, the sugar and the salt. Process until minced, scraping down sides as you go. If it’s not smooth, add more vinegar a little at a time till it’s the consistency you prefer. Tasting it at this point will not be super effective as the flavors have to meld and mellow. Place in a container and refrigerate for a couple of hours. Then taste for salt. This will keep for a few days in the fridge.
Homemade Matzo Crackers
Makes about 8-10 crackers, depending on size
Not necessarily Kosher for Passover unless you use Kosher AP flour
Ingredients:
1 cup all purpose flour
1 teaspoon olive oil
1/2 teaspoon kosher salt
1/3 cup warm water
Extra kosher salt
Preheat oven to 500F. Combine all the ingredients in a small mixing bowl and turn onto a floured surface to knead. Knead for just a couple of minutes until it’s a nice flexible ball. Roll out as thinly as possible. Using a fork, prick holes in the dough all over. Either cut the dough into squares with pizza cutter or use cookie cutters. Line upside down cookie sheets with foil (this makes the crackers easier to remove when they’re done) and place the pieces of dough on them. Sprinkle with kosher salt and place in the oven. Bake until lightly browned (this took about 10 minutes in my oven but I suggest you watch carefully as you don’t want them to burn.) Remove from oven, let cool and store in an airtight container for up to two days.
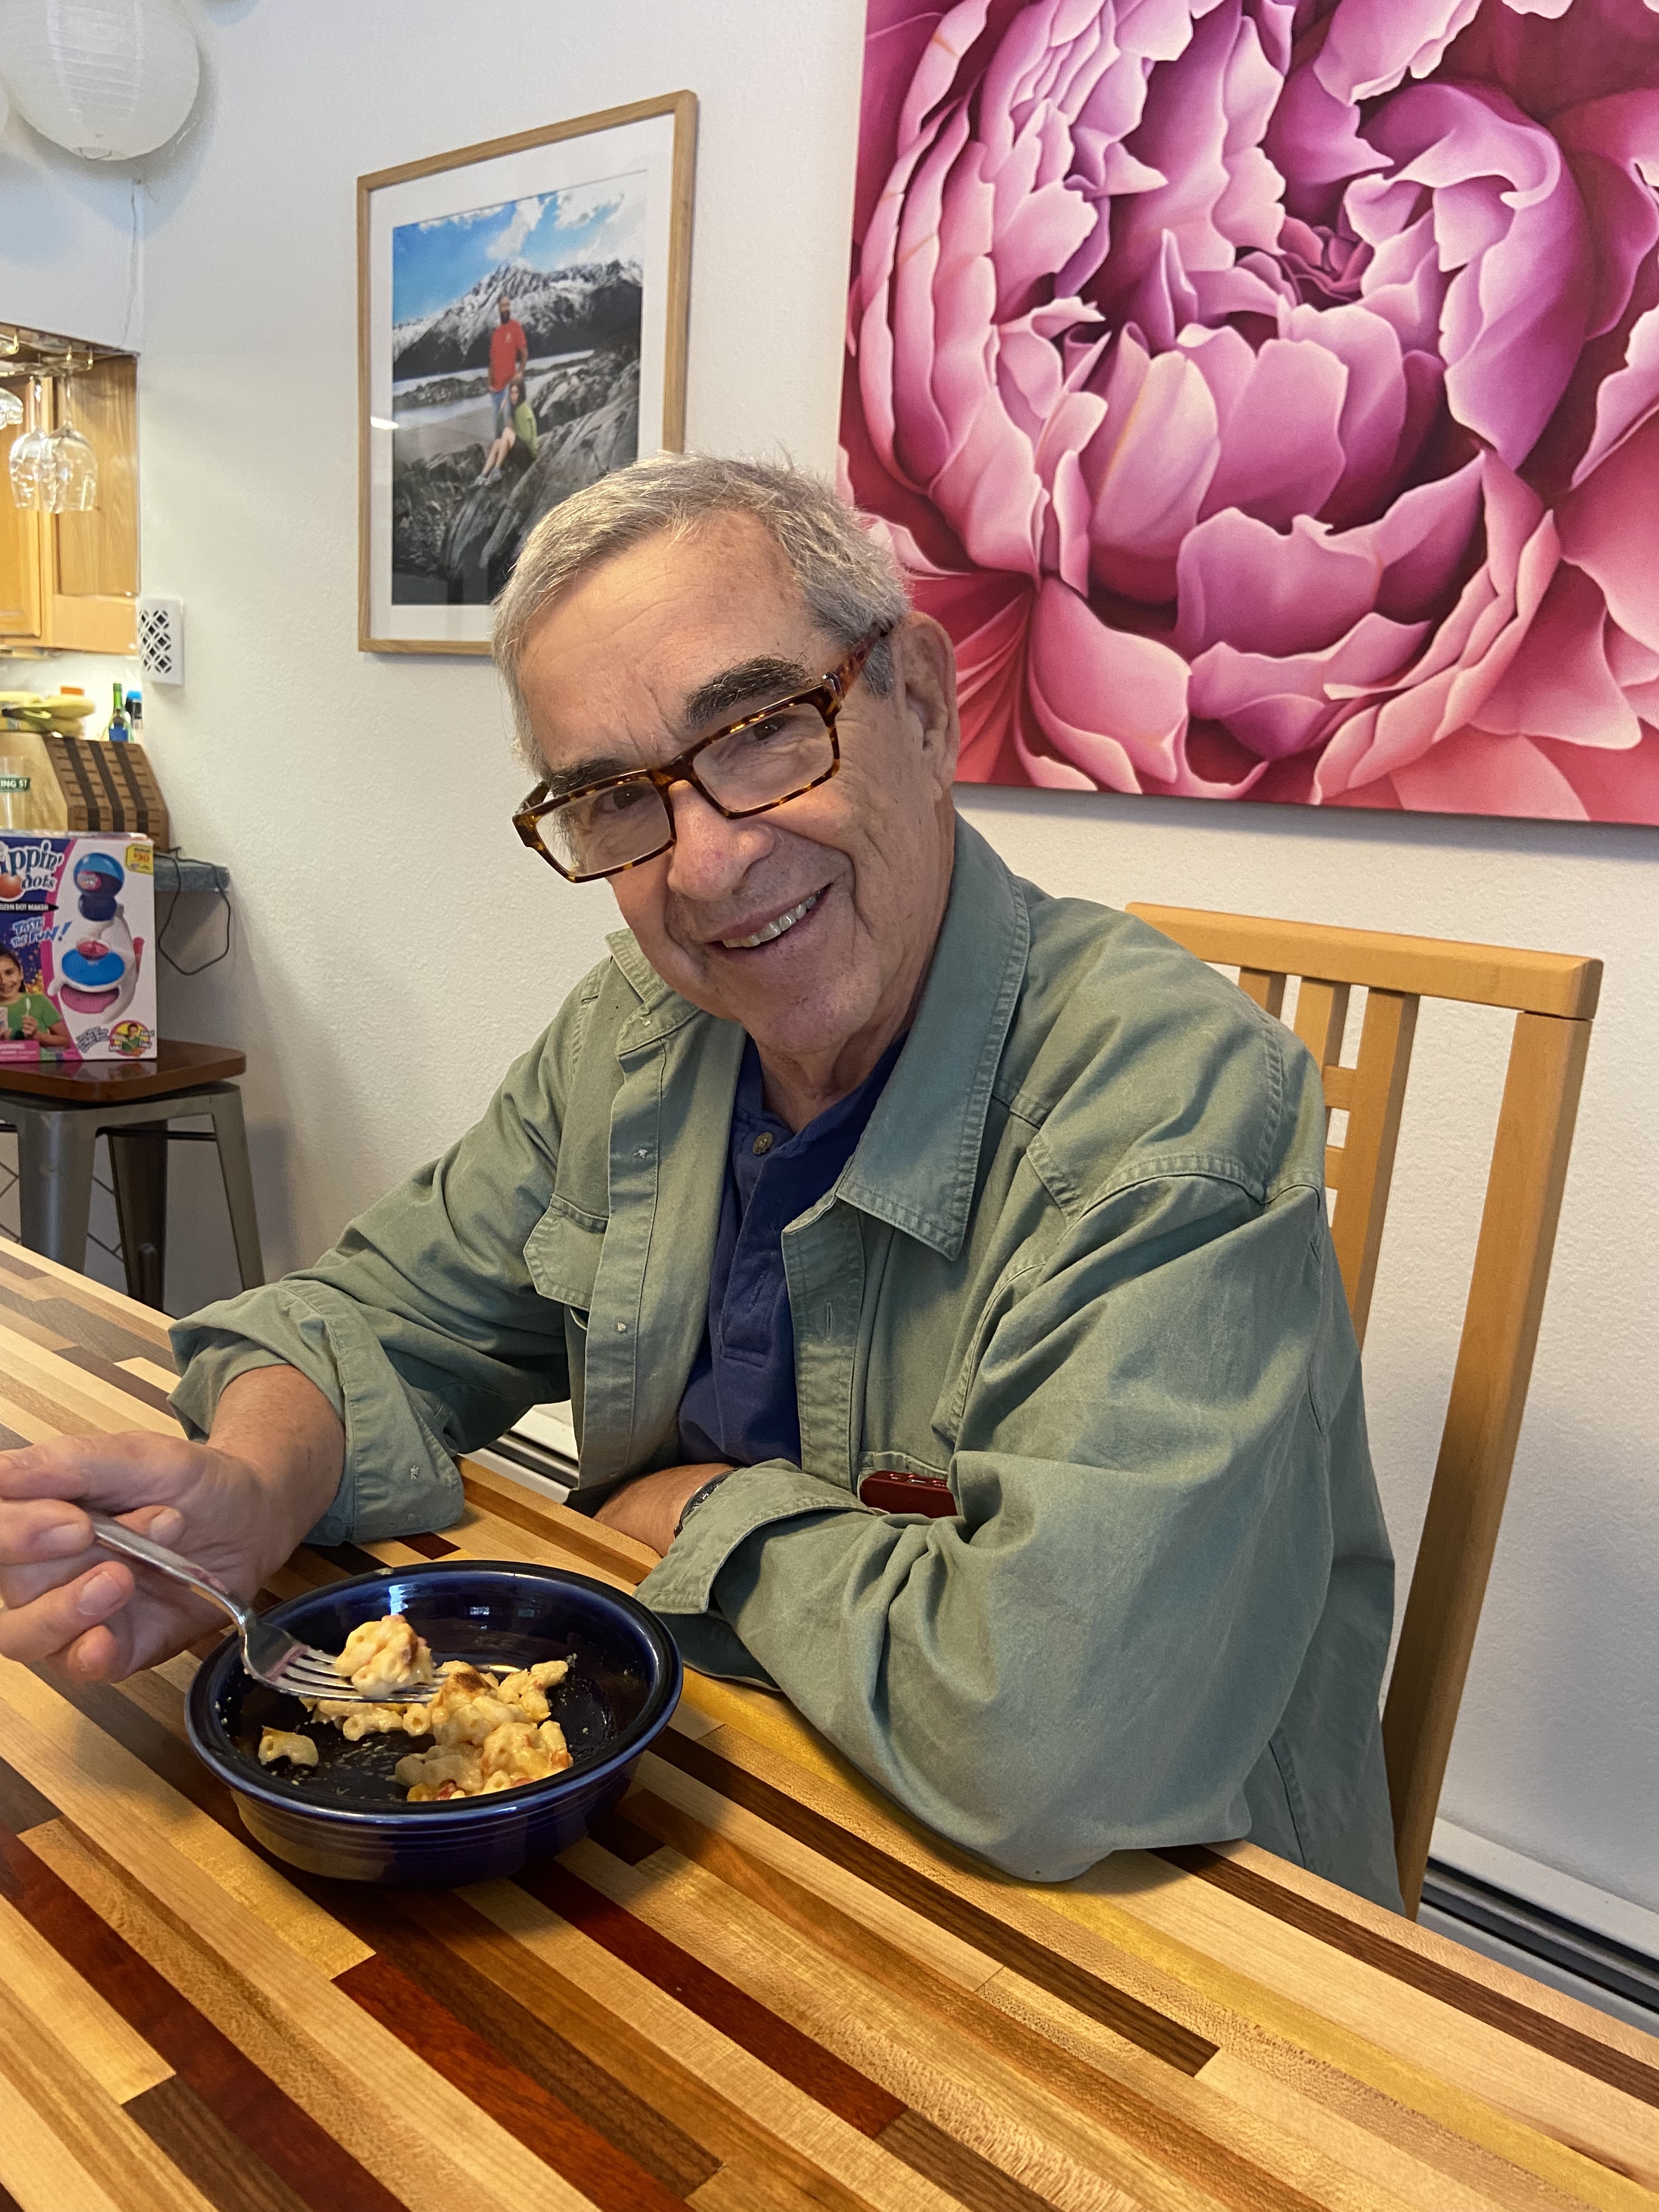
I recently watched a delightful documentary called “The Automat” about the history of the Horn & Hardart restaurants in Philly and NYC. My dad, who grew up in Queens, remembers fondly the macaroni and cheese they used to serve. He sent me a recipe and I decided to try it out and serve it to him for lunch. He said it tasted just how he remembered – a slight sweetness, a little graininess, and ooey-gooey creaminess.
I took the recipe he sent me and tweaked it slightly. Here it is!
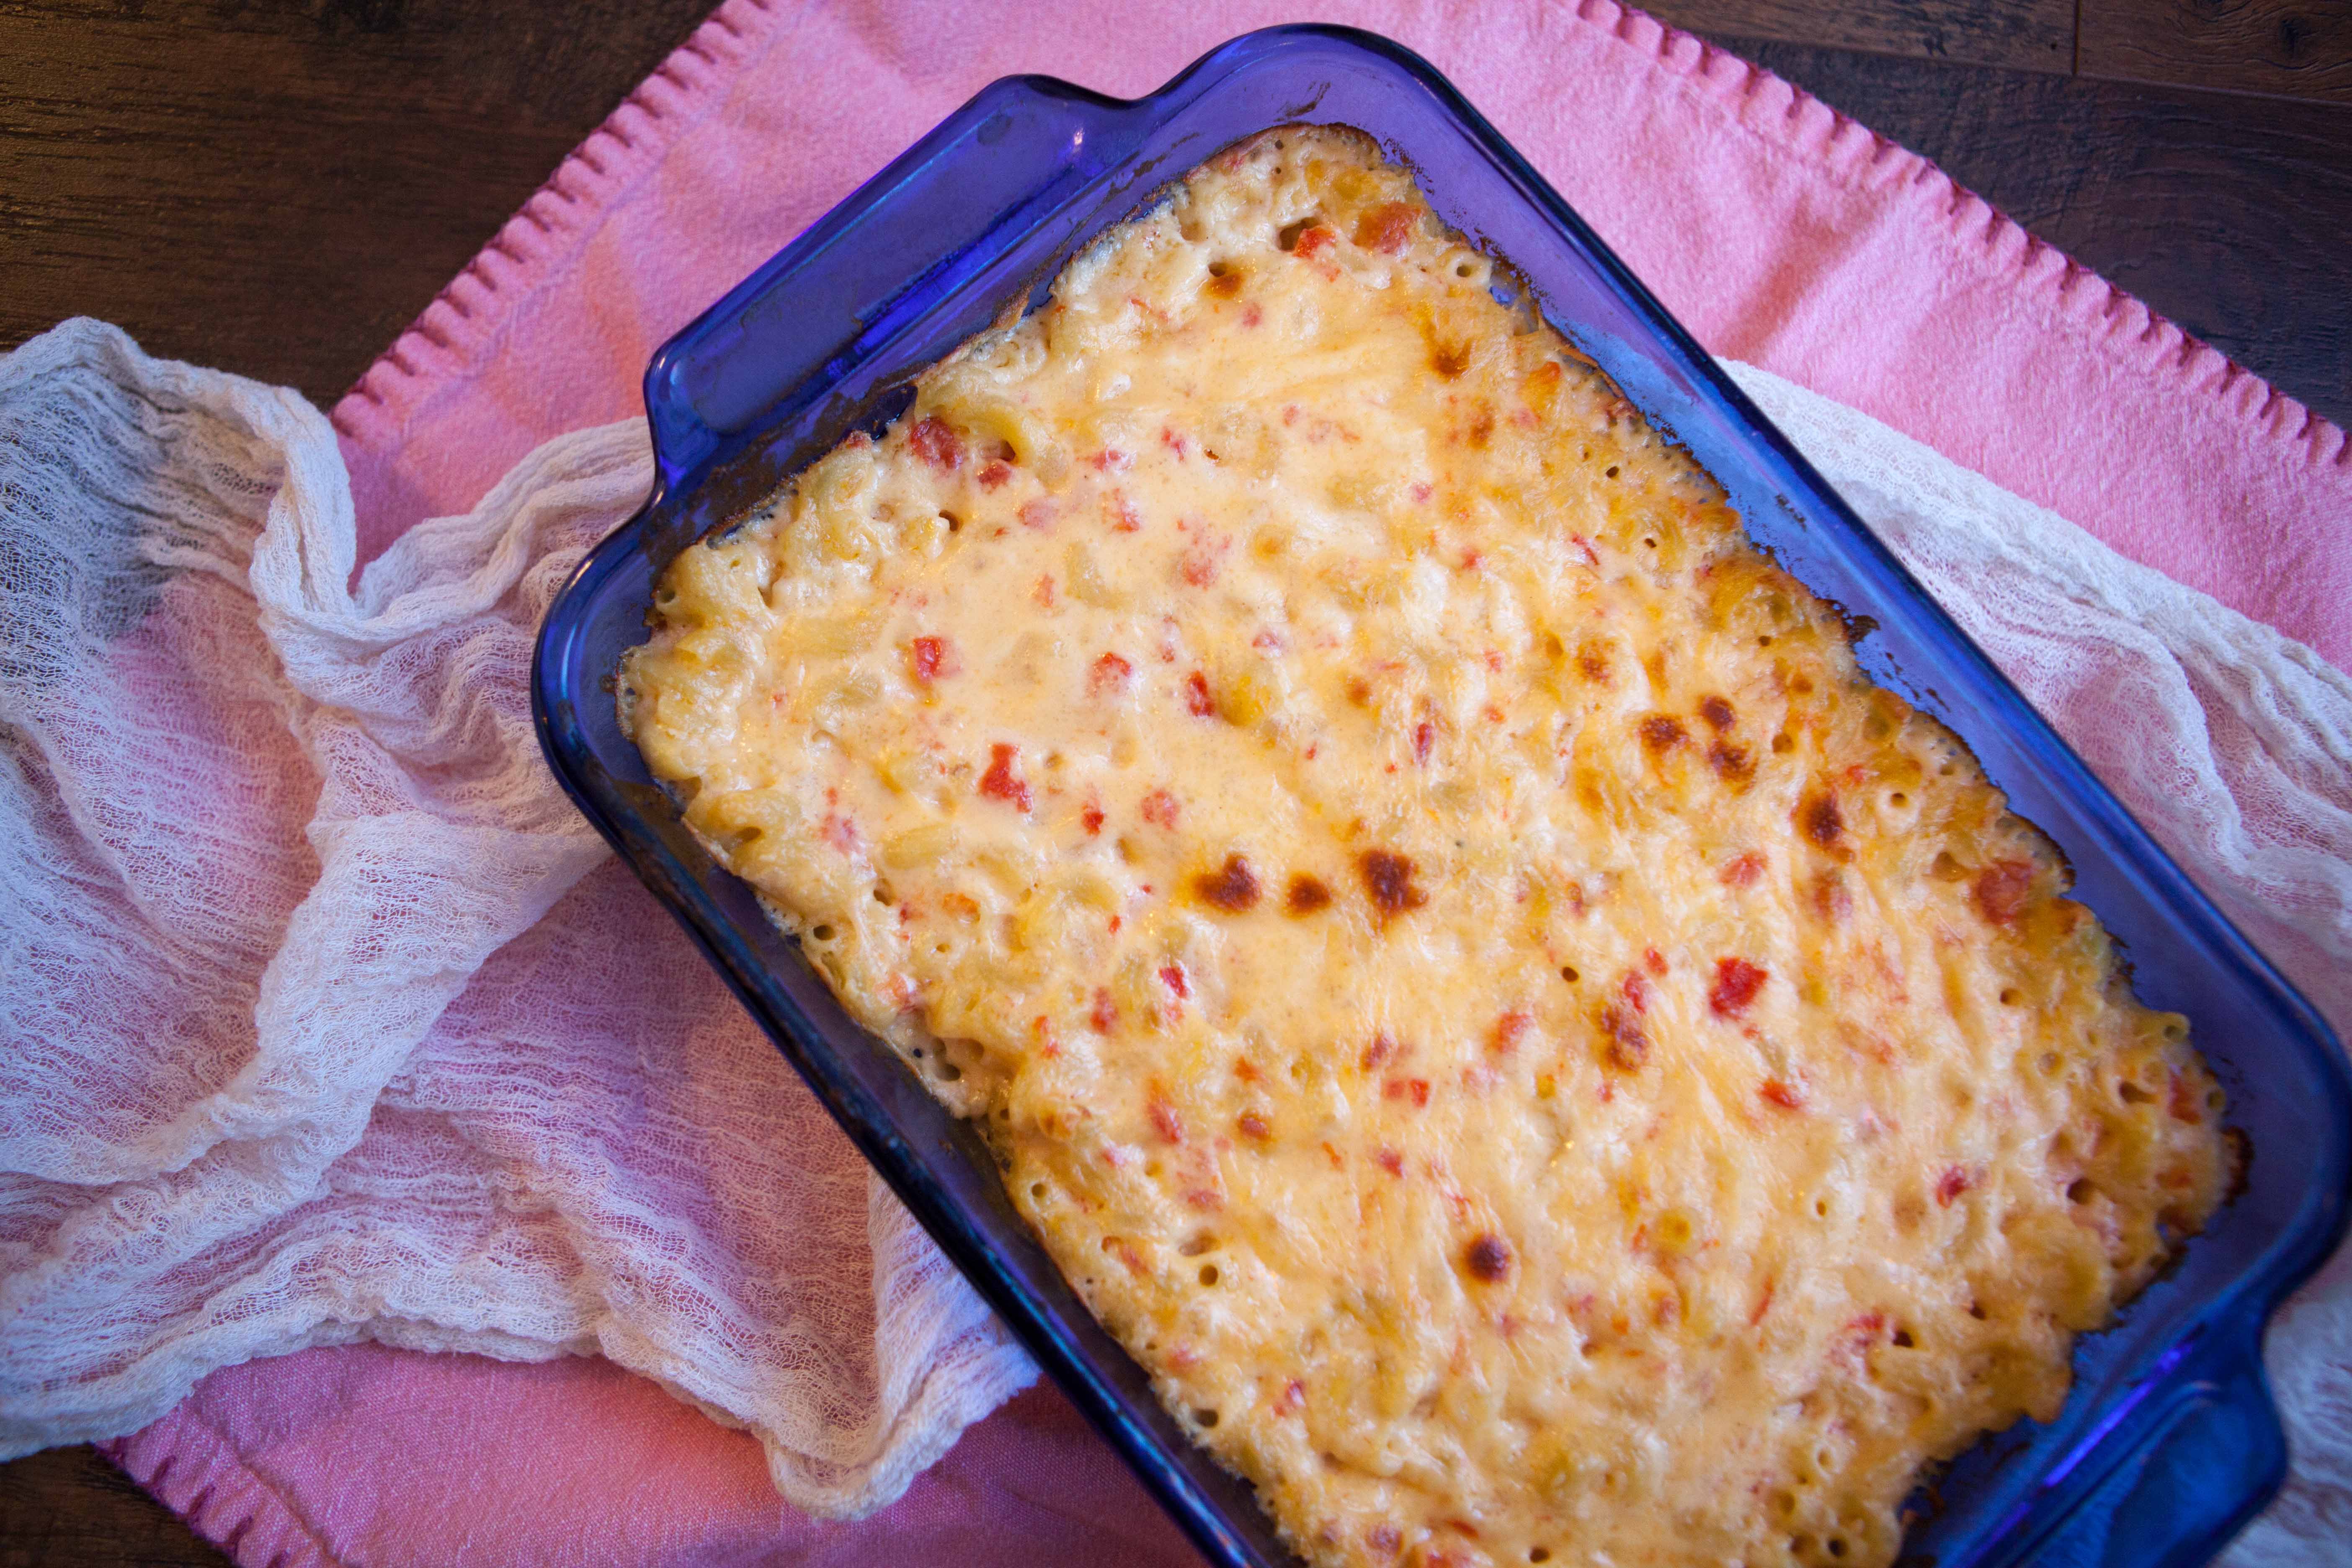
Horn & Hardart’s Baked Macaroni & Cheese
Serves 4
Ingredients:
10 ounces elbow macaroni
2 cups whole milk
1/4 cup cream
1/4 teaspoon white pepper
salt to taste
3 tablespoons butter
3 tablespoons flour
2 1/2 cups grated sharp cheddar
1/2 cup canned diced tomatoes, drained and chopped fine
a pinch of cayenne powder (optional)
1/2 teaspoon sugar
Directions:
Preheat the oven to 400F. Boil the macaroni in salted water until al dente – the pasta will cook more in the oven so you don’t want it to be overcooked. Drain and set aside until cheese sauce is made.
Combine the milk and cream in a large liquid measuring cup and microwave for 2-3 minutes until warm (you could also gently warm them in a saucepan on the stove).
Meanwhile, melt the butter in a saucepan and add the flour, whisking for 2 minutes to cook the flour. Pour in the warmed milk and cream a little bit at a time, whisking on and off the heat so the sauce doesn’t burn. Whisk until thickened. Add the white pepper and a big pinch of salt. Turn the heat to low and whisk in the cheese, about 1/2 cup at a time, until melted. Turn off the heat and stir in the tomatoes, cayenne and sugar.
Place your macaroni in a buttered casserole dish and pour over the sauce. Mix the macaroni until the sauce is coating all the pasta. Place in the oven and bake for 20-25 minutes until the top is starting to brown. Remove from oven and let sit for 5-10 minutes before serving.
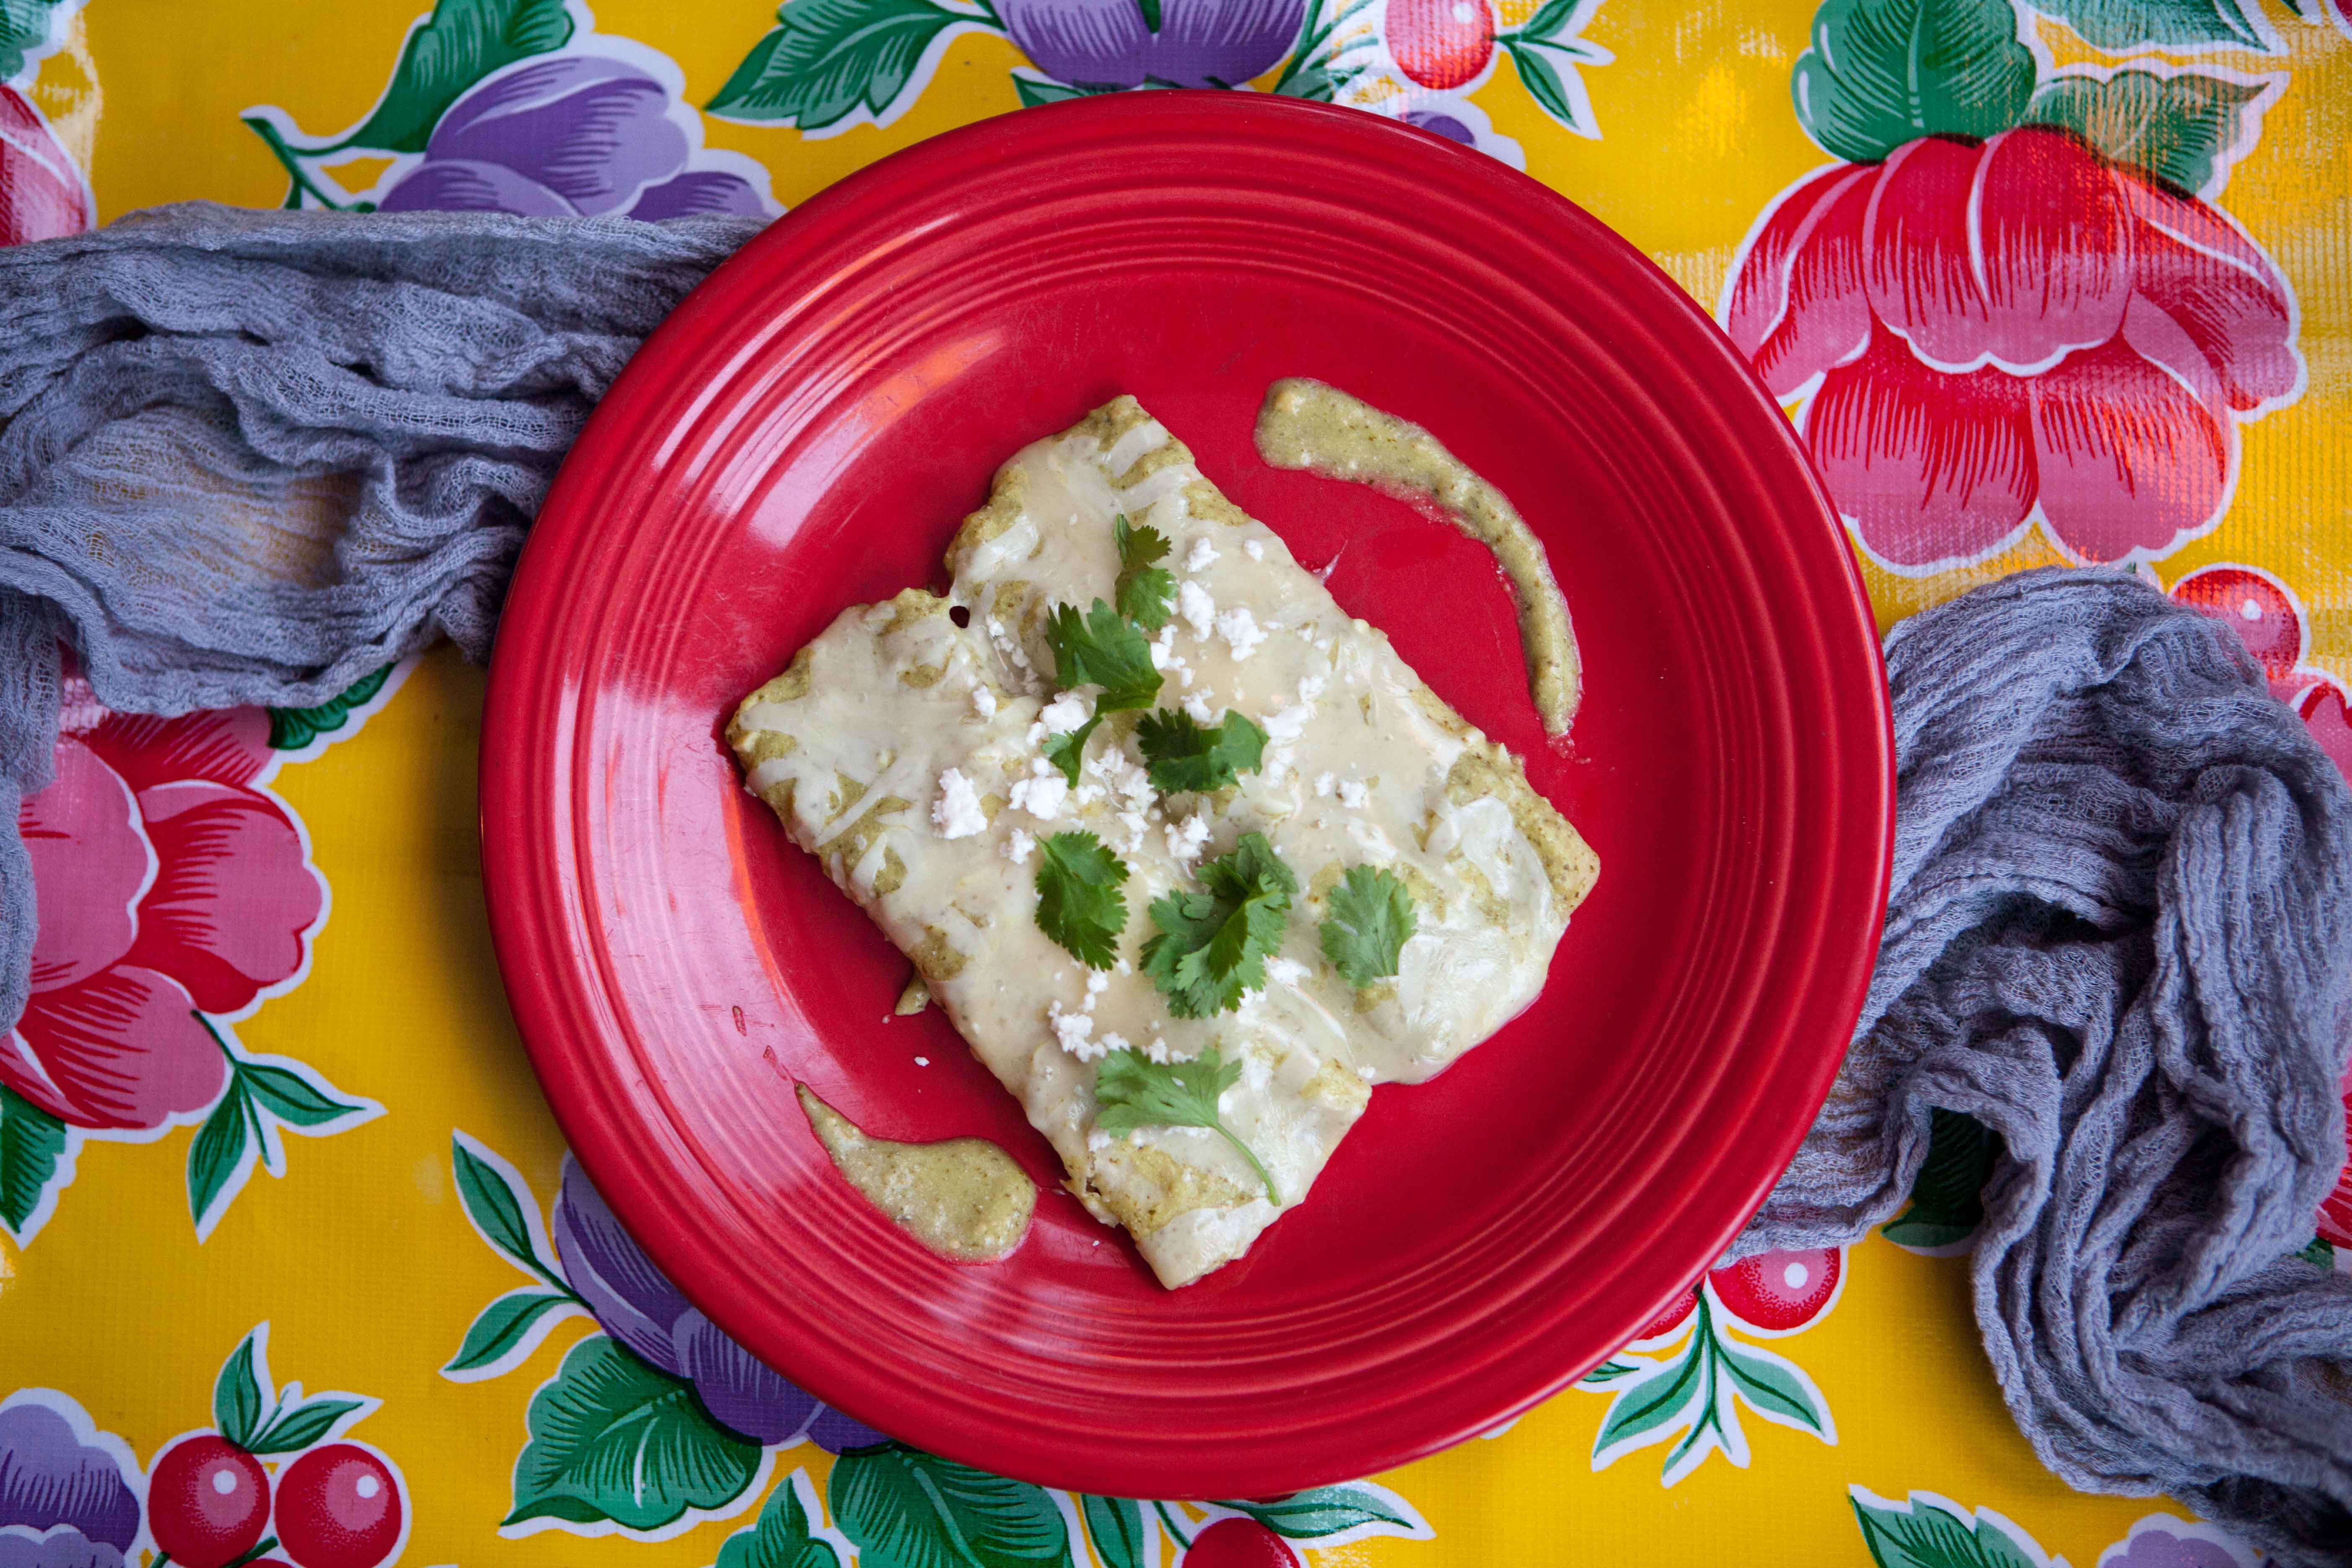
When we visit my parents’ place in Mexico the best part of our trip is always the food Moña, their housekeeper, prepares. She used to run a restaurant out of her house and she makes some classic Mexican dishes such as chilaquiles and chilies rellenos. Last time we visited she prepared enchiladas verdes. The tomatillo-based sauce was delicate and the cheese-filled enchiladas were absolutely delicious. I’ve been daydreaming of this dish ever since.
My folks are down there now so I asked my dad if he could get Moña to tell him the recipe. Instead, he made a video of her preparing them.
Moña doesn’t measure anything and we don’t have all the exact same ingredients here. It was a fun challenge to translate/transpose her method. I’ll definitely be making these again.
7 ounces crumbled queso fresco (about 1 1/2 cups), 8 ounces grated Manchego or Monterey jack (about 2 cups, divided)
Enchiladas:
12 corn tortillas
Vegetable oil, for frying
Directions:
Preheat oven to 350F.
Place 1/4 of an onion, 1 garlic clove, jalapeño and tomatillos in a saucepan and add enough water to submerge everything. Bring to a boil, turn down heat and simmer for 10 minutes.
Using a slotted spoon, add the onion, garlic, jalapeño and tomatillos to a blender. Strain the tomatillo water through a mesh sieve into a liquid measuring cup. Place any pulp from the sieve into the blender and pulse blender until smooth. Add cilantro and blend. Add 3/4 cup cream and blend.
Finely chop the 2 remaining cloves of garlic and 1/4 of an onion. Wipe dry the saucepan and add 1 tablespoon olive oil. Heat oil and sauté garlic and onion till soft, about 2 minutes. Add the contents of the blender to the saucepan. Place 1/4 cup of tomatillo water in the blender and swish it around to loosen up any leftover sauce; add to the saucepan. Add 2 teaspoons of chicken bouillon and taste for saltiness. If it needs more salt, add more bouillon. Turn heat down and gently simmer for 10 minutes so sauce thickens, stirring occasionally. Turn off the heat and add remaining 1/4 cup of cream; set sauce aside while you prepare the filling.
Sauté the 1/3 cup chopped onion in olive oil until soft, about 2 minutes. Let cool slightly and combine with the queso fresco and 1 cup of the Manchego or Monterey jack. Set aside the filling while you prepare the tortillas.
In a frying pan, add enough vegetable oil to liberally coat the pan, about 1/3 cup. Heat oil over high. Add the edge of a tortilla to see if the oil is ready. The tortilla should bubble a little in the oil. When oil is hot enough, add one tortilla and fry just a few seconds on each side, flipping three or four times. You don’t want the tortillas to become crispy, but the oil makes them more pliable. Lift tortilla out of pan and let the excess oil drip off the tortilla. Transfer tortilla to a platter or tray and repeat with remaining tortillas, adding more oil if needed.
Here’s the technique Moña taught me for how to flip the tortillas in the hot oil.
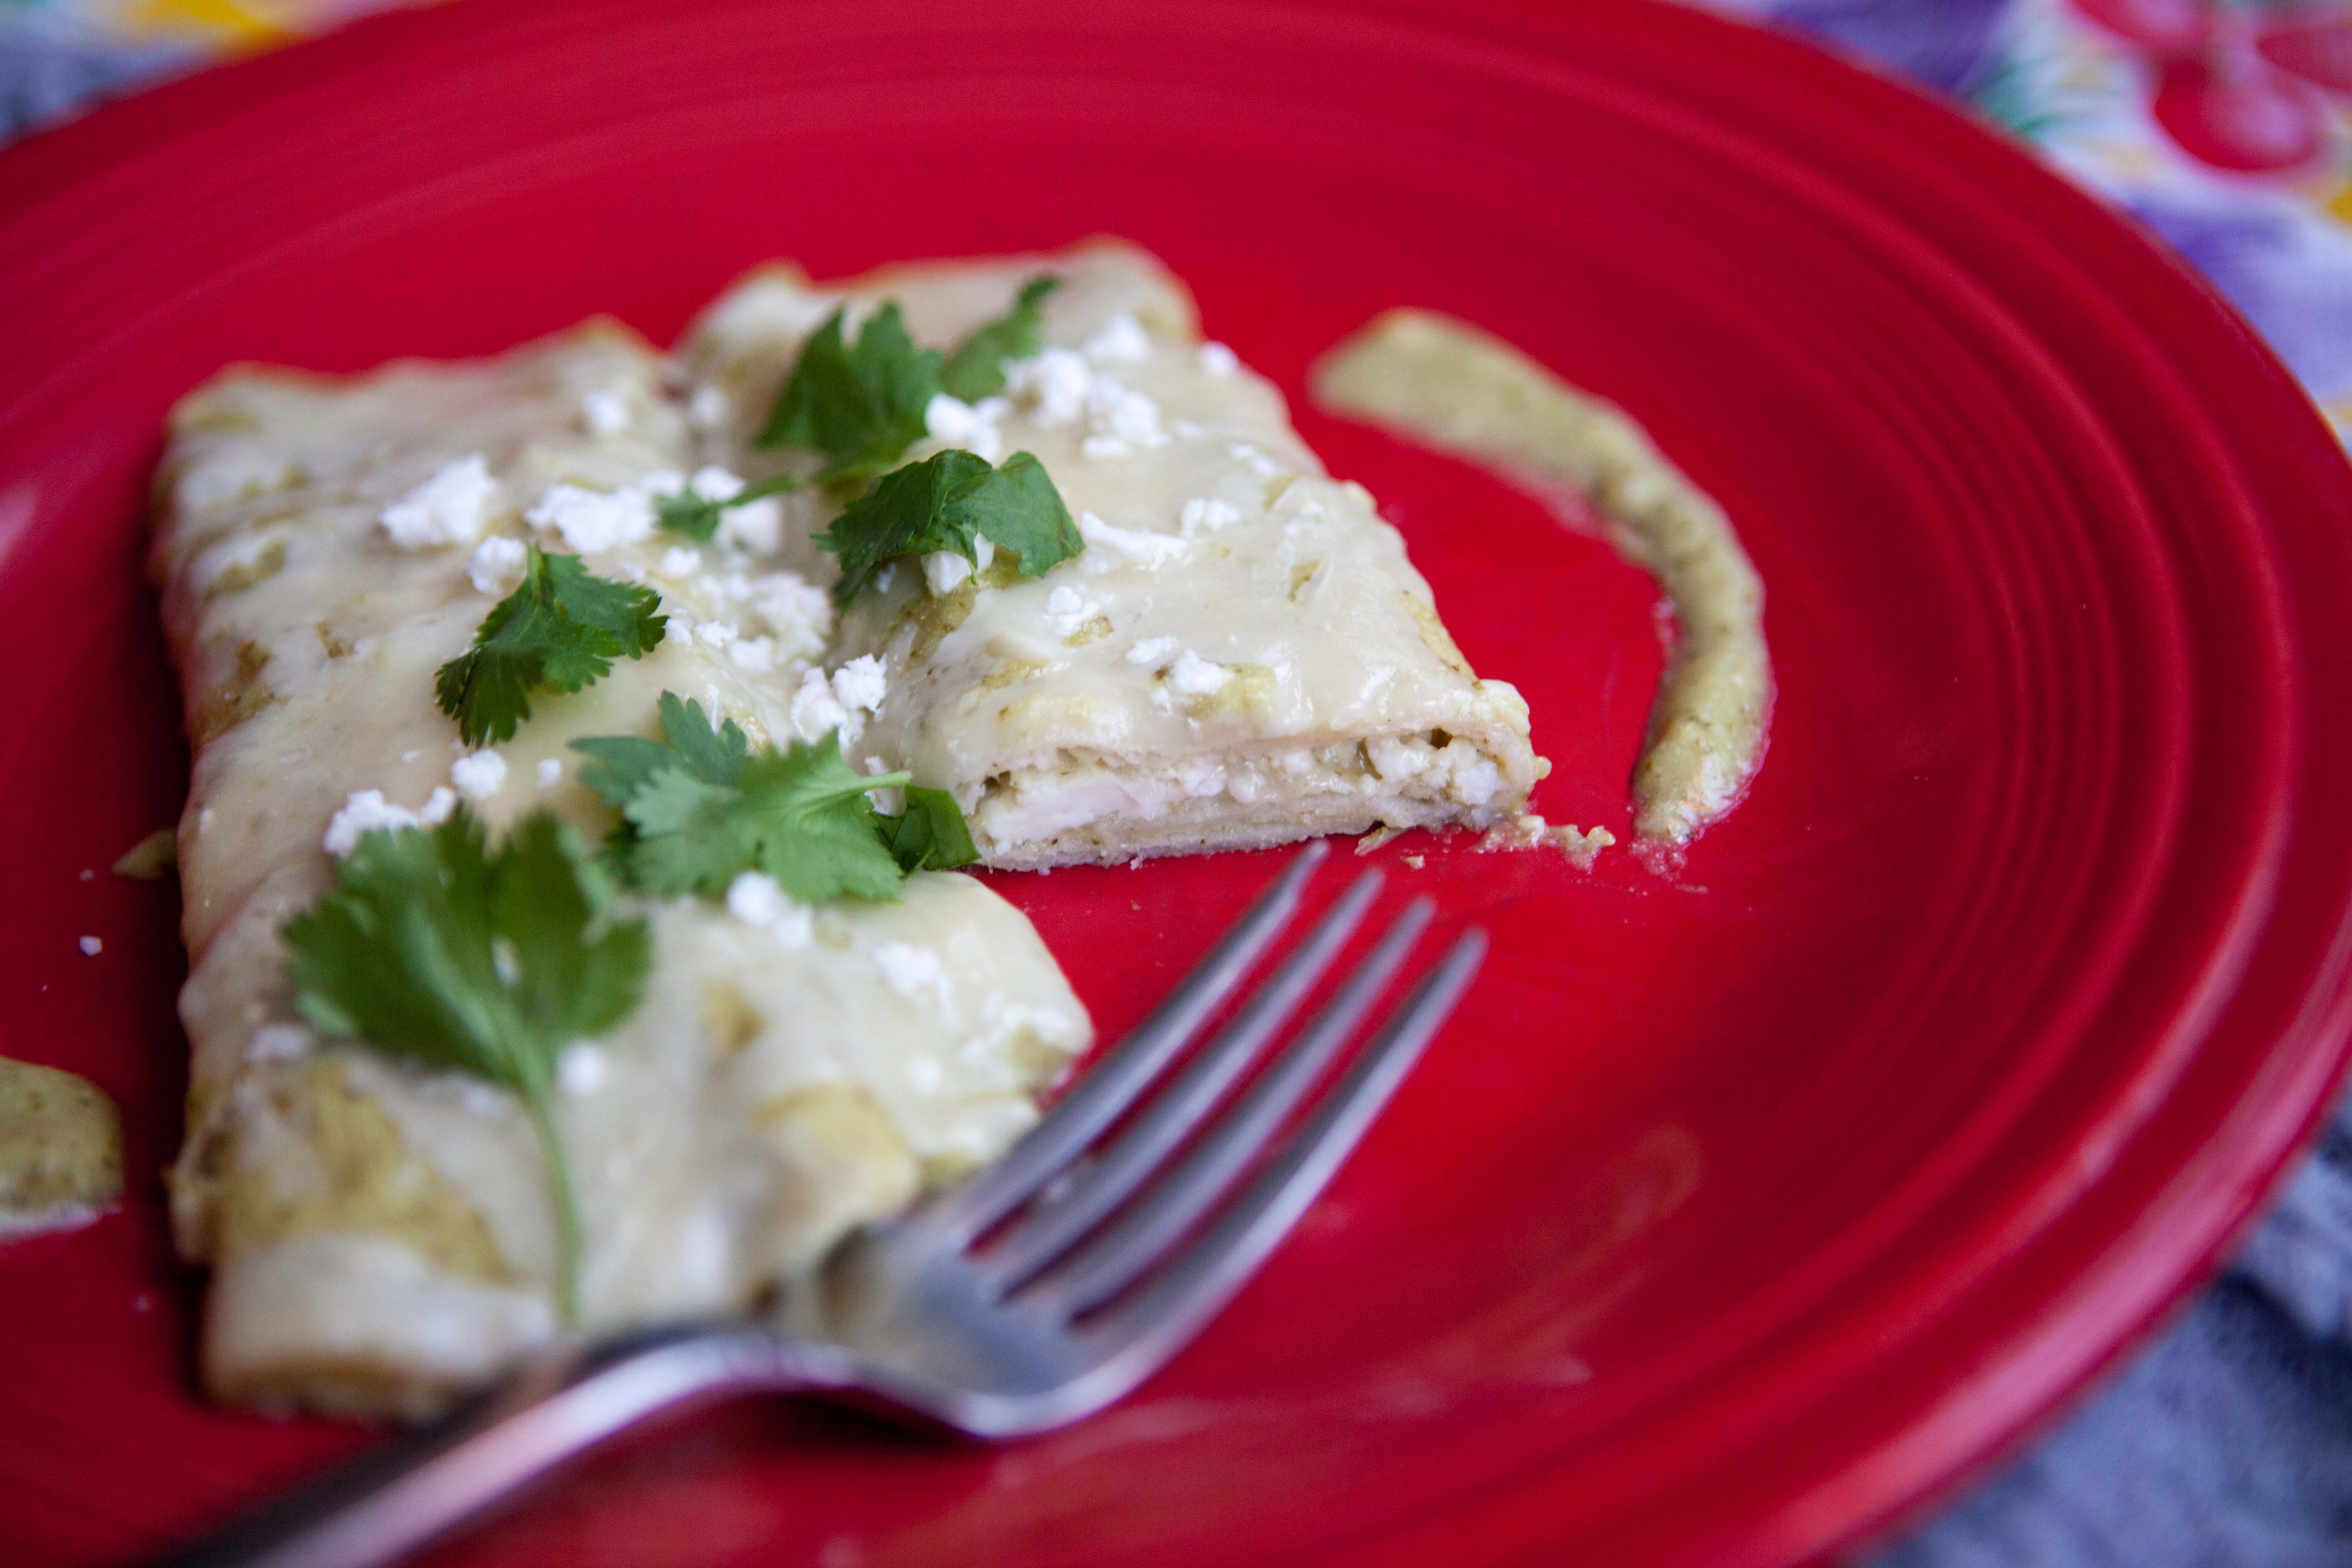
To assemble the enchiladas, spoon about 1 cup of the sauce into the bottom of a casserole dish. Pat a tortilla with a paper towel to absorb any excess oil, then dip the tortilla into the pot of sauce, letting any excess drip back into the pot. Place tortilla on a prep tray, add a small handful of filling, and roll up the tortilla, placing it seam-side down in the casserole dish. Repeat with remaining tortillas and filling. You could also add shredded cooked chicken in this step, if you like.
When the dish is packed with enchiladas cover them with a layer of sauce, using a spoon to spread the sauce into every nook and cranny. Top with remaining Manchego or Monterey jack. Cover with foil and bake for 15-25 minutes, until cheese on top is fully melted.
I love pasta. Whenever my bestie Kelly comes over for dinner we usually make a pasta dish. In an effort to try and eat more healthily I decided last time she came over to cook something with equal flavor to my usual pasta craving but with a healthier grain: farro.
I put together a farrotto dish, which is made just like risotto but with the ancient grain farro, which is high in fiber, protein, vitamins, minerals and antioxidants.
Much like risotto, this recipe requires a lot of stirring, but with a best friend by your side and a couple of glasses of wine, the time goes by quickly.
I splurged for high-quality ricotta to dollop on top and sprinkled it with fresh chopped basil for that extra-special touch.
Tomato Farrotto with Spinach and Ricotta
Serves 3-4
Ingredients:
2.5-4 cups chicken stock
1.5 cups crushed tomatoes
2 tablespoons butter
1 cup minced onion
3 cloves garlic, minced
1/4 cup minced marinated tomatoes (or 2 tablespoons tomato paste)
1 teaspoon Trader Joes umami seasoning (optional)
2 teaspoons dried basil
1 teaspoon dried oregano
salt and pepper to taste
splash of white wine
1 1/4 cups uncooked farro
2 cups chopped baby spinach
1 generous cup of grated parmesan
2 tablespoons half and half or cream
fresh ricotta, to serve
chopped fresh basil, to serve
Directions:
In a small saucepan, combine 2.5 cups stock and the crushed tomatoes. Cook till simmering and keep on low flame. Meanwhile, heat a large pan over medium high with the butter. Sauté the onions until soft, about 5 minutes. Add the garlic and the marinated tomatoes and cook until garlic is fragrant, about 1 minute. Deglaze with the splash of white wine.
Add the dried farro, umami seasoning, dried basil and oregano and cook until farro is lightly toasted, just a couple of minutes. Season with salt and pepper (I recommend skipping the salt if you used the umami seasoning).
Add a couple of ladlefuls of the hot stock/tomatoes to the pan and stir. Turn down the heat till the pan is at a low simmer. When much of the liquid has been absorbed into the farro, add another couple of ladles of the stock/tomatoes. Continue this until the farro is al dente, about 45 minutes, stirring often. You will need to heat up more stock after you’ve run out of the stock/tomato mixture. I can’t say exactly how much you’ll need. It just depends how much liquid the farro absorbs.
When farro is cooked through, add the chopped spinach and cook until spinach is wilted, a couple of minutes. Turn off heat and add the parmesan and half and half.
Serve with dollops of ricotta and chopped fresh basil.
My mother makes a pretty mean meatloaf. It’s always a little different but has similar components such as tomato sauce, bread, cheese and of course ground meats. For years I adopted her basic recipe as my go-to, which you can view here. But recently a friend gifted me the hefty cookbook “The Food Lab” by J. Kenji López-Alt and I saw he suggested adding gelatin to meatloaf, which I found fascinating. His recipe is quite different from my mom’s and involves a bit more labor. Around the same time I checked out a new cookbook from my local library called “Come on Over.” Author Jeff Mauro has his favorite meatloaf recipe where he uses other ingredients that differ from my mom’s. I decided to take a little from all three recipes to create my new favorite meatloaf.
Some things I love about this recipe:
The classic loaf shape makes for perfect serving sizes
The gelatin makes it slice so perfectly
The cold leftovers are SO GOOD
You can make delicious meatloaf sliders as Jeff Mauro suggests.
My Favorite Meatloaf
Serves 6-ish Cook time from start to finish: 2 hours, 15 minutes (totally worth it)
1/2 cup minced carrot (about 1 medium/large carrot)*
1/2 cup minced celery (about 2 celery stalks)*
2 cloves garlic, minced
salt and pepper to taste
1 tablespoon Dijon
1 teaspoon fish sauce
1 teaspoon soy sauce
2 teaspoons Worcestershire sauce
1 pound ground beef
1 pound ground pork
2 eggs
1 cup grated Pecorino Romano cheese
1/4 cup minced parsley
1/3 cup shelled pistachios (optional)
*I blitz the onion, carrot and celery in a food processor. It’s super fast and makes everything an even, small size.
For the glaze:
1/2 cup ketchup
1/4 cup packed brown sugar
1/4 cup barbecue sauce
2 tablespoons apple cider vinegar
2 tablespoons Worcestershire sauce
1 tablespoon soy sauce
1 teaspoon molasses
Lots of ground pepper
Directions:
Place saltines in a large mixing bowl and set aside. Place stock and milk in a liquid measuring cup and evenly sprinkle gelatin on top. Set aside.
Melt butter in a large sauté pan and add onion, carrot and celery. Sauté till onions are soft, about 5 minutes. Add garlic and cook until fragrant, about 1 minute.
Pour in stock/milk mixture; add Dijon, fish sauce, soy sauce, Worcestershire sauce and salt and pepper. Bring to a simmer and simmer until liquid has reduced by half, about 10 minutes.
Place this mixture in the bowl with the saltines and mix till well combined. While this mixture cools, preheat the oven to 350F.
Add beef, pork, eggs, cheese, parsley and optional pistachios to the cooled saltine mixture. Gently mix with your hands until just combined. Pack mixture into a glass loaf pan, pushing out any air bubbles. Spray a sheet of foil with cooking spray and cover the pan with the foil. This will hopefully keep the loaf from sticking to the foil later (that’s the only downside to my recipe, I’ve found. I haven’t tried spraying the foil, so if you make this recipe, let me know if it works!) Solution! Use a silpat baking mat and this solves all the sticking problems.
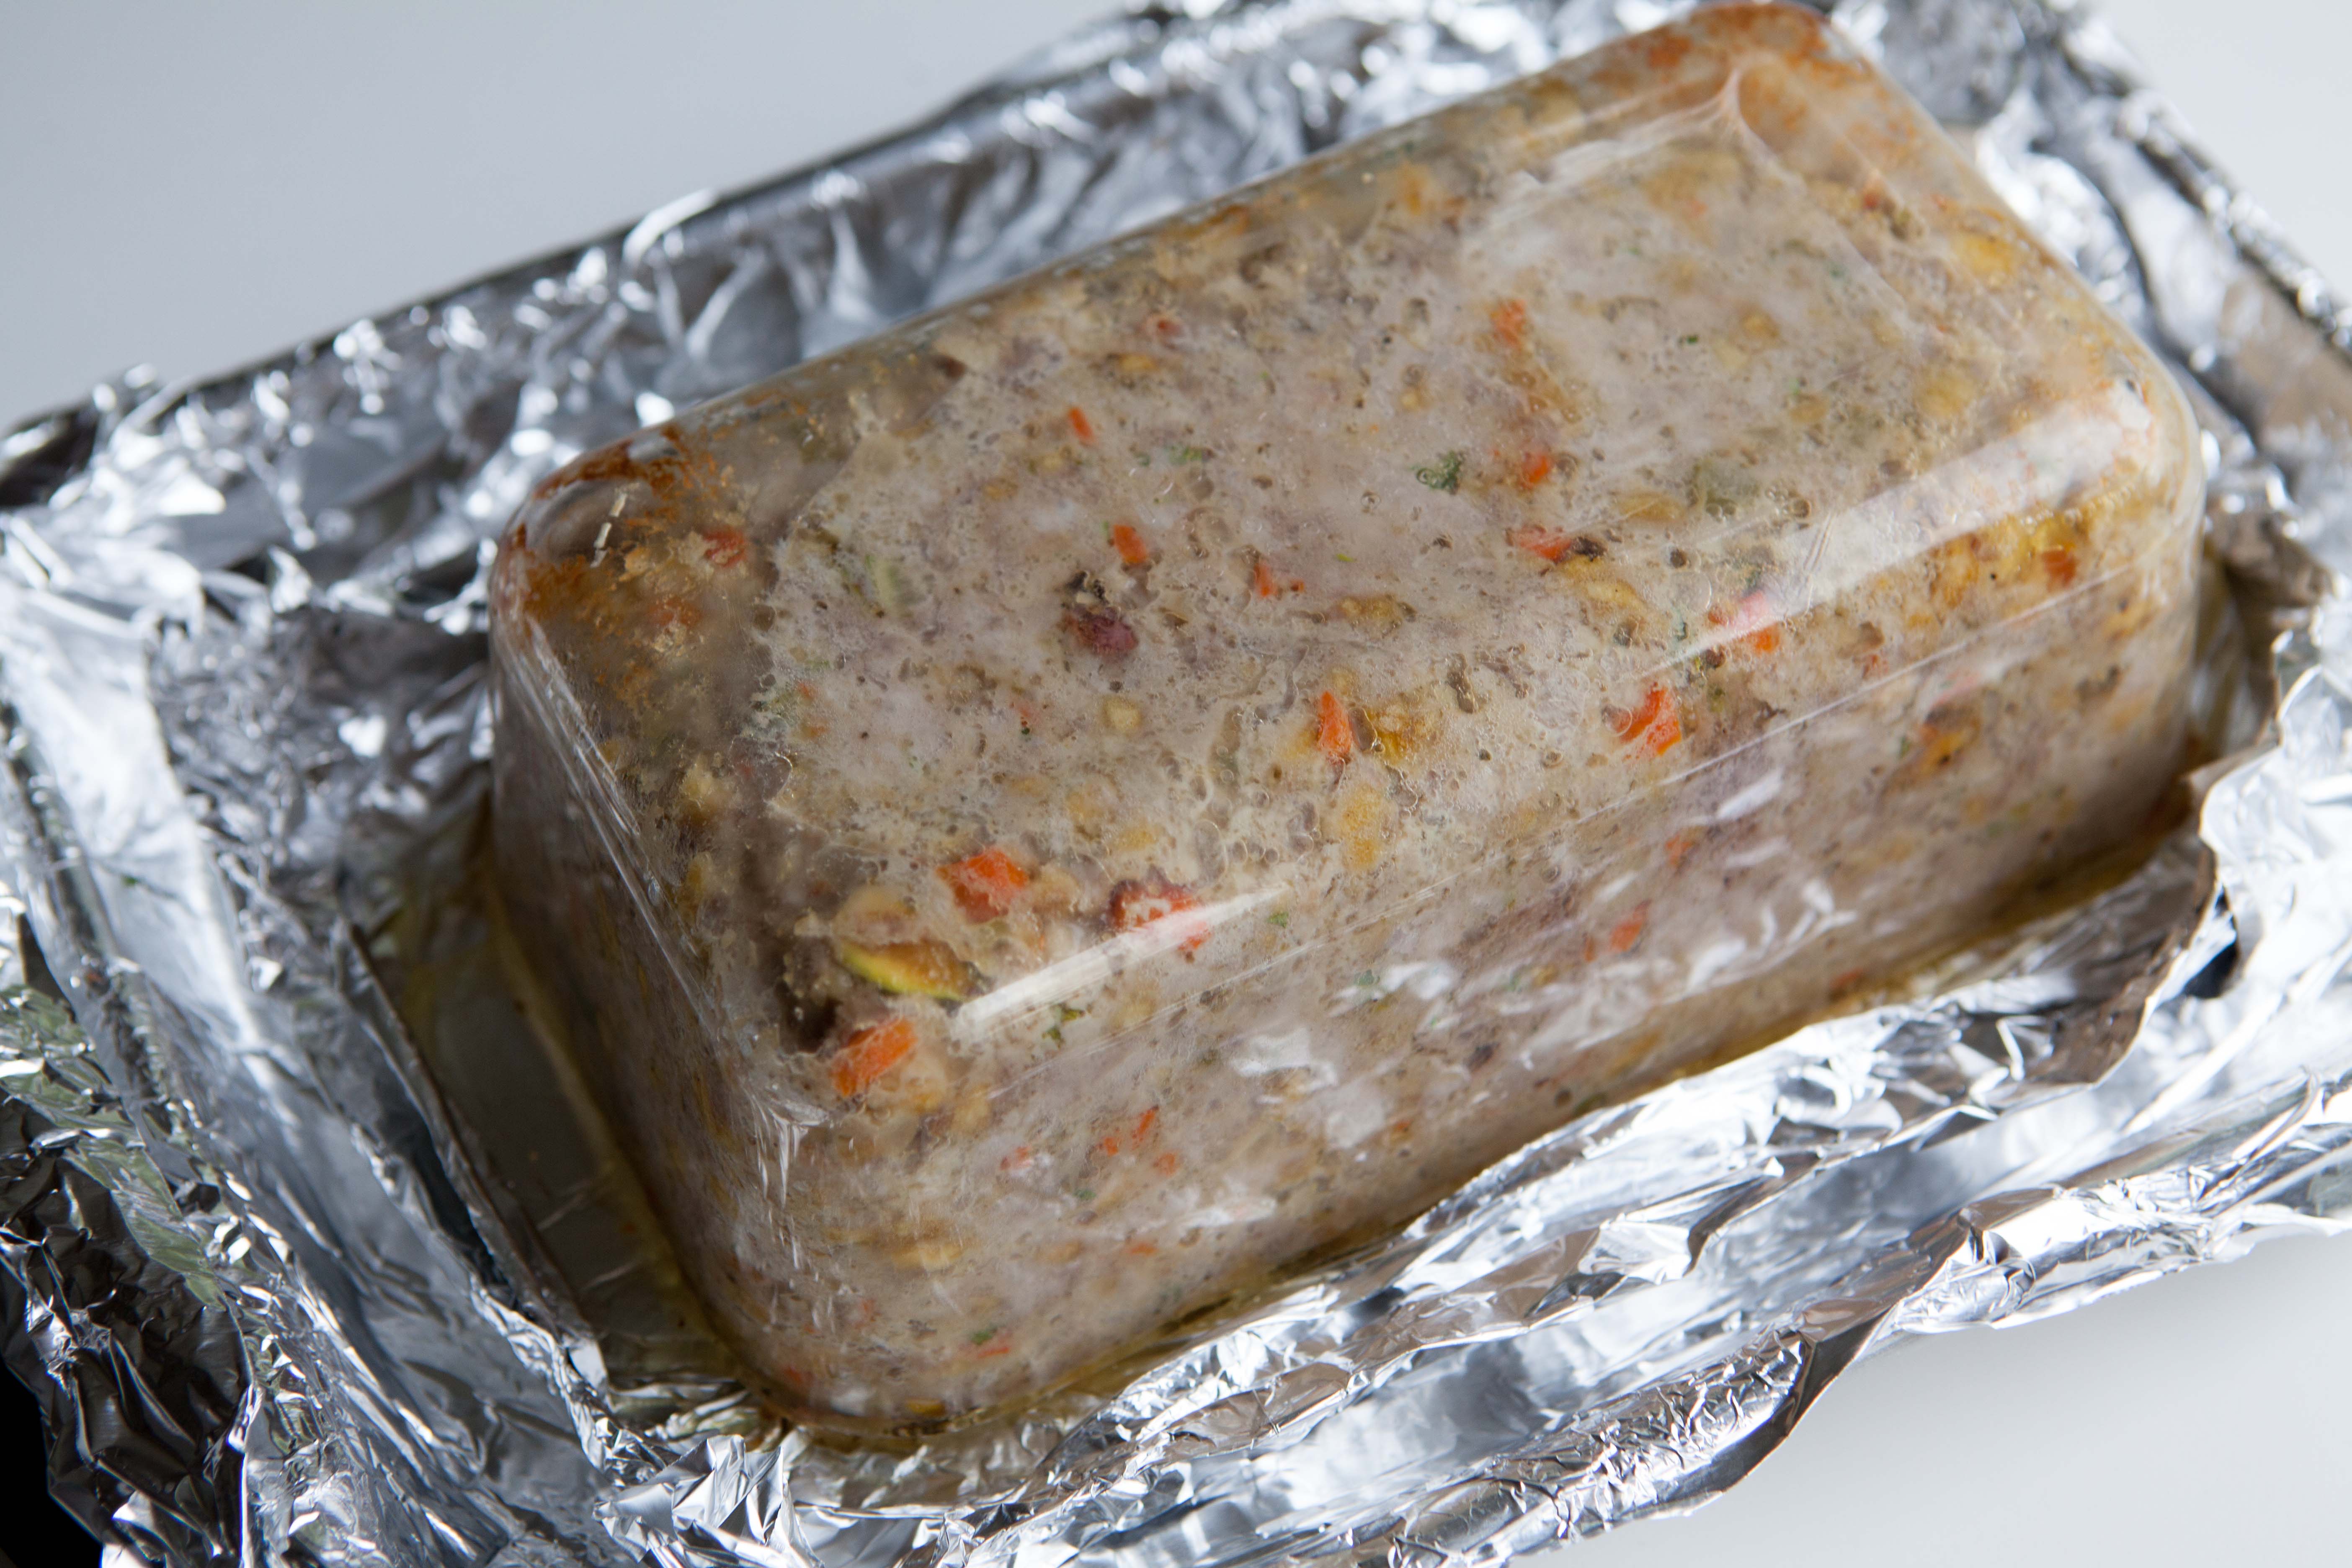
Line a baking sheet with foil. (see above note). Invert the loaf pan (with the foil still on top) onto the baking sheet. Bake for 30 minutes. Carefully remove the baking sheet and using pot holders you don’t care getting gunky, gently jiggle the loaf pan so it comes out. Keep the loaf on the baking sheet and bake another 40 minutes or until internal temperature measures 140 F. Remove and let sit 15 minutes. Turn the oven up to 500 F.
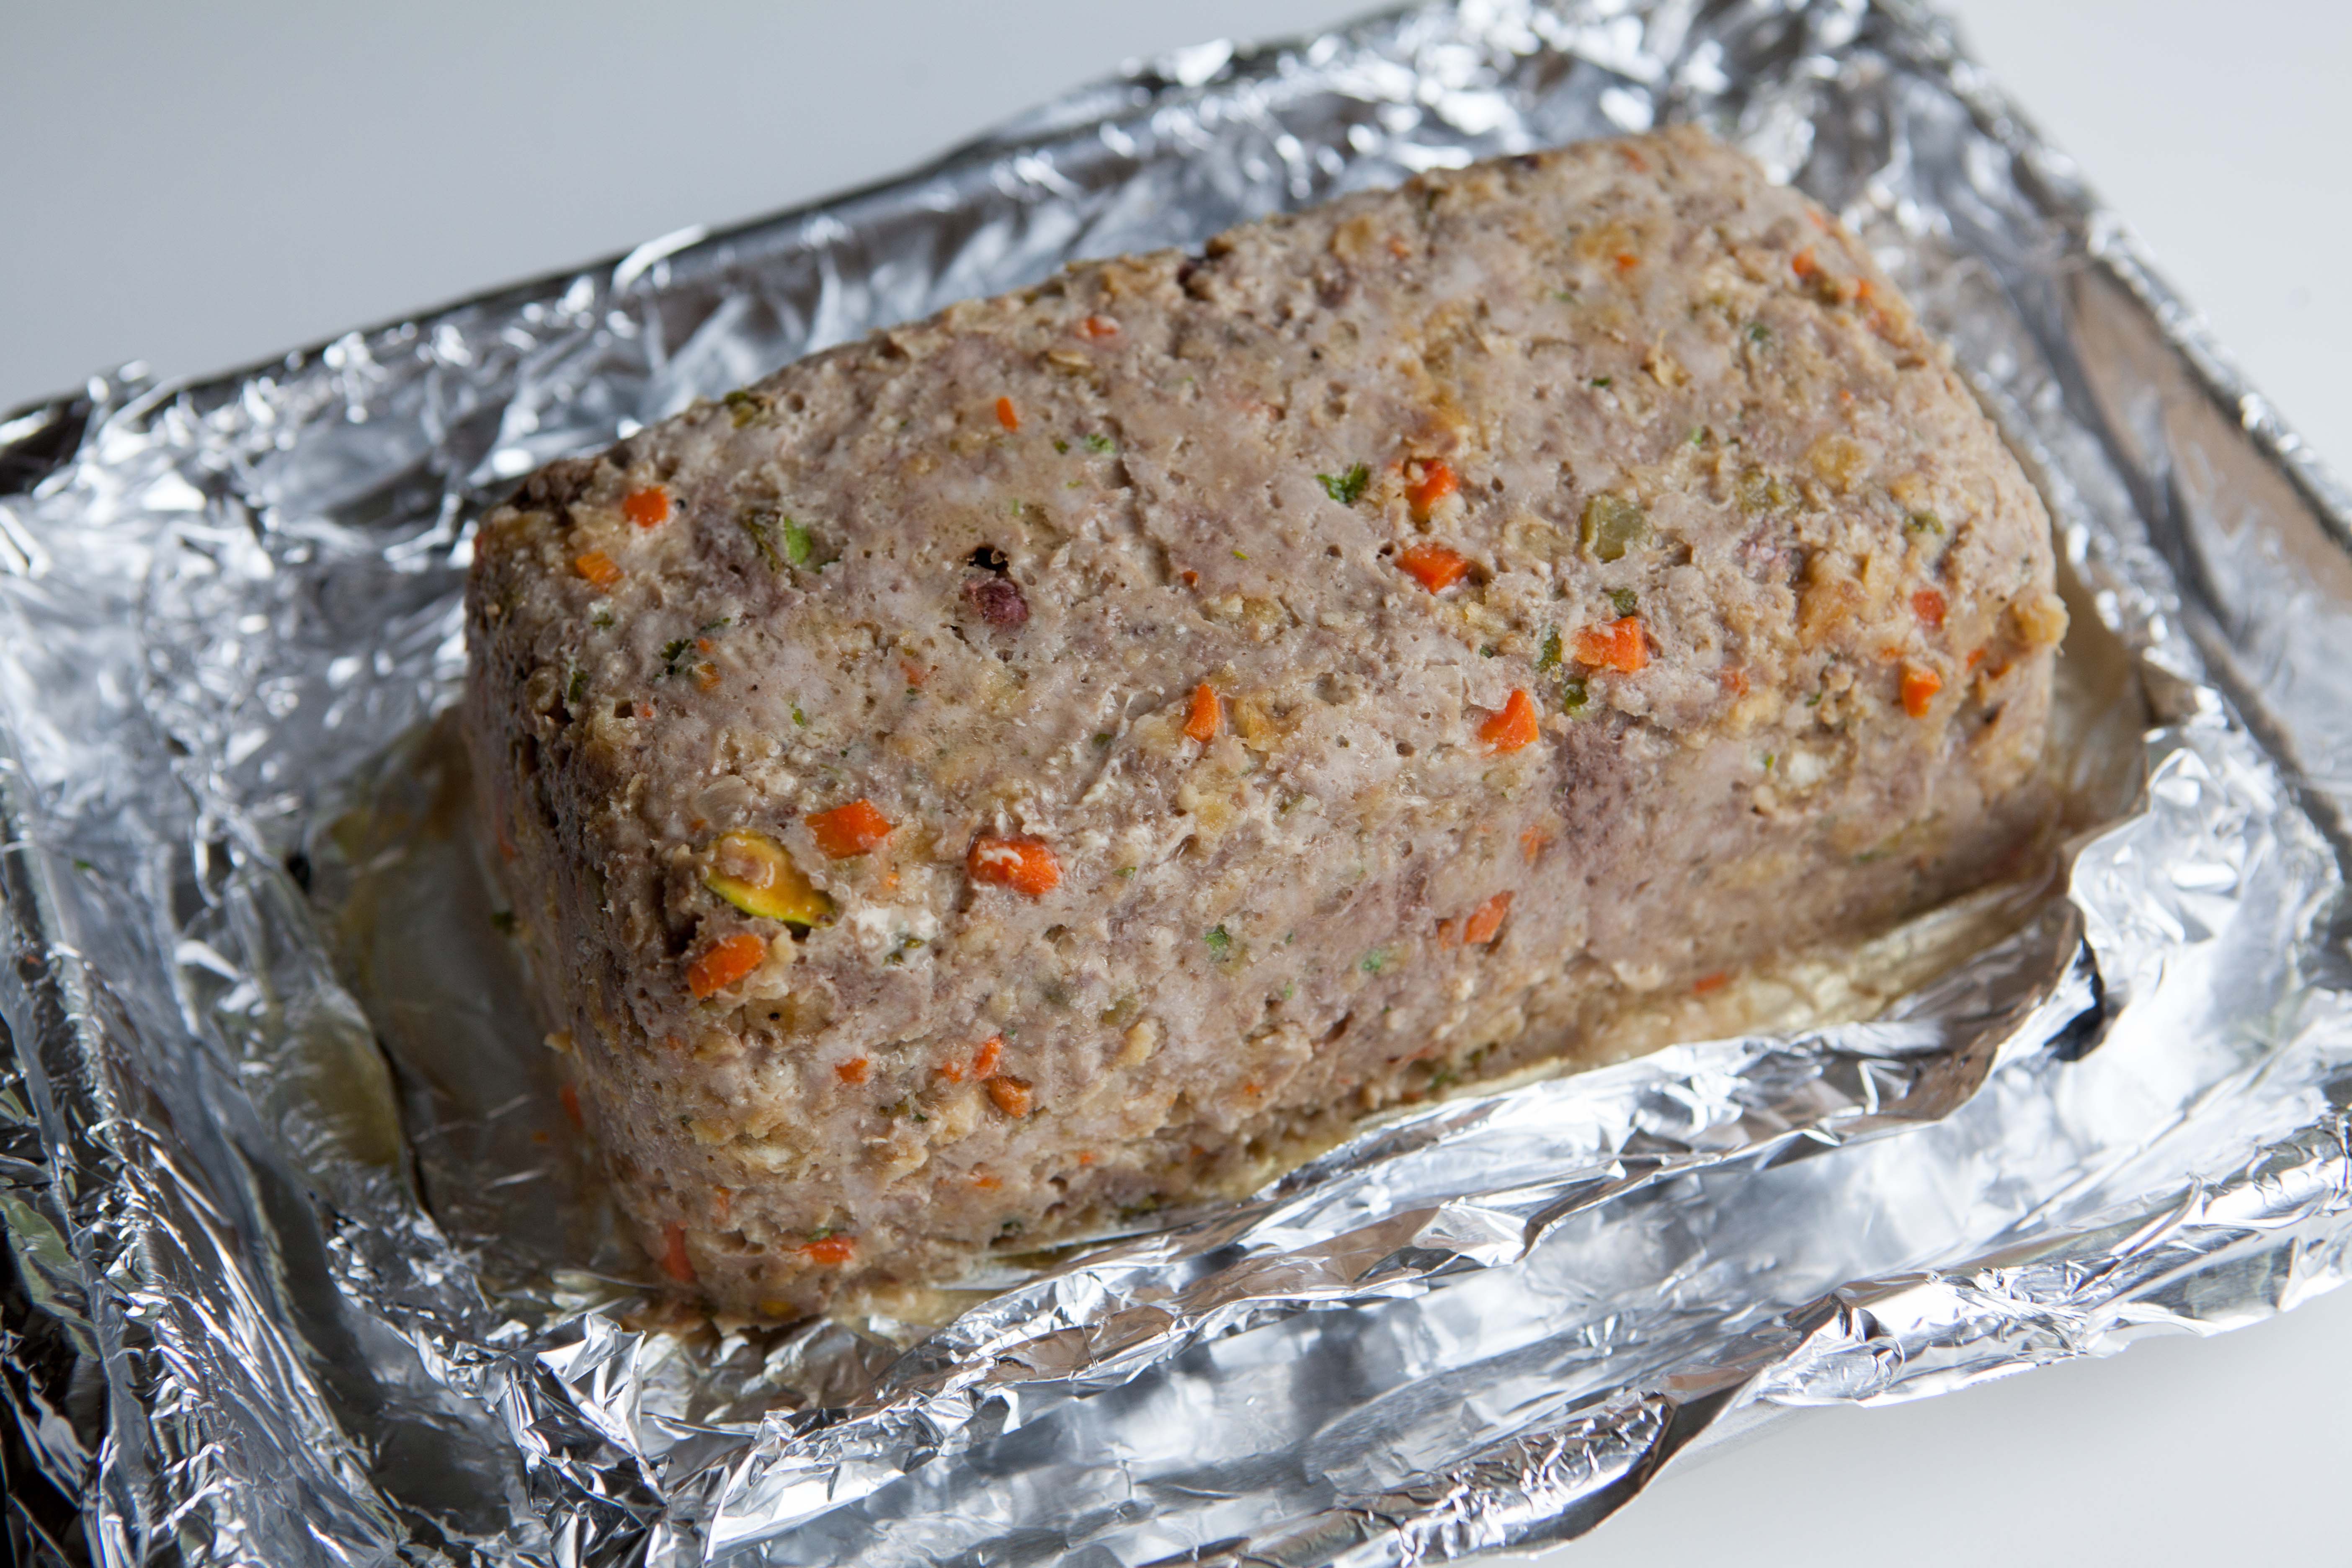
Here is the loaf still in the pan after removing it from the oven.
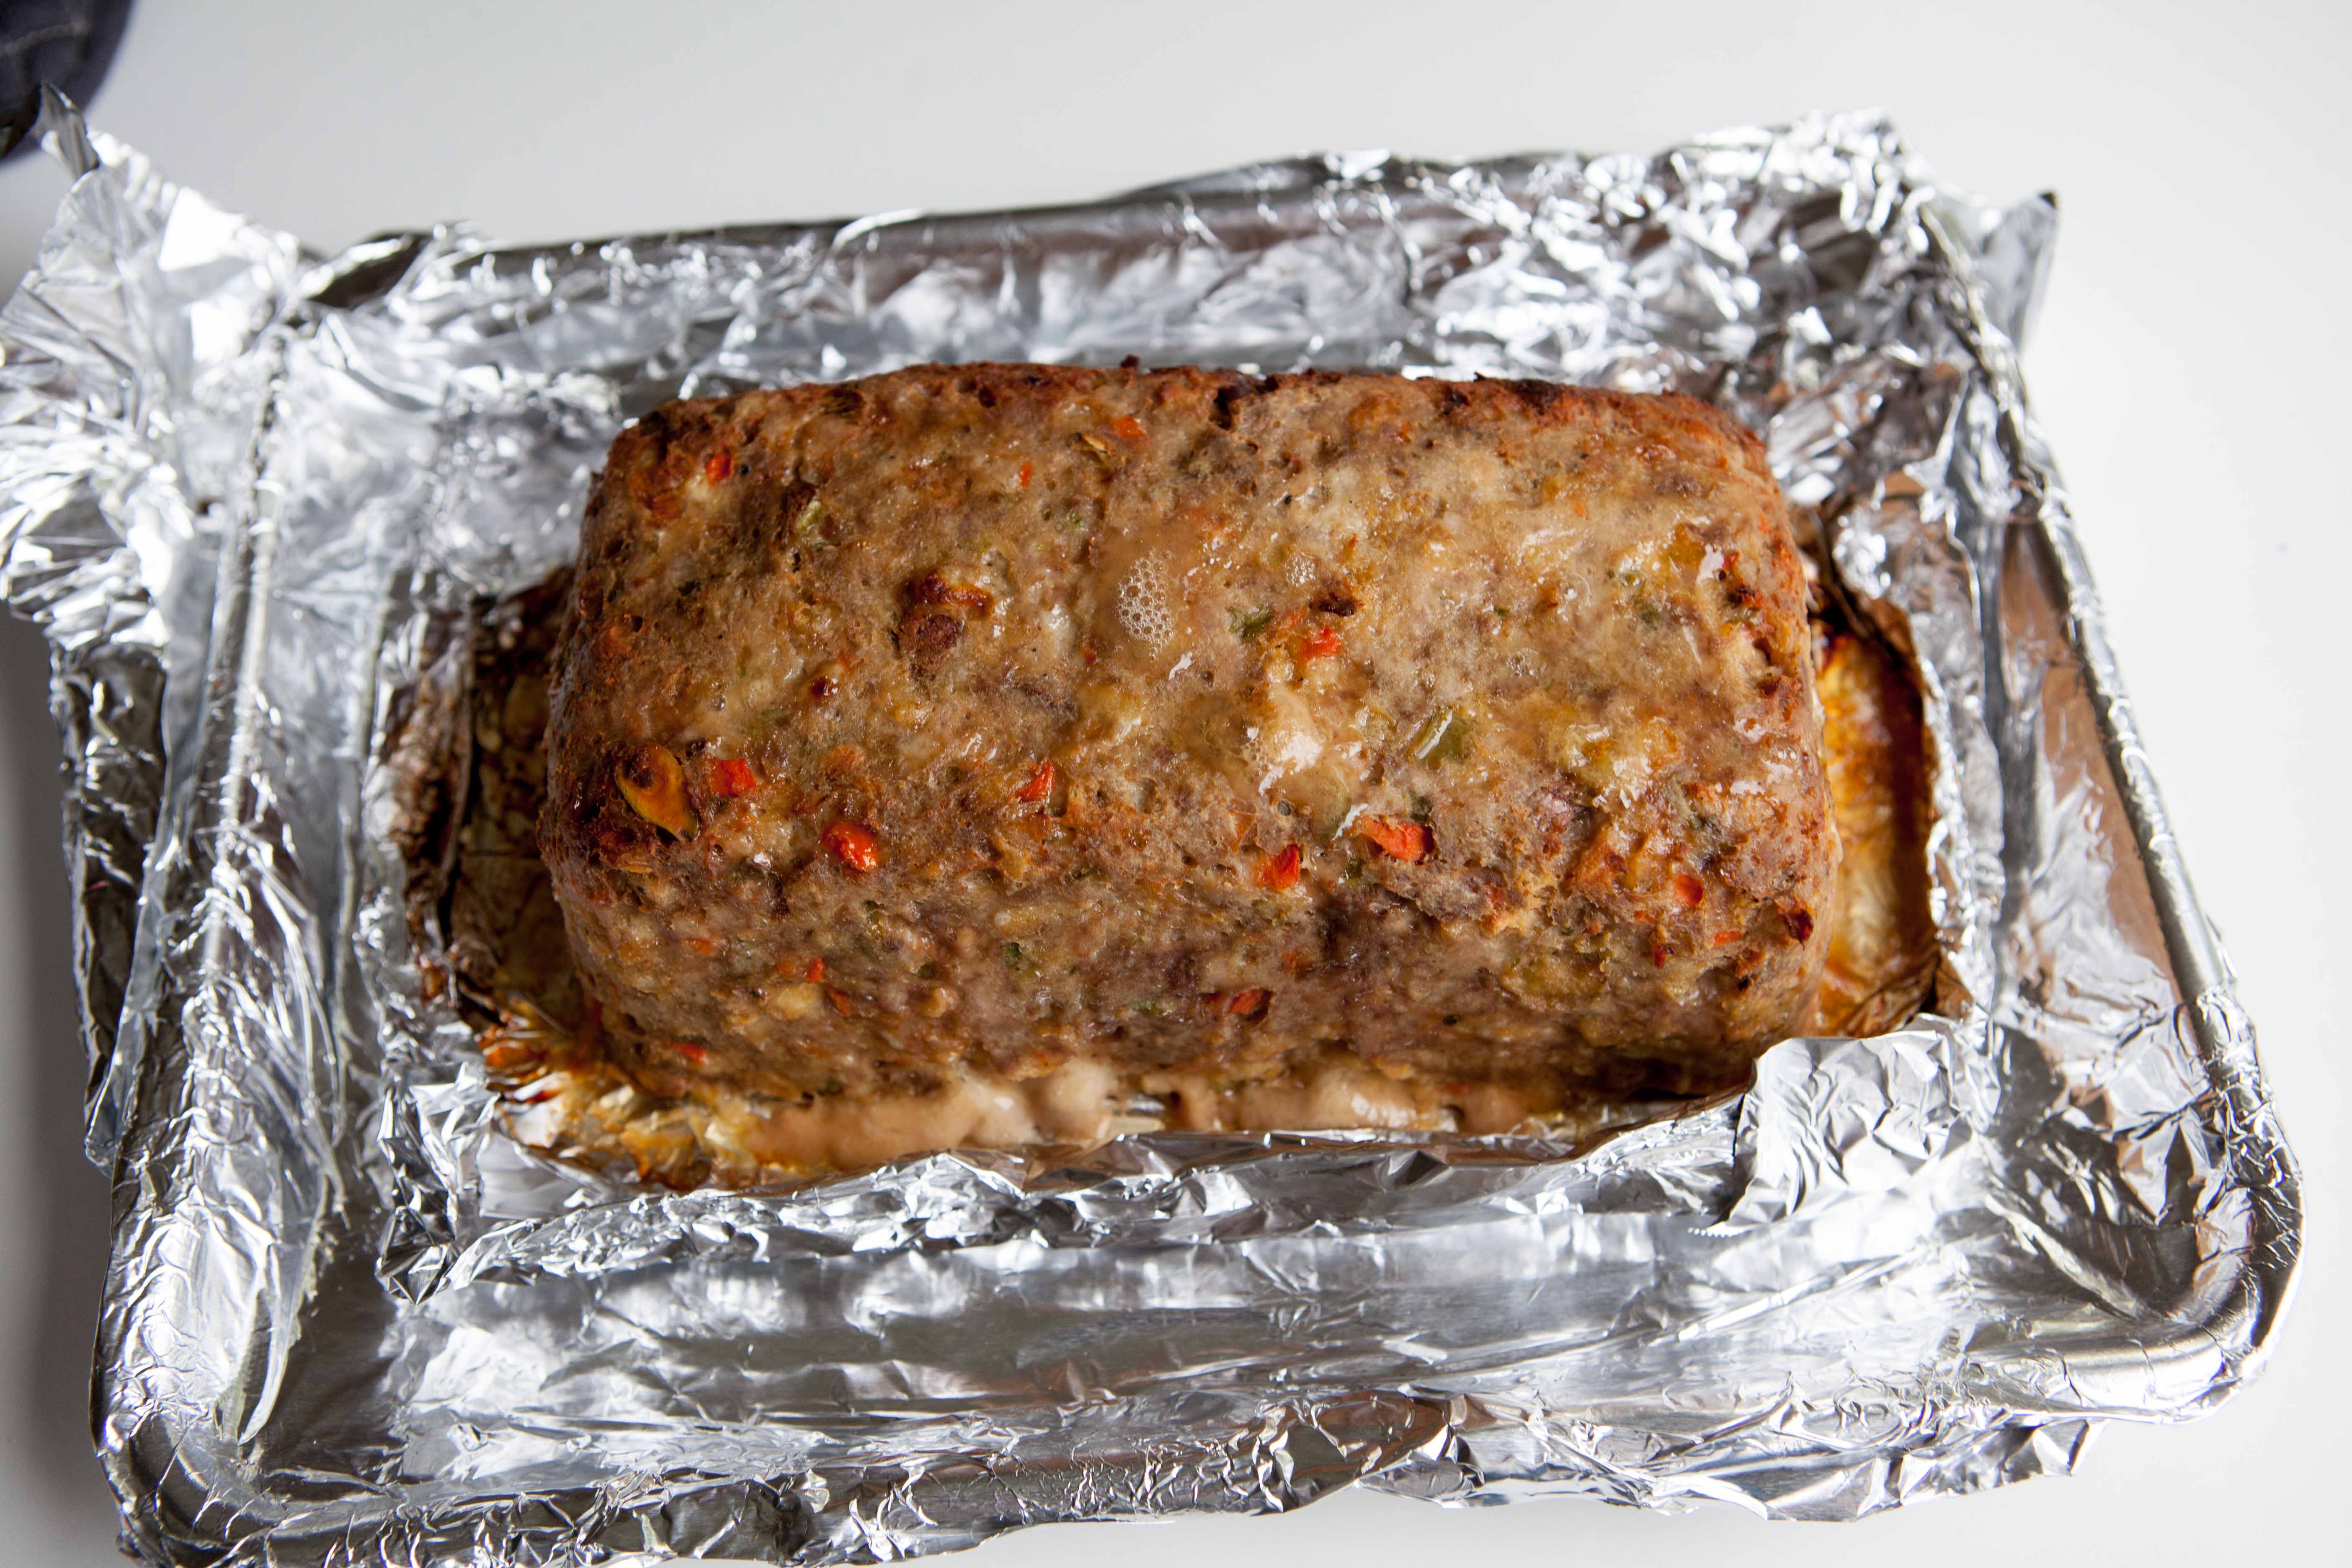
Here it is after I removed the pan. This will go back in the oven now.
Meanwhile, make the glaze by combining the ingredients in a small saucepan and heating till the sugar is dissolved.
Here is the loaf after the second time in the oven before it was glazed.
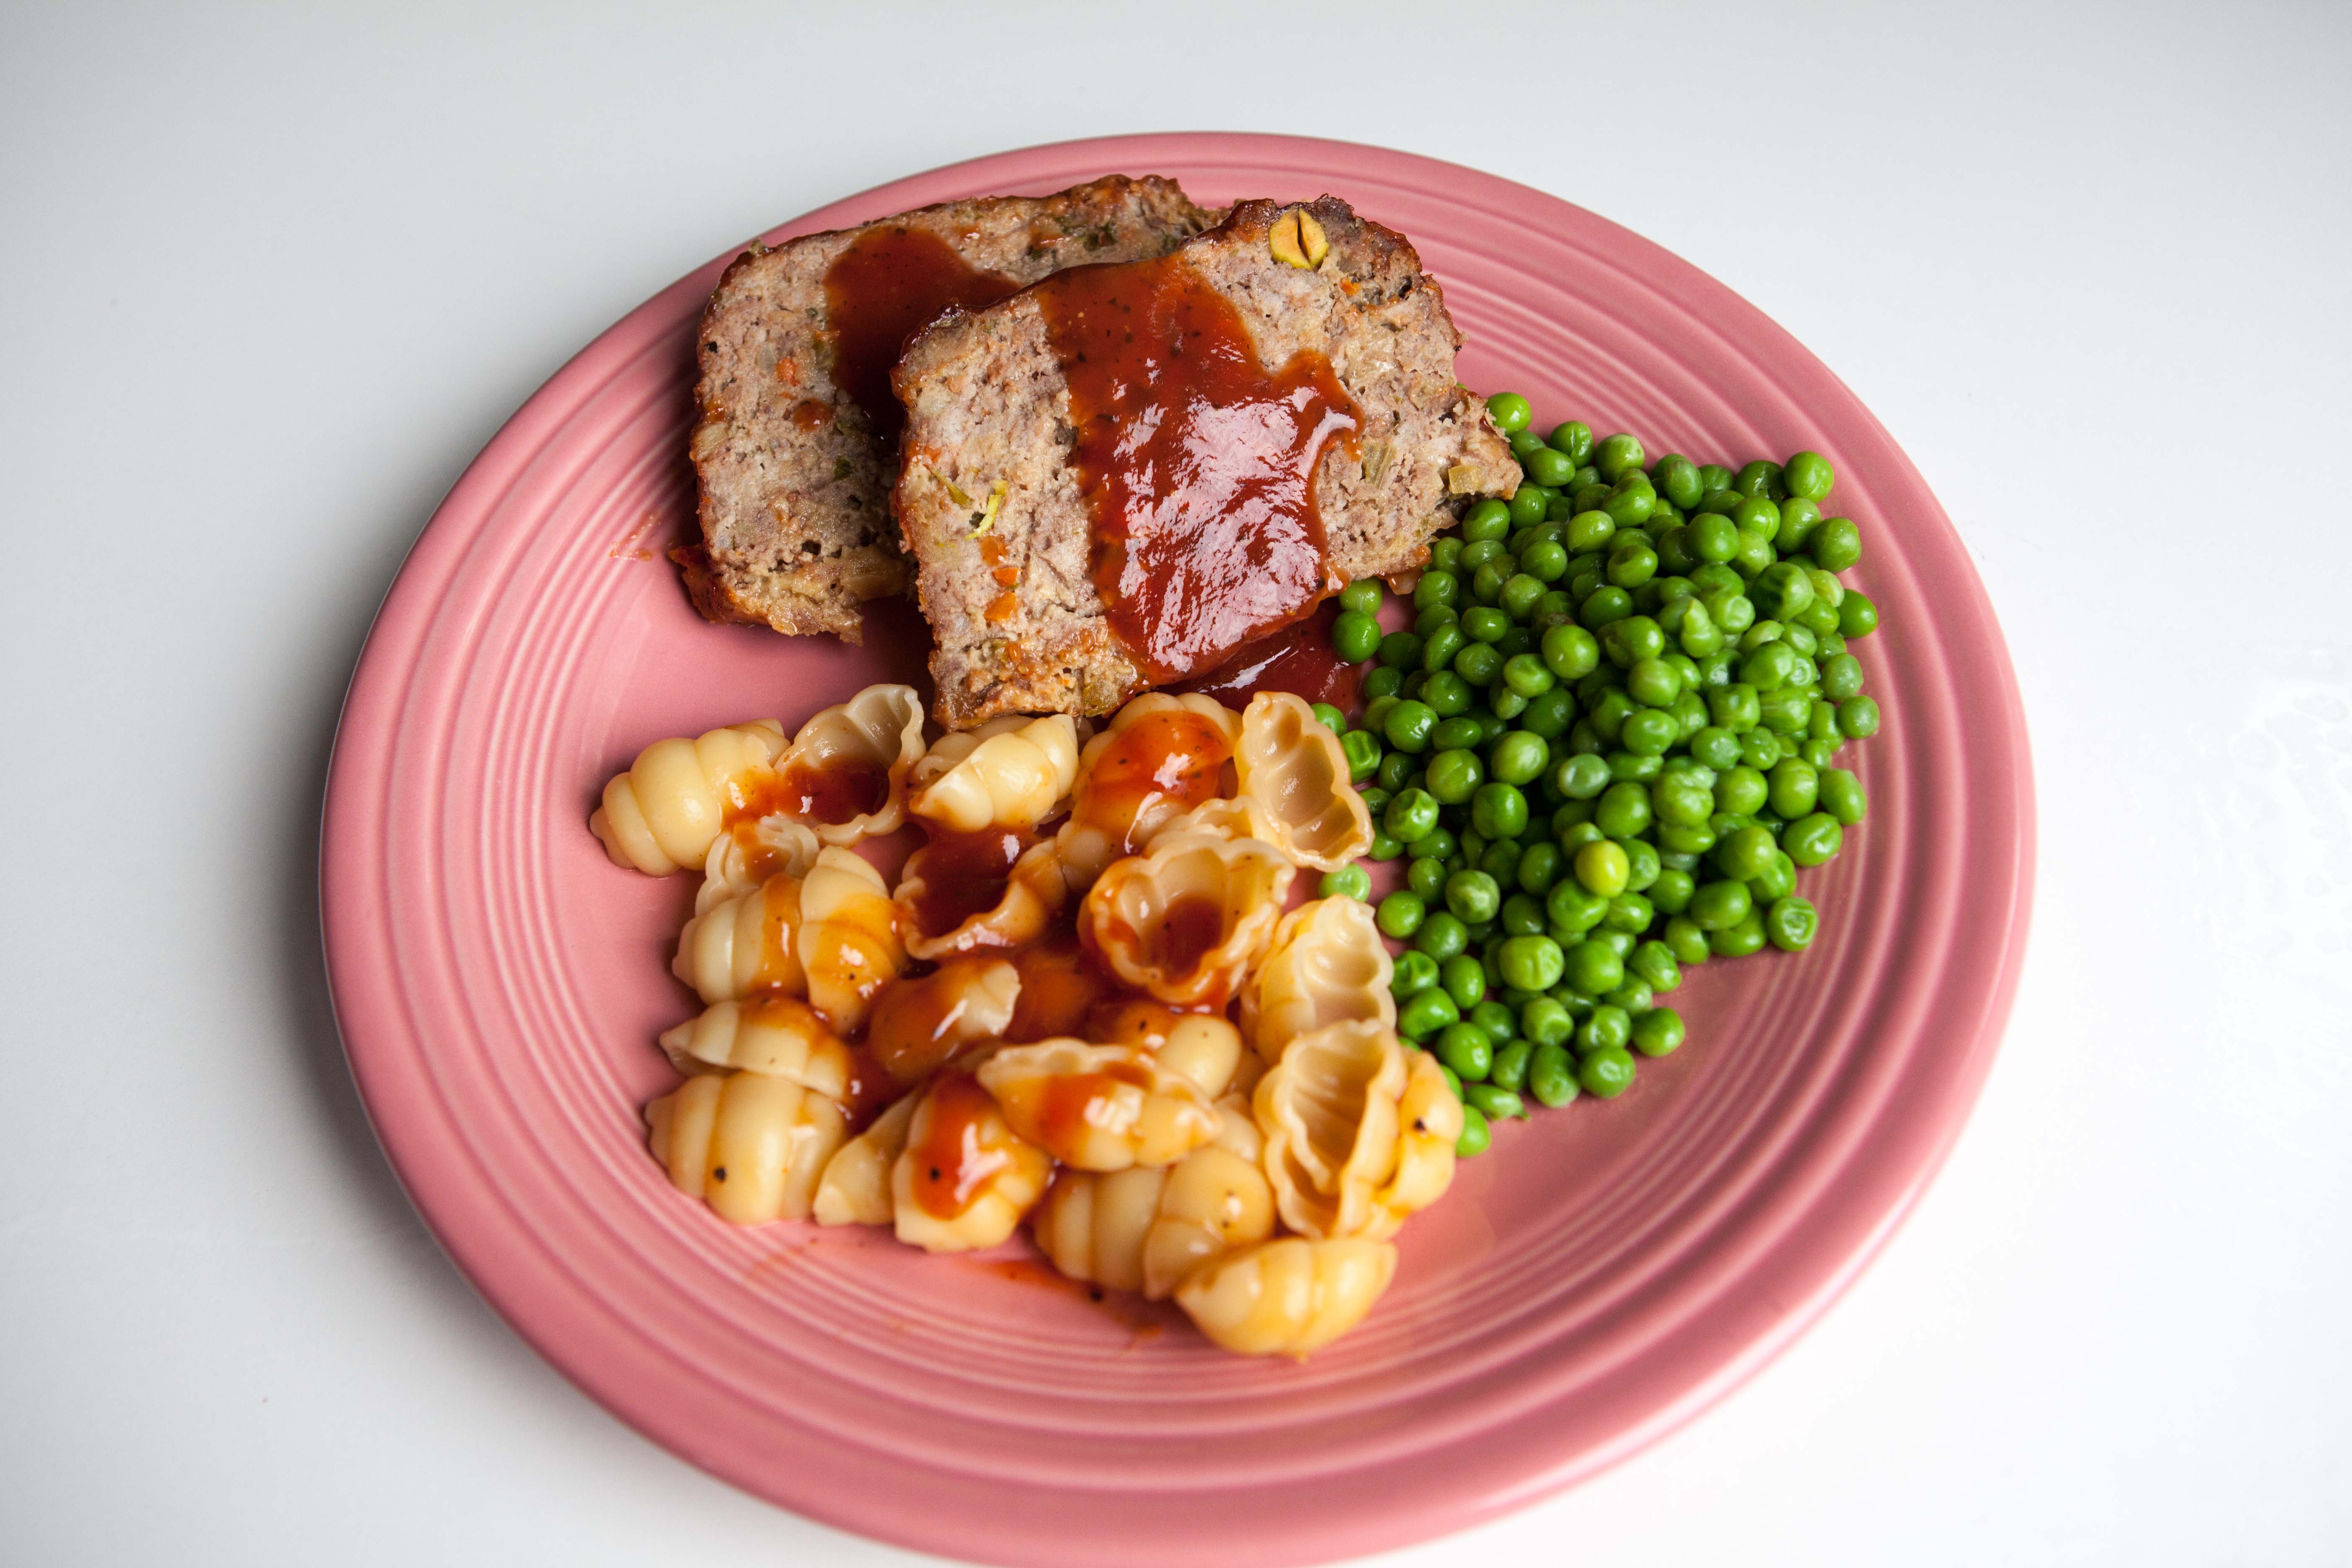
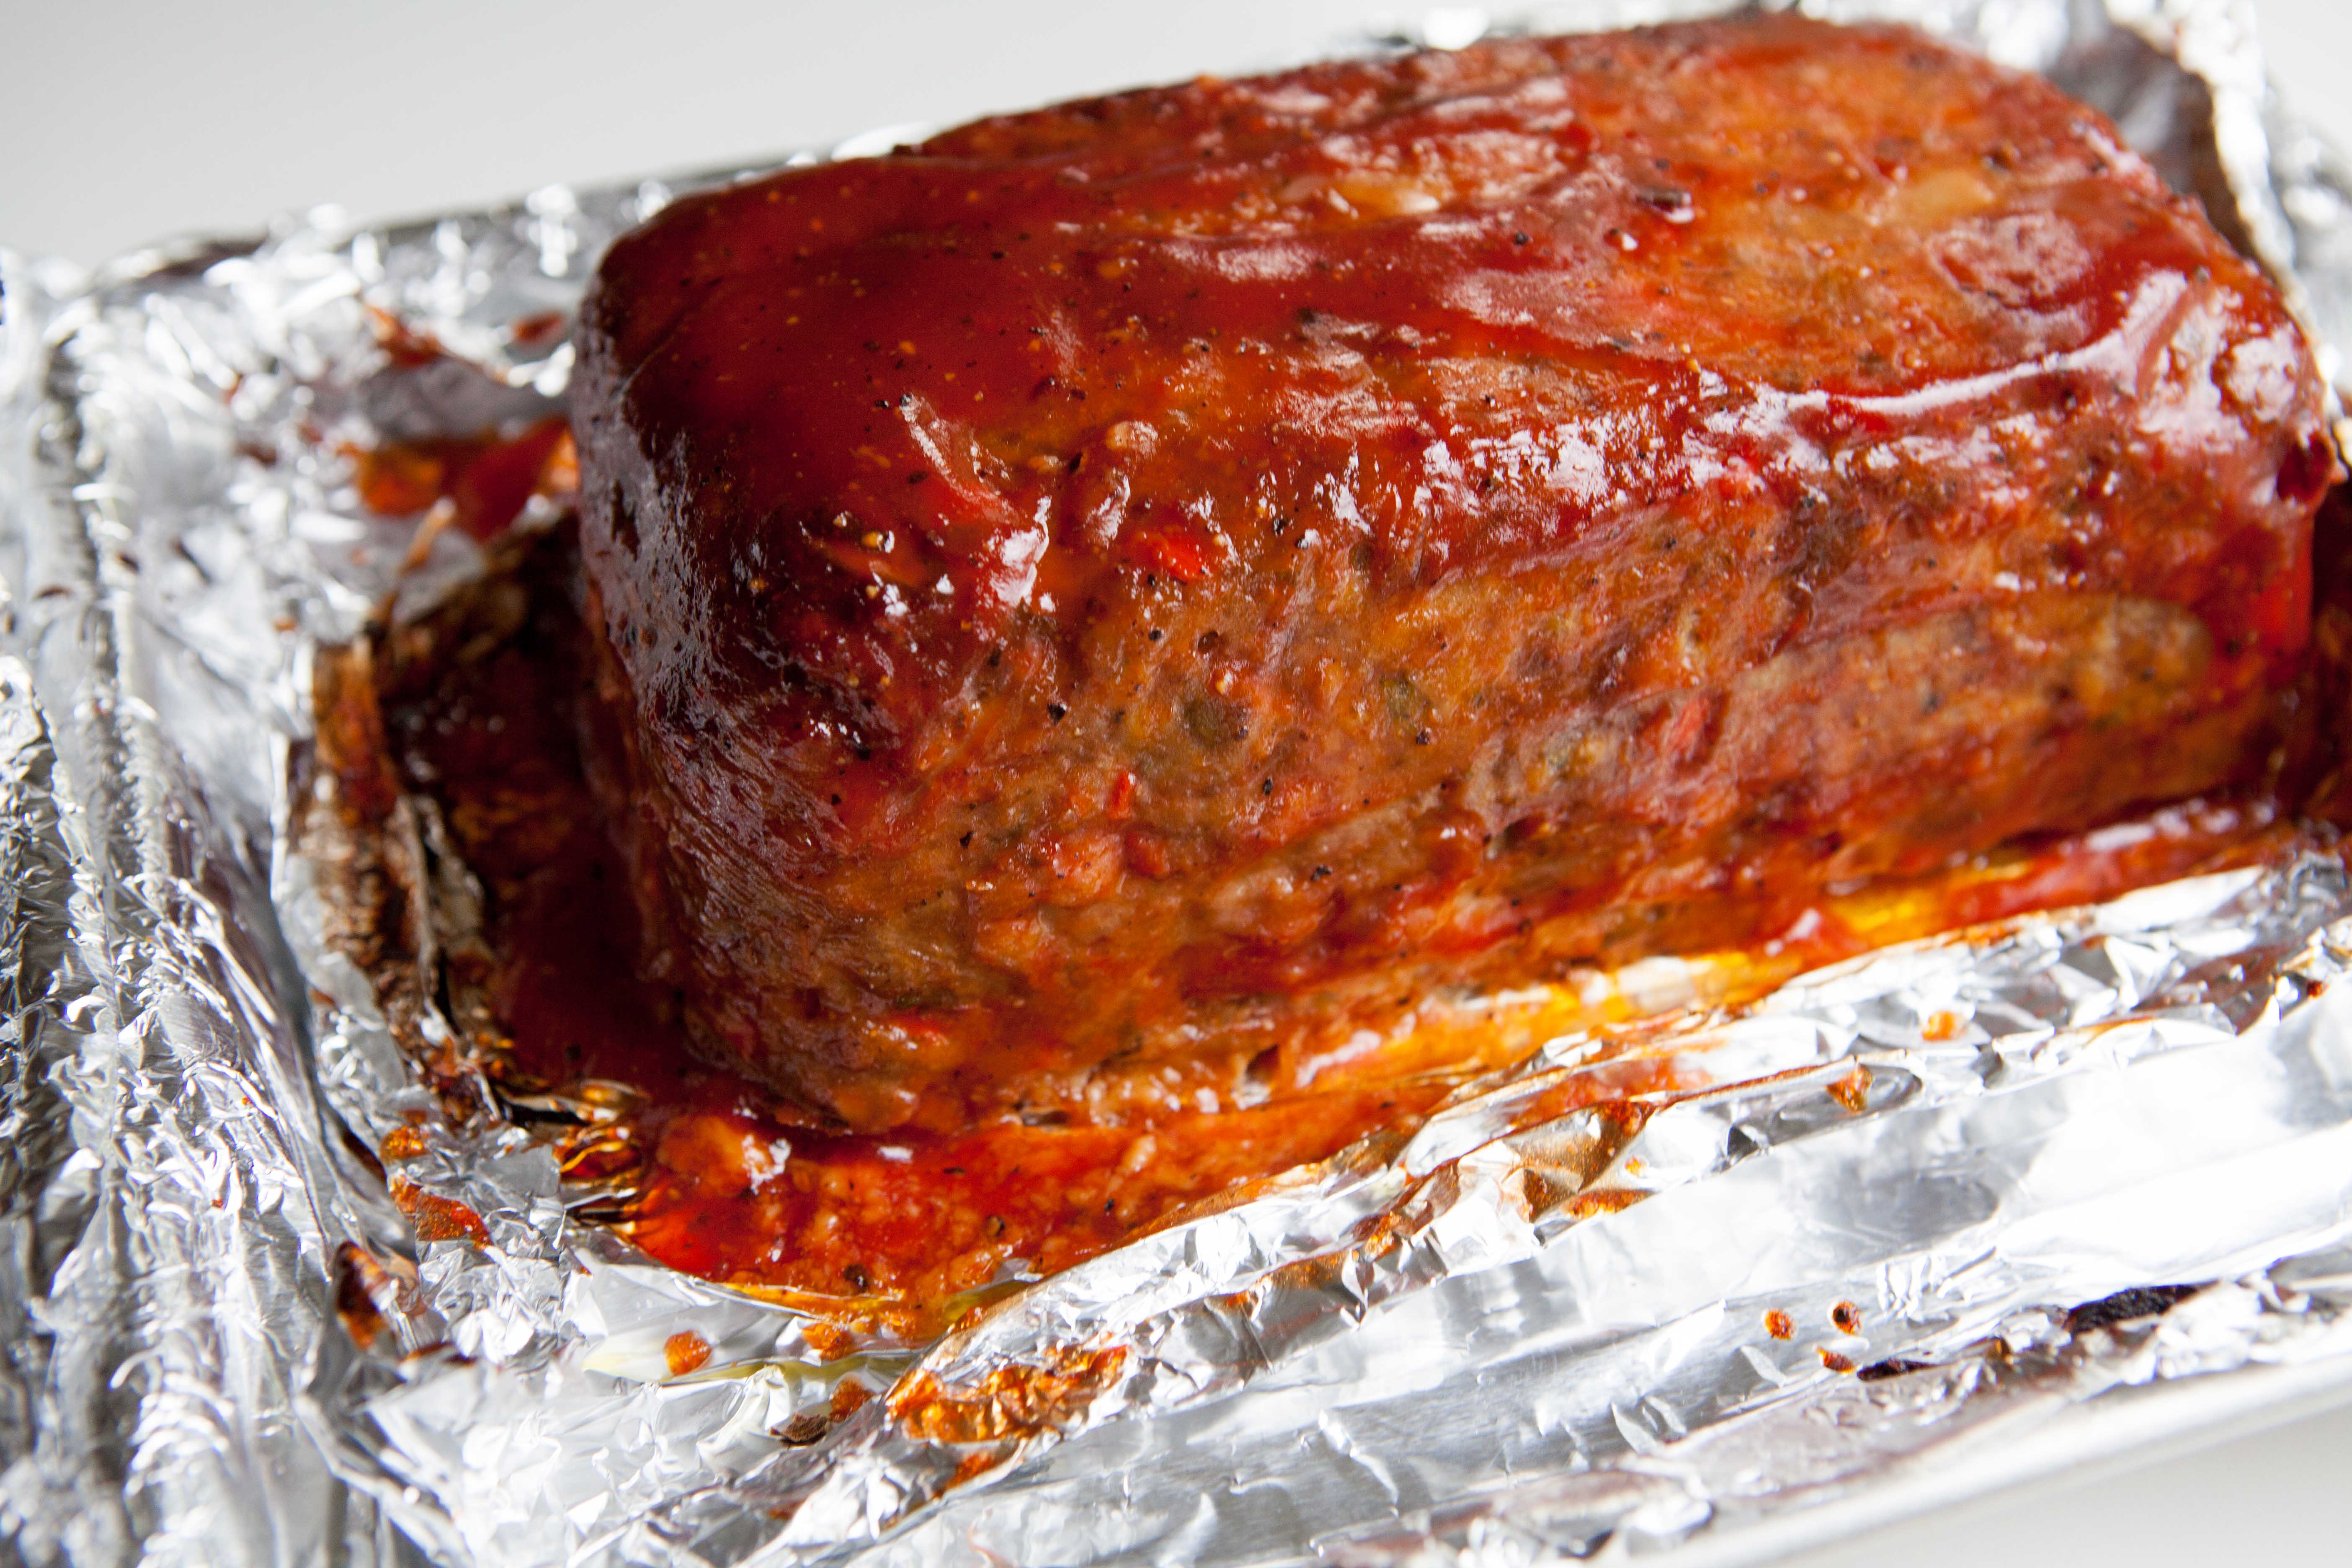
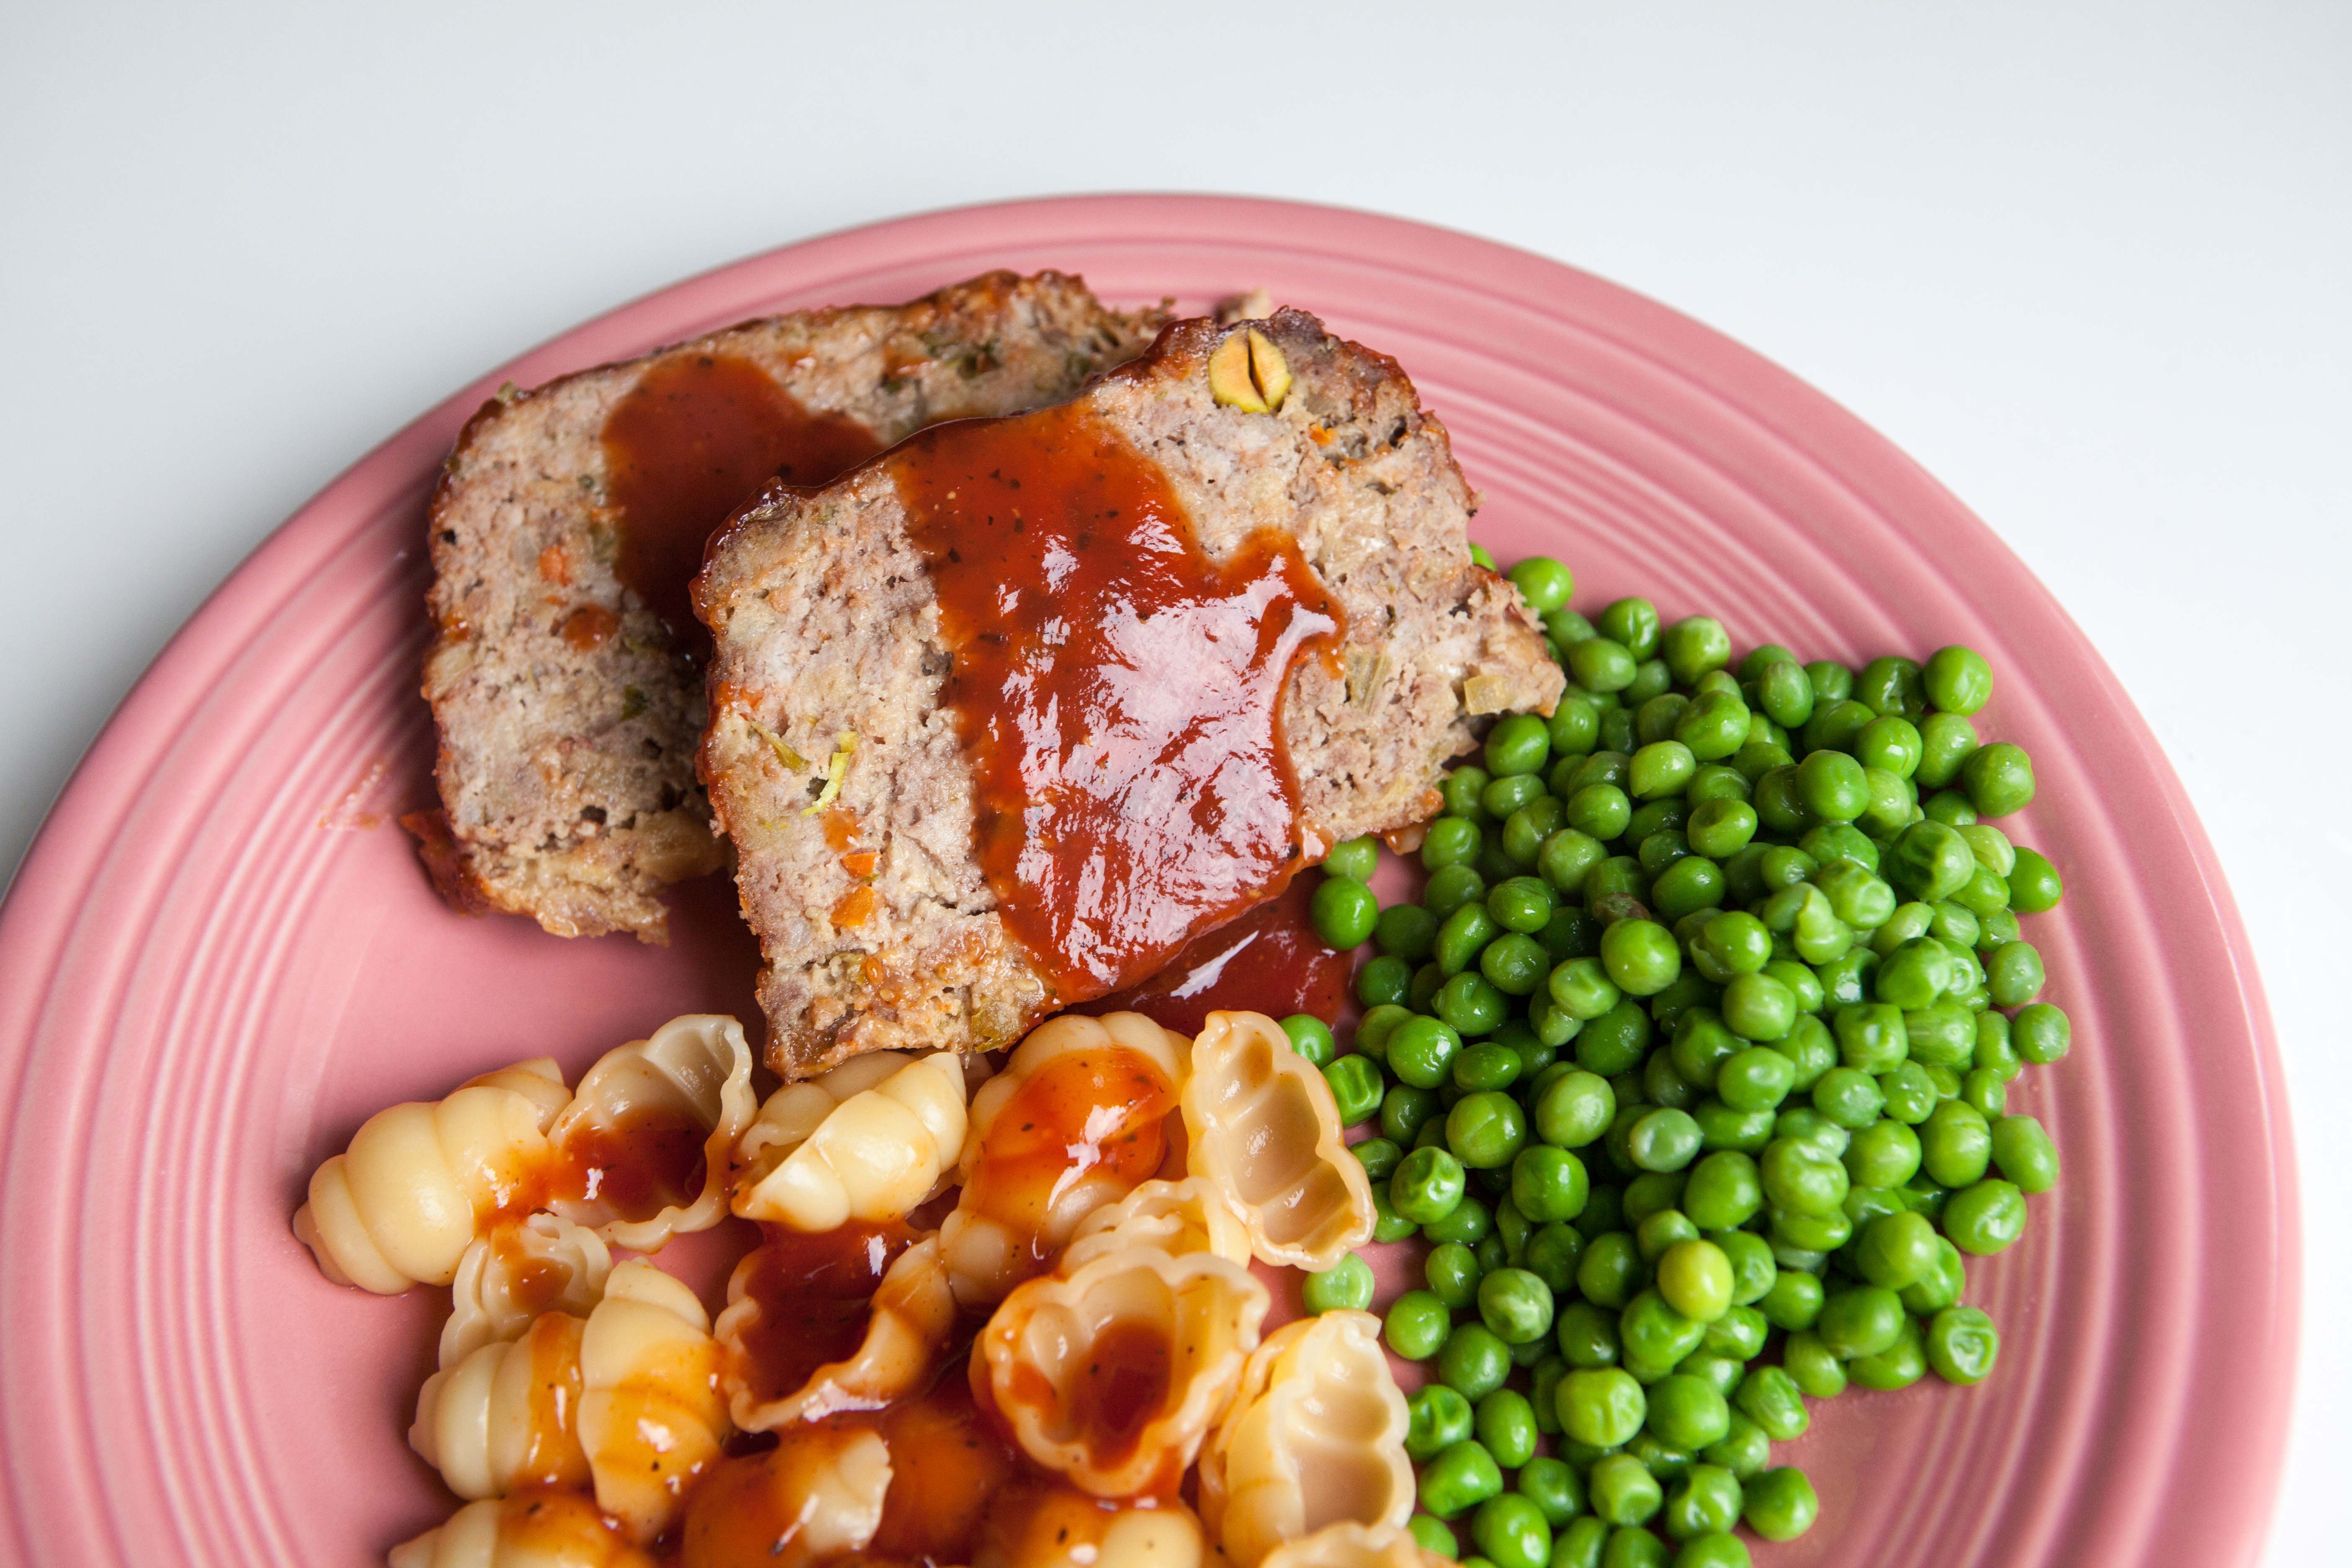
Paint loaf with a layer of glaze and bake for 3 minutes. Add another coat of glaze and bake for 3 more minutes. Add a final coat of glaze and bake for 4 minutes. Remove from oven and let sit 10 minutes before slicing and serving. Serve with noodles or mashed potatoes and any extra glaze.