Category Archives: Sewing

Tea Bag Wallet

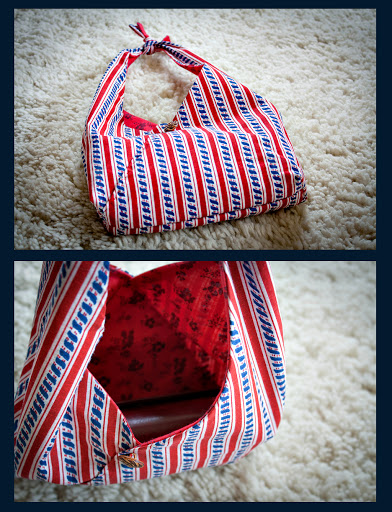
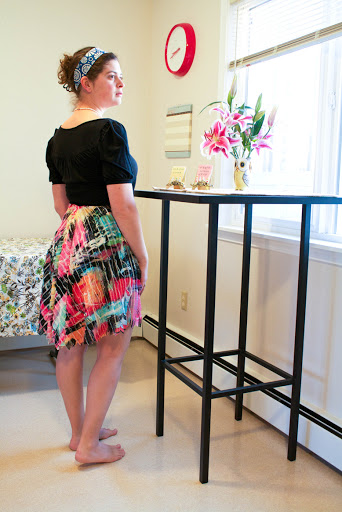
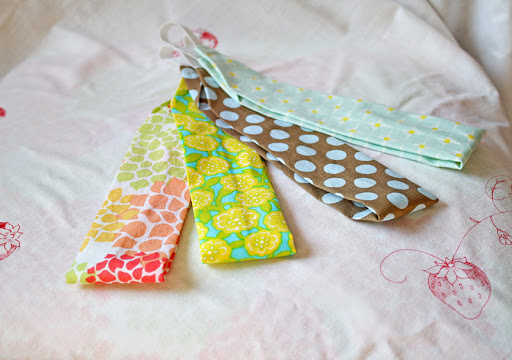
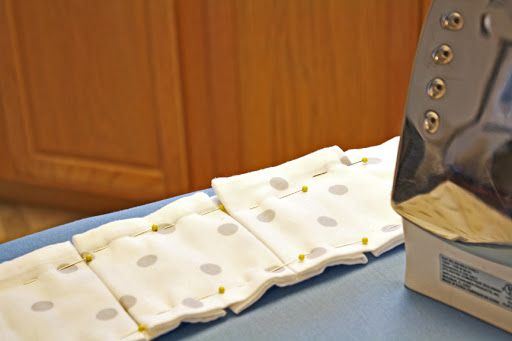
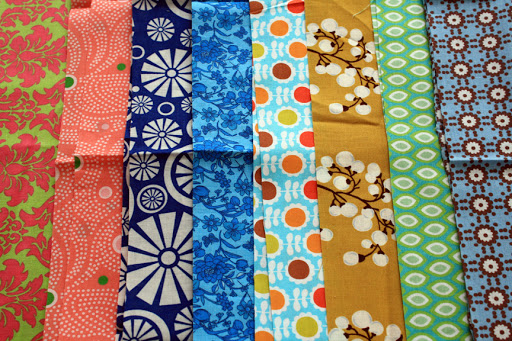
In high school I used to make wallets. They had credit card slots and velcro, just like old-school nylon wallets. For a while I’ve been tinkering with the idea of using my wallet knowledge to create something where you could have tea and sugar on the go. Say you’re at a restaurant and you prefer your fancy tea over the cheap stuff. You could just ask for hot water, pull out your tea wallet from your purse and you’d have a cup of the tea you love.

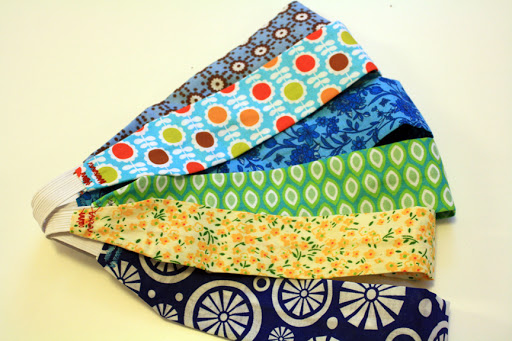
This project took longer to make than I expected, so I’ll have to toy with the pattern before posting any kind of tutorial. I like how it turned out, though. There’s room for two tea bags and two sugar packets. I was thinking of snagging honey packets from KFC if I were to give this as a gift.

Flat sheets really come in handy — another Tokyo tie bag

After making a Tokyo Tie Bag the other day, I decided to experiment with the dimensions and make a bag that has a size I prefer. I like the dimensions of the pattern I was given, but I wanted it a little deeper and the handles a little longer. So I busted out my butcher paper and made a better pattern. Here’s a photo of the original pattern on top of a pair of pyjamas.

I just added two inches to the bottom of the bag and three inches to the top where the handle is.

The dimensions are as follows:

  • The height of the handle is 1 and 1/8th inch
  • The length from the top of the handle to the first line is 12 inches
  • The first line is 2.5 inches tall
  • The length from the first line to the second line is 2.75 inches
  • The second line is 5.75 inches (also the same height as the bottom of the bag)
  • The length from the second line to the bottom of the bag is 8.25 inches

I drew the curves out by hand between the two lines and the top of the handle.
After I figured that out I transferred the pattern to a piece of tagboard I nabbed from a boot box (thank goodness I work at a shoe store — endless supplies of cardboard). So now I have a stiff pattern so all I have to do is trace around it on my fabric and cut it out. Presto!

Anyway, to get to this posting’s title, I never use flat sheets on our bed. But they make awesome curtains and scrap fabric. I used a dark red flat sheet as the lining for my new purse.

Look at that 400 thread count Egyptian cotton! The handles are just the right length to sling over my shoulder.

Embellished Sweater

Several months ago I purchased this sweater from Her Tern Boutique:

I love the flower embellishments. The petals seem to be made of sweater material and were hand sewn onto the garment.

I had a couple of sweaters I never wear, so I thought I’d give it a try.

I made a little petal template out of tagboard and cut out five petals for each flower. I pinned them in place and then sewed them onto the sweater. Then I used embroidery thread to make the center of each flower.

 I think I might add more tonight, but I wanted to wear my newly refashioned sweater to work.

Tokyo Tie Bag

An acquaintance came into the store the other day with the loveliest little purse. It was a simple design and when I commented on it, she said she bought it in a little arts market in New York City, but a friend of hers had scanned a pattern for something similar.

She forwarded me the pattern and it was for a Tokyo Tie Bag. Here was my first attempt:

If you do a Google search for this, you will find several patterns that resemble the one I made. I recommend this pattern from Darling Petunia’s Blog. Her pattern looks like the one I made, but the dimensions are slightly different.

Besides cutting the fabric, it only took about 30 minutes to construct. It’s really worth trying.

After whipping out my first one, I decided to tweak the pattern a little. I wanted my next one to have a flat bottom, but to also have a sort of kimono look to it. I was hoping the crossover of the fabric would create a little pocket, but it turned out too floppy so I had to sew it shut. I like how it turned out decoratively, though.

I’m going to have to make a ton of these. I think for my next one I’ll make the straps longer. My friend Robert suggested making large versions out of T-shirts, so I’m going to give that some thought. It also dawned on me that thrift store pillowcases could be put to good use with this pattern.

Funky Ruffle Skirt

I found this skirt pattern and really wanted to make it, but I was afraid Jo Anne’s wouldn’t have the ruffle fabric it calls for. I was wrong! They had in the discount section a bunch of crazy ruffle fabrics in all sorts of semi-hideous colors. Since this skirt was definitely an experiment, I just decided to go for it.

My machine despised sewing the elastic, but after two broken needles I was pretty satisfied. I made my skirt 20 inches long instead of 26. I’m short so that mid-calf length doesn’t do much for me. I could totally go dancing in this skirt! Also, I’m pretty sure the original pattern uses a higher quality ruffle fabric, but this was the best I could do on short notice.
Also, thanks to my friend Ashley for being a great crafter host. I had a really fun time helping her with her new sewing machine. 

Flannel Ruffle Scarf

Yesterday morning I leaped out of bed and started making the flannel ruffle scarf I saw a couple of months ago on http://www.rufflesandstuff.com.

It was about 18 feet of flannel I ended up sewing and pinning. It was pretty fun to make — and simple!

I wore it about all day today. It’s a tad extravagant, or as my dad described “like a clown,” but I love how soft and unique it is.

I didn’t add the buttons as she has done in her version. Thanks for the great pattern!

Gathered Clutch

I ordered some fabric from Hawthorne Threads and it arrived today. I was really excited. It only took two days to ship. That’s some kind of Alaska record. Since I have a limited supply of this exquisite cotton I want to be sure I know what I’m making with it. Of course I’ll be using it for my headbands, but I wanted to try a purse inspired by the gathered purse at noodle-head.com.

I used some scrap fabric and came up with something a tad funky, but I like it. I didn’t use a pattern whatsoever and the lining is kind of shoddy, but it holds my phone and I could totally use it out on the town.

Headbands — I can’t stop!

After making my own headband the other day I was motivated to make a bunch at once, so I went to JoAnne’s and bought some fat quarters. It’s a great use for fat quarters because they are already 18 inches long, which is the length I use for the headbands, so less cutting! Here’s the pattern.

Oilcloth Headband with Photo Tutorial

Every time we go to Mexico I can’t resist buying oilcloth at the fabric store. All the bright colors, fruits and flowers just make me so dang happy.

Here’s a photo tutorial on how to make a lovely headband. It’s pretty easy and looks pretty profesh. Enjoy!
Sorry, my usual photographer was taking a nap.
Materials:
One piece of oilcloth, 1.75 in. x 18 in.
One package of double fold bias tape
One four-inch piece of 1/2-in. wide elastic
1. Cut two lengths of bias tape to run along the long edges of the oilcloth. Slip the edge of the oilcloth into the bias tape. It should fit snugly in there. Sew the bias tape in place, making sure you’re sewing through the top layer of the tape, the oilcloth and the bottom layer of the tape
2. Using a zig-zag stitch, secure the elastic to the raw edge of the oilcloth.
3. Fold in the corners of the band so it makes a taper. Sew in place with a zig-zag stitch.
4. Place the headband around your head and adjust the elastic so it’s comfortable. Repeat steps 2 and 3 for the other end of the band.
It’s as simple as that. Only took me about 10 minutes total.